
Achieving BakerySmooth Frosting: The Hot Knife Trick

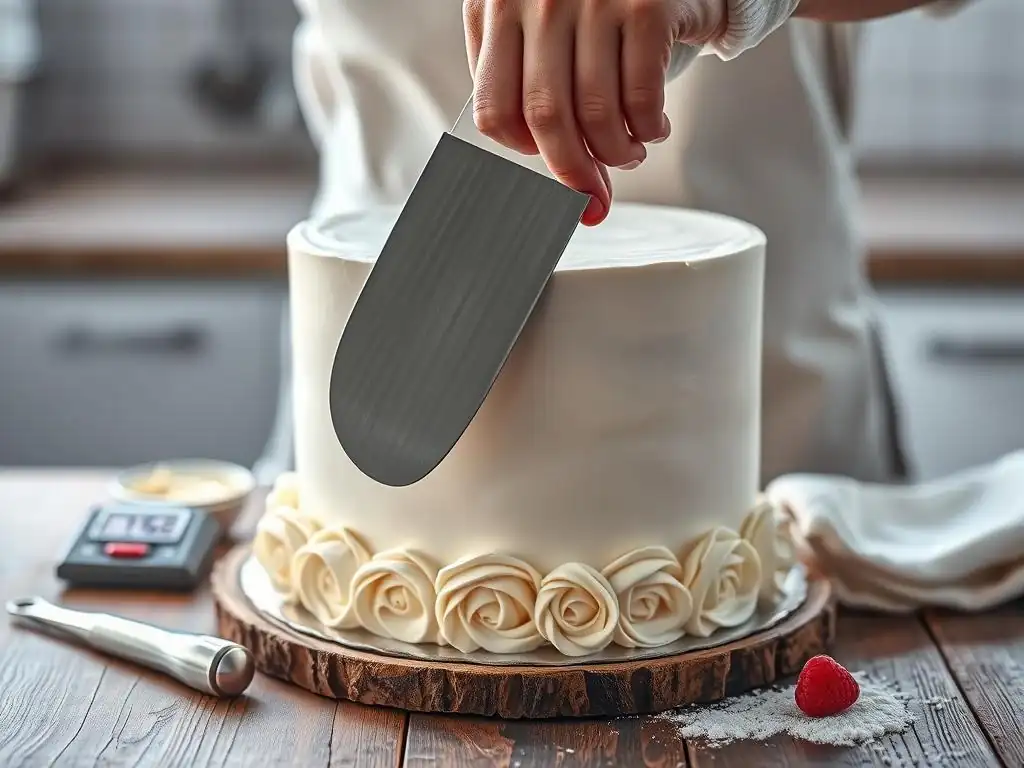
Welcome to BakeWithEase, where even the most intricate baking techniques become surprisingly simple. Ever dreamed of achieving that flawless, bakery-smooth frosting finish on your cakes? In this article, we're unveiling the secret weapon: the hot knife frosting technique. Discover how this surprisingly easy method can transform your frosting game and leave you wondering why you haven't tried it sooner. Intrigued? Let's get started!
- Introduction to the Hot Knife Frosting Technique for Cakes
- Preparing for the Hot Knife Frosting Method
- Step-by-Step Guide to Hot Knife Frosting
- Troubleshooting Common Hot Knife Frosting Problems
- Advanced Hot Knife Frosting Techniques
- Alternative Methods for Achieving Smooth Frosting
- Maintaining Your Frosting Knife for Longevity
- Conclusion: Mastering the Art of Smooth Cake Frosting
- Frequently Asked Questions
- Final Reflection: The Enduring Power of a Simple Technique
- Unlock Perfectly Smooth Frosting: Your Next Bake Awaits!
Introduction to the Hot Knife Frosting Technique for Cakes
Achieving that flawlessly smooth, professional finish on a frosted cake can seem like a daunting task. Often, home bakers struggle with visible knife marks, uneven surfaces, or stubborn air bubbles that detract from the cake's overall appearance. While traditional methods using spatulas and bench scrapers are effective, they often require significant practice and patience to master. This is where the hot knife frosting technique comes in, offering a surprisingly simple yet incredibly effective way to achieve that coveted bakery-smooth look.
The hot knife method involves using a heated knife or spatula to gently glide over the surface of your chilled, frosted cake. The warmth of the blade slightly melts the outermost layer of frosting, allowing it to settle into a smooth, even surface. This technique is particularly useful for frostings that firm up when chilled, such as buttercreams and ganaches. It's a trick favored by many professional decorators for its speed and efficacy in producing pristine results with minimal effort, making it an accessible method for bakers looking to elevate their cake decorating skills.
Why Use a Hot Knife for Frosting Cakes?
Using a hot knife for frosting cakes offers several distinct advantages over traditional methods, primarily centered around achieving a superior finish with greater ease. The gentle heat allows the frosting to become pliable just enough for the knife to pass through without dragging or tearing, which are common culprits behind uneven surfaces and visible lines. This means less time spent trying to perfect each stroke and a significantly reduced chance of disturbing the underlying cake layers or crumb coat.
Furthermore, the hot knife frosting technique is excellent at resolving minor imperfections like small air bubbles or slight inconsistencies in the frosting application. As the warm blade glides over these areas, the frosting warms and settles, often filling in small gaps and smoothing out bumps. This results in a finish that appears almost poured or lacquered, providing a perfect canvas for further decoration or simply standing alone as a testament to a well-executed frosting job. The efficiency and effectiveness of this method make it a valuable addition to any baker's toolkit.
The Secret to Professional Cake Decorating: A Smooth Finish
A perfectly smooth finish is often the hallmark of professional cake decorating, setting the stage for intricate designs or allowing simple elegance to shine. This flawless surface isn't just aesthetically pleasing; it also provides a stable and even base for adding drips, piping details, fondant, or other decorative elements. Without a smooth foundation, even the most skillfully executed decorations can look sloppy or misaligned, undermining the overall presentation of the cake.
The hot knife frosting technique directly addresses this critical element, offering a reliable path to achieving that desired smooth finish. While techniques involving turntables and bench scrapers require precise angles and consistent pressure across the entire cake surface – a skill that takes considerable practice – the hot knife method is more forgiving. By focusing on the gentle melting and settling of the frosting surface, it simplifies the process of eliminating ridges and bumps, making that polished, professional look achievable even for those with less extensive decorating experience.
Preparing for the Hot Knife Frosting Method
Getting ready to apply the hot knife frosting technique involves a few key steps to ensure success. Preparation is crucial, from gathering the right tools to preparing your frosting and the cake itself. Skipping these foundational steps can lead to frustration and less-than-ideal results, so take the time to set yourself up for success before you even think about heating that knife.
Think of this preparation phase as building the foundation for your smooth frosting success. Just as a builder wouldn't start laying bricks without preparing the ground, you shouldn't start smoothing frosting without ensuring your tools are ready, your frosting is the right consistency, and your cake is properly chilled and crumb-coated. This diligent preparation is a non-negotiable part of mastering the hot knife frosting technique.
Essential Tools and Equipment for Smooth Cake Frosting
Having the correct tools is paramount when attempting the hot knife frosting technique. While the star of the show is the heated knife or spatula, several other items are essential for a smooth process and a perfect finish.
- Offset Spatula: Your primary tool for applying frosting. An 8-inch or 10-inch offset spatula is versatile for both covering the cake and initial smoothing.
- Bench Scraper: Useful for initial smoothing passes before the hot knife, especially on the sides. A metal bench scraper is often preferred for its rigidity.
- Cake Turntable: Essential for easily rotating the cake while applying and smoothing frosting. A smooth-spinning turntable makes a significant difference in achieving even coverage.
- Container for Hot Water: A tall glass or container that can safely hold hot water and accommodate your knife or spatula blade.
- Clean Cloth or Paper Towels: For quickly drying the heated knife before touching the frosting.
These tools work in conjunction to make the hot knife frosting technique efficient and effective. For instance, using a bench scraper first can get the sides quite smooth, leaving the hot knife to perfect the surface and edges.
The Right Type of Knife for Hot Knife Frosting
While the name suggests a "knife," the most effective tool for the hot knife frosting technique is often a metal offset spatula. The flat, broad surface is ideal for covering larger areas of the cake quickly and evenly. An offset spatula keeps your hand elevated, preventing you from accidentally dragging your knuckles through the frosting – a common mishap!
Look for a metal spatula, as metal conducts heat much better than plastic handles or blades. A stainless steel spatula is durable and easy to clean. The size should be appropriate for your cakes; an 8 or 10-inch blade is standard for most layer cakes. While you can use a regular knife, an offset spatula provides better control and coverage for smoothing large areas of frosting.
Choosing Your Cake Frosting: American Buttercream, Swiss Meringue, and Chocolate Ganache
The hot knife frosting technique works best with frostings that contain fat and firm up when chilled. This includes many popular types:
- American Buttercream: Made from butter, powdered sugar, and a liquid (like milk or cream), this is a common choice. It firms up well when cold but can melt relatively quickly with heat, requiring a cooler knife.
- Swiss Meringue Buttercream: Lighter and less sweet than American buttercream, it's made with egg whites, sugar, and butter. It provides a very smooth finish and holds up well to the hot knife method, often requiring a slightly warmer knife than American buttercream.
- Chocolate Ganache: A rich mixture of chocolate and cream. When chilled, ganache becomes quite firm and can be smoothed beautifully with a hot knife, often achieving a mirror-like finish, especially dark chocolate ganache.
Understanding how your chosen frosting behaves at different temperatures is key to successful hot knife frosting. Test a small area first to gauge how quickly it melts and how warm your knife needs to be. Generally, a medium-consistency buttercream that's been chilled for at least 30-60 minutes works perfectly for this technique.
Preparing Your Cake for Frosting: Crumb Coat is Key
Before you even think about smoothing with a hot knife, your cake needs to be properly prepared. This involves two crucial steps: cooling and applying a crumb coat.
- Cooling: Your cake layers must be completely cooled, preferably chilled in the refrigerator for at least 30 minutes (or freezer for 15 minutes) after baking and leveling. A cold cake is much easier to handle and less likely to shed crumbs into your frosting.
- Crumb Coat: This is a thin layer of frosting applied to the entire cake surface to trap any loose crumbs. Apply a thin, even layer, then chill the cake again for at least 15-30 minutes until the crumb coat is firm to the touch. This provides a stable, smooth base for your final layer of frosting and is absolutely essential for achieving a perfectly smooth finish with the hot knife frosting technique. Without a firm crumb coat, the hot knife can pick up crumbs and create a messy finish.
Step-by-Step Guide to Hot Knife Frosting
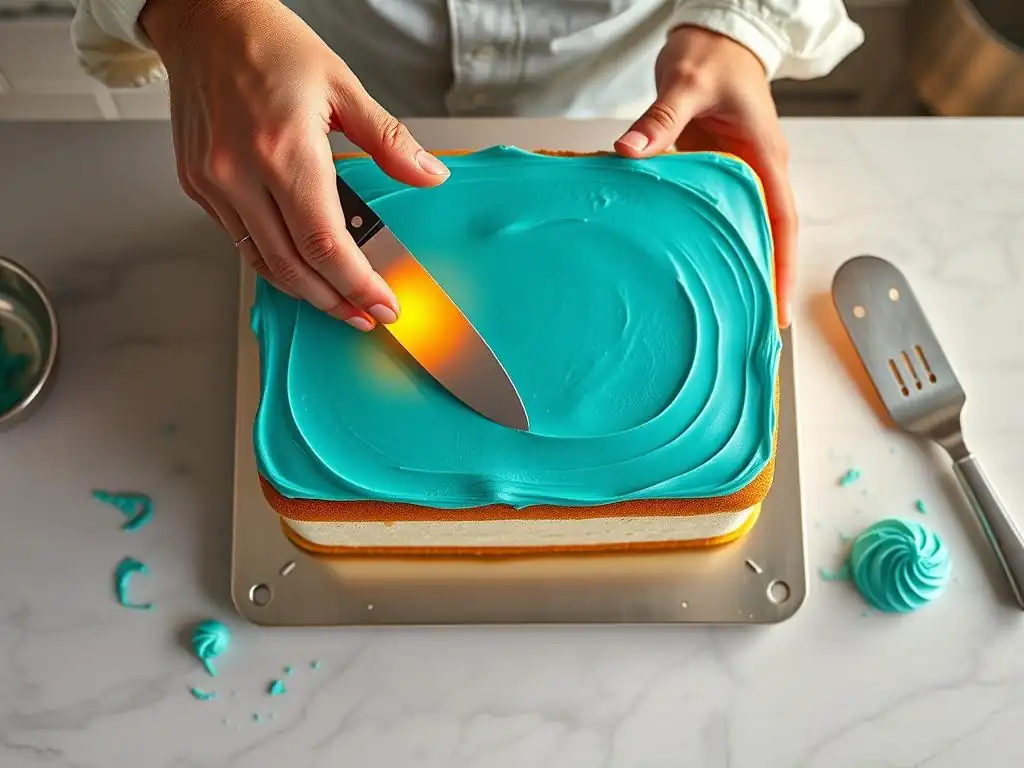
Once your cake is crumb-coated and chilled, and your frosting is ready, you can begin the hot knife frosting technique. Follow these steps for the best results.
Step 1: Heating Your Knife for Effortless Frosting
The first critical step is heating your knife or spatula. The most common method is to dip the blade into a tall container of hot water. The water should be hot, but not boiling – think hot tap water or slightly warmer, around 120-140°F (approx. 50-60°C). Boiling water is too hot and can melt the frosting too quickly, creating a mess.
Submerge the entire blade of your spatula in the hot water for 30-60 seconds. This allows the metal to absorb enough heat. Immediately after removing it from the water, wipe the blade completely dry with a clean towel. Any water droplets on the knife can create streaks or dissolve parts of the frosting, ruining the smooth finish you're aiming for. The blade should be warm to the touch, not hot enough to burn you.
Step 2: Applying the First Layer of Frosting
Before using the hot knife, apply a generous, even layer of your final frosting to the entire cake. Don't worry about getting it perfectly smooth at this stage; the goal is to cover the cake completely with a thick enough layer (at least 1/4 inch or about 0.5 cm). Applying enough frosting is important because the hot knife technique works by slightly melting the surface layer; a thin layer might expose the crumb coat or cake underneath.
Use your offset spatula or a large piping bag to apply frosting to the top and sides. Then, use your offset spatula and bench scraper to do an initial pass at smoothing the sides and top. Get it reasonably smooth, removing major ridges and bumps, but don't stress about perfection yet. The cake should then be chilled again for about 15-30 minutes until the frosting is firm but not rock hard. This firm base is crucial for the hot knife frosting technique to work effectively.
Step 3: The Hot Knife Technique: Smoothing the Frosting
With your cake chilled and your knife heated and dried, you're ready for the magic. Hold the hot knife (or spatula) parallel to the surface you are smoothing – either the top or the side of the cake.
Using light, even pressure, gently glide the warm blade across the frosting surface. The heat will slightly melt the frosting, allowing the knife to glide smoothly and fill in any imperfections. Work in sections, reheating and drying your knife frequently – after every pass or two, depending on the size of the cake and how quickly your knife cools. This frequent reheating is key to maintaining the effectiveness of the hot knife frosting technique.
How to Hold the Hot Knife for Optimal Results
Holding the hot knife correctly is vital for achieving a smooth finish without digging into the frosting or creating new marks.
- For the Sides: Hold the spatula vertically, perpendicular to your turntable, with the blade flat against the side of the cake. Use your non-decorating hand to slowly rotate the turntable while holding the spatula steady. The key is to let the turntable do the work of moving the cake past the stationary, heated spatula. Keep the pressure light – too much pressure will scrape off frosting rather than smooth it.
- For the Top: Hold the spatula horizontally, parallel to the top surface of the cake. Starting from the outer edge, gently pull the heated spatula towards the center of the cake in one smooth stroke. Lift the spatula cleanly at the center or edge. Repeat, overlapping your strokes slightly, until the entire top surface is smooth. Again, maintain light, even pressure.
Achieving a Perfectly Smooth Surface: Tips and Tricks
Mastering the hot knife frosting technique involves a few nuances:
- Reheat Frequently: As mentioned, reheat and dry your knife often. A cooling knife will start dragging the frosting instead of smoothing it.
- Light Pressure: Use minimal pressure. Let the heat do the work of melting and smoothing. Think of it as polishing the surface, not scraping it.
- Clean Strokes: Make clean, continuous strokes. Avoid stopping and starting mid-pass, as this can create marks.
- Angle Matters: Keep the blade flat against the surface. Tilting the blade can dig into the frosting. For sides, keep it perfectly vertical; for the top, perfectly horizontal.
- Chill Between Passes (Optional): If you're struggling or the frosting is becoming too soft, pop the cake back in the fridge for 5-10 minutes to firm up slightly before continuing with the hot knife frosting technique.
Step 4: Cooling and Repeating for a Flawless Finish
After making your initial passes with the hot knife, you'll likely have a much smoother surface, but there might still be small imperfections or areas that need refinement. This is where chilling and repeating the process comes in.
Chill the cake again for another 15-30 minutes until the smoothed frosting is firm. This allows the slightly melted surface to set completely. Once firm, you can repeat the hot knife frosting technique on any areas that need further smoothing. You might find that a second or even third pass with the hot knife after chilling yields an even more pristine, glass-like finish. This iterative process of smoothing, chilling, and re-smoothing is key to achieving truly flawless results.
Troubleshooting Common Hot Knife Frosting Problems
Even with careful preparation, you might encounter issues when using the hot knife frosting technique. Knowing how to identify and fix them is part of the learning process.
Dealing with Air Bubbles in Your Frosting
Air bubbles are a common frustration in frosting. They often arise from overmixing the buttercream or incorporating air during application. When you use the hot knife, these bubbles can sometimes become more apparent as the surface smooths around them.
- Before Hot Knife: The best defense is prevention. Try to mix your buttercream on low speed for a few minutes at the end to help push out air bubbles. When applying frosting, try to avoid whipping air into it.
- During Hot Knife: If you spot a small bubble, gently glide the heated knife over it. The heat might help it settle. For larger bubbles, you may need to carefully pop them with a pin or toothpick, then smooth the area with the hot knife. You might need to add a tiny bit more frosting to fill the void before smoothing.
Fixing Uneven Frosting with the Hot Knife Method
Unevenness can happen if you didn't apply the initial layer of frosting thickly or evenly enough, or if your initial smoothing wasn't consistent. The hot knife frosting technique can help correct minor unevenness.
- Identify Low Spots: Look for areas where the frosting is thinner or dips slightly.
- Add More Frosting: You might need to apply a small amount of fresh frosting to the low spots using a small spatula.
- Re-Smooth: Chill the cake briefly to firm up the added frosting, then use your heated knife to smooth the area, blending the new frosting into the existing layer. You may need to make wider passes to ensure the entire section is seamlessly smooth.
Avoiding Knife Marks: Pressure and Temperature Control
Visible knife marks are the opposite of what you want from the hot knife frosting technique! They are usually caused by the knife being too cool, using too much pressure, or not wiping the knife completely dry.
- Knife Too Cool: If the knife isn't warm enough, it will drag the frosting instead of melting it slightly. Reheat your knife more frequently.
- Too Much Pressure: Pressing too hard will scrape frosting off and create lines. Use very light pressure; let the heat do the work.
- Water on Knife: Water droplets will leave streaks. Ensure your knife is completely dry after heating and before touching the frosting.
Practice on a small cake or a practice board to get a feel for the right temperature and pressure for your specific frosting before tackling your main project.
Advanced Hot Knife Frosting Techniques
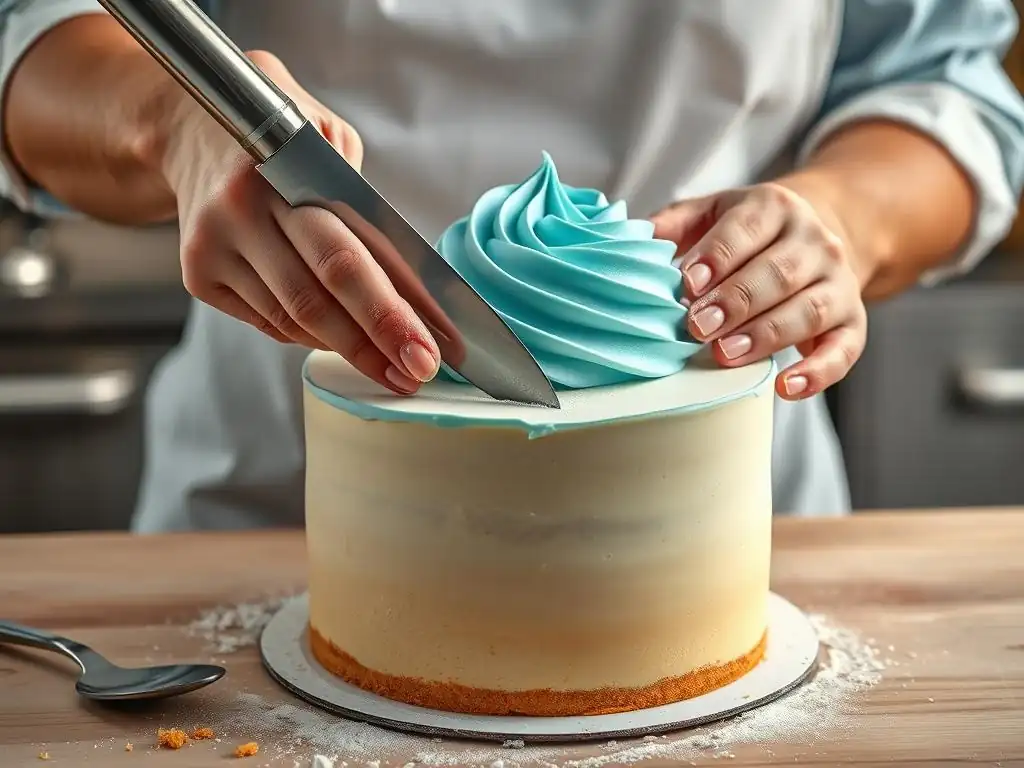
Once you've mastered the basic hot knife frosting technique for achieving a smooth surface, you can explore more advanced applications.
Creating Sharp Edges with a Hot Knife
Achieving razor-sharp edges on the top of your cake is a hallmark of professional cake decorating. The hot knife method can be adapted to refine these edges.
After smoothing the sides and top of your cake with the hot knife, chill the cake until the frosting is very firm (30-60 minutes). Then, heat your spatula again and wipe it dry. Hold the heated spatula blade parallel to the top surface of the cake, right at the edge. With a gentle, sweeping motion, move the spatula from the outer edge inwards, just skimming the top edge to slightly melt and clean it up.
You are essentially using the heat to slightly soften and push any excess frosting from the top edge onto the side, or to clean up any slight overhang. You may need to repeat this process, reheating the knife frequently, until the top edge is crisp and clean. Then, briefly smooth the very top surface again if needed.
Using the Hot Knife for Decorative Frosting Effects [Examples: Rosettes, Marbling]
While primarily used for smoothing, the hot knife can also be used in creative ways for decorative effects.
- Smoothing Rosettes/Piped Designs: If you've piped rosettes or other patterns and want a slightly softer, less defined look, a very quick, light pass with a barely warm (not hot) spatula can gently soften the peaks. This requires extreme caution and a much cooler knife than for overall smoothing.
- Marbling: While not a primary marbling tool, a warm (not hot) spatula can be used very gently to swirl colors together on the surface of the frosting after application, creating a marbled effect. The heat helps the colors blend slightly. This is a delicate process; too much heat or pressure will just create a muddy mess. It's more common to marble with a cool tool, but a barely warm one can offer a different effect. These techniques are less common applications of the hot knife frosting technique but show its versatility when heat is used judiciously.
Alternative Methods for Achieving Smooth Frosting
The hot knife frosting technique is just one way to get a smooth finish. Understanding other methods helps you choose the best approach for your project.
Comparing Hot Knife Frosting to Other Techniques [Offset Spatula, Bench Scraper]
- Offset Spatula: This is the basic tool for applying and initially smoothing frosting. It requires skill to get a truly smooth finish using only an offset spatula, often involving many passes and careful manipulation to avoid lines and build-up. The hot knife method often follows initial smoothing with an offset spatula to refine the surface.
- Bench Scraper: A bench scraper held against the side of the cake on a turntable is excellent for creating straight sides and a relatively smooth finish. It relies on consistent pressure and a steady hand. While effective, it can sometimes leave micro-ridges. The hot knife technique can be used after a bench scraper pass to achieve an even smoother, almost polished look, especially on buttercream.
| Technique | Primary Action | Requires Turntable? | Best For | Learning Curve | Finish Quality (Smoothness) |
|---|---|---|---|---|---|
| Offset Spatula | Spreading/Scraping | Helpful | Application | Moderate | Good (with practice) |
| Bench Scraper | Scraping | Essential | Sides, Straightness | Moderate | Very Good (sides) |
| Hot Knife Method | Melting/Gliding | Helpful | Final Polish, Surface | Easier (for smoothness) | Excellent |
When to Choose the Hot Knife Method over Alternatives
The hot knife frosting technique is particularly advantageous in several scenarios:
- For achieving a truly glass-like smooth finish: While bench scrapers get close, the hot knife can provide that extra level of surface perfection.
- When working with buttercreams or ganaches that firm up well when chilled: This technique is less effective on cream cheese frosting or whipped cream, which don't firm up in the same way.
- If you struggle with consistent pressure or getting rid of spatula marks: The forgiving nature of the heat-assisted glide makes smoothing easier.
- For covering imperfections: Small bubbles or minor dips are often easily smoothed over with the warm blade.
- When working in a warm environment: The frosting might soften quickly, and a chilled cake combined with the quick pass of a hot knife can be more effective than trying to smooth soft frosting with a cool tool.
Consider the type of frosting, the desired finish, and your own comfort level with different tools when deciding if the hot knife frosting technique is the right choice for your cake project.
Maintaining Your Frosting Knife for Longevity
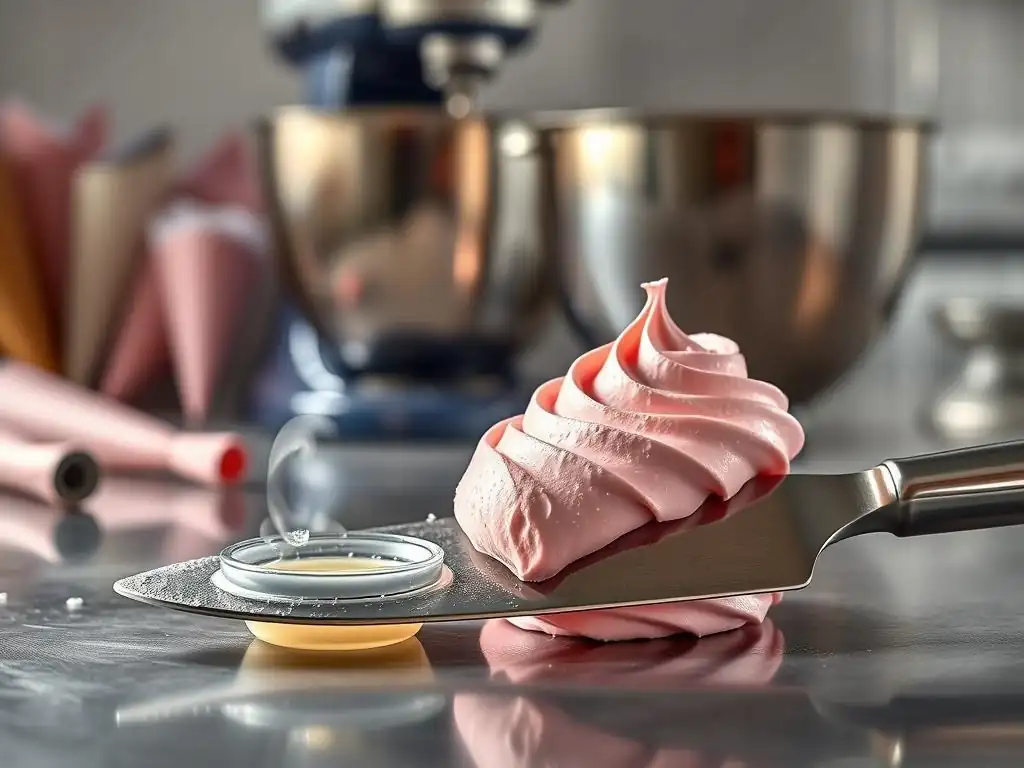
Proper care of your frosting knife or spatula ensures it remains effective for the hot knife frosting technique and lasts for years.
Proper Cleaning and Storage of Your Cake Frosting Knife
After each use, especially after using the hot knife technique, it's crucial to clean your spatula promptly. Frosting, especially buttercream, can dry and harden onto the blade, making it difficult to remove later.
- Immediate Cleaning: Rinse the spatula under hot running water immediately after you finish frosting. This will melt away most of the residual frosting.
- Washing: Wash the spatula with warm, soapy water using a soft sponge or cloth. Avoid abrasive scrubbers that can scratch the metal surface.
- Drying: Dry the spatula thoroughly with a clean towel before storing. This prevents water spots and rust, especially important for stainless steel tools.
- Storage: Store your spatula in a dry place, ideally in a drawer where the blade is protected from being dinged or bent by other tools.
Taking these simple steps will keep your spatula clean, shiny, and ready for your next hot knife frosting project.
Ensuring Consistent Results with a Well-Maintained Knife
A well-maintained spatula is essential for consistent results with the hot knife frosting technique. A smooth, unscratched blade will glide over the frosting without catching or dragging.
- Check the Blade: Periodically inspect your spatula blade for any nicks, bends, or rough spots. Even a tiny imperfection can create lines in your smooth frosting. If the blade is damaged, it might be time to replace it.
- Keep it Clean: Residual frosting or grease can affect how the hot knife glides. A perfectly clean blade ensures smooth contact with the frosting surface, allowing the heat to work evenly.
- Proper Heating: Ensure your spatula heats evenly. A clean metal blade will heat more consistently than one with residue.
By taking care of your tools, you ensure that the hot knife frosting technique remains a reliable method for achieving beautiful, smooth cakes every time.
Conclusion: Mastering the Art of Smooth Cake Frosting
Achieving bakery-smooth frosting is a skill that significantly elevates the appearance of any cake. While traditional methods require considerable practice, the hot knife frosting technique offers a powerful and accessible alternative or supplementary method for achieving that coveted flawless finish. By understanding how heat interacts with frosting and practicing the simple steps of heating, applying light pressure, and frequent reheating, you can overcome common frosting frustrations like lines and bubbles.
This technique, when combined with proper cake preparation like a firm crumb coat and chilled layers, provides a reliable path to professional-looking results. Whether you're frosting a simple birthday cake or preparing a tiered masterpiece, incorporating the hot knife method into your decorating process can save you time and lead to stunningly smooth outcomes that are sure to impress.
Elevate Your Cake Decorating Skills with the Hot Knife Technique
Adding the hot knife frosting technique to your repertoire is a game-changer for cake decorating. It demystifies the process of achieving a smooth surface, making it less about hours of tedious scraping and more about a simple, effective finishing step. This technique is versatile, working well on various frostings like classic American buttercream or rich chocolate ganache, and can even be adapted for refining sharp edges.
By mastering this hot knife frosting technique, you gain confidence in tackling more ambitious cake designs, knowing you can start with a perfect canvas. Practice is key, but the principles are straightforward. So, grab your spatula, heat some water, and get ready to transform your frosted cakes from homemade to bakery-quality smooth. It's a simple trick that yields truly professional results, making your baking efforts shine.
Frequently Asked Questions
What exactly is the hot knife frosting technique?
It's a method used to achieve a perfectly smooth frosting finish on cakes by using a knife that has been gently warmed to melt the frosting slightly. This technique allows you to create a professional, bakery-quality look.
Why use a hot knife instead of a regular spatula for frosting?
A heated knife allows for easier gliding and eliminates ridges or imperfections that a regular spatula might leave. The warmth helps the frosting to melt and settle evenly, resulting in a smoother surface.
What type of knife is best for the hot knife frosting technique?
A long, thin-bladed spatula or offset spatula is ideal. The blade should be able to be easily heated and provide enough surface area to smooth the frosting efficiently. Avoid serrated knives.
How hot should the knife be when using this technique?
The knife should be warm, not hot. You can heat it by dipping it in hot water and drying it thoroughly, or by briefly running it under a flame. Always test the temperature before applying it to the cake.
What kind of frosting works best with the hot knife technique?
American buttercream, Swiss meringue buttercream, and ganache are all suitable for the hot knife method. Avoid using this technique with very cold or stiff frostings as they won't melt evenly and may tear.
Final Reflection: The Enduring Power of a Simple Technique
The seemingly insignificant act of using a hot knife to frost a cake has far-reaching implications, proving that even the smallest details can elevate a culinary creation to new heights. Mastering this technique isn't just about achieving a flawlessly smooth finish; it's about understanding the principles of texture, temperature, and precision in baking. It's a testament to the power of simple, effective solutions.
The hot knife technique, while seemingly simple, represents a larger cultural shift towards valuing precision and attention to detail in home baking. The rise of baking blogs and online tutorials underscores this trend, demonstrating a collective desire to perfect even the most basic techniques. This pursuit of perfection isn't superficial; it's a reflection of our desire to create something beautiful and share it with others. Baking is at once child's play and adult joy. And love, of course.
– Alma Flor Ada. This quote perfectly encapsulates the emotional connection we forge with our creations, and the hot knife technique allows us to express that love through meticulous craftsmanship.
Now, consider your own baking journey. What seemingly small details have made a significant difference in your results? I encourage you to experiment with the hot knife technique, not just for its practical benefits, but for the satisfaction of mastering a fundamental skill. Embrace the process, appreciate the details, and let the smoothness of your frosting reflect the care and precision you put into your work. The next time you frost a cake, remember the power of a hot knife – a simple tool with the potential to transform your baking experience.
Unlock Perfectly Smooth Frosting: Your Next Bake Awaits!
Thanks for taking the time to learn the hot knife trick for flawlessly smooth frosting! You've just unlocked a secret weapon for creating bakery-quality cakes and cupcakes. Now it's time to put your new skills to the test.
- Frost a masterpiece: Grab your favorite cake recipe and try the hot knife technique. You'll be amazed by the difference!
- Share your success: Show off your perfectly smooth frosting on social media – tag us @BakeWithEase! We love seeing your creations.
- Explore more frosting tips: Dive into our other articles for even more baking inspiration and techniques.
Ready to transform your next baking project into a showstopper? What flavor cake will you frost first?