
How to Clean Your Cake Decorating Tools

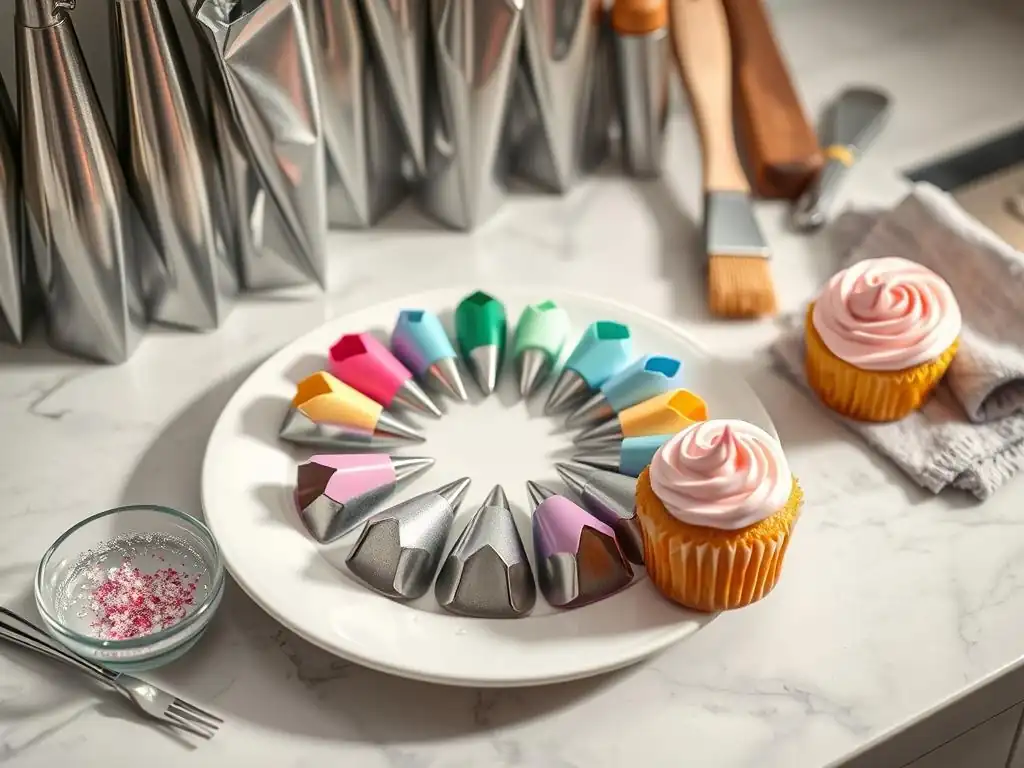
Welcome to BakeWithEase, where baking becomes a joy, not a chore! Ever wondered if you're really getting your cake decorating tools clean enough? You're in the right place. Dive into our guide on Cake decorating tool cleaning tips and discover the secrets to pristine tools, ensuring your next masterpiece is as safe as it is stunning. But that's just the beginning... what other hidden grime might be lurking in your baking supplies? Keep reading to find out!
- How to Clean Your Cake Decorating Tools: A Comprehensive Guide
- Introduction: Maintaining Pristine Cake Decorating Tools
- Why Proper Cleaning of Cake Decorating Tools Matters
- Essential Cake Decorating Tool Cleaning Supplies
- Step-by-Step Guide to Cleaning Cake Decorating Tools
- Cleaning Specific Cake Decorating Tools: Detailed Instructions
- Dealing with Stubborn Residue on Cake Decorating Tools
- Cake Decorating Tool Maintenance Tips for Longevity
- Conclusion: Mastering Cake Decorating Tool Hygiene
- Frequently Asked Questions
- Final Reflection: The Sweet Science of Clean Tools
- Unleash Your Inner Pastry Chef: Keep Those Tools Sparkling!
How to Clean Your Cake Decorating Tools: A Comprehensive Guide
Introduction: Maintaining Pristine Cake Decorating Tools
Creating beautiful cakes is a rewarding process, but the secret to consistently stunning results and food safety isn't just in your technique; it's also in the cleanliness of your equipment. Mastering cake decorating tool cleaning tips is fundamental for any baker, whether you're a hobbyist making a birthday cake or a professional fulfilling a large order. Clean tools ensure that your frostings are smooth, your colors are vibrant, and your finished product is safe for consumption.
Neglecting proper hygiene can lead to frustrating issues like clogged piping tips, gritty frosting, or worse, the transmission of harmful bacteria. This guide will walk you through the essential steps and best practices for cleaning cake decorating tools, helping you maintain your supplies in top condition and bake with confidence and ease. Let's dive into the world of sparkling clean spatulas, tips, and bags!
Why Proper Cleaning of Cake Decorating Tools Matters
Maintaining rigorous hygiene standards for your baking equipment is non-negotiable. Beyond simply keeping your tools looking nice, effective cake decorating tool cleaning tips directly impact the quality and safety of your baked goods. It's an investment in both your craft and the well-being of those who enjoy your creations.
Proper cleaning prevents common pitfalls that can ruin a perfectly good batch of frosting or compromise the integrity of your finished cake. It's about more than just rinsing off excess; it's a critical step in the baking process that deserves your full attention.
Preventing Bacterial Growth and Cross-Contamination
Foodborne illnesses are a serious concern in any kitchen, and cake decorating tools, especially those that come into direct contact with dairy-based frostings or egg-rich batters, can become breeding grounds for bacteria if not cleaned properly. Residue left on tools can harbor pathogens like E. coli, Salmonella, or Listeria, which can multiply rapidly at room temperature.
For example, a piping bag left unwashed overnight could see a small number of bacteria grow into millions within hours under favorable conditions. Cross-contamination is another risk; using a tool that wasn't thoroughly cleaned after contact with raw ingredients, like eggs or unpasteurized dairy, could transfer harmful microbes to your finished, ready-to-eat frosting. Implementing effective cake decorating tool cleaning tips significantly reduces this risk, ensuring the safety of your delicious treats.
Extending the Lifespan of Your Decorating Supplies
Quality cake decorating tools represent an investment, and proper cleaning and maintenance are key to protecting that investment. Residue, moisture, and improper storage can lead to rust on metal tips and spatulas, cracking or stiffness in plastic components, and mold or mildew growth in reusable piping bags.
For instance, high-quality stainless steel piping tips, which can cost anywhere from $1 to $5 each, can last for many years if kept dry and free of corrosive residue. Conversely, if left wet, they can develop rust quickly, rendering them unusable for food contact. Silicone spatulas can become sticky or stained if not washed promptly, and the seams of palette knives can trap moisture leading to hidden corrosion. Adhering to recommended cake decorating tool cleaning tips helps preserve the integrity and functionality of your supplies, saving you money on replacements in the long run.
Ensuring Food Safety and Professional Results
Ultimately, the primary goal of cleaning cake decorating tools is to ensure the food you produce is safe to eat. Health regulations, even for home bakers selling occasionally, often require adherence to basic food safety principles, including proper sanitation of equipment. A clean tool also performs better; a clogged piping tip won't produce the crisp lines you desire, and a greasy spatula can affect the texture of delicate frosting.
Consider the impact of leftover color residue from a previous project. If not thoroughly cleaned, a tool used with dark blue frosting could subtly tint your next batch of bright white buttercream, compromising the intended aesthetic. Clean tools mean predictable results, vibrant colors, smooth textures, and the peace of mind that comes with knowing your beautiful cake is also a safe cake. Following comprehensive cake decorating tool cleaning tips is essential for both hygiene and achieving that polished, professional look.
Essential Cake Decorating Tool Cleaning Supplies
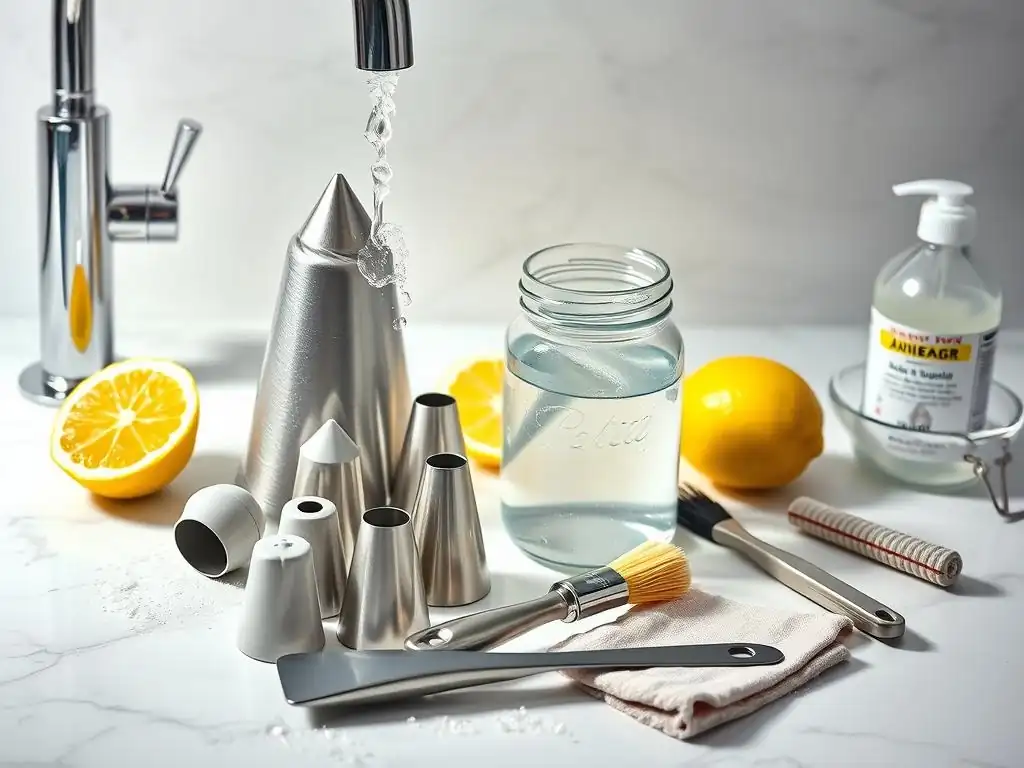
Having the right tools for cleaning is just as important as having the right tools for decorating. A small collection of specific cleaning aids will make the process faster, more effective, and less frustrating. You don't need a vast array of specialized products, but a few key items are indispensable for tackling the various shapes and materials of your cake decorating arsenal.
Stocking up on these essentials is the first step toward implementing successful cake decorating tool cleaning tips. They are readily available and relatively inexpensive compared to the tools they help preserve.
Recommended Cleaning Solutions for Baking Tools
The most common and effective cleaning solution for most baking tools is simple dish soap and warm water. Look for a good quality liquid dish soap that is effective at cutting through grease, as many frostings and batters contain butter or oil. A general-purpose dish soap works well for most items like spatulas, bowls, and measuring cups.
For tools that come into contact with raw ingredients or dairy, or for a deeper clean, consider a food-safe sanitizing solution. This could be a commercial food-grade sanitizer (often based on quaternary ammonium compounds) or a diluted bleach solution (ensure it's mixed to the correct food-safe concentration, typically around 50-100 parts per million available chlorine, and follow manufacturer instructions carefully). Remember that sanitizing is a step after cleaning; it kills most remaining bacteria but doesn't remove physical debris.
Necessary Equipment: Brushes, Sponges, and Drying Racks
To effectively clean intricate tools, you'll need more than just a standard kitchen sponge. A set of small brushes is invaluable. These can include:
- A stiff-bristled brush: Useful for scrubbing stuck-on frosting or batter from bowls and larger tools.
- Small detail brushes: Like bottle brushes, straw brushes, or even unused toothbrushes, perfect for cleaning inside piping tips, couplers, and the seams of spatulas.
- Pipe cleaners: Excellent for pushing through narrow openings like the tips of fine nozzles or airbrush components.
A good quality kitchen sponge or cloth is necessary for general washing. Finally, a drying rack is crucial. An upright dish drying rack or even a dedicated rack for smaller items allows air to circulate freely around tools, which is vital for preventing rust and mold growth. Proper drying is one of the most overlooked but important cake decorating tool cleaning tips.
Choosing the Right Cleaning Agents for Different Materials
The material of your cake decorating tool dictates the best approach to cleaning and the agents you should use.
- Stainless Steel: Generally very durable. Can handle warm, soapy water and most food-safe sanitizers. Avoid harsh abrasives like steel wool that can scratch the surface and make it harder to clean in the future. Prompt drying is essential to prevent rust spots, especially on lower-grade stainless steel or in humid environments.
- Plastic: Most plastics used in baking tools (like couplers, some scrapers, or fondant tools) are non-porous and easy to clean with warm, soapy water. However, some plastics can absorb odors or colors over time. Avoid very high heat (like aggressive dishwasher cycles) that can warp or degrade plastic.
- Silicone: Highly non-stick and flexible. Wash with warm, soapy water. Silicone can sometimes retain oily residues or scents; a paste of baking soda and water can help remove these. Ensure silicone tools, like spatulas or baking mat corners, are dried thoroughly, particularly in crevices.
- Fabric Piping Bags: These require thorough washing, often needing to be turned inside out. They can be washed by hand with soap and water or sometimes in a washing machine on a gentle cycle (check manufacturer instructions). Air drying is critical; hang them upside down to ensure the inside dries completely and quickly to prevent mold.
Understanding how different materials react to cleaning agents and drying methods is key to effective and long-lasting cake decorating tool cleaning tips.
Step-by-Step Guide to Cleaning Cake Decorating Tools
Establishing a routine for cleaning your cake decorating tools immediately after use is the most effective way to keep them in excellent condition and ensure food safety. Letting frosting harden or batter dry on tools makes the cleaning process significantly more difficult and time-consuming.
Follow these steps consistently for the best results. This systematic approach ensures every piece of equipment, from the largest bowl to the smallest piping tip, receives the necessary attention.
Step 1: Immediate Post-Use Cleaning
As soon as you finish decorating, scrape off as much excess frosting, batter, or fondant as possible using a spatula or bowl scraper. This prevents the residue from drying and hardening, which is the primary cause of difficult cleaning. This simple action can reduce your scrubbing time by half or more.
Rinse the tools under warm running water. This helps to wash away remaining loose debris before it has a chance to adhere firmly to the surface. Don't skip this step, especially for piping tips and bags, as wet residue is far easier to remove than dried. A quick rinse is the first line of defense in effective cake decorating tool cleaning tips.
Step 2: Disassembling Complex Tools for Thorough Cleaning
Many cake decorating tools are made up of multiple parts that need to be separated for proper cleaning. Couplers, which connect piping bags and tips, must be unscrewed. Airbrush guns often require significant disassembly, separating the needle, nozzle, cup, and handle. Even some spatulas have heads that detach from handles.
Disassembling tools allows you to clean all surfaces, including hidden areas where residue and bacteria can accumulate. Forgetting to take apart a coupler means frosting can remain trapped in the threads, leading to mold or bacterial growth. Always refer to the manufacturer's instructions for disassembling complex equipment like airbrushes to avoid damage.
Step 3: Washing with Warm, Soapy Water
Fill a basin or sink with warm water (ideally between 100°F and 110°F or 38°C and 43°C, which is hot enough to help dissolve fats but not so hot as to scald you or warp plastic). Add a few drops of your chosen dish soap to create suds. Submerge your disassembled tools in the soapy water.
Use brushes, sponges, or cloths to scrub each piece thoroughly. Pay special attention to seams, crevices, and intricate parts like the openings of piping tips. For piping bags, turn them inside out to ensure the inside surface is cleaned completely. Rinse each tool under clean running water to remove all soap residue. Ensure no suds remain, as this can leave a film that affects the performance or appearance of your tools.
Step 4: Sanitizing Your Cake Decorating Tools
Sanitization is a crucial step that follows washing. While washing removes most dirt and residue, sanitizing kills the majority of remaining bacteria and other microorganisms. This is particularly important for tools used with potentially hazardous ingredients or those that are difficult to air dry completely.
Sanitizing provides an extra layer of protection against foodborne illnesses and is a key component of professional cake decorating tool cleaning tips.
Using a Food-Safe Sanitizing Solution
After washing and rinsing, you can submerge your tools in a food-safe sanitizing solution. As mentioned earlier, this could be a commercial product or a diluted bleach solution. Always follow the instructions on the sanitizer packaging for the correct dilution ratio and contact time. For a typical dilute bleach solution used in food service, tools might need to be submerged for at least 1 minute.
Ensure the solution comes into contact with all surfaces of the tools. After the recommended contact time, remove the tools from the solution. Depending on the sanitizer used, you may need to rinse the tools again with clean water, or the solution might be designed to air dry without rinsing. Always check the product label.
Alternative Sanitization Methods: Dishwasher and Boiling
Some cake decorating tools can be sanitized using heat. If your tools are dishwasher-safe (check manufacturer guidelines, especially for plastic), running them through a hot wash and heated drying cycle can effectively sanitize them. The high water temperature (often exceeding 160°F or 71°C in the wash and even hotter in the rinse/dry cycle) is sufficient to kill most bacteria. Place small items like piping tips in a mesh bag or the utensil basket to prevent them from falling through the racks.
Another method is boiling. Metal piping tips, couplers, and certain heat-resistant plastic tools can be boiled in water for 5-10 minutes. This is a highly effective sanitization method. Use caution when handling hot items. Boiling is a robust step among cake decorating tool cleaning tips for durable items.
Step 5: Drying and Storage
Proper drying is just as important as washing and sanitizing. Moisture left on tools can lead to rust, corrosion, and the growth of mold and mildew, even after sanitizing. This step ensures your tools are ready for their next use and remain hygienic during storage.
Neglecting thorough drying can quickly undo all your careful cleaning efforts and damage your tools.
Proper Drying Techniques to Prevent Rust and Mold
The best way to dry most cake decorating tools is by air drying on a rack. Position tools so that air can circulate freely around them. Place piping tips upright on a drying rack prong or in a mesh basket. Turn piping bags inside out and hang them to allow air to reach all surfaces; a clothespin on a line or clipping them to a rack works well.
For metal tools like spatulas or palette knives, you can also towel dry them immediately after washing/sanitizing with a clean, lint-free cloth. This is particularly important for stainless steel items prone to water spots or rust. Ensure every nook and cranny is dry before storing. Avoid stacking wet tools.
Organizing Your Cleaned Cake Decorating Tools
Once your tools are completely dry, store them in a clean, dry place. Dedicated storage containers, drawers with dividers, or tool caddies are ideal. Storing tools properly prevents them from becoming dirty or damaged before their next use.
Keep small items like piping tips organized by size in tip organizers or small containers. Store piping bags neatly folded or rolled. Keeping tools organized not only protects them but also makes it much easier to find what you need for your next decorating project. Good organization is the final step in effective cake decorating tool cleaning tips and contributes to a more efficient baking process.
Cleaning Specific Cake Decorating Tools: Detailed Instructions
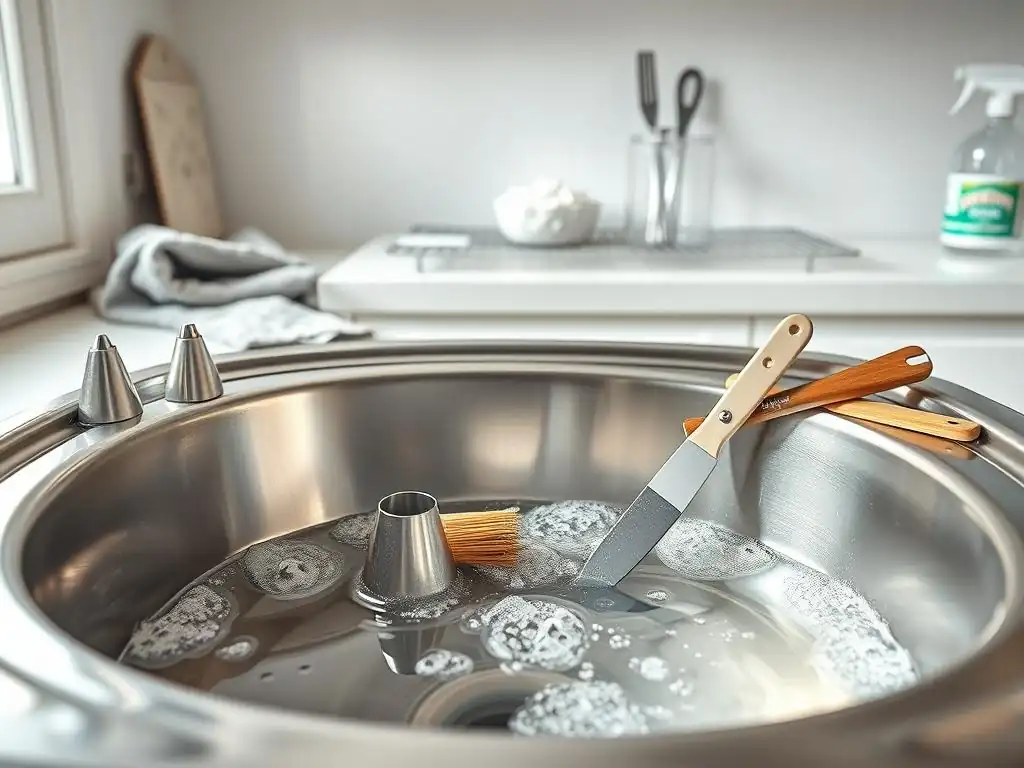
While the general steps apply to most items, some cake decorating tools have unique shapes or materials that require specific attention. Understanding the best approach for each type of tool ensures every piece of your kit is thoroughly cleaned and maintained.
Let's look at some common tools and the nuances of their cleaning processes. Implementing these specific cake decorating tool cleaning tips will help you tackle even the trickiest items.
Cleaning Piping Bags and Couplers
Piping bags are one of the most frequently used tools and require careful cleaning to prevent mold and bacterial growth, especially in the seams.
Disposable Piping Bag Disposal
Disposable piping bags are designed for single use. After finishing your decorating, scrape out any remaining frosting and simply discard the bag in the trash. Do not attempt to wash and reuse disposable bags, as their material is not designed for repeated cleaning and sanitation, and small tears can harbor bacteria. Proper disposal is the only cake decorating tool cleaning tip needed here.
Reusable Piping Bag Cleaning
Reusable piping bags (made of plastic-coated fabric or silicone) need thorough washing. Turn the bag inside out. Wash under warm, soapy water, scrubbing gently to remove all frosting residue, particularly focusing on the seams where frosting can get trapped. Rinse thoroughly.
To sanitize, you can soak them in a food-safe sanitizer solution or, if the material allows, boil them briefly or wash in a dishwasher. The most critical step is drying: hang them upside down immediately after washing/sanitizing to ensure air circulation reaches the inside. Ensure they are completely dry before storing to prevent mold.
Cleaning Decorating Tips and Nozzles
Piping tips, especially those with intricate designs, are notorious for trapping frosting. Their small size also makes them easy to lose or overlook during cleaning.
Removing Clogged Frosting from Tips
If frosting has dried inside a piping tip, soaking is your best friend. Fill a small container with hot, soapy water and drop the tips in. Let them soak for 15-30 minutes or longer for stubborn residue. The hot water will help soften and dissolve the dried frosting.
After soaking, use a small brush, pipe cleaner, or even a toothpick to push out any remaining clogs. A specialized brush designed for cleaning piping tips (often conical or cylindrical with stiff bristles) is highly effective.
Cleaning Small and Intricate Tip Designs
Tips with very fine openings or complex star/petal shapes require extra care. After soaking and using a brush or pipe cleaner, hold the tip under running water to flush out any loosened debris. Look through the tip opening to ensure you can see clearly through all parts of the design.
Sanitizing these small metal tips by boiling (5-10 minutes) or soaking in a food-safe solution is recommended due to their direct contact with frosting and intricate surfaces. Always ensure they are thoroughly dried immediately after washing/sanitizing to prevent rust. Storing them upright on a drying rack prong is an effective cake decorating tool cleaning tip for these small items.
Cleaning Spatulas and Palette Knives
Spatulas and palette knives are relatively easy to clean, but attention to detail is still important. Wash immediately after use with warm, soapy water.
Pay particular attention to where the blade or silicone head meets the handle. This seam is a common spot for food particles and moisture to get trapped, leading to bacterial growth or corrosion over time. Use a small brush or the edge of a sponge to clean this area thoroughly. If your spatula head is removable, take it off to wash both the head and the handle separately. Rinse well and dry immediately, especially metal palette knives, to prevent rust and water spots.
Cleaning Fondant Tools and Cutters
Fondant can dry hard and become difficult to remove. For fondant tools like rolling pins, smoothers, and cutting wheels, wash promptly with warm, soapy water.
For fondant cutters, especially those with intricate shapes or ejector mechanisms, dried fondant can be a challenge. Soak cutters in warm, soapy water for at least 15-20 minutes to soften the fondant. Use a small brush or toothpick to carefully remove any residue from tight corners or ejector components. Rinse thoroughly and dry completely. Plastic cutters might warp if exposed to very high heat, so handwashing or a gentle dishwasher cycle is preferred over boiling.
Cleaning Airbrush Equipment
Airbrush systems are perhaps the most complex cake decorating tools to clean, but proper maintenance is essential for their function and longevity. Cleaning should be done immediately after each use, especially when switching colors or finishing a project.
Start by flushing the airbrush with clean water. Fill the color cup with water and spray it through until the water runs clear. If using food coloring or specialized airbrush colors, you may need a dedicated airbrush cleaner solution (often alcohol-based or specifically formulated for food use). Add the cleaner to the cup and spray through.
For a deeper clean, disassemble the airbrush according to the manufacturer's instructions (usually involving removing the needle, nozzle, and cup). Wash these parts individually with warm, soapy water and small brushes or pipe cleaners. Rinse thoroughly and allow all parts to air dry completely before reassembling. Regular, meticulous cleaning is the most important cake decorating tool cleaning tip for airbrush users.
Dealing with Stubborn Residue on Cake Decorating Tools
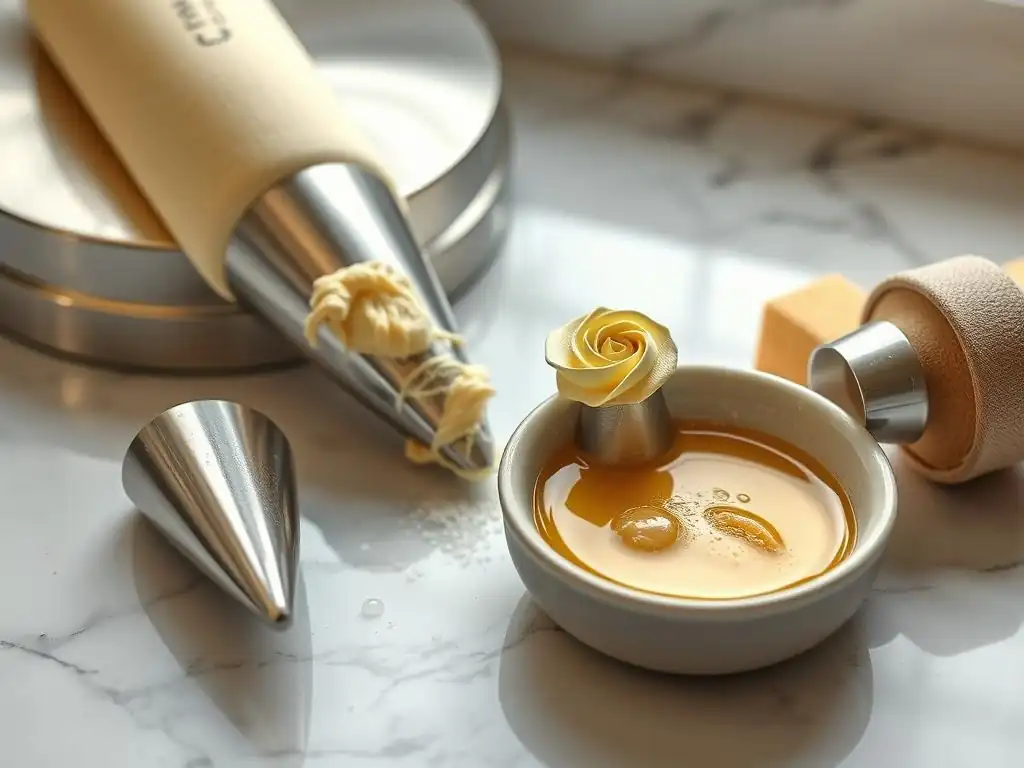
Despite your best efforts, sometimes residue becomes stubborn and won't wash away easily. Dried-on frosting, greasy films, or even rust can seem impossible to remove. Don't despair; there are specific techniques to tackle these challenges effectively without damaging your tools.
Knowing how to handle these common issues is crucial for maintaining your tools in prime condition and is part of mastering advanced cake decorating tool cleaning tips.
Removing Grease and Oil Stains
Frostings and batters are often rich in fats. Over time, a greasy film can build up on tools, particularly on plastic or silicone surfaces, making them feel sticky or look cloudy. Warm water alone isn't always enough to cut through this.
Use hot, soapy water and a good quality dish soap known for its degreasing properties. Scrub the tool with a sponge or brush, applying firm pressure. For persistent grease, a paste made from baking soda and water can act as a gentle abrasive. Apply the paste, let it sit for a few minutes, and then scrub. Rinse thoroughly with hot water. For silicone items that retain oiliness, boiling them briefly (if safe for the material) can also help lift embedded grease.
Cleaning Dried Frosting and Fondant
Dried frosting and fondant can be as hard as concrete. The most effective method for removal is prolonged soaking. Submerge the tool in hot, soapy water for at least 30 minutes, or even several hours for very stubborn cases. The heat and soap will work to rehydrate and loosen the dried residue.
After soaking, use a stiff brush or scraper (like a plastic bowl scraper or even your fingernail) to gently lift the softened residue. Avoid using sharp metal objects that could scratch the tool's surface. For intricate parts like piping tips, use a small brush or pipe cleaner after soaking. Rinse thoroughly once all residue is removed. Patience is key when tackling dried messes; letting the soak do the work is a key cake decorating tool cleaning tip.
Addressing Rust and Corrosion
Rust is a common problem for metal baking tools, especially if not dried properly. Minor surface rust might be treatable, but significant rust indicates the metal is degrading and may not be food-safe.
For light rust spots on stainless steel, you can try scrubbing with a paste of baking soda and water or using a non-abrasive rust remover designed for kitchen use (ensure it is food-safe or rinse meticulously). A soak in white vinegar for 15-30 minutes can also help dissolve rust, but vinegar is acidic and can corrode metal if left for too long; rinse very thoroughly immediately after soaking and dry completely. If rust is deep, flaking, or covers a significant portion of the tool, it's best to discard it and replace it.
A rusted tool can affect the taste and safety of your food. Prevention through immediate drying is the best cake decorating tool cleaning tip regarding rust.
Cake Decorating Tool Maintenance Tips for Longevity
Beyond cleaning, proper maintenance and storage play a significant role in extending the life of your cake decorating tools and keeping them in optimal working order. A few simple habits can prevent damage, keep your tools organized, and ensure they are ready for your next creative project.
Think of maintenance as the follow-up to your cleaning efforts – it's about preserving the condition you've worked hard to achieve. These additional cake decorating tool cleaning tips and practices will serve you well.
Proper Storage Solutions for Baking Tools
Once your tools are clean and completely dry, storing them correctly is crucial. Avoid tossing them all into a single drawer where metal tips can scratch plastic tools or delicate items can get bent.
Use storage solutions that protect your tools. Piping tips can be stored in specialized tip organizers, small lidded containers, or even separated into small bags within a drawer. Keep spatulas and palette knives in a utensil crock or a drawer where their blades are protected. Store reusable piping bags neatly folded or rolled in a clean drawer or container. Fondant tools and cutters can be kept in their original packaging or dedicated boxes. Organized storage prevents damage and keeps your tools clean until you need them again.
Preventing Damage During Cleaning
While scrubbing vigorously might seem like the best way to remove stubborn residue, using overly abrasive materials or excessive force can damage your tools. Avoid steel wool or harsh scouring pads on metal or plastic surfaces, as they can create scratches where bacteria can hide and can dull finishes.
Do not use excessive heat on tools not designed for it (e.g., boiling certain plastics or putting non-dishwasher-safe items in the dishwasher). Use the appropriate brush or tool for the job – a small detail brush for intricate tips, not a large, stiff scrubbing brush. Gentle but thorough cleaning is more effective and less likely to cause damage. Following specific cake decorating tool cleaning tips for different materials helps prevent wear and tear.
Regular Inspection and Replacement of Worn Tools
Periodically inspect your cake decorating tools for signs of wear and tear. Check piping tips for bent tines or warped openings that might affect the shape of your frosting. Look for cracks in plastic handles or couplers, as these can harbor bacteria and may break during use. Check metal tools for signs of persistent rust or pitting.
Reusable piping bags should be inspected for holes, thinning fabric, or areas where the coating is separating. If a tool is damaged in a way that compromises its function, cleanliness, or safety, it's time to replace it. Using worn or damaged tools can lead to frustrating results and potential hygiene issues. Replacing tools when necessary is a practical maintenance step alongside regular cake decorating tool cleaning tips.
Conclusion: Mastering Cake Decorating Tool Hygiene
Mastering the art of cake decorating involves not only creativity and skill but also a commitment to hygiene. Implementing effective cake decorating tool cleaning tips is fundamental to ensuring food safety, achieving beautiful results, and extending the life of your valuable tools. From immediate post-use rinsing to proper drying and storage, each step plays a vital role in maintaining your equipment in pristine condition.
By dedicating a little time after each baking session to thoroughly clean and care for your spatulas, piping bags, tips, and other essentials, you protect your health, enhance your decorating precision, and make your baking journey more enjoyable and successful. Make these cake decorating tool cleaning tips a regular part of your baking routine, and you'll be rewarded with tools that perform beautifully project after project.
Frequently Asked Questions
How often should I clean my cake decorating tools?
You should clean your cake decorating tools immediately after each use to prevent frosting from hardening and bacteria from growing. This ensures hygienic baking and prolongs the life of your tools.
What's the best way to remove stubborn frosting from piping tips?
Soaking the tips in warm, soapy water for a few minutes often loosens stubborn frosting. A small cleaning brush can then be used to scrub away any remaining residue.
Can I put my cake decorating tools in the dishwasher?
It depends on the material. Many stainless steel tools are dishwasher safe, but some plastic or delicate pieces should be hand-washed to avoid damage. Always check the manufacturer's instructions.
What kind of soap should I use to clean my cake decorating tools?
Use a mild dish soap that is safe for contact with food. Avoid harsh chemicals or abrasive cleaners that could damage the tools or leave a residue.
How do I properly dry my cake decorating tools after cleaning?
Thoroughly dry your tools with a clean towel. Ensure all moisture is removed, especially from piping tips, to prevent rust or mold from forming. You can also air dry them completely.
Final Reflection: The Sweet Science of Clean Tools
Maintaining impeccably clean cake decorating tools isn't just about hygiene; it's about preserving the artistry and longevity of your craft. A single speck of dried buttercream can ruin a delicate design, and neglecting regular cleaning can lead to bacterial growth and ultimately, compromise the quality of your future creations. This seemingly simple act is the cornerstone of successful cake decorating.
The impact of clean tools extends far beyond the individual baker. It influences the entire experience, from the satisfaction of creating a flawless cake to the confidence of sharing your work with others. Cleanliness fosters a sense of pride and professionalism, elevating the entire process. As the saying goes, Details make perfection, and perfection is not a detail.
This applies perfectly to cake decorating, where the smallest elements, often overlooked, contribute significantly to the overall aesthetic and safety of the final product. The meticulous care taken in cleaning our tools reflects the care we put into our art.
Now, consider your own toolkit. Take a moment to reflect on your current cleaning practices. Are you prioritizing thorough cleaning to ensure the longevity of your tools and the safety of your creations? Commit to implementing even one new tip from this article – a dedicated cleaning schedule, a specific cleaning solution, or a new drying method – and watch the difference it makes in your baking journey. The pursuit of perfection in cake decorating is a continuous process, and mastering the art of cleaning your tools is a crucial step towards achieving your culinary dreams.
Unleash Your Inner Pastry Chef: Keep Those Tools Sparkling!
Thanks for taking the time to learn how to keep your cake decorating tools in tip-top shape! We hope you now feel confident tackling even the most intricate designs. Ready to put your newfound knowledge into action?
- Deep Clean Your Favorite Tool Today: Give your most-used decorating tool (piping bag, spatula, etc.) a thorough cleaning right now – you'll be amazed by the difference!
- Share Your Sparkling Success: Show off your sparkling clean tools and your latest baking masterpiece on social media using #BakeWithEaseClean.
- Explore New Decorating Techniques: Now that your tools are pristine, why not try a new decorating technique you've been wanting to explore?
What's the one decorating tool you're most excited to clean and use again? Let us know in the comments!