
Basic Marbling Techniques with Frosting

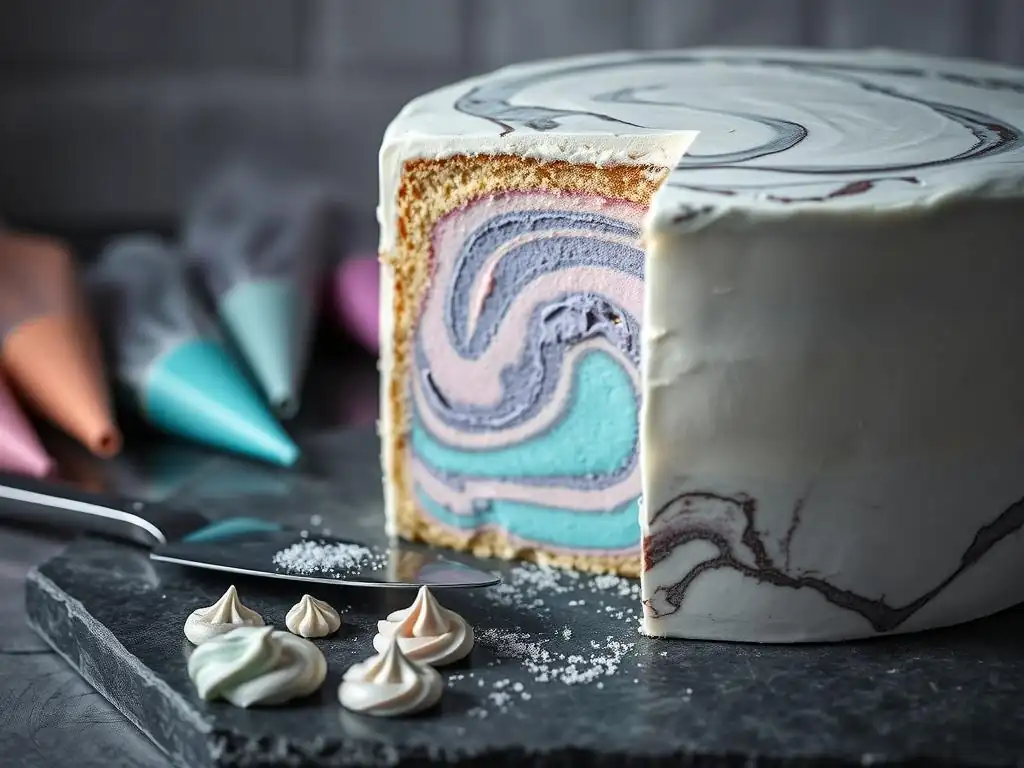
Welcome to BakeWithEase, your trusted companion on your baking journey! Ready to transform ordinary cakes into stunning masterpieces? Dive into our guide and discover easy frosting marbling techniques that will elevate your desserts to a whole new level. Unlocking the secrets to this elegant design is simpler than you think, and we're here to show you how. Intrigued? Keep reading to explore our step-by-step instructions and unleash your inner artist!
- Stunning Marbled Buttercream Cakes: Techniques and Inspiration
- Introduction to Marbled Buttercream: A Baker's Guide
- Essential Tools and Ingredients for Marbled Buttercream
- Step-by-Step Guide to Basic Buttercream Marbling Techniques
- Tips for Achieving Perfect Marbled Buttercream
- Troubleshooting Common Buttercream Marbling Issues
- Advanced Marbling Techniques: Taking Your Skills to the Next Level
- Buttercream Marbling Ideas and Inspiration
- Conclusion: Mastering Buttercream Marbling
-
Frequently Asked Questions
- What exactly are easy frosting marbling techniques, and who are they best suited for?
- What are some common tools needed for easy frosting marbling techniques?
- Can I achieve a marbled effect with just two frosting colors, or are more recommended for the best results?
- What type of frosting works best for marbling, and are there any that should be avoided?
- How can I prevent my marbled frosting from becoming muddy or blending together too much?
- Final Reflection: The Enduring Allure of Marbled Frosting
- Unleash Your Inner Pastry Artist: Master Marbling Today!
Stunning Marbled Buttercream Cakes: Techniques and Inspiration
Introduction to Marbled Buttercream: A Baker's Guide
What is Marbled Buttercream and Why You Should Try It
Marbled buttercream is a beautiful decorating technique that mimics the natural swirls and patterns found in marble stone. It involves blending two or more colors of frosting together on the surface of a cake, creating a unique, artistic finish with minimal effort. This method transforms a simple frosted cake into a stunning centerpiece, making it look far more intricate than it is. It's an accessible way for bakers of all skill levels to add a touch of elegance and creativity to their creations.
Trying easy frosting marbling techniques is a fantastic way to elevate your baking game without needing specialized piping skills. Unlike intricate floral designs or complex fondant work, marbling is forgiving; imperfections often just add to the organic, natural look of the design. It allows for incredible personalization, as you can use any color combination imaginable to match a theme, holiday, or personal preference. Plus, the process itself is quite fun and provides a satisfyingly artistic outlet right in your kitchen.
Elevate Your Cake Decorating with Simple Marbling
Adding a marbled effect to your cakes is one of the most impactful yet easy frosting marbling techniques you can master. It instantly upgrades a basic frosted cake to something truly eye-catching and professional-looking. Whether you're making a birthday cake, a celebration dessert, or just practicing your skills, a marbled finish adds depth and visual interest that a single solid color simply cannot achieve. It’s a step up from basic smooth frosting but requires significantly less precision than other advanced methods.
Mastering simple buttercream marbling opens up a world of creative possibilities. You can create dramatic effects with high-contrast colors, subtle and elegant looks with softer shades, or even experiment with metallic or pearl dusts for added shimmer. This technique is incredibly versatile and can be applied to the sides of a cake, the top, or even cupcakes and cookies. It’s a foundational skill that builds confidence and encourages further exploration into cake artistry.
Essential Tools and Ingredients for Marbled Buttercream
Buttercream Types Ideal for Marbling: American vs. Swiss Meringue vs. Italian Meringue
When it comes to easy frosting marbling techniques, the type of buttercream you use significantly impacts the result. American buttercream, made from butter, powdered sugar, milk, and flavoring, is perhaps the most common and easiest to make. Its slightly stiffer consistency makes it excellent for holding peaks and swirls, and it takes color readily. However, its high sugar content can sometimes make it slightly grainy, which might affect the smoothness of the marble pattern if not made correctly. It's a good starting point for beginners due to its stability.
Swiss meringue buttercream and Italian meringue buttercream, both made by combining meringue with butter, offer a much smoother and silkier texture than American buttercream. This luxurious consistency allows for incredibly smooth marbling patterns and a melt-in-your-mouth feel. Swiss meringue is made by heating egg whites and sugar over a double boiler before whipping, while Italian meringue uses a hot sugar syrup poured into whipping egg whites.
Both are excellent choices for achieving very fine, fluid marble lines, though they require a bit more time and technique to prepare compared to American buttercream. Their stability is also generally higher in warmer conditions.
Food Coloring Options: Gel vs. Oil-Based
For vibrant and effective buttercream marbling, the choice of food coloring is crucial. Gel food colorings are highly concentrated and produce intense colors without adding significant moisture to your buttercream. This is vital because adding too much liquid can alter the consistency of your frosting, making it difficult to work with and achieve clean marble swirls. A tiny amount of gel color goes a long way, allowing you to achieve deep blues, vibrant reds, or rich greens with just a few drops or a toothpick swirl. They are water-based but formulated to have minimal impact on texture.
Oil-based food colorings are specifically designed for use with fat-based mediums like chocolate or some specific types of frosting. While they can be used with buttercream, gel colors are generally preferred for their ease of use and wide availability for standard buttercream recipes.
Liquid food colorings, found in most grocery stores, are not recommended for marbling buttercream as they are much less concentrated and require adding a large amount of liquid to achieve bright colors, which can break down the emulsion of your buttercream and result in a soupy mess. Stick to high-quality gel colors for the best results with easy frosting marbling techniques.
Marbling Tools: Palette Knives, Bench Scrapers, and Turntables
Several simple tools are essential for creating beautiful marbled buttercream effects. A set of palette knives is indispensable. You'll use smaller offset palette knives (around 4-6 inches) for applying colors and creating initial swirls, and a longer straight or offset palette knife (6-10 inches) or a bench scraper for smoothing and refining the marbled design around the sides of the cake. The straight edge of a bench scraper is particularly effective for pulling the marbled frosting smoothly around the perimeter, compressing the colors and creating the final pattern.
A cake turntable is highly recommended, especially when marbling the sides of the cake. Placing your cake on a turntable allows you to easily rotate it as you work, ensuring an even application and smooth marbling process without having to constantly move or touch the cake itself. This is particularly helpful when using a bench scraper to smooth the sides.
Other useful items include small bowls for dividing and coloring your buttercream and plastic wrap, which can be used in certain marbling techniques to transfer and apply colors. Having these basic tools ready makes executing easy frosting marbling techniques much more efficient and enjoyable.
Step-by-Step Guide to Basic Buttercream Marbling Techniques
Preparing Your Cake for Marbled Buttercream
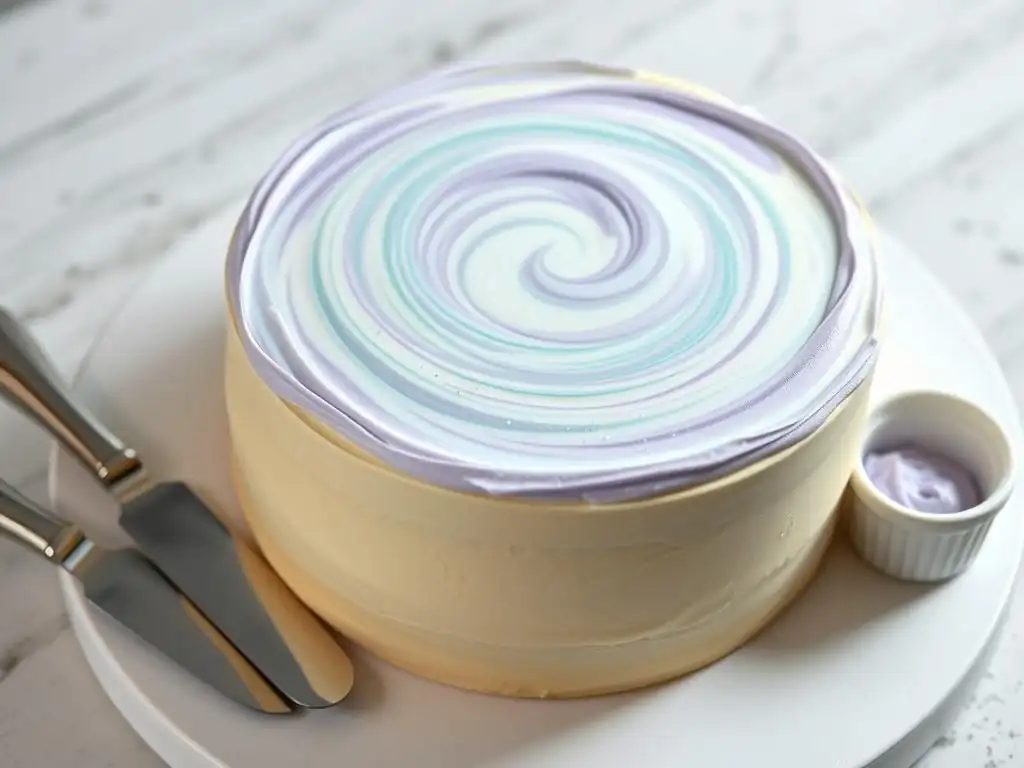
Before you begin applying your beautiful marbled frosting, your cake needs to be properly prepared. Ensure your cake layers are completely cooled. If stacking layers, use a thin crumb coat of buttercream and chill the cake for at least 20-30 minutes until the crumb coat is firm. This seals in any loose crumbs, preventing them from showing up in your final marbled finish. A smooth, firm base is crucial for achieving clean lines and patterns with easy frosting marbling techniques.
Once the crumb coat is firm, your cake is ready for the final layer of marbled buttercream. Make sure your cake is centered on your turntable or working surface. Have all your colored buttercreams ready in separate bowls or piping bags. The temperature of your buttercream is also important; it should be smooth and spreadable, not too cold (which makes it stiff) or too warm (which makes it too soft and prone to melting). Aim for a consistency similar to peanut butter.
Technique 1: The Palette Knife Swirl Method
Applying the Base Buttercream Layer
Begin by applying a generous layer of your main buttercream color to the top and sides of the cake. Use a large offset palette knife to spread it evenly. Aim for a layer that is thick enough to work with, typically about 1/4 to 1/2 inch thick, ensuring full coverage of the cake surface. This base layer provides the canvas onto which you will introduce your accent colors for marbling.
Smooth this base layer as much as possible using your palette knife or a bench scraper while rotating the turntable. While it doesn't need to be perfectly smooth at this stage, getting it relatively even helps in the subsequent steps of applying the accent colors and ensures consistent marbling depth.
Adding Contrasting Buttercream Colors
Once the base layer is applied, it's time to add your contrasting colors. Take small amounts of your chosen accent colors using a clean palette knife or spoon. Randomly dollop or smear these colors onto the surface of the base buttercream layer. You don't need to cover the entire cake with the accent colors; spaced-out patches work best for creating distinct marble veins. For example, if your base is white, you might add dollops of navy blue and grey.
Vary the size and placement of these color dollops. Some can be larger smears, while others can be smaller dabs. Avoid using too much of the accent colors initially; you can always add more if needed. Too much accent color can overwhelm the base color and lead to a muddy appearance rather than clear marble patterns.
Creating the Swirl Effect
Now for the fun part: creating the swirl! Using a clean palette knife or a bench scraper held against the side of the cake, gently drag the tool through the applied colors while rotating the turntable. For the sides, hold the scraper vertically and apply light, even pressure as you spin the cake. The goal is to lightly blend the colors together, not mix them completely. The edges of the scraper will catch and pull the colors, creating streaks and swirls.
For the top of the cake, use a palette knife and make gentle swirling or dragging motions through the colors. You can make large, sweeping swirls or smaller, tighter patterns depending on the desired effect. Don't overwork the frosting; a few passes are usually enough to create a beautiful marble pattern. Over-swirling will blend the colors too much, potentially resulting in a muddy, indistinct pattern rather than clear marble veins.
Technique 2: The Piping Bag Dot Method
Piping Dots of Color onto the Cake
This method is excellent for controlled placement of colors. Prepare your base color on the cake as in the previous technique, applying a smooth, even layer. Then, load your accent colors into separate piping bags (you don't need piping tips, just cut a small opening in the tip of the bag). Pipe dots, blobs, or short lines of your accent colors onto the base buttercream layer. For instance, on a light blue base, you might pipe dots of white and dark blue.
Focus on distributing the colors somewhat randomly across the cake surface, both on the sides and the top. You can vary the size of the dots or lines you pipe to create different effects. This method gives you precise control over where the colors are placed before blending begins.
Blending Colors for a Seamless Marbled Effect
Once the accent colors are piped on, use a bench scraper for the sides and a palette knife for the top to gently smooth over the dots while rotating the cake. As the scraper or knife passes over the dots, it will smear and blend them into the base layer, creating the marbled pattern. The dots will stretch into streaks and swirls.
As with the palette knife swirl method, avoid overworking the frosting. One or two passes with the smoothing tool should be sufficient to create the desired marble effect. This technique tends to produce slightly more defined streaks compared to the palette knife swirl method, making it one of the versatile easy frosting marbling techniques.
Technique 3: The Plastic Wrap Smear Method
Applying Different Colors in Stripes
This technique involves creating the marble pattern off the cake first. Lay out a large sheet of plastic wrap on a flat surface. Spoon or smear stripes of your different colored buttercreams onto the plastic wrap, side by side. For example, lay down a wide stripe of your main color, followed by narrower stripes of your accent colors (like white, grey, and black for a classic marble look).
The width and order of your stripes will influence the final pattern. You can make some stripes thicker than others or layer colors slightly. Ensure you have enough striped buttercream on the plastic wrap to cover the height and circumference of your cake.
Using Plastic Wrap to Create a Textured Marbled Design
Once your colored stripes are laid out on the plastic wrap, gently roll the plastic wrap up into a log, enclosing the buttercream. Twist the ends of the plastic wrap to secure the log. This log now contains your pre-marbled buttercream. Cut one end of the plastic wrap log.
Place the cut end into a piping bag (with or without a large tip) or simply use the plastic wrap log itself to apply the buttercream directly to your cake. Pipe or smear the marbled buttercream onto the cake surface. As you apply it, the pre-swirled colors will transfer onto the cake. You can then use a bench scraper or palette knife to smooth the surface, further blending the colors and refining the marble pattern. This method is great for creating consistent, flowing marble patterns.
Tips for Achieving Perfect Marbled Buttercream
Color Combinations That Complement Each Other
Choosing the right color palette is key to creating stunning marbled buttercream using easy frosting marbling techniques. Complementary colors or analogous colors often work best. For a dramatic effect, try high contrast combinations like navy blue and gold, black and white, or deep purple and silver. These create bold, distinct veins.
For a softer, more elegant look, opt for analogous colors or different shades of the same color family, such as various shades of blue with white, or blush pink with ivory and rose gold. Consider the event or theme for your cake; a wedding might call for soft pastels or metallics, while a galaxy theme demands deep blues, purples, and black with silver or white. Experiment with just two or three colors initially to master the blending before attempting more complex palettes.
Avoiding Muddy Colors: Maintaining Contrast and Color Theory
One of the biggest challenges in buttercream marbling is avoiding muddy, indistinct colors. This usually happens when colors are over-mixed or when too many clashing colors are used. To prevent this, select colors that work well together and limit the number of colors you marble with initially (2-3 is ideal). When applying the accent colors, use them sparingly; you can always add more, but you can't take them away once they're mixed in.
Crucially, when you are creating the swirl or smoothing the frosting, do not overwork it. The goal is to gently pull the colors together to create streaks and veins, not to fully homogenize them. Stop smoothing as soon as you see a pleasing marble pattern emerge. If you continue to blend, especially with colors that are opposite each other on the color wheel (like red and green), you will end up with a brownish or greyish muddy mess. Maintaining distinct areas of each color is key to vibrant marbling.
Achieving a Smooth and Even Marbled Finish
Achieving a smooth and even marbled finish requires a bit of practice and attention to detail. Ensure your buttercream is the correct consistency – smooth and spreadable. If it's too stiff, the colors won't blend fluidly; if it's too soft, the pattern might sag or look messy. Using a bench scraper and rotating the cake slowly and steadily on a turntable is the most effective way to smooth the sides while marbling. Apply even pressure with the scraper and keep it at a consistent angle.
For the top, use a large offset palette knife. Once the sides are marbled and smooth, gently drag the knife from the outer edge towards the center in one fluid motion, cleaning the knife after each pass. This pulls the marbled pattern from the sides onto the top and creates a clean edge. Don't be afraid to go back and lightly touch up areas, but remember the rule: don't overwork it. Chilling the cake briefly between smoothing passes can also help firm up the buttercream and make it easier to get a clean finish.
Practice Makes Perfect: Experimenting with Different Techniques
Like any cake decorating skill, mastering easy frosting marbling techniques takes practice. Your first attempt might not be perfect, and that's completely okay! Don't get discouraged. Try practicing on a dummy cake or even just on a piece of parchment paper laid flat on your counter. This allows you to experiment with different color combinations, the amount of accent color to use, and the pressure and motion required for swirling and smoothing without the pressure of decorating a real cake.
Experiment with all three techniques outlined: the palette knife swirl, the piping bag dot, and the plastic wrap smear. Each method produces a slightly different effect, and you might find one resonates more with your style or is easier for you to execute. Pay attention to how the consistency and temperature of your buttercream affect the marbling. The more you practice, the more intuitive the process will become, and the more stunning your marbled buttercream cakes will be.
Troubleshooting Common Buttercream Marbling Issues
Air Bubbles in Your Buttercream
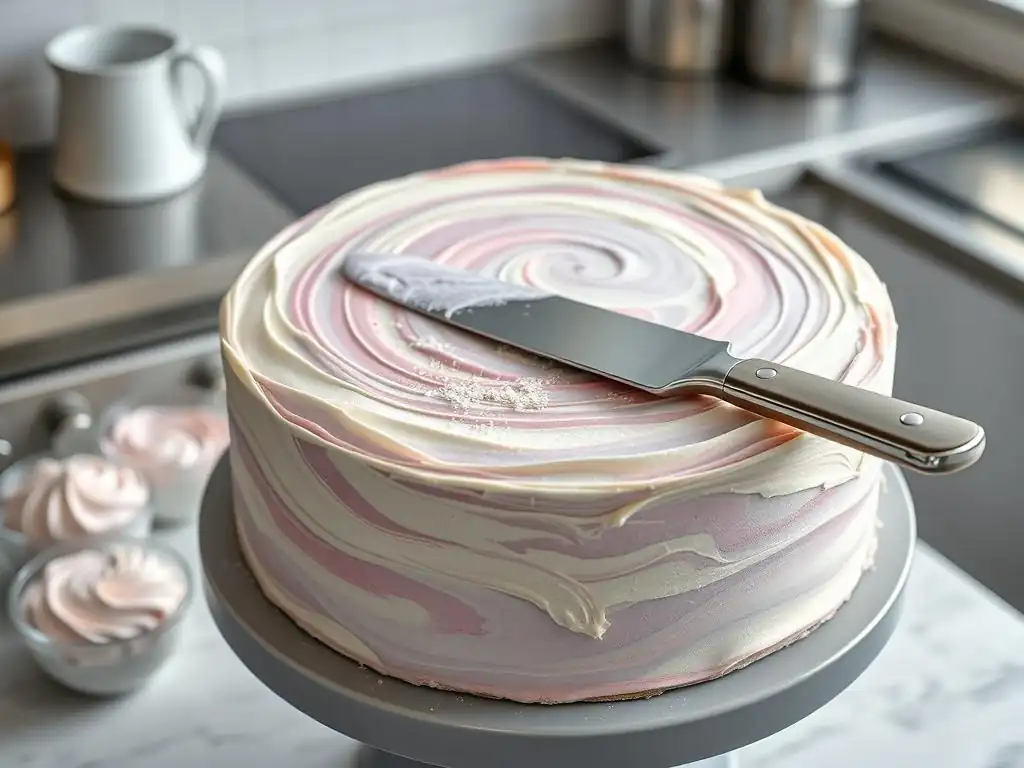
Air bubbles are a common frustration when working with buttercream, and they can disrupt the smooth surface needed for clean marbling. These often occur from over-whipping the buttercream or incorporating air during mixing. To minimize air bubbles, after your buttercream is made, switch to a paddle attachment on your mixer (if using one) and beat the buttercream on low speed for several minutes. This process, sometimes called "de-gassing," helps push out trapped air.
Alternatively, you can manually push the buttercream against the side of the bowl with a spatula to force air out. If you notice small bubbles while applying or smoothing, you can gently pop them with the tip of a palette knife or your finger and then re-smooth the area. A slightly warmer buttercream consistency (not melted, just pliable) tends to hold fewer air bubbles than very cold, stiff buttercream.
Buttercream Too Soft or Too Stiff
The consistency of your buttercream is paramount for successful marbling. If your buttercream is too soft, it won't hold its shape, the colors will blend too easily into a muddy mess, and it will be difficult to smooth. This usually happens if the butter was too soft to begin with or if the kitchen is too warm.
To fix overly soft buttercream, chill it in the refrigerator for 15-20 minutes, then re-whip it briefly. Add a tablespoon of powdered sugar at a time if using American buttercream, or a bit more sifted powdered sugar if needed, whisking until the desired consistency is reached.
If your buttercream is too stiff, it will be hard to spread, creating drag lines and making it difficult to swirl the colors smoothly. This can happen if the butter was too cold or if too much powdered sugar was added.
To loosen stiff buttercream, add liquid (milk, cream, or even a tiny bit of water or clear extract) one teaspoon at a time while mixing on low speed until it reaches a spreadable consistency. For meringue-based buttercreams, gently warm a small portion and mix it back into the main batch, or warm the bowl slightly with a kitchen torch or over a double boiler while mixing.
Uneven Color Distribution
Uneven color distribution can result in areas with too much of one accent color or patchy marbling. This often happens if the accent colors weren't applied evenly in the first place or if the smoothing process wasn't consistent. To address this, try to apply your accent colors in a more balanced way across the cake surface before you start swirling. Use smaller dollops or lines spread out rather than one large blob.
When smoothing, ensure you apply consistent pressure with your bench scraper or palette knife and rotate the cake at a steady speed. If you notice a patch with too little marbling, you can carefully add a tiny bit more of an accent color and very gently swirl just that specific area with a small palette knife.
If an area has too much of an accent color, you might need to scrape off that section and reapply the base color before adding a small amount of accent color again. Precision in application and smoothing is key to achieving balanced and beautiful easy frosting marbling techniques.
Advanced Marbling Techniques: Taking Your Skills to the Next Level
Marbling with Three or More Colors
Once you're comfortable with two-color marbling, try incorporating a third color. This adds complexity and depth to your design. For instance, combining navy blue, light blue, and white can create a stunning ocean effect, while pink, purple, and blue can mimic a sunset sky. The principles remain the same as with two colors, but you'll need to be even more mindful of color placement and not over-mixing to avoid a muddy result.
When using three or more colors, it's often helpful to use one dominant base color and two or more accent colors. Apply the base color generously, then add smaller amounts of the accent colors. Consider how the colors will interact; placing two clashing colors directly next to each other might require extra care during the swirling phase. Practice on a flat surface first to see how your chosen colors blend together.
Creating Ombre Marbled Effects
An ombre marbled effect transitions color gradually while also incorporating marble swirls. This can be achieved by using different shades of the same color and marbling them together. For example, you could use a dark blue, a medium blue, a light blue, and white. Apply the darkest shade at the bottom of the cake, gradually transitioning to the lightest shade or white at the top, creating horizontal bands of color.
Once the gradient of colors is applied, use a bench scraper to smooth and marble the colors vertically. As you drag the scraper upwards, the colors will blend and swirl within their respective areas and slightly into the adjacent shades, creating a marbled ombre effect. This technique requires careful placement of colors and controlled smoothing to maintain the gradient while developing the marble pattern.
Incorporating Edible Glitters and Sprinkles
Adding edible glitters, dusts, or fine sprinkles can give your marbled buttercream an extra layer of sparkle and texture. For a galaxy marble effect, after smoothing your dark-colored marbled buttercream (using blues, purples, black, and white), you can flick white food coloring or edible silver/gold paint diluted with clear extract onto the surface using a stiff brush to create "stars."
You can also gently press edible glitter or dust onto specific areas of the marbled pattern, highlighting certain colors or veins. Fine sanding sugar or nonpareils in coordinating colors can also be lightly scattered onto the wet buttercream before it sets. These additions should be used sparingly to enhance, not overpower, the beautiful marbled pattern you've created.
Buttercream Marbling Ideas and Inspiration
Galaxy-Themed Marbled Buttercream Cake
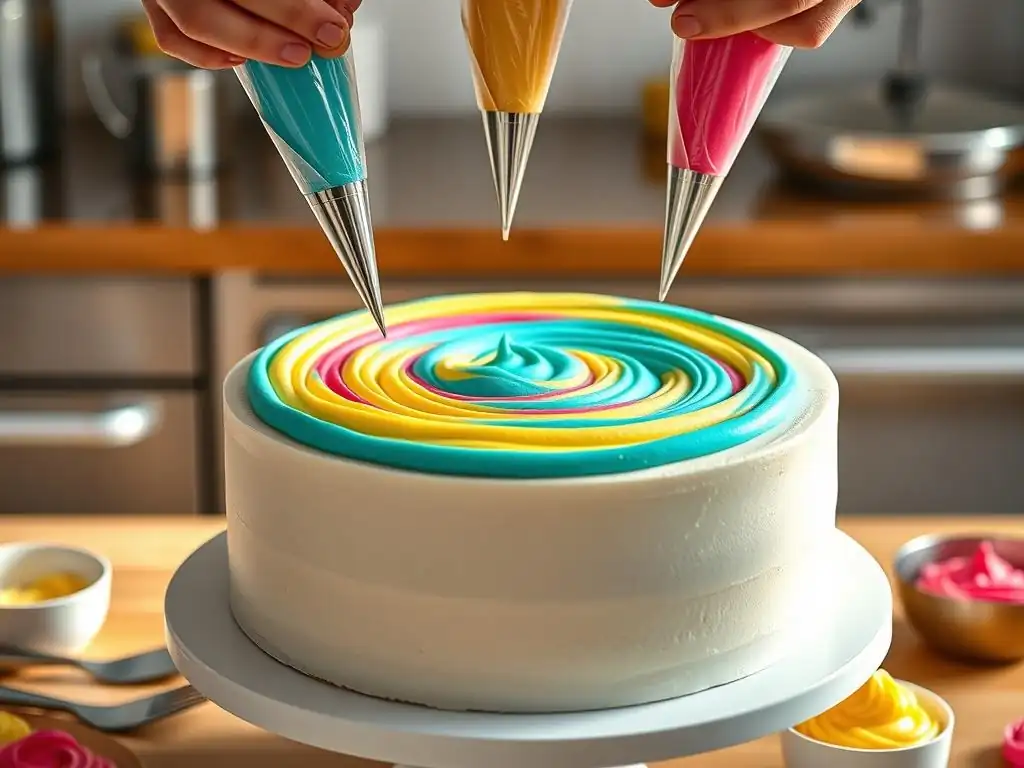
A galaxy-themed cake is one of the most popular and striking uses of easy frosting marbling techniques. Typically using deep blues, purples, black, and pops of white or silver, this design mimics the swirling cosmic dust and stars of a galaxy. You can use any of the marbling techniques mentioned, focusing on creating dramatic swirls and contrasts.
To enhance the galaxy effect, after marbling, you can add edible glitter, sprinkle edible stars, or splatter white food coloring (diluted with alcohol or clear extract) onto the surface to represent distant stars. This theme works beautifully on both smooth marbled surfaces and those with a bit more texture.
Watercolor Marbled Buttercream Cake
The watercolor effect in marbling is achieved by using softer colors and often a more fluid blending technique, resulting in delicate, translucent-looking swirls that resemble watercolor paintings. Think soft pastels like blush pink, light blue, lavender, and pale green, often combined with white or ivory.
The key to the watercolor look is gentle, less defined swirling and smoothing. You want the colors to blend softly into each other rather than creating sharp, distinct veins. Using a slightly softer buttercream consistency can also help achieve this fluid effect. This style is perfect for elegant events like weddings or baby showers.
Geode-Inspired Marbled Buttercream Cake
Geode cakes are a stunning application of buttercream marbling, often combined with other elements. To create a geode effect, you typically marble buttercream in shades that mimic crystal layers (like purples, blues, or greens with white and maybe gold). A section of the cake is removed or indented, filled with this marbled buttercream, and then encrusted with rock candy or edible sugar crystals to resemble the inside of a geode.
The marbling is used to create the layers of color surrounding the crystal cavity. This technique often involves applying colors in concentric layers and then gently swirling them outwards from the center of the planned geode area. It's a slightly more advanced concept but relies heavily on mastering basic buttercream marbling skills.
Conclusion: Mastering Buttercream Marbling
Enjoy the Process and Get Creative!
Mastering easy frosting marbling techniques is an incredibly rewarding skill for any baker. It allows you to transform simple cakes into works of art with techniques that are accessible and fun. Remember that each marbled cake is unique; no two will ever look exactly alike, which is part of the charm. Don't strive for impossible perfection, but rather embrace the organic beauty of the swirls and patterns you create.
The journey to mastering buttercream marbling is one of experimentation and practice. Play with different color palettes, try out the various techniques like the palette knife swirl or the plastic wrap method, and see what results you achieve. The more you practice, the more comfortable and confident you'll become, leading to even more stunning designs. So grab your buttercream and colors, get creative, and most importantly, enjoy the process of bringing beautiful marbled cakes to life!
Frequently Asked Questions
What exactly are easy frosting marbling techniques, and who are they best suited for?
Easy frosting marbling techniques are simple methods to create a visually appealing, swirled effect on frosted cakes or cupcakes. They're ideal for beginner bakers looking to elevate their decorating skills without complex tools.
What are some common tools needed for easy frosting marbling techniques?
Typically, you'll need a smooth base frosting, different colored frostings, a spatula or knife, and potentially a turntable for easier application. Piping bags can also be helpful for precise placement.
Can I achieve a marbled effect with just two frosting colors, or are more recommended for the best results?
You can definitely achieve a stunning effect with just two colors! While more colors can add complexity, focusing on contrasting shades for greater visual impact is key.
What type of frosting works best for marbling, and are there any that should be avoided?
Buttercream frosting is generally recommended due to its smooth texture and ease of manipulation. Avoid frostings that set too quickly, like some royal icings, as they may not blend well.
How can I prevent my marbled frosting from becoming muddy or blending together too much?
Avoid over-mixing the frostings once they're applied to the cake. Use a light hand when swirling and consider chilling the cake briefly between steps to prevent bleeding of the colors.
Final Reflection: The Enduring Allure of Marbled Frosting
The art of marbling frosting, once a niche skill, is experiencing a delightful resurgence in the age of social media baking. From elegant cakes to whimsical cupcakes, the visually stunning effect of marbled frosting adds a touch of artistry that elevates any dessert. This accessibility, combined with the surprisingly simple techniques explored in this article, makes it a perfect craft for both seasoned bakers and enthusiastic beginners.
The beauty of marbling lies not just in its aesthetic appeal, but in its potential for endless creativity. Each swirl, each blend of color, is a unique expression, a testament to the joy of experimentation in the kitchen. It's a technique that encourages improvisation and self-expression, reminding us that even the simplest of ingredients can be transformed into something truly special. The best things in life are simple,
a sentiment perfectly captured by the ease and impact of marbled frosting.
Now, it's your turn. Don't be intimidated by the seemingly complex patterns you see online. Grab your favorite frosting colors, a toothpick, and a cake – or even just some cookies! – and let your creativity flow. Experiment with different techniques, discover your own unique style, and share your marbled masterpieces with the world. The joy of creating, and the delicious results, are well worth the effort. Let the marbling begin!
Unleash Your Inner Pastry Artist: Master Marbling Today!
Thanks for joining us on this delicious journey into the world of marbled frosting! We hope you've gained some valuable techniques to elevate your baking game. Ready to put your new skills to the test?
- Create your masterpiece! Try the marbling technique you found most appealing on your next cake or cupcake. Don't be afraid to experiment with color combinations and swirling patterns.
- Share your creations! Post a picture of your marbled treats on social media and tag us – we'd love to see your artistic flair!
- Challenge yourself by trying a new frosting flavor and marbling technique. What unexpected combinations will you discover?
What unique marbling design will you create next? Let us know in the comments below!