
Basic Techniques for TwoTone Frosting

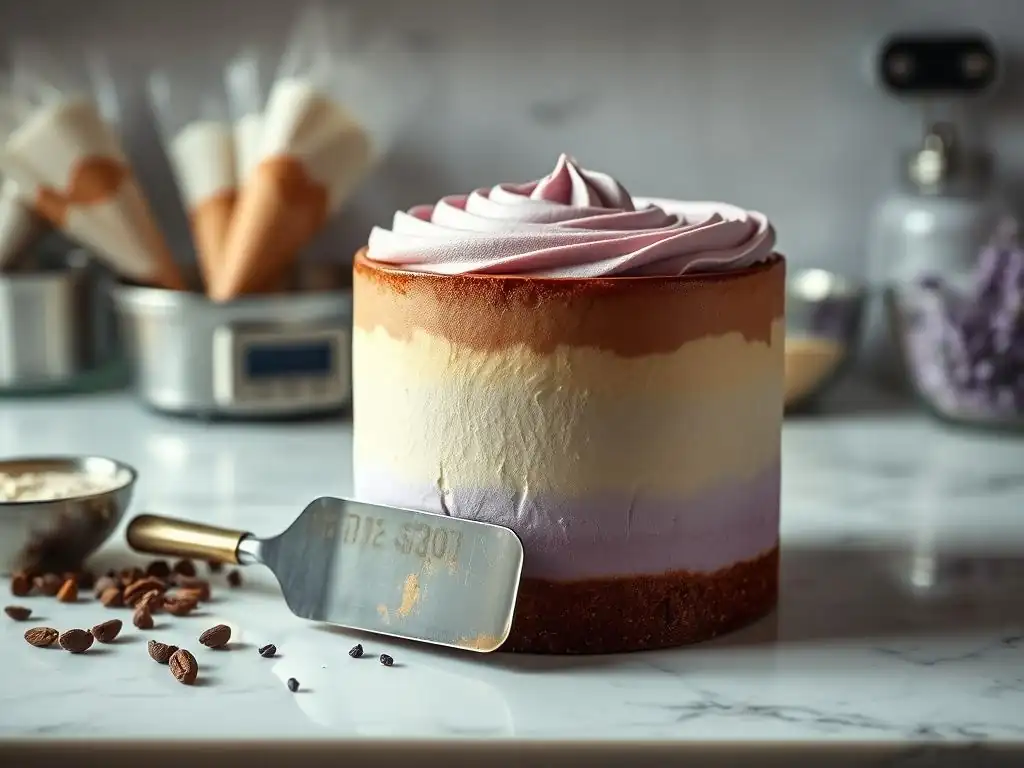
Welcome to BakeWithEase, your kitchen companion for all things baking! Ever wondered how to achieve that stunning, professional look with your frosting? This week, we're diving into the world of intermediate baking to unlock the secrets of twotone frosting application techniques. Prepare to elevate your cakes and cookies from simple to spectacular, with tips and tricks that are easier than you think. Ready to add a swirl of artistry to your next creation? Let's get started!
- Mastering Two-Tone Buttercream: A Baker's Guide
- Introduction to Two-Tone Buttercream Techniques
- Essential Tools and Ingredients for Two-Tone Buttercream
- Two-Tone Buttercream Application Techniques: Step-by-Step
- Advanced Two-Tone Buttercream Tips and Tricks
- Two-Tone Buttercream Design Ideas and Inspiration
- Maintaining and Storing Two-Tone Buttercream Cakes
- Conclusion: Mastering the Art of Two-Tone Buttercream
-
Frequently Asked Questions
- What exactly is two-tone frosting, and why should I try it?
- What are some basic techniques for achieving a two-tone frosting effect?
- What kind of frosting works best for two-tone frosting applications?
- Can I use different flavors of frosting for a two-tone effect, or should I stick to colors?
- Where can I find more detailed instructions and recipes for two-tone frosting techniques?
- Final Reflection: Mastering the Art of Two-Tone Frosting
- Unleash Your Inner Pastry Artist: Master Two-Tone Frosting!
Mastering Two-Tone Buttercream: A Baker's Guide
Introduction to Two-Tone Buttercream Techniques
Elevate Your Cakes with Stunning Two-Tone Buttercream
Adding a two-tone effect to your buttercream frosting is a fantastic way to elevate the visual appeal of your baked goods, transforming a simple cake or cupcake into a showstopping centerpiece. This technique involves using two different colors or shades of buttercream simultaneously to create dynamic patterns, gradients, and contrasts. Whether you're aiming for a delicate ombre, bold stripes, or intricately marbled designs, mastering these two-tone frosting application techniques opens up a world of creative possibilities for your decorating projects. It's a skill that looks impressive but is surprisingly accessible with the right guidance and practice.
Beyond just aesthetics, utilizing two-tone buttercream can add depth and interest that a single color simply cannot achieve. Imagine a cake decorated with rosettes that transition from a deep red center to soft pink edges, or a smooth finish with crisp horizontal stripes of contrasting colors like navy and gold. These visual elements draw the eye and make your creations memorable. Learning the fundamental two-tone frosting application techniques will significantly enhance your cake decorating repertoire, allowing you to tackle more complex designs and impress friends, family, or customers with your professional-looking results.
Why Master Two-Tone Buttercream Application?
Mastering two-tone frosting application techniques is a valuable skill for any baker looking to move beyond basic frosting. It allows for significantly more sophisticated and visually appealing designs without requiring advanced sculpting or intricate piping. For instance, a simple swirl on a cupcake becomes instantly more complex and interesting when executed with two colors, perhaps a vibrant purple blending into a soft lavender. This skill set is particularly useful for themed events, where specific color combinations are required, or for creating striking contrasts that highlight the texture of the frosting itself.
Furthermore, proficiency in various two-tone frosting application techniques can streamline your decorating process. Instead of applying one color and then adding accents with another, these techniques allow you to create integrated designs in a single pass. This not only saves time but also often results in a smoother, more cohesive finish.
Developing this expertise means you can confidently execute designs like the popular marbled effect, which requires a specific method of loading the piping bag, or precise striped patterns that demand careful handling and pressure control. It's an investment in your baking craft that pays off in beautiful, professional-quality results.
Essential Tools and Ingredients for Two-Tone Buttercream
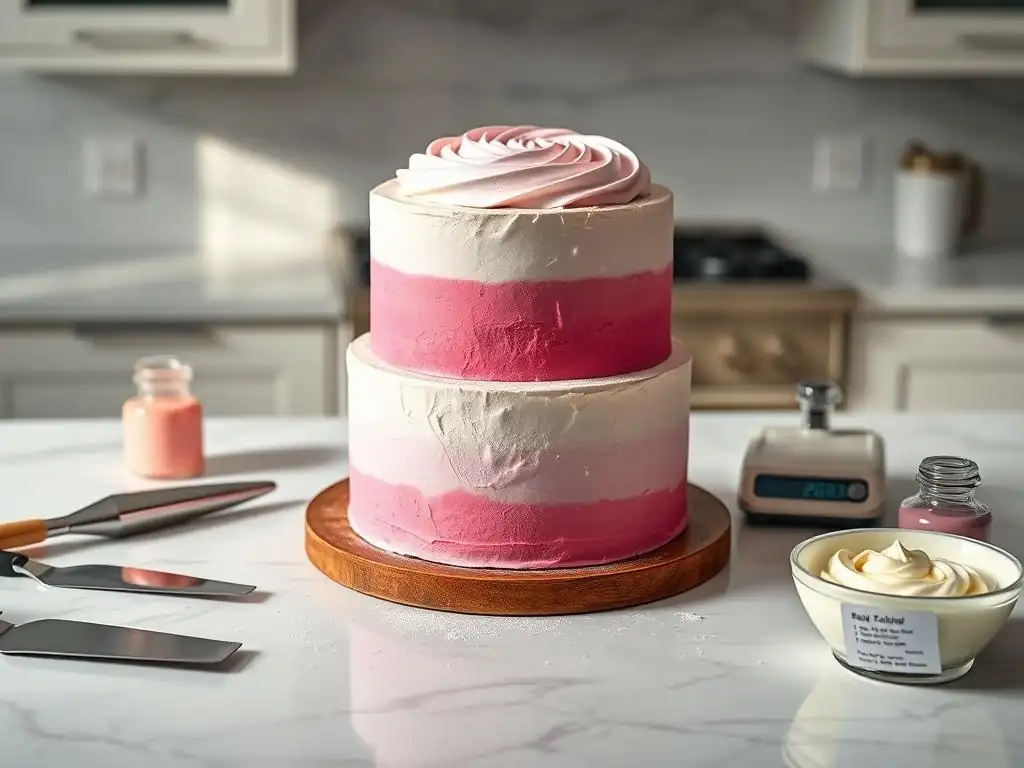
Must-Have Buttercream Tools for Achieving the Two-Tone Effect
To successfully apply two-tone buttercream, having the right tools is crucial. At the heart of these techniques is the piping bag, specifically strong disposable bags or sturdy reusable ones. You'll often need multiple bags or the ability to quickly clean and reuse one.
Piping tips are also essential; common choices include round tips for dots and outlines, star tips for swirls and rosettes (like the popular 1M or 2D), and even flat tips for stripes. For techniques requiring different colors to meet seamlessly, a coupler can be helpful, allowing you to change tips while keeping the buttercream in the bag.
In addition to bags and tips, you'll need spatulas – both offset and straight – for smoothing cakes and filling piping bags cleanly. Tall cups or containers are incredibly useful for holding piping bags open while you fill them, making the process much tidier, especially when loading two colors side-by-side. For specific techniques like horizontal stripes, a cake scraper or smoother is indispensable for achieving clean, sharp lines. Having a turntable is also highly recommended, as it allows you to rotate the cake smoothly while applying frosting, which is vital for consistent application across the entire surface.
Achieving the Right Buttercream Consistency for Two-Tone Designs
The consistency of your buttercream is paramount for successful two-tone frosting application techniques. It needs to be smooth, pliable, and hold its shape well, but not so stiff that it's difficult to pipe or blend. A common issue is buttercream that is too soft; this leads to colors bleeding into each other too quickly, patterns losing definition, and the frosting sagging.
If your buttercream is too soft, try chilling it in the refrigerator for 10-15 minutes, then re-whipping briefly. Conversely, buttercream that is too stiff will be difficult to pipe smoothly, potentially tearing the bag or resulting in a bumpy finish. If it's too stiff, beat in a tiny amount of milk or cream (perhaps 1/2 teaspoon at a time for a standard batch using 1 cup of butter) until it reaches the desired consistency.
For most two-tone techniques, you're looking for a medium consistency – soft enough to flow through a piping tip without excessive pressure, but firm enough that piped shapes maintain their crisp edges. When preparing for techniques like marbling or side-by-side piping, both colors of buttercream should ideally have the same consistency. This ensures they flow out of the bag at the same rate and blend or stripe evenly.
Testing the consistency on a piece of parchment paper before applying it to your cake is a good practice. A well-made batch of American buttercream using a ratio like 1 part butter to 2-3 parts powdered sugar (by weight) often provides a good starting point, adjusted with liquid as needed.
Selecting Complementary Buttercream Colors for Visual Appeal
Choosing the right colors is just as important as mastering the two-tone frosting application techniques themselves. The colors should be complementary or harmonious to create the desired visual impact. Consider the overall theme of your cake or event.
For example, a baby shower might feature soft pastels like pink and blue or mint and peach, while a dramatic birthday cake could use bold contrasts like black and red or navy and gold. Using a color wheel can be a helpful tool to select colors that work well together, whether you choose analogous colors (next to each other on the wheel for a smooth gradient) or complementary colors (opposite each other for high contrast).
Think about the intensity of the colors as well. Using one vibrant color with a much softer shade of the same color creates a beautiful ombre effect. Pairing two highly saturated colors can be striking but might also be overwhelming depending on the design.
When using food coloring, remember that gel colors are generally preferred over liquid colors as they are more concentrated and less likely to thin the buttercream. Start with a small amount of color and gradually add more until you achieve the desired shade. For techniques where colors meet directly, ensure they are tinted evenly to avoid one color overpowering the other in terms of depth.
Two-Tone Buttercream Application Techniques: Step-by-Step
Technique 1: The Marbled Buttercream Effect
The marbled effect is a popular and relatively easy two-tone frosting application technique that creates beautiful swirls of color. It mimics the look of marble stone and works well for smooth finishes or piped designs. The key is how you load the piping bag, allowing the colors to swirl together as they are extruded. This technique is fantastic for adding an organic, artistic touch to your cakes and cupcakes.
Preparing Your Piping Bag for the Marbling Technique
To prepare your bag, you'll need two colors of buttercream. Lay out a large piece of plastic wrap (about 12-18 inches long). Spoon your first buttercream color onto the plastic wrap in a log shape down the center. Then, spoon your second color alongside the first, creating a second log parallel to the first, touching it. You can add more colors if desired, lining them up side-by-side.
Once your colors are arranged, carefully roll the plastic wrap around the buttercream, creating a tight cylinder. Twist both ends of the plastic wrap like a candy wrapper. Cut off one twisted end of the plastic wrap. Insert the plastic-wrapped log, cut end first, into a piping bag fitted with your desired tip (a large round tip or star tip works well). Gently squeeze the bag until both colors begin to emerge, ready for application.
Applying the Marbled Buttercream to Your Cake
Applying marbled buttercream can be done in several ways. For a smooth, marbled finish on a cake, pipe thick lines of the two-tone buttercream around the sides of the cake, starting from the bottom and working your way up. Ensure the lines touch or slightly overlap. Once the cake is fully covered, use a bench scraper or cake smoother held at a 45-degree angle to the cake surface.
With steady pressure, slowly rotate the turntable. The scraper will smooth the buttercream and reveal the beautiful marbled pattern as the colors blend slightly. For piped designs like swirls or rosettes, simply apply pressure to the piping bag as you normally would. The colors loaded in the plastic wrap will naturally swirl together as they pass through the tip, creating a unique marbled effect with every squeeze.
Technique 2: The Horizontal Stripe Buttercream
Achieving crisp horizontal stripes with two buttercream colors provides a clean, modern look for cakes. This two-tone frosting application technique requires precision and a steady hand but results in a stunning geometric design. It's particularly effective on smooth, straight-sided cakes.
Achieving Clean Horizontal Stripes with Two Buttercream Colors
Start by applying a base layer of buttercream to your cake, ideally in one of the colors you will be using for the stripes or a complementary background color. Ensure this base layer is smooth and level. Chill the cake in the refrigerator for about 20-30 minutes until the base layer is firm.
Prepare your two stripe colors of buttercream. You will need a flat piping tip or a special striping comb tool that attaches to a piping bag. If using a flat tip, you can load the two colors side-by-side in the same bag or use two separate bags held together.
If using a striping comb, load the main bag with one color and the comb's reservoir with the second color. Starting at the bottom of the cake, hold the piping bag or striping tool parallel to the cake's surface and apply steady, even pressure while rotating the turntable smoothly. This will create a clean line of two colors simultaneously.
Tips for a Perfect Horizontal Stripe Buttercream Finish
Consistency is key for perfect horizontal stripe buttercream. Ensure both colors of buttercream are the exact same consistency so they extrude evenly. Practice on a piece of parchment paper first to get a feel for the pressure needed and the speed of rotation. For the cleanest lines, make sure your base layer of buttercream is truly firm from chilling.
This provides a solid surface for the stripe colors to adhere to without disrupting the layer beneath. You may need to go around the cake a second time with your piping tool to build up the stripes slightly, making them more pronounced before smoothing. Once the stripes are piped, use a clean, warm bench scraper to smooth the surface gently.
Dip the scraper in hot water, wipe it completely dry, and then lightly run it around the cake. The warmth helps create a smooth finish. Repeat this process, cleaning and warming the scraper as needed, until your stripes are sharp and defined.
Technique 3: The Rosette Two-Tone Buttercream
Two-tone rosettes are a classic way to use two colors in a piped design, adding depth and visual interest to individual elements. This two-tone frosting application technique is perfect for decorating the tops of cupcakes or creating borders and patterns on cakes. The effect is achieved by loading the piping bag in a specific way that causes the two colors to emerge side-by-side through a star tip.
Creating Two-Tone Rosettes with Contrasting Buttercream
To create two-tone rosettes, you will primarily use a star tip, such as the 1M or 2D. Take your piping bag and, using a spatula or spoon, smear one color of buttercream along one side of the inside of the bag, from the tip up to the top. You want a relatively thick stripe covering about one-third to one-half of the interior circumference of the bag.
Then, fill the rest of the bag with your second color of buttercream. As you pipe, the two colors will come out of the star tip side-by-side. The color you smeared along the inside edge will form one part of the rosette (often the outer edge or one side), and the color filling the rest of the bag will form the other part (often the center or the other side).
Techniques for Consistent and Beautiful Two-Tone Rosettes
For consistent two-tone rosettes, ensure both buttercream colors have the same consistency. Uneven consistency will cause one color to pipe faster than the other, resulting in lopsided or poorly defined rosettes. Practice piping a few rosettes on parchment paper to get the feel for how the colors are coming out and adjust the bag angle or pressure if needed.
To pipe a rosette, hold the bag perpendicular to the surface (or slightly angled depending on the desired effect). Start in the center and pipe outwards in a spiral motion, or start at the outer edge and spiral inwards. Maintain steady pressure throughout the piping of a single rosette.
To finish, stop applying pressure and flick the tip away cleanly to break the flow of buttercream. The placement of the smeared color inside the bag dictates which part of the rosette it will form, allowing you to control whether the accent color is on the outside, inside, or one side of the swirl.
Advanced Two-Tone Buttercream Tips and Tricks
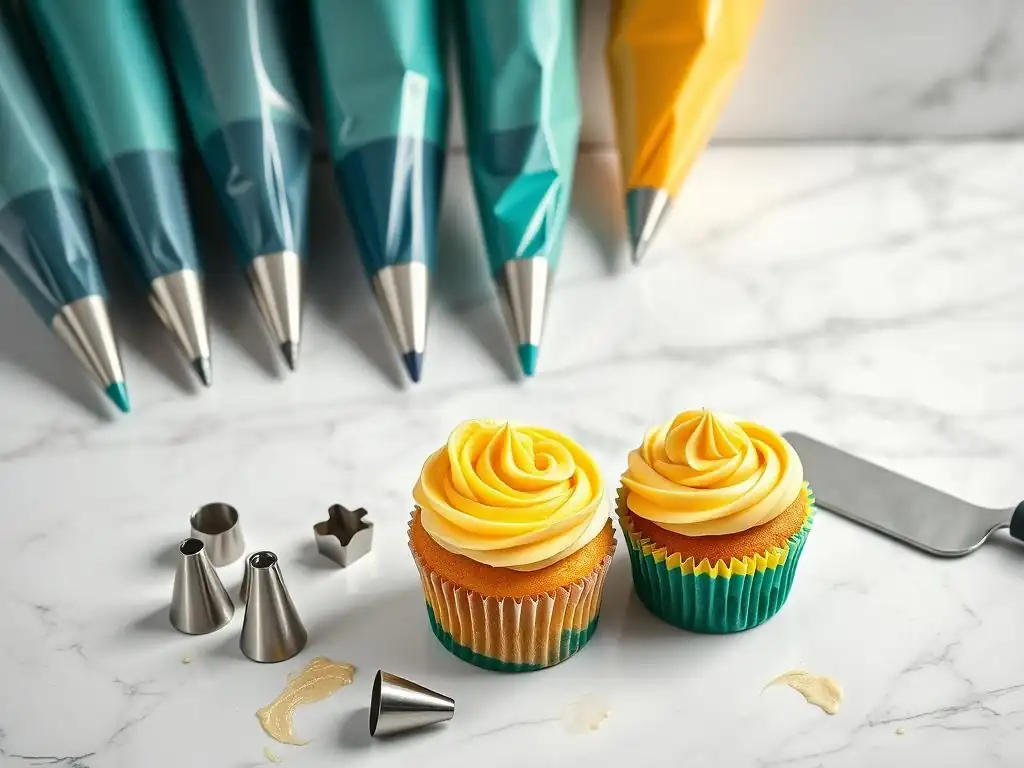
Troubleshooting Common Two-Tone Buttercream Problems
When working with two-tone buttercream application techniques, you might encounter a few common issues. One frequent problem is color bleeding, especially with vibrant or dark colors. This often happens if the buttercream is too soft or if the cake is stored in humid conditions. Ensure your buttercream is the correct consistency and consider using gel colors, which are less likely to cause bleeding than liquid dyes.
Another issue is uneven color distribution, where one color dominates the other. This usually stems from how the bag was loaded; ensure both colors are added in appropriate proportions for the desired effect. If your piped lines or swirls are not sharp, the buttercream might be too soft, or the piping tip needs to be cleaned. Chilling the piped design briefly can also help firm up the edges.
Sometimes, the two colors might not blend or stripe smoothly, appearing choppy instead. This can be due to air pockets in the piping bag or buttercream that is too stiff. Try gently squeezing the bag before piping to remove air, and ensure your buttercream is pliable.
If you're using the striping comb technique and the colors aren't flowing evenly, check that the comb is properly attached and that both the main bag and the comb reservoir are filled consistently. Practice is key to identifying and correcting these issues. Don't be discouraged if your first attempt isn't perfect; troubleshooting helps refine your two-tone frosting application techniques for future projects.
Adding Texture and Dimension to Your Two-Tone Buttercream
Beyond flat surfaces and simple piped shapes, you can add texture and dimension to your two-tone buttercream designs. After applying a smooth two-tone finish (like the horizontal stripe or marbled effect), you can use tools like textured cake scrapers or palette knives to create patterns on the surface. For example, dragging a textured comb through a marbled finish can create waves or ridges that highlight the color variations. Using an offset spatula to create peaks and swirls on a two-tone base layer adds a rustic yet elegant texture.
Piped elements can also be textured. While a standard rosette is smooth, you can use different star tips or vary your piping pressure to create rosettes with more defined ridges or a fluffier appearance. Overlapping piped elements, such as creating layers of two-tone swirls, naturally adds dimension. For instance, piping a base layer of marbled swirls and then piping smaller, contrasting two-tone rosettes on top creates visual depth. Consider using varying shades or tints of your chosen colors to enhance the perception of depth, with darker shades receding and lighter shades coming forward.
Combining Two-Tone Buttercream with Other Cake Decorating Elements
Combining two-tone buttercream with other decorating elements can create truly spectacular cakes. For instance, after applying a two-tone finish, you can add edible glitter or sprinkles to catch the light and add sparkle. For a marbled cake, a scattering of gold edible glitter can enhance the luxurious feel. You could also pipe additional details in a third color using a different tip or technique, such as piping small dots or pearls along the base or top edge of a two-tone striped cake.
Fondant accents offer another way to combine textures and materials. Simple fondant cutouts, like stars, hearts, or geometric shapes, can be placed onto a two-tone buttercream surface. For example, a cake with horizontal black and white stripes could be adorned with bright red fondant circles.
You could also use fondant to create more intricate elements like bows or figurines and place them strategically on your two-tone buttercream canvas. Royal icing is another complementary medium; delicate royal icing piping, like lacework or monograms, can be added onto a chilled two-tone buttercream surface for fine detail that contrasts with the softness of the buttercream.
Two-Tone Buttercream Design Ideas and Inspiration
Simple Two-Tone Buttercream Designs for Beginners
For those new to two-tone frosting application techniques, starting simple is key. Cupcakes are an excellent canvas. Try the basic two-tone swirl on a cupcake using a star tip, loading the bag with two colors side-by-side (as described in the rosette technique). This is forgiving and immediately gives a professional look. For a small cake, pipe thick vertical or horizontal lines of two different colors side-by-side around the cake, then use a scraper to smooth them into a single layer, creating a simple striped or ombre effect.
Another beginner-friendly approach is to apply a base layer of one color and then pipe simple dots or shells in a contrasting two-tone effect along the borders or base of the cake. For example, a cake frosted in light blue could have a border of two-tone waves piped in dark blue and white using a shell tip. These techniques require minimal practice and yield impressive results, boosting confidence as you explore more complex two-tone frosting application techniques.
Intermediate Two-Tone Buttercream Patterns and Techniques
Once comfortable with the basics, you can explore more intricate two-tone frosting application techniques. The marbled cake effect, smoothed with a scraper, falls into this category, requiring practice with piping coverage and smoothing pressure. Creating two-tone horizontal stripes with sharp edges also takes intermediate skill, particularly managing the striping tool or flat tip consistently around the cake.
Piping more complex patterns on cakes or cupcakes using the side-by-side loading method is another intermediate step. This could involve piping overlapping scales using a round tip, creating intricate basketweave patterns with a flat tip (using two colors), or covering an entire cake in two-tone rosettes. These techniques require more control over piping pressure and angle, as well as careful planning of the design layout on the cake surface.
Advanced Two-Tone Buttercream Art for Stunning Cakes
Advanced two-tone frosting application techniques push the boundaries of buttercream artistry. This includes creating realistic-looking two-tone buttercream flowers, where petals transition seamlessly from one color to another. This often involves hand-coloring individual sections of buttercream for different parts of the flower and meticulous piping with specific flower tips (like petal tips).
Geometric patterns using two-tone techniques can also be quite advanced, requiring precise measurement, piping, and smoothing to achieve sharp lines and perfect symmetry, perhaps using stencils or templates as guides. Creating scenes or images with two-tone palette knife painting on a cake is another advanced technique, using spatulas to blend and apply colors directly onto the cake surface to form pictures or abstract art. Mastering these techniques requires significant practice, a deep understanding of buttercream consistency, and a keen artistic eye.
Maintaining and Storing Two-Tone Buttercream Cakes
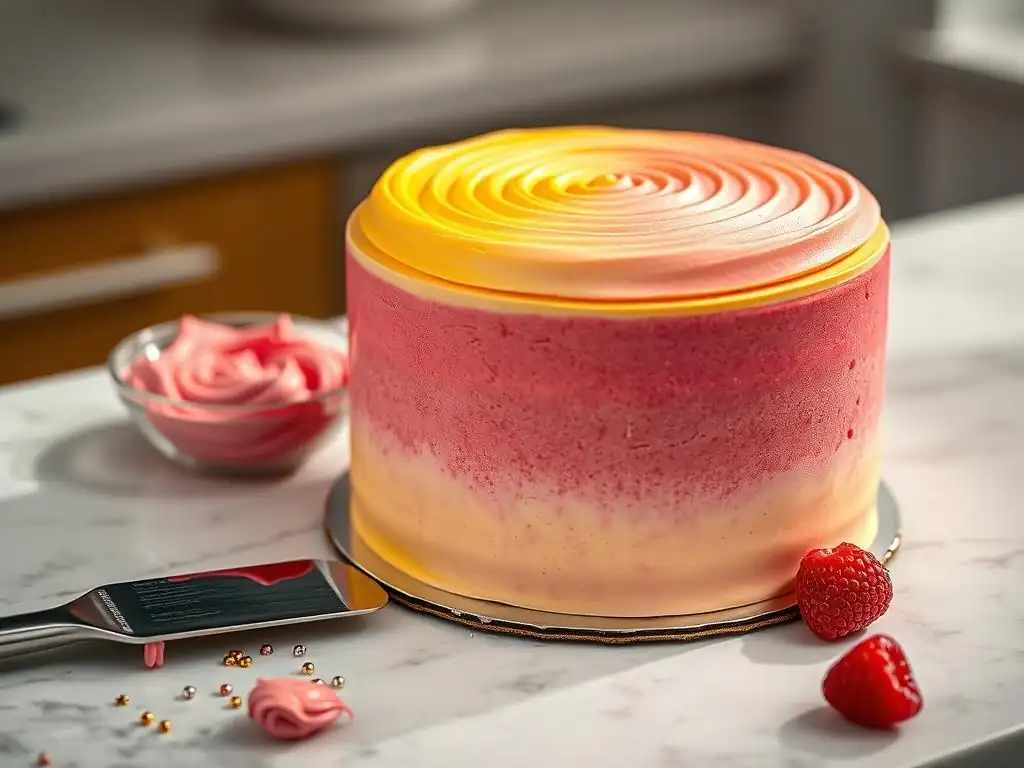
Best Practices for Keeping Your Two-Tone Buttercream Fresh
Proper storage is essential to keep your two-tone buttercream cakes looking and tasting their best. If the cake is not being served immediately, store it in an airtight cake carrier or a box wrapped tightly in plastic wrap. For cakes at room temperature, this is typically safe for 2-3 days, provided the ingredients (like dairy) are stable and the room is cool (below 70°F or 21°C).
For longer storage, refrigeration is necessary. Place the cake in an airtight container or box and refrigerate. Buttercream cakes can usually be refrigerated for 5-7 days. To prevent the buttercream from absorbing odors from the refrigerator, ensure the container is truly airtight. When ready to serve a refrigerated cake, allow it to sit at room temperature for 30-60 minutes before cutting. This allows the buttercream to soften slightly to a more pleasant texture. For even longer storage, well-wrapped buttercream cakes can be frozen for up to 2-3 months. Thaw overnight in the refrigerator before bringing to room temperature.
Preventing Color Bleeding in Two-Tone Buttercream
Preventing color bleeding is a critical aspect of maintaining the visual integrity of two-tone frosting application techniques. The primary culprit for bleeding is often excess moisture or high humidity. Using gel-based food coloring instead of liquid dyes is highly recommended, as gels are more concentrated and add minimal moisture. Use the minimum amount of coloring needed to achieve the desired shade.
Ensuring your buttercream is the correct consistency is also vital. Buttercream that is too soft is more prone to bleeding. If you are working in a humid environment, consider using a crusting buttercream recipe (like some American buttercreams) which forms a slight crust upon exposure to air, helping to seal the colors.
If storing a cake with vibrant two-tone colors in the refrigerator, ensure it is well-wrapped to protect it from condensation, which can also cause colors to run. For very dark or vibrant colors, consider coloring the buttercream a day in advance; sometimes, colors deepen over time, allowing you to use less dye initially.
Conclusion: Mastering the Art of Two-Tone Buttercream
Unleash Your Creativity with Two-Tone Buttercream Techniques
Mastering two-tone frosting application techniques is a rewarding step in any baker's journey. From simple swirls to complex patterns, the ability to blend and contrast colors in your buttercream opens up a vast landscape for creative expression. These techniques not only make your baked goods more visually appealing but also challenge you to refine your piping skills, understand color theory, and troubleshoot common decorating issues. Whether you prefer the organic flow of a marbled effect, the clean lines of horizontal stripes, or the classic elegance of two-tone rosettes, there's a two-tone technique to suit every style and occasion.
Embracing these methods allows you to transform ordinary cakes and cupcakes into edible works of art. Practice each technique, experiment with different color combinations, and don't be afraid to combine methods for unique results. The skills you develop through mastering two-tone frosting application techniques are transferable and will benefit your overall baking and decorating abilities, making every project more exciting and beautiful.
Further Baking Resources and Inspiration
Continuing your baking education is key to growth. Explore various online tutorials and classes dedicated to cake decorating and specific buttercream techniques. Look for inspiration from professional bakers and cake decorators on social media platforms and baking websites. Invest in quality tools as your skills advance; a good set of piping tips and smoothers can make a significant difference in the outcome of your two-tone designs.
Consider joining local baking groups or online communities to share your progress, ask questions, and learn from others. Experiment with different types of buttercream recipes – Swiss meringue, Italian meringue, or even hybrid buttercreams – as each handles and pipes differently and can offer new possibilities for two-tone effects. The world of two-tone frosting application techniques is vast and constantly evolving, offering endless opportunities to learn, create, and share your beautiful baked creations.
Frequently Asked Questions
What exactly is two-tone frosting, and why should I try it?
Two-tone frosting is simply applying two different colors of frosting to a cake or cupcakes to create a visually appealing and professional-looking finish. It's a great way to add extra flair to your baked goods.
What are some basic techniques for achieving a two-tone frosting effect?
Several techniques exist, including the piping bag method (placing two colors in one bag), the spatula swirl, and the ombre effect, each offering a unique look. Practice is key to mastering these basic application techniques.
What kind of frosting works best for two-tone frosting applications?
Buttercream frosting is generally recommended due to its consistency and ease of manipulation. However, cream cheese frosting or even whipped cream can also work, depending on the desired effect and recipe.
Can I use different flavors of frosting for a two-tone effect, or should I stick to colors?
Absolutely! Using different flavors can add another layer of complexity and deliciousness. Just ensure the flavors complement each other for the best taste experience.
Where can I find more detailed instructions and recipes for two-tone frosting techniques?
BakeWithEase.com offers a wealth of resources, including step-by-step guides and easy-to-find recipes specifically designed to help you master two-tone frosting applications.
Final Reflection: Mastering the Art of Two-Tone Frosting
The ability to flawlessly apply two-tone frosting is no longer just a niche skill; it's a key element in elevating baked goods from simple treats to stunning works of art. In today's visually-driven world, the presentation of food is paramount, and mastering techniques like these can significantly impact a baker's success, whether it's for personal enjoyment or professional endeavors.
The evolution of cake decorating, and indeed the entire culinary landscape, shows a clear trend towards intricate detail and personalized aesthetics. This pursuit of visual perfection is deeply satisfying, allowing bakers to express their creativity and connect with others through their creations. The art of baking is not just about the taste, but also about the experience; it's about creating something beautiful that evokes joy and wonder.
This quote perfectly encapsulates the power of techniques like two-tone frosting, transforming a simple cake into a memorable experience.
Now, it's your turn. Don't just passively consume these techniques; actively practice them. Experiment with different color combinations, piping nozzles, and frosting consistencies. Embrace the learning process, celebrate your successes, and learn from your mistakes. The journey of mastering two-tone frosting is a rewarding one, and the delicious, visually stunning results will be a testament to your dedication and skill. Go forth and create!
Here's a Call to Action (CTA) for a BakeWithEase article on Two-Tone Frosting techniques:
Unleash Your Inner Pastry Artist: Master Two-Tone Frosting!
Thanks for taking the time to explore the world of two-tone frosting with us! We hope you've gained some delicious inspiration and practical skills. Ready to put your new knowledge to the test?
- Create your masterpiece: Try out one of the techniques we discussed – perhaps a swirl, a marble effect, or even a contrasting color border. Don't be afraid to experiment!
- Share your creation: Show off your beautiful two-tone cakes and cupcakes on social media using #BakeWithEaseTwoTone. We'd love to see your baking artistry!
- Dive deeper into frosting techniques: Explore other frosting styles on our website – you might find your next favorite decorating method!
What unexpected two-tone frosting combination will you try first? Let us know in the comments!