
Essential Tools for Stunning Cake Decorating

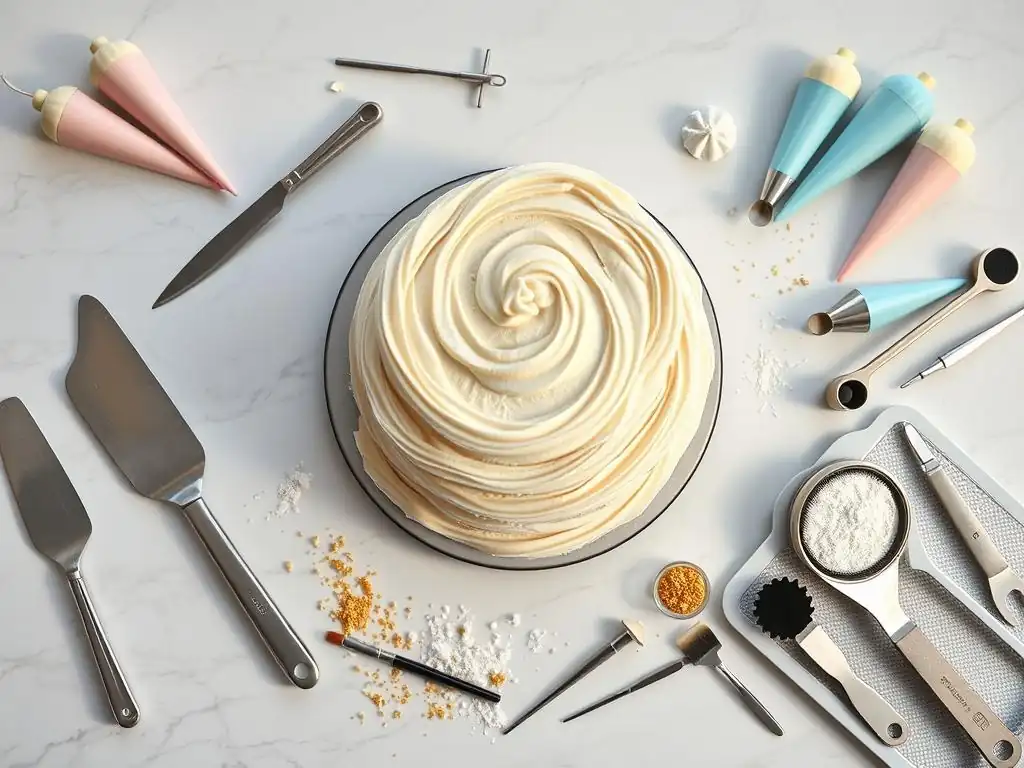
Welcome to BakeWithEase, your guide to unlocking the secrets of delicious baking! Are you ready to transform ordinary cakes into extraordinary masterpieces? This week we're diving deep into the world of cake decorating tools for beginners. Discover the essential equipment you need to get started, from must-have spatulas to game-changing piping tips. But which tools really make a difference, and how do you use them effectively? Let's explore the secrets to creating stunning cake designs with ease and unlock your inner artist!
- Essential Cake Decorating Tools for Beginners: Create Stunning Cakes with Ease
- Welcome to the World of Cake Decorating: Your Beginner's Toolkit
- Must-Have Cake Decorating Tools for Beginners: A Comprehensive List
- Beyond the Basics: Expanding Your Cake Decorating Arsenal
- Tips for Choosing the Best Cake Decorating Tools for Beginners
- Where to Buy Your Cake Decorating Tools: A Beginner's Guide to Shopping
- Maintaining Your Cake Decorating Tools: Ensuring Longevity
- Cake Decorating Tool Kits for Beginners: A Convenient Option
-
Frequently Asked Questions
- What are the absolute essential cake decorating tools a beginner should invest in?
- How important is a cake turntable for a beginner cake decorator?
- What's the difference between metal and plastic piping tips, and which is better for a beginner?
- Besides piping tips, what other tools can help create texture on a cake?
- Where can I find affordable cake decorating tools for beginners without sacrificing quality?
- Final Reflection: Mastering the Art of Cake Decorating, One Tool at a Time
- Unleash Your Inner Cake Artist!
Essential Cake Decorating Tools for Beginners: Create Stunning Cakes with Ease
Welcome to the World of Cake Decorating: Your Beginner's Toolkit
Mastering Cake Decorating Basics
Stepping into cake decorating can feel overwhelming with the seemingly endless array of tools and techniques available. However, at its core, cake decorating basics involve a few fundamental steps: baking a level cake, applying a smooth crumb coat of icing, adding a final layer of frosting, and then adding simple decorations like borders, swirls, or basic writing. Think of it like learning scales before playing a symphony – mastering these foundational skills using the right beginner cake decorating tools is crucial for building confidence and achieving beautiful results.
Understanding the purpose of each tool is key. For instance, an offset spatula isn't just for spreading; its bent handle keeps your knuckles out of the icing, allowing for much smoother finishes than a regular knife. Similarly, a simple round piping tip, like a size #10 or #12, can create perfect dots or lines, which are building blocks for more complex designs. Focusing on these core functions and practicing with basic techniques will significantly flatten the learning curve for anyone just starting out with cake decorating tools beginners.
Why Invest in Quality Cake Decorating Tools?
Investing in quality cake decorating tools from the outset can make a significant difference in your decorating journey. While it might be tempting to buy the cheapest options, better quality tools often perform more reliably, are more durable, and can actually make the process easier and more enjoyable, especially for beginners. A sturdy cake turntable, for example, rotates smoothly and stays put, allowing you to apply icing evenly without wrestling with a wobbly base. This ease of use translates directly into better-looking cakes and less frustration.
Moreover, well-made tools are built to last. A good set of stainless steel piping tips won't rust or bend easily, maintaining their shape for consistent designs over many uses. Similarly, a high-quality offset spatula with a comfortable handle will feel balanced in your hand, giving you greater control over your icing application. Think of it as an investment in your hobby; spending a bit more initially on essential cake decorating tools beginners need can save you money in the long run compared to constantly replacing flimsy equipment.
Must-Have Cake Decorating Tools for Beginners: A Comprehensive List
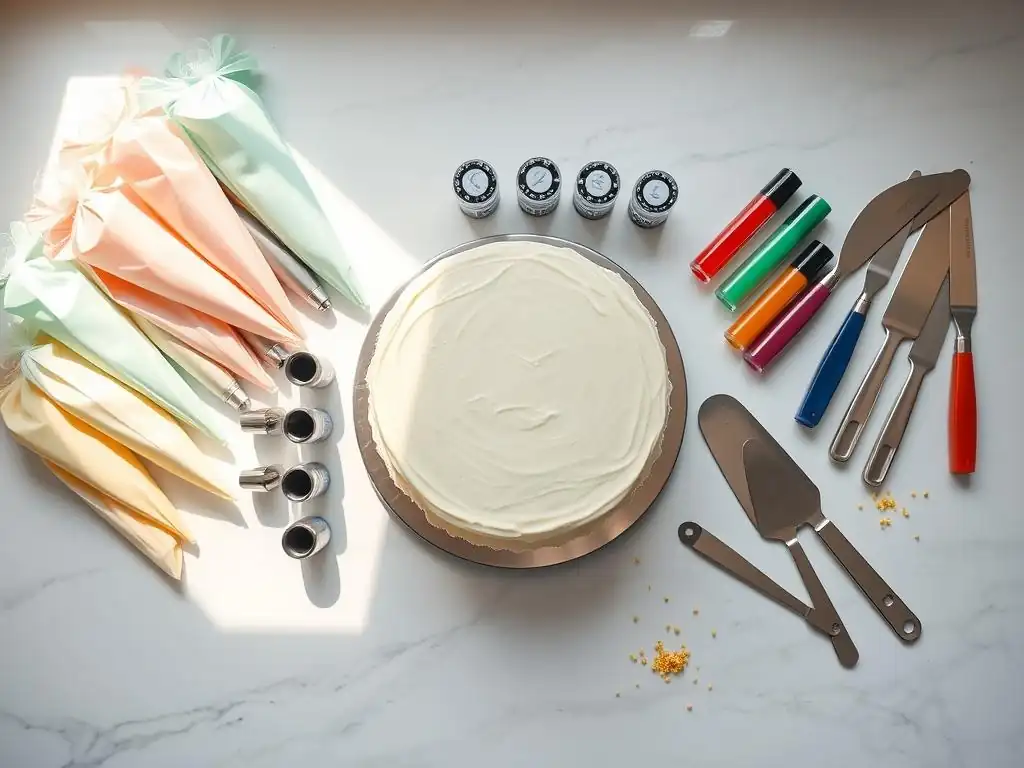
The Foundation: Essential Baking Tools for Cake Decorating
While focused on decorating, having the right baking tools is the first step to a great canvas. A well-baked, level cake is much easier to decorate than one with a dome or uneven sides. Essential baking tools for cake decorating include reliable cake pans, sturdy mixing bowls, and accurate measuring tools. These items ensure your cake base is consistent and ready for the decorating process.
For instance, using reliable cake pans of the same size and material helps ensure even baking times and consistent layer sizes. A standard 8-inch round aluminum pan is a popular choice for layered cakes, baking evenly and releasing cakes relatively easily. Having a sturdy set of mixing bowls, perhaps one large stainless steel bowl for batter and a smaller one for whipping egg whites or making small batches of buttercream, is also fundamental. These foundational tools are the unsung heroes that support all the beautiful decoration you'll add later.
Cake Pans: Finding the Right Size and Shape
Cake pans come in various materials and shapes, but for beginners, focusing on a few standard sizes and shapes is most practical. Round pans, typically 6, 8, or 9 inches in diameter, are perfect for creating classic layered cakes. Rectangular pans, like the popular 9x13 inch size, are great for sheet cakes often used for parties or simple frosted desserts. Aluminum pans are favored by many bakers for their even heat distribution, leading to consistent baking results.
When choosing pans, consider the number of layers you want. For a standard two or three-layer cake, having two or three identical 8-inch round pans is ideal, allowing you to bake layers simultaneously or consecutively with consistent results. Some non-stick pans are also available, which can simplify cake release, though traditional greasing and flouring techniques work well with aluminum pans too.
Mixing Bowls: Choosing the Perfect Material
Mixing bowls are indispensable for making cake batters, buttercreams, and other icings. They come in materials like glass, stainless steel, and plastic, each with its own advantages. Stainless steel bowls are lightweight, durable, and non-reactive, making them suitable for almost any task, including whipping egg whites to stiff peaks.
Glass bowls are also non-reactive and have the advantage of being microwave-safe, useful for gently melting butter or chocolate. Plastic bowls are typically the most affordable and lightweight, but some can retain odors or stains from ingredients. For beginners, a set of two or three stainless steel bowls in varying sizes (say, 1.5 quart, 3 quart, and 5 quart) offers versatility for different batch sizes and tasks required in cake decorating basics.
Measuring Cups and Spoons: Precision is Key
Baking, unlike cooking, relies heavily on precise measurements. Using accurate measuring cups and spoons is critical for consistent results in your cake layers and icings. It's important to distinguish between dry measuring cups (designed to be leveled off for accuracy) and liquid measuring cups (which have a spout and volume markings on the side).
A standard set of dry measuring cups typically includes 1/4 cup, 1/3 cup, 1/2 cup, and 1 cup sizes. Liquid measuring cups usually come in 1-cup, 2-cup, or 4-cup volumes. Measuring spoon sets generally include 1/4 teaspoon, 1/2 teaspoon, 1 teaspoon, and 1 tablespoon. While volume measurements are common, using a kitchen scale for weighing ingredients, especially flour, can offer even greater precision and is a technique many intermediate bakers adopt after mastering the basics with their cake decorating tools beginners.
Icing Essentials: The Heart of Cake Decoration
Once your cake is baked and cooled, the real fun of cake decorating begins with the icing. Applying frosting smoothly and adding decorative elements transforms a simple cake into a centerpiece. The essential icing tools for beginners include offset spatulas for spreading, piping bags for controlled application, and a basic set of piping tips for creating various designs. These tools are fundamental to bringing your vision to life.
Getting comfortable with icing is a core part of learning cake decorating tools beginners utilize. An offset spatula is your best friend for achieving that crucial crumb coat and the final smooth layer of frosting. Piping bags and tips open up a world of possibilities, from simple dots and stars to elegant borders and written messages. Practicing with these tools on parchment paper before working on your actual cake is a great way to build confidence and get a feel for the pressure and angle needed for different designs.
Offset Spatulas: Achieving Smooth Finishes
Offset spatulas are a staple for any cake decorator. Their unique angled blade allows you to spread icing smoothly over the top and sides of a cake without dragging your knuckles through the frosting. They come in various sizes, from small ones with a 4-inch blade perfect for spreading filling between layers or smoothing small areas, to larger ones with a 10-inch blade ideal for tackling the sides and top of a large cake.
For beginners, having one medium-sized offset spatula (around 6-8 inches) is a great starting point. This size is versatile enough for most standard cakes. Using an offset spatula is key to achieving that professional, flat top and smooth sides on your iced cake, making it one of the most important cake decorating tools beginners should acquire early on.
Piping Bags: Disposable vs. Reusable
Piping bags are essential for controlled application of icing, whether filling cupcakes, adding borders, or writing messages. You have two main choices: disposable plastic bags or reusable bags made from materials like nylon or silicone. Disposable bags offer convenience – just use and discard, minimizing cleanup. They are often sold in rolls or boxes of 100 or more, making them economical for frequent use.
Reusable bags are more environmentally friendly and durable, but they require thorough cleaning after each use to prevent bacteria buildup. For beginners, disposable bags can be easier to handle initially as they are often thinner and more flexible. However, investing in a few good quality reusable bags is worthwhile if you plan on decorating frequently. A standard 12-inch or 16-inch bag is a good size for most tasks.
Piping Tips: The Beginner's Guide to Basic Designs
Piping tips, also known as decorating tips or nozzles, are small attachments that fit onto piping bags to create specific shapes and patterns with icing. They are typically made of metal (like stainless steel) or plastic and come in hundreds of different designs. For beginners, starting with a small set of basic tips is recommended rather than buying a large, overwhelming collection.
A few key tips can create a wide variety of effects. A basic set of cake decorating tools beginners might include a few round tips, star tips, and perhaps a leaf tip. Using a coupler allows you to change tips on the same bag of icing without emptying it, adding great flexibility.
Round Tips: Essential for Lines and Outlines
Round piping tips are the simplest tips and are incredibly versatile. They produce smooth lines, dots, beads, and are used for writing messages. They are identified by numbers, with smaller numbers indicating a smaller opening (e.g., #1, #3) and larger numbers indicating a larger opening (e.g., #10, #12).
For beginners, a medium-sized round tip like a #8 or #10 is great for piping borders of dots or creating simple swirls. A smaller tip, such as a #3 or #4, is perfect for delicate lines, outlines, or practicing writing on your cake. Mastering the pressure needed for consistent lines with round tips is a fundamental skill in cake decorating basics.
Star Tips: Creating Classic Borders
Star tips are easily recognizable by their serrated edges and are used to create classic star shapes, rosettes, shells, and zig-zag borders. They come in open star (where the teeth are spread wider) and closed star (where the teeth are closer together) variations, each producing slightly different textures.
One of the most popular and versatile star tips for beginners is the open star tip like Wilton #1M or Ateco #824. This single tip can create beautiful swirls for cupcakes, elegant rosettes, and classic shell borders along the base of a cake. Practicing shell borders with a star tip is a great way to improve control with your cake decorating tools beginners.
Leaf Tips: Adding Foliage to Your Cakes
Leaf tips are specifically designed to create realistic-looking leaves using green icing. They typically have a narrow opening that flares out slightly at one end, often with a distinct vein pattern. By varying the pressure and movement of the piping bag, you can create leaves of different sizes and shapes.
Adding leaves is a simple way to enhance floral designs on your cake. A basic leaf tip like Wilton #352 or Ateco #67 is easy to use. A simple squeeze and pull motion is usually all it takes to form a convincing leaf shape. While perhaps not the absolute first tip needed, a leaf tip adds a nice touch for beginners looking to add simple decorative elements.
Smoothing and Shaping Tools: Perfecting Your Cake's Appearance
Beyond just applying icing, smoothing and shaping tools help you achieve clean lines, sharp edges, and a professional overall look for your cake. These tools are crucial for creating that polished finish that makes your cake truly stunning. They help transform a rustic, frosted cake into a smooth canvas ready for further decoration.
Using tools like cake scrapers and turntables significantly improves the ease and quality of icing application. A smooth cake surface allows other decorations, like piped borders or fondant accents, to stand out beautifully. Investing in these simple shaping tools elevates the appearance of cakes decorated with cake decorating tools beginners use.
Cake Scrapers: Achieving a Professional Look
Cake scrapers, also called bench scrapers or icing smoothers, are flat tools used to smooth the sides of an iced cake and create sharp edges on the top. They come in plastic and metal versions, with plastic being more flexible and often having patterned edges for textured finishes, while metal scrapers are sturdier and excellent for achieving perfectly straight, smooth sides.
For beginners aiming for smooth sides, a simple straight metal scraper around 6-8 inches tall is invaluable. Hold the scraper against the side of the cake while rotating the turntable (more on that next!) to evenly scrape away excess icing and fill in gaps. This technique is a game-changer for achieving that polished, professional look.
Turntables: Rotating for Even Icing
A cake turntable, also known as a revolving cake stand, is a rotating platform that allows you to easily turn your cake while you are icing or decorating it. This is incredibly helpful for applying icing smoothly and evenly to the sides and top, as well as for piping borders or other decorations consistently around the cake.
Basic plastic turntables are affordable and lightweight, suitable for starting out with cake decorating tools beginners. More advanced metal or heavy-duty plastic turntables offer smoother rotation and greater stability, which can be beneficial as you tackle more complex designs or heavier cakes. Even a simple turntable makes the task of achieving smooth sides significantly easier.
Cake Levelers: Ensuring Even Cake Layers
Uneven cake layers can make stacking and decorating a challenge. A cake leveler is a tool designed to slice horizontally through a cake layer, ensuring it is perfectly flat and of consistent thickness. They typically consist of a wire or serrated blade stretched between two adjustable feet.
Using a cake leveler helps create stable, even layers for stacking, which is essential for a professional-looking multi-tiered cake. Simply adjust the wire or blade to the desired height, place the cake on a flat surface, and gently saw through the cake layer. This simple tool ensures your cake base is perfectly prepared for icing and stacking.
Beyond the Basics: Expanding Your Cake Decorating Arsenal
Once you've mastered the fundamental cake decorating tools beginners rely on, you might want to explore ways to add more color, detail, and flair to your creations. This is where tools like food coloring, edible decorations, and more specialized equipment come into play. These additions allow for greater creativity and more intricate designs.
Expanding your toolkit gradually based on the techniques you want to try is a smart approach. Perhaps you want to create vibrant ombre effects with food coloring, add sparkle with edible glitter, or experiment with fondant. These tools open up new avenues for expression and help you develop more advanced cake decorating skills beyond the initial basics.
Food Coloring: Adding Vibrant Hues to Your Creations
Adding color is one of the easiest ways to make your cakes pop. Food coloring allows you to tint icings, batters, and even fondant in a spectrum of shades. However, not all food colorings are created equal, and choosing the right type can impact the consistency and vibrancy of your colors.
For cake decorating, especially with buttercream or royal icing, concentrated forms of food coloring are often preferred. These require only a small amount to achieve rich colors without significantly altering the texture of your icing, which can happen with less concentrated liquid colors. Experimenting with different types and amounts of color is a fun part of the process.
Gel Food Coloring: The Professional's Choice
Gel food colorings are highly concentrated color pastes or gels. They are widely regarded as the best choice for coloring frostings, batters, and fondant because they produce vibrant colors with only a small amount, adding very little liquid. This is particularly important for icings like buttercream or royal icing, where adding too much liquid can negatively affect consistency.
A tiny drop of gel color can transform white buttercream into a deep hue. They typically come in small jars or squeeze bottles, making them easy to use. Popular brands like AmeriColor or Wilton Concentrated Gel Colors offer a wide range of shades. Using a toothpick or the tip of a clean spoon to add color gradually helps prevent over-coloring.
Liquid Food Coloring: Easy and Accessible
Liquid food colorings are the most common type found in grocery stores and are often sold in small bottles in sets of primary colors (red, yellow, blue, green). They are less concentrated than gel colors and are water-based. While easy to find and use, you often need a larger amount to achieve bright colors, which can thin out icings or batters.
Liquid colors are perfectly fine for tinting cake batter or creating pastel shades in frosting. However, if you need deep, vibrant colors in buttercream, you may find yourself adding quite a bit, potentially affecting the texture. For beginners just experimenting with color, liquid colors can be a good starting point due to their accessibility.
Sprinkles and Edible Decorations: Adding Personality
Sprinkles and other edible decorations are a simple yet effective way to add texture, color, and fun to your cakes. They come in countless shapes, sizes, and colors, allowing you to customize your cake to fit any theme or occasion. From classic jimmies to intricate sugar shapes, these decorations offer endless possibilities.
Applying sprinkles can be as simple as scattering them over wet icing or pressing them onto the sides of a cake. Edible glitters and dusts add shimmer and elegance. These decorative elements are easy to use and can instantly elevate the look of a cake, making them excellent additions to the collection of cake decorating tools beginners might explore.
Choosing the Right Sprinkles for Your Cake
The world of sprinkles is vast! Common types include jimmies (the elongated cylindrical ones), nonpareils (tiny spheres), sanding sugar (larger, sparkling crystals), coarse sugar (larger, opaque crystals), confetti (flat shapes like circles or stars), and various shaped sprinkles (like hearts, animals, etc.). The best choice depends on the desired look and texture.
Jimmies and nonpareils are great for overall coverage or borders. Sanding sugar adds a sparkly texture. Confetti sprinkles are perfect for adding pops of color or specific shapes. Consider the color palette and theme of your cake when selecting sprinkles. A simple sprinkle mix can add a festive touch with minimal effort.
Edible Glitter and Dust: Adding Shimmer and Shine
For a touch of elegance or sparkle, edible glitters and dusts are the way to go. Edible glitters have larger particles and provide a noticeable sparkle, while edible dusts (like luster dust or petal dust) have finer particles and create a shimmery or matte effect, often used for coloring fondant or gum paste decorations.
Edible glitters are typically applied by sprinkling or patting onto wet icing or fondant. Edible dusts are often applied dry with a soft brush for a subtle shimmer or mixed with a clear extract (like vodka or lemon extract) to create an edible paint for more intense color or metallic effects. Ensure you purchase products specifically labeled as "edible" for consumption.
Specialized Tools: Leveling Up Your Cake Decorating Skills
As you gain confidence with basic cake decorating tools beginners use, you might find yourself wanting to try more advanced techniques like covering cakes in fondant or airbrushing intricate designs. This is where specialized tools come into play. While not necessary for every beginner, they are worth considering as you explore different decorating styles.
These tools often require a bit more practice and investment but can unlock new levels of creativity. Fondant smoothers are essential for achieving flawless fondant finishes, while airbrush systems allow for stunning gradient and stencil work. Exploring these tools can be a natural progression once you feel comfortable with the basics.
Fondant Smoothers: For Flawless Fondant Cakes
If you decide to venture into covering cakes with fondant, a fondant smoother is an indispensable tool. After draping rolled fondant over a cake, a plastic fondant smoother is used to gently but firmly rub the surface, pressing the fondant onto the buttercream or ganache underneath and smoothing out any wrinkles or imperfections.
Using two smoothers – one for the top and one for the side simultaneously – helps create sharp edges and a perfectly smooth finish. This tool is relatively simple but crucial for achieving that signature smooth, pristine look characteristic of fondant-covered cakes.
Airbrush Systems: Creating Stunning Effects
Airbrush systems for cake decorating use compressed air to spray edible food coloring onto the cake surface. This allows for creating smooth gradients, ombre effects, stenciled patterns, and realistic shading that are difficult to achieve with traditional icing methods. They are a more advanced tool and require some practice to control the spray.
A basic airbrush kit includes the airbrush gun, a compressor, and edible airbrush colors. While a larger investment and learning curve than basic cake decorating tools beginners use, an airbrush opens up a wide range of artistic possibilities for creating truly unique and professional-looking cakes.
Tips for Choosing the Best Cake Decorating Tools for Beginners
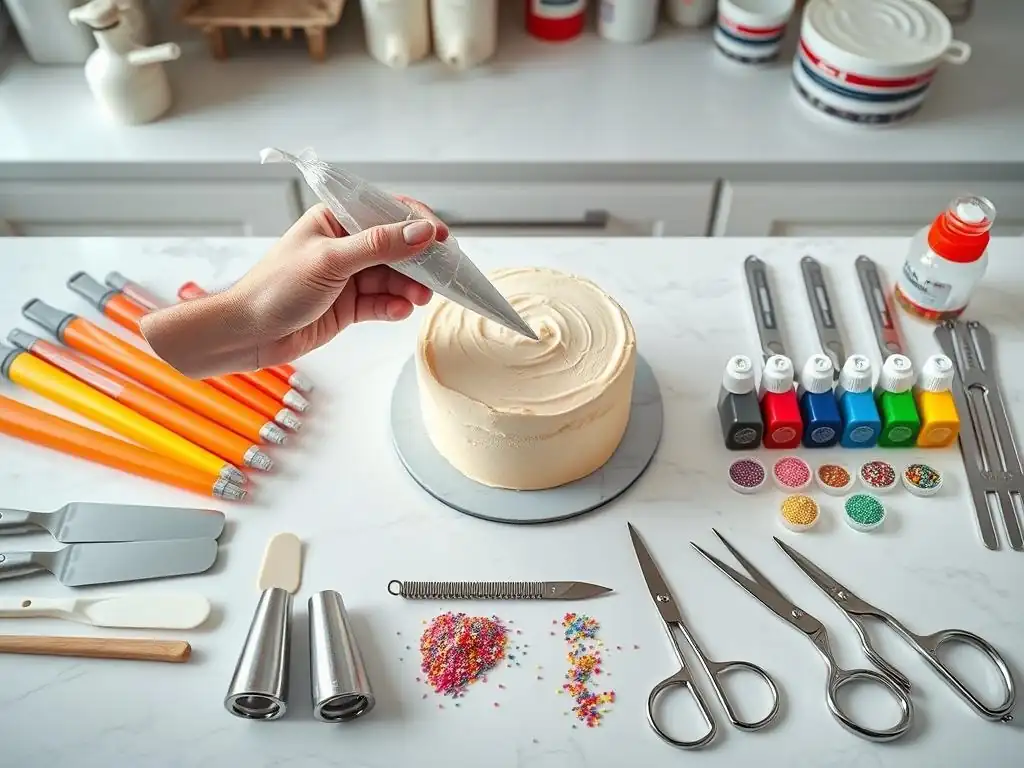
Choosing the right cake decorating tools beginners need can feel overwhelming with so many options available. However, focusing on a few key considerations will help you build a functional and effective toolkit without unnecessary expense or clutter. Think about your immediate needs, your budget, and the potential for future growth.
Starting small and focusing on versatile, quality tools that serve multiple purposes is a smart strategy. Don't feel pressured to buy everything at once. Prioritize the essentials for the types of cakes and decorations you plan to attempt first.
Consider Your Budget: Building Your Toolkit Gradually
Cake decorating can range from a simple hobby to a significant investment in equipment. For beginners, it's wise to start with a modest budget and purchase essential tools first. You don't need the most expensive professional-grade equipment to start creating beautiful cakes.
Prioritize tools that are fundamental to basic decorating techniques, like a good offset spatula, a few piping bags, and a basic set of versatile piping tips. You can always add more specialized tools later as your skills develop and you discover which techniques you enjoy most. Building your toolkit gradually allows you to spread the cost and ensure you're buying tools you'll actually use.
Prioritize Quality Over Quantity: Investing in Durable Tools
While staying within budget is important, try to prioritize quality for key tools that you'll use frequently. A well-made tool not only performs better but also lasts longer, saving you money in the long run compared to constantly replacing cheap, flimsy items. Look for sturdy construction and durable materials.
For example, investing in stainless steel piping tips that won't rust or bend easily is a better choice than very thin, cheap metal tips. A sturdy, stable cake turntable is preferable to a wobbly one. Reading reviews and researching brands known for quality baking and cake decorating tools beginners can trust is a good practice.
Read Reviews and Do Your Research: Finding Reliable Brands
Before purchasing your cake decorating tools beginners, take some time to read reviews from other users. Look for feedback on durability, ease of use, and performance. Websites like Amazon, baking supply store sites, and baking blogs often feature product reviews and recommendations.
Researching reliable brands known for quality baking and decorating supplies can also guide your choices. Brands like Wilton, Ateco, Fat Daddio's (for pans), and OXO Good Grips often receive positive reviews for their durability and functionality. Doing a little homework helps ensure you invest in tools that will serve you well as you learn cake decorating basics.
Where to Buy Your Cake Decorating Tools: A Beginner's Guide to Shopping
Finding the right places to purchase your cake decorating tools beginners need is the next step after deciding what you need. There are several options, each offering different advantages in terms of selection, price, and accessibility. Knowing where to look makes the shopping process much smoother.
Whether you prefer the convenience of online shopping or the tactile experience and expert advice found in physical stores, you have plenty of choices. Consider which option best suits your needs and preferences for building your initial cake decorating toolkit.
Online Retailers: Convenience and Variety
Online retailers offer unparalleled convenience and a vast selection of cake decorating tools beginners and experienced decorators alike can access. Websites like Amazon, specialty baking supply stores (e.g., GlobalSugarArt, Fantes), and even large craft store chains with online shops carry a wide range of products from various brands.
Shopping online allows you to easily compare prices, read numerous customer reviews, and find specialized items that might not be available locally. The downside is you can't physically inspect the tools before buying, and shipping costs need to be considered. However, the sheer variety and competitive pricing make online shopping a popular choice for many.
Local Baking Supply Stores: Expert Advice and Hands-On Experience
Visiting a local baking supply store or a craft store with a dedicated baking section offers a different kind of shopping experience. You can see and feel the tools before purchasing, which is helpful for assessing quality and size. More importantly, these stores often have knowledgeable staff who can offer advice and recommendations tailored to your needs as a beginner.
Local stores might have a smaller selection than large online retailers, but the ability to ask questions and get hands-on with the tools can be invaluable. Some local stores also offer classes, providing a great way to learn how to use your new cake decorating tools beginners effectively.
Maintaining Your Cake Decorating Tools: Ensuring Longevity
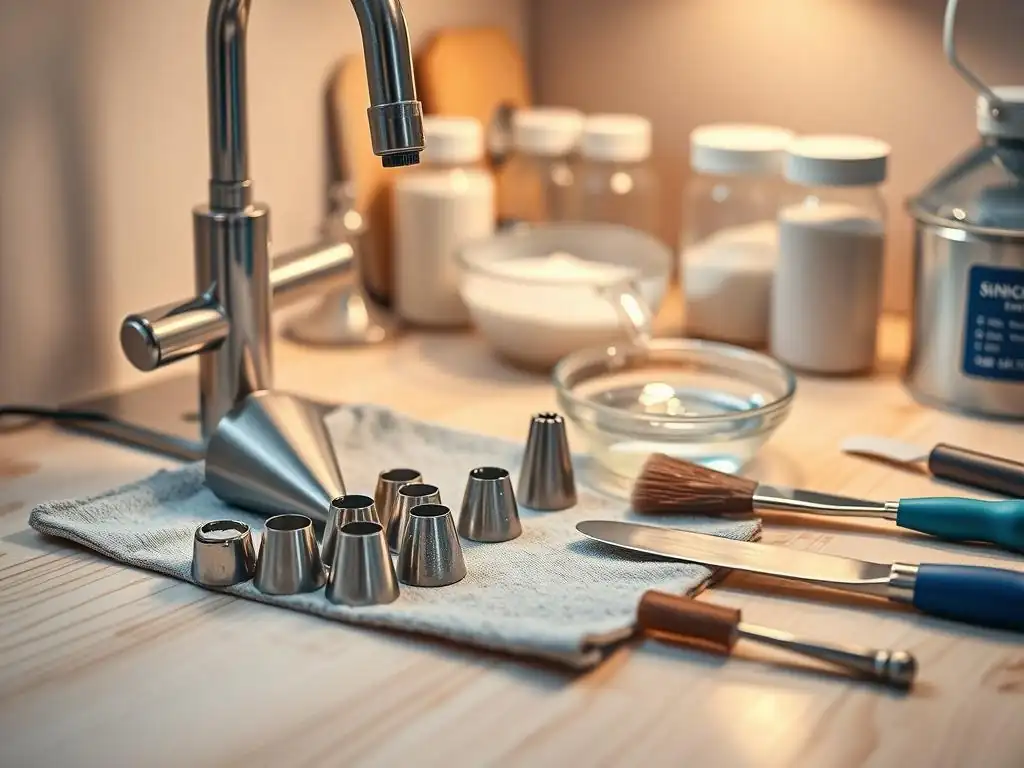
Proper care and maintenance are essential for keeping your cake decorating tools in good condition and ensuring they last for many decorating projects. Cleaning tools promptly after use and storing them correctly prevents damage, rust, and keeps them hygienic for future baking endeavors.
Taking a few minutes to properly clean and store your tools after each decorating session will protect your investment and make sure they are ready to go the next time inspiration strikes. This is a simple yet crucial step in the process of using cake decorating tools beginners.
Proper Cleaning Techniques: Keeping Your Tools in Top Condition
Different tools require different cleaning methods. Piping bags and tips should be cleaned immediately after use, especially if using buttercream, as dried icing is difficult to remove. Disposable bags are simply discarded. Reusable bags should be turned inside out and washed thoroughly with warm, soapy water, perhaps using a bottle brush to get into tight corners, then rinsed and air dried completely.
Metal tools like piping tips, spatulas, and scrapers should also be washed promptly in warm, soapy water. A small brush specifically for cleaning piping tips can be very helpful. Ensure all tools are dried thoroughly before storing to prevent rust, especially with metal items. Avoid the dishwasher for delicate or specific tools unless the manufacturer explicitly states they are dishwasher safe.
Safe Storage Practices: Protecting Your Investment
Storing your cake decorating tools properly helps keep them organized, clean, and protected from damage. Piping tips are often best stored in dedicated tip organizers or small containers to keep them together and prevent them from getting lost or damaged.
Larger tools like spatulas, scrapers, and levelers can be stored in drawers or utensil crocks. Keep them away from excessive moisture. Fondant tools should be kept clean and stored in a dry place. Organizing your tools not only protects them but also makes it easier to find what you need the next time you're ready to bake and decorate!
Cake Decorating Tool Kits for Beginners: A Convenient Option
For beginners looking for a simple way to acquire many essential tools at once, a pre-assembled cake decorating tool kit can be a convenient option. These kits are often curated specifically for those just starting out and typically include a selection of basic piping tips, piping bags, a coupler, an offset spatula, and sometimes other items like a cake leveler or small turntable.
Buying a kit can be cost-effective compared to purchasing each item individually and ensures you have a foundational set of tools that work together. However, it's worth checking the quality of the tools included in a kit, as some beginner kits may contain lower-quality items. Look for kits from reputable brands known for durable cake decorating tools beginners can rely on. While not strictly necessary, a good kit can provide a jumpstart to building your collection.
Frequently Asked Questions
What are the absolute essential cake decorating tools a beginner should invest in?
A beginner should focus on having a good offset spatula for frosting, a set of basic piping tips (round, star, leaf), and a cake turntable for smoother frosting application. These are the foundation for most decorations.
How important is a cake turntable for a beginner cake decorator?
A turntable is highly recommended. It allows for smooth and even frosting, which is crucial for a professional-looking finish. It significantly simplifies the frosting process.
What's the difference between metal and plastic piping tips, and which is better for a beginner?
Metal tips are more durable and heat-resistant, making them a better long-term investment. However, plastic tips are often cheaper and perfectly adequate for beginners and simple designs.
Besides piping tips, what other tools can help create texture on a cake?
Cake combs or scrapers are great for creating textures on the frosting. Additionally, you can use simple kitchen tools like forks or spoons for creative and unique textures.
Where can I find affordable cake decorating tools for beginners without sacrificing quality?
Look for starter sets online or at craft stores. Often, you can find good quality tools that are budget-friendly. Consider buying individual tools as needed to avoid unnecessary extras.
Final Reflection: Mastering the Art of Cake Decorating, One Tool at a Time
The pursuit of stunning cake decorating isn't about innate talent; it's about mastering the essential tools and techniques. This journey, as explored in this article, is accessible to everyone, regardless of prior experience. The right tools, used correctly, unlock a world of creative possibilities, transforming simple cakes into edible masterpieces.
The impact of cake decorating extends far beyond the visual appeal; it's about creating joy, celebrating milestones, and forging connections. It's a craft that transcends generations, fostering creativity and providing a tangible expression of love and care. As the saying goes, The best things in life are homemade,
and this sentiment rings especially true when it comes to the artistry of cake decorating. The skills learned here aren't just about creating beautiful cakes; they're about building confidence and finding satisfaction in the process of creation.
Now, it's your turn. Don't let the perceived complexity of cake decorating intimidate you. Take a deep breath, gather your essential tools, and embrace the journey. Start small, experiment with different techniques, and most importantly, have fun! Each frosted flower, each perfectly piped border, represents a step forward in your creative evolution. The world of cake decorating awaits – go forth and create something truly spectacular.
Unleash Your Inner Cake Artist!
Thanks for diving into the world of stunning cake decorating with us! You've now got the knowledge to create truly impressive masterpieces. Ready to put your new skills into action?
- Master your first new technique: Choose one of the decorating methods we discussed – whether it's mastering piping roses or achieving perfect fondant smoothing – and practice it this week!
- Share your baking journey: Post a picture of your creation on social media using #BakeWithEase and tag us! Let's inspire each other!
- Explore further: Browse our website for more advanced cake decorating tutorials and recipes to expand your skills even more.
What delicious creation will you bake next?