
Measuring Sticky Ingredients with Ease: Tips for Honey, Molasses, and Syrups

Welcome to BakeWithEase, where we transform baking challenges into delightful triumphs! Are you tired of wrestling with sticky ingredients that cling to everything but the measuring cup? Get ready to unlock the secrets to perfectly portioning honey, molasses, and syrups with our guide on Sticky Ingredient Measuring Tips. Discover how to eliminate frustrating messes and achieve accurate results every time, making your baking experience smoother and more enjoyable. Read on to find out how!
- Bake It Right: Mastering Sticky Ingredient Measurement for Perfect Baking
- Understanding the Challenge: Why Measuring Sticky Ingredients is Tricky
- Sticky Ingredient Measuring Tips: The Ultimate Guide
- Choosing the Right Measuring Tool for Sticky Baking Ingredients
- Cleaning Up After Measuring Sticky Ingredients: Easy Solutions
- Troubleshooting Common Issues When Measuring Sticky Ingredients
- Advanced Techniques for Measuring Sticky Ingredients
- Conclusion: Perfect Baking Starts with Accurate Sticky Ingredient Measurement
-
Frequently Asked Questions
- How can I prevent sticky ingredients like honey from sticking to my measuring cups?
- Is there a difference in accuracy between using liquid measuring cups and dry measuring cups for sticky ingredients?
- Can I use the warm water trick to measure sticky ingredients?
- What's the best way to measure a small amount of a sticky ingredient, like a teaspoon of molasses?
- How does temperature affect the measurement of sticky ingredients?
- Final Reflection: The Sweet Science of Accurate Baking
- Unlock Baking Bliss: Master Your Sticky Ingredients!
Bake It Right: Mastering Sticky Ingredient Measurement for Perfect Baking
Accurate measurement is the cornerstone of successful baking. While dry ingredients and free-flowing liquids might seem straightforward, sticky substances like honey, molasses, and corn syrup present a unique challenge. Getting these measurements right is crucial because they don't just add sweetness; they contribute significantly to the texture, moisture, and color of your baked goods. A slight miscalculation when measuring sticky ingredients can mean the difference between perfectly chewy cookies and hard, dry discs, or a beautifully moist cake versus a dense brick.
This guide will equip you with essential sticky ingredient measuring tips, transforming a potentially frustrating task into a simple step in your baking process. We'll delve into the why behind the difficulty and provide practical, easy-to-implement techniques using common kitchen tools. Mastering how to measure these viscous liquids accurately is a fundamental skill that will elevate your baking results, ensuring consistency and delicious outcomes every time you step into the kitchen.
Understanding the Challenge: Why Measuring Sticky Ingredients is Tricky
The Viscosity Factor: Impact on Accurate Baking Measurements
The primary reason measuring sticky ingredients like honey, molasses, and various syrups is challenging lies in their high viscosity. Viscosity is a measure of a fluid's resistance to flow; the thicker the liquid, the higher its viscosity. At room temperature, molasses, for example, can be significantly more viscous than water, sometimes by more than ten times depending on the type. This thickness causes the ingredient to cling stubbornly to the inside of measuring cups and spoons.
When you pour a viscous liquid into a measuring tool and then attempt to transfer it into your mixing bowl, a substantial amount often remains coating the measuring device. This means you're not actually adding the full volume required by the recipe.
In baking, where ratios are often precise, being short by even a tablespoon or two of a key liquid sweetener can throw off the delicate balance of ingredients, impacting hydration, sweetness, and texture. For instance, in a recipe for gingerbread cookies, being short on molasses will likely result in a less moist, less flavorful, and potentially tougher cookie.
Common Problems When Measuring Honey, Molasses & Corn Syrup
Beyond the clinging residue, several other issues commonly arise when attempting accurate sticky ingredient measurement. Air bubbles can easily become trapped within the thick liquid as you pour it into a measuring cup. These bubbles displace the liquid, meaning the volume appears correct, but you're actually measuring a mixture of liquid and air, resulting in less actual ingredient. This is particularly noticeable with very thick molasses or golden syrup.
Another problem is the sheer mess and waste. Pouring sticky liquids can lead to drips down the side of containers and measuring tools, creating sticky countertops and hands. Trying to scrape out every last drop from a measuring cup can be a tedious and frustrating process, often leaving a noticeable amount behind. This not only wastes precious ingredients but also contributes to the inaccuracy of your measurement. These challenges highlight the need for specific sticky ingredient measuring tips to ensure your baking is consistently successful.
Sticky Ingredient Measuring Tips: The Ultimate Guide
Tip 1: The Oil Spray Trick for Measuring Sticky Liquids
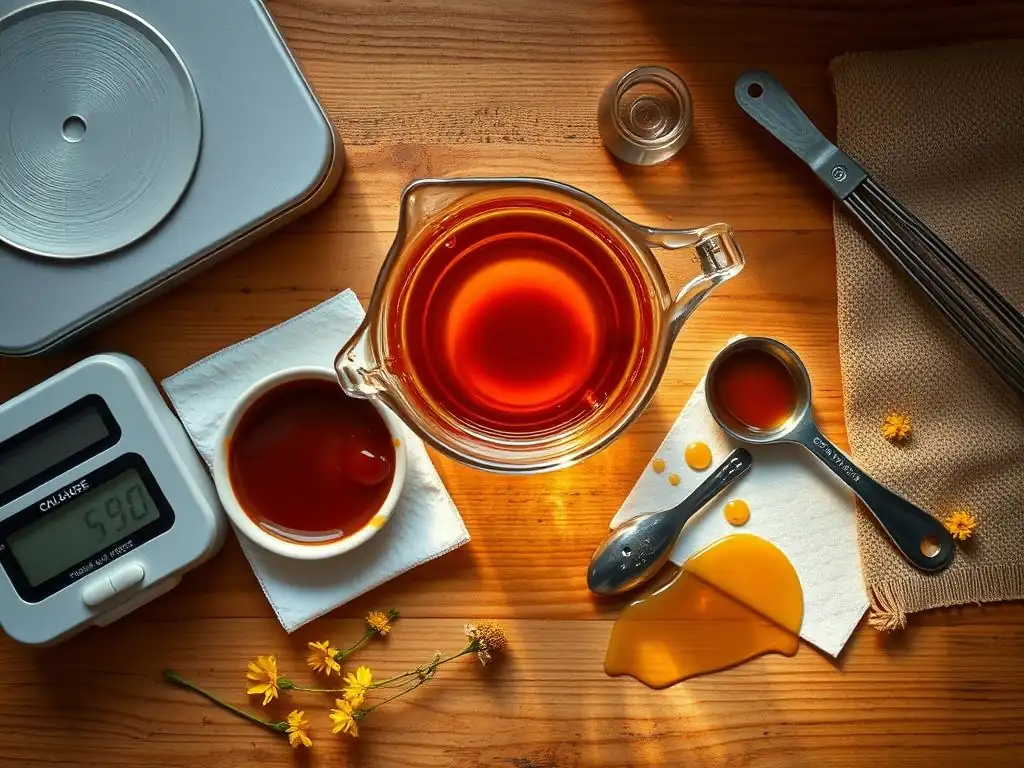
A simple yet incredibly effective method for measuring sticky ingredients is to lightly coat your measuring cup or spoon with cooking spray or a neutral oil before adding the liquid. This creates a thin, non-stick barrier between the sticky substance and the surface of the measuring tool. When you pour the honey, molasses, or syrup into the greased cup, it won't cling to the sides.
Once the measurement is complete, the sticky liquid will slide out of the greased measuring tool much more easily and cleanly, leaving minimal residue behind. This ensures that you transfer virtually the entire measured volume into your mixing bowl, significantly improving the accuracy of your sticky ingredient measurement. It's a quick step that saves time, reduces waste, and makes cleanup much simpler.
How to Use Cooking Spray for Easy Release
Using cooking spray for measuring sticky ingredients is straightforward. First, select the appropriate measuring cup or spoon for the volume required by your recipe. Hold the measuring tool over the sink or a trash can and give the inside a very light spritz of cooking spray. You only need a thin, even coating; too much spray adds excess fat to your recipe, which can affect the outcome, especially in delicate bakes.
Alternatively, you can use a paper towel dipped in a neutral oil, like vegetable, canola, or grapeseed oil, to lightly grease the inside of the measuring tool. Swirl the oil around to coat the entire surface that the sticky ingredient will touch. Once coated, pour your honey, molasses, or syrup into the prepared measuring cup or spoon. You'll notice how easily it slides out when you add it to your other ingredients. This simple trick is one of the best sticky ingredient measuring tips for minimizing mess and maximizing accuracy.
Best Cooking Sprays for Measuring Honey and Syrups
When choosing a cooking spray for this sticky ingredient measuring tip, opt for neutral-flavored varieties that won't impart any noticeable taste to your baked goods. Canola oil spray, vegetable oil spray, or even a general non-stick baking spray (often a blend of oils) work exceptionally well. Avoid sprays with strong flavors like olive oil spray, unless the recipe specifically calls for olive oil and the flavor is desired.
Some bakers prefer pump-style oil sprayers filled with their own neutral oil, as this allows for more control over the amount of oil applied compared to aerosol cans. Regardless of the type, the key is a light, even coating. A standard 5-ounce can of cooking spray contains hundreds of applications, meaning a single can will last for a very long time when used solely for this purpose. This small investment in a neutral cooking spray can make a big difference in your sticky ingredient measurement accuracy and overall baking experience.
Tip 2: The Warm Water Bath Method for Viscous Ingredients
For particularly thick or cold sticky ingredients like molasses or chilled honey, a warm water bath can significantly reduce their viscosity, making them easier to measure and pour. Warming the ingredient slightly allows it to flow more freely, minimizing the amount that clings to the measuring tool. This method is especially helpful in colder kitchens or when working with ingredients stored in the refrigerator.
The goal is gentle warming, not heating the ingredient. Overheating can alter the properties of honey (like destroying beneficial enzymes) or change the flavor of molasses. A warm water bath is a controlled way to make the ingredient more manageable without risking damage or significant temperature changes that could affect other temperature-sensitive ingredients in your recipe (like butter or eggs). This technique is a valuable addition to your sticky ingredient measuring tips repertoire.
Warming Honey and Molasses for Improved Flow
To warm honey or molasses using a water bath, first measure the required amount into your measuring cup or spoon. Do not use the oil spray method simultaneously with this; the warming alone should be sufficient to improve flow. Place the measuring tool containing the sticky ingredient into a larger bowl filled with warm tap water. Ensure the water level is below the rim of the measuring cup to prevent water from getting into your ingredient.
Let the measuring tool sit in the warm water for a few minutes (typically 3-5 minutes is sufficient). You'll notice the ingredient inside becoming more fluid and easier to tilt or swirl. Once it has reached a more pourable consistency, carefully remove the measuring tool from the water, dry the outside thoroughly to avoid adding water to your recipe, and then add the ingredient to your mixing bowl. This gentle warming process makes accurate sticky ingredient measurement much simpler.
Maintaining Accuracy with the Warm Water Technique
While warming improves flow, it's important to ensure the measurement remains accurate. Measure the ingredient before placing the cup in the warm water bath. The warming process itself doesn't change the volume of the ingredient significantly for typical home baking quantities. The purpose is solely to reduce stickiness and improve transferability.
After warming and drying the measuring cup, carefully pour the ingredient into your bowl. You should see it slide out much more cleanly than it would at room temperature without warming. If any significant amount still remains, you can use a small rubber spatula to gently scrape out the rest. This combined approach ensures you get the benefit of reduced viscosity while still measuring the correct volume, making it a reliable method among sticky ingredient measuring tips.
Tip 3: The Inverted Measuring Cup Technique Explained
For some sticky liquids measured in cups, the inverted measuring cup technique can be useful, particularly when dealing with larger volumes like 1/2 cup or 1 cup. This method leverages gravity and the shape of the measuring cup to encourage a clean release. It's not suitable for all sticky ingredients or all recipes, but can be effective for things like corn syrup or lighter syrups.
This technique minimizes the contact time between the sticky ingredient and the cup's surface before it's transferred to the bowl. While it might seem counterintuitive, it can lead to a more complete transfer than simply pouring from an upright cup, especially if you don't want to use oil or warm the ingredient. It's another arrow in your quiver of sticky ingredient measuring tips.
Step-by-Step Guide to Inverted Measurement
Here's how to perform the inverted measuring cup technique:
- Select the correct dry measuring cup for the volume needed.
- Pour the sticky ingredient into the cup, slightly overfilling it.
- Using a straight edge (like the back of a knife or a small offset spatula), carefully level off the excess, allowing it to drip back into the ingredient's original container. Be precise to ensure an accurate volume.
- Quickly but smoothly invert the measuring cup directly over your mixing bowl or the spot where the ingredient needs to go.
- Allow the ingredient to flow out using gravity. You may need to give the cup a gentle shake or tap.
This method works best with ingredients that level easily and flow relatively quickly once inverted. It might not be as effective for extremely thick molasses or very cold honey.
Minimizing Mess and Waste with This Method
The inverted technique, when executed properly, can significantly reduce the amount of sticky residue left in the cup. Because the ingredient is poured in and immediately inverted, there's less opportunity for it to cling tightly to the sides compared to letting it sit or slowly pour out of an upright cup. This directly contributes to minimizing waste.
Cleanup is also generally easier because less ingredient is left coating the measuring cup. While it might not be as mess-free as the oil spray method, it's a good alternative, particularly if you prefer not to add any oil to your measurement. Practicing this technique a few times will help you get a feel for the speed and smoothness required for the cleanest transfer, making it a valuable skill for accurate sticky ingredient measurement.
Tip 4: Using Adjustable Measuring Cups for Thick Liquids
Adjustable measuring cups are specialized tools that can be particularly helpful for measuring sticky ingredients, especially smaller volumes like tablespoons or 1/4 cup increments. These cups typically feature a plunger or a sliding mechanism that allows you to fill the cup to the desired volume and then push the ingredient out directly into your mixing bowl.
The design of these cups minimizes the surface area the sticky ingredient clings to before being expelled by the plunger. This mechanical action forces the ingredient out, ensuring a much more complete transfer than simply relying on gravity or scraping. For frequent bakers who work with sticky ingredients, an adjustable measuring cup can be a worthwhile addition to their kitchen gadgets, simplifying sticky ingredient measuring tips.
Benefits of Adjustable Measuring Cups
The primary benefit of using adjustable measuring cups for sticky ingredients is the ease and completeness of ingredient transfer. Instead of battling with a spatula to scrape out molasses from a standard spoon, you simply push the plunger, and the ingredient is cleanly dispensed. This not only saves time and effort but also improves accuracy by ensuring you get the full measured volume into your recipe.
Adjustable cups often feature markings for various volumes (e.g., from 1 teaspoon up to 1/4 cup or more), making them versatile for different recipes. They are particularly effective for smaller measurements where the percentage of ingredient lost to sticking in a standard spoon is higher. Using an adjustable measuring cup simplifies the process and makes sticky ingredient measurement less frustrating.
Choosing the Right Adjustable Cup for Sticky Substances
When selecting an adjustable measuring cup specifically for sticky ingredients, look for models with a smooth internal surface and a well-fitting, robust plunger or slider. Materials like plastic or silicone are common, and many are dishwasher safe for easy cleanup. Consider the range of volumes you typically measure; some adjustable cups go up to 1/2 cup, while others are designed primarily for smaller spoon measurements.
Read reviews to see how well the plunger mechanism works with thick substances like honey and molasses. A good design will allow you to push the ingredient out with minimal effort and leave very little residue behind. While a single adjustable cup might cost slightly more than a set of standard measuring spoons, its effectiveness for sticky ingredients can be well worth the investment for anyone serious about accurate baking.
Tip 5: Weighing Sticky Ingredients for Unmatched Accuracy
For the highest level of accuracy in baking, especially with sticky ingredients, weighing is the gold standard. Measuring by weight using a kitchen scale is far more precise than measuring by volume. Volume measurements can be affected by factors like how tightly you pack dry ingredients or how much liquid clings to a cup, whereas weight is a consistent measure of the amount of substance.
Many modern recipes, particularly those from professional bakers or reputable baking websites, provide ingredient measurements by weight in grams or ounces. This trend is growing because weighing eliminates many variables that can lead to inconsistent results when measuring by volume. When it comes to sticky ingredient measuring tips, weighing offers the ultimate precision.
Why Weight is Best for Honey and Molasses
Sticky ingredients like honey and molasses have a high density compared to water or flour. Their viscosity means that air pockets can easily get trapped when measuring by volume, leading to inaccurate results. Furthermore, the amount that clings to a measuring cup can vary depending on the temperature, the type of cup, and how vigorously you scrape it.
When you weigh honey or molasses, none of these factors matter. You simply place your mixing bowl on the scale, tare it (reset it to zero), and pour the sticky ingredient directly into the bowl until the scale shows the exact weight required by the recipe. This eliminates the mess and the guesswork associated with volume measurements, ensuring you add precisely the amount the recipe intends. For critical recipes like candy making or sourdough starters that rely heavily on precise ratios of liquid sweeteners, weighing is indispensable.
Converting Volume to Weight for Sticky Liquids
If a recipe only provides volume measurements for sticky ingredients, you can often find reliable conversion charts online or in baking books. As a general guide:
- 1 cup of honey is approximately 12 ounces (or about 340 grams).
- 1 cup of molasses is approximately 11.5 to 12 ounces (or about 325-340 grams), depending on the type (light, dark, blackstrap).
- 1 cup of corn syrup is approximately 11.5 ounces (or about 325 grams).
These are approximations, as the exact density can vary slightly based on factors like moisture content and temperature. However, weighing based on these approximations is still often more accurate than relying on volume measurement with sticky ingredients due to the cling factor. For best results, find a conversion chart specific to the type of ingredient you are using. Investing in an affordable digital kitchen scale will significantly improve your sticky ingredient measurement accuracy and overall baking consistency.
Choosing the Right Measuring Tool for Sticky Baking Ingredients
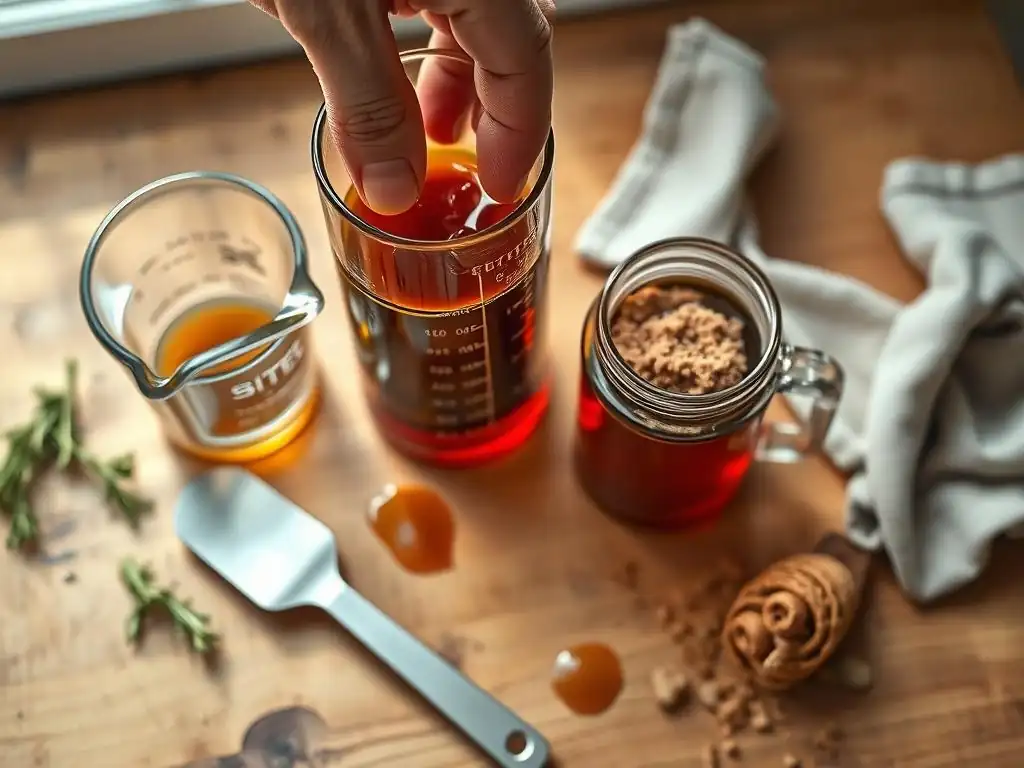
Selecting the appropriate tool is key to successful sticky ingredient measurement. While standard dry measuring cups and spoons are commonly used, some are better suited than others for handling viscous liquids. Materials and design can make a significant difference in how easily sticky ingredients release.
Beyond the basic measuring cups and spoons, certain kitchen gadgets can make the task even simpler and more accurate. Having the right tools at hand, combined with the sticky ingredient measuring tips discussed, will streamline your baking process and lead to better results.
Best Measuring Cups for Honey, Molasses, and Syrup
For measuring sticky ingredients by volume, dry measuring cups are generally preferred over liquid measuring cups. Dry measuring cups are designed to be filled to the brim and leveled, which is easier to do with a somewhat level-able sticky substance than trying to read a meniscus line on a liquid measuring cup through a thick, dark liquid like molasses.
Look for measuring cups made from materials that sticky ingredients are less likely to adhere to. Stainless steel cups with smooth, polished interiors tend to release sticky substances better than some plastics or ceramics that might have more porous surfaces. Cups with wide, flat rims also make leveling easier if you're using that technique. As mentioned earlier, an adjustable measuring cup is specifically designed for this challenge and can be a top choice for smaller volumes.
Recommended Spoons and Scrapers for Sticky Ingredients
Measuring spoons face the same challenge as measuring cups, but on a smaller scale where residue represents a larger percentage of the total volume. Again, stainless steel spoons with smooth finishes are often preferable. Using the oil spray trick (Tip 1) is highly recommended for measuring spoons to ensure accuracy.
A flexible rubber or silicone spatula is your best friend when working with sticky ingredients. After pouring the bulk of the ingredient from a measuring cup or spoon, use a small spatula to scrape out the remaining residue. Opt for a spatula with a thin, flexible edge that can easily conform to the curves of your measuring tool. This minimizes waste and helps ensure you've added the full amount required by the recipe, complementing your sticky ingredient measuring tips.
Cleaning Up After Measuring Sticky Ingredients: Easy Solutions
Measuring sticky ingredients can leave behind a sticky mess, but quick action and the right approach can make cleanup much less daunting. Dealing with the residue promptly prevents it from hardening and becoming even more difficult to remove.
Incorporating simple cleaning habits immediately after use is the best way to manage the stickiness. Don't let those measuring cups and spoons sit around for too long!
Quick Cleaning Tips for Measuring Cups and Spoons
The most effective way to clean measuring tools used for honey, molasses, or syrup is to rinse them immediately with hot water. Hot water significantly reduces the viscosity of these substances, allowing them to flow off the measuring tool easily. Hold the cup or spoon under a stream of hot tap water, and you'll see most of the residue wash away instantly.
After the initial hot water rinse, wash the tools with warm, soapy water as you normally would. For any stubborn bits, a sponge or brush will help. If you used the oil spray trick, the cleanup will be even faster as there will be very little residue left. This simple step of immediate rinsing saves you from having to soak and scrub later.
Preventing Sticky Residue Buildup
Preventing sticky residue buildup is primarily about cleaning tools promptly after use. Allowing honey or molasses to dry and harden on measuring cups makes them much harder to clean. If you can't wash them immediately, a quick hot water rinse will still help prevent the worst of the hardening.
Another preventive measure is to use the sticky ingredient measuring tips we've discussed, such as the oil spray trick or weighing. These methods result in less ingredient left behind on the measuring tools in the first place, automatically reducing the amount of residue you need to clean. A clean work surface is also important; wipe up any drips or spills immediately with a damp cloth to prevent stickiness from spreading.
Troubleshooting Common Issues When Measuring Sticky Ingredients
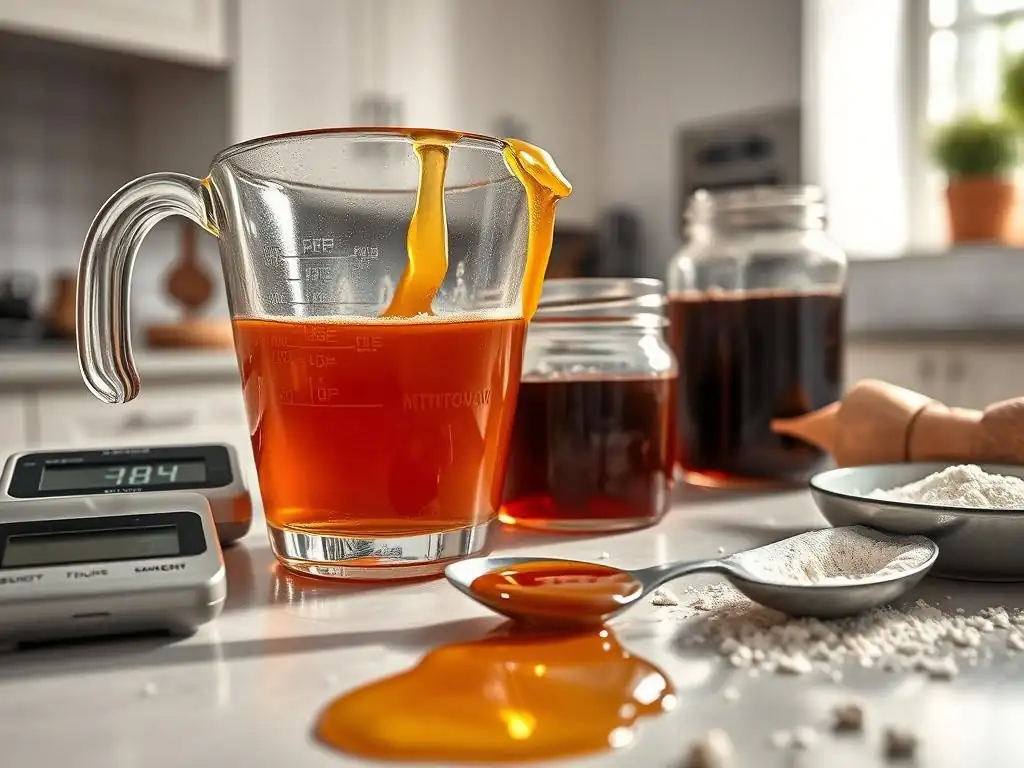
Even with the best sticky ingredient measuring tips, you might occasionally encounter specific challenges. Knowing how to troubleshoot common issues like air bubbles or crystallization will further improve your accuracy and confidence when working with honey, molasses, and syrups.
Addressing these problems ensures you always measure the correct volume or weight of your sticky ingredients, contributing to consistent baking success.
Dealing with Air Bubbles in Honey and Molasses
Air bubbles are a common problem when pouring thick liquids into measuring cups, displacing the liquid and leading to an inaccurate measurement. If you notice significant air bubbles after pouring your sticky ingredient into the measuring cup, gently tap the bottom of the cup against the countertop a few times. This will help the bubbles rise to the surface and pop.
You can also slightly overfill the cup initially and then use a straight edge to slowly level it off, which can help release trapped air. If using the weighing method, air bubbles are irrelevant as you are measuring mass, not volume, making weighing a superior method for avoiding this issue entirely.
Preventing Crystallization in Honey During Measurement
Honey can crystallize over time, becoming solid or grainy. While crystallized honey is perfectly fine to eat, it's impossible to measure accurately by volume. If your honey has crystallized, you'll need to liquefy it before measuring.
The best way to do this is using the warm water bath method (Tip 2). Place the jar of crystallized honey in a bowl of warm (not hot) water for 15-20 minutes, stirring occasionally, until it becomes liquid again. Never microwave honey directly in its plastic container, as this can damage the container and overheat the honey, potentially altering its flavor and properties. Once liquefied, measure it using one of the sticky ingredient measuring tips discussed, like the oil spray method or weighing.
Advanced Techniques for Measuring Sticky Ingredients
For those seeking ultimate precision or dealing with specific situations, there are a few more advanced techniques and tools that can be employed for measuring sticky ingredients. These might not be necessary for everyday baking but can be useful in certain contexts.
These methods build upon the fundamental sticky ingredient measuring tips and offer even greater control, particularly for professional bakers or those working with very sensitive recipes.
Using Specialized Measuring Equipment
Beyond adjustable measuring cups, specialized equipment exists that can offer high precision. For measuring very small amounts of sticky liquids accurately, like extracts or flavorings that are also viscous, laboratory-style measuring syringes or pipettes can be used. While not common in a home kitchen, they provide extremely accurate volume measurements.
Some high-end kitchen scales also have features for measuring liquids by volume based on density, though this relies on knowing the exact density of your specific ingredient, which can vary. For most home bakers, combining a good digital scale for weighing with the basic sticky ingredient measuring tips for volume measurements will be more than sufficient.
Measuring Hardened Honey or Molasses
If honey or molasses has become completely hardened in its container, a warm water bath (as described in Tip 2 and the troubleshooting section) is the primary method to make it pourable again. However, if you need just a small amount from a partially hardened container and don't want to liquefy the whole jar, you might need to use a scoop or even gently heat a spoon before scooping.
Scooping hardened molasses or honey will yield a volume measurement that is highly inaccurate. In this scenario, the only reliable method for accurate measurement is to weigh the ingredient. Scoop out the hardened material into a container on a kitchen scale until you reach the desired weight. This bypasses the issue of volume measurement entirely when dealing with solidified sticky ingredients.
Conclusion: Perfect Baking Starts with Accurate Sticky Ingredient Measurement
Mastering the art of baking involves paying attention to detail, and accurate sticky ingredient measurement is a detail that can significantly impact your results. Honey, molasses, and syrups contribute moisture, sweetness, color, and texture, and getting their quantities right is essential for consistent, delicious bakes.
By implementing these sticky ingredient measuring tips – whether it's the simple oil spray trick, the gentle warm water bath, using an adjustable cup, or embracing the precision of weighing – you can overcome the challenges posed by viscous liquids. These techniques minimize waste, reduce mess, and most importantly, ensure you are adding the precise amount of sticky goodness your recipe calls for. So next time your recipe includes honey or molasses, approach it with confidence, armed with these tips for measuring sticky ingredients with ease. Happy baking!
Frequently Asked Questions
How can I prevent sticky ingredients like honey from sticking to my measuring cups?
The easiest way is to coat your measuring cup with a light layer of cooking oil or spray before measuring. This will allow the sticky ingredient to slide right out.
Is there a difference in accuracy between using liquid measuring cups and dry measuring cups for sticky ingredients?
Yes, liquid measuring cups are generally more accurate. Their design allows you to measure at eye level, ensuring a precise amount without air pockets. Dry measuring cups are better for dry ingredients.
Can I use the warm water trick to measure sticky ingredients?
Absolutely! Briefly dipping your measuring cup in warm water before measuring will help the ingredient slide out cleanly. Just make sure to dry the cup before measuring.
What's the best way to measure a small amount of a sticky ingredient, like a teaspoon of molasses?
For small amounts, try using a sprayed or oiled measuring spoon. You can also use a small silicone spatula to help scrape out every last bit.
How does temperature affect the measurement of sticky ingredients?
Warmer temperatures can make sticky ingredients more fluid, leading to easier and potentially more accurate measurements. However, be mindful not to overheat, as this can alter the ingredient's properties and affect the final recipe.
Final Reflection: The Sweet Science of Accurate Baking
The precise measurement of sticky ingredients is not merely a detail; it's the cornerstone of successful baking. A seemingly insignificant tablespoon of honey or a slightly off-measure of molasses can dramatically alter the texture and taste of your final product, transforming a potential masterpiece into a culinary disappointment. Mastering this seemingly simple skill elevates your baking from hobby to art.
The impact of accurate measurement extends beyond the individual kitchen; it speaks to a broader appreciation for the nuances of cooking and the importance of attention to detail. It's a reminder that even the smallest elements contribute to the overall experience. As the renowned chef Julia Child once said, Always remember that you're not just cooking for yourself, but for those you love.
This sentiment applies equally to the precision required when measuring sticky ingredients – a small act of care that translates into a greater expression of love and skill.
Now, consider your own baking journey. Think about the times you've struggled with sticky ingredients, and how a little more precision might have improved the outcome. I encourage you to embrace the challenge of accurate measurement, to experiment with the techniques discussed in this article, and to savor the rewards of perfectly baked goods. The journey towards mastering this skill is a rewarding one, filled with delicious discoveries and the satisfaction of creating something truly special. Let the sweetness of success be your guide.
Unlock Baking Bliss: Master Your Sticky Ingredients!
Thanks for taking the time to explore the world of sticky ingredients! We hope you now feel more confident tackling honey, molasses, and syrups in your baking adventures. Ready to put your new knowledge into practice?
- Try our recommended method: Start by measuring your sticky ingredient using the "spoon and level" technique described in the article – you'll be amazed at the difference!
- Share your baking triumphs (or challenges!): Let's build a community of bakers supporting each other. Share your experiences and photos in the comments below!
- Explore more baking tips: Dive deeper into our library of articles on BakeWithEase.com for even more helpful advice.
What's your favorite sticky ingredient to bake with, and what's your go-to measuring trick? Let's chat!