
Why Your High Altitude Cookies Spread Too Much (And How to Stop It)

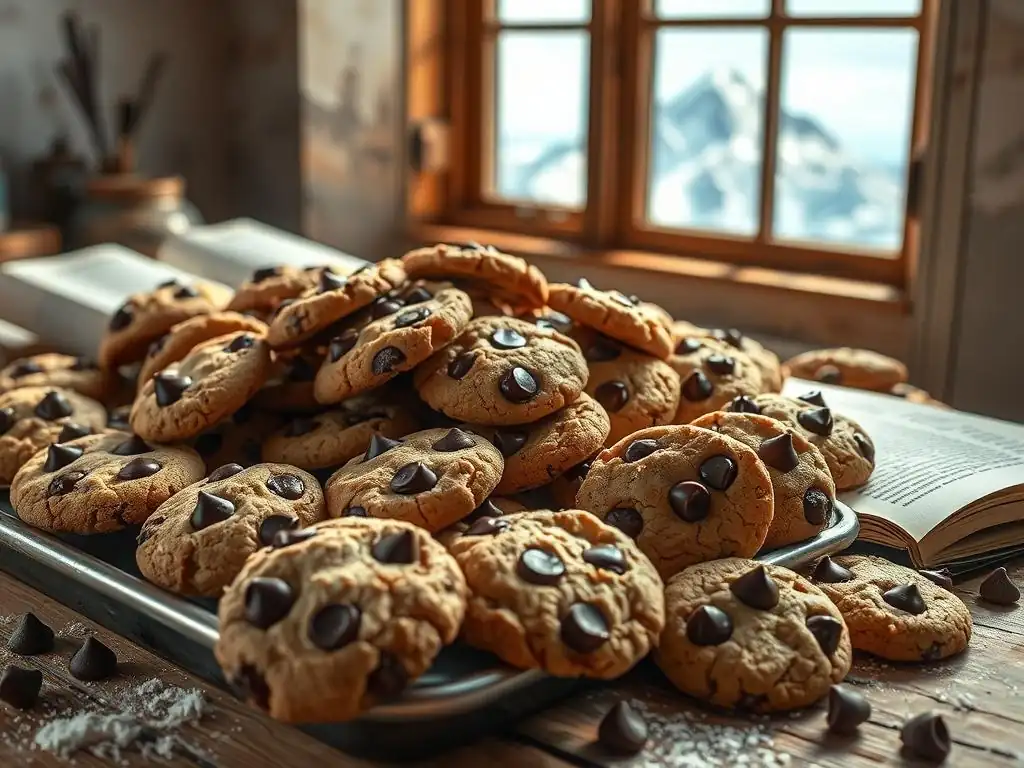
Welcome to BakeWithEase, your haven for baking bliss! Ever wondered why your cookies turn into sad, flat circles when baking at high altitude? Don't despair! Discover the secrets to conquering high altitude cookie spreading in our latest article, packed with practical tips and tricks to achieve perfectly textured cookies, every time. Let's unlock the secrets to baking success together, one delicious batch at a time – read on to find out how!
- Mastering High Altitude Cookie Baking: Preventing Excess Spread
- Understanding High Altitude Baking
- Identifying the Causes of Excessive Cookie Spread
- Solutions for Preventing Cookie Spread
- High Altitude Cookie Recipe Adjustments
- Tips and Tricks for Perfect High Altitude Cookies
-
Frequently Asked Questions
- Why do my cookies spread so much when I bake at high altitude?
- What ingredients can I adjust to reduce cookie spreading at high altitude?
- Does the type of fat I use affect cookie spreading at high altitude?
- What temperature should I bake my cookies at when at high altitude?
- Is there a specific technique for preparing my cookie dough that helps with high altitude baking?
- Final Reflection: The Sweet Science of High-Altitude Baking
- Unlock Perfectly Shaped High-Altitude Cookies!
Understanding High Altitude Baking
The Science of Baking at Higher Altitudes
Baking at higher elevations, typically above 3,000 feet (approximately 915 meters), introduces a unique set of challenges compared to sea level. The primary factors at play are lower atmospheric pressure and reduced humidity. At lower pressure, leavening agents like baking soda and baking powder work more efficiently, causing baked goods to rise faster.
However, this accelerated rise can also lead to structural collapse if the dough or batter isn't properly supported. Liquids also evaporate more quickly at higher altitudes due to the lower boiling point of water – it boils at about 202°F (94.4°C) at 5,000 feet (1,524 meters), compared to 212°F (100°C) at sea level. This faster evaporation affects the moisture balance in recipes, potentially leading to drier results or, in the case of cookies, contributing to issues like excessive high altitude cookie spreading.
Furthermore, the air is generally drier at higher altitudes. This lack of moisture in the environment means that ingredients like flour can also be drier, absorbing less liquid initially. When recipes formulated for sea level are used without modification, the combination of increased leavening activity, faster liquid evaporation, and potentially drier ingredients can significantly alter the final texture and appearance of baked goods.
For cookies, this often manifests as cookies that spread too thin, have a crumbly texture, or bake unevenly. Understanding these fundamental scientific principles is the first step to successfully preventing high altitude cookie spreading and achieving perfect cookies at elevation.
The phenomenon of high altitude cookie spreading is a direct consequence of the atmospheric conditions unique to higher elevations. As mentioned, the lower atmospheric pressure allows trapped gases from leavening agents to expand more readily and rapidly.
In a cookie dough, this expansion, combined with the fat melting in the heat of the oven, can cause the dough to flatten out excessively before the structure has a chance to set. Think of it like a balloon expanding too quickly before the rubber is firm enough to hold its shape; the cookie dough spreads outwards instead of rising slightly and setting in place.
Another significant factor contributing to high altitude cookie spreading is the faster evaporation of moisture. As the cookies bake, water in the dough turns to steam and evaporates more quickly at the lower boiling point. This rapid loss of moisture can leave the dough less structured and more prone to collapsing and spreading outwards before the proteins in the flour and eggs have coagulated and solidified the cookie's shape. The combination of increased leavening action, faster moisture loss, and potentially drier dough ingredients creates an environment where unchecked high altitude cookie spreading becomes a common problem for bakers.
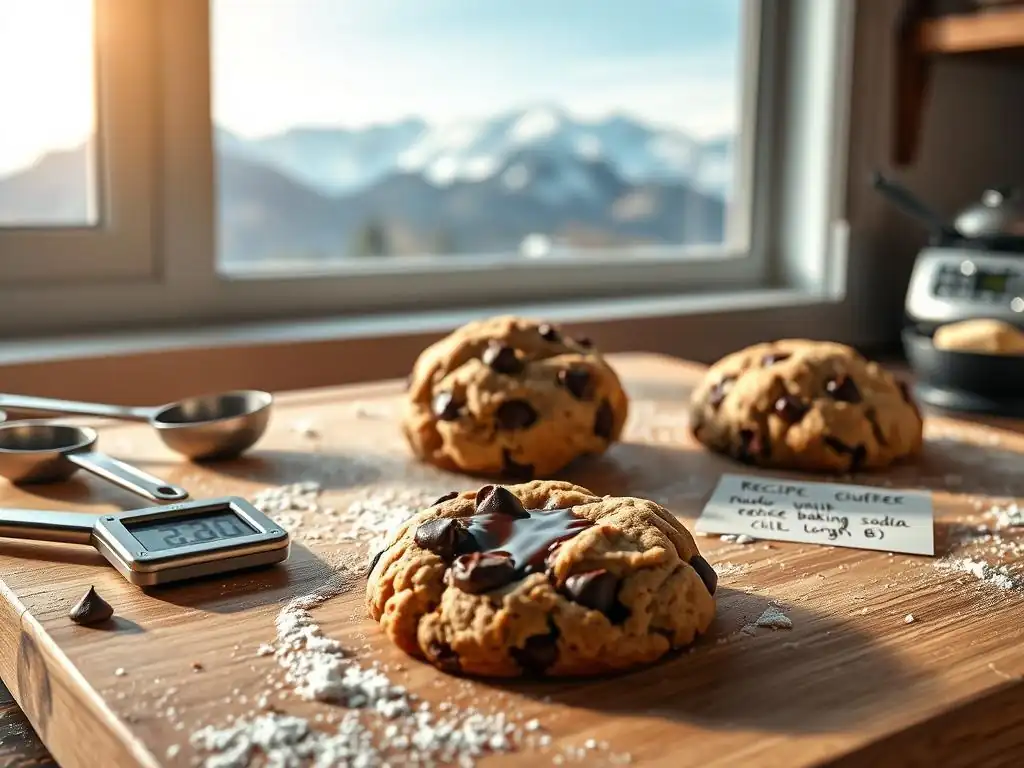
Sugar plays multiple roles in cookie dough beyond just providing sweetness; it significantly impacts texture and spread. Granulated sugar, in particular, contributes to spread because it melts during baking. As it melts, it creates a liquid environment within the dough, encouraging the cookie to flatten out.
The more granulated sugar present in a recipe, the greater the potential for spread. This effect is often amplified at high altitudes, where other factors are already promoting spreading. For instance, a standard chocolate chip cookie recipe might call for equal parts granulated and brown sugar, but at high altitude, this ratio might need adjustment to control spread.
Using different types of sugar also yields different results. Brown sugar contains molasses, which adds moisture and acidity, contributing to a chewier texture and slightly less spread than an equivalent amount of granulated sugar. Powdered sugar, or confectioners' sugar, contains cornstarch, which helps absorb moisture and provides structure, resulting in cookies that spread less and have a softer, more delicate crumb. Therefore, the type and amount of sugar are critical variables to consider when troubleshooting high altitude cookie spreading. Reducing total sugar or adjusting the ratio of granulated to brown or powdered sugar can be effective strategies.
Fat, whether butter, shortening, or oil, is another primary driver of cookie spread. As fat heats in the oven, it melts, lubricating the dough and allowing it to spread out. The state of the fat when it's creamed with sugar is also crucial.
Using softened butter that is too warm or even melted can lead to excessive spread from the start, as the dough lacks initial structure. Conversely, using cold, firm butter and cutting it into the flour (like in some scone or biscuit recipes) results in less spread and a more crumbly or tender texture, depending on the technique.
The type of fat also matters. Butter, with its relatively low melting point and water content, contributes significantly to spread and browning. Shortening, which is 100% fat and has a higher melting point, results in less spread and a softer, lighter texture, though it doesn't contribute to flavor or browning in the same way as butter.
Oil, being liquid at room temperature, promotes the most spread and can lead to a greasier texture. For combating high altitude cookie spreading, ensuring butter is just softened (not melted) and potentially using a blend of butter and shortening can help control how much the cookies flatten during baking.
Flour provides the structural backbone of a cookie through its protein content, primarily gluten. When liquid is added to flour and mixed, gluten develops, creating a network that gives dough its elasticity and structure. During baking, this gluten network, along with starches, sets as the proteins coagulate, helping the cookie hold its shape and limiting spread.
The type of flour used matters; all-purpose flour typically contains 10-12% protein, sufficient for many cookie recipes. Cake flour has a lower protein content (6-8%), leading to a more tender crumb but less structural support, potentially increasing spread. Bread flour has a higher protein content (12-14%), which can create tougher cookies but offers more resistance to spread.
At high altitudes, where other factors are pushing for more spread, increasing the amount of flour slightly can help provide the necessary structure to resist this tendency. Adding just a tablespoon or two more per cup of flour in a standard recipe can make a noticeable difference in preventing high altitude cookie spreading. However, adding too much flour will result in dry, tough cookies, so finding the right balance is key. The goal is to increase structure without sacrificing moisture or tenderness.
Oven temperature is a critical variable that directly impacts how quickly cookies set and, consequently, how much they spread. If the oven temperature is too low, the cookies spread out significantly before the dough gets hot enough for the proteins to coagulate and the leavening agents to finish their work. The fat melts and the dough flattens unchecked. Conversely, if the oven temperature is too high, the edges of the cookie may set too quickly, potentially resulting in a cookie that doesn't spread enough or has a hard, dry edge with an underbaked center.
For combating high altitude cookie spreading, a slightly higher oven temperature than recommended for sea level is often advised. For example, if a recipe calls for 350°F (175°C), increasing it to 360°F or 375°F (182°C or 190°C) can help the cookies set faster, limiting spread. It's also crucial to ensure your oven thermostat is accurate.
Oven temperatures can vary significantly from the dial setting, sometimes by as much as 25-50°F (14-28°C). Using an oven thermometer is a simple, inexpensive step that can significantly improve baking results at any altitude, but is especially important when trying to control spread at high elevation.
Altitude's Influence on Dough Behavior
As previously discussed, the lower atmospheric pressure at high altitudes directly influences the behavior of cookie dough. Leavening gases expand more readily, pushing the dough outwards before it has time to solidify. This increased expansion force, combined with the faster melting of fat and quicker evaporation of moisture, creates a perfect storm for high altitude cookie spreading. The dough essentially has less resistance to spreading and loses its structural integrity more rapidly under the unique high-altitude conditions.
Furthermore, ingredients behave differently. Flour might be drier, requiring more liquid or less flour overall. Sugars melt faster in the slightly different heat dynamics of a high-altitude oven. Even the way ingredients combine during creaming can be affected by the ambient temperature and humidity, which are often lower at high elevations. Recognizing that altitude doesn't just affect leavening but influences the entire physical and chemical process of baking is fundamental to developing effective strategies against excessive high altitude cookie spreading.
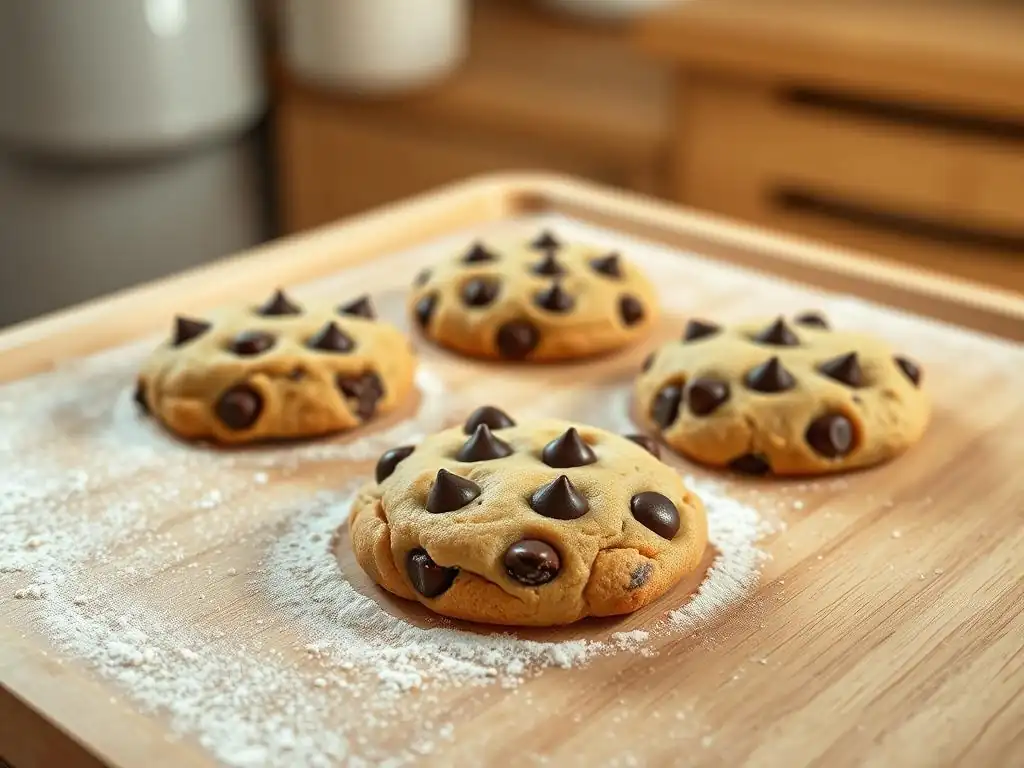
Optimizing Sugar Levels for High Altitude
To combat high altitude cookie spreading caused by sugar, adjustments are necessary. One common modification is to slightly reduce the total amount of sugar in the recipe. A reduction of 1 to 3 tablespoons per cup of sugar called for in a sea-level recipe can often help. For example, if a recipe uses 1 cup of granulated sugar, try using 7/8 cup or even 3/4 cup. This lowers the amount of liquefying agent in the dough.
Another effective strategy is to adjust the ratio of different sugars. If a recipe uses equal parts granulated and brown sugar, you might increase the proportion of brown sugar (which contributes less spread due to molasses) or even substitute some granulated sugar with powdered sugar (which contains cornstarch for structure).
For instance, in a recipe calling for 1 cup granulated and 1 cup brown sugar, you might try 3/4 cup granulated and 1 cup brown sugar, or even 1/2 cup granulated, 1 cup brown, and 1/4 cup powdered sugar, depending on the desired texture. These tweaks help control the flow of the dough during baking, mitigating excessive high altitude cookie spreading.
Managing fat is key to controlling spread without sacrificing flavor or tenderness. For many cookie recipes, using butter that is just softened, not melted or oily, is crucial. Creaming softened butter with sugar incorporates air, which provides some lift, but if the butter is too warm, this air is lost and the dough is too soft from the start. Using chilled butter and letting it sit at room temperature for only about 30-60 minutes (until it yields slightly to pressure but is still cool) is ideal.
Consider using a combination of butter and shortening if excessive high altitude cookie spreading persists. Shortening has a higher melting point than butter and lacks water, making it more stable in the oven. Substituting just a portion of the butter with shortening, perhaps replacing half the butter with an equal weight of shortening, can significantly reduce spread while still allowing butter to contribute flavor.
For example, if a recipe calls for 1 cup (2 sticks) of butter, try using 1 stick of butter and 1/2 cup of shortening. This blend provides the best of both worlds: controlled spread and good flavor.
Adjusting Flour Content for Structure
Adding a small amount of extra flour is a common and effective way to provide additional structure to cookie dough at high altitudes, counteracting the forces that cause high altitude cookie spreading. The extra flour absorbs more moisture and strengthens the gluten network, helping the cookie hold its shape as it bakes. A typical adjustment is to add 1 to 3 tablespoons of all-purpose flour per cup of flour specified in the original recipe. For instance, if a recipe calls for 2 cups of flour, start by trying 2 cups plus 2 tablespoons.
It is important to add flour judiciously. Adding too much will result in dry, crumbly, or tough cookies. The goal is to add just enough to prevent excessive spread while maintaining a tender crumb. Pay attention to the dough's consistency – it should be firm enough to roll into balls without being sticky, but not so dry that it cracks easily. This adjustment, combined with other techniques, helps build a more robust dough capable of resisting the spreading tendencies at high elevation.
Chilling cookie dough is a simple yet incredibly effective technique for preventing high altitude cookie spreading. When cookie dough is chilled, the fat within it solidifies, and the dry ingredients (like flour and sugar) have more time to absorb moisture evenly. This results in a firmer, more stable dough that is less likely to spread rapidly when it hits the heat of the oven. The cold fat melts more slowly, giving the cookie's structure a better chance to set before significant spreading occurs.
Aim to chill your cookie dough for at least 30 minutes, and ideally 1 to 2 hours, before baking. For maximum control over high altitude cookie spreading, you can chill the dough for up to 2-3 days; chilling also allows flavors to meld, often resulting in a richer taste. Chilling is particularly effective for drop cookies. Simply scoop the dough balls onto the baking sheet and then place the entire sheet in the refrigerator or freezer for the recommended time before baking. This ensures the dough is cold just before it enters the hot oven.
Precise Oven Temperature and Baking Time
As discussed earlier, oven temperature significantly influences spread. Using a slightly higher oven temperature at high altitude helps the cookies set faster, limiting their spread. If the recipe calls for 350°F (175°C), try increasing it to 360°F or 375°F (182°C or 190°C). Always use an oven thermometer to verify your oven's accuracy and adjust accordingly. An oven that runs cool will exacerbate high altitude cookie spreading issues.
Baking time will likely be slightly shorter at these higher temperatures, and potentially shorter overall due to the faster evaporation of moisture at altitude. Start checking the cookies a minute or two before the minimum time specified in the recipe. Look for visual cues: the edges should be set and lightly golden, and the centers should look slightly soft but not wet.
Over-baking will lead to dry cookies, while under-baking can also contribute to excessive spread or cookies that collapse upon cooling. Precise temperature and vigilant timing are crucial for achieving the desired texture and preventing high altitude cookie spreading.
While it might seem minor, ensuring uniform cookie size and thickness contributes to even baking and consistent results, which in turn helps control high altitude cookie spreading. Cookies of different sizes or thicknesses will bake at different rates. Smaller, thinner cookies will finish faster, potentially burning while larger, thicker ones are still spreading or underbaking. This inconsistency makes it harder to determine the correct baking time for the batch, increasing the risk of some cookies spreading too much while others are perfect or overdone.
Using a cookie scoop or a measuring spoon is an excellent way to portion dough for uniform size. For drop cookies, scoop level portions. For rolled or cut cookies, ensure the dough is rolled to an even thickness (typically 1/4 inch) before cutting. This simple step ensures that each cookie on the baking sheet receives the same amount of heat and bakes consistently, making it easier to prevent high altitude cookie spreading and achieve predictable results across the entire batch.
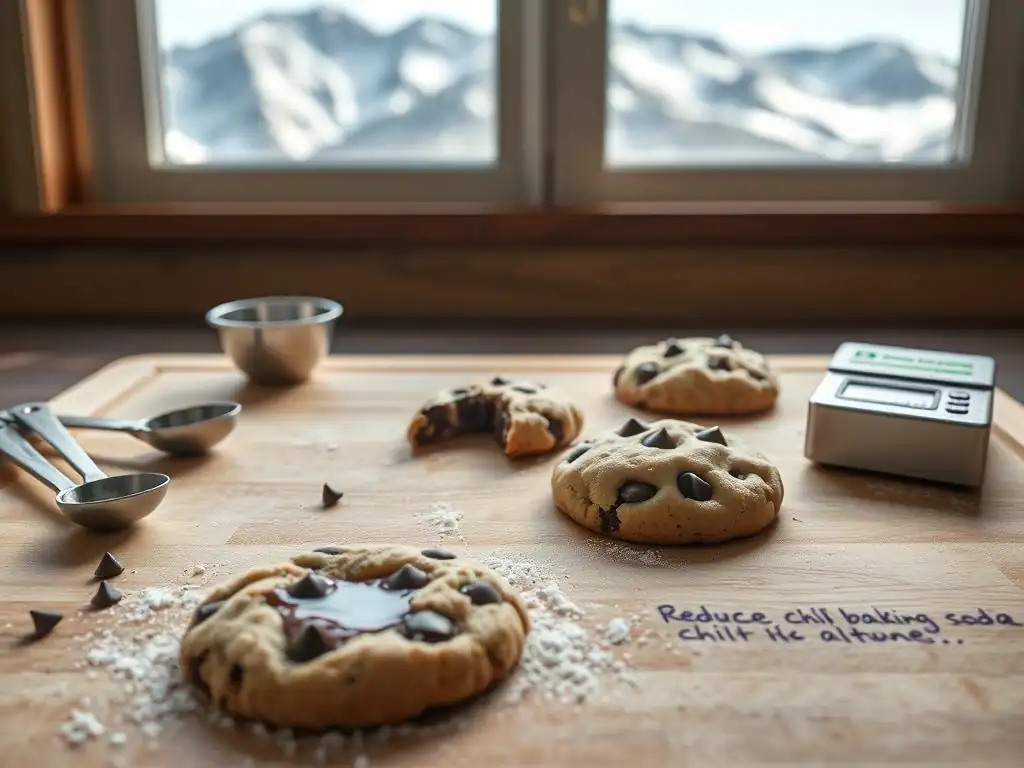
For classic chocolate chip cookies at high altitude, common adjustments to combat high altitude cookie spreading include slightly increasing flour, slightly decreasing sugar, and increasing the baking temperature. If a standard recipe uses 2 1/4 cups all-purpose flour, 3/4 cup granulated sugar, and 3/4 cup brown sugar, try using 2 1/2 cups flour, 1/2 cup granulated sugar, and 3/4 cup brown sugar. This adds structure and reduces a spreading agent (granulated sugar). The baking temperature might be increased from 375°F (190°C) to 385°F or 390°F (196-200°C), with a slight reduction in baking time.
Additionally, consider adding an extra egg yolk, which adds richness and helps bind the dough, contributing to less spread. Chilling the dough for at least 1-2 hours is also highly recommended. For instance, after mixing, form the dough into balls or logs, wrap tightly, and refrigerate. Bake from chilled. These combined modifications address the primary causes of high altitude cookie spreading in chocolate chip cookies, resulting in a thicker, chewier cookie.
Sugar cookies, especially cut-out ones, rely heavily on maintaining their shape during baking, making them particularly susceptible to high altitude cookie spreading. Adjustments focus on increasing structure and reducing spread. For a standard sugar cookie recipe using 3 cups flour, 1 cup sugar, and 1 cup butter, you might increase the flour to 3 1/4 or 3 1/2 cups and slightly reduce the sugar to 7/8 cup. Using a mix of granulated and powdered sugar (e.g., 1/2 cup granulated, 1/2 cup powdered) instead of all granulated can also help, as the cornstarch in powdered sugar adds stability.
Decreasing leavening slightly is also beneficial. If the recipe calls for 1 teaspoon of baking powder, reduce it to 3/4 teaspoon. Adding an extra egg yolk can also provide binding structure. Crucially, sugar cookie dough must be thoroughly chilled before rolling and cutting, and the cut-out shapes should be chilled again on the baking sheet before going into a slightly hotter oven (e.g., 375°F/190°C instead of 350°F/175°C). This multi-step chilling process is vital for preventing high altitude cookie spreading and preserving crisp edges.
Peanut butter cookies, often dense and less prone to spreading than others, can still suffer from excessive high altitude cookie spreading. Adjustments focus on reinforcing their natural structure. A recipe calling for 1 cup peanut butter, 1/2 cup butter, 1/2 cup granulated sugar, 1/2 cup brown sugar, and 1 egg might benefit from a slight increase in flour (add 1-2 tablespoons per cup of flour if the recipe includes it, or add 1-2 tablespoons directly if it's flourless).
Reducing the total sugar by a tablespoon or two can also help. Ensure the butter is only softened, not melted. Baking at a slightly higher temperature, like 375°F (190°C), helps them set faster. The classic crosshatch pattern pressed with a fork also helps control spread and creates a consistent texture. If the recipe uses baking soda, a very slight reduction might be considered, but peanut butter cookies often rely heavily on baking soda for texture, so this should be done cautiously. Chilling the dough balls before baking is also a good practice to ensure minimal high altitude cookie spreading.
Snickerdoodle Recipe Success
Snickerdoodles present a unique challenge at high altitude because their texture relies on the interaction between cream of tartar and baking soda, which creates a distinct tang and lift. Excessive high altitude cookie spreading can lead to thin, crispy cookies rather than the desired soft, puffy texture.
Adjustments typically involve increasing structure and slightly reducing leavening. For a recipe using 2 3/4 cups flour, 1 1/2 cups sugar, 1 teaspoon baking soda, and 2 teaspoons cream of tartar, you might increase the flour to 3 cups and reduce both baking soda and cream of tartar by about 1/4 teaspoon each (e.g., 3/4 tsp baking soda, 1 3/4 tsp cream of tartar).
Reducing the sugar by a tablespoon or two can also help control spread. Using softened, but not melted, butter is essential. Bake snickerdoodles at a slightly higher temperature, such as 375°F (190°C), to help them set quickly. Rolling the dough balls generously in the cinnamon-sugar mixture before baking provides an outer coating that also helps maintain shape. Chilling the dough balls before baking is highly recommended to prevent excessive high altitude cookie spreading and achieve that signature puffy center.
Accurate Ingredient Measurement Techniques
Precise measurement is foundational to successful baking at any altitude, but it becomes even more critical when making adjustments to combat high altitude cookie spreading. Small errors in measuring flour, sugar, or leavening can significantly impact the outcome. The most accurate way to measure dry ingredients like flour and sugar is by weight using a kitchen scale. For example, a cup of all-purpose flour typically weighs about 120-125 grams, while a cup of granulated sugar is about 200 grams. Weighing ensures you have the exact amount called for, especially when making slight increases or decreases.
If measuring by volume, use the 'spoon and level' method for flour: lightly spoon the flour into the measuring cup until it overflows, then level off the excess with a straight edge (like a knife). Do not scoop directly from the bag or tap the cup, as this compacts the flour and results in too much. For granulated sugar, simply scoop and level.
For brown sugar, pack it firmly into the cup. Liquid ingredients should be measured at eye level in a liquid measuring cup. Accurate measurement provides a reliable starting point for your high altitude adjustments and helps pinpoint issues if high altitude cookie spreading still occurs.
Selecting the Right Flour Type
The type of flour used affects gluten development and, consequently, cookie structure and spread. For most drop cookies and standard recipes, all-purpose flour (10-12% protein) provides a good balance of structure and tenderness. If you are consistently experiencing excessive high altitude cookie spreading even after other adjustments, using a slightly higher protein flour like bread flour (12-14% protein) for a portion of the total flour can increase the dough's structural integrity. For example, if a recipe calls for 2 cups all-purpose flour, try using 1 3/4 cups all-purpose and 1/4 cup bread flour.
Conversely, for cookies where tenderness is paramount and spread is less of a concern (though still needing control), using cake flour (6-8% protein) will result in a more delicate crumb. However, cake flour provides less structure, potentially increasing the risk of high altitude cookie spreading if not balanced with other adjustments like chilling and precise baking temperature. Understanding the protein content and characteristics of different flours allows you to select or blend the best type for your specific high-altitude recipe and desired outcome.
Storing baked cookies correctly helps maintain their texture and prevents them from drying out, which can happen faster at high altitudes. Allow cookies to cool completely on a wire rack before storing. Storing warm cookies creates condensation, making them soft and potentially sticky. Once cool, store cookies in an airtight container. Different types of cookies benefit from different storage approaches.
Crisp cookies should be stored separately from soft or chewy cookies, as moisture from the soft ones can transfer and make the crisp ones soggy. If storing different textures together, a piece of parchment paper between layers can help. For soft cookies, adding a slice of bread or an apple wedge to the container can help maintain moisture (replace every couple of days). Properly stored cookies will retain their texture, including the desired limited spread achieved through your high-altitude adjustments, for several days.
Troubleshooting Common Baking Problems
Even with adjustments, you might encounter issues. If your cookies still spread too much, revisit your adjustments: Did you increase flour enough? Is your sugar reduction sufficient? Was the butter temperature correct? Did you chill the dough long enough? Is your oven temperature accurate? Try increasing the flour slightly more or reducing sugar further in the next batch. Ensure you are using fresh leavening agents, as expired ones can cause unpredictable results.
If cookies are too dry or crumbly, you may have added too much flour or reduced sugar/fat too much. Reduce the flour adjustment slightly or increase the fat/sugar back by a tablespoon in the next attempt. If cookies aren't spreading enough, your temperature might be too high, or you might have over-chilled the dough. Troubleshooting requires careful observation and making small, incremental changes to one variable at a time until you achieve the perfect balance for your specific altitude and oven. Keep notes on your adjustments and results to refine your high altitude cookie baking process.
Frequently Asked Questions
At higher altitudes, there is less air pressure. This causes leavening agents like baking soda and baking powder to react more quickly, leading to excessive spreading before the cookie structure sets. The lower boiling point of water also contributes to this.
You can reduce the amount of leavening agents (baking soda/powder) by about 1/4 to 1/2 teaspoon. You can also increase the amount of flour by 1-2 tablespoons to help bind the ingredients.
Yes, using solid fats like butter or shortening, especially if they are cold, can help. Avoid using melted butter, as it contributes to excessive spread. Chilling the dough before baking is also beneficial.
Increasing the baking temperature by about 25 degrees Fahrenheit (around 15 degrees Celsius) can help the cookies set faster. This will help prevent excessive spread before the structure solidifies.
Yes, chilling the cookie dough for at least 30 minutes, or even overnight, is crucial. This allows the fats to solidify and the flour to fully hydrate, which results in less spreading during baking at high altitude.
Final Reflection: The Sweet Science of High-Altitude Baking
The battle against the dreaded spread is real, and for high-altitude bakers, it's a constant challenge. Understanding the science behind why cookies spread at higher elevations is not just about perfectly round chocolate chips; it's about mastering the art of baking in a unique environment and achieving consistent, delicious results every time. This knowledge empowers us to conquer the thin, flat cookie curse and finally enjoy the perfectly textured treats we deserve.
The impact of altitude on baking extends far beyond just cookies; it highlights the intricate relationship between atmospheric pressure, ingredient behavior, and the final product. It's a testament to the adaptability and ingenuity of bakers who have, for generations, tweaked recipes and techniques to overcome the challenges of their unique environments. Baking is a science, but it's also an art. The best bakers understand both.
This quote perfectly encapsulates the journey of mastering high-altitude baking – a journey of experimentation, understanding, and ultimately, delicious reward.
Now, armed with the knowledge of how reduced air pressure affects baking powder, butter, and even flour, you have the power to transform your high-altitude baking experience. Don't let thin, flat cookies discourage you. Experiment with the techniques discussed, adjust your recipes with confidence, and embrace the challenge. The perfectly textured, beautifully browned cookies you've always dreamed of are within your reach. Go forth and bake!
Thanks for joining us on this baking adventure! We hope you now have the tools to conquer those pesky high-altitude cookie spreads. Ready to put your new knowledge into practice?
- Bake a test batch! Use your newly adjusted recipe to create a small batch of your favorite cookies – you'll see the difference immediately.
- Share your baking triumph (or hilarious fail!) with us on social media – we love seeing your creations! Use #BakeWithEaseHighAltitude.
- Experiment with different cookie recipes and see how your new techniques impact their texture.
What's your favorite high-altitude cookie recipe that you're excited to try with these tips? Let's discuss in the comments!