
Dipping Delights: Tips for Coating Treats in Chocolate

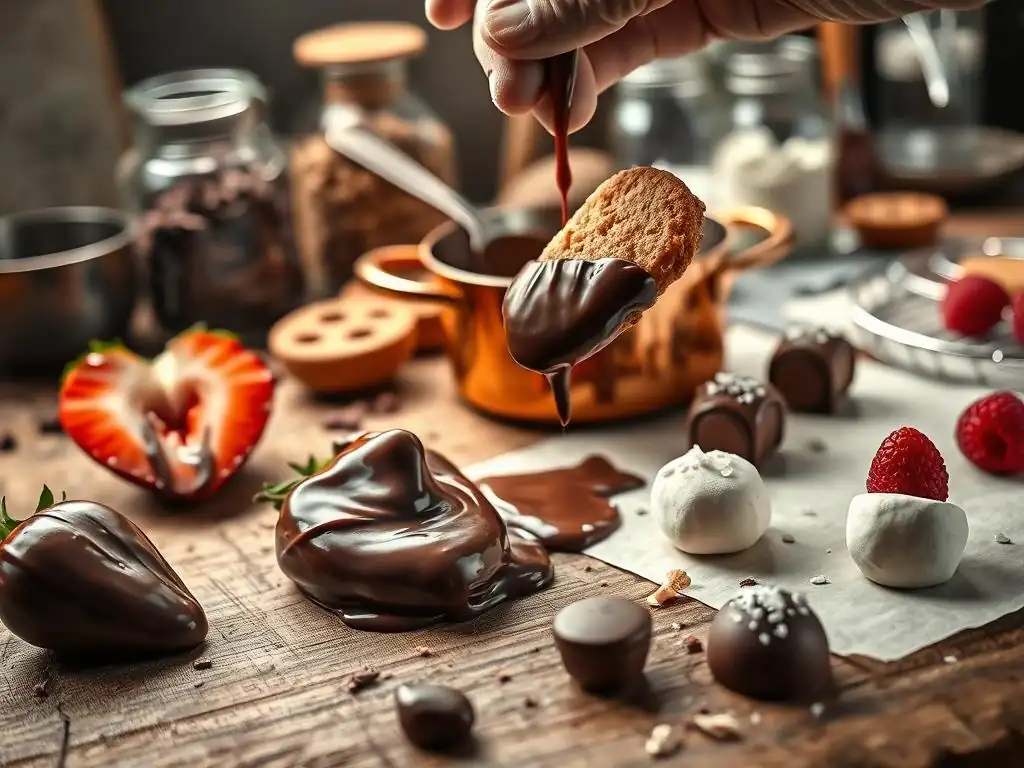
Welcome to BakeWithEase, where baking bliss begins! Ever wondered how to achieve that perfect, glossy finish on your chocolate-dipped treats? Dive into our latest article, "Dipping Delights: Tips for Coating Treats in Chocolate," and unlock the secrets to flawless confections. Whether you're a novice or a seasoned pro, these chocolate coating tips for beginners will transform your baking game. Get ready to create stunning, professional-looking desserts that are as easy to make as they are delicious. Intrigued? Let's get dipping!
- Dipping Delights: Tips for Coating Treats in Chocolate - BakeWithEase
- Introduction to Chocolate Coating for Beginners: Achieving the Perfect Dip
- Essential Equipment for Flawless Chocolate Coating
- Mastering the Art of Melting Chocolate: Crucial Techniques
- Chocolate Coating Tips for Beginners: Achieving a Smooth, Even Finish
- Decorating Your Chocolate-Coated Treats: Adding Flair and Flavor
- Troubleshooting Common Chocolate Coating Problems
- Storing Your Chocolate-Coated Treats: Maintaining Freshness and Quality
- Advanced Chocolate Coating Techniques: Beyond the Basics
- Conclusion: Your Journey to Chocolate Coating Mastery with BakeWithEase
- Frequently Asked Questions
- Final Reflection: The Enduring Allure of Perfectly Coated Chocolate
- Unleash Your Inner Chocolatier: Master the Art of Dipping!
Dipping Delights: Tips for Coating Treats in Chocolate - BakeWithEase
Introduction to Chocolate Coating for Beginners: Achieving the Perfect Dip
Why Chocolate Coating is a Baker's Best Friend: A Beginner's Guide
Dipping treats in chocolate is a fantastic way to elevate simple baked goods or fresh fruits into something truly special. For beginners, it offers a relatively straightforward path to creating professional-looking desserts without needing complex techniques like intricate frosting or detailed piping. A smooth, glossy chocolate coating adds not just incredible flavor but also a satisfying texture contrast – the snap of the chocolate against a soft cookie or a juicy strawberry is simply delightful. Mastering basic chocolate coating tips for beginners opens up a world of possibilities for homemade gifts, party treats, and everyday indulgences.
Beyond aesthetics and taste, chocolate coating helps preserve the freshness of some treats, particularly those with a high moisture content like fruit. It creates a protective barrier that can extend shelf life slightly and makes items easier to handle and transport without damage. Think about chocolate-covered pretzels; the chocolate keeps them crisp longer than if they were left plain. It's a versatile skill that enhances both the durability and desirability of your baked creations.
What Treats Can You Coat in Chocolate? Expanding Your Baking Repertoire
The possibilities for chocolate coating are nearly endless, limited only by your imagination! Classic choices include strawberries, pretzels, marshmallows, and various cookies like shortbread or Oreos. Fruits like banana slices, apple chunks, or even segments of orange can be wonderfully transformed. For baked goods, consider brownies, cake pops (small balls of cake mixed with frosting), biscotti, or even simple graham crackers.
You can also experiment with savory items for a sweet and salty contrast, such as potato chips or bacon strips. When starting out, focus on items that are firm and relatively dry to make dipping easier. For example, a firm shortbread cookie is much simpler to coat evenly than a delicate, crumbly pastry. As you gain confidence with these chocolate coating tips for beginners, you can tackle more challenging items like moist cake pops or delicate fruit.
Essential Equipment for Flawless Chocolate Coating
The Right Bowls and Utensils for Melting Chocolate
Choosing the correct tools is crucial for successful chocolate melting and coating. You'll need heatproof bowls for melting. Glass or ceramic bowls are excellent choices as they retain heat well, helping to keep the chocolate fluid during dipping. Stainless steel bowls also work, particularly over a double boiler. Avoid plastic bowls for melting chocolate directly in the microwave, as they can unevenly heat and potentially scorch the chocolate. For stirring, use a rubber spatula or a wooden spoon; metal spoons can sometimes introduce contaminants or cool the chocolate too quickly.
The size of your bowl matters too. It should be large enough to comfortably hold the amount of chocolate you are melting but not so large that the chocolate spreads too thinly, making dipping difficult. A bowl that allows the melted chocolate to have some depth is ideal for achieving a good, even coating on your treats. For dipping larger items, a deeper, narrower bowl might be preferable to a wide, shallow one.
Temperature Control Tools: Thermometers for Chocolate Perfection
While not strictly necessary for every beginner attempt, a reliable thermometer is indispensable if you want truly professional results, especially when tempering chocolate (more on that later). An instant-read digital thermometer is the most convenient option, providing quick and accurate temperature readings. You can find these for around $10 to $30. Candy thermometers, which clip onto the side of a pot, are also useful, though they are typically designed for higher temperatures needed for candy making and may not be as precise for the lower temperature ranges required for chocolate.
Monitoring the temperature prevents scorching and ensures the chocolate stays within the optimal range for dipping. For most melting methods without tempering, keeping the chocolate below 120°F (approximately 49°C) for dark chocolate, 115°F (approximately 46°C) for milk chocolate, and 110°F (approximately 43°C) for white chocolate is a good rule of thumb to avoid damage. Having a thermometer helps you confidently manage these temperatures, which is a key part of successful chocolate coating tips for beginners.
Dipping Tools: Forks, Skewers, and More
A variety of simple tools can make the dipping process much easier and cleaner. Standard dinner forks or specialized dipping forks are excellent for submerging items like cookies or fruit. A fork allows excess chocolate to drip off through the tines, reducing mess and ensuring a thinner, more even coating. For cake pops or marshmallows, using a sturdy skewer or a lollipop stick inserted into the treat before dipping provides a handle.
Other useful tools include toothpicks, which can be used to help guide items into the chocolate or to create swirls and patterns on the surface. A small offset spatula or a butter knife can help scrape excess chocolate from the bottom of a dipped item before placing it on parchment paper. Having a few different tools on hand allows you to adapt to the shape and size of the treats you are coating, making the process smoother and more enjoyable.
Mastering the Art of Melting Chocolate: Crucial Techniques
Choosing the Right Chocolate for Coating: Quality Matters
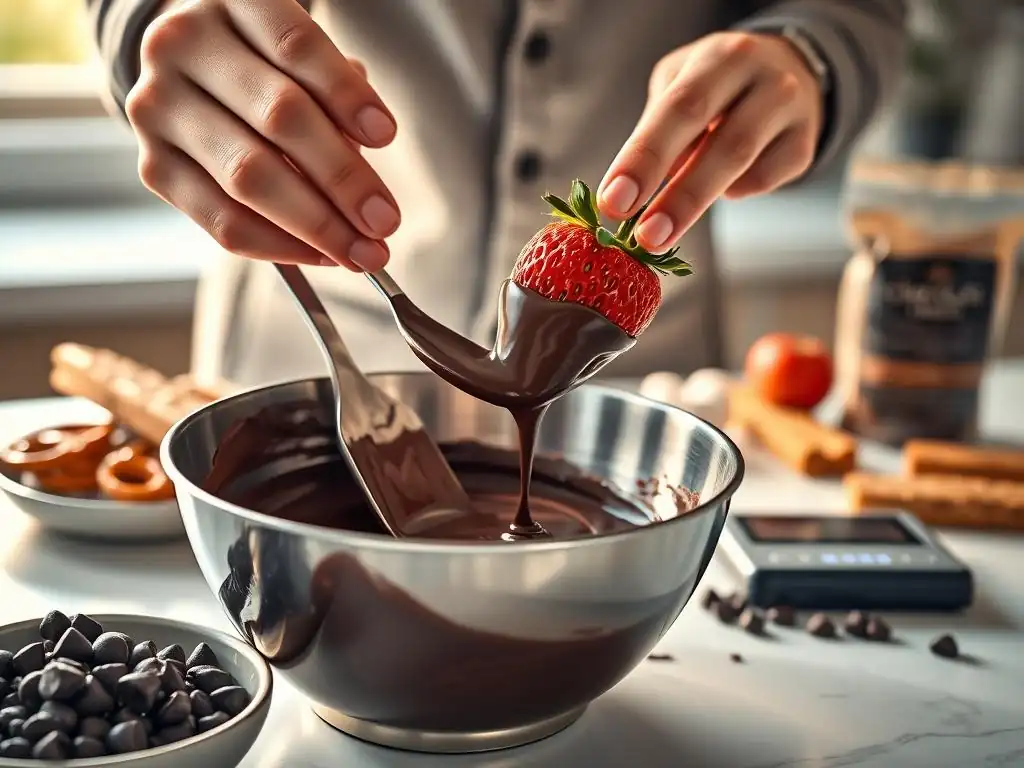
The quality of the chocolate you use significantly impacts the final result of your coating. For dipping, chocolate labeled as "couverture" is ideal. Couverture chocolate has a higher percentage of cocoa butter (typically 30-35% or more), which makes it melt smoothly, sets firmly, and gives a beautiful, glossy finish. Chocolate chips, while convenient for baking in cookies, often contain stabilizers that prevent them from melting into a smooth, fluid consistency suitable for dipping.
Look for chocolate in bar form, often found in the baking aisle or specialty stores. Dark, milk, and white chocolate couverture are all available. The higher the cocoa percentage in dark chocolate, the more intense the flavor and the less sweet it will be. For beginners, starting with a good quality milk or semi-sweet dark chocolate (around 50-60% cocoa) is often a good balance of flavor and ease of use. Using quality chocolate is one of the most fundamental chocolate coating tips for beginners.
Methods for Melting Chocolate: Double Boiler vs. Microwave
There are two primary methods for melting chocolate safely and effectively for dipping: using a double boiler or a microwave. A double boiler involves placing a heatproof bowl containing the chocolate over a pot of simmering (not boiling) water. The steam from the water gently heats the bowl, melting the chocolate indirectly and preventing scorching. This method offers more control and is often preferred for larger quantities or when tempering. Ensure the bottom of the bowl does not touch the water.
Melting chocolate in the microwave is faster but requires more attention. Place the chocolate in a microwave-safe bowl and heat it in short intervals (30 seconds for the first interval, then 15-second intervals thereafter). Stir the chocolate after each interval, even if it doesn't look fully melted. Chocolate retains its shape even when melted, and stirring helps distribute the heat and prevent burning. Stop heating when only a few small lumps remain, and stir until completely smooth. This gradual heating is a key microwave chocolate coating tip for beginners.
Preventing Chocolate Seizing: Tips and Tricks for Smooth Melting
Chocolate seizing is when melted chocolate suddenly turns from a smooth, liquid state into a thick, grainy, unusable mess. This usually happens when even a tiny amount of water or steam comes into contact with the melting chocolate. For instance, a single drop of water in your bowl or steam from a double boiler getting into the chocolate can cause it to seize. Ensure all your bowls and utensils are completely dry before you start melting.
Overheating is another common cause of seizing or scorching. If chocolate gets too hot, the cocoa solids separate from the fat, resulting in a grainy texture. This is why gentle heat and patience are essential, whether using a double boiler or microwave. If your chocolate does seize, you might be able to rescue it by stirring in a tablespoon or two of a neutral vegetable oil or melted shortening, but the texture and finish will not be as good as properly melted chocolate. Prevention is definitely better than cure when it comes to seized chocolate.
Chocolate Coating Tips for Beginners: Achieving a Smooth, Even Finish
Tempering Chocolate: Understanding the Process for a Glossy Finish
Tempering chocolate is the process of carefully melting, cooling, and then slightly reheating chocolate to stabilize the cocoa butter crystals. This is what gives chocolate a beautiful, glossy sheen, a firm snap when broken, and prevents "bloom" (those unattractive white streaks or spots). While not strictly necessary for treats you plan to eat immediately, tempering is crucial for dipped items you want to look professional and store at room temperature. For beginners, tempering can seem intimidating, but it's a fundamental skill for achieving the best results.
The most common method for tempering is the "seeding" method. You melt about two-thirds of your chocolate to the appropriate melting temperature (e.g., around 115°F/46°C for dark). Then, you remove it from the heat and stir in the remaining one-third of unmelted chocolate (finely chopped or callets). Stir continuously until the temperature drops and the added chocolate is completely melted and smooth. The goal is to cool the chocolate down to a specific working temperature (around 88-90°F/31-32°C for dark, 86-88°F/30-31°C for milk/white), which encourages the formation of stable crystals.
Maintaining the Ideal Chocolate Temperature During Coating
Once your chocolate is melted (and tempered, if desired), keeping it at the correct temperature throughout the dipping process is key. If the chocolate cools down too much, it will become too thick to dip smoothly, resulting in uneven or excessively thick coatings. If it gets too hot, it can lose its temper or even burn. For untempered chocolate, aim to keep it warm enough to remain fluid, perhaps by placing the bowl over a very low heat source or a warm (not hot) water bath.
For tempered chocolate, maintaining the working temperature is critical. Use your thermometer frequently. If the chocolate starts to cool and thicken, gently warm it back up slightly, either over a warm water bath or in short bursts in the microwave (5-10 seconds at a time), stirring well after each warming, until it returns to the correct working temperature range. This temperature management is a central part of effective chocolate coating tips for beginners aiming for quality results.
Dipping Techniques: Achieving Uniform Coverage Every Time
Achieving a smooth, uniform coating takes a little practice, but simple techniques make it easier. Use your dipping tool (fork, skewer) to fully submerge the treat in the melted chocolate. Lift the item out and gently tap the tool against the side of the bowl to allow excess chocolate to drip off. This step is crucial for preventing puddles around the base of your treats when they are set.
For items like cookies, you can hold the cookie horizontally over the bowl and use a spoon to pour chocolate over it, then tap to remove excess. Place the coated item on parchment paper or a silicone baking mat to set. For items with a bottom (like pretzels), try dipping only partially or holding it at an angle to ensure the bottom isn't too heavily coated. Patience and a gentle hand are key; rushing the process often leads to messy, uneven coatings.
Decorating Your Chocolate-Coated Treats: Adding Flair and Flavor
Simple Decoration Ideas: Sprinkles, Nuts, and Drizzles
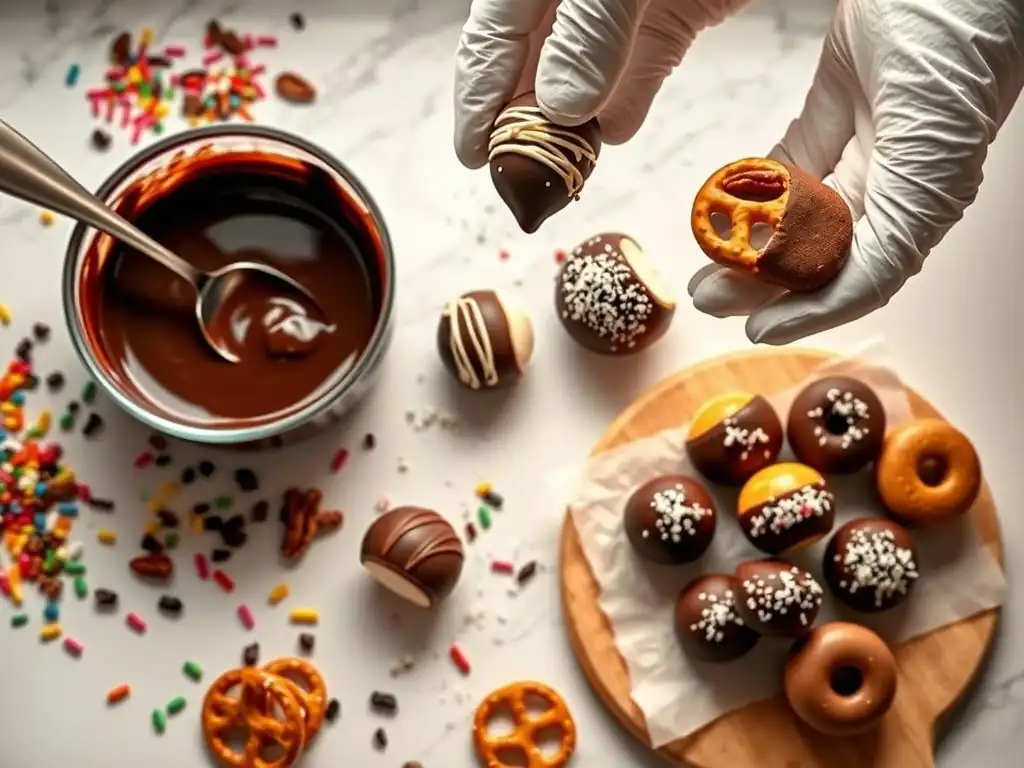
Once your treats are coated but before the chocolate fully sets, you have a window of opportunity to add simple decorations. Sprinkles are a classic choice; gently roll the dipped item in a shallow dish of sprinkles or sprinkle them over the top. Finely chopped nuts (like peanuts, almonds, or pistachios) or shredded coconut also make excellent toppings, adding both texture and flavor.
Another easy technique is drizzling. Once the main coating is set but not completely hard, melt a contrasting color of chocolate (e.g., white chocolate over dark) and use a fork or a piping bag with a very fine tip to drizzle lines or patterns over the surface. You can also use melted candy melts for vibrant colors, though they have a different flavor and texture than real chocolate. These simple additions instantly elevate the visual appeal of your chocolate-coated treats.
Advanced Decoration Techniques: Creating Intricate Designs
For those looking to go beyond basic toppings, there are more advanced techniques. Marbling is one such technique: after dipping a treat in one color of chocolate, immediately drizzle lines or dots of a contrasting color over the wet surface. Then, use a toothpick or skewer to swirl the colors together before the chocolate sets. This creates beautiful, unique patterns on each piece.
Using chocolate transfer sheets is another way to add intricate designs. These are plastic sheets with cocoa butter-based patterns printed on them. When melted, tempered chocolate is spread over the sheet and allowed to set, the pattern transfers onto the chocolate. Once hardened, the chocolate is peeled off the sheet, leaving a professional-looking design. This technique requires tempered chocolate for the pattern to transfer correctly and is a bit more involved but yields impressive results.
Adding Flavors to Your Chocolate Coating: Extracts, Zest, and More
Infusing your melted chocolate with flavors can add an extra dimension to your treats. Oil-based flavorings are best, as water-based extracts can cause chocolate to seize. A few drops of pure peppermint extract, orange oil, or almond extract stirred into the melted chocolate can create exciting variations. Start with a small amount (just a drop or two) and add more to taste, as extracts can be quite potent.
Finely grated citrus zest (orange or lemon) or a pinch of cinnamon or chili powder can also be stirred into the melted chocolate for a subtle flavor boost. Ensure any additions are completely dry to prevent seizing. For a coffee flavor, you can add a tiny amount of espresso powder. Experimenting with flavors is a fun way to personalize your chocolate coating and impress your guests.
Troubleshooting Common Chocolate Coating Problems
Dealing with Streaky Chocolate: Fixing Uneven Coverage
Streaky or uneven chocolate coating is a common issue for beginners. This often happens when the chocolate is too cool and thick, preventing it from flowing smoothly off the treat. To fix this, gently reheat your chocolate slightly to bring it back to the correct dipping consistency (referencing the temperature guidelines earlier). Ensure you are tapping off excess chocolate properly after dipping; residual drips that harden can create streaks.
Another cause of streaks can be inconsistent stirring during the melting process or if the chocolate wasn't fully melted and smooth before you started dipping. Always stir melted chocolate thoroughly until it is completely smooth and uniform in texture before you begin coating. Patience in getting the chocolate to the right consistency and temperature is key to avoiding streaks.
Preventing Bloom: Avoiding White Spots on Your Chocolate
Chocolate bloom appears as gray or white streaks or patches on the surface of hardened chocolate. There are two types: sugar bloom (caused by moisture) and fat bloom (caused by temperature fluctuations). Sugar bloom looks like a grainy white film and happens when moisture dissolves sugar crystals, which then recrystallize on the surface as the water evaporates. Fat bloom looks waxy and is caused by cocoa butter separating from the chocolate and rising to the surface, usually due to improper tempering or storage at warm temperatures.
To prevent bloom, especially fat bloom, tempering your chocolate is the most effective method. If not tempering, ensure your chocolate is melted gently and not overheated. Proper storage is also crucial: keep coated treats in a cool, dry place with stable temperatures, ideally between 60-70°F (15-21°C). While bloom doesn't affect the taste or safety of the chocolate, it does impact its appearance.
Thick vs. Thin Chocolate Coating: Adjusting Consistency
Sometimes your chocolate coating might be too thick, resulting in a heavy, clunky layer, or too thin, barely covering the treat. If the chocolate is too thick, it's likely too cool. Gently warming it back up to the correct dipping temperature will thin it out. Ensure you are using chocolate with adequate cocoa butter content (like couverture) as chocolate chips or candy melts can sometimes be inherently thicker.
If the chocolate is too thin, it might be too hot, or perhaps you've added too much oil or liquid trying to fix a seized batch. Overheating can make chocolate excessively fluid initially but can also lead to issues later. For a slightly thicker coating, you could allow the chocolate to cool very slightly (while still remaining easily dippable) or apply a second layer after the first one has partially set. However, using the right type of chocolate and maintaining the correct temperature are the best ways to control consistency.
Storing Your Chocolate-Coated Treats: Maintaining Freshness and Quality
Proper Storage Containers for Chocolate-Covered Goodies
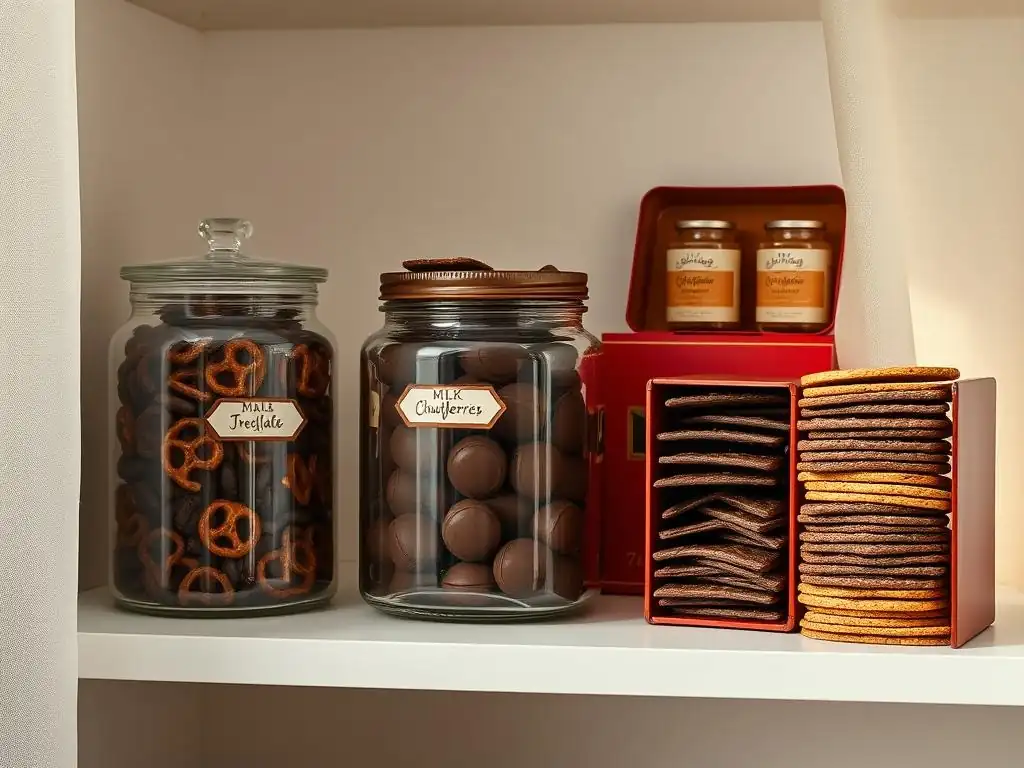
Storing your chocolate-coated treats correctly is essential to maintain their appearance, texture, and flavor. Use airtight containers to protect them from moisture, odors, and air, which can cause staleness and bloom. Glass or metal tins with tight-fitting lids are excellent choices. Plastic containers also work well, provided they seal properly.
Layering treats in the container requires care to prevent sticking or damage to the coating. Place a layer of parchment paper or wax paper between layers of dipped items. This is particularly important for treats that are still slightly soft or sticky. Avoid overcrowding the container, as this can also lead to damage.
Maintaining the Ideal Temperature and Humidity for Storage
The ideal storage environment for chocolate-coated treats is cool and dry, with a stable temperature between 60-70°F (15-21°C) and low humidity (below 50% relative humidity). Storing chocolate in a warm place can cause the cocoa butter to melt and rise to the surface (fat bloom). High humidity can lead to sugar bloom.
While refrigeration can prevent melting in warm climates, it's generally not recommended for long-term storage unless absolutely necessary. The refrigerator is often humid, and the temperature change when taking items out can cause condensation, potentially leading to sugar bloom. If you must refrigerate, place the airtight container inside a resealable plastic bag to minimize condensation, and allow the treats to come to room temperature slowly inside the container before opening it.
Shelf Life of Chocolate-Coated Treats: How Long They Stay Fresh
The shelf life of your chocolate-coated treats depends heavily on the item being coated and how it's stored. Chocolate itself, if tempered and stored correctly, can last for several months. However, the item underneath dictates the practical shelf life. For instance, chocolate-covered fresh strawberries are best eaten within 24-48 hours due to the fruit's moisture content.
Chocolate-covered cookies or pretzels, being drier, can last much longer, potentially several weeks if stored in an airtight container in a cool, dry place. Cake pops might last 5-7 days. Always consider the perishability of the core ingredient. If you're unsure, err on the side of caution and consume them sooner rather than later to enjoy them at their peak quality.
Advanced Chocolate Coating Techniques: Beyond the Basics
Working with Different Types of Chocolate: Milk, Dark, and White
Each type of chocolate – dark, milk, and white – has slightly different properties and requires slightly different handling, particularly when it comes to melting and tempering temperatures. Dark chocolate, with its higher cocoa solid and lower sugar content, generally has the highest melting point and requires the highest tempering temperatures. Milk chocolate contains milk solids and sugar, giving it a creamier texture and a lower melting point and tempering temperature. White chocolate, made from cocoa butter, sugar, and milk solids (no cocoa solids), is the most delicate and has the lowest melting and tempering temperatures.
Understanding these differences is crucial for successful results. For example, white chocolate is more prone to scorching than dark chocolate and requires even more gentle heat. When tempering, hitting the precise temperature ranges for each type is critical for achieving the desired snap and gloss. As you become more comfortable with basic chocolate coating tips for beginners, experimenting with these different chocolates will expand your skills.
Creating Layered Chocolate Coatings: Adding Depth and Texture
Adding layers of different chocolates can create visually stunning and texturally interesting treats. A common technique is to dip a treat in one type of chocolate (e.g., dark), let it set partially, and then dip part of it in a second type (e.g., white or milk). This creates a distinct line or pattern where the two chocolates meet.
Another approach is to completely coat an item in one chocolate, let it set fully, and then dip it again in a second chocolate, perhaps covering only half or drizzling patterns. For example, a pretzel rod could be dipped entirely in milk chocolate, allowed to set, and then the bottom third dipped in white chocolate. This layering adds complexity and allows for creative combinations of flavors and colors.
Chocolate Shells and Molds: Expanding Your Creative Possibilities
Moving beyond simple dipping, using chocolate molds allows you to create hollow chocolate shells or solid shapes. This technique is perfect for making filled chocolates, bonbons, or intricate decorative pieces. Molds come in various materials, including polycarbonate (professional grade, best for tempered chocolate), silicone (flexible, easy to pop out), and plastic.
To create shells, coat the inside of the mold with a layer of melted, tempered chocolate, ensuring full coverage. Pour out the excess chocolate, scrape the top clean, and let the shell set. You can then fill the shell with ganache, caramel, or other fillings before sealing the bottom with more chocolate. Using molds requires precise tempering and careful handling but opens up a whole new world of chocolate crafting possibilities.
Conclusion: Your Journey to Chocolate Coating Mastery with BakeWithEase
Frequently Asked Questions
How do I prevent my chocolate coating from seizing?
Seizing happens when water gets into the melted chocolate. Ensure all bowls and utensils are completely dry and avoid steam near the melting chocolate. You can sometimes rescue seized chocolate by adding a small amount of vegetable shortening and stirring vigorously.
What's the best type of chocolate for coating treats?
Couverture chocolate is ideal due to its high cocoa butter content, resulting in a smooth, glossy finish. However, for beginners, melting wafers or baking chocolate with added shortening can be a more forgiving option.
How do I achieve a smooth, even chocolate coating?
Use a double boiler or melt chocolate in short intervals in the microwave, stirring frequently. Dip treats completely and then gently tap off excess chocolate. A dipping fork or specialized tools can also help achieve a smooth, even layer.
What's the ideal temperature for dipping chocolate?
The optimal temperature varies depending on the type of chocolate, but generally, it should be between 88-90°F (31-32°C) for dark chocolate and slightly lower for milk and white chocolate. Use a candy thermometer to monitor the temperature.
How can I prevent my chocolate coating from cracking?
Cracking usually occurs when the chocolate is too cold or the treat is too warm. Ensure the treats are at room temperature before dipping and that the chocolate isn't overly chilled during the dipping process. Tempering the chocolate is essential for stable cocoa butter crystals.
Final Reflection: The Enduring Allure of Perfectly Coated Chocolate
The art of flawlessly coating treats in chocolate transcends mere confectionery; it's a gateway to creating unforgettable moments of deliciousness. From simple dipped strawberries to elaborate cake pops, the ability to achieve a smooth, even coating elevates any dessert to a professional level. This skill, once mastered, unlocks a world of creative possibilities, allowing you to personalize gifts, impress guests, and indulge in the pure joy of handcrafted sweets.
The impact of this seemingly simple skill extends beyond the individual kitchen. It's a testament to the enduring power of tradition and the joy found in creating something beautiful with your own hands. The satisfying snap of perfectly tempered chocolate, the glossy sheen of a flawlessly coated treat – these are sensory experiences that connect us to a rich history of culinary artistry. The best things in life are simple,
a sentiment perfectly encapsulated in the satisfying simplicity and rewarding results of mastering chocolate coating techniques.
Now, it's your turn. Don't be intimidated by the seemingly complex world of chocolate tempering and dipping. Take the lessons learned here, experiment with different techniques, and embrace the inevitable imperfections along the way. Each dipped treat, whether a success or a learning experience, is a step closer to unlocking your own unique confectionery artistry. The journey of mastering chocolate coating is as rewarding as the delicious destination. So, grab your chocolate, your favorite treats, and let the dipping begin!
Unleash Your Inner Chocolatier: Master the Art of Dipping!
Thanks for joining us on this delicious journey into the world of chocolate-covered treats! We hope you've picked up some sweet new skills. Now it's time to put them into practice!
- Dive right in and create your masterpiece! Try out one of the techniques we discussed today – you'll be amazed at the results.
- Share your creations with friends and family (and don't forget to tag us on social media!). We'd love to see your chocolatey delights.
- Experiment with different flavors and textures. What unexpected combination will you discover next?
What innovative dipping technique will you try first? Let's hear your chocolatey plans in the comments!