
Crafting Your Own AllPurpose GlutenFree Flour Blend: A StepbyStep

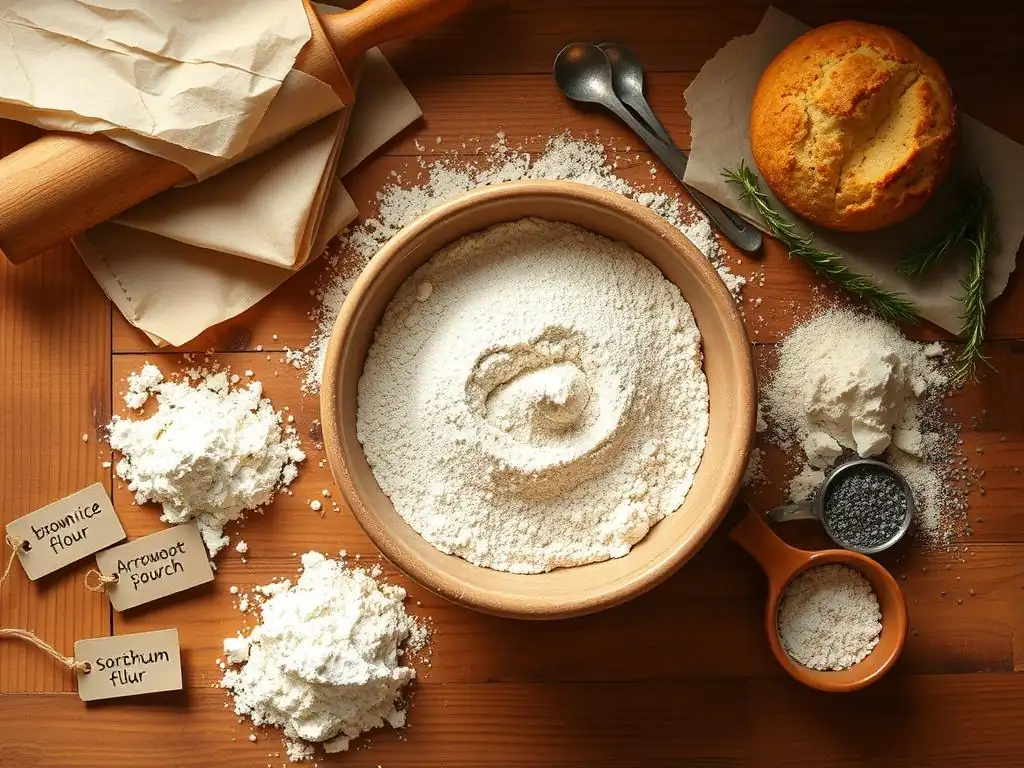
Welcome to BakeWithEase, your trusted guide to unlocking the joy of baking! Are you ready to dive into a world where dietary restrictions don't limit your culinary creativity? This week, we're tackling a common challenge with a rewarding solution: crafting your own Gluten-Free Flour Blend Recipe. But what makes a truly great blend, and how can you tailor it to your favorite recipes? Discover the secrets within and empower your baking journey today!
- Crafting a High-Performance Gluten-Free Flour Blend for Bread
- Introduction: Achieving Superior Gluten-Free Bread with a Custom Blend
- Step 1: Selecting Gluten-Free Flours for Bread Making
- Step 2: Optimizing Ratios for Gluten-Free Bread Flour
- Step 3: Blending and Storing Your Gluten-Free Bread Flour
- Step 4: Baking a Simple Gluten-Free Bread Loaf with Your Blend
- Step 5: Troubleshooting Gluten-Free Bread Baking Issues
- Advanced Techniques: Enhancing Your Gluten-Free Bread Flour
- Conclusion: Achieving Gluten-Free Bread Mastery
-
Frequently Asked Questions
- How is a homemade gluten-free flour blend different from store-bought options?
- What are the essential ingredients in a good gluten-free flour blend?
- Can I substitute different flours in the gluten-free blend recipe?
- How do I store my gluten-free flour blend to keep it fresh?
- Why is xanthan gum important in gluten-free baking?
- Final Reflection: The Power of Flour Power (and Choice)
- Unleash Your Inner Baker: Craft the Perfect Gluten-Free Flour Blend!
Crafting a High-Performance Gluten-Free Flour Blend for Bread
Introduction: Achieving Superior Gluten-Free Bread with a Custom Blend
Why Create a Custom Gluten-Free Bread Flour Blend?
Creating your own gluten-free flour blend offers a significant advantage over relying solely on commercial, all-purpose mixes, particularly when it comes to bread baking. Many store-bought blends are formulated for general baking needs like cookies or cakes, and they often lack the specific balance of protein, fiber, and starch required to build structure and achieve a good rise in yeast-leavened bread.
For instance, a common commercial blend might contain a high proportion of white rice flour (sometimes 70-80%) and just tapioca starch, which can result in a dense, gummy, or crumbly loaf. By crafting your own gluten-free flour blend recipe, you gain control over the ingredients, allowing you to tailor the properties specifically for the demands of bread.
This customization empowers you to bake bread with improved texture, a more satisfying crumb, better moisture retention, and enhanced flavor. You can select flours that contribute specific characteristics, like the structure from brown rice or sorghum, the elasticity from tapioca, and the softness from potato starch. A custom gluten-free flour blend recipe also allows you to avoid specific allergens present in some commercial blends or incorporate more nutritious whole-grain flours. While it requires a bit of initial effort, the ability to consistently produce high-quality gluten-free bread that rivals its wheat-based counterparts makes the process incredibly rewarding.
Understanding the Unique Requirements of Gluten-Free Bread Baking
Baking bread without gluten presents a fundamental challenge: gluten is the protein network that provides structure, elasticity, and the ability to trap gases produced by yeast, leading to a light, airy loaf. In gluten-free baking, this network is absent, and alternative ingredients must step in to fulfill these crucial roles.
This means a successful gluten-free flour blend recipe for bread needs a careful balance of flours and starches that can mimic gluten's functions. You need components that provide structure (like protein and fiber from whole grains), elasticity and chewiness (typically from starches and added binders), and moisture retention to prevent the bread from becoming dry and brittle.
Unlike wheat flour, which develops structure through kneading, gluten-free flour blends rely on the properties of their individual components and often require the addition of binders like xanthan gum or psyllium husk to hold the dough together and provide the necessary elasticity for rising. The dough consistency will also differ; it's frequently more like a thick batter than a traditional kneadable dough. Understanding these unique requirements is the first step in formulating an effective gluten-free flour blend recipe specifically designed to produce well-risen, tender, and delicious bread.
Step 1: Selecting Gluten-Free Flours for Bread Making
Key Gluten-Free Flours for Bread: Properties and Contributions
Crafting an effective gluten-free flour blend recipe for bread involves selecting a variety of flours and starches, each contributing unique properties essential for structure, texture, and flavor. No single gluten-free flour can replicate the function of wheat flour in bread; success lies in the synergistic combination of different components. You'll typically want a mix of 'structure' flours, which provide body and some protein/fiber, and 'starch' flours, which contribute elasticity, chewiness, and moisture retention.
The flours listed in the following sections are commonly used in gluten-free bread baking and form the basis of many successful custom blends. By understanding what each brings to the mix, you can better formulate or adjust your gluten-free flour blend recipe to achieve your desired bread characteristics. Balancing these components correctly is crucial for avoiding common pitfalls like dense, gummy, or crumbly loaves.
Brown Rice Flour: Structure and Flavor
Brown rice flour is a staple in many gluten-free flour blends and serves as a foundational 'structure' flour. It provides body and a slightly nutty flavor to the bread. While it doesn't offer elasticity like gluten, its protein content (around 7-8%) contributes somewhat to the loaf's framework. Using a finely ground brown rice flour is recommended to minimize the gritty texture that can sometimes occur.
This flour is often a significant component of the non-starch portion of a gluten-free flour blend recipe, sometimes making up 30-50% of the total blend before binders are added. Its relatively neutral taste makes it a versatile base that pairs well with other flavors.
Tapioca Starch: Binding and Chewiness
Tapioca starch (also known as tapioca flour) is a crucial component for adding elasticity and chewiness to gluten-free bread. Derived from the cassava root, it becomes gelatinous when heated, helping to bind ingredients together and providing a desirable slightly chewy texture, particularly in the crust. It mimics some of the binding properties of gluten.
Tapioca starch is typically included in a gluten-free flour blend recipe at around 20-30% of the total mix. It works synergistically with other starches and flours to improve crumb structure and prevent crumbling. Its neutral flavor and ability to contribute to a golden-brown crust make it indispensable.
Potato Starch: Moisture Retention and Softness
Potato starch is another essential starch in a gluten-free flour blend, primarily valued for its ability to retain moisture and contribute to a soft, tender crumb. It helps prevent the bread from drying out and becoming stale quickly. Like tapioca, it gelatinizes during baking, aiding in binding and providing structure, but it tends to yield a softer texture compared to tapioca's chewiness.
Included at similar proportions to tapioca starch, often 15-25% of the total blend, potato starch is key to achieving a pleasant mouthfeel in gluten-free bread. It is distinct from potato flour, which is made from the whole potato and has different properties; ensure you are using potato starch for this function in your gluten-free flour blend recipe.
Sorghum Flour: Earthy Notes and Texture
Sorghum flour is a nutritious whole-grain flour that adds a pleasant, slightly sweet and earthy flavor to gluten-free bread. It contributes to a tender crumb and can help reduce the reliance on rice flour, potentially lessening grittiness. It contains a moderate amount of protein and fiber, which adds to the bread's structure and nutritional profile.
Sorghum flour is often used in smaller quantities than rice flour in a gluten-free flour blend recipe, perhaps 10-20% of the non-starch flour portion, to add flavor complexity without overwhelming the other ingredients. Its fine texture integrates well into blends.
Teff Flour: Nutritious and Adds Depth of Flavor
Teff flour, an ancient grain, brings a unique, slightly malty or molasses-like flavor and a darker hue to gluten-free bread. It is highly nutritious, offering good amounts of iron and calcium. While its distinct flavor might not be suitable for all bread types, it adds wonderful depth and complexity to rustic loaves.
Typically used in smaller proportions (around 5-15% of the non-starch flours) due to its strong flavor and color, teff flour also contributes fiber, which aids in structure and moisture absorption in a gluten-free flour blend recipe.
Oat Flour: Softness and Mild Flavor
Oat flour contributes significantly to the softness and tenderness of gluten-free bread, along with a mild, slightly sweet flavor. It's important to use certified gluten-free oat flour if baking for individuals with celiac disease, as oats are often cross-contaminated during processing. Oat flour absorbs moisture well and helps create a pleasant, less crumbly texture.
Included in proportions like 10-20% of the non-starch flours in a gluten-free flour blend recipe, oat flour is excellent for achieving a soft, sandwich-style loaf. Its fiber content also adds to the nutritional value of the bread.
Step 2: Optimizing Ratios for Gluten-Free Bread Flour
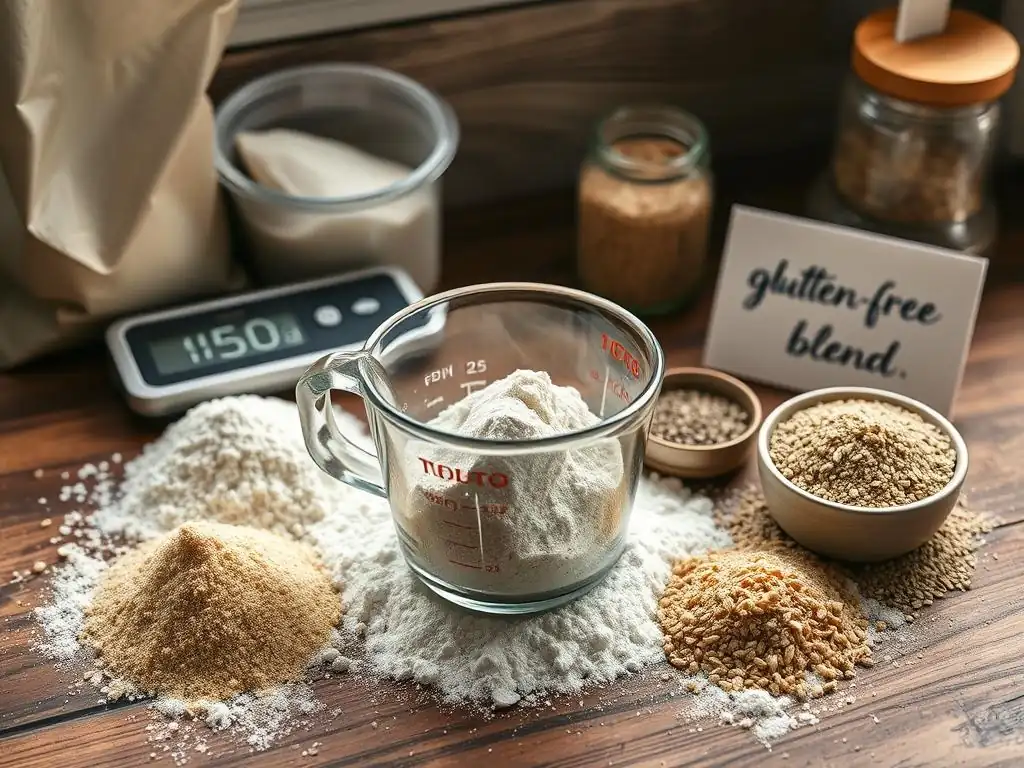
Balancing Flour Ratios for Bread Structure and Texture
The success of a gluten-free flour blend recipe for bread hinges significantly on the ratio between the 'structure' flours (like rice, sorghum, oat, teff) and the 'starch' flours (tapioca, potato). Structure flours provide the bulk and some protein/fiber, while starches are crucial for binding, elasticity, and moisture. An imbalance can lead to undesirable textures: too much starch can result in a gummy interior, while too much structure flour (especially rice) can lead to a dry, crumbly, or gritty loaf with poor rise.
A common approach is to aim for a ratio where the structure flours make up a larger proportion than the starches, but with enough starch to provide necessary binding and elasticity. Experimentation is often needed to find the perfect balance for your specific baking environment and desired bread type. This ratio is the heart of developing a reliable gluten-free flour blend recipe.
Recommended Gluten-Free Bread Flour Blend Ratio
While personal preference and specific flour brands can influence the ideal mix, a widely successful starting point for a versatile gluten-free flour blend recipe designed for bread is approximately:
- Structure Flours (approx. 60%):
- Brown Rice Flour: 30%
- Sorghum Flour: 15%
- Oat Flour: 10%
- Teff Flour: 5%
- Starches (approx. 40%):
- Tapioca Starch: 20%
- Potato Starch: 20%
This specific gluten-free flour blend recipe ratio (30:15:10:5:20:20) provides a good balance. The combination of brown rice, sorghum, teff, and oat flours provides a robust base with varying flavors and textures, while the significant proportion of tapioca and potato starches ensures good binding, elasticity, and moisture retention needed for a well-risen and tender loaf. Remember that binders like xanthan gum or psyllium husk will still be added separately when you use this blend in a bread recipe.
Adjusting Ratios for Different Bread Types: Loaves, Rolls, and Baguettes
The beauty of a custom gluten-free flour blend recipe is the ability to fine-tune it for different baking applications. While the recommended ratio above is a great starting point for a general sandwich loaf, you might adjust it slightly for other bread types. For instance, if you're aiming for a chewier texture often desired in rolls or baguettes, you might slightly increase the proportion of tapioca starch (e.g., shift from 20% to 25% tapioca, reducing potato starch or a structure flour by 5%).
Conversely, for an extra soft loaf or enriched bread (like challah or brioche), you might slightly increase the proportion of oat flour or potato starch, which contribute more to tenderness. For example, for softer rolls, you could increase oat flour from 10% to 15%, decreasing brown rice flour proportionally. These minor adjustments to your base gluten-free flour blend recipe can significantly impact the final texture of different bread varieties.
Step 3: Blending and Storing Your Gluten-Free Bread Flour
Efficient Mixing Techniques for Uniform Distribution
Once you've determined your desired gluten-free flour blend recipe ratios and measured your ingredients, thorough mixing is absolutely crucial for consistent baking results. An unevenly mixed blend means some parts of your dough might have too much starch, while others have too much structure flour, leading to unpredictable outcomes like gummy spots or areas that don't rise properly. The goal is to distribute all the flours and starches uniformly throughout the batch.
For smaller batches, combining the measured ingredients in a large bowl and whisking vigorously for several minutes is effective. Ensure you reach the bottom of the bowl to incorporate everything. For larger quantities, a stand mixer fitted with a whisk attachment on low speed for 3-5 minutes works well. Alternatively, a food processor can be used, pulsing the mixture repeatedly (avoid continuous processing which could heat the flours) until everything appears homogenous. Sifting the final blend through a fine-mesh sieve is an extra step that guarantees uniformity.
Maintaining Freshness: Storage Best Practices
Proper storage is essential to maintain the quality and freshness of your custom gluten-free flour blend recipe. Unlike refined wheat flour, many gluten-free flours, especially those made from whole grains like brown rice, sorghum, and oats, contain natural oils that can go rancid over time, leading to off-flavors. Starches are generally more stable, but the overall blend needs protection from air, light, heat, and moisture.
Store your blended gluten-free flour in airtight containers, such as glass jars with tight-fitting lids, heavy-duty plastic containers, or vacuum-sealed bags. Label the container clearly with the name of the blend (e.g., "GF Bread Blend") and the date it was mixed. For best results, store the blend in a cool, dark pantry for up to 2-3 months. For longer storage, especially if you live in a warm or humid climate, the refrigerator or freezer is ideal, extending the shelf life to 6-12 months or even longer. Allow frozen blend to come to room temperature before using in a recipe.
Step 4: Baking a Simple Gluten-Free Bread Loaf with Your Blend
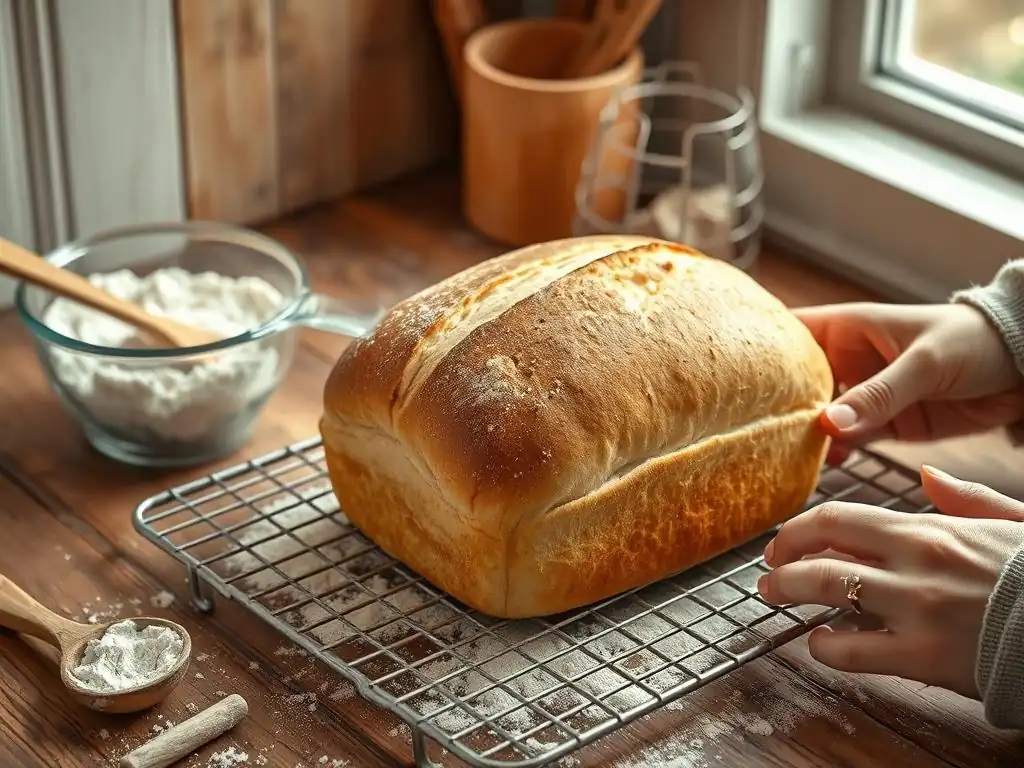
Basic Gluten-Free Bread Recipe Using Your Blend
Now that you have your custom gluten-free flour blend recipe ready, it's time to put it to the test! Here is a basic outline for a simple loaf using your blend. This serves as a starting point, and you can adjust it based on your blend's performance. You'll typically need:
- 350-400g of your custom gluten-free flour blend
- 1-2 tablespoons of a binder (xanthan gum or psyllium husk powder – see advanced techniques for details)
- 1 teaspoon salt
- 1-2 tablespoons sugar or other sweetener
- 2 teaspoons active dry yeast (or equivalent instant yeast)
- 320-360ml warm liquid (water, milk, or dairy-free milk, around 40-45°C or 105-115°F)
- 2-3 tablespoons oil or melted butter
Combine the warm liquid, sugar, and yeast in a bowl and let it sit for 5-10 minutes until frothy (if using active dry). In a separate large bowl, whisk together your gluten-free flour blend, binder, and salt. Once the yeast is active (or if using instant yeast, add it directly to the dry ingredients), pour the liquid mixture and the oil/butter into the dry ingredients. Mix thoroughly with a sturdy spoon or stand mixer until everything is well combined into a thick, sticky batter-like dough.
Transfer the dough to a greased loaf pan, smooth the top, and cover loosely. Let rise in a warm place for 45-75 minutes, or until it has visibly increased in size (often 50-75%). Bake in a preheated oven at 190-200°C (375-400°F) for 40-50 minutes, or until deeply golden brown and the internal temperature reaches around 95-100°C (205-210°F).
Evaluating the Bread: Texture, Rise, and Crumb
After baking and allowing your loaf to cool completely on a wire rack (this is crucial for gluten-free bread to set properly), it's time to evaluate the results of your custom gluten-free flour blend recipe and baking method. First, assess the exterior: Did the loaf achieve a good rise? Is the crust a nice golden brown and relatively firm? Tap the bottom of the loaf – does it sound hollow?
Next, slice the bread (only after it's fully cooled, ideally 1-2 hours or longer). Examine the interior crumb structure. Is it open and airy, or dense and tight? Does it appear gummy or dry? Does the slice hold together well, or is it crumbly? Note the flavor and moisture level. This critical evaluation provides feedback on how your specific gluten-free flour blend recipe performed and what adjustments, if any, might be needed in future batches of the blend or your baking technique.
Step 5: Troubleshooting Gluten-Free Bread Baking Issues
Addressing Dense Texture, Poor Rise, and Crumbly Structure
Encountering issues like dense texture, poor rise, or crumbly bread is common when first working with a custom gluten-free flour blend recipe. A dense loaf often indicates insufficient leavening (dead yeast, cold proofing) or a blend imbalance that prevents gases from being trapped effectively. Poor rise can also stem from these issues or too little binder. Crumbly bread is typically a sign of too little moisture or binder, or potentially too high a proportion of certain structure flours relative to starches in the blend.
To troubleshoot density or poor rise, first check your yeast's freshness by proofing it separately. Ensure your proofing environment is warm (ideally 24-27°C or 75-80°F). Consider slightly increasing the amount of binder (xanthan or psyllium) in your recipe, as this provides the elasticity needed to trap gases. For crumbly bread, ensure you are adding enough liquid – gluten-free dough often requires more hydration than you might expect – and confirm your binder is properly incorporated and potentially slightly increased.
Improving Bread Texture and Stability
Beyond adjusting the blend ratio and binder, several techniques can improve the texture and stability of gluten-free bread made with your custom gluten-free flour blend recipe. Ensure you are mixing the dough thoroughly; even though it's not kneaded like wheat dough, good mixing helps distribute the binder and hydrate the flours properly. Using a stand mixer can help achieve this.
Proper proofing time is also key. While gluten-free bread often proofs faster than wheat bread, over-proofing can cause the structure to collapse during baking. Pay attention to visual cues rather than just time. Baking in a loaf pan provides essential support for the structure as it rises in the oven. Sometimes, adding an acidic component like a teaspoon of apple cider vinegar or lemon juice per loaf can help activate binders and improve crumb structure and rise.
Liquid Adjustment and Binding Agent Optimization
One of the most frequent variables impacting gluten-free bread success is the amount of liquid needed, which can vary based on your specific gluten-free flour blend recipe, the freshness of your flours, and even ambient humidity. Gluten-free dough should typically be quite wet, often resembling a thick cake batter or very soft cookie dough rather than a firm, kneadable mass. If your dough feels too stiff, add liquid a tablespoon at a time until it reaches the correct consistency – it should drop reluctantly from a spoon or be manageable but sticky.
Optimizing your binding agent (xanthan gum or psyllium husk) is also critical. As a general guideline, use about 1-2 teaspoons of xanthan gum or 1-2 tablespoons of psyllium husk powder (or whole husks, which require more liquid and potentially soaking) per cup (approx. 120-140g) of your gluten-free flour blend. Psyllium tends to create a more elastic, wheat-like texture and absorbs more liquid. Experimenting within these ranges will help you find the perfect amount for your specific gluten-free flour blend recipe to achieve the desired elasticity, rise, and crumb structure.
Advanced Techniques: Enhancing Your Gluten-Free Bread Flour
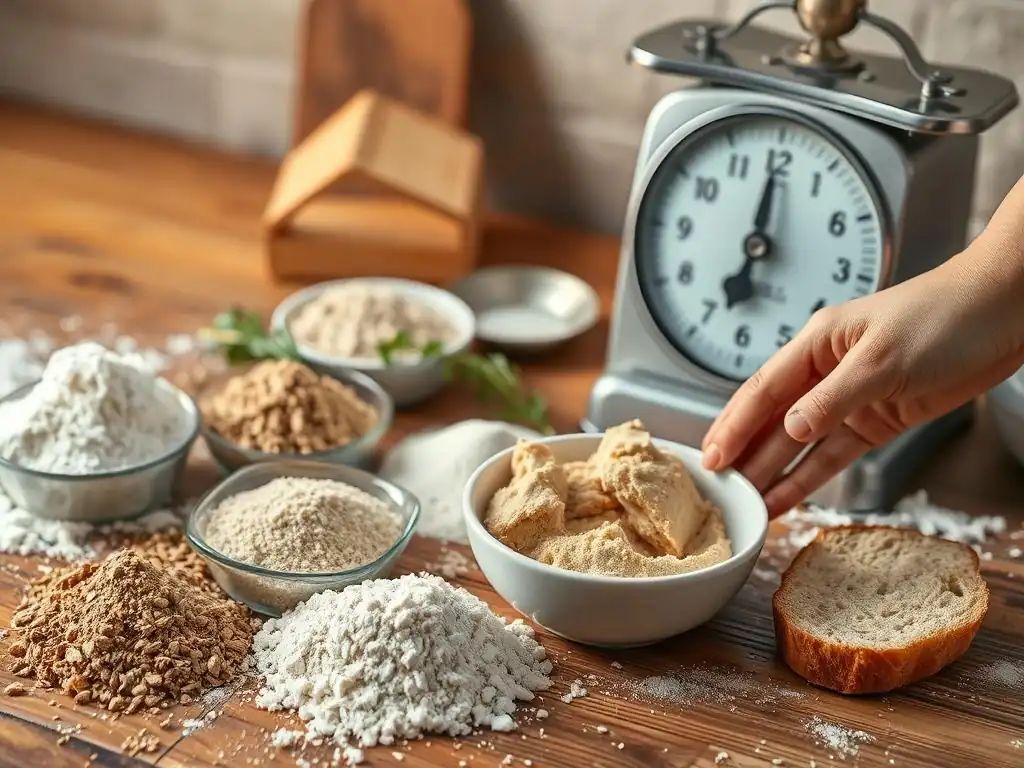
Xanthan Gum: Dosage and Impact on Bread
Xanthan gum is a popular hydrocolloid widely used in gluten-free baking as a binder. It acts as a stabilizer and emulsifier, providing elasticity and viscosity to the dough, which helps trap the carbon dioxide produced by yeast. This leads to a better rise and prevents the bread from collapsing. It's essential for providing structure that gluten would normally provide.
The typical usage rate in a gluten-free flour blend recipe for bread is between 1 to 2 teaspoons per cup (approx. 120-140g) of the flour blend. Using too little will result in a dense, crumbly loaf, while using too much can make the bread gummy or slimy. It's usually added directly to the dry ingredients and whisked in before adding liquids. Its impact is most noticeable in improved loaf volume and a less fragile crumb structure.
Psyllium Husk: Improving Elasticity and Structure
Psyllium husk, derived from the seeds of the Plantago ovata plant, is another excellent binder for gluten-free bread. When mixed with liquid, it forms a gel that provides significant elasticity and structure to the dough, often yielding a result that feels and behaves more like traditional wheat dough compared to using xanthan gum alone. It also adds beneficial dietary fiber.
Psyllium husk is typically used in higher quantities than xanthan gum, ranging from 1 to 2 tablespoons per cup of gluten-free flour blend. It absorbs a substantial amount of liquid, so recipes using psyllium often require more water or other liquids. It can be added directly to the dry ingredients or sometimes pre-soaked in the liquid component before mixing. Psyllium contributes to a soft, moist crumb and a pleasant chewiness in the final bread.
Incorporating Starches for Enhanced Rise and Texture
The starches in your gluten-free flour blend recipe – tapioca, potato, corn, or arrowroot – play a vital role beyond just binding; they significantly impact the bread's rise and final texture. During baking, starches absorb moisture and gelatinize, creating a supportive structure that helps the bread hold its shape and contributes to an open, soft crumb.
Ensuring your blend contains an adequate and balanced proportion of starches (often around 40-50% of the total blend) is key to achieving a good rise and preventing a dense, heavy loaf. Using a combination of starches, like tapioca and potato starch, can be more effective than relying on just one, as they have slightly different gelatinization properties and contribute distinct textural qualities. Freshness of starches also matters; old starches might not perform as well.
Conclusion: Achieving Gluten-Free Bread Mastery
The Evolution of Gluten-Free Bread Baking
Gluten-free bread baking has come a long way from the days when dense, heavy, and often flavorless loaves were the norm. Thanks to increased understanding of the functional properties of various gluten-free flours, starches, and binders, combined with innovative techniques, it's now possible to create gluten-free bread that is light, airy, flavorful, and boasts an excellent texture. The evolution reflects a deeper scientific understanding of how different ingredients interact in the absence of gluten's protein network.
This progress has been fueled by dedicated bakers and researchers who have experimented tirelessly to develop effective ingredient combinations and methods. The knowledge is now widely accessible, empowering home bakers to achieve results that were once only possible in specialized bakeries. Crafting your own gluten-free flour blend recipe is a direct benefit of this evolution, allowing you to leverage this knowledge and move beyond the limitations of generic commercial products.
Confidently Baking Delicious Gluten-Free Bread
Armed with a well-formulated custom gluten-free flour blend recipe and an understanding of the principles discussed, you are well-equipped to confidently bake delicious gluten-free bread at home. While there might be an initial learning curve and some experimentation needed to perfect your specific blend and technique, the process is rewarding. Each loaf you bake will offer insights into how your blend performs and how minor adjustments can lead to even better results.
Mastering your own gluten-free flour blend recipe gives you unparalleled control over the quality, flavor, and texture of your bread. You can bake a variety of loaves tailored to your dietary needs and taste preferences, from simple sandwich bread to rustic loaves. Embrace the journey of experimentation and practice, and soon you'll be consistently pulling beautifully risen, tender, and flavorful gluten-free bread from your oven, achieving true gluten-free bread mastery.
Frequently Asked Questions
How is a homemade gluten-free flour blend different from store-bought options?
Homemade blends allow for greater control over the ingredients and ratios, tailoring them to specific recipes and personal dietary needs. Store-bought options offer convenience but may contain additives.
What are the essential ingredients in a good gluten-free flour blend?
A successful blend often includes a base flour like rice flour, a starch such as tapioca or potato starch, and a binding agent like xanthan gum to mimic gluten's elasticity.
Can I substitute different flours in the gluten-free blend recipe?
Yes, but it's crucial to understand the properties of each flour. Substituting requires careful adjustment to maintain the correct texture and structure in your baked goods.
How do I store my gluten-free flour blend to keep it fresh?
Store the blend in an airtight container in a cool, dry place. This prevents moisture absorption and extends the shelf life, ensuring optimal baking results.
Why is xanthan gum important in gluten-free baking?
Xanthan gum acts as a gluten substitute, providing the necessary binding and elasticity to prevent baked goods from crumbling and improving their overall texture.
Final Reflection: The Power of Flour Power (and Choice)
The ability to craft your own gluten-free flour blend is not just a culinary skill; it's a declaration of independence in the kitchen. In a world increasingly focused on dietary needs and personalized health, mastering the art of gluten-free baking empowers individuals to take control of their food and their well-being. This knowledge transcends mere recipe following; it's about understanding the nuances of different flours and creating a baking experience tailored to your specific preferences and needs.
The impact of readily available gluten-free products is undeniable, yet the journey to finding the "perfect" blend often feels like a quest. Many pre-made blends fall short, leaving bakers frustrated with inconsistent results. This underscores the importance of understanding the fundamental properties of various gluten-free flours and how they interact with each other. The best flour blend is the one you make yourself, tailored to your taste and the specific recipe.
This simple truth highlights the transformative power of understanding the process, moving beyond reliance on commercially produced options.
Now, it's your turn. Don't just passively consume recipes; actively engage with the process of creating your own unique gluten-free flour blend. Experiment with different ratios, explore various flours, and discover the perfect combination for your baking style. The journey of experimentation is as rewarding as the delicious results. Embrace the challenge, and unlock a world of gluten-free baking possibilities – a world you control.
Unleash Your Inner Baker: Craft the Perfect Gluten-Free Flour Blend!
Thanks for taking the time to explore the world of gluten-free baking! We hope you gained valuable insights and feel empowered to create delicious, customized gluten-free treats. Now it's time to put your new knowledge into practice.
- Whip up your own custom gluten-free flour blend: Use the ratios and tips from the article to create a blend perfectly suited to your favorite recipes. Don't be afraid to experiment!
- Share your baking triumphs (or even your flour blend recipe!): Tag us on social media with your creations and use #BakeWithEaseGlutenFree. Let’s build a supportive community!
- Challenge yourself with a new gluten-free recipe: Find a recipe you've always wanted to try and make it gluten-free using your freshly blended flour.
What exciting gluten-free creation will you bake first?