
Simple Sourdough Rye Bread Recipe You Can Make Today

Welcome to BakeWithEase, your trusted companion in the delightful world of baking! Ever dreamt of effortlessly creating a flavorful, crusty loaf that fills your kitchen with the irresistible aroma of freshly baked bread? Prepare to turn that dream into reality! This week, we're demystifying the art of sourdough with a recipe so simple, even beginners can achieve bakery-worthy results. Get ready to embark on a journey to master the art of easy sourdough rye bread, and discover how surprisingly straightforward it can be to bake your own delicious, artisan-style loaves. Intrigued? Let's get baking!
- Why This Easy Sourdough Rye Bread Recipe Works
-
Easy Sourdough Rye Bread Recipe: Step-by-Step Guide
- Step 1: Preparing Your Rye Sourdough Starter
- Step 2: Mixing the Dough for Your Easy Rye Bread
- Step 3: Bulk Fermentation for Sourdough Rye
- Step 4: Shaping Your Sourdough Rye Loaf
- Step 5: Proofing Your Shaped Rye Sourdough
- Step 6: Baking Your Homemade Sourdough Rye Bread
- Step 7: Cooling and Enjoying Your Fresh Rye Bread
- Tips for Baking the Perfect Easy Sourdough Rye Bread
- Variations and Additions to Your Easy Sourdough Rye
- Storing Your Homemade Sourdough Rye Bread
- The Delicious Result: Enjoying Your Easy Sourdough Rye Bread
- Frequently Asked Questions
- Final Reflection: The Enduring Appeal of Simple Sourdough Rye
- Unleash Your Inner Baker: Craft Your Perfect Rye!
Why This Easy Sourdough Rye Bread Recipe Works
Baking with sourdough can sometimes feel intimidating, especially when venturing into different flours like rye. However, this particular easy sourdough rye bread recipe is designed with simplicity and reliability in mind, making it perfect for home bakers of all skill levels.
We focus on approachable techniques and clear steps that demystify the process, ensuring a delicious result without the usual sourdough stress. The balance of rye and bread flour in this recipe is key; it provides the distinctive flavor and texture of rye while maintaining a structure that is easier to handle and bake successfully compared to a loaf made with 100% rye.
Furthermore, the fermentation schedule for this easy sourdough rye bread is forgiving. Unlike some highly sensitive sourdough recipes that require precise timing, this method allows for a bit more flexibility in the bulk fermentation and proofing stages. This means you don't need to hover over your dough constantly, making it much more compatible with a busy schedule. By using a well-established starter and following our straightforward instructions, you'll find that achieving a beautifully risen, flavorful rye loaf is well within reach, proving that easy sourdough rye bread is indeed possible right in your own kitchen.
Understanding the Sourdough Rye Bread Magic
The unique characteristics of sourdough rye bread come from the interplay of rye flour and the sourdough starter's fermentation process. Rye flour is lower in gluten compared to wheat flour, which affects dough handling and structure. However, the lactic acid bacteria and wild yeasts in the sourdough starter work wonders, breaking down the flour and developing complex flavors that are both tangy and earthy. This enzymatic activity also helps create a softer crumb and a chewier texture, hallmarks of great rye bread. This recipe leverages these properties to create a loaf that is both flavorful and texturally appealing.
Additionally, the sourdough starter acts as the primary leavening agent, producing carbon dioxide that causes the dough to rise. As the starter ferments, it also produces organic acids that contribute to the bread's distinct sourness and help preserve the loaf naturally. For this easy sourdough rye bread, maintaining a healthy, active starter is crucial, as it provides the necessary lift and flavor development. The slower fermentation process compared to commercial yeast allows for a deeper complexity of flavor to develop, resulting in a more nuanced and satisfying bread experience.
Key Ingredients for Simple Rye Sourdough
The foundation of this simple rye sourdough recipe lies in a few core ingredients. You'll need a mature and active sourdough starter, rye flour, bread flour, water, and salt. The ratio of rye flour to bread flour in this recipe is carefully calibrated to provide the characteristic rye flavor and color while ensuring the dough is manageable and achieves a good rise. Using a high-quality bread flour with a protein content typically between 12-14% provides the necessary gluten structure to support the rye flour and the fermentation process, resulting in a well-formed loaf.
Water plays a critical role in hydration, affecting the dough's consistency and the bread's final texture. The amount of water used, often expressed as a percentage relative to the flour weight (hydration percentage), is key in sourdough baking. For this easy sourdough rye bread, we aim for a hydration level that makes the dough pliable but not excessively sticky, making it easier for beginners to handle. Salt is essential for flavor, controlling the fermentation rate, and strengthening the gluten structure. Using a non-iodized salt, like fine sea salt, is often preferred as iodine can potentially inhibit yeast activity.
Easy Sourdough Rye Bread Recipe: Step-by-Step Guide
Step 1: Preparing Your Rye Sourdough Starter
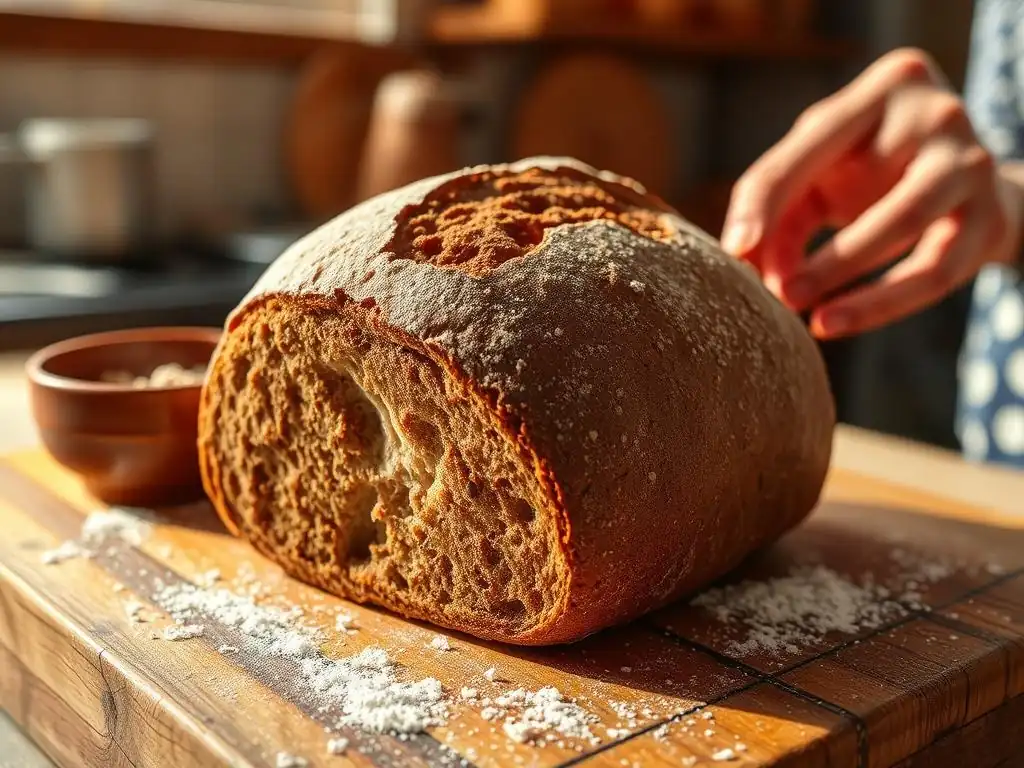
Before you can bake your easy sourdough rye bread, ensure your sourdough starter is active and ready. This typically involves feeding your starter 4-12 hours before you plan to mix your dough. For this recipe, we recommend using a starter that has been fed with a mix of rye and bread flour, or just bread flour if that's what you usually use. A ripe starter should be bubbly, have increased significantly in volume (often doubled or tripled), and pass the float test (a small dollop dropped in water should float).
Feeding your starter is simple: discard a portion (keeping about 50-100g is common), and feed it with equal parts by weight of flour and water. For instance, you might feed 50g of starter with 50g of flour (a mix of rye and bread flour is ideal here) and 50g of water. Leave it at room temperature (ideally between 70-78°F or 21-26°C) until it reaches its peak activity, indicated by maximum volume and lots of bubbles. Using a vigorous starter is perhaps the single most important factor for successful easy sourdough rye bread baking.
Step 2: Mixing the Dough for Your Easy Rye Bread
The first step in mixing your easy sourdough rye bread dough is the autolyse. Combine the rye flour, bread flour, and water in a large mixing bowl. Mix them until no dry flour remains. This initial mix doesn't need to be perfectly smooth; just ensure all ingredients are incorporated. Cover the bowl and let it rest for 30-60 minutes. This resting period, called autolyse, allows the flour to hydrate fully and the gluten to start developing without the presence of salt or starter, making the dough easier to work with later.
After the autolyse, add your active sourdough starter and the salt to the dough. Mix everything together thoroughly. You can do this by hand, using a stand mixer with a dough hook, or even the "Rubaud method" (a gentle mixing technique). The goal is to fully incorporate the starter and salt into the dough until it feels cohesive. This stage is crucial for distributing the leavening agent and flavor throughout what will become your delicious easy sourdough rye bread loaf. Mix until the dough starts to show some initial signs of elasticity.
Step 3: Bulk Fermentation for Sourdough Rye
Bulk fermentation, also known as the first rise, is where the magic truly happens for your easy sourdough rye bread. This is the period after mixing where the dough ferments as a single mass. Place the mixed dough in a lightly oiled container or bowl, cover it, and let it rest at room temperature. The duration of bulk fermentation depends heavily on the ambient temperature and the activity of your starter, but typically ranges from 3 to 6 hours at average room temperature (around 72°F or 22°C).
During bulk fermentation, you'll perform a series of "stretch and folds" or "coil folds" to help develop the dough's structure. For this easy sourdough rye bread, performing 3-4 sets of folds within the first 2-3 hours of bulk fermentation is usually sufficient. Space these folds out by 30-45 minutes. Gently stretch or lift the dough and fold it over itself. This process strengthens the gluten network, incorporates air, and equalizes the dough temperature. You'll know bulk fermentation is complete when the dough has increased in volume by about 30-50%, looks slightly puffy, and feels airy.
Step 4: Shaping Your Sourdough Rye Loaf
Once bulk fermentation is complete, gently turn the dough out onto a lightly floured surface. Avoid degassing the dough too much; you want to preserve the air pockets that have developed. Give the dough a brief rest (10-20 minutes), called a bench rest, uncovered, to allow the gluten to relax. This makes the dough easier to shape. This step is vital for creating a loaf with good structure and oven spring when baking your easy sourdough rye bread.
After the bench rest, shape the dough into your desired form – typically a boule (round) or a batard (oval). The specific shaping technique will depend on your preference and whether you plan to bake in a Dutch oven or on a baking stone. The goal of shaping is to create tension on the surface of the dough, which helps the loaf hold its shape during proofing and baking.
Be firm but gentle during shaping to avoid tearing the surface or expelling too much gas. A well-shaped loaf is key to achieving a beautiful and well-risen easy sourdough rye bread.
Step 5: Proofing Your Shaped Rye Sourdough
After shaping, your easy sourdough rye bread loaf needs a final rise, known as proofing. Place the shaped dough seam-side up into a floured proofing basket (banneton) or a bowl lined with a fl floured tea towel. Dust the dough generously with flour first to prevent sticking. Cover the proofing basket with plastic wrap or a plastic bag to prevent the dough from drying out.
Proofing can be done at room temperature for 1-3 hours, or cold proofed in the refrigerator for 8-16 hours. Cold proofing is often preferred for easy sourdough rye bread as it develops deeper flavors and makes the dough easier to handle and score just before baking. The dough should look visibly larger and feel airy and slightly springy when gently poked. Be careful not to overproof, which can lead to a collapsed loaf during baking. A good test is the poke test: if the indentation springs back slowly but not completely, it's likely ready.
Step 6: Baking Your Homemade Sourdough Rye Bread
Preheat your oven and baking vessel (like a Dutch oven or baking stone) to a high temperature, typically between 450-500°F (230-260°C), for at least 30-60 minutes. This high heat is crucial for achieving good oven spring and a beautiful crust on your easy sourdough rye bread. Carefully transfer the proofed dough from the proofing basket onto a piece of parchment paper or directly into your hot baking vessel.
Score the top of the loaf with a sharp razor blade or knife. Scoring allows the bread to expand in a controlled way during baking. If using a Dutch oven, cover it and bake for 20-25 minutes.
The lid traps steam, which keeps the crust soft initially, allowing the loaf to expand fully. After this initial phase, remove the lid (if using a Dutch oven) and continue baking for another 20-30 minutes, or until the crust is a deep golden brown and the internal temperature reaches around 205-210°F (96-99°C). Baking until well-colored ensures a robust crust and fully cooked interior for your homemade easy sourdough rye bread.
Step 7: Cooling and Enjoying Your Fresh Rye Bread
Once baked, immediately transfer your beautiful easy sourdough rye bread loaf to a wire rack to cool completely. This step is absolutely critical and often overlooked. As the bread cools, steam from the interior escapes, and the crumb structure sets properly. Cutting into a hot loaf will result in a gummy texture.
Allow the bread to cool for at least 1-2 hours, or ideally longer, before slicing. The flavors also continue to develop during this cooling period. Patience here is rewarded with the best possible texture and flavor from your homemade easy sourdough rye bread. Once fully cooled, slice and enjoy the fruits of your labor!
Tips for Baking the Perfect Easy Sourdough Rye Bread
Mastering the Sourdough Rye Starter Hydration
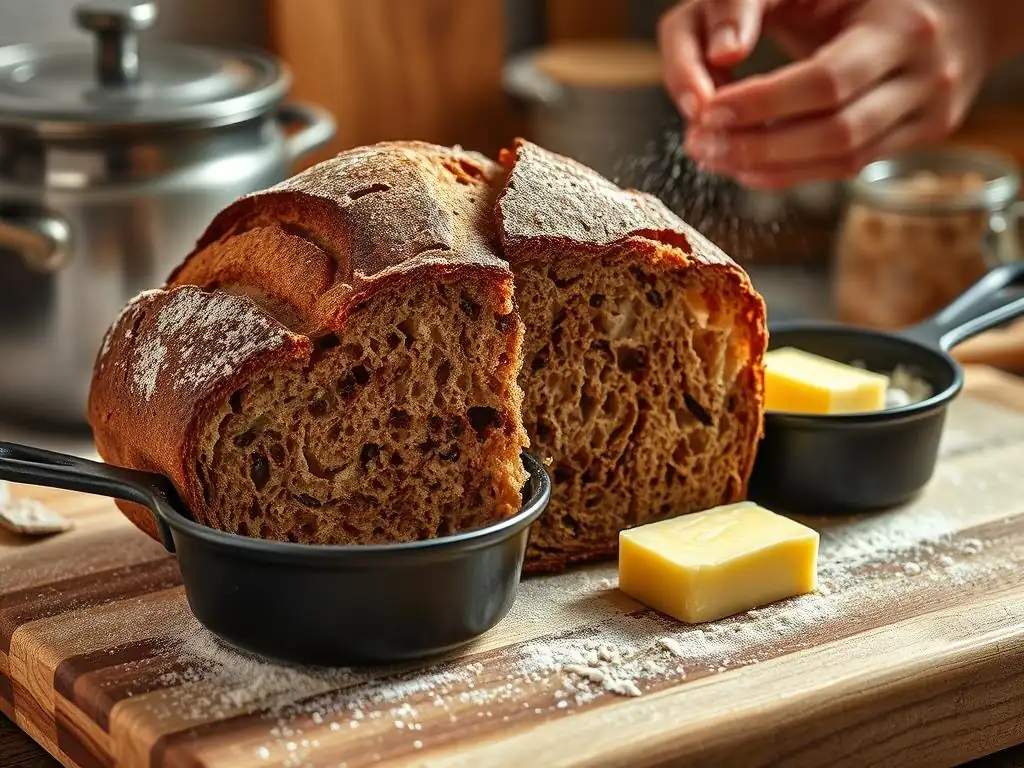
The hydration level of your sourdough starter can significantly impact your easy sourdough rye bread. While many starters are maintained at 100% hydration (equal parts flour and water by weight), you can experiment. A stiffer starter (lower hydration, e.g., 60-70%) tends to be less active but can contribute different flavor profiles. A wetter starter (higher hydration, e.g., 120% or more) is typically more active and can speed up fermentation.
For consistency in this easy sourdough rye bread recipe, maintaining a starter at 100% hydration is recommended. This makes measuring and predicting its activity simpler. Ensure your starter is consistently fed and kept in a warm environment (70-78°F) to encourage robust activity. A starter that reliably doubles or triples within a few hours of feeding is a strong indicator of readiness for baking, crucial for getting good lift in a rye-inclusive dough.
Achieving the Ideal Rye Bread Texture
Achieving the perfect texture in easy sourdough rye bread involves managing gluten development and hydration. Rye flour inhibits gluten development compared to wheat, so relying solely on traditional kneading isn't as effective. The stretch and folds performed during bulk fermentation are key to building the necessary structure gently. Don't overwork the dough; rye doughs are generally stickier and less elastic than 100% wheat doughs.
Hydration plays a delicate balancing act. Too little water results in a dense, dry loaf, while too much can make the dough difficult to handle and lead to a gummy crumb. This recipe uses a moderate hydration level designed for ease of handling while still yielding a moist crumb. Paying attention to the feel of the dough throughout mixing and fermentation is more important than adhering strictly to measurements; environmental factors like humidity can affect how much water the flour absorbs. A slightly tacky but manageable dough is usually ideal for easy sourdough rye bread.
Troubleshooting Common Sourdough Rye Bread Problems
Several common issues can arise when baking easy sourdough rye bread. One frequent problem is a dense or flat loaf, which is often due to an inactive starter, under-proofing, or insufficient dough development during bulk fermentation. Ensure your starter is vigorous before baking (it should pass the float test). Check the dough's volume increase during bulk fermentation (aim for 30-50%) and proofing before baking. If your dough isn't gaining volume, try proofing in a warmer spot or extending the time.
Another issue can be a gummy crumb, which typically results from underbaking or cutting the loaf before it has fully cooled. Make sure your oven is accurately calibrated and bake the loaf until the internal temperature reaches 205-210°F (96-99°C). Always allow the bread to cool completely on a wire rack for at least 1-2 hours before slicing. Surface cracking that isn't from scoring might indicate the dough's surface dried out during proofing (ensure it's well-covered) or insufficient tension during shaping. Addressing these points will help you consistently bake wonderful easy sourdough rye bread.
Variations and Additions to Your Easy Sourdough Rye
Adding Seeds and Grains for Extra Flavor
Elevate your easy sourdough rye bread by incorporating seeds and grains. Adding ingredients like caraway seeds is a classic choice, lending a distinct, aromatic flavor that pairs wonderfully with rye. You can add 1-2 tablespoons of caraway seeds directly into the dough during the mixing stage. Other popular additions include sunflower seeds, pumpkin seeds, flax seeds, or a mix of several types.
For a more complex texture and flavor, consider incorporating a "soaker" or "porridge" made from grains like rolled oats, cracked rye, or wheat berries. To do this, soak the grains in an equal weight of hot water for a few hours or overnight. This softens them before adding to the dough during the final mixing. Adding approximately 10-20% of the total flour weight in hydrated seeds/grains can significantly enhance the nutritional value, moisture, and flavor of your easy sourdough rye bread, making each bite more interesting.
Exploring Different Rye Flour Types
Rye flour comes in various forms, from light to dark and pumpernickel, each offering unique characteristics for your easy sourdough rye bread. Light rye flour has had most of the bran and germ removed, resulting in a milder flavor and lighter color, and behaves somewhat similarly to wheat flour. Medium rye flour contains more of the outer layers, providing a stronger rye flavor and darker crumb.
Dark rye flour and pumpernickel are milled from the whole rye berry, including all the bran and germ, and sometimes contain coarser particles. These flours contribute the most intense rye flavor, deepest color, and densest texture. While this easy sourdough rye bread recipe primarily uses medium or light rye for ease, you can experiment by substituting a small percentage (e.g., 10-20%) of the total flour weight with dark rye or pumpernickel once you are comfortable with the basic recipe. This allows you to customize the intensity of the rye flavor in your loaf.
Creating a Dark Rye Sourdough Bread
To create a darker, more intensely flavored easy sourdough rye bread, you can make a few adjustments to the base recipe. The most straightforward method is to increase the proportion of dark rye flour used. Instead of a 50/50 or 60/40 split between bread flour and medium rye, you might try a 40/40/20 split with bread flour, medium rye, and dark rye, or even incorporate some pumpernickel flour. Remember that doughs with higher percentages of dark rye or pumpernickel will be stickier and denser due to the lower gluten content.
Another technique for achieving a darker color and deeper flavor is using diastatic malt powder or caraway seeds, which are often found in traditional dark rye recipes. You can also add a touch of molasses or dark beer to the liquid component during mixing; these not only contribute color and sweetness but also add depth to the fermentation flavors. While a 100% dark rye sourdough can be challenging, gradually increasing the rye content from this easy sourdough rye bread base is a great way to explore richer, darker loaves.
Storing Your Homemade Sourdough Rye Bread
Keeping Your Rye Bread Fresh Longer
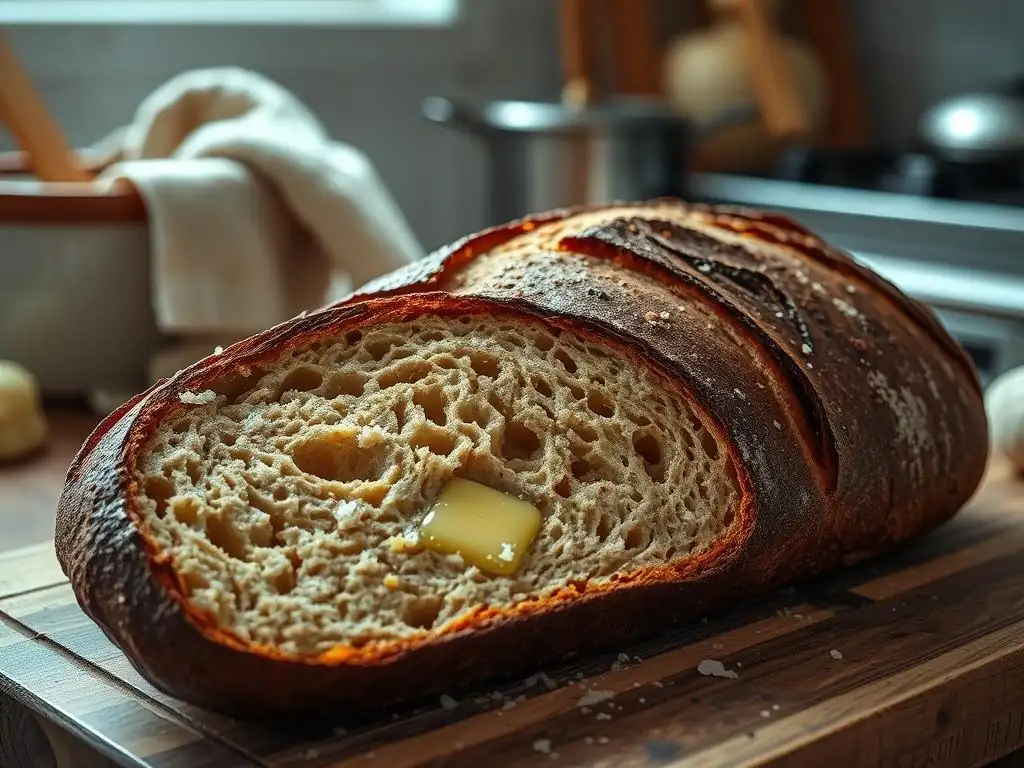
Proper storage is key to enjoying your easy sourdough rye bread for as long as possible. Once the loaf has completely cooled (this is vital! ), the best way to store it is at room temperature. Avoid refrigerating homemade bread, as it can actually accelerate the staling process due to retrogradation of starch.
For short-term storage (1-2 days), simply placing the cut side down on a cutting board can work if your kitchen isn't too dry. For slightly longer storage (up to 3-4 days), wrap the cooled loaf tightly in a linen bread bag, beeswax wrap, or a clean kitchen towel.
Avoid plastic wrap initially if the crust is very crisp, as it can soften it, but for cut loaves, plastic wrap or a resealable plastic bag can help prevent the exposed crumb from drying out. A bread box is also an excellent option for maintaining freshness and keeping the crust from getting too hard.
Freezing Sourdough Rye Bread for Future Enjoyment
If you won't finish your easy sourdough rye bread within a few days, freezing is an excellent way to preserve its quality. Freezing halts the staling process almost entirely. Ensure the loaf is completely cool before freezing. You can freeze the loaf whole, in halves, or sliced.
To freeze, wrap the bread tightly in plastic wrap, ensuring no surface is exposed to prevent freezer burn. Then, place the plastic-wrapped bread inside a resealable freezer bag or wrap it again in aluminum foil. This double layer of protection is crucial.
Frozen sourdough rye bread can be stored for up to 3-6 months. To thaw, remove from the freezer and let it sit at room temperature in its wrapping. For a refreshed crust, you can briefly reheat the thawed bread in a preheated oven at around 350°F (175°C) for 10-15 minutes for a whole loaf or just a few minutes for slices.
The Delicious Result: Enjoying Your Easy Sourdough Rye Bread
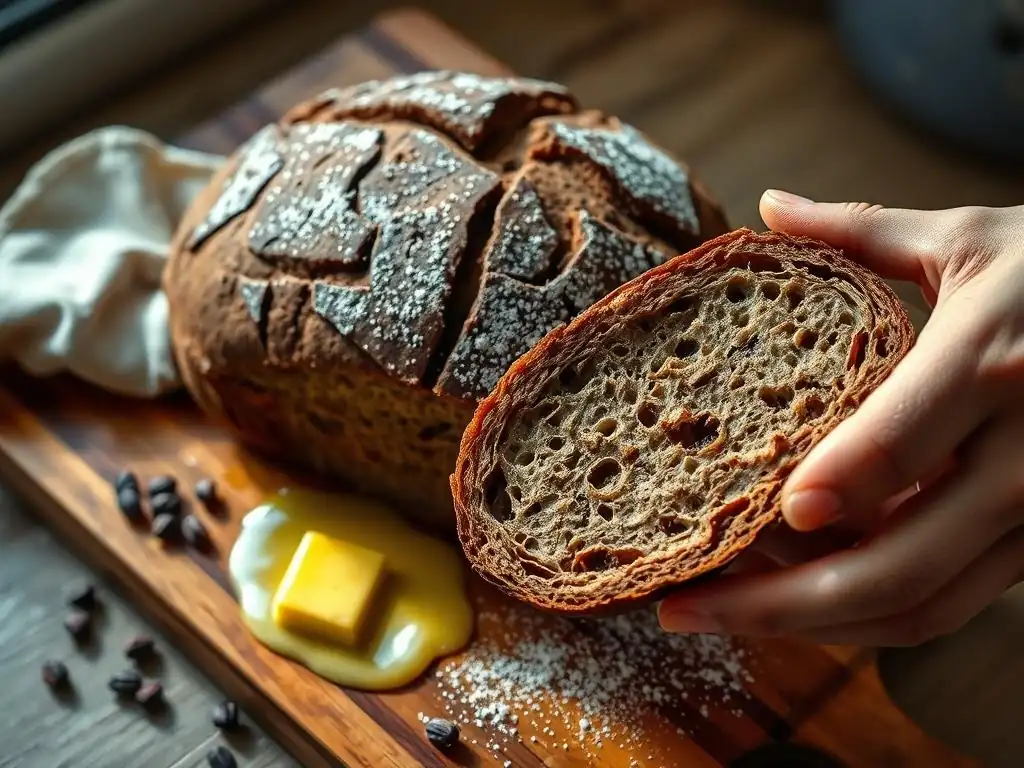
The moment you slice into your freshly baked easy sourdough rye bread is incredibly rewarding. The aroma alone is enough to make your mouth water! You'll notice the beautiful contrast between the crisp, dark crust and the moist, slightly dense crumb speckled with rye flour. The flavor profile will be a delightful balance of tangy sourness from the sourdough fermentation and the earthy, slightly sweet notes characteristic of rye.
This easy sourdough rye bread is incredibly versatile and delicious on its own, perhaps with just a smear of good butter. Take a moment to appreciate the texture – the slight chewiness of the crust and the yielding crumb. It's a testament to the simple ingredients and patient process of sourdough baking. This loaf is not just food; it's a connection to ancient baking traditions, made accessible through this easy recipe.
Serving Suggestions for Your Rye Bread
Your homemade easy sourdough rye bread is a perfect base for countless delicious meals and snacks. One classic pairing is with smoked salmon, cream cheese, and a sprinkle of fresh dill – a combination where the tang of the bread cuts beautifully through the richness of the fish and cheese. It also makes exceptional toast, providing a sturdy and flavorful base for avocado toast, eggs, or jam.
Consider using slices for open-faced sandwiches piled high with savory ingredients like pastrami, corned beef, Swiss cheese, and sauerkraut (think a reuben!). It's also wonderful served alongside hearty soups and stews, perfect for soaking up every last drop. For a simple, satisfying snack, try it toasted and topped with a strong cheese like sharp cheddar or Gruyère. The robust flavor of the easy sourdough rye bread stands up well to bold toppings.
Pairing Your Rye Bread with Complementary Flavors
The distinct flavor profile of easy sourdough rye bread makes it a fantastic partner for a variety of foods. Its inherent tanginess and earthy notes pair exceptionally well with fermented foods like pickles, sauerkraut, and kimchi. The acidity in these foods complements the acidity in the bread.
Rich, fatty foods also find a perfect counterpoint in rye bread. Think cured meats, pâtés, and strong cheeses. The bread's structure holds up well to substantial toppings, and its flavor cuts through richness. Don't forget sweet pairings either; while less common, a slice of toasted rye bread with apple butter, pear preserves, or even a drizzle of honey can be surprisingly delightful, highlighting the subtle sweetness that develops during fermentation. Experiment to find your favorite ways to enjoy this versatile easy sourdough rye bread!
Frequently Asked Questions
What makes this sourdough rye bread recipe "easy"?
This recipe focuses on simplified techniques and uses readily available ingredients. We minimize complicated steps to make sourdough baking approachable for everyone.
Do I need special equipment to bake this sourdough rye bread?
No, specialized equipment is not required. You'll need basic baking tools like a mixing bowl, a Dutch oven or baking sheet, and a scoring knife or razor blade.
What if I don't have a strong sourdough starter?
A weak starter will result in a less rise and a denser loaf. Ensure your starter is active and bubbly before beginning the recipe, feeding it regularly.
Can I substitute other types of flour for rye flour?
While you can substitute, it will alter the flavor and texture. For the best results, use the specified rye flour. If you must, try whole wheat, but adjust the hydration accordingly.
How long does it take to make this sourdough rye bread from start to finish?
The process takes approximately 24-36 hours, including starter activation, bulk fermentation, proofing, and baking. However, most of this time is hands-off.
Final Reflection: The Enduring Appeal of Simple Sourdough Rye
The art of sourdough baking, once a niche pursuit, has exploded in popularity, transforming from a complex culinary challenge to a widely accessible hobby. This accessibility, however, shouldn't diminish the profound satisfaction derived from crafting a loaf of bread from scratch, particularly a hearty and flavorful rye. The journey from starter to finished product is a testament to patience and precision, a rewarding experience that connects us to a rich culinary history.
The enduring appeal of sourdough rye lies not just in its delicious taste, but in its ability to connect us to something larger than ourselves. It's a tangible link to generations of bakers who perfected this craft, a reminder of the simple pleasures found in slow, mindful processes. Bread is the staff of life,
a common saying, perfectly encapsulates the fundamental role bread plays in our sustenance and culture. This simple recipe, therefore, is more than just instructions; it's a gateway to a deeper appreciation for food, tradition, and the satisfaction of creating something beautiful and delicious with your own hands.
Now, I invite you to consider your own relationship with food. Will you embrace the challenge of creating your own sourdough rye? Perhaps this recipe will inspire you to explore other traditional baking methods, or simply to slow down and appreciate the process of making something from scratch. The journey of baking is a metaphor for life itself – requiring patience, nurturing, and a willingness to embrace the unexpected. So, take a deep breath, gather your ingredients, and embark on this delicious adventure. The rewards await.
Unleash Your Inner Baker: Craft Your Perfect Rye!
Thanks for joining us on this sourdough rye adventure! We hope you've gained the confidence to tackle this delicious bread. Now, let's get baking (and maybe even a little messy! ):
- Bake your own loaf today! Grab those ingredients and follow the recipe – we promise, it's easier than you think.
- Share your rye creation! Post a picture on social media and tag us – we love seeing your baking triumphs!
- Explore our other sourdough recipes on BakeWithEase.com – perhaps a challenging challah or a simple baguette is next?
What unique twist will you add to your sourdough rye? Let's hear it in the comments!