
NoKnead Vegan Bread: Your Simplest Recipe Yet

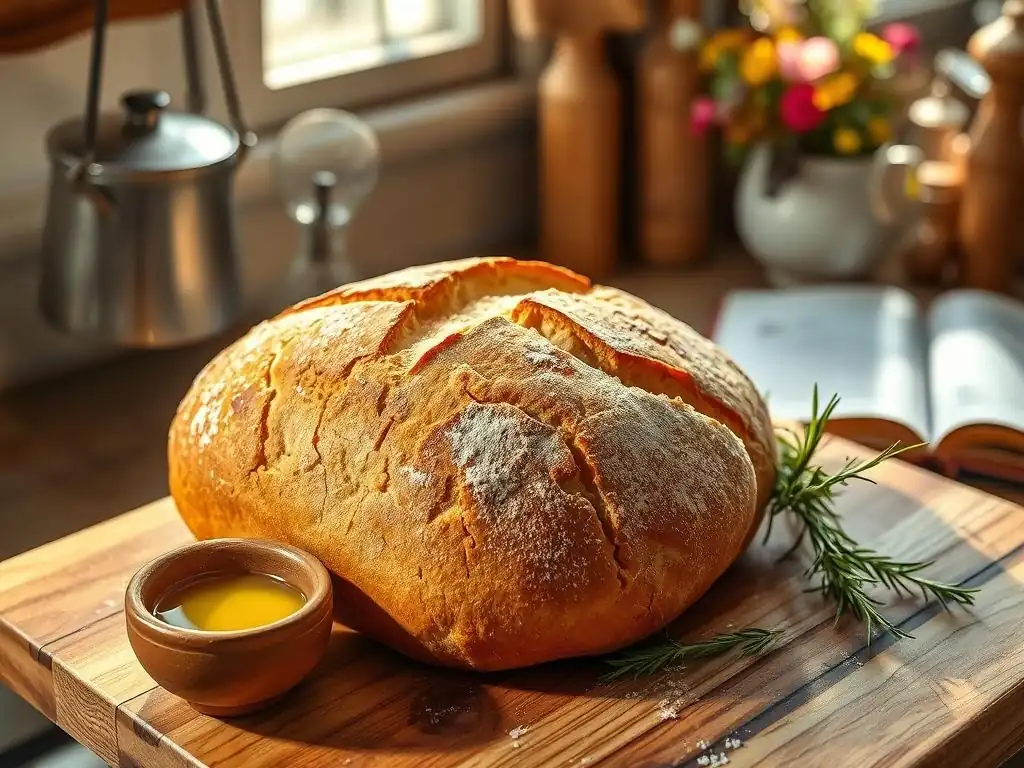
Welcome to BakeWithEase, your kitchen companion for unlocking the joy of baking!
Ever dreamt of effortlessly crafting a crusty, delicious loaf of bread with minimal effort? You're in the right place. Our latest article unveils a game-changing technique, offering a NoKnead Vegan Bread Recipe that's surprisingly simple. Prepare to be amazed at how easy it is to achieve bakery-worthy results without the kneading! Intrigued? Let's get baking!
- Bake Delicious Vegan Bread with Minimal Effort: Introducing the No-Knead Method
- What Makes This No-Knead Vegan Bread Recipe So Easy?
- Essential Ingredients for Your No-Knead Vegan Bread
- Step-by-Step Guide to Making No-Knead Vegan Bread
- Tips for Perfecting Your No-Knead Vegan Bread Recipe
- Variations on the No-Knead Vegan Bread Theme
- Enjoy Your Homemade No-Knead Vegan Bread!
-
Frequently Asked Questions
- What exactly is a no-knead vegan bread recipe, and how does it differ from traditional bread recipes?
- What are the key ingredients needed for this NoKnead Vegan Bread Recipe?
- How long does it actually take to make NoKnead Vegan Bread from start to finish, considering the fermentation time?
- Can I substitute different types of flour in this NoKnead Vegan Bread Recipe, and if so, how might it affect the outcome?
- What are some tips for achieving the best crust and texture with this NoKnead Vegan Bread Recipe?
- Final Reflection: The Humble Loaf, a Revolution in the Making
- Unleash Your Inner Baker: Make Amazing Vegan Bread Tonight!
Bake Delicious Vegan Bread with Minimal Effort: Introducing the No-Knead Method
Welcome to the wonderful world of easy vegan baking! If the thought of wrestling with sticky dough or spending hours kneading has kept you from making homemade bread, prepare to have your mind changed. The no-knead method is a revelation, allowing you to create beautiful, rustic loaves with surprisingly little hands-on time. This simple technique relies on a long fermentation period to develop the gluten structure naturally, doing all the hard work while you go about your day.
This approach is particularly fantastic for crafting a delicious no-knead vegan bread recipe. By avoiding the need for traditional kneading, we eliminate a common point of frustration for many home bakers. Instead of vigorous working of the dough, you'll simply mix the ingredients, let time work its magic, and bake. The result is a loaf with a satisfyingly chewy interior crumb and a wonderfully crispy crust, proving that baking incredible vegan bread doesn't have to be complicated.
What Makes This No-Knead Vegan Bread Recipe So Easy?
No-Kneading Required: The Beauty of Simple Vegan Baking
The core principle behind the no-knead method is that time replaces manual effort. Instead of developing gluten through physical manipulation, the dough is allowed to rest for an extended period, typically 12 to 18 hours at room temperature.
During this long fermentation, the water hydrates the flour fully, and enzymes naturally break down proteins, allowing the gluten strands to align and strengthen on their own. This process, sometimes referred to as autolyse and enzymatic activity, achieves the same structural integrity as traditional kneading but requires only about 5 minutes of initial mixing time compared to 10-15 minutes or more of intensive kneading.
This hands-off approach makes this a truly simple vegan bread method. You don't need special skills or equipment like a stand mixer with a dough hook. A bowl and a spoon are sufficient for the initial mixing. The long rest period also contributes significantly to the flavor development, creating complex notes that are often missing in quick bread recipes. It's a testament to how sometimes, the simplest approach yields the most rewarding results in baking.
Minimal Ingredients for Maximum Flavor: Vegan Bread Basics
A classic no-knead vegan bread recipe calls for just four basic ingredients: flour, water, yeast, and salt. That's it! This simplicity not only makes the process easy but also highlights the natural flavors of the grain. There are no eggs, dairy, or complex fats needed to achieve a delicious loaf, adhering perfectly to vegan principles while keeping the ingredient list short and accessible.
The magic happens when these few components interact over time. The flour provides structure, the water hydrates and activates the yeast, the yeast leavens the bread and contributes flavor compounds during fermentation, and the salt enhances taste and controls the yeast activity. Using only these essential elements ensures that the distinct character of your chosen flour shines through, resulting in a pure and satisfying no-knead vegan bread.
Perfect for Beginner Bakers: No-Knead Vegan Bread Success Guaranteed
This method is exceptionally forgiving, making it an ideal entry point for anyone new to bread baking, especially those exploring vegan options. Many common beginner bread-making pitfalls, such as over-kneading (leading to tough bread) or under-kneading (leading to dense bread), are completely bypassed. Since there is no kneading, you simply cannot get it wrong! The main requirement is patience during the long rise.
Statistics suggest that a significant percentage of beginner baking failures are linked to incorrect dough development through kneading. By removing this step, the no-knead vegan bread recipe dramatically increases the probability of success on your first attempt. You'll gain confidence seeing how simple ingredients and time can transform into a beautiful loaf, encouraging you to explore further in the world of vegan bread baking.
Essential Ingredients for Your No-Knead Vegan Bread
Flour Power: Choosing the Right Flour for Vegan Bread
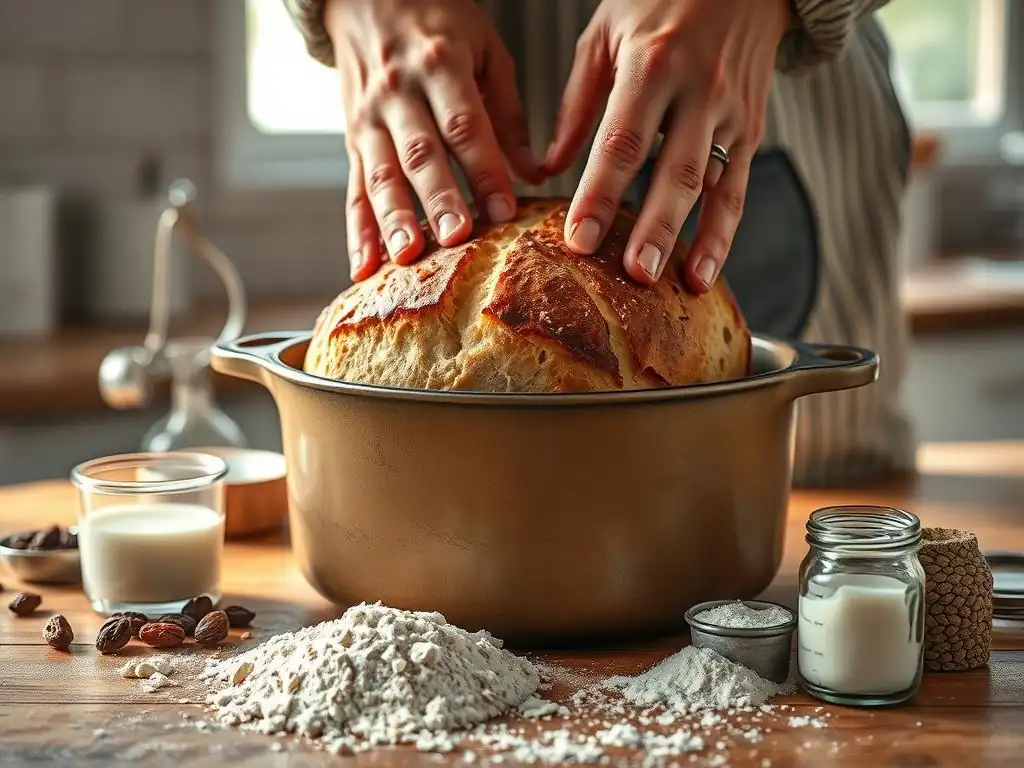
The type of flour you choose will significantly impact the texture and structure of your no-knead vegan bread. All-purpose flour is a great starting point for its accessibility and balanced protein content, typically ranging from 10% to 12%. This protein forms the gluten network that gives the bread its structure. Using a good quality unbleached all-purpose flour is recommended for consistent results.
For a chewier crumb and higher rise, you can opt for bread flour, which generally has a higher protein content, often between 12% and 14%. This higher protein level allows for a stronger gluten network to develop during the long fermentation. While the recipe works with both, using bread flour will often yield a more robust loaf. Experimenting with a mix of flours, like adding a small percentage of whole wheat or spelt, can also introduce different flavors and textures, though this might require slight adjustments to water quantity as different flours absorb moisture differently.
Yeast Considerations: Active Dry vs. Instant for No-Knead Dough
Yeast is the leavening agent that makes your no-knead vegan bread rise. The two most common types are active dry yeast and instant yeast, and both work for this recipe, though they behave slightly differently. Active dry yeast requires activation in warm water before being added to the dry ingredients. Instant yeast, on the other hand, can be mixed directly with the dry ingredients as its granules are smaller and activate quickly upon contact with liquid.
For a typical long, slow 12-18 hour rise at room temperature (around 70-75°F or 21-24°C), a small amount of yeast is usually sufficient. A common ratio might be just 1/4 teaspoon of active dry yeast or slightly more, around 1/2 teaspoon, of instant yeast for a standard loaf size (e.g., using 3 cups of flour).
Using less yeast and allowing for a longer rise develops more complex flavors. If you're in a bit more of a hurry, you could use 1 teaspoon of instant yeast for a shorter rise of 2-4 hours in a warmer spot, but the flavor complexity won't be as pronounced.
Water Temperature: The Key to Yeast Activation
The temperature of the water you use is crucial for activating the yeast and ensuring a proper rise in your no-knead vegan bread recipe. For active dry yeast, the water should be warm, typically between 105°F and 115°F (40°C to 46°C). This temperature range is ideal for dissolving the granules and bringing the yeast cultures back to life. Water that is too cool might not activate the yeast effectively, leading to a slow or non-existent rise.
If you are using instant yeast, the water can be cooler, even room temperature (around 70-75°F or 21-24°C), as it doesn't require proofing beforehand. However, using slightly warm water, around 80-90°F (27-32°C), can still help kickstart the process, especially in a cooler kitchen. Avoid using hot water above 130°F (54°C) with any type of yeast, as this temperature will kill the yeast organisms, preventing your dough from rising at all.
Salt: Enhancing Flavor and Gluten Development
Salt plays a vital role in bread baking beyond just seasoning. In your no-knead vegan bread, salt enhances the overall flavor, making the difference between a bland loaf and a delicious one. It also helps to control the rate of yeast fermentation, preventing the dough from rising too quickly and allowing for better flavor development over the long fermentation period. Without salt, yeast can become overly active and produce an unbalanced flavor profile.
Furthermore, salt strengthens the gluten structure. It helps tighten the gluten network, contributing to better dough structure and a finer crumb texture in the finished bread. A typical ratio of salt in a bread recipe is between 1.5% and 2% of the flour weight. For example, if you use 500 grams of flour (approximately 3 3/4 cups), you would use about 7.5 to 10 grams of salt (roughly 1 1/4 to 1 3/4 teaspoons, depending on the type and coarseness). Using kosher or sea salt is often preferred over table salt for a cleaner flavor.
Optional Add-ins: Boosting Your Vegan Bread's Taste and Texture
While the basic no-knead vegan bread recipe is wonderful on its own, adding extra ingredients can elevate its flavor and texture profile. Seeds like poppy, sesame, sunflower, or pumpkin seeds can be added to the dough for crunch and nutty flavor. A common addition is 1/4 to 1/2 cup of mixed seeds per loaf. Chopped fresh herbs, such as rosemary or thyme, or dried herbs like oregano, add aromatic depth.
Other delicious additions include chopped olives, sun-dried tomatoes, roasted garlic, or even dried fruits like cranberries or raisins (though these might make the crust brown faster due to their sugar content). You can typically incorporate 1/4 to 1/2 cup of these savory add-ins into the dough during the initial mixing stage. Adding these elements allows you to customize your simple vegan bread to suit your taste preferences.
Step-by-Step Guide to Making No-Knead Vegan Bread
Step 1: Mixing the Dough – The Easiest Part!
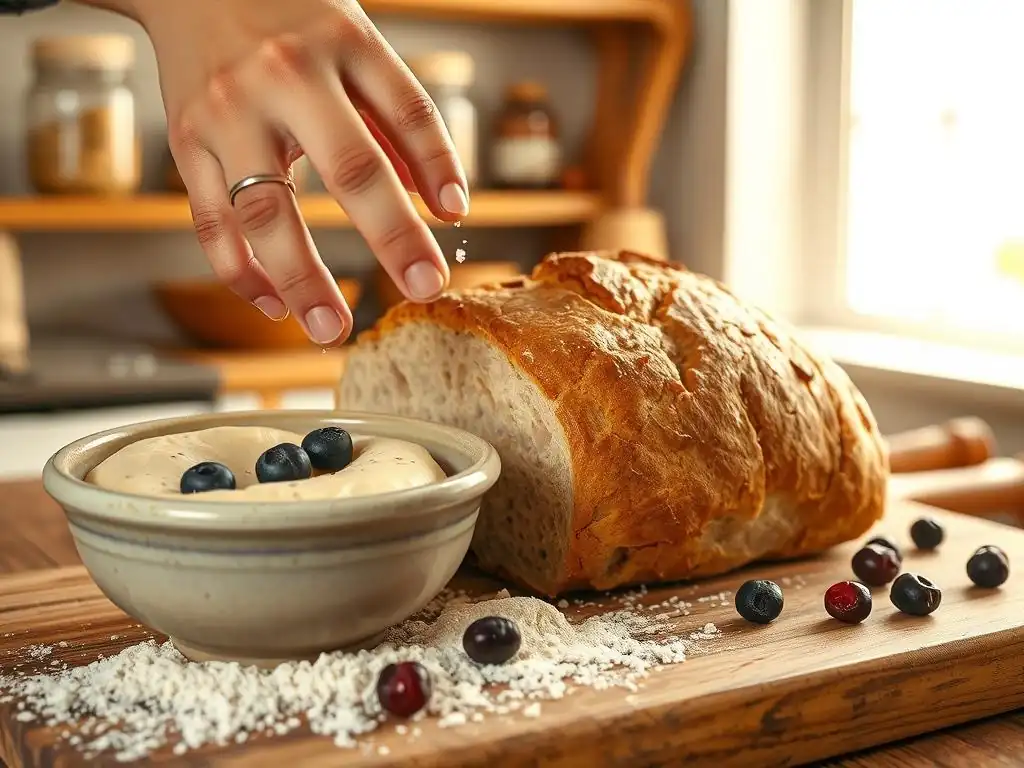
This is where the "no-knead" magic truly begins with your no-knead vegan bread recipe. In a large bowl, combine your flour, yeast, and salt. If using active dry yeast, ensure it has been proofed in warm water first according to the package instructions, then add the water and yeast mixture to the dry ingredients. If using instant yeast, simply add the water directly to the bowl with the dry ingredients.
Using a wooden spoon or spatula, stir the ingredients until they are just combined. The dough will look very shaggy and wet, and there will likely be dry bits of flour remaining. This is exactly how it should look – do not try to make it smooth or cohesive at this stage. The goal is simply to hydrate the flour and distribute the yeast and salt. Cover the bowl tightly with plastic wrap.
Step 2: First Rise (Bulk Fermentation) – Patience is Key
Now comes the long, passive part of making your simple vegan bread. Leave the covered bowl at room temperature, ideally between 70°F and 75°F (21°C and 24°C), for the first rise, also known as bulk fermentation. This process typically takes between 12 and 18 hours. The dough should at least double in size and the surface will be dotted with bubbles. A longer rise generally leads to a more flavorful bread.
If your kitchen is cooler, the rise might take longer, potentially up to 24 hours. In a warmer kitchen, it might be faster, possibly closer to 8-10 hours. You'll know it's ready when it looks significantly increased in volume, has surface bubbles, and might even show signs of collapsing slightly in the center. This long rest is crucial for developing both the gluten structure and the deep, complex flavors characteristic of a great no-knead vegan bread.
Step 3: Shaping Your Vegan No-Knead Loaf
After the long fermentation, your dough will be very wet and sticky. Generously flour a clean work surface. Use a rubber spatula or bowl scraper to gently ease the dough out of the bowl onto the floured surface. Try to disturb the dough as little as possible to preserve the air bubbles created during the rise.
Sprinkle a little flour on top of the dough. Gently fold the edges of the dough towards the center to form a rough ball or rectangle, depending on the shape you desire. Avoid pressing or degassing the dough aggressively. Just a few gentle folds are enough to give it some structure for baking. This minimal handling is key to maintaining the airy texture developed during the long fermentation of your no-knead vegan bread.
Step 4: Second Rise (Proofing) – Preparing for Baking
Once shaped, the dough needs a second, shorter rise, called proofing. You can proof the dough on parchment paper, in a floured proofing basket (banneton), or in a bowl lined with a floured towel. If using parchment or a lined bowl, place the dough seam-side down. If using a banneton, place it seam-side up.
Cover the dough loosely with plastic wrap or a clean kitchen towel. Let it rest for about 30 to 60 minutes at room temperature while you preheat your oven and baking vessel. The dough should look slightly puffed up but will not double in size like the first rise. This short proofing period allows the dough to relax and gain a little more lift before hitting the hot oven.
Step 5: Baking to Golden Perfection – Achieving the Perfect Crust
Preheat your oven with a heavy pot (like a Dutch oven, cast iron pot, or ceramic baker) inside to a high temperature, typically 450°F to 475°F (230°C to 245°C). The high heat is essential for creating that signature crispy crust on your no-knead vegan bread. Allow the pot to preheat for at least 30 minutes to ensure it's screaming hot.
Carefully transfer the proofed dough into the hot pot. If you proofed on parchment, you can simply lift the dough and parchment together and lower them into the pot. If proofed in a basket or bowl, gently invert the dough into the hot pot.
Cover the pot with its lid and bake for 30 minutes. Then, remove the lid and continue baking for another 15-20 minutes, or until the crust is deep golden brown and the internal temperature reaches around 200-210°F (93-99°C). Baking covered traps steam, which helps the dough expand and creates a thin, crispy crust, while baking uncovered allows the crust to brown and crisp up further.
Tips for Perfecting Your No-Knead Vegan Bread Recipe
Troubleshooting Common Problems
Even with a simple no-knead vegan bread recipe, occasional issues can arise. If your loaf is dense and hasn't risen much, it could be due to inactive yeast (check expiration date, use correct water temp), too cool a room temperature during the first rise (try a warmer spot), or not enough time for the bulk fermentation. Ensure your yeast is fresh; active dry yeast typically lasts 4-6 months after opening if stored properly, while instant yeast can last longer.
Another common issue is a pale crust. This often means the oven or the baking vessel wasn't hot enough, or the bread wasn't baked uncovered for long enough. Make sure your oven is accurately calibrated and preheat the pot for the full recommended time. If the crust is too hard, it might be slightly overbaked, or you might need more steam during the initial covered baking phase. Practice makes perfect, and even a less-than-perfect loaf of this simple vegan bread is usually still delicious!
Achieving a Crispy Crust: Baking Techniques for Vegan Bread
The secret to the incredible, crackly crust on your no-knead vegan bread lies primarily in high heat and steam. Baking the dough in a preheated covered pot, like a Dutch oven, traps the moisture released from the dough as steam.
This humid environment allows the crust to remain pliable during the initial oven spring (the final burst of rising), resulting in maximum expansion and a thinner crust. After about 30 minutes, removing the lid allows the dry heat to hit the dough directly, promoting browning through the Maillard reaction and caramelization of sugars, leading to a deep color and crisp texture.
For an extra boost of steam if you aren't using a Dutch oven or want to supplement, you can place a pan of hot water on the bottom rack of your oven when you start preheating. Some bakers even toss a few ice cubes into the hot pot just before adding the dough and quickly covering it, creating a burst of steam. Aim for an internal temperature of 200-210°F (93-99°C) for a fully baked loaf with a great crust.
Storing Your Freshly Baked Vegan Bread: Keeping it Fresh
Once your no-knead vegan bread is baked to perfection with a beautiful crispy crust, the most important step before storing is to let it cool completely on a wire rack. This allows steam to escape and the internal structure to set. Cutting into a hot loaf can result in a gummy texture. Cooling can take anywhere from 1 to 3 hours depending on the size of the loaf.
For preserving the crispy crust, store the cooled loaf cut-side down on a cutting board or in a paper bag or linen bread bag at room temperature. This method is best for consumption within 1-2 days. For longer storage, wrap the cooled loaf tightly in plastic wrap or place it in an airtight container or bread box.
This will keep the interior soft but will soften the crust over time. For preserving both texture and freshness for longer periods (up to 3 months), slice the cooled bread and freeze the slices in a freezer-safe bag or container. You can then toast slices directly from frozen.
Variations on the No-Knead Vegan Bread Theme
Olive and Rosemary No-Knead Vegan Bread Recipe
Adding olives and rosemary transforms the basic no-knead vegan bread into an aromatic, savory delight, reminiscent of Mediterranean flavors. To make this variation, simply add about 1/2 cup of pitted and roughly chopped olives (such as Kalamata or green olives) and 1 to 2 tablespoons of fresh chopped rosemary to the dry ingredients before adding the water in Step 1.
Ensure the add-ins are distributed fairly evenly as you mix the dough. The olives provide pockets of briny flavor, while the rosemary infuses the entire loaf with its fragrant essence. Bake as directed in the standard no-knead vegan bread recipe. This variation is particularly excellent served alongside soups or as part of an antipasto platter.
Sun-Dried Tomato and Basil No-Knead Vegan Bread Recipe
Another wonderful savory twist on the simple vegan bread is incorporating sun-dried tomatoes and fresh basil. Add about 1/4 to 1/2 cup of oil-packed sun-dried tomatoes (drained and chopped) and 1 to 2 tablespoons of fresh chopped basil to the dry ingredients during the initial mixing phase (Step 1).
The sweet and tangy sun-dried tomatoes pair beautifully with the fresh, slightly peppery notes of basil. These additions create a visually appealing loaf with bursts of color and flavor throughout the crumb. Bake using the same method as the basic no-knead vegan bread recipe. This loaf is perfect for sandwiches or served with pasta dishes.
Spelt No-Knead Vegan Bread Option
For those looking to experiment with different grains, substituting some or all of the all-purpose or bread flour with spelt flour offers a delicious alternative. Spelt is an ancient grain with a nutty flavor and a slightly different gluten structure that is often easier for some people to digest. You can replace 50% of the white flour with whole or light spelt flour without major adjustments.
If using 100% spelt flour, especially whole spelt, you might find the dough is stickier and the final loaf slightly denser, as spelt gluten is more fragile. You might also need slightly less water as spelt can absorb liquid differently. Start with about 10-15% less water than the recipe calls for and add more only if the dough seems too dry. The fermentation times might also be slightly shorter with spelt. Baking 100% spelt no-knead vegan bread yields a wonderfully flavorful loaf with a tighter crumb.
Enjoy Your Homemade No-Knead Vegan Bread!
Serving Suggestions: What to Enjoy with Your Vegan Bread
Your freshly baked no-knead vegan bread, with its crispy crust and soft interior, is incredibly versatile. It's perfect simply sliced and served with a smear of vegan butter or a drizzle of olive oil. It makes fantastic toast, especially when topped with avocado, tomato, or your favorite jam or marmalade.
This simple vegan bread is also the ideal companion for a variety of meals. Use thick slices for hearty sandwiches or soak up delicious sauces from stews, curries, or pasta dishes. It pairs wonderfully with a warm bowl of soup or chili. Don't forget to try it as the base for bruschetta or crostini, topped with fresh vegetables or spreads.
The Joy of Baking Easy Vegan Bread at Home
There's a unique satisfaction that comes from baking your own bread, and mastering this no-knead vegan bread recipe makes that joy accessible to everyone, regardless of experience level. From the simple act of mixing the ingredients to the anticipation of the long rise, and finally, the incredible aroma filling your kitchen as it bakes – every step is rewarding.
You've created a delicious, wholesome loaf using just a few basic ingredients and minimal effort. This simple vegan bread technique demystifies the baking process and proves that you don't need to be an expert to produce impressive results. We hope this recipe inspires you to bake more and enjoy the simple pleasure of homemade bread.
Frequently Asked Questions
What exactly is a no-knead vegan bread recipe, and how does it differ from traditional bread recipes?
A no-knead vegan bread recipe eliminates the laborious kneading process typically required for gluten development. It relies on a longer fermentation time to achieve a similar result, and excludes animal products like eggs and dairy.
What are the key ingredients needed for this NoKnead Vegan Bread Recipe?
The core ingredients are usually flour, water, yeast, and salt. This vegan version specifically avoids dairy and eggs, possibly using ingredients like plant-based milk (though water is more common) or oil for a richer result.
How long does it actually take to make NoKnead Vegan Bread from start to finish, considering the fermentation time?
While the active preparation time is minimal, the fermentation period can range from 12 to 18 hours, or even longer. Baking itself typically takes about 30-45 minutes, so plan accordingly.
Can I substitute different types of flour in this NoKnead Vegan Bread Recipe, and if so, how might it affect the outcome?
Yes, you can experiment with different flours. However, using whole wheat or other heavier flours might require adjustments to the hydration (water content) and may result in a denser loaf.
What are some tips for achieving the best crust and texture with this NoKnead Vegan Bread Recipe?
Baking in a Dutch oven with the lid on for the initial part of baking helps create steam, resulting in a crusty exterior. Using a high oven temperature and allowing the bread to cool completely before slicing are also key for the best texture.
Final Reflection: The Humble Loaf, a Revolution in the Making
The simplicity of no-knead vegan bread transcends mere convenience; it represents a democratization of baking, making this wholesome and delicious food accessible to everyone. This recipe, designed for ease and inclusivity, challenges the notion that artisan bread requires hours of laborious effort and specialized skills. It's a testament to the power of simple ingredients and mindful technique.
The impact of accessible vegan recipes extends far beyond the kitchen. It speaks to a growing awareness of ethical and environmental concerns, reflecting a shift in societal values towards plant-based living. This simple loaf of bread, free from animal products, symbolizes a commitment to a more sustainable and compassionate future. Food is symbolic of love when words are inadequate.
- Alan D. Wolfelt. This sentiment rings true, especially when sharing a loaf of homemade bread, a gesture of care and connection made even more meaningful by its ethical and accessible nature.
Now, I invite you to consider your own relationship with food. Try this recipe. Feel the satisfaction of creating something nourishing and delicious from simple, plant-based ingredients. Let this experience inspire you to explore more plant-based options in your kitchen, not just for the ease and convenience, but for the positive impact you can have on your health, the environment, and the world around you. The humble loaf of bread, it turns out, holds a powerful message.
Unleash Your Inner Baker: Make Amazing Vegan Bread Tonight!
Thanks for joining us on this baking adventure! We hope you've discovered the joy of effortlessly creating delicious, vegan bread. Ready to take your skills to the next level?
- Bake your own loaf today: Grab those simple ingredients and follow the recipe – you’ll be surprised how easy it is!
- Share your baking success: Snap a picture of your beautiful loaf and tag us on social media – we’d love to see your creation!
- Explore more delicious vegan recipes: Dive into our recipe collection and find your next baking project. Try substituting ingredients, experiment with flavor combinations, and create your own masterpieces.
What incredible flavor combinations will you try in your next NoKnead Vegan Bread adventure?