
Basic Sourdough Recipe: Knowing When It's Ready to Bake

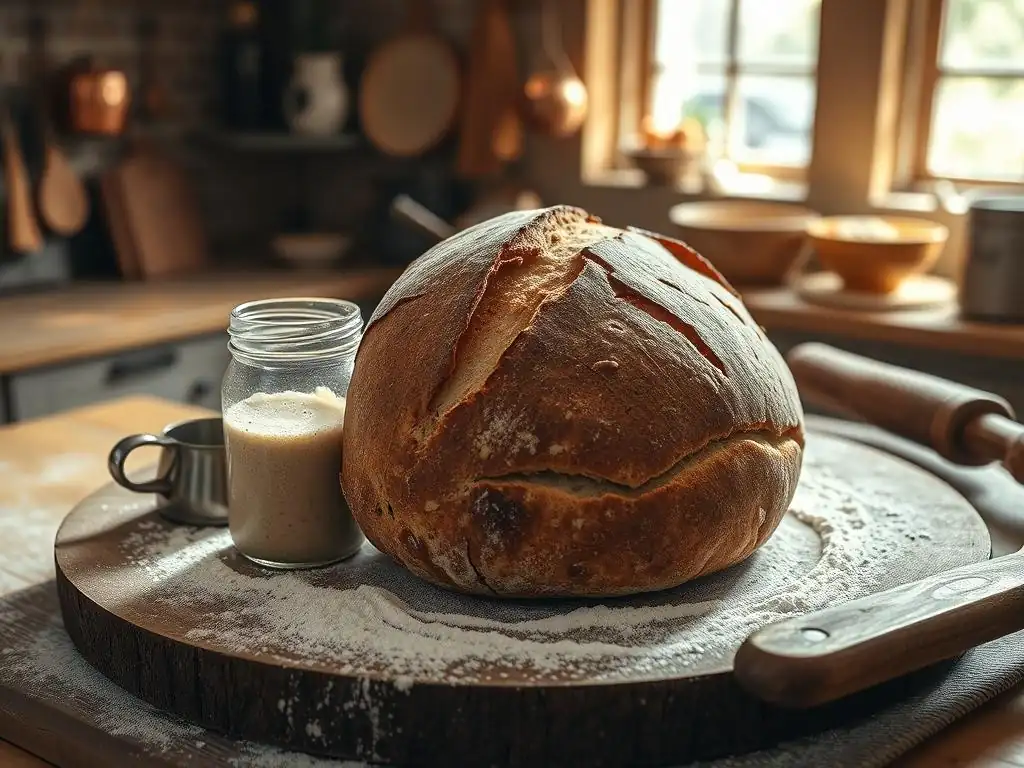
Welcome to BakeWithEase, your guide to confident baking! Ever wondered if your sourdough starter is truly ready to transform into that perfect loaf? This article dives deep into the crucial element of sourdough starter baking time, unlocking the secrets to achieving optimal rise and flavor. Read on to discover the telltale signs and techniques that will elevate your sourdough baking from good to unforgettable.
- Introduction to Sourdough Starter Baking Time: Achieving the Perfect Loaf at BakeWithEase.com
- Understanding Sourdough Starter Activity for Baking
- Factors Affecting Sourdough Starter Baking Time
- The Basic Sourdough Recipe: A Step-by-Step Guide
- Determining When Your Sourdough Dough is Ready to Bake
- Baking Your Sourdough Loaf: Achieving a Golden Crust
- Troubleshooting Common Sourdough Starter Baking Time Issues
- Advanced Techniques for Sourdough Baking
- Conclusion: Mastering Sourdough Starter Baking Time at BakeWithEase.com
-
Frequently Asked Questions
- What is the best way to tell if my sourdough starter is ready to bake with?
- How long does it typically take for a sourdough starter to be ready for baking?
- What is the "float test" for sourdough starter, and how do I perform it?
- What happens if I bake with my sourdough starter before it's ready?
- Can I speed up the sourdough starter baking time?
- Final Reflection: The Whisper of Readiness in Your Sourdough
- Unleash Your Inner Baker: Perfect Sourdough Awaits!
Introduction to Sourdough Starter Baking Time: Achieving the Perfect Loaf at BakeWithEase.com
Welcome to BakeWithEase.com, your friendly guide to mastering the art of sourdough baking! One of the most common questions we hear is, "How do I know when my sourdough starter is ready to bake with?" Understanding your starter's activity is absolutely crucial for successful sourdough baking time and achieving that perfectly airy crumb and crispy crust. It's not just about following a recipe; it's about learning to read the signs your living culture gives you.
This article will walk you through the vital stages of recognizing peak starter activity and determining when your dough is perfectly proofed and ready for the oven. We'll cover visual cues, simple tests, and factors that influence your sourdough starter baking time. By the end, you'll feel more confident in timing your bakes and consistently producing delicious homemade sourdough bread.
Understanding Sourdough Starter Activity for Baking
A healthy, active sourdough starter is the heart of your bread. Before you even think about mixing dough, you need to ensure your starter is at its peak potency. This peak activity is the optimal moment for mixing your dough, as it contains the most vigorous population of wild yeasts and bacteria ready to leaven your bread effectively. Knowing how to identify this stage is fundamental to successful sourdough starter baking time.
The activity level of your starter is influenced by its feeding schedule, the type of flour used, and critically, the ambient temperature. A sluggish starter will result in slow or incomplete fermentation in your dough, leading to a dense loaf. Conversely, using a starter past its peak might mean the yeast population is declining, also impacting rise. Timing is everything when it comes to leveraging your starter's power for baking.
Visual Cues: Identifying Peak Sourdough Starter Activity
Observing your sourdough starter is the first step in determining its readiness. After feeding, a healthy starter will begin to bubble actively. These bubbles indicate the production of carbon dioxide gas by the yeast. As the activity increases, the volume of the starter will significantly rise, often doubling or even tripling in size, forming a domed top.
Peak activity is typically reached when the starter has achieved its maximum volume and the top begins to flatten or show small indentations. You might also notice that the texture becomes light and airy, almost like a sponge. For example, a starter fed with a 1:1:1 ratio (starter:water:flour) at around 75°F (24°C) might reach its peak within 4-6 hours. If it's still rapidly expanding and the top is very rounded, it's approaching peak; if it has significantly fallen, it's past its peak for optimal sourdough starter baking time.
The Float Test: A Simple Way to Check Sourdough Starter Readiness
The float test is a popular method to check if your sourdough starter is active enough to leaven bread. It's based on the principle that a very active starter, full of carbon dioxide bubbles, will be less dense than water and therefore float. To perform the test, gently take a small spoonful (about half a teaspoon) of your starter at its apparent peak and drop it into a glass of room-temperature water.
If the starter floats on the surface of the water, it's generally considered ready for use. This indicates sufficient gas production and strong activity. If it sinks to the bottom, it suggests the starter isn't yet active enough or is past its peak and has started to collapse. While the float test is a useful indicator, it's not the only one; always combine it with visual cues and understanding your starter's typical behavior to confidently assess its sourdough starter baking time readiness.
Volume Increase: How Much Should Your Sourdough Starter Rise?
A clear sign of a healthy, active sourdough starter ready for baking is its significant increase in volume after feeding. The amount of rise can vary depending on factors like hydration, flour type, and temperature, but a common benchmark for readiness is that the starter should at least double in size. Many vigorous starters will even triple or quadruple within a few hours of feeding.
To accurately track volume increase, feed your starter in a clear, straight-sided jar and use an elastic band or marker to note the initial level immediately after feeding. Monitor its progress over the next few hours. When it reaches double or more the original volume and shows signs of peak activity (like a domed or slightly flattening top), it's likely ready for your basic sourdough recipe, indicating ideal sourdough starter baking time is approaching. For instance, if your starter started at the 2-inch mark, you want to see it rise to at least 4 inches before using it.
Factors Affecting Sourdough Starter Baking Time
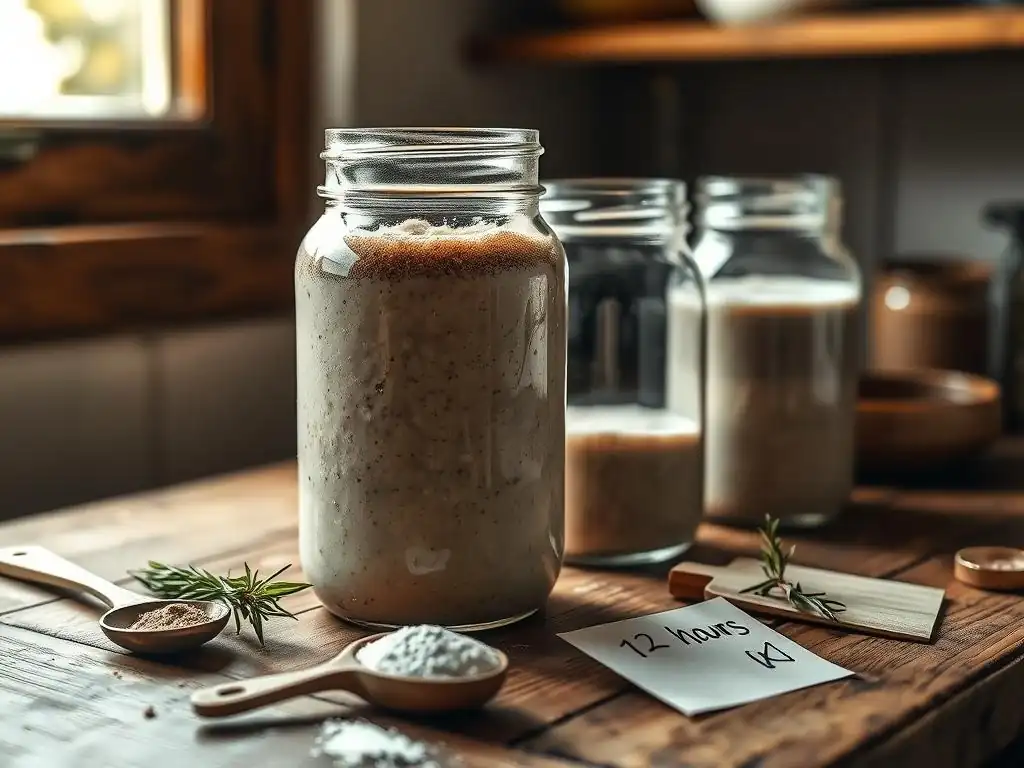
Several environmental and ingredient-specific factors play a significant role in the speed and vigor of your sourdough starter's fermentation, directly influencing the overall sourdough starter baking time process, from mixing to baking. Understanding these factors allows you to better predict when your starter will be ready and how long your dough will take to proof.
Managing these variables gives you more control over your baking schedule. While a basic recipe provides a framework, adapting to the conditions in your kitchen is key to consistent results. Paying attention to temperature, flour, and hydration will help you optimize your sourdough starter baking time.
Temperature's Impact on Sourdough Starter Fermentation
Temperature is arguably the most critical factor affecting the activity of your sourdough starter. Wild yeasts and bacteria are living organisms, and their metabolic rate is highly dependent on their environment's warmth. Warmer temperatures accelerate fermentation, while cooler temperatures slow it down.
An ideal temperature range for active sourdough starter fermentation is typically between 70°F and 80°F (21°C and 27°C). Within this range, a healthy starter fed with a 1:1:1 ratio will often double in 4-8 hours. If your kitchen is cooler, say around 60°F (16°C), the same process might take 10-12 hours or even longer. Conversely, temperatures much higher than 80°F can cause the starter to peak and fall very quickly, potentially missing the optimal window for sourdough starter baking time.
Flour Type and its Influence on Sourdough Starter Activity
The type of flour you use to feed your sourdough starter also affects its activity and the resulting sourdough starter baking time. Different flours contain varying levels of nutrients (complex carbohydrates and proteins) that the microbes feed on, as well as different enzyme levels that break down these nutrients.
Flours with higher whole grain content, like rye or whole wheat, typically contain more nutrients and enzymes than refined white flour. This often leads to faster and more vigorous fermentation. For example, a starter fed with 100% rye flour might peak in just 3-5 hours at room temperature, whereas a starter fed only with white bread flour might take 6-8 hours under the same conditions. Many bakers use a blend, like 50% white and 50% whole wheat, to balance activity and flavor.
Hydration Levels: How They Affect Sourdough Starter Baking Time
Hydration refers to the ratio of water to flour in your sourdough starter (and later, your dough). It's usually expressed as a percentage of the flour weight. A starter fed with equal weights of water and flour (e.g., 100g flour, 100g water) is a 100% hydration starter, which is very common.
Higher hydration starters tend to ferment faster than lower hydration ones. This is because the microbes have easier access to the nutrients in the more liquid environment. A starter fed at 125% hydration (e.g., 100g flour, 125g water) will generally peak sooner than a 75% hydration starter (100g flour, 75g water) at the same temperature. This difference in fermentation speed directly impacts the sourdough starter baking time needed for the starter to be ready and can also influence the subsequent dough fermentation times.
The Basic Sourdough Recipe: A Step-by-Step Guide
Now that you understand how to get your starter ready, let's dive into a simple basic sourdough recipe. This recipe is designed to be approachable for those getting started with sourdough, focusing on fundamental techniques. Following these steps carefully, while paying attention to the readiness cues, will lead you to a successful bake.
Remember that baking with sourdough is a journey of learning and adaptation. The times provided in recipes are often guidelines; your actual sourdough starter baking time will be dictated by the activity of your starter and the conditions in your kitchen. Pay close attention to the look and feel of your dough at each stage.
Ingredients for Your Basic Sourdough Loaf
A basic sourdough loaf requires only a few simple ingredients, highlighting the power of fermentation and quality flour. Using good quality bread flour with a protein content around 12-13% is recommended for developing strong gluten structure.
You will need:
- Active Sourdough Starter: 100 grams (fed and at peak activity)
- Warm Water: 350 grams (around 80-85°F or 27-29°C is often good for initial mixing)
- Bread Flour: 500 grams
- Fine Sea Salt: 9-10 grams (about 1.8-2% of the flour weight)
These quantities yield a dough with approximately 70% hydration (water weight / flour weight), which is manageable for beginners and allows for good gluten development and a nice open crumb structure.
Preparing Your Sourdough Starter for the Dough
The first step in preparing to bake is ensuring your sourdough starter is fed and active. About 4-12 hours before you plan to mix your dough (depending on your starter's speed and kitchen temperature), take a small amount of your mature starter from the refrigerator or counter and feed it. A common feeding ratio for baking is 1:2:2 or 1:3:3 (starter:water:flour) to ensure you have enough active starter at its peak.
For this recipe, you'll need 100 grams of starter at peak activity. So, you might feed 20g starter with 40g water and 40g flour, yielding 100g of active starter. Once it has doubled or tripled and passes the float test, it's ready to be incorporated into your dough. Using starter at its peak ensures optimal leavening power, directly impacting the sourdough starter baking time needed for the bulk fermentation and proofing stages.
Mixing and Kneading the Sourdough Dough
Begin by combining the active sourdough starter and the warm water in a large mixing bowl. Stir them together until the starter is mostly dissolved in the water – this is sometimes called the "levainade." Then, add the bread flour and salt to the bowl. Mix everything with your hands or a spoon until no dry flour remains and a shaggy dough forms.
At this point, you can let the dough rest for 20-30 minutes. This rest period, known as autolyse (when salt is included, it's technically a "fermentolyse"), allows the flour to hydrate fully and gluten development to begin naturally without much effort. After the rest, perform a series of stretches and folds or gentle kneading for a few minutes until the dough starts to smooth out and become more cohesive. This initial mixing and resting phase is the start of the dough's sourdough starter baking time journey towards being ready for the oven.
Bulk Fermentation: Observing the Dough's Rise
Bulk fermentation, or the first rise, is a critical stage where the sourdough starter begins to leaven the dough and develop flavor. Place the mixed dough in a lightly oiled container large enough to allow for significant expansion. Over the next few hours, you will perform a series of "stretch and folds" every 30-60 minutes for the first 2-3 hours. This technique helps build gluten strength and equalizes the dough's temperature.
During bulk fermentation, the dough should increase in volume. The amount of rise is a key indicator of readiness for the next stage. A typical target is a 50% to 75% increase in volume, though some bakers prefer a higher rise (closer to double) depending on the desired crumb structure.
The time this takes varies greatly based on temperature; at 75°F (24°C), it might take 4-6 hours, while at 65°F (18°C), it could take 8-12 hours. Look for visual cues like bubbles on the surface and along the sides of the container. This phase is a major component of the total sourdough starter baking time timeline before the dough hits the oven.
Shaping the Sourdough Loaf for Baking
Once your dough has completed its bulk fermentation and increased sufficiently in volume, it's time to shape it. Gently turn the dough out onto a lightly floured surface. Be careful not to degas it too much, as you want to preserve the air pockets created during the first rise.
You can shape the dough into a boule (round) or a batard (oval). The goal of shaping is to create tension on the surface of the dough, which helps it hold its shape during proofing and baking and encourages a good oven spring. Use techniques like folding the edges into the center and then pulling the dough towards you to create surface tension. Allow the shaped dough to rest for 10-20 minutes (this is called the bench rest or pre-shape rest) before the final shaping. This rest relaxes the gluten, making the final shaping easier.
Proofing: The Final Rise Before Baking
Proofing is the final rise of the shaped dough before it is baked. This stage is crucial for developing the final texture and volume of your loaf. Place the shaped dough seam-side up in a floured proofing basket (banneton) or a bowl lined with a floured tea towel.
Proofing can be done at room temperature or in the refrigerator (cold proofing). Room temperature proofing is faster, potentially taking 2-4 hours depending on the temperature, while cold proofing in the refrigerator (around 38-40°F or 3-4°C) can take 8-16 hours or even longer. Cold proofing develops more complex flavors and makes the dough easier to handle and score. The duration of this stage is the final critical element of the sourdough starter baking time before the heat of the oven transforms the dough.
Determining When Your Sourdough Dough is Ready to Bake
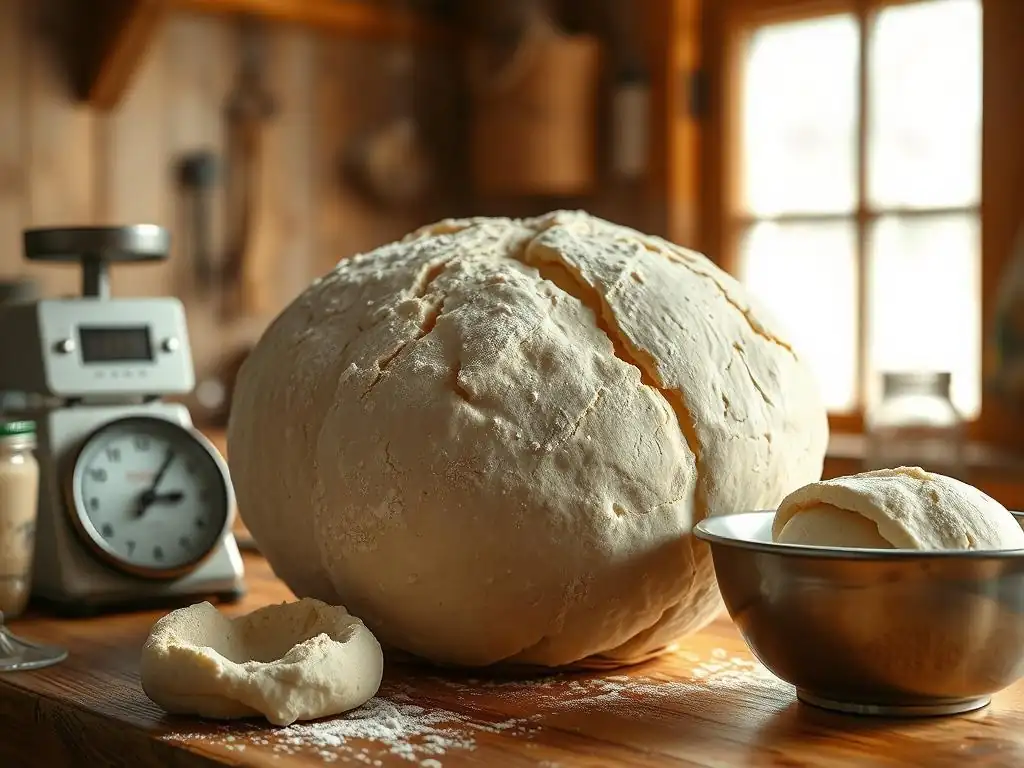
Knowing exactly when your proofed dough is ready to bake is as important as knowing when your starter is active. Under-proofed dough won't achieve its full potential volume and can result in dense spots, while over-proofed dough can collapse and spread, lacking oven spring. Several methods can help you assess readiness.
Combining these methods gives you the best chance of baking your loaf at the optimal moment. Trust your instincts and observe how your dough behaves; with practice, you'll develop a feel for it. Getting this timing right is key to successful sourdough starter baking time outcomes for your final loaf.
The Poke Test: Assessing Dough Elasticity
The poke test is a widely used method to determine if your proofed dough is ready for baking. Gently flour your finger and lightly press it into the surface of the dough, about half an inch deep. Observe how quickly the indentation springs back.
If the indentation springs back immediately and completely, the dough is under-proofed and needs more time. If the indentation springs back very slowly, only partially filling in, the dough is likely perfectly proofed and ready to bake. If the indentation remains completely or collapses, the dough is likely over-proofed. This test is a valuable indicator for managing your sourdough starter baking time at the final stage.
Visual Assessment: Checking for Air Bubbles and Volume Increase
Visual cues are also important for assessing proofing readiness. Your shaped dough should have visibly increased in volume during proofing, though perhaps not quite doubling, especially if cold-proofed. Look for a domed shape and a surface that appears smooth and slightly taut.
You might also see small bubbles just beneath the surface of the dough, particularly along the sides if proofing in a clear container. These are signs of continued fermentation. If the dough appears puffy and light, with a rounded top, it's likely well on its way. If it looks flat or has spread significantly, it might be over-proofed. These visual signs, combined with the poke test, help confirm your sourdough starter baking time readiness.
Time as a Guide: Estimating Proofing Time Based on Temperature
While relying solely on time can be misleading due to variations in temperature and starter activity, it serves as a useful initial guide for estimating proofing time. As mentioned, room temperature proofing is much faster than cold proofing.
At average room temperature (70-75°F / 21-24°C), a shaped loaf might be ready to bake in 2-4 hours after shaping. However, this can vary significantly. In a cooler kitchen (65°F / 18°C), it could take 4-6 hours. Cold proofing in the refrigerator (38-40°F / 3-4°C) dramatically slows fermentation, allowing proofing for 8-16 hours or even up to 24 hours for more flavor development. Always use time as a guideline and confirm readiness with the poke test and visual cues for optimal sourdough starter baking time execution.
Baking Your Sourdough Loaf: Achieving a Golden Crust
Once your dough is perfectly proofed, it's time for the exciting part: baking! Proper baking technique is essential for achieving that desirable golden-brown, crispy crust and well-risen loaf. The intense heat and steam in the initial phase of baking are key to maximizing oven spring.
Using a Dutch oven or baking stone with added steam is highly recommended for home bakers to mimic the conditions of a professional bread oven. Getting the oven and vessel to the correct temperature is a crucial step in the final sourdough starter baking time process.
Preheating Your Oven for Optimal Baking
Proper preheating is non-negotiable for successful sourdough baking. You need a very hot environment to encourage rapid expansion (oven spring) before the crust sets. Place your Dutch oven (with the lid on) or baking stone (with a tray for steam below) in your oven and preheat to a high temperature, typically between 450°F and 500°F (230°C and 260°C).
Allow the oven and your baking vessel/stone to preheat for at least 30-60 minutes after it reaches the target temperature. This ensures the stone or Dutch oven is fully heated through, providing maximum thermal energy to the dough upon contact. A properly preheated oven is fundamental to maximizing oven spring and achieving the desired texture during the sourdough starter baking time in the oven.
Scoring the Dough: Creating Beautiful Patterns
Scoring the dough involves making shallow cuts on the surface just before baking. This serves several purposes:
- It allows the dough to expand in a controlled manner during oven spring, preventing blowouts.
- It helps direct the steam release, contributing to crust development.
- It creates beautiful patterns, making each loaf unique.
Use a sharp lame (a baker's razor blade) or a very sharp knife. Make cuts quickly and confidently. For a boule, a simple cross or a single deep slash works well. For a batard, multiple diagonal slashes are common. The depth and pattern of your score will influence how the loaf opens up during the sourdough starter baking time.
Baking with Steam: Achieving a Crispy Crust
Steam is crucial in the first part of the baking process. It keeps the surface of the dough moist, allowing it to expand fully before the crust hardens. This results in better oven spring and a thinner, crispier crust.
If using a Dutch oven, the lid traps the moisture released by the dough, creating steam naturally. Bake with the lid on for the first 20-25 minutes. If using a baking stone, create steam by placing a tray of hot water or ice cubes on a rack below the stone just as you load the dough.
Bake with steam for the initial phase. After this initial period, remove the lid (Dutch oven) or the steam tray and continue baking at a slightly lower temperature (around 425-450°F / 220-230°C) for another 20-30 minutes until the crust is deep golden brown and the internal temperature reaches around 205-210°F (96-99°C). This two-stage process completes the sourdough starter baking time in the oven.
Cooling and Enjoying Your Homemade Sourdough
The final, often challenging, step is letting your freshly baked sourdough loaf cool completely on a wire rack. While the aroma is incredibly tempting, slicing into a hot loaf can result in a gummy texture because the internal structure is still setting and moisture is redistributing.
Allow the loaf to cool for at least 1-2 hours, or ideally longer. As it cools, the crust will crisp up further, and the crumb structure will stabilize. Once fully cooled, slice and enjoy your delicious, homemade sourdough bread! This patient waiting period is technically the last step in the full sourdough starter baking time process, ensuring the perfect final product.
Troubleshooting Common Sourdough Starter Baking Time Issues
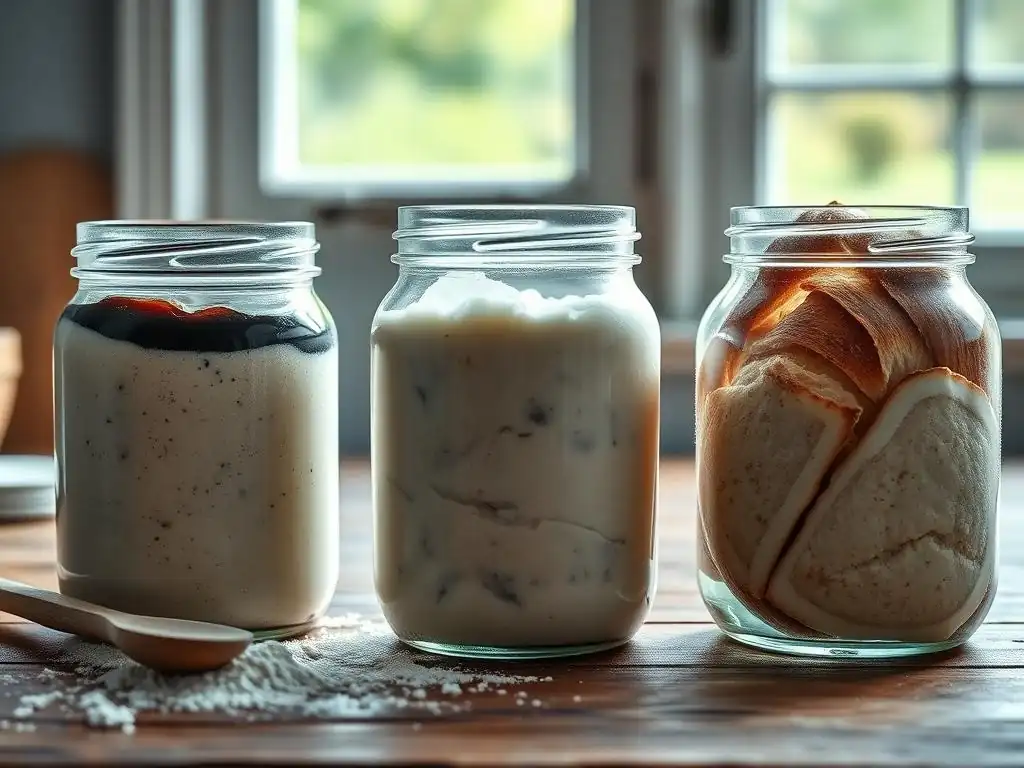
Even with careful attention, you might encounter issues with your sourdough starter or dough not behaving as expected. Don't be discouraged! Troubleshooting is a normal part of the sourdough journey. Many common problems relate back to understanding and managing the fermentation process and accurately judging sourdough starter baking time readiness.
Identifying the root cause of the problem is the first step towards finding a solution. Most issues can be resolved by adjusting temperature, feeding ratios, or fermentation times.
Starter Not Doubling: Reasons and Solutions
If your sourdough starter isn't doubling predictably after feeding, it's a sign that its activity is low. Several factors could be contributing to this. The most common reason is temperature; if your kitchen is cool (below 70°F / 21°C), fermentation will be very slow. Another possibility is that your starter needs more consistent feeding to build strength, or the flour you are using might not be providing enough nutrients.
To address a sluggish starter, first, try moving it to a warmer location (like the top of the refrigerator or in an oven with the light on). Ensure you are feeding it regularly, ideally daily or even twice a day if trying to boost activity, using a ratio of at least 1:1:1 (starter:water:flour), or higher like 1:2:2 or 1:3:3 for a stronger boost.
Consider incorporating some whole wheat or rye flour into your feedings, as these often provide more readily available food for the microbes. Consistent feeding and warmth are key to bringing it back to peak activity for optimal sourdough starter baking time.
Dough Not Rising: Addressing Slow Fermentation
If your dough isn't rising adequately during bulk fermentation or proofing, the primary culprit is usually insufficient starter activity or a low dough temperature. If your starter wasn't at its peak when you mixed the dough, it won't have the power to leaven effectively. Similarly, if the dough itself is too cold, the yeast activity will be significantly slowed.
Ensure you are using a starter that passes the float test and shows clear signs of peak activity. Check the temperature of your dough; aim for a dough temperature between 75-80°F (24-27°C) after mixing. If it's cooler, place the dough in a warmer spot during bulk fermentation. You may need to extend the bulk fermentation time significantly if working in a cooler environment. Watch the dough's volume increase and visual cues rather than strictly following time estimates when addressing slow fermentation and adjusting your sourdough starter baking time expectations.
Over-Proofed Dough: Recognizing and Preventing it
Over-proofing occurs when the dough ferments for too long, and the yeast consumes most of the available sugars, leading to a loss of structure and gas retention. Signs of over-proofed dough include a very fragile, airy texture that tears easily during shaping, spreading rather than holding its shape in the proofing basket, and failing the poke test by not springing back at all or collapsing.
Over-proofing is often caused by too warm a temperature or simply leaving the dough for too long, especially during room temperature proofing. To prevent it, pay close attention to your dough's volume increase and the poke test, particularly in warmer conditions.
If your kitchen is warm, consider reducing the bulk fermentation time or opting for cold proofing in the refrigerator, which dramatically slows down fermentation and provides a larger window for managing your sourdough starter baking time before baking. If you suspect your dough is slightly over-proofed, you can sometimes salvage it by baking it immediately, being very gentle when transferring and scoring.
Advanced Techniques for Sourdough Baking
Once you've mastered the basic sourdough recipe and confidently judge your sourdough starter baking time readiness, you might want to explore more advanced techniques. These methods can further enhance the flavor, texture, and appearance of your loaves.
Experimenting with different flours, hydration levels, and additions opens up a world of possibilities in sourdough baking. Each variation presents new challenges and rewards, deepening your understanding of the process.
Working with Different Hydration Levels
Experimenting with dough hydration (the ratio of water to flour) is a common way to influence the final crumb structure. The basic recipe here uses about 70% hydration. Increasing hydration to 75%, 80%, or even higher (often called high-hydration doughs) can result in a more open, airy crumb.
However, higher hydration doughs are stickier and more challenging to handle and shape. They require stronger gluten development, often achieved through more frequent or rigorous stretch and folds during bulk fermentation. The sourdough starter baking time for bulk fermentation might be slightly faster due to the increased water content, but proofing readiness is still judged by feel and visual cues rather than time alone.
Experimenting with Various Flours
Beyond standard bread flour, incorporating other types of flour can dramatically change the flavor, texture, and fermentation characteristics of your sourdough. Whole wheat, rye, spelt, or even ancient grains like Einkorn or Kamut can be used, typically replacing a percentage of the white bread flour (e.g., 20-50%).
Using flours with higher whole grain content will usually result in faster fermentation due to increased enzyme activity. This means your sourdough starter baking time for bulk fermentation and proofing might be shorter. These flours also absorb water differently and affect gluten development, often requiring adjustments to hydration levels and handling techniques. For instance, a loaf with 30% rye will ferment faster and feel different from a 100% white flour loaf.
Adding Inclusions to Your Sourdough
Adding inclusions like seeds, nuts, dried fruits, cheese, or herbs can elevate your sourdough loaf to new levels of flavor and texture. Common additions include toasted seeds (like sesame, poppy, or sunflower), chopped nuts (walnuts, pecans), or dried cranberries or cherries.
Inclusions are typically added during the initial mixing phase or during the first set of stretch and folds. They can affect the dough's structure and handling. Dense inclusions like seeds or nuts might slightly weigh down the dough, potentially impacting rise. You might need to adjust hydration slightly or perform an extra set of folds to ensure the dough is strong enough to support the additions. Adding inclusions doesn't drastically change the overall sourdough starter baking time for fermentation, but monitoring dough readiness remains crucial.
Conclusion: Mastering Sourdough Starter Baking Time at BakeWithEase.com
Mastering sourdough baking is a rewarding process that requires patience, observation, and practice. Understanding your sourdough starter's activity and learning to read the signs of a perfectly proofed dough are perhaps the most critical skills to develop. The concept of "Sourdough starter baking time" isn't just about the clock; it's about recognizing readiness at each step of the fermentation journey.
By paying attention to visual cues, using tests like the float test and the poke test, and understanding how temperature, flour type, and hydration influence fermentation speed, you gain confidence and control. Don't be afraid to experiment and learn from each bake. Every loaf is an opportunity to deepen your connection with this ancient craft. Keep practicing, keep observing, and you'll consistently bake beautiful, delicious sourdough bread right here at BakeWithEase.com.
Frequently Asked Questions
What is the best way to tell if my sourdough starter is ready to bake with?
The best indication is the starter's activity: It should have doubled in size after feeding and have lots of bubbles. Also, it should pass the float test.
How long does it typically take for a sourdough starter to be ready for baking?
The time varies depending on factors like temperature and starter maturity, but generally, it takes between 4 to 12 hours after feeding for a mature starter to peak. A new starter will take longer.
What is the "float test" for sourdough starter, and how do I perform it?
The float test determines if your starter is active enough. Drop a small spoonful of starter into a glass of water. If it floats, it's ready to bake. If it sinks, it needs more time.
What happens if I bake with my sourdough starter before it's ready?
Baking with an under-active starter will result in a dense and flat loaf. The bread won't rise properly, and it may taste gummy or overly sour.
Can I speed up the sourdough starter baking time?
You can encourage faster activity by keeping your starter in a warm environment (around 75-80°F) and feeding it regularly with high-quality flour. Avoid extremes of temperature.
Final Reflection: The Whisper of Readiness in Your Sourdough
The perfect sourdough loaf isn't just about following a recipe; it's about understanding the subtle cues of a living organism. Mastering the art of sourdough baking means learning to listen to your starter, to decipher its whispers of readiness, and to trust your intuition. This isn't just about baking bread; it's about connecting with a process that has spanned centuries.
The journey of sourdough baking is a testament to patience and observation. It's a dance between science and intuition, a delicate balance of time and temperature. The best bread is made with love, and a little bit of patience.
This quote, while simple, encapsulates the essence of the sourdough experience. It's not just about achieving a perfectly risen loaf; it's about the process itself, the quiet moments of observation, the anticipation of the final bake, and the satisfaction of creating something beautiful from simple ingredients. This process has profoundly impacted my own understanding of food production, shifting my perspective from a consumer to a creator.
Now, it's your turn. Consider the lessons learned here – the importance of observation, the nuances of fermentation, and the rewarding nature of patience. Don't just bake a loaf; experience the process. Pay attention to your starter, learn its rhythms, and trust your senses. The next time you bake, remember the journey, and savor the delicious reward of a perfectly risen sourdough loaf, born from your own understanding and care.
Unleash Your Inner Baker: Perfect Sourdough Awaits!
Thanks for diving into the world of sourdough with us! You've now unlocked the secrets to knowing when your bread is perfectly ready to bake. Let's put that knowledge to delicious use!
- Bake your masterpiece today! Use your newfound skills to craft a loaf of perfectly risen, tangy sourdough. Don't forget to share your baking journey with us!
- Capture your creation: Take a picture of your beautiful sourdough and share it on social media using #BakeWithEaseSourdough. Let's inspire each other!
- Explore our other sourdough recipes: From rustic loaves to delectable pretzels, BakeWithEase has a recipe to fuel your baking adventures!
Ready to transform your kitchen into a sourdough haven? What unique twist will you add to your next bake?