
Easy Ways to Add Texture with Frosting

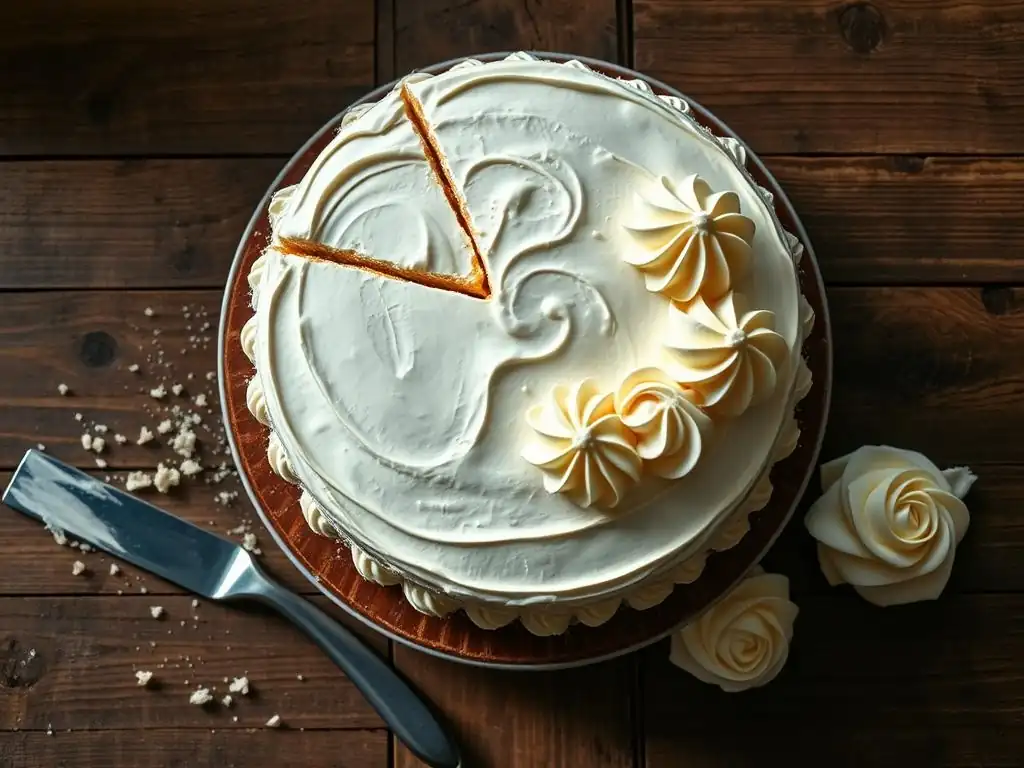
Welcome to BakeWithEase, where we believe everyone can create baking magic! Ever wondered how to elevate your desserts from simply delicious to visually stunning? This week, we're diving deep into frosting texture tips for beginners, unlocking secrets to achieve professional-looking finishes with ease. Discover how simple techniques can transform your ordinary frosting into a masterpiece, and prepare to impress with your newfound baking artistry. Intrigued? Let's get started and explore the world of textured frosting!
- Easy Ways to Add Texture with Frosting: Frosting Texture Tips for Beginners
- Introduction to Frosting Textures: Elevating Your Cakes with Ease
- Simple Frosting Texture Techniques for Beginner Cake Decorators
- Advanced Frosting Texture Techniques to Try at Home
- Troubleshooting Common Frosting Texture Issues
- Frosting Texture Ideas: Inspiration for Your Next Cake
- Essential Tools for Achieving Perfect Frosting Texture
- Conclusion: Mastering Frosting Texture for Stunning Cakes
-
Frequently Asked Questions
- What are some easy ways for beginners to add texture to frosting?
- What is the best type of frosting to use when adding texture for beginners?
- How can I achieve a rustic texture with frosting, perfect for beginners?
- What tools are needed to create advanced frosting textures, beyond what a beginner might use?
- How can I prevent my frosting from becoming too soft while trying to add texture, especially as a beginner?
- Final Reflection: Unlocking the Sweet Art of Textured Frosting
- Unleash Your Inner Frosting Artist!
Easy Ways to Add Texture with Frosting: Frosting Texture Tips for Beginners
Introduction to Frosting Textures: Elevating Your Cakes with Ease
Why Texture Matters in Cake Decorating
Texture is a powerful, often underestimated, element in cake decorating. It's not just about how the frosting tastes, but also how it looks and feels on the cake's surface. Adding different textures can transform a simple cake into a visually stunning centerpiece, adding depth and interest that a flat, smooth surface might lack. It engages the viewer's eye and hints at the deliciousness within, making the cake more appealing before the first slice is even cut. For beginners learning frosting texture tips, understanding this visual impact is key.
Beyond aesthetics, texture can also enhance the eating experience. A cake with a varied frosting texture, perhaps smooth on top and rough on the sides, offers a delightful contrast. Imagine a super-moist chocolate cake covered in a light, airy Swiss meringue buttercream with rustic spatula marks – the visual texture complements the flavor profile. This contrast makes the cake more dynamic and memorable, proving that texture is just as important as color and flavor in creating a successful bake.
Understanding Different Frosting Types and Their Textural Potential
Different types of frosting offer inherent textures and varying degrees of malleability, making some more suitable for certain textural techniques than others. American buttercream, made primarily from butter and powdered sugar, is generally quite stiff and holds sharp peaks well, making it excellent for piping intricate details like stars and rosettes. However, it can sometimes be prone to crusting, which can affect certain smoothing techniques.
Swiss meringue and Italian meringue buttercreams, while lighter and less sweet due to using egg whites, are incredibly smooth and silky. They are fantastic for achieving a perfectly smooth finish and can also be whipped to create soft, elegant swirls or used for delicate piping. Cream cheese frosting, often softer and tangier, is wonderful for rustic spatula textures or simple swirls, though its softer consistency means it's less ideal for very fine, detailed piping work. Understanding these basic characteristics is among the fundamental frosting texture tips beginners should grasp.
Simple Frosting Texture Techniques for Beginner Cake Decorators
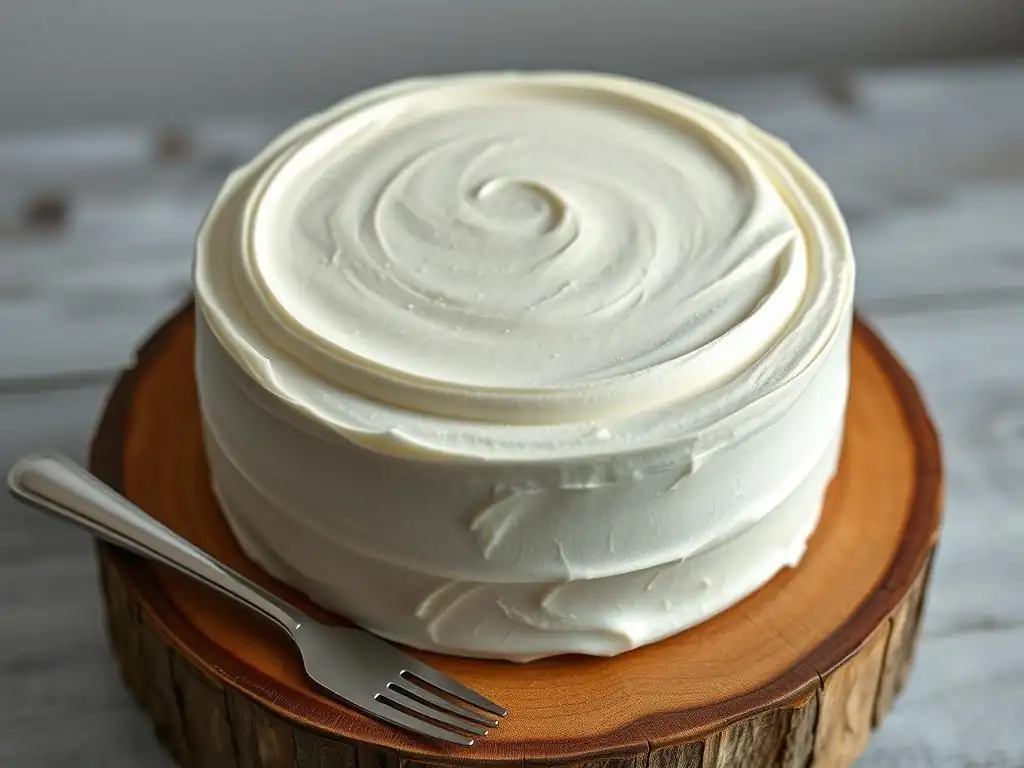
The Palette Knife Technique: Achieving Smooth and Textured Finishes
The humble palette knife is an essential tool for any baker looking to master frosting texture tips beginners can use. It's incredibly versatile, capable of both smoothing frosting to a glass-like finish and creating dynamic, textured surfaces. Learning to control the pressure and angle of the knife is fundamental to unlocking its potential for various effects on your frosted cakes.
Mastering the Palette Knife for a Smooth Frosting Base
Achieving a smooth frosting base is often the first step in many decorating projects, and a palette knife (or offset spatula) is your best friend here. Apply a generous amount of frosting to the cake. Then, holding the palette knife at about a 45-degree angle to the cake's surface (for the sides) or parallel (for the top), gently glide it around, removing excess frosting and filling in gaps.
Consistent, light pressure and keeping the knife clean are crucial. For example, getting a perfectly smooth buttercream base is essential if you plan to apply a smooth ganache drip or fondant later; any bumps will show through. This foundational skill is key for beginners learning frosting texture tips.
Creating Swirls and Waves with a Palette Knife
Moving beyond smooth, the palette knife excels at creating organic, free-form textures like swirls and waves. For simple swirls on top of a cake, apply frosting liberally and then, starting from the center or edge, gently drag the tip or side of the palette knife through the frosting in a circular or wavy motion. Varying the pressure and angle will create different depths and patterns.
This is a quick and effective way to give a cake a finished look without needing intricate piping. For instance, large, soft swirls are a popular finish for round celebration cakes or cupcakes, adding visual volume and a touch of elegance with minimal effort, making it a great frosting texture tip for beginners.
The Piping Bag Technique: Adding Dimension and Detail
A piping bag opens up a world of possibilities for adding texture and detail to your cakes. While it might seem intimidating at first, mastering basic piping techniques is a rewarding step for beginners exploring frosting texture tips. Different piping tips, combined with varying pressure and motion, allow you to create everything from simple dots and lines to complex floral patterns.
Basic Piping Tips for Textured Effects
Several basic piping tips are fantastic for creating immediate texture. Round tips (like Wilton 1A or 12) are perfect for simple dots, beads, or writing, creating a smooth, raised texture. Star tips (like Wilton 1M or 21) are incredibly versatile, producing ruffled textures, stars, or simple swirls depending on the technique used.
Petal tips (like Wilton 104) can create beautiful ruffles and waves, mimicking fabric. Simply filling a piping bag fitted with one of these tips and applying steady pressure allows beginners to add instant, recognizable textures to their cakes or cupcakes, providing easy frosting texture tips beginners can quickly master.
Creating Rosettes and Ruffles with Frosting
Rosettes and ruffles are classic piped textures that look impressive but are relatively easy to learn, making them excellent frosting texture tips for beginners. To create a rosette using a star tip (like 1M), hold the bag perpendicular to the cake, apply pressure to start, move in a tight circle clockwise or counter-clockwise, and then release pressure to finish.
For ruffles using a petal tip, hold the wider end of the tip against the cake and the thinner end facing outwards, apply pressure, and move the bag back and forth or in a wavy line, letting the frosting fan out. A cake covered entirely in buttercream rosettes or cascading ruffles down the side creates a dramatic, textured effect that's surprisingly achievable for those new to piping.
The Spatula Technique: Quick and Easy Textural Effects
The spatula technique, often using an offset spatula or even a simple knife, is perhaps the most straightforward way to add texture to frosting. It's less about precision and more about creating an organic, sometimes imperfect, look that can be incredibly charming and stylish. This method is ideal for beginners who want to add visual interest without complex tools or techniques.
Achieving a Rustic Look with a Spatula
The rustic look is highly popular, and it's one of the easiest frosting texture tips beginners can employ with a spatula. After applying a base layer of frosting, simply use the edge or flat side of your spatula to gently scrape, drag, or press into the frosting. You can create swoops, peaks, or uneven layers.
The key is not to overthink it; the beauty lies in the imperfection. For instance, applying a thick layer of frosting to a cake and then using an offset spatula to make sweeping upward strokes creates a beautiful, textured finish often seen on 'naked' or semi-naked cakes, giving them an effortlessly elegant feel.
Creating a "Comb" Effect with a Spatula
While specialized cake combs exist, you can create a similar ridged or striped effect using the edge of a straight spatula or even the tines of a fork for smaller areas. Apply a smooth base layer of frosting. Then, hold the edge of the spatula perpendicular to the cake's side or top and drag it horizontally or vertically through the frosting with even pressure.
This creates uniform lines or ridges. For a more defined look, you can use a serrated spatula or a cake comb designed specifically for this purpose. This technique adds a clean, geometric texture that contrasts nicely with smoother areas or other textures on the cake, providing another useful frosting texture tip for beginners.
Advanced Frosting Texture Techniques to Try at Home
Using Texture Mats for Intricate Designs
Texture mats offer a way to transfer detailed patterns onto a frosted cake, creating sophisticated designs that would be difficult to achieve by hand. These flexible silicone or plastic mats come in various patterns, such as lace, wood grain, brick, or geometric shapes. To use one, first ensure your cake is covered in a smooth, firm frosting (like chilled buttercream or ganache).
Then, gently but firmly press the texture mat against the frosting surface. When you peel the mat away, the pattern is imprinted onto the cake. This method allows beginners to add intricate, uniform textures quickly, elevating the cake's design significantly.
Creating a realistic wood grain effect on a novelty cake, for example, can be achieved using a wood grain texture mat pressed into chocolate ganache or brown-tinted buttercream. Another popular use is creating a subtle damask or lace pattern on an elegant wedding or anniversary cake using a corresponding mat pressed into white buttercream. While requiring a bit more practice to ensure even pressure across the entire mat, this technique produces professional-looking results that are challenging to replicate freehand, offering advanced frosting texture tips beginners can aspire to.
Creating a "Cracked" or "Aged" Frosting Effect
A cracked or aged frosting effect adds a unique, often dramatic, texture suitable for novelty cakes, vintage themes, or artistic designs. One method involves applying a base layer of frosting (often a darker color), chilling it until firm, and then applying a thin layer of a different frosting (often a lighter color) on top. As the cake warms up slightly, the top layer contracts or expands differently than the base, causing it to crack. Another technique involves using specific types of icing, like royal icing or a glaze over buttercream, where the top layer dries and cracks naturally.
For instance, creating a cracked earth effect for a dinosaur or archaeological dig cake can be done by applying brown buttercream, chilling it, and then spreading a thin layer of slightly warmer, lighter brown frosting on top. As the cake sits at room temperature, natural cracks will appear. This technique requires some experimentation with frosting consistencies and temperatures, but the resulting texture is highly effective for creating a worn, aged, or natural look on the cake's surface, offering more advanced frosting texture tips for beginners ready for a challenge.
Incorporating Edible Elements for Added Texture
Adding edible elements directly to the frosting is a simple yet effective way to introduce new textures and flavors. This technique is versatile and can be applied to the entire cake or just specific areas, providing visual interest and tactile variation. It's also a great way to use up leftover cake scraps or cookies.
Adding Sprinkles, Crumbs, or Nuts for Texture
Sprinkles, cookie crumbs, chopped nuts, or even toasted coconut can be pressed directly into the frosting to create distinct textures. For example, rolling the sides of a frosted cake in cookie crumbs (like crushed Oreos or graham crackers) creates a rough, earthy texture that also tastes delicious. Pressing sprinkles into the sides or top adds a fun, granular texture and pop of color.
Chopped toasted pecans or walnuts pressed into caramel frosting on a spice cake provide both crunch and visual texture. This is one of the easiest frosting texture tips beginners can use to add complexity without needing advanced decorating skills.
Troubleshooting Common Frosting Texture Issues
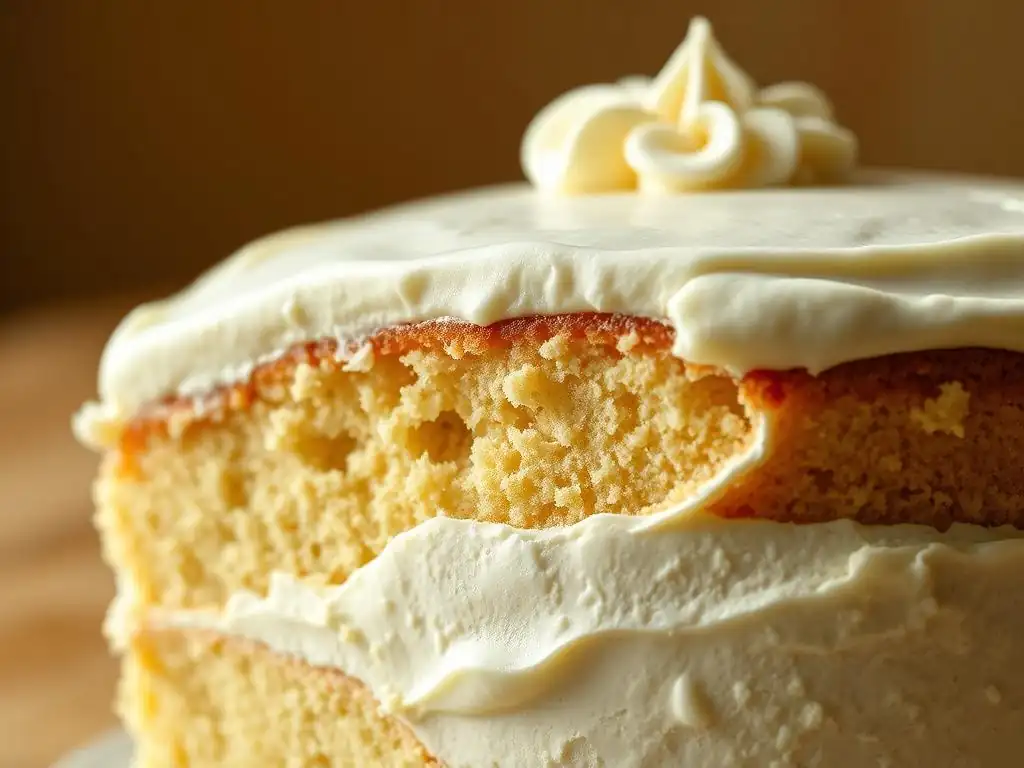
Even with the best frosting texture tips for beginners, issues can arise. Knowing how to troubleshoot common problems like air bubbles or cracking frosting is crucial for achieving the desired texture and finish on your cake. Patience and understanding the nature of your frosting are key.
Dealing with Air Bubbles in Frosting
Air bubbles are a common frustration, especially when aiming for a smooth frosting finish. They often get incorporated during the mixing process or when transferring frosting to a piping bag. To minimize bubbles, mix your buttercream on low speed for a few minutes after it's fully combined; this helps push out trapped air.
When filling a piping bag, do so slowly and avoid scooping air into the bag. If you spot bubbles while frosting, use a warm palette knife or bench scraper to gently smooth over the area; the warmth can help the frosting settle. For minor bubbles on a smooth surface, a quick pass with a heat gun (on low) held at a distance can sometimes help them disappear.
Preventing Frosting from Cracking
Frosting cracking, particularly after a cake has been chilled, is often due to the frosting drying out or becoming too stiff. American buttercream is more prone to cracking than meringue-based buttercreams. To prevent this, ensure your frosting has a good consistency – not too stiff.
When frosting the cake, apply a generous, even layer; thin spots are more likely to crack. If chilling is necessary, cover the cake loosely with plastic wrap once the frosting has crusted slightly to help retain moisture. Allowing the cake to come back to room temperature slowly before serving can also help prevent cracks from forming or worsening.
Fixing a Frosting That's Too Soft or Too Stiff
Frosting consistency is paramount for achieving specific textures. If your frosting is too soft (perhaps melting or not holding shape), it might be too warm or need more structure. Try chilling it in the refrigerator for 10-15 minutes, then re-whipping. If it's still too soft, you may need to add more powdered sugar (for American buttercream) or a bit more fat (like butter or shortening, whipped in gradually).
If your frosting is too stiff to spread or pipe smoothly, it might be too cold or lack enough liquid. Add a tiny amount of milk, cream, or even water (start with half a teaspoon) and mix thoroughly. Alternatively, gently warm a small portion of the frosting and mix it back into the rest to soften it slightly. Adjusting consistency is a vital frosting texture tip for beginners.
Frosting Texture Ideas: Inspiration for Your Next Cake
Once you've practiced the basic frosting texture tips beginners can use, look for inspiration to combine techniques and create unique designs. Observing professional cakes and experimenting with different tools and motions will spark new ideas and help you develop your own style.
Examples of Cakes with Different Frosting Textures
Many stunning cakes showcase a variety of frosting textures. Consider a cake with perfectly smooth sides achieved with a bench scraper, topped with elegant piped rosettes using a star tip. Another example is a rustic-style cake with rough spatula marks on the sides, contrasted with a smooth top adorned with a simple drip effect.
A fun birthday cake might feature smooth frosting covered in sprinkles on the sides, with a piped border and textured swirls on top. Looking at photos of cakes online or in baking books can provide countless examples of how different textures are combined effectively, offering visual frosting texture tips beginners can emulate.
Combining Multiple Textures for a Unique Look
Combining several textures on a single cake adds complexity and visual interest. You could apply a smooth layer of frosting to the top tier of a cake and a textured spatula finish to the bottom tier. Or, create a smooth base coat and then add piped dots, lines, or swirls on top or around the sides.
Another approach is to use a textured comb on the sides and then press sprinkles or nuts into the bottom edge for a different feel. Don't be afraid to mix techniques – perhaps a palette knife swirl on top, piped shells around the base, and a gently scraped texture on the sides. Experimenting with these combinations is a key part of mastering frosting texture tips beginners learn over time.
Essential Tools for Achieving Perfect Frosting Texture
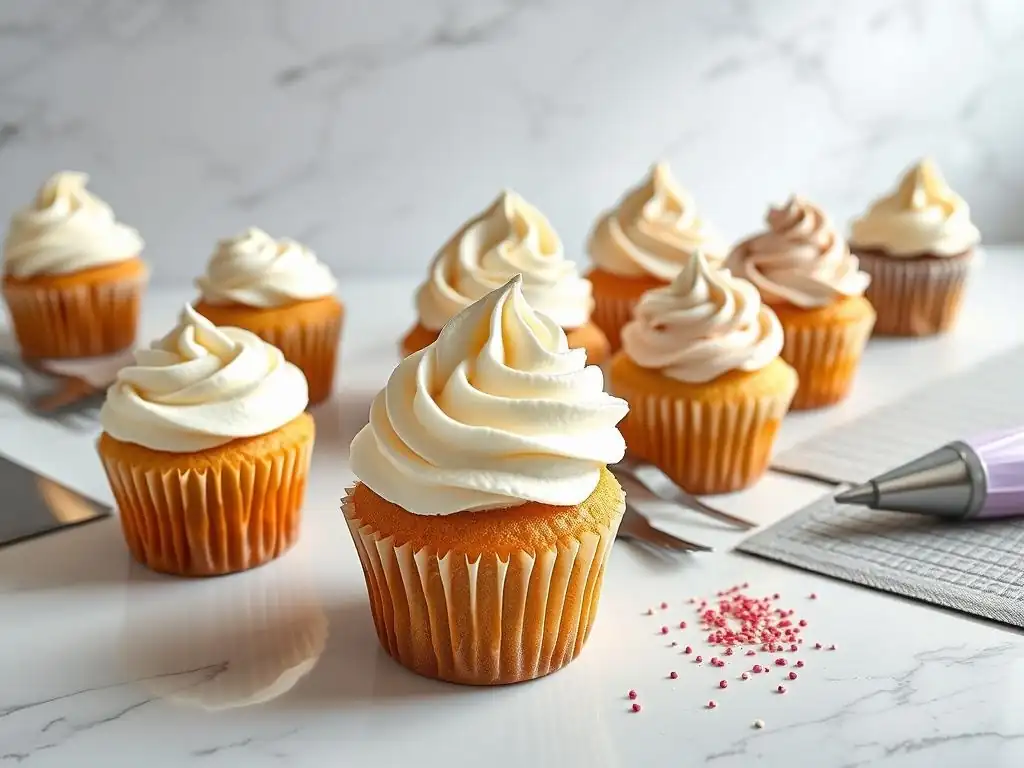
Having the right tools makes a significant difference when you're learning frosting texture tips beginners can rely on. While you can achieve a lot with just a basic knife, investing in a few key pieces of equipment will expand your capabilities and make the process smoother and more enjoyable.
Must-Have Palette Knives and Spatulas
Palette knives and spatulas are fundamental for spreading, smoothing, and texturing frosting. An offset spatula (with a bend in the handle) is particularly useful as it keeps your hand clear of the cake surface, making smoothing easier. Having one medium (around 6-8 inches) and one small (3-4 inches) offset spatula is a good start. Straight spatulas are also useful for scooping and spreading. For creating textures, a metal bench scraper is excellent for achieving perfectly straight, smooth sides or clean lines for comb effects. These tools are indispensable frosting texture tips beginners should acquire.
The Best Piping Bags and Tips for Texture
For piping, you'll need piping bags and a selection of tips. Reusable silicone or plastic-coated bags are durable and eco-friendly, while disposable plastic bags are convenient for quick clean-up. A basic set of piping tips, including a few round tips (small and large), star tips (open and closed), and maybe a petal tip, will allow you to create a wide range of textures. A large star tip (like Wilton 1M) is a beginner favorite for quick swirls and rosettes. Look for tip sets that include a coupler, which allows you to change tips on the same bag of frosting.
Other Helpful Tools for Frosting Texture
Beyond spatulas and piping equipment, a few other tools can aid in achieving specific textures. A cake turntable is invaluable for smoothing sides evenly and creating consistent textures like comb effects or ruffles while spinning the cake. Serrated cake combs (often plastic or metal) are specifically designed to create uniform ridges on the sides of a cake. For advanced techniques like texture mats, ensuring your frosting is firm enough might require chilling space. Having a small bowl of warm water nearby to dip and clean your spatulas can also help achieve smoother finishes.
Conclusion: Mastering Frosting Texture for Stunning Cakes
Recap of Easy Frosting Texture Tips
We've explored various easy and slightly more advanced ways to add texture to your cakes using frosting. From the simple elegance of a smooth palette knife finish or rustic spatula swoops to the dynamic dimension of piped rosettes and ruffles, adding texture is an accessible way to elevate your cake decorating skills. We touched upon understanding different frosting types, essential tools like spatulas and piping bags, and how to troubleshoot common issues. These basic frosting texture tips beginners can practice provide a solid foundation for creating visually appealing cakes.
Encouragement to Experiment and Develop Your Own Style
Mastering frosting texture is a journey, not a destination. The most important frosting texture tip for beginners is to simply start experimenting! Don't be afraid to try different techniques, combine them, or even create your own. Practice on a cake dummy or even a piece of parchment paper to get a feel for the tools and frosting consistency before working on your final cake. Each cake is an opportunity to learn and refine your skills. Embrace imperfections as part of the process, and most importantly, have fun adding your unique textural touch to your delicious bakes.
Frequently Asked Questions
What are some easy ways for beginners to add texture to frosting?
You can use simple tools like a fork or spoon to create swirls and patterns. Sprinkles are also a great and easy option for adding visual and textural appeal.
What is the best type of frosting to use when adding texture for beginners?
A sturdy frosting like buttercream or cream cheese frosting is best. These hold their shape well and are easier to manipulate for creating different textures.
How can I achieve a rustic texture with frosting, perfect for beginners?
Apply the frosting unevenly with a spatula, leaving some of the cake visible. This creates a deliberately imperfect and charming look.
What tools are needed to create advanced frosting textures, beyond what a beginner might use?
Consider using piping bags with different tips for detailed designs or a textured spatula for unique patterns.
How can I prevent my frosting from becoming too soft while trying to add texture, especially as a beginner?
Keep your frosting chilled before and during the decorating process. Working in a cool environment also helps maintain the desired consistency.
Final Reflection: Unlocking the Sweet Art of Textured Frosting
The pursuit of perfectly textured frosting is more than just a culinary pursuit; it's a gateway to unlocking creativity in the kitchen. From the delicate swirls of a Swiss meringue buttercream to the bold peaks of a cream cheese frosting, texture elevates a simple cake into a masterpiece. This isn't just about aesthetics; it's about adding a sensory dimension that enhances the overall baking experience.
The impact of texture on our perception of food is undeniable. We crave the satisfying crunch of a cookie, the smooth melt of chocolate, and the delightful fluffiness of a perfectly frosted cake. The pleasure of eating is doubled when one is hungry.
This quote, though not directly about frosting, speaks to the fundamental human connection with food and the joy found in its textures. The exploration of frosting techniques, even for beginners, allows us to appreciate this connection on a deeper level, fostering a sense of accomplishment and pride in our culinary creations.
Now, it's your turn. Don't be intimidated by the seemingly complex world of frosting textures. Take the techniques discussed in this article, experiment with different ingredients and methods, and most importantly, have fun! Embrace the imperfections, learn from your mistakes, and watch as your frosting skills blossom. The journey of mastering frosting texture is a rewarding one, filled with delicious discoveries and the sweet satisfaction of creating something beautiful and delicious. So, grab your mixer, gather your ingredients, and let your creativity flow. The perfect frosting texture awaits!
Unleash Your Inner Frosting Artist!
Thanks for taking the time to explore the wonderful world of textured frosting! We hope you've gained some delicious inspiration and new skills. Ready to put your newfound knowledge into practice?
- Master a new frosting technique: Choose your favorite from the article and give it a try! Experiment with different piping tips and pressure to find your perfect texture. Don't be afraid to get creative!
- Share your frosted creations: Tag us on social media – we'd love to see your textured masterpieces! Let's build a community of frosting enthusiasts.
- Challenge yourself with a textured cake design: Pick a design from the article or brainstorm your own unique combination of textures. Document your process and share your journey!
What exciting texture will you create next?