
Simple Swirls: Basic Piping for Cupcake Toppings

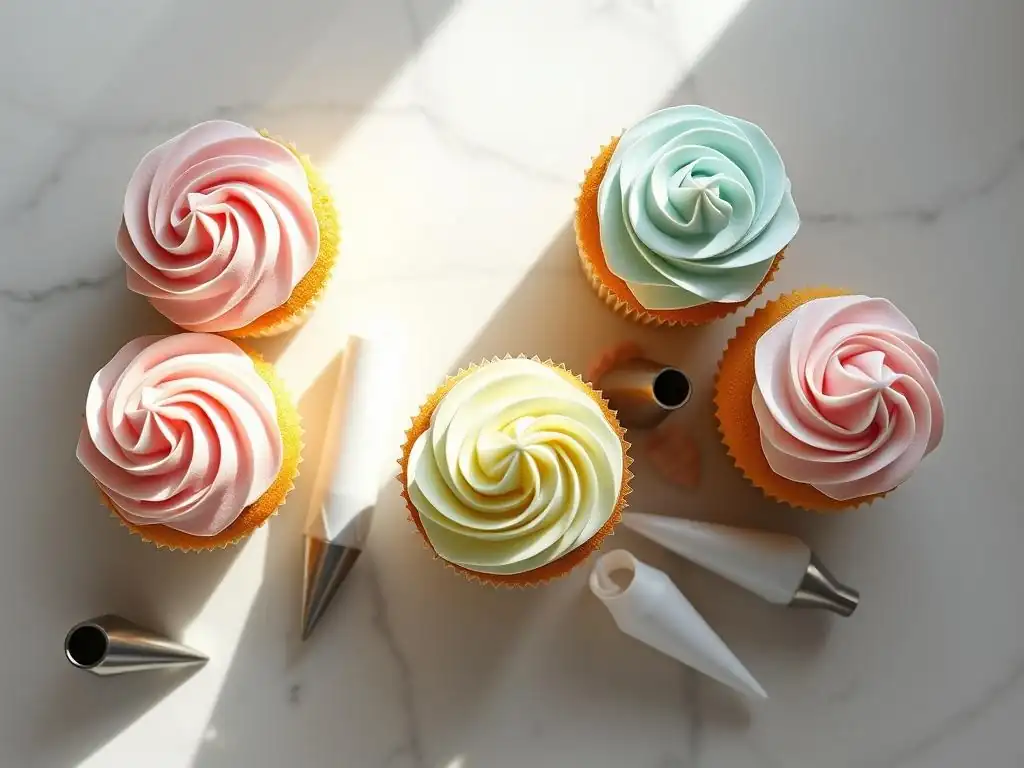
Welcome to BakeWithEase, your haven for baking bliss! Ever dreamt of creating those picture-perfect cupcake swirls you see in bakeries? Simple Swirls: Basic Piping for Cupcake Toppings unlocks the secrets to achieving professional-looking results, even if you're just starting out. Discover our easy cupcake swirl frosting recipe and transform your treats from ordinary to extraordinary. Ready to elevate your cupcake game? Let's get swirling!
- Introduction to Cupcake Swirl Frosting
- Understanding Your Piping Tools
- Preparing Your Frosting
- Step-by-Step Guide: Piping the Perfect Cupcake Swirl
- Troubleshooting Common Problems
- Advanced Techniques
- Exploring More Frosting Techniques
- Conclusion: Enjoy Your Beautifully Swirled Cupcakes
-
Frequently Asked Questions
- What is the easiest way to achieve a professional-looking cupcake swirl?
- What type of frosting works best for piping cupcake swirls?
- Are there any alternatives to using a piping bag for swirling frosting?
- How can I prevent air bubbles from ruining my frosting swirls?
- What are some tips for creating consistent cupcake swirls every time?
- Final Reflection: The Sweet Simplicity of Swirling Success
- Unleash Your Inner Pastry Chef!
Introduction to Cupcake Swirl Frosting
Why Master the Cupcake Swirl?
Mastering the cupcake swirl is a fundamental skill in baking that instantly elevates your treats from simple bakes to stunning desserts. A beautifully piped swirl of frosting is the signature look for countless cupcakes, making them visually appealing for parties, bake sales, or just a delightful afternoon snack. It transforms a basic cupcake into a professional-looking confection, impressing friends and family with minimal extra effort.
Beyond aesthetics, a well-executed swirl ensures an even distribution of frosting, providing a balanced bite with each mouthful of cake and topping. It's a surprisingly easy technique to learn, and once you understand the basics, you can apply it to various frostings and tips. This skill is your gateway to creating picture-perfect cupcakes consistently, making any easy cupcake swirl frosting recipe feel like a gourmet creation.
Guide to Perfect Cupcake Swirls
Achieving the perfect cupcake swirl relies on a few key factors: the right tools, the correct frosting consistency, and proper piping technique. This guide will walk you through selecting the best piping bag and tip, ensuring your frosting is ready to go, and the simple steps needed to create that classic, elegant swirl. We'll cover everything from filling the bag to applying the right pressure and motion.
Following this guide will demystify the process, showing you how straightforward it is to turn your easy cupcake swirl frosting recipe into beautiful edible art. You'll learn common pitfalls and how to avoid them, building confidence with every cupcake you decorate. By the end, you'll be swirling frosting like a pro, ready to tackle any celebration or just brighten your day with a delightful, perfectly frosted treat.
Understanding Your Piping Tools
Choosing the Right Piping Bag
Piping bags come in various materials, each with its own advantages. Disposable plastic bags are popular for their convenience – just use and toss, saving on cleanup. They are often made of sturdy polyethylene and come in rolls or boxes, readily available at most grocery or craft stores. For an easy cupcake swirl frosting recipe, medium to large size bags (around 12-16 inches) are generally the most comfortable to handle, allowing you to frost several cupcakes before refilling.
Reusable piping bags, typically made from canvas or silicone, are an eco-friendly option. Canvas bags are durable but require thorough washing and drying. Silicone bags are flexible and easy to clean, often dishwasher safe. While they require more effort upfront (washing), they are a great investment for frequent bakers and can handle thicker frostings without bursting. The choice often comes down to personal preference regarding cleanup versus environmental impact and initial cost.
Selecting the Best Piping Tip: The 1M Tip and Beyond
The open star tip, specifically the Wilton 1M, is arguably the most popular and versatile tip for creating the classic cupcake swirl. This tip has a wide, open star shape that produces defined ridges, giving the swirl its characteristic texture and volume. It's incredibly forgiving for beginners and works beautifully with an easy cupcake swirl frosting recipe. Its large opening, usually around 1/2 inch (1.3 cm) in diameter, allows frosting to flow smoothly.
While the 1M is a fantastic starting point, don't stop there! Other tips can create different swirl effects. A closed star tip (like a 2D) creates a more tightly ruffled look. A round tip (like a 1A) gives a smooth, soft serve ice cream appearance. Experimenting with various star tips (smaller or larger) or even specialty tips can add variety to your cupcake decorations, but for that perfect, classic swirl, the 1M is your go-to.
Other Essential Tools
Beyond bags and tips, a few other tools can make your piping experience smoother. Couplers are small plastic pieces that allow you to change piping tips on a single bag without emptying the frosting. This is particularly useful if you want to use different tips with the same color frosting on one batch of cupcakes. Standard couplers work with most small to medium tips, while large couplers are needed for tips like the 1M.
Spatulas are crucial for both making your easy cupcake swirl frosting recipe and for filling the piping bag. An offset spatula is excellent for nudging frosting into the bag without making a mess, while a sturdy rubber spatula is needed for mixing and scraping down bowls. Scissors are handy for snipping the end off disposable bags to fit your tip or coupler. Finally, a tall glass or container can act as a second pair of hands, holding the piping bag open while you fill it.
Preparing Your Frosting
Achieving the Ideal Frosting Consistency
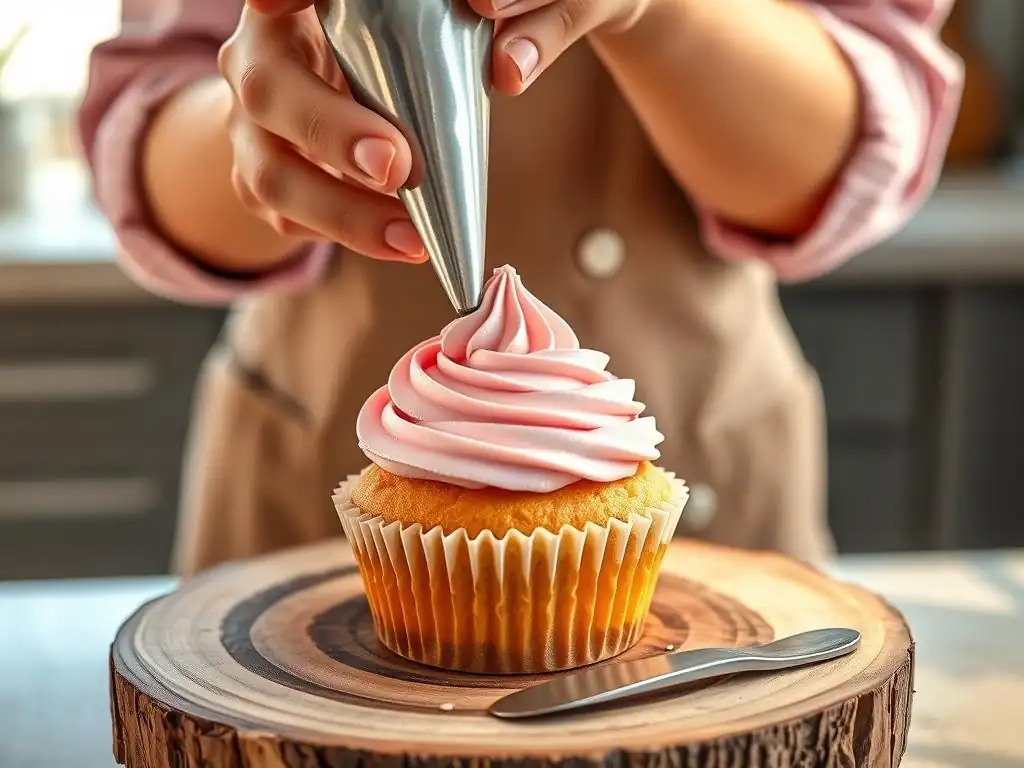
The success of your cupcake swirl heavily depends on your frosting's consistency. It needs to be soft enough to flow smoothly through the piping tip but firm enough to hold its shape once piped. For most swirls, especially with an easy cupcake swirl frosting recipe, a medium consistency is ideal – think peanut butter, not liquid but easily spreadable. If your frosting is too stiff, it will be hard to pipe and might look jagged; if it's too soft, the swirl will collapse or melt.
You can adjust consistency easily. If it's too stiff, beat in milk or cream, one teaspoon at a time, until it reaches the desired texture. If it's too soft, chilling it in the refrigerator for 15-30 minutes can firm it up. Alternatively, you can beat in a tablespoon or two of sifted powdered sugar. Always test a small amount on a plate before committing to frosting a whole batch of cupcakes.
Frosting Recipes: American Buttercream
American buttercream is a classic choice for an easy cupcake swirl frosting recipe due to its stability and ease of preparation. It's typically made from butter, powdered sugar, milk or cream, and vanilla extract. A standard recipe often calls for 1 cup (2 sticks or 227g) of softened unsalted butter, about 4 cups (450-500g) of powdered sugar, 2-4 tablespoons of liquid, and 1-2 teaspoons of vanilla. The key is beating the softened butter until creamy, then gradually adding the powdered sugar, alternating with the liquid, until smooth and fluffy.
This type of frosting holds its shape well, making it perfect for defined swirls with tips like the 1M. Ensure your butter is properly softened (not melted!) – it should yield slightly to pressure but not be greasy. Overbeating after adding the powdered sugar can sometimes incorporate too much air, making it slightly less stable, so beat until just combined and smooth.
Coloring Your Frosting: Gel Food Coloring
Gel food coloring is highly recommended for coloring frosting, especially for an easy cupcake swirl frosting recipe. Unlike liquid food coloring, gels are highly concentrated, meaning you need only a tiny amount to achieve vibrant colors. This is crucial because adding too much liquid coloring can alter the frosting's consistency, making it too runny for piping. A small dot of gel color on a toothpick is often enough to start.
To color your frosting, add a small amount of gel color and mix thoroughly with a spatula or on low speed with a mixer until the color is uniform. Add more color gradually until you reach your desired shade. Remember that colors can deepen slightly as they sit. Gel colors are widely available in craft stores and online, offering a vast spectrum of shades from soft pastels to deep, saturated hues.
Step-by-Step Guide: Piping the Perfect Cupcake Swirl
Step 1: Loading Your Piping Bag
Loading the piping bag neatly is the first step to a clean piping experience. If using a coupler, insert the base into the bag and push it down, then snip off the tip of the bag just enough so the coupler threads are exposed. Screw on your chosen tip. If not using a coupler, simply drop the tip into the bag and snip off the end so the tip fits snugly without falling through. Fold the top edge of the bag down to create a cuff – this helps keep the outside of the bag clean.
Use a spatula or spoon to fill the bag about two-thirds full. Don't overfill, as it makes the bag difficult to handle and control pressure. Scrape the frosting down towards the tip, removing any large air pockets as you go. Unfold the cuff and twist the top of the bag closed just above the frosting, creating a seal. This twisted end is where you will apply pressure.
Step 2: The Correct Piping Angle and Pressure
Holding the piping bag correctly is essential for a smooth, controlled swirl. Grasp the twisted end of the bag firmly with your dominant hand – this hand will control the pressure. Use your non-dominant hand to guide the tip near the cupcake surface. For most swirls, hold the bag perpendicular to the cupcake (at a 90-degree angle), or slightly tilted (around 45 degrees) depending on the desired effect.
Apply steady, consistent pressure with your dominant hand. The amount of pressure will determine the thickness of the frosting line. Practice on a piece of parchment paper first to get a feel for how much pressure is needed to produce a smooth, even flow. Maintain this pressure throughout the piping process to ensure uniform swirls. If the pressure is uneven, your swirl will look wobbly or inconsistent.
Step 3: Piping the Classic Cupcake Swirl: Start in the Center
For the classic tall swirl, begin piping in the center of the cupcake, not the edge. Apply steady pressure and pipe a small star or dollop in the middle. This provides a base and prevents a hollow center in your finished swirl. Without releasing pressure, move the tip outwards towards the edge of the cupcake, starting your circular motion.
Pipe a circle around the outer edge of the cupcake, keeping the tip slightly above the surface. Once you complete the first revolution around the edge, move the tip slightly inward and pipe a second circle on top of the first layer. Continue piping concentric circles, moving inward and upward with each layer, gradually decreasing the diameter of the circles.
Step 4: Creating Different Swirl Variations: Rosettes and More
To finish the classic swirl (continued from Step 3), once you reach the top center of the cupcake, stop applying pressure and quickly pull the tip straight up to create a peak. This layered approach builds height and creates that iconic swirl look.
For a simple rosette, start at the center, apply pressure, and pipe one continuous spiral motion outwards from the center to the edge, then stop pressure and pull away. This creates a flatter, rose-like shape. Another variation is starting at the edge and piping inwards towards the center, then stopping pressure and pulling up. Experiment with your easy cupcake swirl frosting recipe and different tips to see the beautiful variety of finishes you can achieve.
Troubleshooting Common Problems
Frosting Too Soft: How to Fix It
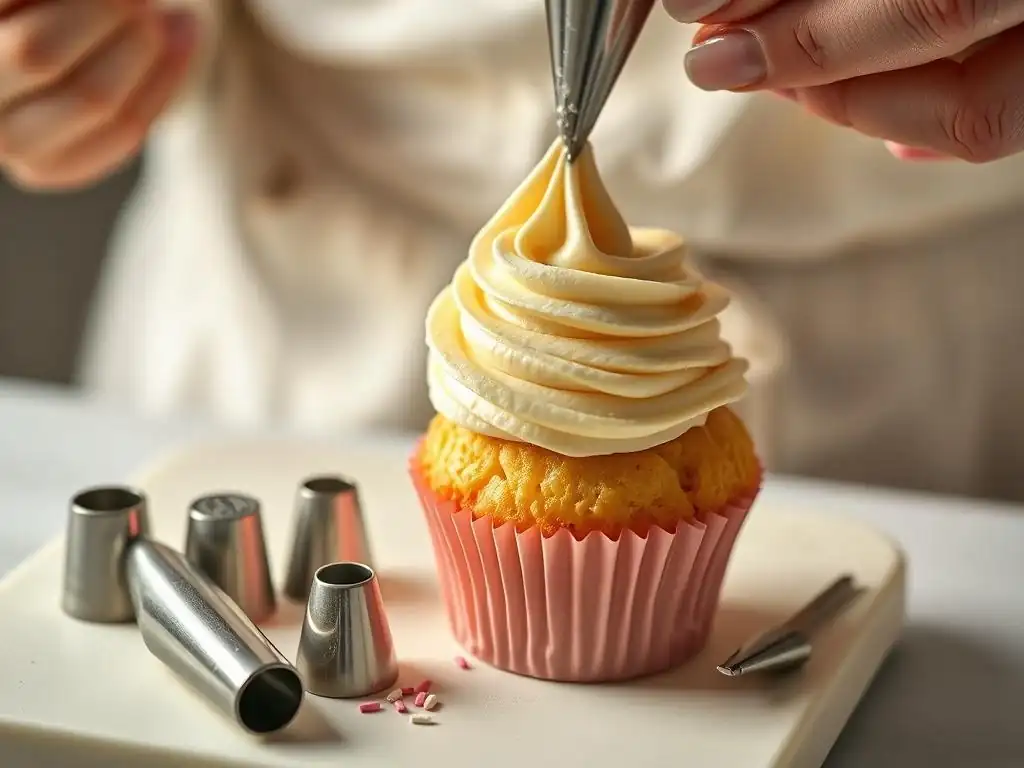
If your frosting is too soft, it won't hold its shape when piped, resulting in a melted or slumped swirl. This can happen if your butter was too soft to begin with, or if the kitchen is too warm.
- Immediate Fix: Place the bowl of frosting (or the filled piping bag) in the refrigerator for 15-30 minutes. Check it periodically; you want it to firm up but still be pliable enough to squeeze through the tip.
- Longer Term Fix: If refrigeration isn't enough, carefully beat in 1-2 tablespoons of sifted powdered sugar at a time until the desired consistency is reached. Sifting prevents lumps. Be careful not to add too much, as this can make the frosting overly sweet or stiff.
Uneven Swirls: Tips for Consistent Pressure
Uneven swirls are often caused by inconsistent pressure on the piping bag. If the pressure fluctuates, the frosting will come out thicker in some spots and thinner in others, leading to a wobbly or messy look.
- Practice: Before piping on cupcakes, practice on a piece of parchment paper or the inside of an empty bowl. Focus on maintaining steady, even pressure from start to finish of each swirl.
- Hand Position: Ensure your dominant hand is firmly grasping the twisted end of the bag, applying pressure from the top. Your guiding hand should simply support the bag and direct the tip, not squeeze the frosting out. Use your dominant hand as the primary pressure source.
Air Bubbles: Eliminating Imperfections
Air bubbles in your frosting can cause frustrating gaps or spurts when piping, ruining the smooth flow of your swirl. They are often introduced during mixing or when loading the bag.
- Before Loading: After making your frosting, stir it vigorously with a spatula for a few minutes. This helps to push out trapped air bubbles. You'll often hear little popping sounds.
- During Loading: When filling the bag, try to avoid scooping and dumping large amounts of air along with the frosting. Use a spatula to scrape frosting into the bag, pressing it gently against the side to minimize air pockets.
- During Piping: If you notice an air bubble coming, try to squeeze it out onto a piece of parchment before piping on the cupcake. Sometimes, gently massaging the bag can help move the bubble towards the tip.
Advanced Techniques
Two-Toned Swirls: Creating a Striking Effect
Creating a two-toned swirl adds an extra layer of visual appeal to your cupcakes. This technique involves loading two different colors of frosting into the same piping bag. The result is a swirl with beautiful stripes or blended colors.
To achieve this, prepare two batches of your easy cupcake swirl frosting recipe in different colors. Lay a large piece of plastic wrap on a flat surface. Pipe or spread one color of frosting in a long line down the center of the plastic wrap. Pipe the second color alongside the first, touching it.
You can even add a third color if desired. Carefully roll the plastic wrap into a log, twisting the ends closed like a candy wrapper. Snip off one twisted end and drop the log (still wrapped in plastic) into your piping bag fitted with a tip. When you pipe, both colors will come out simultaneously, creating the striking two-toned effect.
Adding Sprinkles and Decorations
Once your beautiful frosting swirl is piped, it's the perfect canvas for adding sprinkles and other decorations. Sprinkles are easiest to apply immediately after piping while the frosting is still soft and slightly tacky. You can dip the edge of the frosted cupcake into a bowl of sprinkles, or carefully scatter them over the top using your fingers or a spoon.
Other decorations include edible glitter, sugar pearls, chocolate shavings, or small candy pieces. For more elaborate designs, you might use fondant cutouts, royal icing transfers, or fresh berries placed on top of the swirl. Position these decorations carefully onto the piped frosting. The weight of heavier items should be considered, ensuring your frosting is stable enough to support them without collapsing.
Freezing and Storing Frosted Cupcakes
Frosted cupcakes, especially those with stable buttercream from an easy cupcake swirl frosting recipe, can be frozen for later enjoyment. To freeze them, place the frosted cupcakes on a baking sheet and put them in the freezer for about 30-60 minutes, or until the frosting is firm to the touch. This step prevents the frosting from sticking to the packaging.
Once the frosting is frozen solid, carefully transfer the cupcakes to an airtight container. Place them in a single layer if possible, or use parchment paper between layers to prevent damage. Label the container with the date. Frosted cupcakes can be stored in the freezer for up to 2-3 months. To thaw, remove the container from the freezer and let the cupcakes sit at room temperature for several hours before serving. Avoid thawing them in the microwave or oven, which can ruin the texture.
Exploring More Frosting Techniques
Exploring Other Piping Techniques
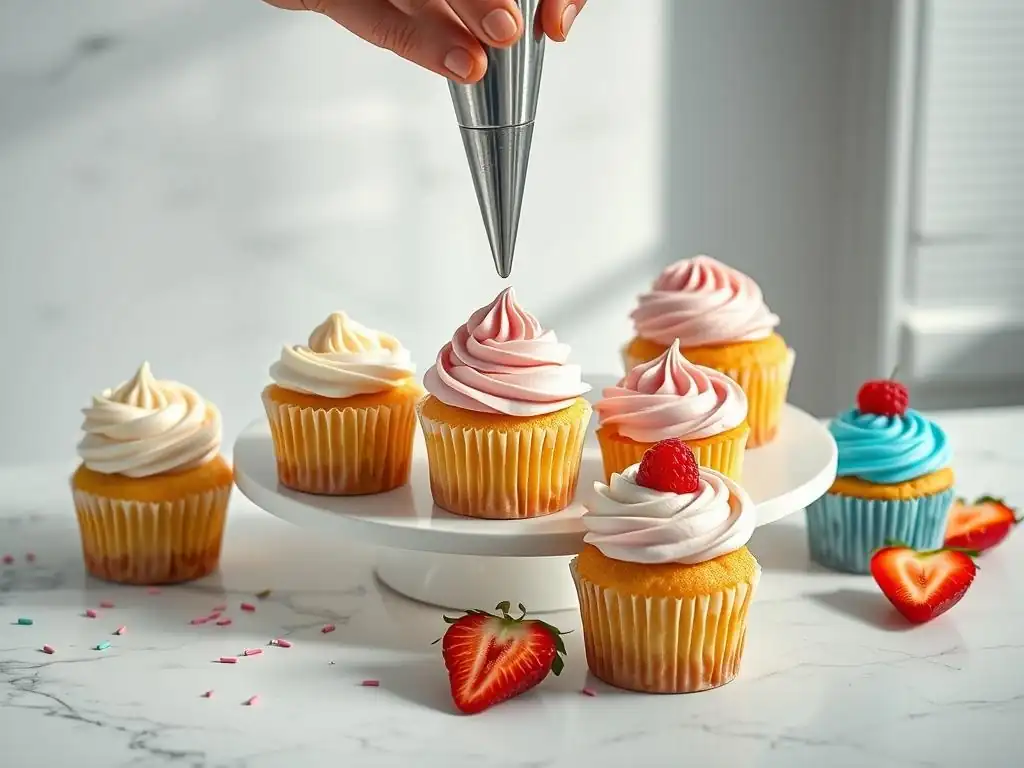
While the classic swirl is a staple, piping bags and tips can create a multitude of other beautiful effects. Using a round tip, you can pipe simple dots, lines, or even write messages. Star tips can be used for borders, shells, or zigzags around the edge of a cake or cupcake. Leaf tips create realistic leaves, while petal tips are used for piping ruffles and flowers like roses.
Learning these additional techniques allows you to expand your decorating repertoire significantly. Many tips can be used with the same easy cupcake swirl frosting recipe base, simply by changing the tip and the piping motion. Practice different pressures and angles to see how the same tip can produce varied results.
Level Up Your Decorating Skills
Beyond basic piping, numerous ways exist to enhance your cupcake decorating skills. Consider practicing different frosting types – Swiss meringue buttercream, Italian meringue buttercream, or cream cheese frosting each have unique textures and piping characteristics. Learning to use different color palettes, applying edible paints or dusts, or incorporating elements like drip glazes can take your cupcakes to the next level.
Investing in a few more piping tips, exploring tutorials on specific flower designs (like buttercream roses), or even taking a local decorating class can provide valuable new skills and inspiration. The possibilities are vast, and each new technique learned adds to your ability to create stunning, delicious treats using your go-to easy cupcake swirl frosting recipe as a foundation.
Conclusion: Enjoy Your Beautifully Swirled Cupcakes
You've now learned the essential steps to create beautiful, classic swirls on your cupcakes using an easy cupcake swirl frosting recipe. From selecting the right tools like the versatile 1M tip and choosing between disposable and reusable bags, to mastering frosting consistency and the step-by-step piping motion, you have the knowledge to transform simple baked goods into eye-catching delights.
Remember the importance of consistent pressure and starting in the center for that perfect, layered swirl. Troubleshooting common issues like soft frosting or air bubbles will become second nature with a little practice. Now, all that's left is to enjoy the fruits of your labor – delicious cupcakes topped with your perfectly piped, beautiful frosting swirls!
Practice Makes Perfect!
Like any skill, mastering the cupcake swirl takes practice. Don't be discouraged if your first few attempts aren't absolutely perfect. Grab some parchment paper or even flip a baking pan upside down and practice piping swirls directly onto the surface. You can scrape the frosting back into the bag and reuse it for practice (though maybe not for final cupcakes if you've handled it too much).
Try piping different sizes of swirls, varying the speed of your motion, and experimenting with slightly different angles. The more you practice, the more comfortable you'll become with controlling the bag and the pressure, leading to more consistent and beautiful results on your actual cupcakes. Keep practicing, and you'll soon be piping perfect swirls every time with your easy cupcake swirl frosting recipe!
Frequently Asked Questions
What is the easiest way to achieve a professional-looking cupcake swirl?
The easiest way is to use a large star tip in a piping bag. Fill the bag with your frosting and apply even pressure, starting from the center and swirling outwards in a circular motion to create a classic swirl.
What type of frosting works best for piping cupcake swirls?
A stiff buttercream frosting is ideal. This type of frosting holds its shape well and won't droop, ensuring your swirls remain defined and beautiful. Avoid frostings that are too thin or runny.
Are there any alternatives to using a piping bag for swirling frosting?
While a piping bag with a tip is recommended, you can use a ziplock bag with a corner snipped off for a less defined swirl. This method is a good option if you don't have piping equipment.
How can I prevent air bubbles from ruining my frosting swirls?
Before filling your piping bag, gently tap it on the counter to release any trapped air. Also, avoid overmixing your frosting, as this can incorporate excess air.
What are some tips for creating consistent cupcake swirls every time?
Practice makes perfect! Maintain even pressure on the piping bag, and use a consistent swirling motion. Try practicing on a plate before frosting your cupcakes for best results.
Final Reflection: The Sweet Simplicity of Swirling Success
Mastering the art of the cupcake swirl isn't just about creating visually appealing treats; it's about unlocking a world of creative expression in the kitchen. The seemingly simple act of piping frosting onto a cupcake holds a surprising power to elevate a bake from ordinary to extraordinary, transforming a simple dessert into a personalized masterpiece. This accessibility, coupled with the endless possibilities for customization, makes it a skill worth mastering for bakers of all levels.
The impact of simple baking techniques like cupcake swirling extends far beyond the individual cupcake itself. It fosters a sense of accomplishment and joy, reminding us of the therapeutic power of creating something beautiful with our own hands. The best things in life are simple,
a sentiment perfectly encapsulates the satisfaction derived from mastering a fundamental baking skill and sharing the results with loved ones. This simple act connects us to a rich culinary history, reminding us of the enduring power of tradition and the joy of sharing homemade treats.
Now, it's your turn. Don't be intimidated by the seemingly intricate swirls you see on professionally decorated cupcakes. Take the techniques outlined in this article, experiment with different piping tips and frosting consistencies, and let your creativity flow. Embrace the imperfections, learn from each attempt, and most importantly, have fun! The journey of mastering the cupcake swirl is as rewarding as the delicious result itself. So grab your piping bag, choose your favorite frosting, and let the swirling begin!
Unleash Your Inner Pastry Chef!
Thanks for joining us on this cupcake decorating adventure! We hope you now feel confident in creating beautiful swirls. Ready to take your baking to the next level?
- Master the art of piping: Practice your swirls on parchment paper until you achieve the perfect consistency and technique. Try different piping tips for varied effects!
- Share your creations: Show us your stunning cupcake masterpieces on social media using #BakeWithEaseSwirls – we'd love to see them!
- Challenge yourself: Experiment with different frostings and colors to discover your unique style. Think rainbow swirls, ombre effects, or even a marbled masterpiece!
What surprising flavor combination will you try with your newly mastered piping skills?