
Star Power: Unleashing the Versatility of Star Tips

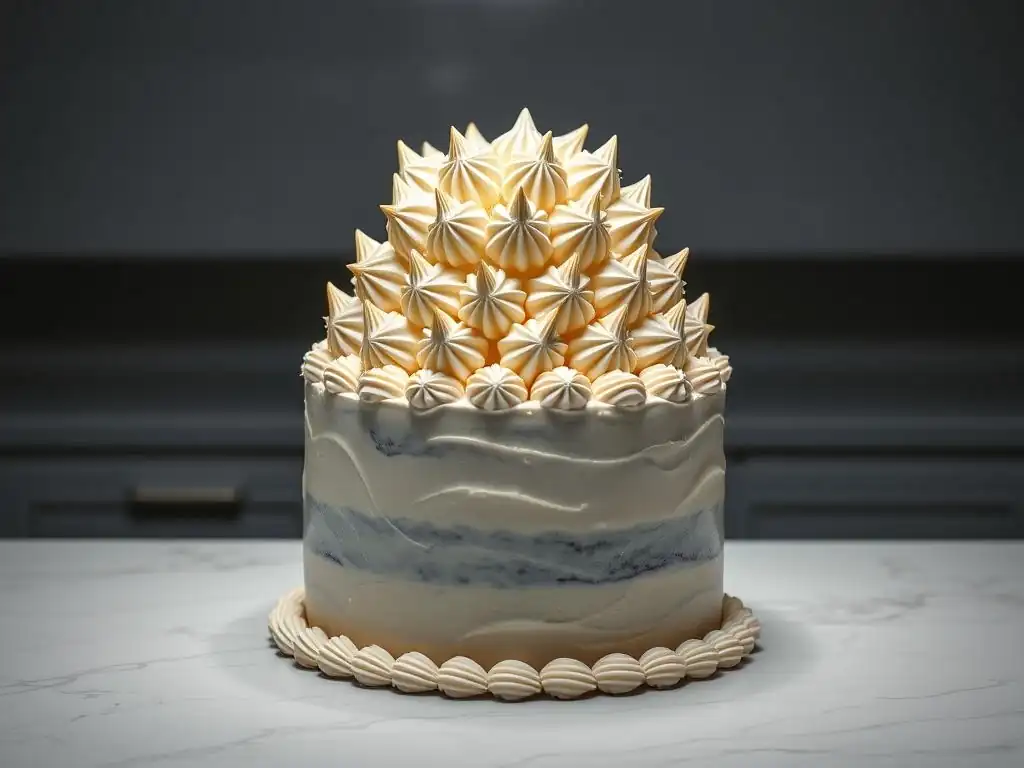
Welcome to BakeWithEase, your kitchen companion for all things baking! Ever wondered how to achieve those stunning swirls and textured designs on your cakes and cupcakes? In this article, we'll reveal the secrets to mastering star tips buttercream frosting. Prepare to unlock a world of creative possibilities and transform your desserts into edible works of art. Intrigued? Let's dive in and discover the magic of star tips!
- Cake Decorating with Star Piping Tips: Techniques and Recipes
- Mastering Buttercream Decoration with Star Tips
- Exploring Different Types of Star Tips for Unique Designs
- Getting Started: Essential Equipment for Star Tip Piping
- Step-by-Step Guide: Piping Basic Shapes
- Advanced Techniques: Elevating Your Cake Decorating
- Troubleshooting Common Issues
- Star Tip Maintenance: Cleaning and Storing
- Buttercream Frosting Recipes for Star Tip Piping
- Frequently Asked Questions
- Final Reflection: The Enduring Allure of the Star Tip
- Unleash Your Inner Pastry Chef: Master Star Tips Today!
Cake Decorating with Star Piping Tips: Techniques and Recipes
Mastering Buttercream Decoration with Star Tips
Understanding Star Tips: A Cake Decorator's Essential Tool
Star tips are among the most popular and versatile piping tips available, recognized by their pointed teeth around an opening that creates a star shape or a ridged line when piping. They come in various sizes, from tiny tips perfect for delicate details on cupcakes to large ones suitable for covering a whole cake quickly. The number of points on a star tip can vary, typically ranging from 4 to 24, influencing the texture and definition of the piped buttercream frosting. Understanding the basic function and variety of these tips is the first step towards beautiful buttercream creations.
These tips are essential for any baker looking to elevate their cake decorating game. They provide a simple yet effective way to add texture, borders, and decorative elements to cakes, cupcakes, and cookies. Whether you're a beginner just learning to pipe or an experienced decorator, having a good set of star tips is crucial for working with buttercream frosting and achieving professional-looking results. Their design allows for crisp edges and defined patterns, making them a go-to choice for everything from simple stars to intricate rosettes and borders.
Why Choose Star Tips for Buttercream Frosting?
Star tips are particularly well-suited for buttercream frosting due to the frosting's stable yet pliable consistency. Buttercream holds its shape well when piped through a star tip, allowing the intricate details of the tip's design to transfer cleanly to the finished decoration. Unlike thinner frostings, buttercream maintains the defined points and ridges created by the star tip, resulting in sharp, professional-looking stars, shells, rosettes, and other patterns that enhance the visual appeal of baked goods.
The versatility of star tips with buttercream frosting is unmatched. A single star tip can be used to create multiple designs just by varying pressure, angle, and motion. For instance, a simple open star tip can make individual stars, continuous shell borders, zigzags, or even fill areas with textured lines. This makes star tips incredibly efficient for decorators, allowing a wide range of effects with a minimal set of tools. Mastering the use of star tips with buttercream frosting is a fundamental skill that unlocks a vast world of cake decorating possibilities.
Exploring Different Types of Star Tips for Unique Designs
Open Star Tips: Creating Starbursts and Shell Borders
Open star tips are characterized by their V-shaped teeth that are angled slightly outwards, leaving the center of the tip open. This design produces decorations with distinct points and deep ridges. They are perfect for creating classic star shapes, which are formed by applying pressure, stopping, and pulling the tip straight up. Open star tips are also the standard for piping shell borders, a common and elegant decoration where overlapping shapes create a continuous edge around a cake.
Popular open star tips include the Wilton 1M (a very large open star, great for swirls on cupcakes) and the Ateco 17 or 21 (smaller tips suitable for delicate borders and stars). When using open star tips for buttercream frosting, the stiffness of the buttercream is key; a medium-stiff consistency works best to ensure the points hold their shape without drooping. Experimenting with different sizes and pressures allows you to vary the size and definition of your stars and shells.
Achieving Sharp Definition with Open Star Tips
To achieve sharp definition when piping buttercream frosting with open star tips, several factors are important. First, the consistency of your buttercream should be just right – not too soft, which will cause the points to melt or sag, and not too stiff, which will make piping difficult and potentially break the buttercream. A good test is to pipe a star; if it holds its shape with crisp points, the consistency is likely correct.
Second, the piping technique itself matters. For individual stars, apply consistent, firm pressure until the desired size is reached, then stop the pressure completely before pulling the tip straight up and away quickly. This clean break helps create a sharp peak. For shell borders, maintain consistent pressure and angle, slightly overlapping each shell to create a seamless, defined edge. Keeping the tip clean between uses also helps maintain sharp points.
Closed Star Tips: Perfecting Rosettes and Detailed Piping
Closed star tips have teeth that are angled inwards, closing off the center of the tip more than open star tips. This design creates decorations with more defined, pointed ridges and often a more pronounced central core. They are particularly favored for piping rosettes, which are beautiful, swirling decorations resembling roses, and other intricate patterns where sharp, detailed points are desired.
Common closed star tips include the Wilton 2D or 1G (popular for large rosettes and swirls) and the Ateco 32 or 54 (smaller sizes for detailed work). The inward-pointing teeth of closed star tips create a lovely, almost ruffled effect on the edges of piped buttercream, adding a touch of elegance to decorations. While they can also make stars and borders, their strength lies in producing decorations with highly defined ridges and a characteristic floral or ruffled appearance.
Using Closed Star Tips for Buttercream Flowers
Closed star tips are excellent for creating various buttercream flowers, with rosettes being the most common and beloved. To pipe a rosette with a closed star tip, start in the center of where you want the rosette, apply steady pressure, and move the tip in a circular motion, spiraling outwards until the rosette is the desired size. Stop pressure and pull away cleanly. The inward-curving teeth create beautiful, overlapping petals that mimic a rose.
Beyond simple rosettes, closed star tips can be used to create other floral-like designs. By varying the starting point, pressure, and motion, you can pipe different swirl patterns or use the tip to build up layers of buttercream to form more complex flower shapes directly on the cake. The defined ridges from the closed teeth add texture and depth, making these buttercream flowers look particularly vibrant and realistic.
French Star Tips: Adding Ribbed Patterns
French star tips are easily identifiable by their numerous small, closely spaced, V-shaped teeth, which are usually more numerous (often 8 or more) than on standard open or closed star tips. This design produces fine, deeply ribbed lines when piping, resulting in decorations with a unique, textured appearance that differs significantly from standard star tips. They create a delicate, almost pasta-like texture.
These tips are excellent for piping borders, lines, and filling areas with a distinct ribbed pattern. While they can form star shapes, their primary use is for creating continuous, textured lines or swirls. Popular French star tips include the Ateco 134 or 199. When using French star tips with buttercream frosting, a smooth, consistent buttercream is best to ensure the fine ridges come through clearly without clogging the tip.
Creating French Star Tip Swirls
French star tips are fantastic for creating visually interesting swirls on cupcakes or cakes. Unlike the smooth swirl from a round tip or the defined ridges of a closed star tip rosette, a French star tip swirl will have a very fine, deeply ribbed texture. To create a swirl, start at the edge of the cupcake or cake and pipe in a continuous spiral motion towards the center, maintaining even pressure.
The numerous small teeth of the French star tip leave behind many fine lines, giving the buttercream a sophisticated, textured look. This technique is perfect for adding a touch of elegance to simple desserts. You can also use French star tips to pipe textured lines or zigzags along the sides of a cake, adding a unique decorative element with minimal effort.
Getting Started: Essential Equipment for Star Tip Piping
Choosing the Right Piping Bag
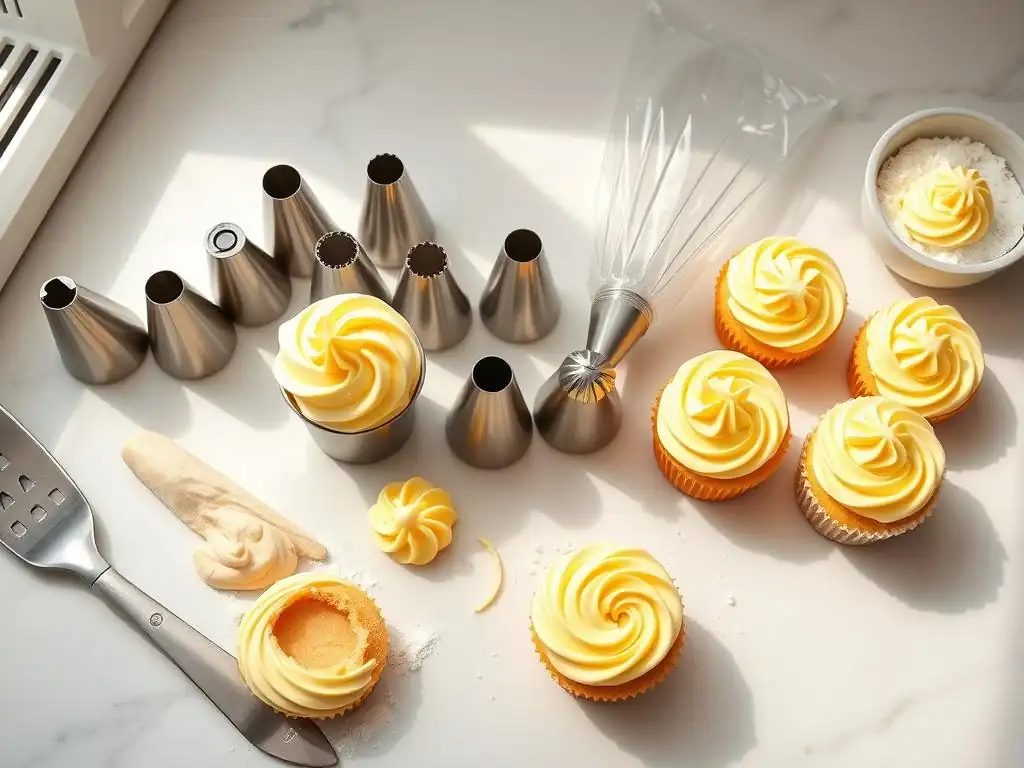
Choosing the right piping bag is crucial for comfortable and effective star tip piping with buttercream frosting. Piping bags come in various materials, including disposable plastic, reusable plastic, and canvas or nylon. Disposable bags are convenient for quick cleanup, especially with greasy buttercream. Reusable bags are more environmentally friendly and durable. The size of the bag should match the amount of buttercream you plan to use; overfilling a bag makes it difficult to handle and control.
For most star tip work, a medium to large piping bag (12-inch to 16-inch) is generally recommended, as it allows you to hold a sufficient amount of buttercream without having to refill too frequently. Ensure the bag is strong enough to withstand the pressure required for piping buttercream, especially with stiff consistencies or smaller tips. Cut the end of the bag just enough so that the star tip or coupler fits snugly without falling through.
Couplers: Enabling Quick Tip Changes
Couplers are indispensable tools for star tip piping, especially when you want to use multiple sizes or types of star tips with the same color of buttercream frosting without changing piping bags. A standard coupler consists of two parts: a base that is inserted into the piping bag before the tip, and a ring that screws onto the base over the tip, securing it in place.
Using a coupler allows you to simply unscrew the ring, remove the tip, place a different tip onto the base, and screw the ring back on. This is incredibly efficient when decorating a cake that requires different designs using the same color buttercream frosting, such as piping a border with an open star tip and then adding rosettes with a closed star tip. Most standard star tips work with a medium-sized coupler.
Preparing Buttercream for Piping
Properly preparing your buttercream frosting is essential for successful piping with star tips. The consistency must be smooth, creamy, and free of air bubbles or lumps. After making your buttercream, beat it on low speed for several minutes using a paddle attachment to remove air bubbles. You may need to add a tiny amount of milk or cream if it's too stiff, or a little more powdered sugar if it's too soft.
Coloring your buttercream should also be done thoroughly before piping. Use gel food coloring for vibrant colors without adding too much liquid, which can alter the consistency. Mix the color evenly until no streaks remain. Ensure the buttercream is at room temperature; buttercream that is too cold will be stiff and difficult to pipe, while buttercream that is too warm can become greasy and lose its shape.
Achieving Ideal Buttercream Consistency
Achieving the ideal buttercream consistency for star tip piping involves finding the balance between firmness and pliability. The buttercream should be stiff enough to hold the defined shape of the star tip's points and ridges but soft enough to flow smoothly through the tip without excessive pressure. A good test is to scoop some buttercream with a spatula; it should hold soft peaks and not slide off easily.
If your buttercream is too stiff, add liquid (like milk, cream, or even a little water) a teaspoon at a time, mixing thoroughly until the desired consistency is reached. If it's too soft or seems greasy, add more powdered sugar a tablespoon at a time, or chill it in the refrigerator for 10-15 minutes, then re-whip. The climate can affect consistency, so you may need to adjust based on the temperature and humidity of your kitchen.
Step-by-Step Guide: Piping Basic Shapes
Piping Buttercream Stars
Piping individual buttercream stars with a star tip is one of the most fundamental techniques. Start by holding the piping bag perpendicular to the surface (cake, cupcake, or parchment paper). Position the star tip just above the surface. Apply firm, consistent pressure to the bag until the buttercream forms a star shape of the desired size.
Once the star is formed, stop applying pressure completely. Then, with a quick, clean motion, pull the piping bag straight up and away from the star. This technique helps create a defined peak on the star. Practice on parchment paper first to get a feel for the pressure needed and the timing of stopping pressure and pulling away.
Controlling Pressure for Star Size
The size of the buttercream star you pipe is primarily controlled by the amount of pressure you apply to the piping bag and how long you apply it. More pressure and a longer squeeze will result in a larger star, while less pressure and a shorter squeeze will create a smaller one. Consistency in pressure is key to piping stars of uniform size.
Begin with light pressure to see the tip imprint on the surface, then gradually increase pressure until the buttercream expands to the size you want. Pay attention to the visual cues – stop squeezing as soon as the star reaches the desired diameter. Releasing pressure too slowly can result in a messy peak, while pulling away before stopping pressure can distort the shape.
Creating Buttercream Shell Borders
Shell borders are a classic and elegant way to finish the edge of a cake using a star tip. They are created by piping a series of overlapping shell shapes. Start by holding the piping bag at a slight angle (around 45 degrees) to the cake surface. Pipe a short burst of buttercream, starting with firm pressure and then easing off the pressure as you pull the tip slightly towards you and down, creating a tapered tail.
This forms the first "shell." For the next shell, start piping at the tapered tail of the previous shell, overlapping it slightly. Repeat the process: firm pressure, ease off as you pull and taper. Continue this around the entire edge of the cake, ensuring consistent size, angle, and overlap for a uniform border.
Achieving Uniform Shell Shapes
Achieving uniform shell shapes in a buttercream border requires consistent pressure, angle, and movement. Practice piping shells of the same size and shape on parchment paper before attempting them on your cake. Focus on starting each shell with the same amount of pressure and easing off at the same rate.
The angle at which you hold the piping bag also affects the shape of the shell; a consistent angle ensures consistent results. The slight pulling motion as you ease pressure is what creates the tapered tail; make this motion smooth and controlled. Overlapping each new shell by roughly the same amount onto the previous one is crucial for a seamless, professional-looking border.
Piping Buttercream Rosettes
Buttercream rosettes are beautiful, swirling decorations often made with closed star tips. To pipe a rosette, hold the piping bag perpendicular to the surface. Start in the center where you want the rosette to be. Apply steady pressure and begin moving the tip in a tight circular or spiral motion, working outwards from the center.
Continue the circular motion, maintaining consistent pressure, until the rosette reaches the desired size. Once the desired size is achieved, stop applying pressure completely and pull the tip straight up and away from the center of the swirl. This technique creates a lovely, layered effect resembling a rose.
Mastering the Swirling Technique
Mastering the swirling technique for buttercream rosettes involves smooth, continuous motion and consistent pressure. The key is to keep the buttercream flowing evenly as you move the tip in a circle. Start with a small circle in the center and gradually widen your circle as you spiral outwards.
The size and tightness of the spiral will determine the look of the rosette. A tighter spiral creates a more compact rosette, while a wider spiral results in a flatter, more open design. Practice different speeds and pressures to see how they affect the final shape. Remember to stop pressure fully before lifting the tip to ensure a clean finish.
Advanced Techniques: Elevating Your Cake Decorating
Layering Buttercream Colors
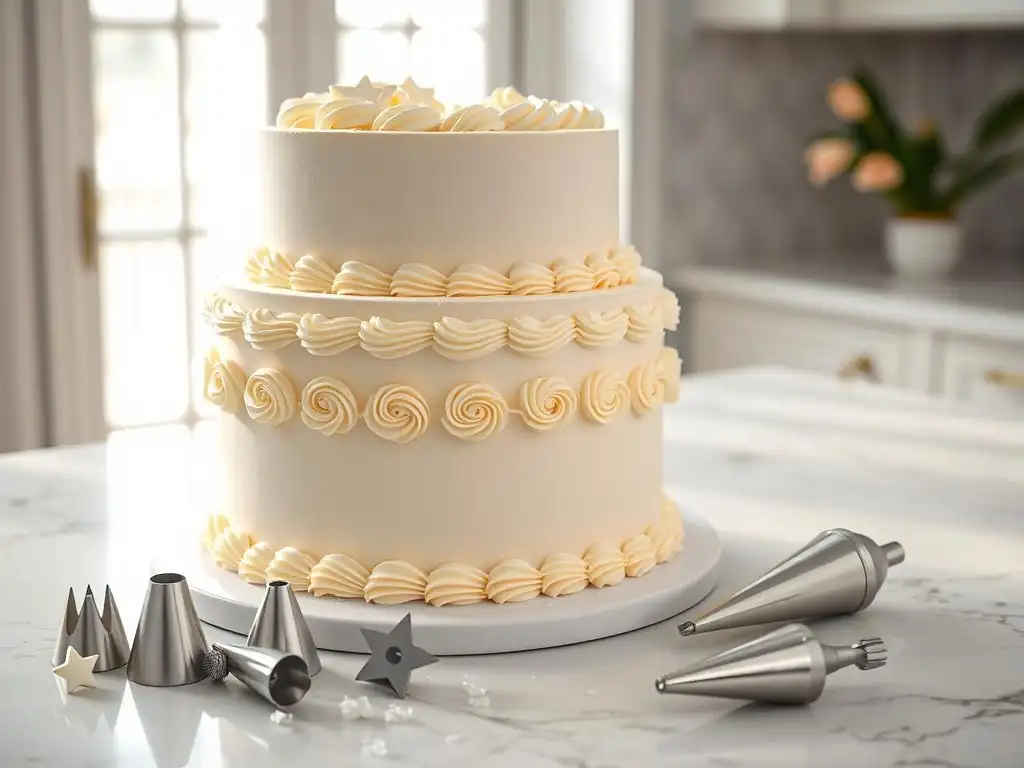
Layering buttercream colors in a single piping bag with a star tip can create stunning multi-colored effects. The simplest way is to load stripes of different colored buttercream along the inside walls of the piping bag before filling the center with more buttercream. For example, you could stripe the bag with pink, then fill it with white buttercream. As you pipe, the colors will emerge in stripes, creating a beautiful effect on stars, shells, or swirls.
Another method is to place different colors side-by-side on a sheet of plastic wrap, roll it into a log, and then insert the log into the piping bag. This method often yields more defined stripes. When piping with layered colors and star tips, the pattern will emerge gradually as you pipe, revealing a beautiful blend or stripe of colors that adds depth and visual interest to your buttercream frosting decorations.
Creating Textured Finishes
Star tips aren't just for individual shapes; they can also be used to create textured finishes over large areas of a cake using buttercream frosting. One popular technique is the "star fill" or "grass" effect, often achieved with smaller open star tips. By piping many small, individual stars or short pulls close together, you can cover a surface with a dense, textured pattern resembling fabric or grass.
Another method involves using a star tip to pipe rows of shells, zigzags, or waves across the surface or sides of a cake. Varying the size of the tip and the spacing of the rows can create different textures, from fine ribbing with a French star tip to bold scallops with a large open star tip. These textured finishes add dimension and sophistication to simple buttercream cakes.
Combining Different Star Tips
Combining different types and sizes of star tips on a single cake allows for more complex and visually dynamic designs. You might use a large open star tip for a bold border around the base, a medium closed star tip for rosettes on top, and a small French star tip for delicate details or lines. This layering of different textures and shapes adds depth and interest.
For example, you could pipe a base layer of small stars with a tip like the Ateco 17, then pipe larger rosettes over them with a Wilton 2D, and finally add small dots or lines with a tiny star tip like the Ateco 16. Planning your design beforehand helps ensure the different elements complement each other and create a cohesive, stunning final look using various star tips and buttercream frosting techniques.
Troubleshooting Common Issues
Buttercream Not Sticking to the Cake
If your buttercream frosting isn't sticking properly to the cake surface when piping with star tips, there are a few potential reasons. The cake surface might be too cold, causing the buttercream to set instantly before it can adhere. Ensure your cake is at a moderate temperature, not frozen solid.
Another common issue is a crumb coat that hasn't fully set or is too slick. A thin, set crumb coat provides a good base for piping. If the cake is covered in condensation from being taken out of the refrigerator, let it sit for a few minutes to allow the moisture to evaporate before piping. The consistency of the buttercream itself can also be a factor; if it's too stiff or too soft, it may not adhere correctly.
Uneven Buttercream Application
Uneven application of buttercream when piping with star tips can result from inconsistent pressure, angle, or speed. When piping borders or continuous lines, try to maintain the same pressure on the bag throughout the motion. Varying pressure will cause the thickness or size of the piped shape to fluctuate.
Holding the piping bag at a consistent angle relative to the cake surface is also important, especially for shapes like shells or swirls. Practice on a flat surface first to develop muscle memory for consistent movement and pressure. Ensure your buttercream consistency is smooth and uniform, free of lumps that can cause blockages and lead to uneven flow.
Clogged Star Tips: Prevention and Solutions
Clogged star tips are a frustrating issue when working with buttercream frosting. They usually occur when small lumps of unmixed powdered sugar, bits of hardened buttercream, or other debris get stuck in the narrow opening or teeth of the tip. To prevent clogging, ensure your buttercream is smooth and lump-free by sifting powdered sugar and mixing thoroughly.
If a tip becomes clogged during piping, stop immediately. You can try gently squeezing the bag with more pressure to force the blockage through, but be careful not to burst the bag. Often, the best solution is to detach the tip (if using a coupler) or remove it from the bag, clear the blockage with a toothpick or small brush, and then reattach it. Sometimes, warming the tip slightly between your fingers can help loosen a small blockage.
Star Tip Maintenance: Cleaning and Storing
Proper Cleaning Techniques
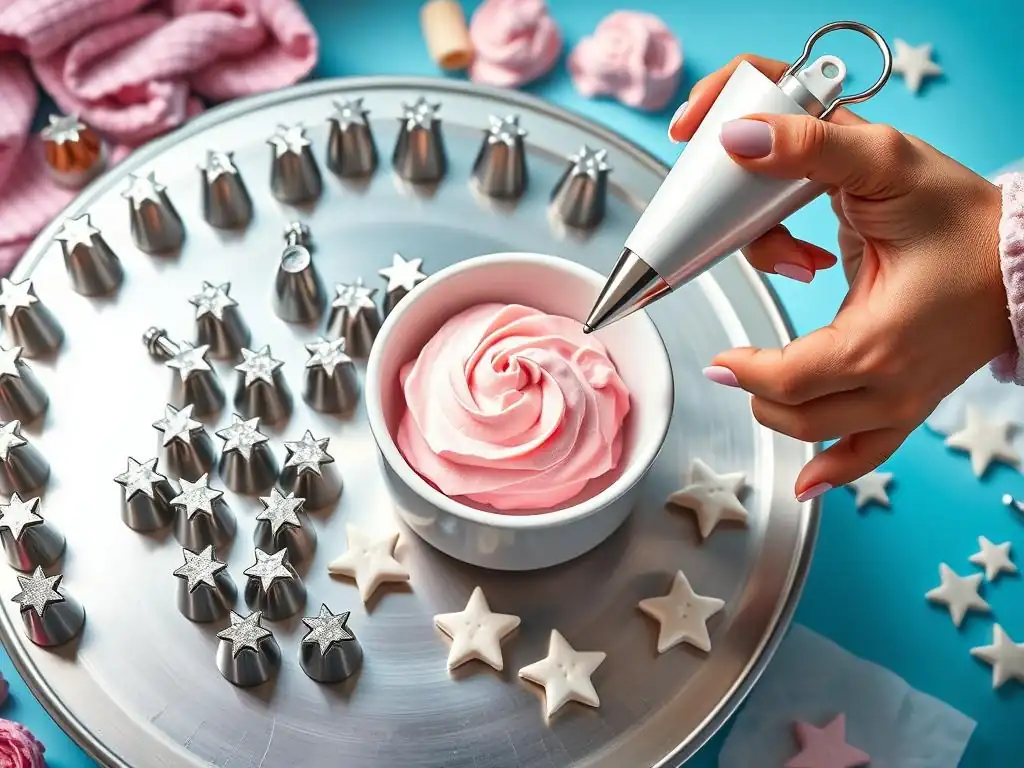
Proper cleaning of your star tips after using them with buttercream frosting is crucial for hygiene and longevity. As soon as you finish piping, empty any remaining buttercream from the tip and piping bag. Rinse the tip under warm running water to remove as much frosting as possible.
For a thorough clean, soak the tips in hot, soapy water for 10-15 minutes. Use a small brush, like a pastry brush or even an old toothbrush, to scrub inside the tip and between the teeth, ensuring no buttercream remains lodged in the crevices. Rinse again under hot water and shake off excess water. Ensure all traces of grease are removed, as residual fat can affect future piping.
Safe Storage Practices
Storing your clean, dry star tips properly helps keep them organized and prevents damage. Many bakers use small containers with lids, such as plastic storage boxes or dedicated tip organizers, to keep their tips sorted by size or type. Avoid tossing tips loosely into a drawer where they can get scratched or bent.
Ensure tips are completely dry before storing to prevent rust (if metal) or mildew. Storing them upright in a container with compartments is ideal for easy visibility and access. Keeping your star tips clean and well-stored ensures they are ready for your next buttercream frosting project, preserving their shape and effectiveness for creating beautiful decorations.
Buttercream Frosting Recipes for Star Tip Piping
American Buttercream: A Staple Recipe
American buttercream is a simple and widely used frosting, made primarily from powdered sugar, butter, milk or cream, and vanilla extract. Its high sugar content gives it a sturdy structure that holds shapes well, making it excellent for piping with star tips, especially for defined stars, shells, and borders.
A basic recipe involves creaming softened butter, then gradually beating in powdered sugar alternately with milk or cream until smooth and fluffy. The consistency can be easily adjusted by adding more liquid or powdered sugar. While very sweet, its stability makes it a reliable choice for detailed work with star tips on buttercream frosting.
Swiss Meringue Buttercream: A Silky-Smooth Option
Swiss meringue buttercream is known for its incredibly smooth, silky texture and less intensely sweet flavor compared to American buttercream. It's made by heating egg whites and sugar over a water bath until the sugar dissolves, whipping this mixture into a stiff, glossy meringue, and then gradually beating in softened butter.
This buttercream is lighter and melts more easily in the mouth. While slightly less rigid than American buttercream, a well-made Swiss meringue buttercream is still stable enough for many star tip applications, producing beautiful, soft rosettes and swirls. It offers a refined finish to cakes and cupcakes.
Cream Cheese Buttercream: Tangy and Stable
Cream cheese buttercream combines the tanginess of cream cheese with the sweetness and stability of buttercream. It's typically made by creaming together softened butter and cream cheese, then beating in powdered sugar and a little vanilla. The addition of cream cheese gives it a unique flavor and a slightly softer texture than pure American buttercream.
Despite being softer, cream cheese buttercream is generally stable enough for piping with star tips, particularly for larger shapes like rosettes and swirls. It's a popular choice for red velvet, carrot, and pumpkin cakes, adding a delicious flavor dimension alongside beautiful piped star tip decorations using buttercream frosting.
Frequently Asked Questions
What are star tips used for in buttercream frosting?
Star tips are used to create a variety of decorative effects on cakes and cupcakes, such as rosettes, stars, shells, and borders. They offer precision and texture to your frosting designs.
What sizes of star tips are commonly available?
Star tips come in various sizes, ranging from very small for delicate work to larger sizes for creating bold designs. The size determines the scale and impact of the frosting decoration.
How do I clean star tips after using them with buttercream?
The best way to clean star tips is to soak them in warm, soapy water immediately after use. Use a small brush to remove any stubborn frosting residue.
Can I use different types of buttercream frosting with star tips?
Yes, you can use various types of buttercream, but a stiff buttercream is generally recommended for holding its shape better when using star tips. American and Swiss meringues buttercreams are often preferred.
What are some beginner-friendly designs I can create with star tips?
Beginner-friendly designs include simple stars, rosettes (by piping a swirl), and basic borders. Experiment with different piping pressures and angles to achieve different effects.
Final Reflection: The Enduring Allure of the Star Tip
The versatility of the star tip in buttercream frosting transcends mere decoration; it's a testament to the power of simple tools to create extraordinary results. From delicate rosettes to bold swirls, the star tip allows bakers of all skill levels to elevate their creations, proving that sometimes, the most impactful artistry comes from the most unexpected places. This enduring popularity speaks volumes about the enduring human desire for both beauty and functionality in our culinary creations.
The star tip's influence extends beyond the individual cake; it's a symbol of creativity and accessibility within the broader baking community. It's a common thread connecting amateur bakers experimenting in their kitchens to professional pastry chefs crafting intricate designs. This shared tool fosters a sense of connection and shared accomplishment. Baking is at once child's play and adult joy. And love, of course.
– This sentiment perfectly encapsulates the joy and connection found in mastering techniques like star tip frosting, regardless of skill level.
Now, consider your own baking journey. What simple tool or technique has unlocked a new level of creativity for you? Perhaps it's not a star tip, but a similar tool that allows you to express your unique style. I encourage you to embrace the power of simplicity, to experiment with different techniques, and to find joy in the process of creation. Let the star tip, in all its versatile glory, inspire you to explore your own creative potential, one perfectly piped rosette at a time.
Unleash Your Inner Pastry Chef: Master Star Tips Today!
Thanks for taking the time to explore the amazing versatility of star tips! You've just unlocked a world of beautiful and delicious possibilities for your baking. Ready to put your new knowledge into action?
- Create your masterpiece: Try out at least three different star tip variations from the article – experiment with pressure and piping techniques to see what unique designs you can achieve. This is your chance to truly personalize your creations!
- Share your stellar creations: Post a picture of your star-tipped masterpiece on social media and tag us! Let's inspire each other with stunning baked goods.
- Challenge yourself further: Explore the wide range of star tip sizes available and see how they change your designs – a small surprise awaits!
What incredible dessert will you create with your newfound star tip expertise?