
Baked Alaska Meringue: The Secret to Insulating Ice Cream with Style

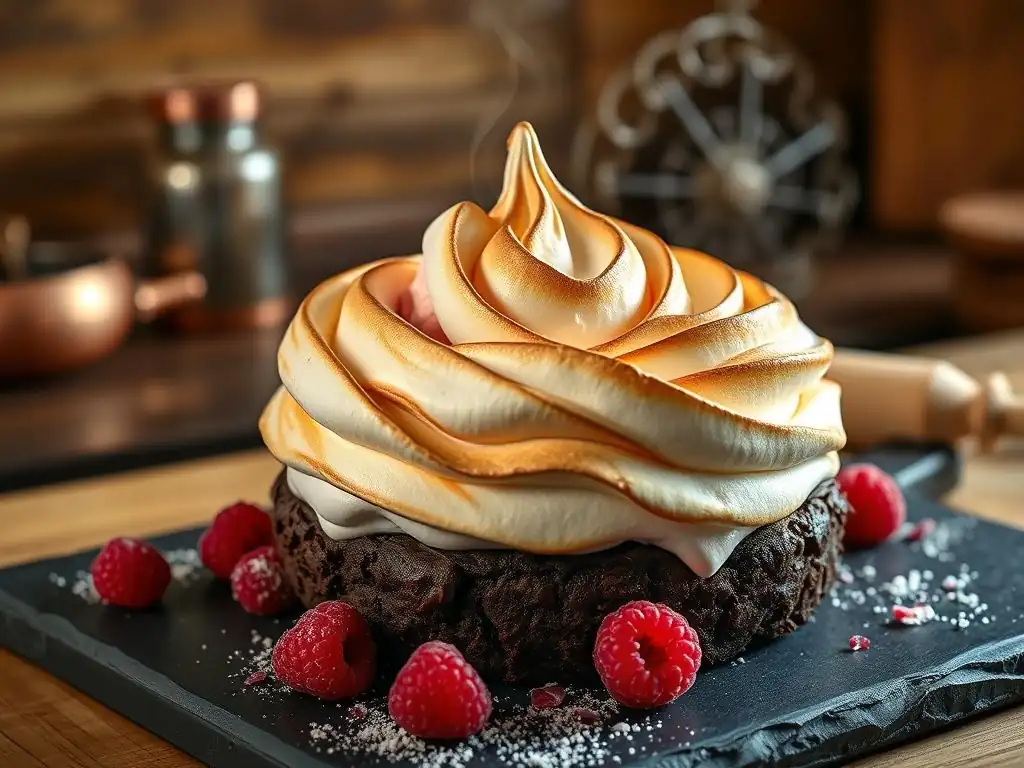
Welcome to BakeWithEase, where even the most ambitious baking projects become achievable! Ever wondered how to create a show-stopping dessert that defies logic? Dive into our secrets for crafting the perfect Baked Alaska, starting with our easy Baked Alaska meringue recipe. Discover the technique that keeps your ice cream frozen while the meringue toasts to golden perfection. Intrigued? Let's get baking!
- Baked Alaska: A Culinary Masterpiece
- Understanding Baked Alaska
- Meringue Mastery for Baked Alaska
- Baked Alaska Recipe
- Troubleshooting
- Creative Variations
- Conclusion
-
Frequently Asked Questions
- What makes this Baked Alaska meringue recipe easy compared to others?
- What is the secret to preventing the ice cream from melting during baking?
- Can I use different flavors of ice cream for this Baked Alaska recipe?
- What kind of meringue is best for a Baked Alaska, and why?
- How long should I bake the Baked Alaska to achieve the perfect meringue?
- Final Reflection: The Enduring Allure of a Perfectly Toasted Meringue
- Unleash Your Inner Pastry Chef: Master the Baked Alaska!
Baked Alaska: A Culinary Masterpiece
Understanding Baked Alaska
Definition and Appeal
Baked Alaska is a classic dessert that brilliantly combines contrasting temperatures: hot, toasted meringue encasing cold ice cream, all resting on a cake base. Its appeal lies not only in this delightful temperature paradox but also in its dramatic presentation, often involving a fiery flourish as the meringue is browned, traditionally with a torch or under a broiler. This show-stopping quality makes it a favorite for special occasions, transforming simple ingredients into an extraordinary culinary experience.
Creating a Baked Alaska, especially focusing on the perfect meringue, might seem daunting, but mastering the techniques makes crafting this impressive dessert accessible to home bakers. The satisfaction of slicing through the warm, sweet meringue to reveal perfectly frozen ice cream is unparalleled. Exploring a Baked Alaska meringue recipe easy enough for beginners opens up a world of impressive dessert possibilities.
The Science of Meringue Insulation
The secret to Baked Alaska's magic lies in the insulating properties of the meringue. Meringue is essentially a foam created by whipping egg whites with sugar, trapping millions of tiny air bubbles within a protein matrix. When this meringue is applied thickly and completely seals the ice cream base, it acts as a highly effective thermal barrier.
When placed in a hot oven or subjected to the flame of a torch, the heat quickly toasts the outer layer of the meringue. However, the air pockets within the meringue are poor conductors of heat. This trapped air significantly slows down the transfer of heat from the hot exterior to the cold interior, protecting the ice cream from melting for a crucial period—typically just long enough to brown the meringue surface beautifully. This scientific principle allows the "baked" part of Baked Alaska to occur without the "melted" part ruining the dessert.
Meringue Mastery for Baked Alaska
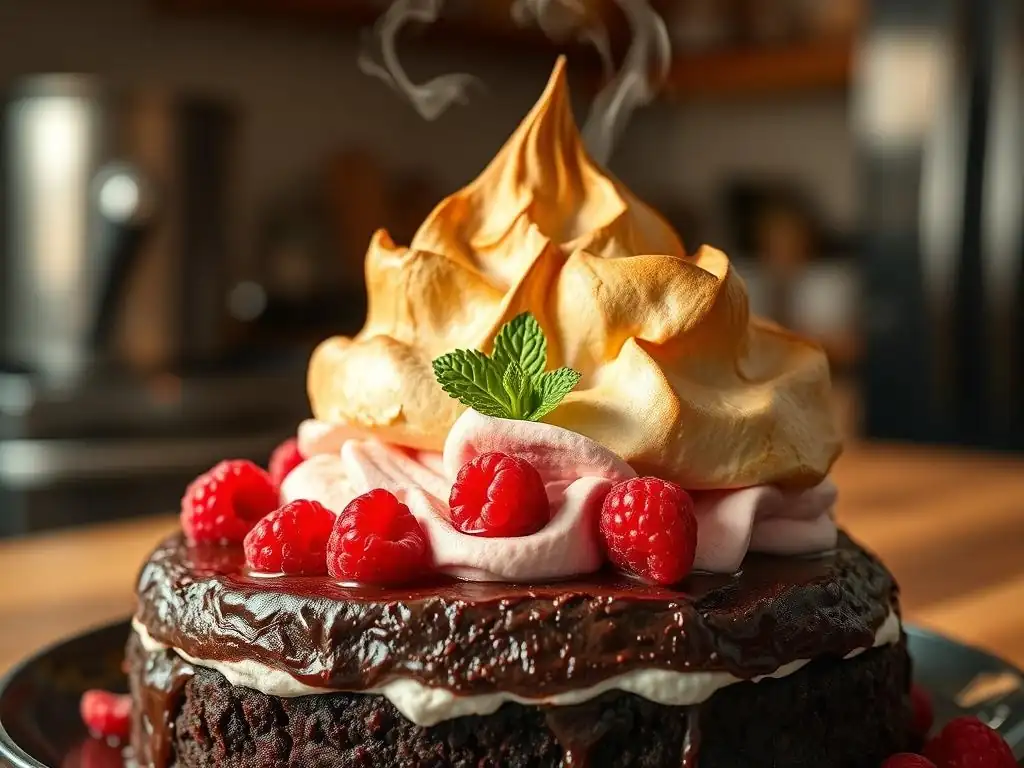
Achieving the perfect meringue is crucial for a successful Baked Alaska, serving both as insulation and a delicious topping. There are several types of meringue, each offering unique characteristics in terms of stability, texture, and sweetness. Understanding these differences helps tailor your meringue to your specific needs for a Baked Alaska meringue recipe easy or complex.
Meringue Options
Choosing the right meringue impacts the final texture and stability of your Baked Alaska. Each type offers distinct advantages and requires specific techniques.
Italian Meringue: Stability and Gloss
Italian meringue is renowned for its exceptional stability and smooth, glossy finish. It's made by whipping egg whites while simultaneously drizzling in hot sugar syrup (cooked to the soft-ball stage, typically around 236-240°F or 113-116°C). The hot syrup effectively cooks the egg whites, making this meringue safe to consume without further baking and incredibly stable, holding sharp peaks beautifully.
This stability makes Italian meringue an excellent choice for Baked Alaska as it provides a robust insulating layer that is less prone to weeping or collapsing. While it requires a candy thermometer and careful handling of hot sugar syrup, the resulting meringue is dense, pipeable, and toasts beautifully, providing a professional finish to your dessert.
Swiss Meringue: Smoothness and Simplicity
Swiss meringue offers a wonderful balance of stability and ease of preparation compared to Italian meringue. It's made by whisking egg whites and sugar together over a double boiler until the sugar is dissolved and the mixture reaches about 130-140°F (54-60°C), effectively pasteurizing the egg whites. The mixture is then removed from the heat and whipped until stiff, glossy peaks form.
This method results in a very smooth, stable, and slightly denser meringue than French meringue. It's easier than Italian meringue as it doesn't involve handling super-hot sugar syrup. Swiss meringue holds its shape well, is less likely to weep, and toasts nicely, making it a popular and reliable choice for a Baked Alaska meringue recipe easy to execute at home.
French Meringue: A Classic Approach
French meringue is the simplest and most basic type, made by whipping raw egg whites until frothy and gradually adding granulated sugar while continuing to whip until stiff peaks form. It's the lightest and least stable of the three main types because the egg whites are not cooked during the process.
While French meringue is easy to make, its instability and tendency to weep make it less ideal for Baked Alaska compared to Swiss or Italian meringue, especially if the dessert needs to sit for any length of time before serving. It requires baking to be truly stable and safe to eat due to the raw egg whites. If using French meringue for Baked Alaska, it's best applied just before browning and serving quickly.
Achieving Meringue Perfection
Regardless of the type you choose, mastering a few fundamental techniques is key to creating a successful meringue for your Baked Alaska.
Achieving Stiff Peaks
Stiff peaks are the goal for any meringue used in Baked Alaska. This stage is reached when the whipped meringue stands straight up when the whisk is lifted, without the tip curling over. To achieve this, ensure your bowl and whisk are absolutely clean and free of any grease, which can prevent the egg whites from whipping properly. Start whipping egg whites on a medium speed until they are frothy, then gradually increase speed and begin adding sugar slowly, a tablespoon at a time, allowing it to dissolve before adding more.
Whipping speed is important; too fast too soon can break down the protein structure. Continue whipping until the meringue is thick, glossy, and holds those distinct stiff peaks. You should be able to turn the bowl upside down without the meringue falling out (careful the first time you try this!). This structure is essential for the meringue's insulating properties.
Meringue Stabilization
While Italian and Swiss meringues are inherently more stable due to the cooking process, even they can benefit from careful technique. Over-whipping can cause the meringue to become grainy and less stable. Ensure you stop whipping as soon as stiff peaks are achieved. For French meringue, adding a pinch of cream of tartar or a few drops of lemon juice to the egg whites before whipping can help stabilize the foam.
Another factor is humidity. Meringue is hydrophilic, meaning it attracts moisture from the air, which can cause it to soften or weep. Making meringue on a low-humidity day can improve stability. For Baked Alaska, the rapid browning process helps set the outer layer, adding some stability just before serving.
Moisture Control
Excess moisture is the enemy of meringue, leading to weeping (syrup separating from the meringue). This can come from residual water in the bowl, insufficient sugar, or high humidity. Ensure your equipment is perfectly dry. Use the correct sugar-to-egg white ratio for your chosen meringue type; sugar helps stabilize the meringue structure and prevents weeping.
For French meringue, ensuring the sugar is fully dissolved is crucial. For Italian and Swiss meringues, cooking the sugar or egg white mixture to the correct temperature is vital for stability and moisture control. Protecting the Baked Alaska from humid environments after assembly also helps maintain the meringue's integrity until serving.
Baked Alaska Recipe
Creating a Baked Alaska requires careful layering and timing. This section outlines a general approach to a Baked Alaska meringue recipe easy enough for home bakers, focusing on assembly and baking techniques.
Ingredients
- Cake base (e.g., sponge cake, pound cake, or brownie layer)
- Ice cream (various flavors)
- Egg whites (quantity depends on meringue type, e.g., 4-6 large egg whites)
- Sugar (quantity and type depend on meringue type, e.g., granulated, superfine, or powdered)
- Pinch of salt
- Cream of tartar or lemon juice (optional, for French meringue)
- Vanilla extract (optional)
Ice Cream Preparation
The ice cream needs to be very firm for assembly. Start by scooping or slicing portions of ice cream and arranging them on your cake base. Ensure the ice cream is mounded high and completely covers the cake layer beneath it, extending to the edges. Work quickly to prevent melting.
Once the ice cream is on the base, place the entire assembly back into the freezer for at least 1-2 hours, or preferably until rock solid. This step is critical; the colder the ice cream, the longer it will withstand the heat during the final browning stage. A well-frozen ice cream core is fundamental to a successful Baked Alaska.
Assembly
With the ice cream frozen solid on the cake base, it's time to apply the meringue. Prepare your chosen meringue (Swiss or Italian are recommended for stability). Working quickly, spoon or pipe the meringue over the entire ice cream mound and cake base, ensuring it forms a thick, continuous layer that completely seals the ice cream. No gaps or thin spots!
Use an offset spatula to create swirls and peaks in the meringue for a visually appealing finish. These peaks will brown beautifully when heated. Once the meringue is applied, the Baked Alaska is ready for its final step: browning.
Baking
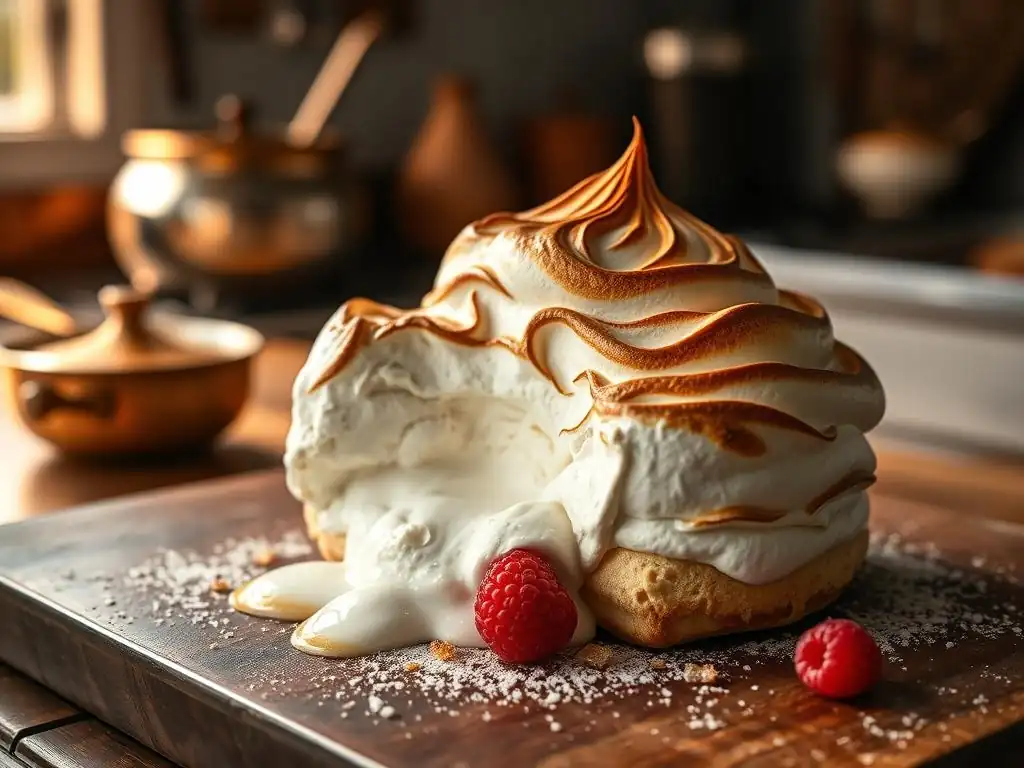
The final step involves rapidly heating the meringue surface to brown and toast it, while the ice cream remains frozen inside.
Temperature and Time
The traditional method involves using a very hot oven or broiler, or more commonly today, a kitchen torch. If using an oven, preheat it to a very high temperature, around 450-500°F (230-260°C). Place the assembled Baked Alaska on a baking sheet and into the hot oven for just 2-5 minutes, or until the meringue is golden brown. Time is critical here; watch it constantly as it can burn quickly.
Alternatively, using a kitchen torch is the most controlled method. Hold the torch a few inches away from the meringue surface and move the flame constantly to evenly brown the peaks and swirls until they are golden. This allows precise control over the browning process without exposing the entire dessert to prolonged heat.
Monitoring
Whether using an oven or a torch, constant monitoring is essential. In the oven, the meringue can go from perfectly toasted to burnt in seconds. Stand by the oven door and watch it continuously. With a torch, move the flame deliberately and evenly across the surface.
Ensure all areas are browned, especially around the base where the meringue meets the plate, to maintain the seal. The goal is a beautiful golden-brown exterior while keeping the inside perfectly cold. This rapid browning is the defining moment of the Baked Alaska.
Serving
Once the meringue is perfectly browned, the Baked Alaska is ready to serve immediately. The contrast of the warm, sweet meringue and the frozen ice cream is best enjoyed right away.
Slice the Baked Alaska using a sharp knife dipped in hot water and wiped dry between cuts. Serve individual slices promptly. Consider serving with a simple sauce, like raspberry coulis or chocolate syrup, though the dessert is impressive enough on its own. Enjoy the fruits of your labor in mastering this impressive dessert!
Troubleshooting
Even with careful preparation, you might encounter issues when making Baked Alaska. Understanding common problems and their solutions is key to success. Mastering a Baked Alaska meringue recipe easy or complex involves knowing how to fix things when they go wrong.
Common Meringue Issues
Meringue can be finicky. Here are some common problems you might face.
Soft Meringue
If your meringue is soft and doesn't hold its shape well, several factors could be at play. The most common cause is insufficient whipping; the egg whites and sugar need to be whipped long enough to develop the protein structure and incorporate enough air to form stiff peaks. Ensure you whip until the meringue is thick, glossy, and holds its shape when the whisk is lifted.
Another reason could be residual fat in the bowl or on the whisk, which inhibits egg whites from whipping properly. Make sure all equipment is spotlessly clean and dry. For French meringue, not adding enough sugar or adding it too quickly can result in a weaker foam. Using superfine sugar can help it dissolve faster and improve structure.
Cracked Meringue
Meringue can crack, especially if baked for too long or at too low a temperature. For Baked Alaska, cracks can compromise the insulating layer, allowing heat to reach the ice cream. Cracking is less common with torched meringue but can happen under a broiler or in a hot oven if the exterior sets too quickly while the interior is still expanding slightly.
To prevent cracking when using an oven, ensure the heat is very high and the bake time is extremely short—just long enough to brown the surface. Avoid opening the oven door unnecessarily. If using a torch, apply heat evenly and avoid concentrating it in one spot for too long, which could cause the meringue to dry out and crack.
Weeping Meringue
Weeping occurs when syrup separates from the meringue, leaving a sticky liquid pool at the base. This is often caused by undissolved sugar or overcooking the sugar syrup (for Italian meringue). High humidity can also contribute to weeping.
For French meringue, ensure the sugar is fully dissolved by rubbing a bit of meringue between your fingers; it should feel smooth, not gritty. For Italian meringue, cook the sugar syrup precisely to the soft-ball stage (236-240°F). For Swiss meringue, ensure the sugar is fully dissolved over the double boiler. Using superfine sugar helps prevent grittiness and promotes dissolution.
Preventing Ice Cream Melt
The core challenge of Baked Alaska is keeping the ice cream frozen while the meringue is heated. The primary defense is ensuring the ice cream is frozen solid before applying the meringue. After assembly, immediately return the whole dessert to the freezer for at least an hour, preferably longer, until it is rock-hard.
Apply a thick, complete layer of meringue that fully seals the ice cream and touches the cake base all around. Any gaps will allow heat to penetrate. When browning, work quickly and efficiently. Using a kitchen torch offers the best control for rapid surface browning with minimal heat transfer to the interior, making a Baked Alaska meringue recipe easy to execute successfully without melting.
Creative Variations
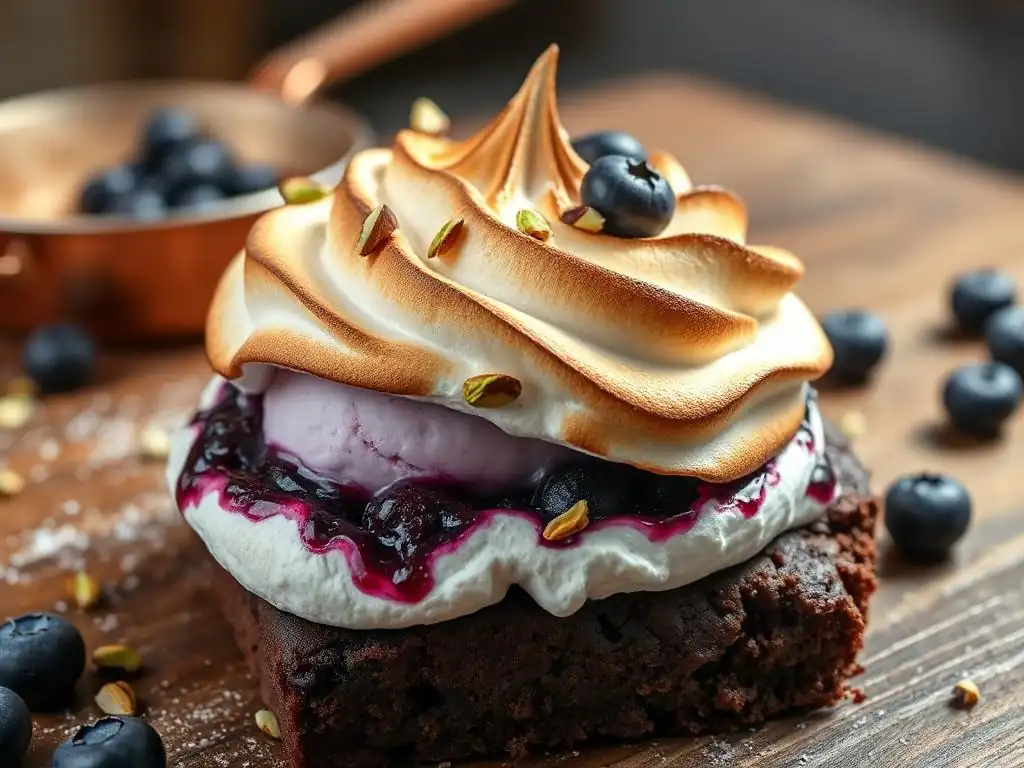
While the classic Baked Alaska is impressive, there's plenty of room for creativity to make it your own. Experimenting with flavors and textures allows you to personalize this dessert.
Flavor Combinations
The possibilities for ice cream and cake combinations are nearly endless. Classic pairings include vanilla ice cream on a sponge cake base. However, you can use any ice cream flavor you love! Try pairing chocolate ice cream with a brownie base, or strawberry ice cream with a lemon cake.
Consider complementary flavors: coffee ice cream with chocolate cake, or mint chip ice cream with vanilla cake. You can also swirl different ice cream flavors together. Adding a layer of fruit compote or chocolate ganache between the cake and ice cream can introduce another layer of flavor and texture.
Meringue Styles
Beyond the three main types, you can get creative with how you apply and flavor the meringue itself. Use piping bags with different tips to create intricate patterns, swirls, or rosettes for a stunning visual effect. You can add flavor extracts to the meringue, such as almond, peppermint, or a touch of citrus zest, though be mindful that too much liquid can affect stability.
For a different texture, you can lightly toast nuts or coconut and sprinkle them over the meringue before browning for added crunch and flavor. A dusting of cocoa powder or cinnamon can also add visual interest and a subtle flavor hint to the toasted surface.
Alternative Bases
While cake is the traditional base, you aren't limited to just sponge or pound cake. A rich brownie layer provides a decadent chocolatey contrast to the ice cream and meringue. Large, thick cookies, such as shortbread or gingerbread, can also serve as sturdy and flavorful bases.
For a less conventional approach, consider a layer of crumbled cookies or even a sturdy pastry crust. The key is to use a base that is firm enough to support the ice cream and meringue and provides a pleasant textural and flavor contrast. Experimenting with different bases can lead to exciting new versions of this classic dessert.
Conclusion
Mastering the Baked Alaska, particularly the art of the meringue shell, is a rewarding endeavor for any home baker. It's a dessert that combines scientific principles with culinary creativity, resulting in a truly spectacular presentation and a delightful sensory experience. Whether you choose a classic approach or experiment with creative variations, the contrast of warm, sweet meringue and frozen ice cream is a guaranteed crowd-pleaser.
Enjoying Your Baked Alaska
Serving and enjoying your homemade Baked Alaska is the culmination of your efforts. Slice it with a sharp, hot knife to get clean cuts through the meringue and ice cream. Present slices immediately to guests to maximize the impact of the hot-cold contrast.
Don't be intimidated by the process; while it requires attention to detail, following a good Baked Alaska meringue recipe easy steps can lead to impressive results. Practice makes perfect, and each attempt will bring you closer to perfecting this iconic dessert. So gather your ingredients, chill your ice cream, whip that meringue, and prepare to dazzle with your own Baked Alaska masterpiece.
Frequently Asked Questions
What makes this Baked Alaska meringue recipe easy compared to others?
This recipe focuses on simplified techniques and readily available ingredients, minimizing complex steps. It uses a straightforward Swiss meringue method, known for its stability.
What is the secret to preventing the ice cream from melting during baking?
The key lies in the insulating properties of the meringue. A thick and evenly distributed layer of meringue acts as a barrier against the oven's heat.
Can I use different flavors of ice cream for this Baked Alaska recipe?
Yes, absolutely! Feel free to experiment with your favorite ice cream flavors. Just ensure they are frozen solid before assembling the Baked Alaska.
What kind of meringue is best for a Baked Alaska, and why?
A Swiss meringue is generally preferred. It's cooked over a double boiler, resulting in a more stable and glossy meringue that holds its shape well during baking.
How long should I bake the Baked Alaska to achieve the perfect meringue?
Bake for a short period, typically around 2-3 minutes, until the meringue is lightly browned. The goal is to toast the meringue, not to melt the ice cream inside.
Final Reflection: The Enduring Allure of a Perfectly Toasted Meringue
The art of crafting a flawless Baked Alaska meringue isn't just about creating a delicious dessert; it's a testament to the enduring power of culinary precision and the surprising science behind seemingly simple recipes. This seemingly straightforward confection, with its dramatic presentation and delicate balance of textures, continues to captivate home bakers and professional chefs alike. The ease of execution, once mastered, makes it a surprisingly accessible dessert for anyone willing to embrace the challenge.
The journey of mastering the Baked Alaska meringue, for me, has been a lesson in patience and attention to detail. It's a recipe that demands respect for the delicate interplay of hot and cold, the careful layering of flavors, and the precise timing needed to achieve that perfect golden-brown meringue without melting the ice cream within. The best things in life are worth waiting for,
and this sentiment rings especially true when crafting this iconic dessert. The satisfaction of presenting a perfectly formed, beautifully browned Baked Alaska is a reward in itself, a testament to the power of culinary creativity.
Now, it's your turn. Don't be intimidated by the seemingly complex nature of this dessert. Take the time to understand the principles outlined in this article, practice your technique, and embrace the journey of creating your own perfect Baked Alaska. The reward—a stunning dessert and a newfound confidence in your baking abilities—is well worth the effort. So, gather your ingredients, preheat your oven, and let the adventure begin!
Unleash Your Inner Pastry Chef: Master the Baked Alaska!
Thanks for joining us on this delicious journey into the art of Baked Alaska! We hope you now feel confident tackling this seemingly daunting dessert. Ready to take your baking skills to the next level?
- Try your hand at a Baked Alaska this weekend! Experiment with different ice cream flavors and toppings – get creative!
- Share your masterpiece on social media using #BakeWithEaseBakedAlaska and tag us! We'd love to see your creations.
- Explore other challenging but rewarding recipes on BakeWithEase.com – let's conquer the culinary world together!
What unique ice cream and topping combination will you create for your first (or next!) Baked Alaska?