
Bake Crispy Meringue Cookies: Low & Slow Oven Secrets Revealed

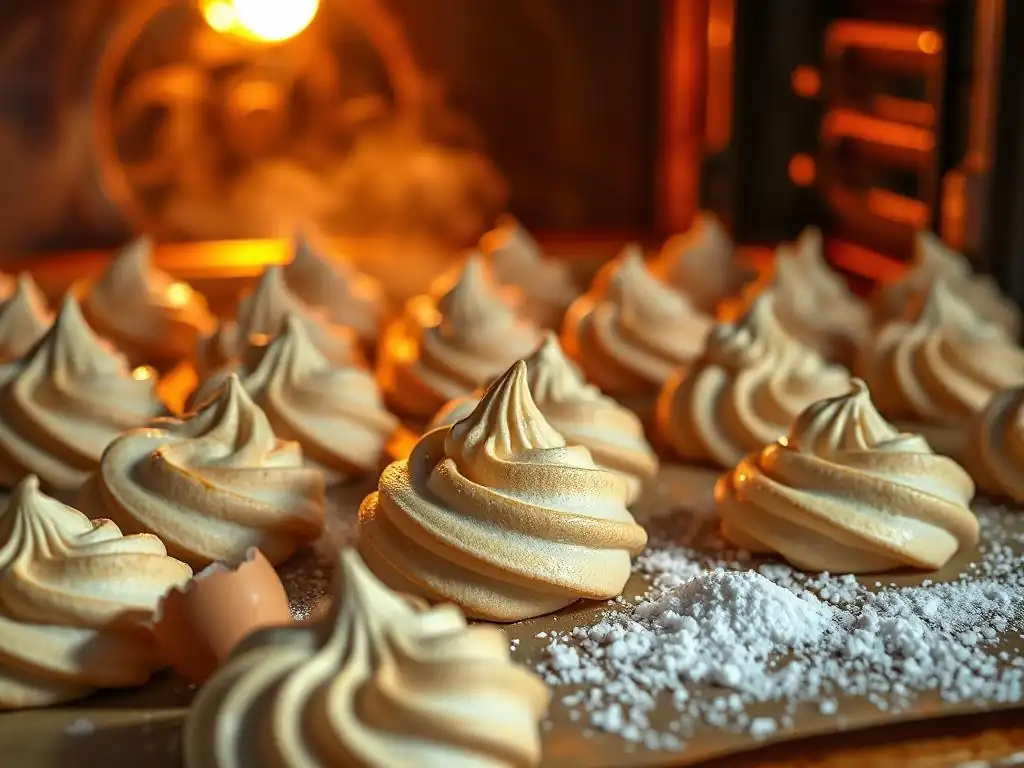
Welcome to BakeWithEase, your partner in creating delightful baked goods! Are you ready to unlock the secrets to achieving that perfect, crispy bite in your meringue cookies? This isn't just another recipe; we're diving deep into the oven secrets that separate a good meringue from a truly exceptional one. Prepare to elevate your baking game and discover the low and slow techniques that will have everyone asking for more. Curious to know how temperature and time play such a crucial role? Let's get baking!
- Mastering Macarons: Achieving Perfect Feet and Shells
- Understanding the Science Behind Macarons
- The Ultimate Guide to Baking Macarons
- Advanced Macaron Baking Techniques for Expert Bakers
- Macaron Baking Secrets: Final Thoughts
-
Frequently Asked Questions
- How do I achieve a perfectly crispy meringue cookie?
- What role does the oven temperature play in making crispy meringue cookies?
- Why is a slow baking process important for meringue cookies?
- Can I use any type of oven for making crispy meringue cookies?
- What are some common mistakes that prevent meringue cookies from being crispy?
- Final Reflection: The Sweet Science of Perfectly Crispy Meringues
- Unlock Your Meringue Mastery: Crispy Perfection Awaits!
Mastering Macarons: Achieving Perfect Feet and Shells
Welcome to Macaron Mastery: A Journey to Perfection
Embarking on the journey to bake perfect macarons is a rite of passage for many home bakers. These delicate, colorful confections, with their smooth shells, ruffled "feet," and delightful chewy centers, are as rewarding to make as they are to eat. Unlike simpler meringue cookies, macarons require precision, patience, and a deep understanding of ingredient interactions and oven dynamics.
This guide is designed to demystify the process, breaking down each step from preparing ingredients to mastering the bake. We'll explore the science behind why macarons behave the way they do, offering insights into common pitfalls and how to avoid them. By focusing on technique and understanding the subtle cues your batter provides, you'll be well on your way to consistent macaron success.
Understanding the Science Behind Macarons
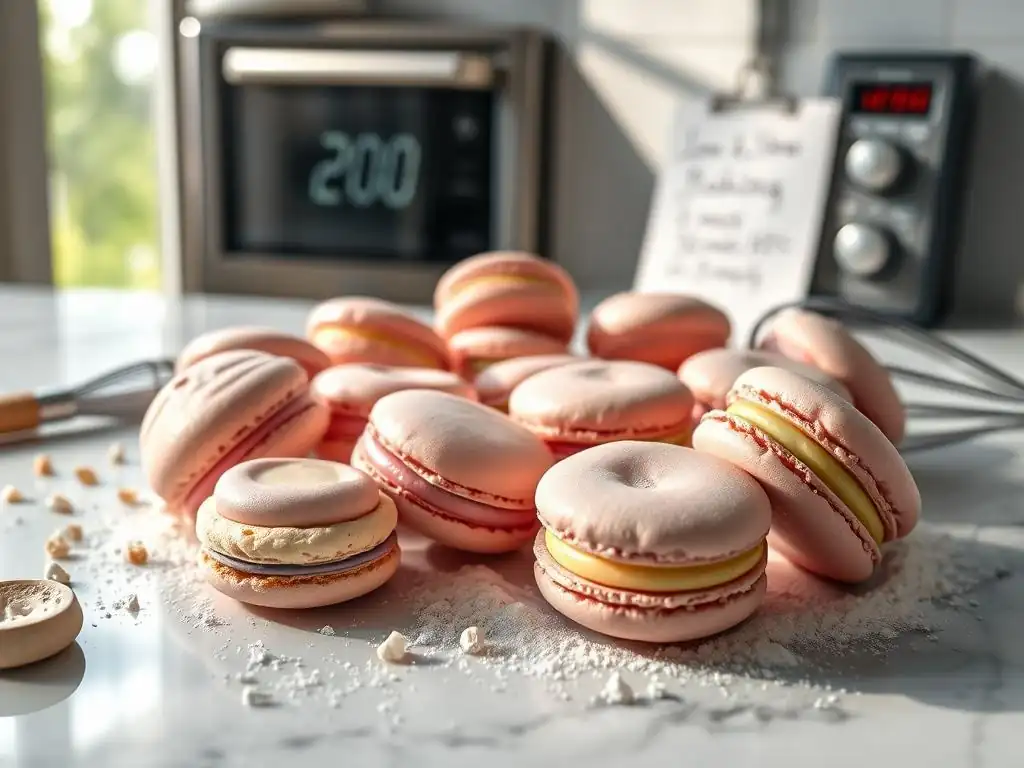
The Role of Almond Flour in Macaron Structure
Almond flour provides the essential structure and texture to the macaron shell, distinguishing it significantly from a standard meringue cookie. Unlike wheat flour, almond flour is gluten-free and high in fat, contributing to the characteristic slightly chewy interior and delicate outer shell. The fineness of the grind is paramount; coarse almond flour can lead to bumpy tops and prevent the formation of the smooth shell surface.
Properly sifted, super-fine blanched almond flour, combined with powdered sugar, forms the dry base (tant pour tant) that is then folded into the meringue. This blend provides the necessary bulk and stability. The fat from the almonds also interacts with the sugar and egg whites during baking, contributing to the unique texture and helping to create the separation that forms the signature foot.
Egg Whites: The Foundation of Macaron Stability
Egg whites are the absolute bedrock of macaron stability, whipped into a meringue that provides the lift and structure for the shells. The proteins in egg whites, specifically albumin, denature and create a network when whipped, trapping air bubbles. This aeration is crucial for the macaron to rise and develop its foot in the oven.
The quality and preparation of the egg whites are critical. Many bakers prefer to age their egg whites by separating them a day or two in advance and letting them sit covered at room temperature. This process slightly dehydrates them, making them easier to whip into a stable, voluminous meringue. Any trace of fat or yolk can prevent the egg whites from whipping properly, leading to a weak meringue and failed shells.
Why Macaronage is Crucial for Smooth Shells
Macaronage is arguably the most critical and often most challenging step in macaron making. It's the process of folding the dry ingredients (almond flour and powdered sugar) into the meringue. The goal is to deflate the meringue just enough to create a batter with a specific consistency – often described as "lava-like" or flowing off the spatula in a slow, continuous ribbon.
Under-macaronaged batter will be too stiff, resulting in peaked shells that don't flatten properly and are prone to cracking. Over-macaronaged batter, on the other hand, will be too thin and runny, leading to flat shells without feet or shells that spread excessively. Mastering the macaronage technique ensures the batter is smooth, glossy, and has the right flow to settle into perfect circles with smooth tops and develop the desired foot during baking.
The Ultimate Guide to Baking Macarons
Step 1: Preparing Your Ingredients for Macaron Success
Precise ingredient preparation is the non-negotiable first step in successful macaron baking. Unlike many other baked goods where slight variations are forgiving, macarons demand accuracy. Weighing all ingredients, rather than using volume measurements, is essential for consistent results. Ensure your ingredients are at room temperature unless otherwise specified, as this affects how they combine.
Beyond just weighing, specific preparation steps for key ingredients make a significant difference. Sifting the dry ingredients removes lumps and ensures a fine, uniform powder, which is vital for smooth shells. Separating egg whites cleanly and potentially aging them sets the stage for a strong meringue.
Choosing the Right Almond Flour for Optimal Texture
Use blanched, super-fine almond flour. Regular almond meal, which includes the skins and is coarser, will not yield the smooth shell texture characteristic of macarons. Sift the almond flour with the powdered sugar. Any larger bits left behind can be discarded or pulsed very briefly in a food processor with a small amount of the mixture before resifting.
Sugar Selection: Icing Sugar vs. Granulated Sugar
Powdered sugar (icing sugar) is mixed with almond flour to form the dry base. It contributes to the shell's structure and sweetness. Granulated sugar is crucial for stabilizing the meringue. It's added gradually to the whipping egg whites, dissolving to create a strong, glossy foam.
Essential Equipment: Bowls, Whisks, and Baking Sheets
Ensure all equipment that touches the egg whites (bowls, whisk attachments) is immaculately clean and grease-free. A stand mixer with a whisk attachment is highly recommended for achieving a stable meringue efficiently. A hand mixer can work but requires more effort and time. Heavy-gauge baking sheets help distribute heat evenly.
Step 2: Creating the Perfect Macaron Batter
Creating the macaron batter involves two main stages: whipping the egg whites into a stable meringue and then carefully folding in the dry ingredients. The technique used for the meringue and the subsequent folding process are paramount to the final texture and appearance of the shells. Patience and observation are key here.
The goal is a homogeneous mixture that has the correct consistency for piping. Rushing this stage or being imprecise with the folding technique will compromise the delicate structure needed for the macarons to rise correctly and form their signature feet.
Mastering the French Meringue Technique
Start whipping egg whites on low speed until foamy. Gradually increase speed to medium and whip until soft peaks form. Slowly add granulated sugar, one tablespoon at a time, whipping until the sugar is fully dissolved and the meringue is glossy and stiff.
Achieving Stiff Peaks: The Key to Stability
Stiff peaks mean the meringue holds its shape firmly when the whisk is lifted. The tip might curl slightly, but the overall structure is solid. This stable meringue traps the air needed for lift and provides the backbone for the macaron shell. Under-whipped meringue will be too weak.
Macaronage: Achieving the Ribbon Stage
Add the sifted dry ingredients (almond flour + powdered sugar) to the meringue. Using a spatula, gently fold the mixture from the bottom up, scraping down the sides. Press some of the batter against the side of the bowl with the spatula to deflate the meringue slightly. Continue folding and pressing until the batter flows like a slow ribbon off the spatula, and you can draw a figure eight without the stream breaking immediately.
Step 3: Piping Your Macarons
Piping the macaron batter onto the baking sheet transforms the mixture into individual shells, and uniform size and shape are essential for pairing later. This step requires a steady hand and consistent pressure to ensure all shells bake evenly. Practice makes perfect when it comes to piping.
Using templates is highly recommended, especially for beginners, as it helps maintain consistent sizing across the batch. Proper preparation of the baking surface also plays a role in how the macarons release after baking and how their feet develop.
Piping Techniques for Uniform Shells
Use a piping bag fitted with a plain round tip (e.g., size 1A or 12). Hold the bag perpendicular to the baking sheet. Apply even pressure to pipe circles of batter. Stop piping slightly before the desired size, then quickly flick the bag upwards to break the stream cleanly.
Using Templates for Consistent Sizing
Place a template (printed or drawn circles on paper) under your parchment paper or silicone mat. Pipe the batter to just fill the circles on the template. Remove the paper template before baking if using parchment directly on the sheet.
Preparing Your Baking Sheets: Parchment Paper or Silpat?
Parchment paper is a common choice and works well, ensuring easy release. Silicone baking mats (like Silpat) provide excellent non-stick properties and can help promote more consistent feet development for some bakers. Ensure mats are clean and grease-free.
Step 4: Resting and Baking Your Macarons
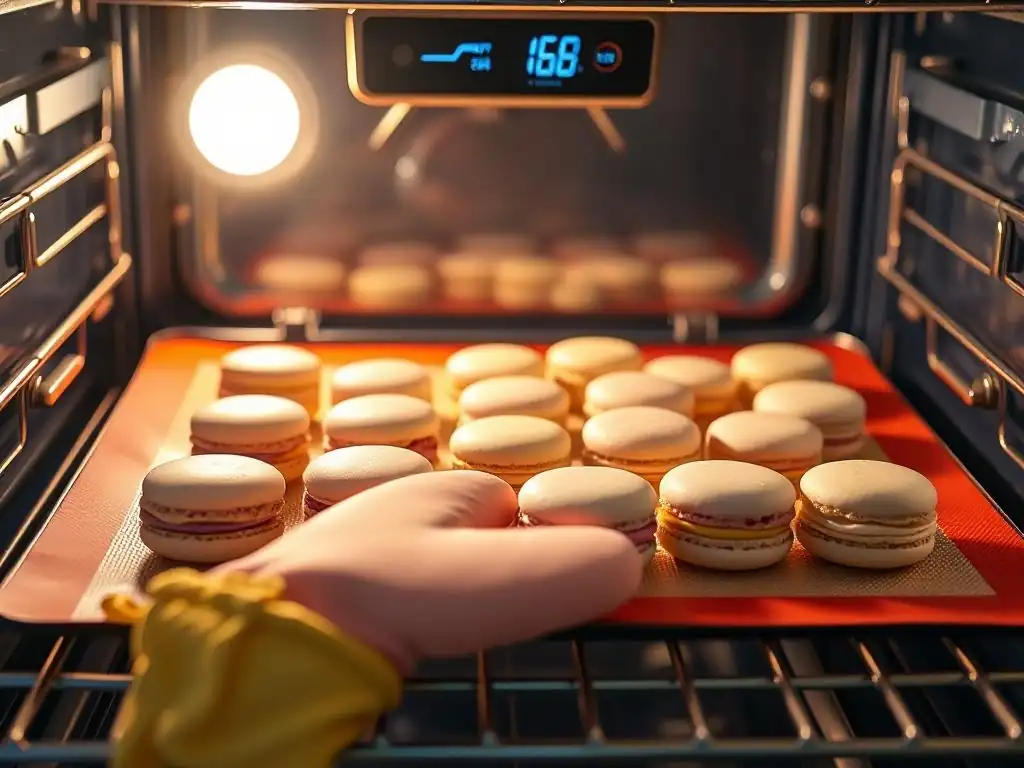
Resting the piped macarons before baking is a non-negotiable step for achieving smooth shells and prominent feet. This drying period allows a thin skin to form on the surface. The baking process itself, particularly the oven temperature and technique, holds many "oven secrets" to achieving the desired macaron texture and rise, distinct from the crispy meringue cookies oven secrets you might use for other confections.
The low and slow approach often mentioned in the context of crispy meringue cookies also applies, in principle, to macarons, though at slightly different temperatures. A stable, relatively low oven temperature allows the macaron to rise slowly, pushing the batter outwards to form the foot while the skin prevents cracking on top.
The Importance of Resting the Macarons
Allow the piped macarons to rest at room temperature until a skin forms. This can take anywhere from 30 minutes to 2 hours, depending on humidity levels. The macaron is ready to bake when you can lightly touch the surface without batter sticking to your finger. This skin prevents the top from cracking as the macaron expands in the oven, forcing the air downwards to create the foot.
Optimal Oven Temperature for Macarons
Oven temperature is one of the most significant macaron oven secrets. Too hot, and they crack or brown too quickly; too cool, and they won't develop feet or will spread too much. Most recipes recommend temperatures between 280°F and 325°F (135°C to 160°C). A slightly lower temperature, closer to 280-300°F, often encourages slower, more controlled rising and better foot development, aligning somewhat with the low & slow approach for achieving specific textures.
Baking Time: Finding the Sweet Spot [Adjustments based on oven]
Baking time typically ranges from 12 to 18 minutes, depending on size and oven. Macarons are done when the shell is firm and doesn't wiggle when gently pushed, but they should not be significantly browned. Knowing your oven is crucial; oven temperatures can vary significantly. Using an oven thermometer is highly recommended. You may need to rotate the baking sheet halfway through baking for even results.
Step 5: Filling and Storing Your Macarons
Baking is only part of the process; filling and allowing the macarons to mature are key to developing the characteristic soft, chewy interior texture. Freshly baked shells are often brittle; they soften as they absorb moisture from the filling over time.
Proper storage ensures your beautiful macarons stay fresh and maintain their delightful texture. Understanding why certain issues occur during baking also helps in preventing them in future batches.
The Importance of Maturing the Macarons
Once filled, macarons need to "mature" in the refrigerator for at least 12-24 hours. During maturation, moisture from the filling migrates into the shell, softening the interior and creating the perfect chewy texture.
Proper Storage for Maintaining Freshness
Store filled macarons in an airtight container in the refrigerator for up to 3-5 days. For longer storage, they can be frozen for several weeks. Thaw them in the refrigerator before bringing them to room temperature to serve.
Troubleshooting: Why are my Macarons Cracked or Hollow?
Cracked shells can be caused by under-resting (no skin formed), oven too hot, or air trapped in the batter (not tapped after piping). Hollow shells often result from over-whipping the meringue, under-macaronage, or temperature fluctuations in the oven during baking.
Advanced Macaron Baking Techniques for Expert Bakers
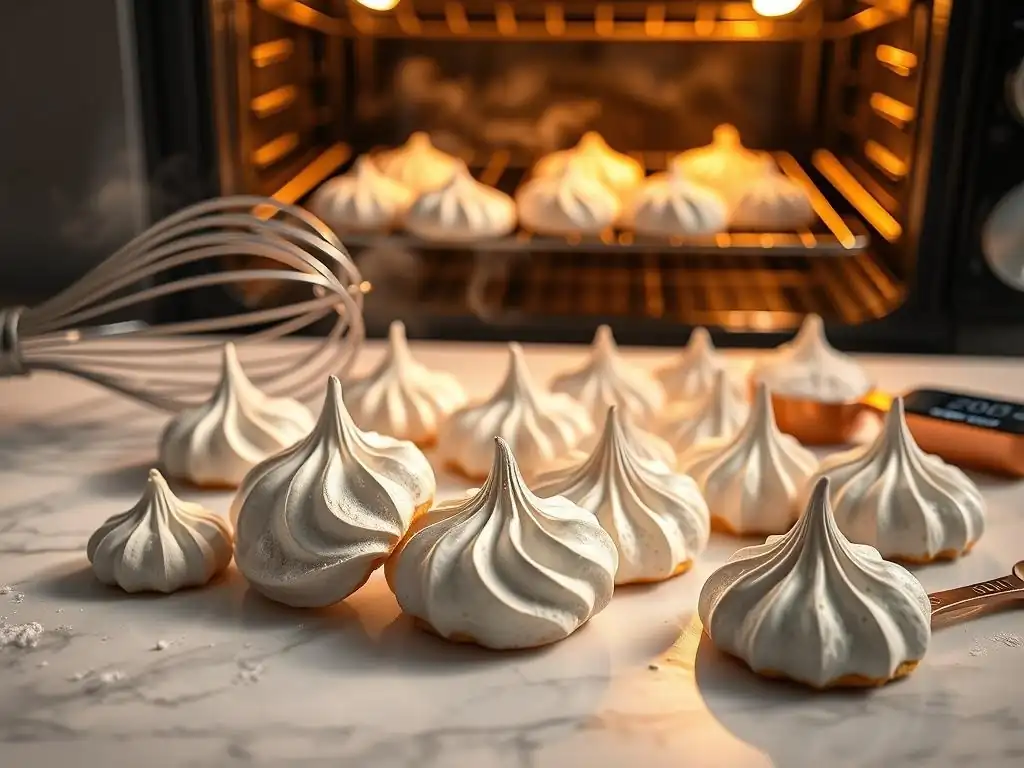
Flavor Variations: Expanding Your Macaron Repertoire
Once you've mastered the basic macaron shell, the possibilities for flavor combinations are nearly endless. Experimenting with different fillings and incorporating flavors directly into the shells allows for incredible creativity and expands your macaron repertoire far beyond the classic almond.
Exploring flavor variations not only makes baking more exciting but also allows you to tailor your macarons to specific occasions or preferences. From subtle hints to bold statements, flavor integration is where your personal touch truly shines.
Ganache, Buttercream, and Jam Fillings
Classic fillings include chocolate ganache, French or Swiss meringue buttercream, and fruit jams or curds. Ensure fillings are not too wet, which can make shells soggy prematurely, or too stiff, which makes assembly difficult.
Incorporating Flavors into the Shells
Add a small amount of gel food coloring (liquid can affect consistency) to the meringue. Incorporate fine powders like cocoa powder, espresso powder, or freeze-dried fruit powder with the dry ingredients. Be aware that adding dry ingredients can slightly alter the macaronage consistency.
Troubleshooting Common Macaron Problems
Even experienced bakers encounter macaron challenges occasionally. Developing troubleshooting skills involves understanding the root cause of common issues and knowing how to adjust your technique or recipe accordingly. Consistency in method is the best defense against problems.
Keeping a baking journal can be incredibly helpful, noting variables like humidity, resting time, oven temperature, and method steps. This allows you to identify patterns and make informed adjustments to achieve consistent results every time.
Preventing Cracked Shells and Hollows
Ensure thorough macaronage to remove large air pockets. Tap the piped trays firmly on the counter several times to release trapped air bubbles. Allow sufficient resting time until a proper skin forms. Verify your oven temperature with a reliable thermometer and maintain a stable temperature throughout the bake.
Dealing with Underbaked Macarons
Underbaked macarons will stick to the baking surface and have a wet interior. Unfortunately, significantly underbaked macarons are difficult to salvage. For slightly underdone shells, sometimes returning them to a very low oven for a few extra minutes can help, but this risks affecting texture or color.
Achieving Consistent Results Every Time
Maintain precise measurements using a digital scale. Be consistent with your meringue whipping and macaronage technique. Know your oven's hot spots and temperature accuracy. Practice and patience are your greatest allies in achieving consistent, beautiful macarons.
Macaron Baking Secrets: Final Thoughts
Enjoy Your Perfectly Baked Macarons!
You've navigated the intricacies of meringue stability, almond flour ratios, the delicate dance of macaronage, and the crucial crispy meringue cookies oven secrets applied to macaron baking – understanding how low and slow temperatures encourage that perfect rise and shell texture. Achieving a tray of uniform shells with lovely feet is a significant accomplishment and a testament to your skill and dedication.
Now comes the best part: filling your creations and letting them mature to develop their signature chewy centers. Share them with friends, savor them yourself, and take pride in your mastery of these delightful French confections. Every batch is a learning experience, and with practice, your macarons will become consistently beautiful and delicious.
Frequently Asked Questions
The secret lies in the oven! Baking at a low temperature for a long time is crucial for drying them out completely. This prevents them from being sticky or chewy.
A low oven temperature, typically around 200-225°F (93-107°C), ensures the meringues dry out evenly. High heat will cause them to brown too quickly and remain soft inside.
Slow baking allows the moisture to evaporate gradually. This results in a completely dry and brittle texture essential for crispy meringue cookies, preventing them from collapsing.
Yes, but oven calibration is critical. Ensure your oven maintains the correct temperature. Using an oven thermometer is highly recommended for accuracy.
Baking at too high a temperature, not baking long enough, or having excess humidity in the oven can lead to soft meringues. Ensure your oven is properly vented.
Final Reflection: The Sweet Science of Perfectly Crispy Meringues
The pursuit of the perfect, crisp meringue cookie transcends mere baking; it's a testament to the power of patience and precision. Understanding the subtle interplay of oven temperature, humidity, and baking time unlocks a world of delicate, melt-in-your-mouth textures that elevate this classic treat to an art form. This article has explored those secrets, revealing how a low and slow approach can transform a potentially gummy disaster into a symphony of crunchy delight.
The journey to mastering the meringue, for me, has been a delightful exploration of culinary science and the unexpected joys of slow baking. It's a reminder that sometimes, the most rewarding results come from embracing a gentler approach, allowing the ingredients to transform at their own pace. The best things in life are worth waiting for,
and this certainly holds true for these delicate confections. The subtle crackle as you bite into a perfectly crisp meringue is a testament to the time and care invested. This process, far from being tedious, becomes a meditative practice, a connection to the simple pleasures of baking.
Now, it's your turn. Consider the lessons learned here—the importance of precise measurements, the patience required for low and slow baking, and the rewarding feeling of creating something beautiful and delicious from simple ingredients. Don't be afraid to experiment, to adjust the techniques to your own oven and preferences. Embrace the process, and the next time you bake meringues, you'll not only achieve crispy perfection, but also a deeper appreciation for the art of baking itself. The sweet reward awaits!
Unlock Your Meringue Mastery: Crispy Perfection Awaits!
Thanks for joining us on this delicious journey into the world of perfectly crispy meringue cookies! We hope you've discovered some valuable low-and-slow baking secrets. Ready to put your new knowledge to the test?
- Bake your dream meringues: Try our recipe variations today! Experiment with different flavor extracts or add a pinch of sea salt for an unexpected twist.
- Share your meringue magic: Post a picture of your creations on social media using #BakeWithEaseMeringues and inspire others!
- Join our baking community: Leave a comment below and tell us about your favorite meringue flavor combination – let’s chat!
What unexpected flavor will you add to your next batch of perfectly crispy meringues?