
How to Make Drip Cakes Like a Pro: The Perfect Ganache Drip

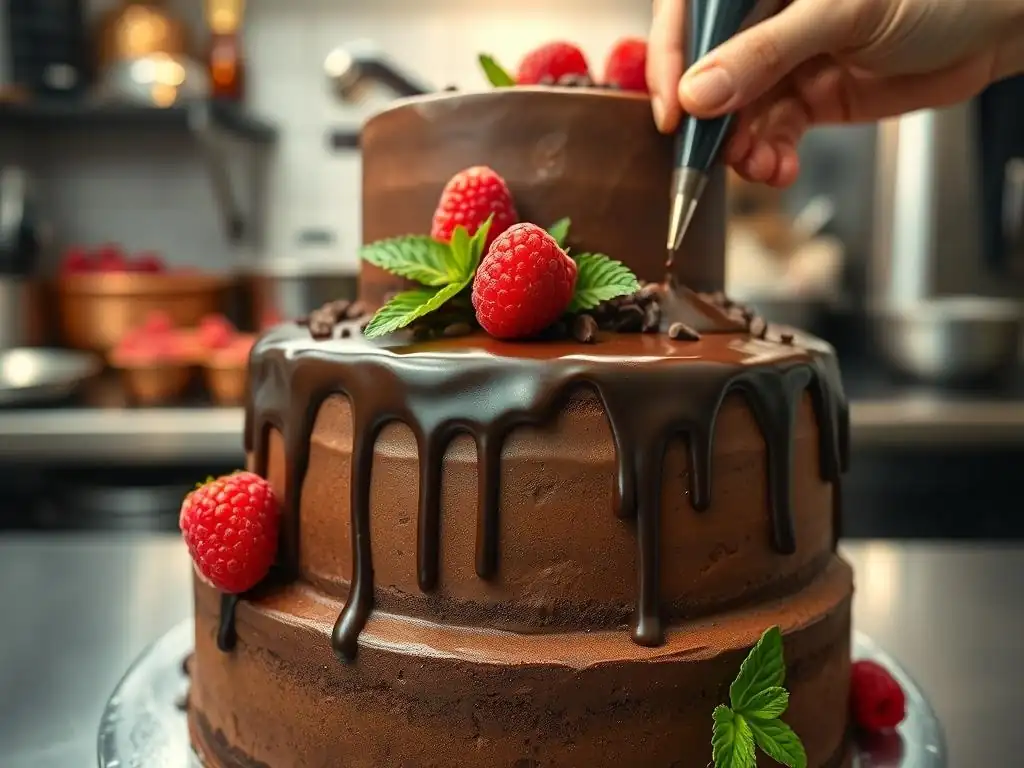
Welcome to BakeWithEase, where even the most ambitious baking projects become delightfully achievable! Ever dreamt of crafting a show-stopping cake with that flawless, cascading chocolate effect? This guide dives deep into the secrets of creating a perfect ganache drip cake. Prepare to unlock the techniques that separate the pros from the amateurs, and discover how simple adjustments can yield stunning results. Intrigued? Let's get started!
- Mastering the Perfect Ganache Drip Cake: An Introduction
- Understanding Ganache for Drip Cakes
- Step-by-Step Guide: Creating the Perfect Ganache Drip
- Applying the Ganache Drip: Techniques for a Professional Finish
- Troubleshooting Common Ganache Drip Problems
- Flavor Variations: Expanding Your Ganache Drip Cake Repertoire
- Advanced Ganache Drip Techniques
- Storing Your Ganache Drip Cake: Maintaining Freshness and Appearance
- Perfect Ganache Drip Cake: Final Thoughts and Inspiration
- Frequently Asked Questions
- Final Reflection: Mastering the Art of the Perfect Ganache Drip
- Unlock Your Inner Pastry Chef: Master the Perfect Ganache Drip!
Mastering the Perfect Ganache Drip Cake: An Introduction
Creating a stunning drip cake is a baking trend that continues to captivate, and at the heart of many beautiful designs is the perfect ganache drip. This technique, while seemingly simple, requires precision and an understanding of chocolate and cream dynamics to achieve that smooth, controlled flow down the sides of your cake. Whether you're aiming for a delicate drizzle or a bold cascade, mastering the ganache drip is key to elevating your cake decorating skills and achieving that professional finish on your perfect ganache drip cake.
Embarking on the journey to perfect your ganache drip cake technique opens up a world of creative possibilities. It’s not just about the visual appeal; a well-executed ganache drip also adds a rich, decadent flavor layer to your dessert. From birthday celebrations to wedding tiers, a flawless ganache drip transforms a simple cake into a showstopper. We'll guide you through the nuances of ganache, from ingredient selection to application, ensuring your next drip cake is a triumph.
Understanding Ganache for Drip Cakes
What is Ganache and Why Use It for Drips?
Ganache is a versatile culinary mixture traditionally made from chocolate and cream. The term often refers to a rich glaze, icing, sauce, or filling used in pastry. Its origin is often attributed to French patisseries in the mid-19th century, though its exact history is debated.
For drip cakes, ganache is ideal because its consistency can be easily adjusted by altering the ratio of chocolate to cream, allowing for controlled drips that set firm but remain relatively soft, providing both structure and delicious flavor. Unlike simple melted chocolate, the cream in ganache prevents it from hardening too brittlely, reducing the risk of cracking when the cake is cut.
The unique properties of ganache make it superior to other glazes for achieving that signature drip effect. As it cools, ganache thickens, transitioning from a liquid state perfect for pouring or piping drips to a semi-solid state that holds its shape beautifully on the cake's surface and sides. This controlled setting allows for precise application and prevents the drip from running all the way down to the cake board uncontrollably. The richness of the chocolate and cream also complements a wide variety of cake flavors, making it a popular choice for creating a truly perfect ganache drip cake.
Choosing the Right Chocolate for Your Ganache Drip
The type and quality of chocolate you use profoundly impact the outcome of your ganache drip. High-quality chocolate, often referred to as couverture chocolate, contains a higher percentage of cocoa butter compared to standard baking chocolate or chocolate chips. This higher cocoa butter content results in a smoother melt, a glossier finish, and a more fluid ganache, which is essential for achieving a perfect ganache drip.
Look for chocolate with at least 30% cocoa butter for milk or white chocolate, and 50-70% for dark chocolate. Using chocolate chips, which often contain stabilizers to maintain their shape during baking, can result in a grainy or less fluid ganache.
When selecting chocolate, consider the desired flavor profile of your perfect ganache drip cake. Dark chocolate offers intense richness, while milk chocolate provides a sweeter, creamier taste. White chocolate, which is technically not chocolate but cocoa butter solids, sugar, and milk solids, creates a very sweet and pale ganache. Using chopped chocolate bars or wafers designed for melting is generally recommended over chocolate chips for the smoothest and most reliable ganache for your drip cake project.
Ganache Ratios: Achieving the Ideal Consistency for Drips
The ratio of chocolate to cream is the most critical factor in determining the consistency of your ganache drip. A higher proportion of chocolate results in a thicker ganache that sets firmer, suitable for fillings or truffles. A higher proportion of cream yields a thinner ganache, ideal for sauces or glazes. For a perfect ganache drip that flows beautifully but sets firmly enough to hold its shape, a specific range of ratios is typically used, varying slightly depending on the type of chocolate.
Here are some common starting ratios (chocolate by weight to cream by weight) for achieving a good drip consistency:
- Dark Chocolate: 1:1 (e.g., 100g chocolate to 100g cream). This provides a relatively thick, but still drippable ganache. Some prefer slightly more cream, like 1.2:1 cream to chocolate, for a runnier drip.
- Milk Chocolate: 1.5:1 or 2:1 (e.g., 150g or 200g chocolate to 100g cream). Milk chocolate has less cocoa solids than dark, requiring more chocolate for a similar consistency.
- White Chocolate: 2.5:1 or 3:1 (e.g., 250g or 300g chocolate to 100g cream). White chocolate is the softest and requires the most chocolate to achieve a drip consistency.
- Task List:
- Choose high-quality chocolate.
- Weigh chocolate and cream accurately.
- Select ratio based on chocolate type and desired drip flow.
- Adjust ratio slightly if needed after initial mix.
Remember, these are starting points. Factors like the specific brand of chocolate, the fat content of your cream (heavy cream or whipping cream, typically 30-36% fat, is recommended), and the ambient temperature can influence the final consistency. Don't be afraid to experiment with small batches to find the perfect ratio for your perfect ganache drip cake.
Step-by-Step Guide: Creating the Perfect Ganache Drip
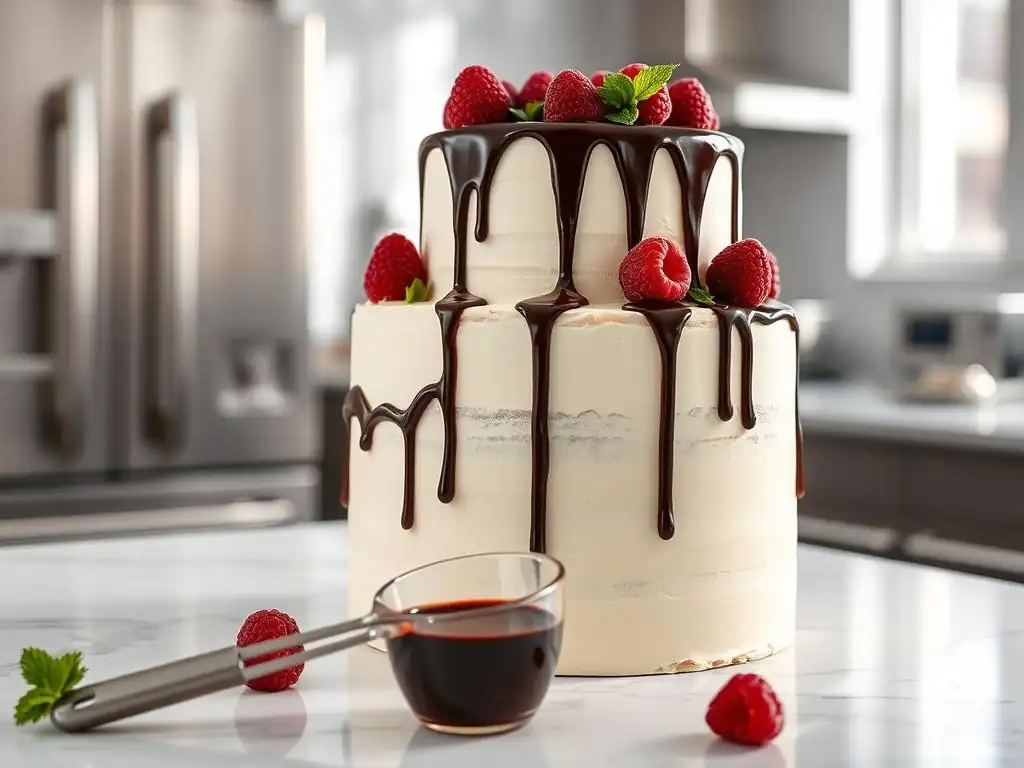
Gathering Your Ingredients and Equipment for a Flawless Ganache
Preparation is key to creating a flawless ganache for your perfect ganache drip cake. You'll need your chosen chocolate, weighed and finely chopped or in callet form for easier melting. Use high-quality heavy cream or whipping cream (around 30-36% milk fat). Ensure your measuring tools are accurate, preferably using a kitchen scale for weighing both chocolate and cream, as volume measurements can be inconsistent, especially for chocolate.
Essential equipment includes a heatproof bowl (glass or stainless steel is best), a small saucepan for heating the cream, a whisk or spatula for stirring, and potentially a fine-mesh sieve if you want the absolute smoothest ganache. For the melting process, a double boiler setup (fitting the bowl over the saucepan of simmering water) is recommended to prevent the chocolate from burning. Having a clean, dry workspace is also important, as even a drop of water can cause the chocolate to seize and become unusable.
The Double Boiler Method: Melting Chocolate for Ganache Perfection
The double boiler method is the safest and most controlled way to melt chocolate for ganache, significantly reducing the risk of scorching it. To set up a double boiler, place your finely chopped chocolate in the heatproof bowl. Pour a few inches of water into your saucepan – enough so the bottom of the bowl doesn't touch the water when placed on top, but the steam from the simmering water will heat the bowl. Bring the water to a gentle simmer over medium-low heat.
Place the bowl of chocolate over the simmering water. The steam will gently heat the bottom of the bowl, melting the chocolate gradually. Stir the chocolate occasionally with a dry spatula or whisk. Do not rush this process; gentle heat is crucial. Once about 75-80% of the chocolate is melted, remove the bowl from the heat. The residual heat in the melted chocolate and the bowl will melt the remaining pieces as you stir, resulting in a smooth, lump-free consistency. This method ensures the chocolate doesn't overheat, which can make the ganache greasy or dull.
Achieving a Smooth Ganache: Tips and Tricks for Avoiding Lumps
Lumpy ganache can ruin the appearance of a perfect ganache drip cake. The primary causes are often overheating the chocolate, introducing water, or not emulsifying the mixture properly. Using the double boiler method as described above is the first step to avoiding lumps from overheating. Ensuring all your equipment is completely dry is essential; even a tiny amount of water can cause the chocolate to seize, becoming a thick, lumpy mass.
Once the chocolate is melted, heat your cream in the saucepan until it just begins to simmer around the edges – do not boil it vigorously. Pour the hot cream directly over the melted chocolate. Let the mixture sit undisturbed for 1-2 minutes. This allows the hot cream to melt any remaining small pieces of chocolate.
Then, starting from the center of the bowl, gently whisk or stir in small circles, gradually expanding outwards. This technique helps to emulsify the mixture, combining the fat in the cream with the cocoa solids in the chocolate into a smooth, glossy ganache. Avoid vigorous whisking that incorporates too much air, which can lead to a dull finish. If you still have tiny lumps, you can carefully warm the ganache slightly over the double boiler again, stirring gently, or pass it through a fine-mesh sieve while still warm.
The Perfect Ganache Drip Temperature: Ensuring a Controlled Flow
Temperature is paramount for achieving a perfect ganache drip. If the ganache is too hot, it will be too thin and run uncontrollably down the cake, creating messy puddles at the bottom. If it's too cool, it will be too thick to drip smoothly or might set too quickly, resulting in uneven or stunted drips. The ideal temperature for applying ganache drips is typically between 85°F and 95°F (29°C to 35°C).
To check the temperature, you can use a digital thermometer. Alternatively, you can test the consistency by letting a small amount drip from a spoon. It should flow smoothly but not too rapidly. It might take anywhere from 30 minutes to 2 hours for your ganache to cool to the correct temperature, depending on the ambient temperature and the quantity you've made. Stir it occasionally as it cools to ensure even cooling and maintain a smooth texture. Patience during this cooling phase is crucial for a controlled and beautiful ganache drip application on your perfect ganache drip cake.
Applying the Ganache Drip: Techniques for a Professional Finish
Preparing Your Cake for the Ganache Drip
Before applying the ganache drip, your cake needs to be properly prepared and chilled. The cake should be fully assembled, frosted, and chilled until the frosting is firm to the touch. This firm, cold surface is essential because it helps the warm ganache set quickly upon contact, creating those distinct drip lines without the ganache sliding down the entire side of the cake. A crumb coat and final layer of buttercream or ganache frosting that is smooth and level provides the best canvas.
Chill your frosted cake in the refrigerator for at least 30-60 minutes, or even briefly in the freezer for 10-15 minutes, until the surface feels very firm. This ensures that when the warm ganache hits the cold frosting, it cools and thickens almost instantly, stopping the drip at the desired length. A well-chilled cake is arguably one of the most important factors for achieving a clean, professional-looking perfect ganache drip.
Testing Your Ganache Drip: Achieving the Desired Effect
Before applying the ganache directly to your precious perfect ganache drip cake, it is highly recommended to test its consistency and flow. This simple step can save you from potential disaster. Take a small amount of ganache and test it on the side of a glass or mug that has been chilled in the refrigerator alongside your cake.
Observe how the ganache flows. Does it drip too fast and thin? It might be too warm or the ratio is too thin. Does it barely move or stop abruptly?
It might be too cool or the ratio is too thick. Based on this test, you can adjust the temperature (gently rewarm or cool further) or consistency (stir in a tiny bit more hot cream if too thick, or let it cool more if too thin) before committing to the actual cake. Repeat the test until you achieve the desired drip length and speed. This testing phase is critical for confidence and success.
Drip Application Methods: From Spoon to Squeeze Bottle
There are several popular methods for applying the ganache drip to your cake, each offering slightly different levels of control.
- Spoon Method: This is perhaps the simplest method. Spoon a small amount of ganache near the edge of the cake top and gently push it over the edge with the back of the spoon, letting it run down naturally. Control the amount of ganache and how far you push it to vary the drip length. This method offers good control for individual drips but can be slower for full coverage.
- Piping Bag Method: Fill a piping bag (without a tip) with the ganache. Snip a very small opening at the tip of the bag. Gently squeeze the bag at the edge of the cake, allowing the ganache to flow over and create a drip. This method offers more precision for placing drips exactly where you want them and controlling their size and spacing.
- Squeeze Bottle Method: Transfer the ganache to a clean squeeze bottle with a fine tip. This provides the most control and consistency, especially for creating uniform drips. Gently squeeze the bottle at the edge of the cake, controlling the flow and length of each drip. This is often preferred by professionals for its ease of use and consistent results on a perfect ganache drip cake.
- Task List:
- Chill cake thoroughly.
- Test ganache on a cold surface.
- Choose application method (spoon, piping bag, or squeeze bottle).
- Apply drips evenly around the cake edge.
- Cover the top surface with remaining ganache (optional).
Creating Even and Consistent Ganache Drips
Consistency in your drips is key to a professional-looking perfect ganache drip cake. Regardless of the application method you choose, the principle is similar: apply a consistent amount of ganache at regular intervals around the edge of the cake. When using a piping bag or squeeze bottle, maintain consistent pressure and release it quickly once the drip reaches the desired length.
For the spoon method, try to use roughly the same small amount of ganache for each drip and push it over the edge with similar force. Practice on your test surface until you get a feel for it. Work your way around the cake, aiming for drips that are similar in length and spacing.
Some variation adds character, but wild differences can look messy. Once the drips are complete, you can pour the remaining ganache onto the top of the cake and spread it evenly with an offset spatula, pushing it slightly towards the edges to meet the tops of the drips.
Fixing Mistakes: Correcting Uneven or Messy Ganache Drips
Even with careful preparation, sometimes a drip goes rogue. Don't panic! If a drip is too long or uneven while the ganache is still wet, you can gently use a clean, dry small offset spatula or the tip of a knife to carefully scrape it away or shorten it. Work quickly before the ganache sets completely.
If the ganache has already set and you have an unsightly drip, you have a few options. For minor imperfections, you can sometimes carefully trim the bottom of an overly long drip with a sharp, hot knife (heated by dipping in hot water and drying). For more significant issues, you might need to carefully scrape off the problematic drip section entirely and reapply ganache to that area, potentially blending it in. In some cases, strategically placed decorations like sprinkles, candies, or fresh berries can help cover up small mistakes on your perfect ganache drip cake.
Troubleshooting Common Ganache Drip Problems
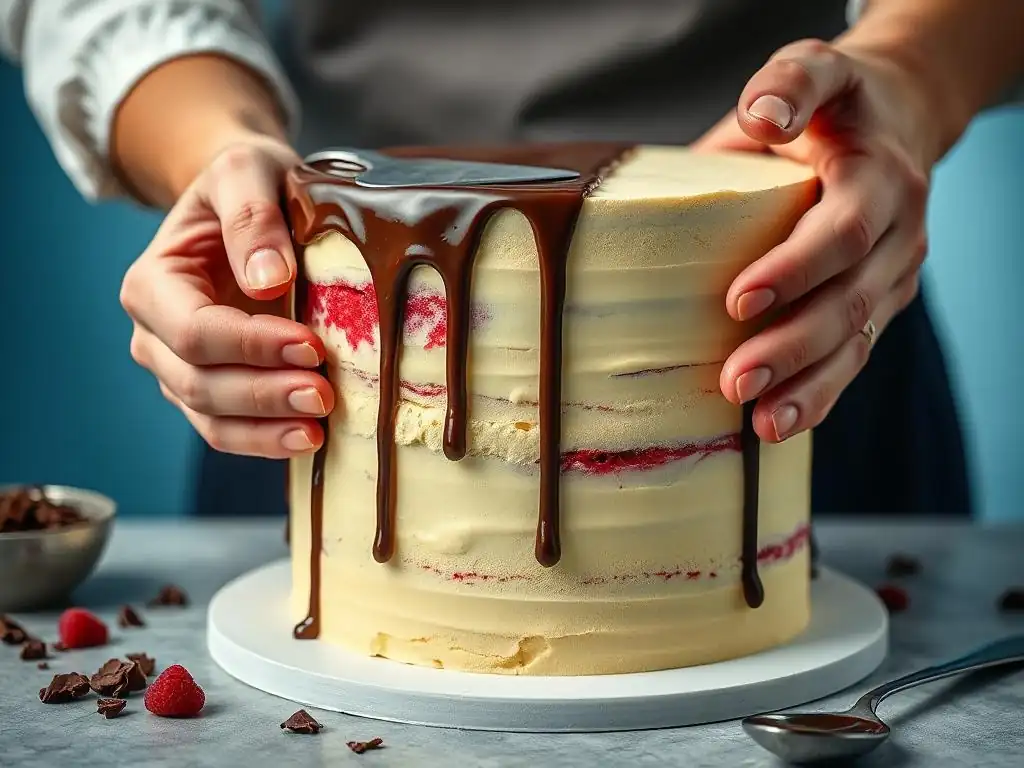
Ganache Drip Too Thick: How to Thin It Out
If your ganache has cooled too much or your chocolate-to-cream ratio is too high, resulting in a ganache that is too thick to drip properly, you can easily adjust it. The best way to thin out ganache is by gently warming it and potentially stirring in a little more warm cream.
Place the bowl of ganache back over your double boiler (or microwave it in short 10-15 second bursts, stirring in between). As it warms, it will become more fluid. If it's still too thick even when warm, heat a tablespoon or two of fresh cream until it's hot but not boiling, and stir it into the ganache, one tablespoon at a time. Stir gently until fully combined and smooth. Test the consistency again on a cold surface. Repeat adding cream if necessary, but be cautious not to add too much, or it will become too thin.
Ganache Drip Too Thin: How to Thicken It
Conversely, if your ganache is too thin and running too quickly or too far down the cake, it likely needs to cool down further or the ratio is too low in chocolate. The primary solution is patience: allow the ganache more time to cool at room temperature, stirring occasionally. As it cools, it will naturally thicken.
If you've waited a reasonable amount of time (say, 30-60 minutes) and it's still too thin, you may need to incorporate more chocolate. Gently rewarm the ganache slightly over a double boiler. Melt a small amount of additional chocolate separately using the double boiler method. Stir the melted chocolate into your ganache until fully combined and smooth. Let the mixture cool again, stirring periodically, and test the consistency before applying it to your perfect ganache drip cake. Adding more chocolate is the most reliable way to increase the viscosity of overly thin ganache.
Ganache Drip Not Sticking: Ensuring Proper Adhesion
If your ganache drips are sliding off or not adhering well to your cake's frosting, the most common culprit is that the cake was not cold enough. The contrast between the warm-ish ganache and the cold cake surface is what helps the ganache set upon contact and stick.
Ensure your frosted cake has been chilled in the refrigerator for at least 30-60 minutes (or freezer for 10-15 minutes) until the frosting is firm and cold to the touch. Also, check that your ganache is not too hot when applied; applying ganache that is too warm to a slightly-not-cold-enough cake is a recipe for drips that slide.
The ganache temperature should be in that 85-95°F (29-35°C) range. Using a frosting that sets firmly, like a crusting buttercream or a chocolate ganache frosting, also provides a better surface for the drip to adhere to compared to a very soft or wet frosting.
Ganache Drip Cracking: Preventing and Repairing Cracks
Cracking in ganache drips, especially on a perfect ganache drip cake, can be frustrating. This often happens if the ganache sets too hard or if the cake undergoes significant temperature fluctuations after the ganache has set. Using a ganache ratio that is too high in chocolate can make it brittle. Also, moving a very cold cake into a warm, humid environment too quickly can cause condensation, which might lead to cracks or a dull finish.
To prevent cracking, ensure you are using an appropriate chocolate-to-cream ratio (like 1:1 for dark chocolate, 1.5-2:1 for milk, 2.5-3:1 for white) that allows the ganache to set but remain slightly pliable. Avoid refrigerating the cake for extended periods after the ganache has set, unless necessary for stability, and allow it to come to temperature slowly before serving.
If minor cracks appear, you can sometimes gently press them closed with a warm, dry finger (work quickly!). For more significant cracks, it might be possible to carefully fill them with a tiny amount of slightly rewarmed ganache applied with a toothpick, then letting it set again.
Flavor Variations: Expanding Your Ganache Drip Cake Repertoire
Adding Extracts and Flavorings to Your Ganache
Infusing your ganache with extracts and flavorings is a simple way to add an extra dimension of taste to your perfect ganache drip cake. Vanilla extract is a classic addition, enhancing the chocolate flavor. Start with about 1/2 teaspoon per 100g of chocolate and adjust to taste. Other popular extracts include almond, peppermint (especially with dark chocolate), orange, or coffee. Be sure to use high-quality, oil-based or alcohol-based extracts, as water-based flavorings can sometimes affect the ganache texture.
Add the extract or flavoring after the ganache has been fully emulsified and is smooth. Stir it in gently until just combined. Avoid adding too much, as extracts can be potent. For a boozy twist, you can replace a small amount of the cream (say, 1-2 tablespoons) with a liqueur like Kahlúa, Grand Marnier, or rum, or add a teaspoon or two of the liqueur after emulsification. Be mindful that adding alcohol can slightly alter the consistency, potentially requiring a slight adjustment in your chocolate ratio.
Creating Colored Ganache Drips: Achieving Vibrant Hues
Creating vibrant colored ganache drips opens up endless possibilities for matching your perfect ganache drip cake to any theme or celebration. The easiest way to make colored ganache is by starting with white chocolate ganache, as its pale base takes color well. You must use oil-based or powder-based food coloring designed for chocolate or candy making. Water-based gel or liquid food colorings will cause the chocolate to seize, resulting in a lumpy, unusable mess.
Add the coloring sparingly, a drop or a tiny bit of powder at a time, to the melted white chocolate ganache. Stir gently but thoroughly to distribute the color evenly. Continue adding small amounts until you achieve the desired hue. Remember that the color may deepen slightly as the ganache cools and sets. For darker or more vibrant colors, you might need more coloring. Practice mixing colors to get specific shades, just like painting!
Exploring Different Chocolate Combinations for Unique Ganache Flavors
Beyond using single types of chocolate, combining different chocolates can yield complex and unique ganache flavors for your perfect ganache drip cake. For instance, mixing dark and milk chocolate creates a "semi-sweet" or "dark milk" ganache with a balanced richness and sweetness. A ratio of 50% dark chocolate and 50% milk chocolate (adjusting the overall chocolate-to-cream ratio based on the combined weight) can be a good starting point.
Another interesting combination is mixing white chocolate with a small amount of dark or milk chocolate to create pastel shades of brown or to add a subtle chocolate undertone to a primarily white ganache. For example, a white chocolate ganache with 10-20% milk chocolate added can create a lovely caramel-like color and flavor. Experimenting with different percentages and chocolate types allows you to fine-tune the flavor and color of your ganache drip to perfectly complement your cake.
Advanced Ganache Drip Techniques
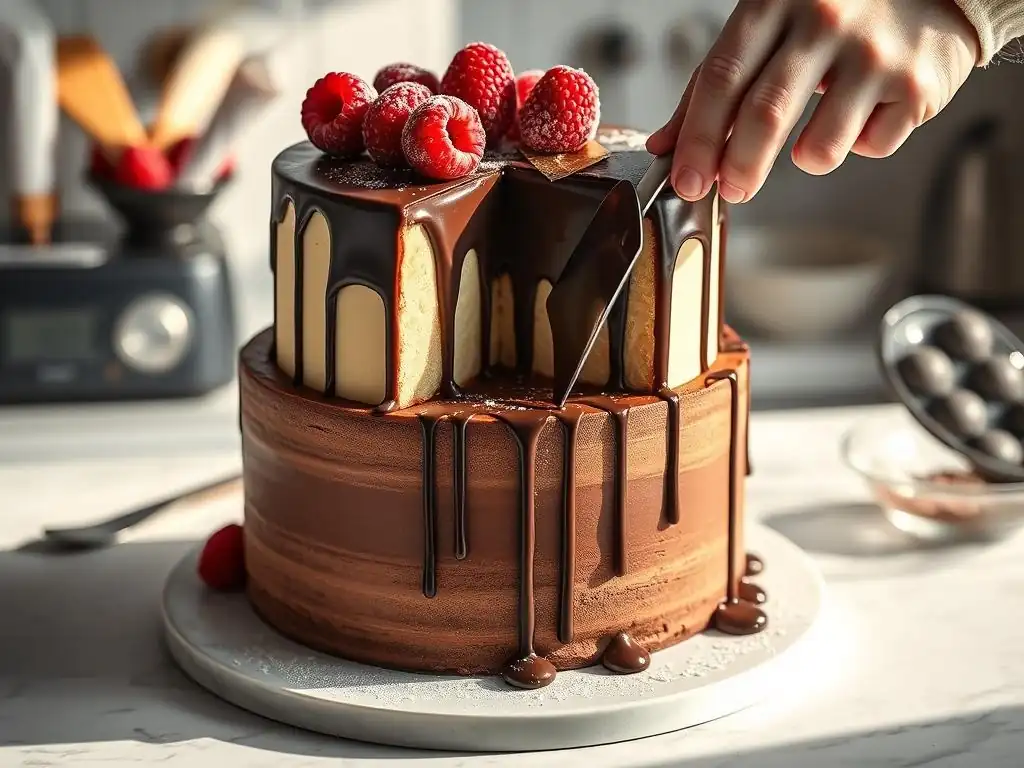
Creating Ombre Ganache Drips
Ombre ganache drips create a beautiful gradient effect, transitioning from one color or shade to another down the side of the perfect ganache drip cake. This technique requires careful planning and execution. Start by making your ganache, often white chocolate ganache for easy coloring. Divide the ganache into several portions (say, 3-4 portions for a simple ombre).
Color each portion a progressively darker shade of your chosen color using oil-based or powder coloring. Start with the lightest shade. Apply a band of drips around the top edge of the cake using the lightest color. Let these set slightly (maybe 5-10 minutes in the fridge).
Then, apply the next darker shade just below the first set of drips, allowing them to overlap slightly and encouraging some drips to run down further. Repeat with each progressively darker shade, working your way down the cake. The key is to overlap slightly and work relatively quickly so the layers blend somewhat before fully setting, creating the gradient effect.
Incorporating Textures into Your Ganache Drip
Adding texture to your ganache drip can create visual interest and a unique look on your perfect ganache drip cake. One popular method is creating a "textured" or "distressed" drip rather than a perfectly smooth one. This can be achieved by slightly overcooling your ganache so it's thicker than ideal for smooth drips, then applying it with a spoon and intentionally manipulating it slightly with the back of the spoon or an offset spatula as it starts to set.
Another way to incorporate texture is by adding fine, crunchy elements into the ganache itself before applying it, such as finely crushed freeze-dried berries or very fine edible glitter. Ensure the additions are small enough not to clog your application tool (especially if using a squeeze bottle). Alternatively, you can sprinkle fine edible glitter, edible pearls, or very small nonpareils onto the wet ganache drips immediately after applying them to the cake for a sparkling or bumpy texture.
Using Edible Glitter and Sprinkles for Added Sparkle
Edible glitter and sprinkles are fantastic for adding sparkle and fun to your perfect ganache drip cake. The best time to apply them is immediately after the ganache drip has been applied to the cake, while it is still wet and tacky. This allows the glitter or sprinkles to adhere properly.
For a subtle shimmer, you can gently brush edible glitter or luster dust onto the set ganache drips using a soft food-safe brush, but application while wet gives a more embedded, durable sparkle. For sprinkles, simply pinch a small amount between your fingers and gently press them onto the wet drips, or carefully pour them over the drips. Small nonpareils, sanding sugar, or very fine edible glitter work best for drips, as larger sprinkles might slide off. Be generous but precise to avoid getting sprinkles where you don't want them on your perfect ganache drip cake.
Storing Your Ganache Drip Cake: Maintaining Freshness and Appearance
Proper Storage Techniques for Drip Cakes
Storing a perfect ganache drip cake requires careful consideration to maintain both its freshness and the integrity of the ganache drip. The ideal storage method depends largely on the type of cake and frosting used, but generally, drip cakes are best stored in an airtight container in the refrigerator. This is especially true if your cake contains perishable fillings (like fresh fruit or cream cheese frosting) or if the ganache is made with a higher cream ratio.
Before storing, ensure the ganache drip is fully set. Placing the cake in a cake carrier or a large container with a lid will protect the delicate drips from being smudged or damaged. If the cake is too tall for a standard container, you might need to improvise with an overturned bowl secured to the cake board with plastic wrap around the base, or store it uncovered in a dedicated fridge space away from strong odors, then cover it loosely once the ganache is very firm.
Preventing the Ganache Drip from Melting or Cracking During Storage
Preventing your perfect ganache drip from melting or cracking during storage is crucial for maintaining its visual appeal. Melting is usually a concern if the cake is stored in a warm environment or if the ganache ratio was too thin (too much cream). Cracking, as mentioned before, can happen if the ganache is too hard or if the cake experiences rapid temperature changes.
Storing the cake in the refrigerator is the primary defense against melting. Ensure the fridge temperature is stable and not too warm. To prevent cracking, avoid placing the cake directly in front of cooling vents in the refrigerator.
When ready to serve, allow the cake to sit at room temperature for 30-60 minutes (depending on size and ambient temp) before cutting. This allows the cake, frosting, and ganache to soften slightly, preventing cracks when the knife goes through the ganache layer. Covering the cake loosely during this tempering period can also help prevent condensation, which can dull the ganache's shine.
Perfect Ganache Drip Cake: Final Thoughts and Inspiration
Creating a perfect ganache drip cake is a rewarding endeavor that combines baking precision with artistic flair. We've covered the fundamentals, from understanding ganache ratios and temperatures to mastering application techniques and troubleshooting common issues. Remember that practice makes perfect; your first ganache drip might not be flawless, but each attempt will refine your skills.
Don't be afraid to get creative with your perfect ganache drip cake! Experiment with different chocolate types, add unique flavorings, play with colors and textures, or combine techniques like ombre drips with sprinkles. The beauty of the ganache drip lies in its versatility and the stunning visual impact it provides. With the knowledge and techniques shared here, you are well-equipped to create beautiful, delicious drip cakes that will impress everyone. Happy baking and dripping!
Frequently Asked Questions
How do I achieve the perfect consistency for my ganache drip?
The key is the ratio of chocolate to cream. Too much chocolate and it will be too thick; too much cream and it will be too runny. Experiment with small batches to find the sweet spot.
What type of chocolate is best for a ganache drip?
Using high-quality chocolate is crucial. Semi-sweet or dark chocolate are popular choices, but milk chocolate can also work if you prefer a sweeter drip.
How do I prevent my ganache drip from being too thick or thin?
Carefully monitor the temperature during the melting process. Overheating can cause the chocolate to seize and become thick. If too thin, add more melted chocolate a little at a time.
How can I get a smooth and even ganache drip down the sides of my cake?
Allow the ganache to cool slightly before applying it to the cake. Use a squeeze bottle or spoon to create a controlled and even drip.
What are some tips for coloring my ganache drip?
Use gel food coloring for vibrant colors. Avoid liquid food coloring as it can alter the consistency of the ganache and make it too thin.
Final Reflection: Mastering the Art of the Perfect Ganache Drip
The pursuit of the perfect ganache drip is more than just a baking trend; it's a testament to the power of precision and artistry in the kitchen. This seemingly simple technique, as explored throughout this article, unlocks a world of creative possibilities, transforming ordinary cakes into stunning showstoppers. The ability to flawlessly execute a ganache drip elevates a baker's confidence and opens doors to more intricate cake designs.
The impact of visually appealing desserts on our culture is undeniable. We live in a world saturated with images of beautifully crafted cakes, and the ganache drip, in particular, has become a symbol of sophisticated baking. The beauty of baking lies not just in the taste, but in the artistry of creation.
This quote perfectly encapsulates the feeling of accomplishment and pride that comes with mastering a technique like the ganache drip, a feeling shared by countless bakers worldwide. It's a skill that transcends mere culinary proficiency; it's a statement of creativity and dedication.
Now, it's your turn. Don't just admire the perfect ganache drip from afar; embrace the challenge! Experiment with different chocolate types, explore temperature variations, and most importantly, don't be afraid to make mistakes. Each drip, whether perfect or imperfect, is a step towards mastering this elegant technique and unlocking your own unique baking potential. The journey to the perfect ganache drip is a rewarding one, filled with delicious discoveries and the sweet satisfaction of creating something truly beautiful.
Unlock Your Inner Pastry Chef: Master the Perfect Ganache Drip!
Thanks for taking the time to learn about creating stunning ganache drips! You've now got the knowledge to elevate your baking game. Ready to put your new skills to the test?
- Create your masterpiece: Grab your ingredients and try making a drip cake today! Experiment with different chocolate types and flavor combinations. Don't be afraid to get creative!
- Share your success: Show off your beautiful creation on social media using #BakeWithEaseDripCake and tag us! We'd love to see your results.
- Join the BakeWithEase Community: Head over to our forums to share tips, ask questions, and connect with fellow baking enthusiasts.
What delicious flavor combination will you try for your first perfect ganache drip?