
Quick & Easy Basic White Bread: Ready Faster!

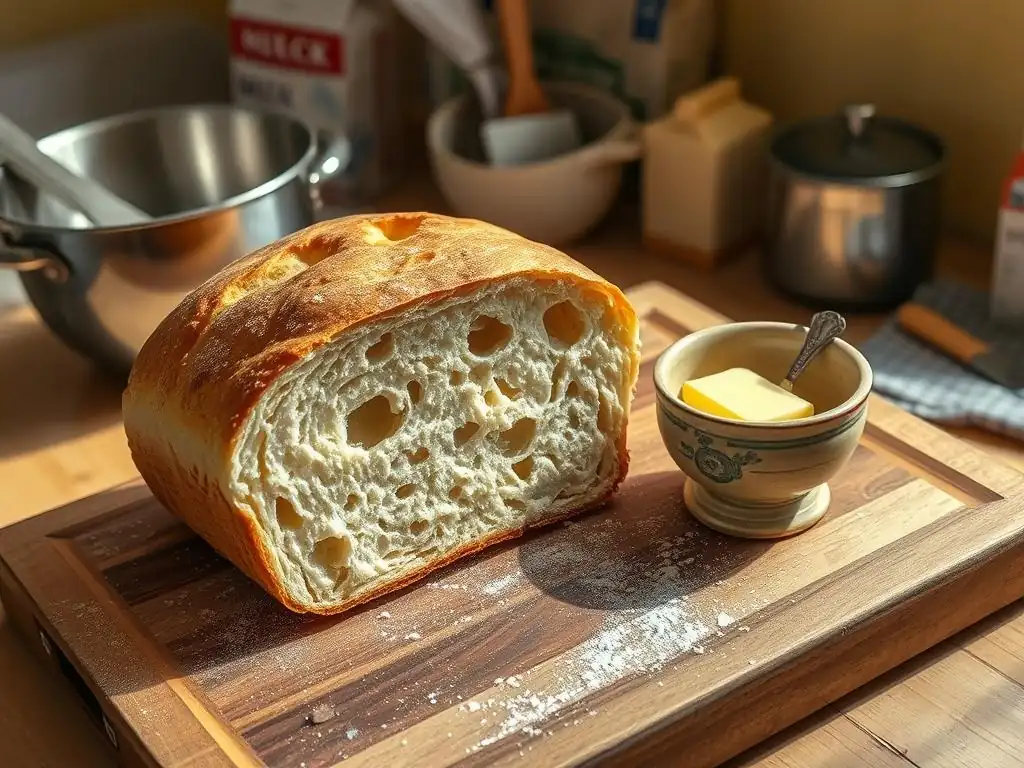
Welcome to BakeWithEase, your trusted companion on your baking journey! Ever dreamt of pulling a perfectly golden loaf of bread from your oven? This is your chance! Dive in to our easy white bread recipe – a simple, satisfying bake that even beginners can master. But that's just the beginning. Discover countless baking secrets and step-by-step guides to unlock your inner baker and create delicious treats for any occasion. What other amazing breads and pastries await your touch? Let's find out!
- Introduction to Sourdough Starters
- Preparing to Create Your Sourdough Starter
- Step-by-Step Guide: Cultivating Your Sourdough Starter
- Tips and Tricks for a Successful Sourdough Starter
- Storing Your Sourdough Starter
- Using Your Active Sourdough Starter
- Conclusion: Mastering Sourdough Starters
- Frequently Asked Questions
- Final Reflection: The Enduring Power of Simple Bread
- Unleash Your Inner Baker: Make Bread Today!
Introduction to Sourdough Starters
Understanding Sourdough: A Natural Leavening Journey
Sourdough baking taps into one of the oldest methods of leavening bread, relying not on commercial yeast, but on a living culture of wild yeasts and beneficial bacteria naturally present in flour and the environment. This culture, known as a sourdough starter, is essentially a simple mixture of flour and water that, over time and with regular care, develops into a stable community of microorganisms capable of producing carbon dioxide gas. This gas is what makes bread rise, creating that characteristic airy texture.
The process is a fascinating microcosm of fermentation. Wild yeasts consume the sugars in the flour, producing alcohol and carbon dioxide. Simultaneously, lactic acid bacteria (LAB) get to work, metabolizing sugars and producing lactic and acetic acids. It's this acidic environment created by the LAB that inhibits undesirable molds and bacteria while providing the unique tangy flavor profile synonymous with sourdough bread. Building and maintaining this symbiotic ecosystem is the heart of mastering naturally leavened baking.
Why Choose Sourdough? Flavor, Digestion, and More
Baking with sourdough offers a depth of flavor that's simply unparalleled by commercially yeasted breads. The complex array of acids produced by the bacteria imparts a signature tang, ranging from mildly sweet and milky (lactic acid) to sharp and vinegary (acetic acid), depending on how the starter is fed and maintained. This natural fermentation also transforms the dough, leading to a more complex and nuanced taste experience in the finished loaf, a far cry from the often uniform flavor of a quick easy white bread recipe using commercial yeast.
Beyond taste, many people find sourdough bread easier to digest. The long fermentation process begins to break down gluten and phytic acid (a compound found in grains that can inhibit nutrient absorption), potentially making the bread more bioavailable and less likely to cause digestive discomfort for some individuals. Furthermore, maintaining your own sourdough starter gives you complete control over the ingredients in your bread, allowing you to bake delicious, wholesome loaves free from commercial additives, contributing to healthier eating habits.
Preparing to Create Your Sourdough Starter
Essential Ingredients for a Thriving Starter
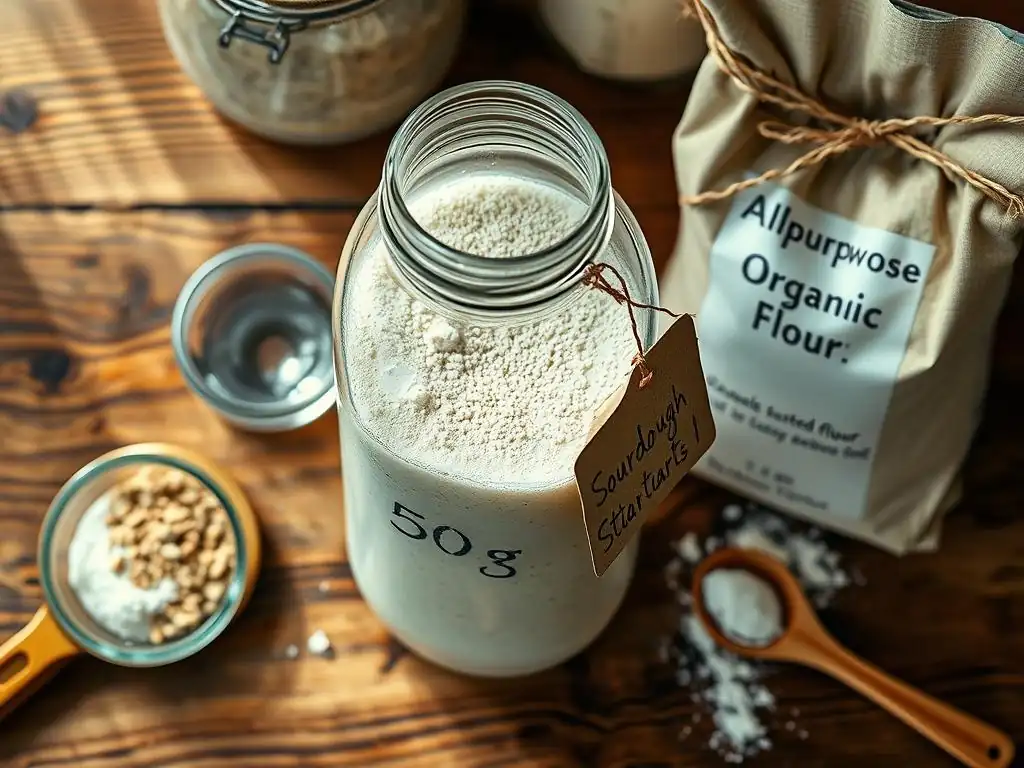
Creating a sourdough starter requires just two fundamental ingredients: flour and water. While seemingly simple, the quality and type of each can significantly impact your starter's development. Flour provides the necessary food source (starches and sugars) and is home to the wild yeasts and bacteria. Using organic flour, especially rye or whole wheat, is often recommended for beginners as these flours contain a higher concentration of natural microbes and nutrients, which can help kickstart fermentation more vigorously than refined white flour. However, a starter can absolutely be successfully cultivated using plain all-purpose white bread flour.
Water is equally crucial. It hydrates the flour, creating a hospitable environment for microbial growth. It's vital to use non-chlorinated water, as chlorine can inhibit or kill the beneficial microorganisms you're trying to cultivate.
Bottled spring water or filtered tap water are excellent choices. If you must use chlorinated tap water, letting it sit out in an open container for 24 hours allows the chlorine to dissipate. The balance of flour and water (hydration level) will affect your starter's consistency and how it behaves, but a 1:1 ratio by weight is a standard and easy starting point for a new sourdough starter recipe.
Must-Have Tools for Sourdough Starter Success
While you don't need a professional bakery setup, having the right tools makes the sourdough starter journey much smoother. A clear glass jar or container is essential. Glass is non-reactive, easy to clean, and allows you to visually track your starter's progress – watching for bubbles, rise, and texture changes. A container with straight sides is particularly helpful for marking the initial level and observing how much it rises between feedings. Aim for a container that can hold at least twice the volume of your starter to accommodate its growth.
Precision is key in baking, and especially when nurturing a sourdough starter recipe. A digital kitchen scale is invaluable for accurately measuring flour and water by weight, ensuring consistent feeding ratios day after day. Measuring by volume (cups) can be inconsistent due to how flour packs. You'll also need a non-reactive spoon or spatula for mixing your starter – wood, silicone, or plastic are good choices. A rubber band or a washable marker placed on the outside of your jar at the starter's initial level after feeding is a simple yet effective way to monitor its activity and rise.
Step-by-Step Guide: Cultivating Your Sourdough Starter
Day 1: Mixing Flour and Water: The Initial Fermentation
The beginning of your sourdough starter recipe journey starts with a simple mix. To begin, combine equal parts flour and non-chlorinated water by weight in your clean glass jar. For example, you might start with 50 grams of whole wheat or rye flour and 50 grams of water. Mix these together thoroughly until no dry flour remains and you have a thick, paste-like consistency. Some prefer a slightly wetter or drier consistency, but a 1:1 hydration is standard.
Cover the jar loosely. A lid resting on top, plastic wrap secured with a rubber band and poked with holes, or a breathable cloth cover all work well. The goal is to keep contaminants out while allowing gases produced during fermentation to escape. Place your jar in a warm spot, ideally between 70-80°F (21-27°C), away from direct sunlight or drafts. This initial mix allows the natural yeasts and bacteria present on the flour to begin waking up and colonizing their new home. Don't expect much activity on day one; it's a quiet start to a bustling microbial community.
Days 2-7: Feeding and Observing: Identifying Key Changes
From day two onwards, you'll begin the daily feeding routine and start observing changes. Each day, discard a portion of your starter (this might feel wasteful, but it's crucial for managing the starter's volume and acidity) and feed the remainder with fresh flour and water. A common feeding ratio is to keep 50 grams of starter and feed it with 50 grams of fresh flour and 50 grams of fresh water (a 1:1:1 ratio). Mix well and return it to a clean jar (or clean the original jar periodically).
Between days 2 and 5, you might notice some initial bubbling or a slightly sour smell. This is often caused by less desirable bacteria that are active early on. Don't be discouraged if activity seems inconsistent or disappears entirely for a day or two.
Around days 5-7, you should start seeing more consistent signs of fermentation: visible bubbles throughout the starter, a noticeable rise (it might double in size), and a more pleasant, tangy, or yeasty aroma. The texture might also become more airy and spongy. These are signs that the wild yeasts and desirable lactic acid bacteria are becoming dominant.
Day 8+: Maintaining a Healthy and Active Starter
By day 8, or sometimes a bit later depending on environmental factors and flour type, your sourdough starter should be showing reliable signs of activity. It should regularly double or triple in size within 4-8 hours after feeding when kept at room temperature, have many visible bubbles, and smell pleasantly tangy and yeasty. At this point, it is considered mature and ready for baking a delicious loaf of naturally leavened bread or using in other sourdough recipes.
To keep your mature starter healthy and active for regular baking, continue feeding it daily at room temperature. The standard 1:1:1 ratio (starter:flour:water by weight) is a good maintenance ratio. Feed it around the same time each day. If you're baking frequently, you might even feed it twice a day to ensure it's always vibrant and strong when you need it. A robust, regularly fed starter is the key ingredient for successful sourdough bread baking.
Tips and Tricks for a Successful Sourdough Starter
Achieving Consistent Results with Your Starter
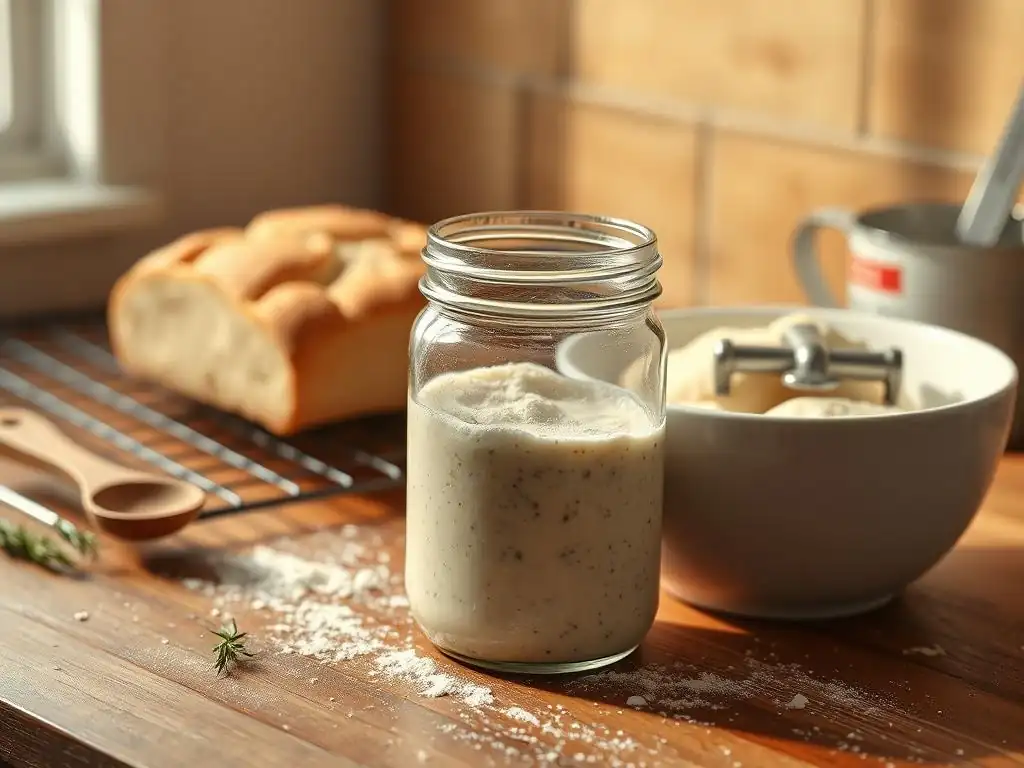
Consistency is paramount when cultivating and maintaining a sourdough starter recipe. Maintaining a stable temperature is perhaps the most significant factor influencing activity. Wild yeast and bacteria thrive in warm environments, typically between 75-80°F (24-27°C). Fluctuating temperatures can lead to inconsistent rise and fermentation times. If your kitchen is cool, consider finding a warmer spot like near a warm appliance, inside a turned-off oven with the light on, or using a proofing box or mat.
Equally important is using consistent ingredients and feeding ratios. Always measure your flour and water by weight using a digital scale to ensure accuracy. Switching between different types of flour or varying your hydration significantly can confuse the microbial balance. Feeding your starter around the same time each day also helps establish a predictable rhythm, making it easier to know when your starter is at its peak activity and ready to be used in your easy sourdough bread recipe.
Troubleshooting Common Sourdough Starter Problems
Even with care, you might encounter issues with your sourdough starter. One common problem is 'hooch,' a layer of liquid that separates on top of the starter. This is usually alcohol, a byproduct of yeast fermentation, and indicates your starter is hungry and needs more frequent feeding or a larger feeding ratio. You can pour it off or stir it back in, then resume regular feeding. A slow or inactive starter, especially in the early days or after refrigeration, often just needs time, consistent feeding, and a warmer environment to become active again.
Mold, however, is a serious issue. If you see any fuzzy, colored spots (green, black, pink), discard the entire starter and start fresh. Mold indicates contamination. Unpleasant smells, like strong acetone or rotten smells, usually occur in young starters and will disappear as the desirable bacteria take over. Persistent bad smells in a mature starter can indicate it's being neglected or kept too cold. Increasing feeding frequency or moving it to a warmer spot usually resolves this. Patience and observation are your best tools for troubleshooting your sourdough starter recipe.
Adapting to Different Environments and Flour Types
Your local environment plays a significant role in your sourdough starter's behavior. Starters in warm, humid climates will often be more active and may require more frequent feeding than those in cool, dry climates. You may need to adjust your feeding schedule or even the hydration of your starter based on your ambient temperature and humidity. Pay attention to how quickly your starter peaks after feeding; this is your best indicator of its needs in your specific environment.
Different flours also behave differently. Whole grain flours like rye and whole wheat tend to ferment more quickly and vigorously due to their higher nutrient content and microbial load compared to refined white flours. If you switch flour types, your starter might take a few feedings to adjust. You might find you prefer maintaining your starter with a blend of flours. Experimenting with different flours can also subtly change the flavor profile of your starter and the resulting sourdough bread.
Storing Your Sourdough Starter
Refrigerating for Dormancy: Slowing Down Activity
If you don't plan on baking every day, keeping your sourdough starter at room temperature requires daily feeding, which generates a significant amount of discard. To reduce maintenance and waste, you can store your mature starter in the refrigerator. Refrigeration significantly slows down the microbial activity, putting the starter into a state of dormancy. This allows you to feed it much less frequently, typically once a week or even every two weeks, depending on how long you plan to store it.
To refrigerate your starter, give it a normal feeding and let it sit at room temperature for 2-3 hours until you see some initial signs of activity (small bubbles). Then, place the loosely covered jar in the back of your refrigerator, where the temperature is most stable. This brief period at room temperature after feeding ensures the microbes have fresh food before going into cold storage. Storing your starter this way makes baking an easy sourdough bread recipe on the weekend feasible without the daily commitment.
Reviving a Refrigerated Starter: Preparing for Baking
When you're ready to bake after refrigerating your starter, you'll need to revive it to its full active state. Take the starter out of the refrigerator and let it come to room temperature for a few hours. It might have some hooch on top; you can pour this off or stir it in. Discard most of the starter, leaving just a small amount (e.g., 50 grams), and feed it with fresh flour and water using your usual ratio (e.g., 50g starter + 50g flour + 50g water).
Feed your starter at room temperature 1-3 times, discarding most before each feeding, until it is consistently doubling or tripling in size within 4-8 hours and looks bubbly and active. This process might take 24-48 hours, depending on how long it was refrigerated and its initial strength. Once it's reliably active and passes the float test (see below), it's ready to be used in your sourdough bread recipe. Plan ahead when baking with a refrigerated starter to ensure it's fully revived.
Using Your Active Sourdough Starter
Determining Readiness: Float Test and Visual Cues
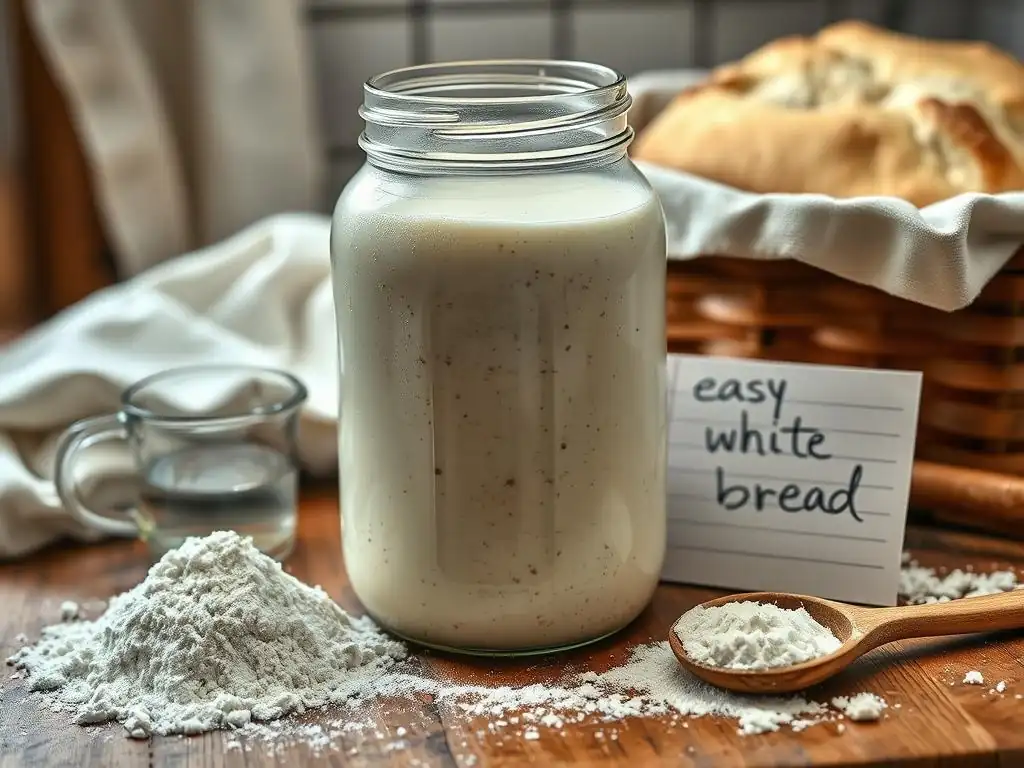
Knowing when your sourdough starter is at its peak activity is crucial for successful baking. The most common test is the "float test." After feeding, when your starter appears bubbly and has significantly risen, gently take a small spoonful and drop it into a glass of room-temperature water. If the starter floats, it is light and airy from adequate gas production and is ready to be used. If it sinks, it needs more time to ferment and build strength.
Visual cues are also important. An active starter will typically have doubled or tripled in volume since its last feeding. Look for numerous bubbles on the surface and along the sides of the jar. The surface should appear domed or slightly rounded. If you peek inside, you should see a network of airy pockets. An active starter will also have a pleasant, tangy, yeasty aroma, not overwhelmingly acidic or like nail polish remover. Using your starter at its peak ensures maximum leavening power for your sourdough bread recipe.
Incorporating Starter into Sourdough Bread Recipes
Once your sourdough starter is active and ready, it replaces the commercial yeast in a traditional bread recipe. Most sourdough bread recipes specify the amount of active starter needed, usually measured by weight. The starter contributes both leavening power and flavor to the dough. Remember that your starter is a mix of flour and water, so when adding it to a recipe, you are also adding a portion of the total flour and water required.
Many recipes are written using baker's percentages, where the starter's weight is a percentage of the total flour weight in the recipe. Understanding your starter's hydration level (the ratio of water to flour in your starter) is important, as it affects the overall hydration of your final dough. For instance, a 100% hydration starter (equal parts flour and water by weight) will contribute equal amounts of flour and water to your dough mixture. Incorporating your vibrant starter is the exciting step that brings your sourdough starter recipe full circle into a delicious loaf.
Conclusion: Mastering Sourdough Starters
Recap: The Key to a Thriving Sourdough Starter
Cultivating and maintaining a healthy sourdough starter is a rewarding process that unlocks the world of naturally leavened baking. The keys to success are surprisingly simple: consistent feeding with quality flour and non-chlorinated water, maintaining a warm and stable environment, and patient observation. Your starter is a living culture, and like any living thing, it thrives on routine and attention.
Remember that variations in temperature, flour type, and water can all influence your starter's behavior. Don't be discouraged by setbacks like slow activity or hooch; these are normal parts of the journey. By consistently feeding your starter and paying attention to its cues – its rise, its bubbles, its smell – you will develop an intuitive understanding of its needs and ensure you always have a vibrant culture ready to bake. Mastering this foundational sourdough starter recipe is your first step to incredible bread.
Further Baking Adventures: Explore Sourdough Recipes
With a healthy, active sourdough starter in hand, the possibilities for baking are vast and exciting. While the classic rustic sourdough loaf is a popular starting point, your starter can be used in a wide variety of recipes. Explore baking enriched doughs like brioche or challah using your starter for a subtle tang and improved texture. Try your hand at sourdough pizza crust, bagels, or even pastries.
Don't forget about sourdough discard! The portion of starter you remove before feeding isn't waste; it's a valuable ingredient that can be used in countless recipes that don't rely on leavening, such as pancakes, waffles, crackers, muffins, and quick breads. Baking with your own starter is a deeply satisfying experience, connecting you to ancient baking traditions and allowing you to create delicious, wholesome goods right in your own kitchen, potentially even inspiring you to adapt an easy white bread recipe into a naturally leavened version.
Frequently Asked Questions
What makes this white bread recipe "quick and easy"?
This recipe emphasizes simplicity and speed. It uses common ingredients and streamlined mixing and proofing methods to get bread on the table faster than traditional recipes.
Is this recipe suitable for beginner bakers?
Yes! The recipe is designed with beginners in mind. It includes clear, step-by-step instructions and focuses on basic techniques, making it a great starting point for new bakers.
What kind of flour is best for this easy white bread?
All-purpose flour is ideal for this recipe. It provides the right balance of gluten for a soft and slightly chewy texture, perfect for a classic white bread.
Can I add any variations to this basic white bread recipe?
Absolutely! You can experiment with adding herbs, seeds, or cheeses to the dough for added flavor and texture. Consider adding a touch of sweetness with honey or maple syrup.
How should I store this white bread to keep it fresh?
Store the cooled bread in an airtight container or bread bag at room temperature. This will help prevent it from drying out and maintain its soft texture for several days.
Final Reflection: The Enduring Power of Simple Bread
The humble loaf of white bread, a staple across cultures and generations, remains a powerful symbol of comfort and nourishment. Its simplicity belies the satisfaction derived from creating something delicious and wholesome from scratch, a fact made even more relevant in today's fast-paced world where convenience often trumps homemade goodness. This recipe, designed for speed and ease, aims to bridge that gap, making the joy of baking accessible to everyone.
The enduring appeal of bread-making transcends mere sustenance; it's a connection to our history, a tangible link to our ancestors who relied on this basic food for survival. It's a meditative process, the rhythmic kneading a form of stress relief, the warm aroma a comfort to the soul. As the poet Mary Oliver so eloquently put it: What is it you plan to do with your one wild and precious life?
Baking this bread, even in its simplest form, is a small but meaningful way to answer that question, to invest time and energy into something beautiful and nourishing.
Now, consider your own kitchen. Imagine the warmth of the oven, the satisfying thud of the dough, the fragrant steam rising from a freshly baked loaf. This isn't just a recipe; it's an invitation. An invitation to slow down, to connect with the process of creation, and to share the simple pleasure of homemade bread with those you love. Take the time, even if it's just once, to experience the magic of transforming flour, water, and yeast into something truly special. You might be surprised by the joy it brings.
Unleash Your Inner Baker: Make Bread Today!
Thanks for taking the time to explore the world of quick and easy bread making! We hope you now feel confident in tackling this classic recipe. Ready to put your new skills to the test?
- Bake a loaf today: Use our recipe as a springboard – experiment with different flours, herbs, or add-ins! See what delicious variations you can create.
- Share your success: Post a picture of your freshly baked bread on social media and tag us! Let's inspire others to try their hand at home baking.
- Challenge yourself: Try adapting the recipe to make rolls or even a pizza crust! The possibilities are endless.
What exciting bread-baking adventures will you embark on next?