
Spot the Signs: Knowing When Your Dough is Perfectly Fermented

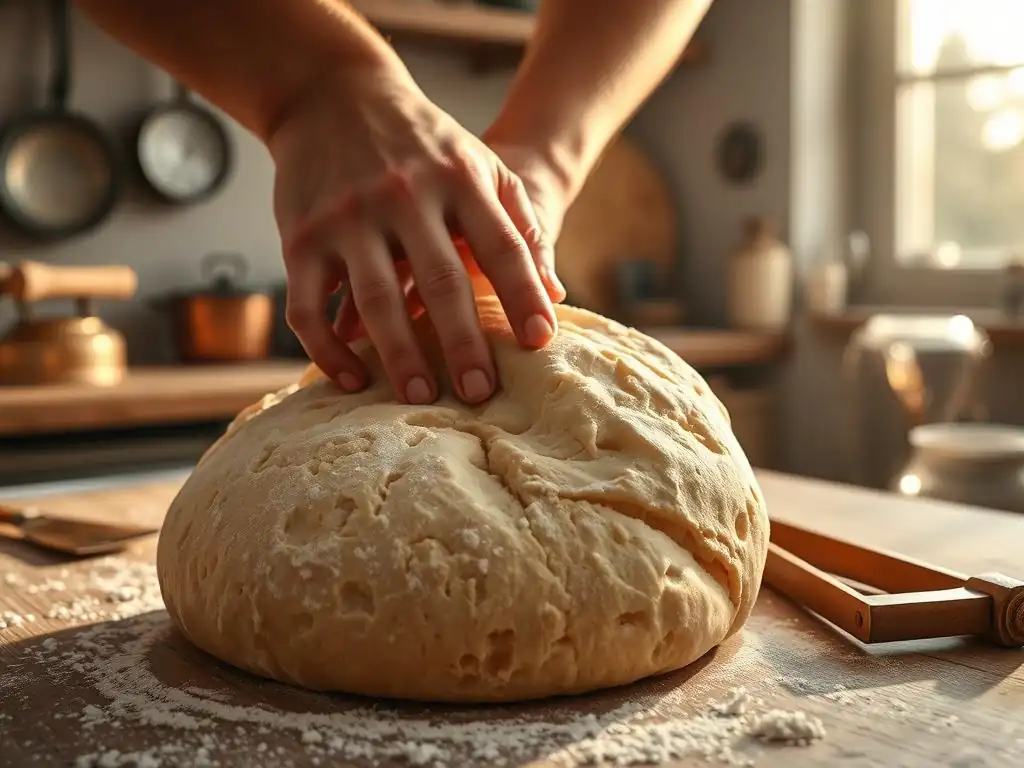
Welcome to BakeWithEase, your kitchen companion on the journey to baking bliss! Are you ready to unlock the secrets to perfectly fermented dough? This isn't just about following a recipe; it's about understanding the subtle signs that tell you your dough is ready for its star turn. Join us as we dive deep into the science of fermentation, empowering you to create breads and pastries with unparalleled flavor and texture. Curious to know if your dough is truly ready? Let's find out!
- Introduction to Dough Fermentation: Achieving Baking Perfection
- Key Indicators of Perfectly Fermented Dough: Visual Cues
- The Aroma of Fermented Dough: A Sensory Guide
- Testing Your Dough: Practical Techniques for Fermentation Assessment
- Factors Affecting Dough Fermentation Time: A Comprehensive Overview
- Common Fermentation Problems and Solutions: Troubleshooting Guide
- Creating Your Own Perfectly Fermented Dough Recipe: A Step-by-Step Guide
- Mastering Sourdough Fermentation: A Deeper Dive
- Conclusion: Enjoy the Rewards of Perfectly Fermented Dough
- Frequently Asked Questions
- Final Reflection: The Alchemy of Perfectly Fermented Dough
- Unlock Your Baking Potential: Perfectly Fermented Dough Awaits!
Introduction to Dough Fermentation: Achieving Baking Perfection
Why Proper Fermentation is Crucial for Baking Success at BakeWithEase
Achieving a perfectly fermented dough is the cornerstone of successful baking, whether you're aiming for a light and airy loaf or a tender, flavorful pastry. Fermentation, often called proofing or rising, is the magical process where yeast consumes sugars in the dough and produces carbon dioxide gas and alcohol. This gas is what creates the airy structure in baked goods, giving bread its rise and cakes their tender crumb. Without adequate fermentation, your baked goods will be dense, heavy, and lack the complex flavors that develop during this crucial stage.
At BakeWithEase, we emphasize that understanding fermentation is key to moving from simply following a recipe to truly mastering the art of baking. A perfectly fermented dough recipe isn't just about ingredients; it's about managing time, temperature, and yeast activity. For example, a typical white bread dough might need to double in size, taking anywhere from 1 to 2 hours at room temperature (around 75°F or 24°C). Rushing this process or letting it go too long can drastically alter the final texture and taste, leading to disappointing results like a gummy interior or a flat loaf.
Understanding the Role of Yeast in Dough Development
Yeast, a single-celled microorganism, is the primary driver of fermentation in most doughs. It's essentially a tiny factory that consumes simple sugars present in the flour (which are created by enzymes breaking down complex carbohydrates) and, in the absence of oxygen, converts them into ethanol (alcohol) and carbon dioxide gas. This CO2 gas gets trapped within the gluten network of the dough, causing it to expand and rise. The alcohol produced contributes to the flavor profile of the finished product.
Beyond just producing gas, yeast activity also influences the development of the gluten structure in the dough. Enzymes in the flour, activated by water and yeast activity, help break down proteins, making the dough more extensible and manageable. This process is vital for creating a strong yet flexible network capable of holding the gas produced.
Consider a simple pizza dough: allowing it to ferment slowly in the refrigerator for 24-48 hours (a cold fermentation) allows yeast and enzymes more time to work, resulting in a crust with deeper flavor and a better texture than one proofed quickly at room temperature for just an hour. Mastering the delicate balance of yeast, time, and temperature is fundamental to achieving a truly perfectly fermented dough recipe.
Key Indicators of Perfectly Fermented Dough: Visual Cues
Volume Increase: How Much Should Your Dough Rise?
One of the most obvious signs of fermentation is the increase in dough volume. As the yeast produces carbon dioxide, the dough expands. For many standard bread doughs, a common benchmark for the first rise (bulk fermentation) is that the dough should approximately double in size. However, this is a general guideline and can vary depending on the type of bread, hydration level, and desired outcome. For instance, a rich brioche dough might only need to increase by 50-75% before shaping, whereas a rustic lean dough might benefit from a full doubling or slightly more.
To accurately gauge volume increase, it's helpful to place your dough in a clear container or a measuring cup. You can even mark the starting level. Observing the dough's progress over time provides a concrete visual cue. If your dough has doubled in size in the expected timeframe (e.g., 1.5 hours at room temperature for a standard loaf dough), it's a strong indicator that the yeast is active and fermentation is progressing well towards a perfectly fermented dough. Conversely, if it has barely risen after the expected time, it might indicate issues with yeast activity or temperature.
Dough Texture: Assessing the Elasticity and Stretch
As dough ferments, its texture undergoes a significant transformation. Initially, after mixing and kneading, dough is often tight and resistant. During fermentation, the gluten network relaxes and develops, making the dough more pliable, elastic, and less sticky. A perfectly fermented dough should feel soft, airy, and slightly puffy to the touch. When you gently handle it, it should stretch without tearing easily, indicating a well-developed gluten structure capable of holding the fermentation gases.
You can assess the texture by gently pressing your finger into the dough (the poke test, which we'll discuss later). A well-fermented dough will yield to the touch and spring back slowly, leaving a slight indentation. If the dough springs back immediately, it likely needs more time to ferment. If it collapses completely or feels overly fragile, it might be over-fermented. This tactile assessment is a critical skill in determining if you've achieved that sought-after perfectly fermented dough texture.
Surface Appearance: Identifying Bubbles and a Smooth Finish
The surface of your dough also offers valuable clues about its fermentation progress. As yeast produces gas, small bubbles often become visible just beneath the surface of the dough. The surface itself should appear smoother and tauter compared to its initial state, especially after the first rise. Sometimes, larger bubbles might form on the surface, particularly in doughs with higher hydration or longer fermentation times, like ciabatta.
Observing these visual cues helps confirm that the internal fermentation process is active. A dough that shows little to no bubble activity on the surface after the expected time might be under-fermenting. Conversely, a dough that has a dull, collapsed appearance with very large, unstable bubbles might be pushing towards over-fermentation. Learning to read these subtle surface signs is part of the intuitive knowledge that helps bakers know when they've achieved a perfectly fermented dough.
The Aroma of Fermented Dough: A Sensory Guide
Recognizing the Tangy, Yeasty Scent of Ideal Fermentation
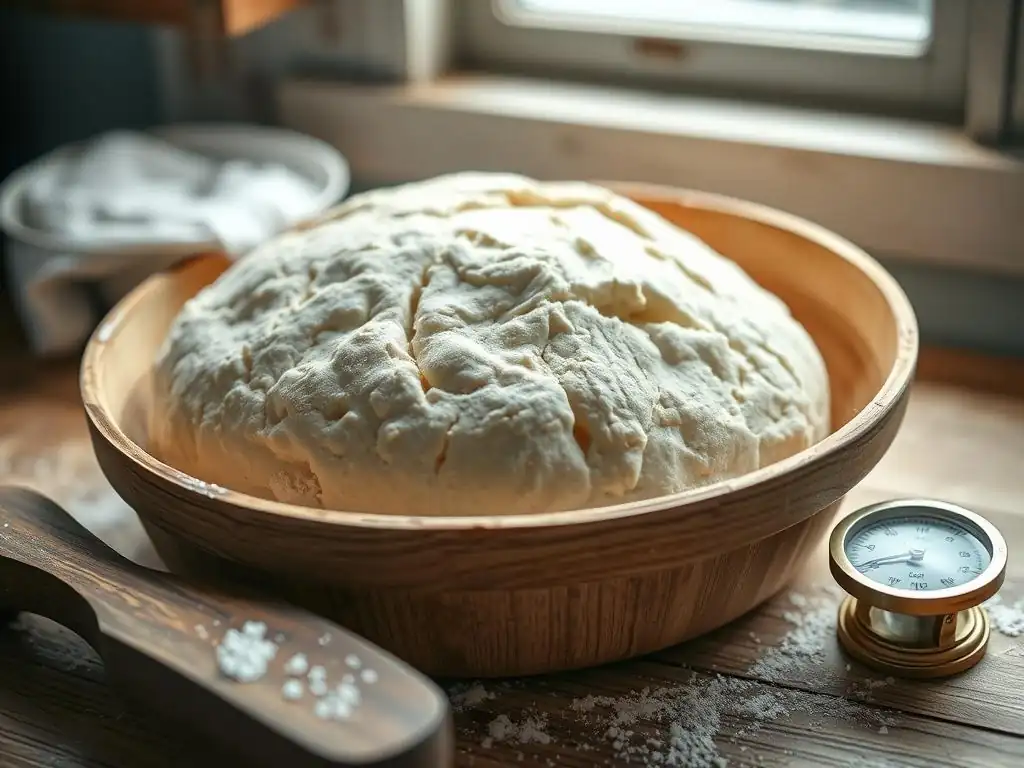
The aroma of fermenting dough is a delightful and informative sensory cue. As yeast metabolizes sugars, it produces ethanol (alcohol) and other volatile compounds that contribute to the dough's smell. A perfectly fermented dough will typically have a pleasant, slightly sweet, yeasty, and sometimes subtly tangy aroma. Think of the smell of rising bread or a healthy sourdough starter – it's a complex scent that indicates active biological processes are underway, building flavor.
This characteristic aroma develops gradually throughout the fermentation process. Early on, the dough might smell mostly of flour and water. As fermentation progresses, the yeasty notes become more prominent, followed by the development of more complex, slightly alcoholic or acidic undertones, especially in longer or colder ferments. This evolving scent profile is a reliable indicator that your dough is on the right track towards becoming a perfectly fermented dough, ready for baking.
Distinguishing Between Desirable and Undesirable Fermentation Smells
While a pleasant yeasty or tangy aroma is desirable, certain smells can signal problems with fermentation. An overly strong, sharp, or acetone-like smell (similar to nail polish remover) often indicates that the dough is significantly over-fermented. This happens when the yeast has consumed most of the available sugars and starts producing other metabolic byproducts. Dough that smells strongly of pure alcohol might also be over-proofed, with yeast activity peaking and starting to decline.
On the other hand, a dough that has very little smell after the expected fermentation time might be under-fermented or have inactive yeast. It should have some discernible aroma if fermentation is progressing correctly. Learning to differentiate these smells – the sweet, yeasty tang of a perfectly fermented dough versus the sharp, unpleasant odors of over-fermentation – is a skill that comes with practice and helps prevent baking mishaps. Trust your nose; it's a powerful tool in the baker's arsenal.
Testing Your Dough: Practical Techniques for Fermentation Assessment
The Poke Test: Gauging Dough Elasticity and Readiness
The poke test is a classic and highly reliable method for determining if your dough is perfectly fermented, particularly for the final proof before baking. To perform the test, gently flour your finger and press it about half an inch (1-1.5 cm) into the side of the dough. Observe how the indentation reacts.
If the indentation springs back immediately and completely, the dough is likely under-fermented and needs more time. The gluten is still too tight. If the indentation remains completely without springing back at all, the dough is probably over-fermented and might collapse in the oven.
The ideal result for a perfectly fermented dough is when the indentation springs back slowly and only partially, leaving a small but visible mark. This indicates that the gluten network is relaxed and developed enough to hold its shape but still has enough structure to support oven spring. For instance, a standard loaf dough proofing in a pan might be ready when the poke test indentation springs back about halfway.
The Float Test: Determining Yeast Activity and Dough Density
The float test is a simple technique often used to check the readiness of sourdough starter or a small piece of leavened dough, particularly for things like pizza or focaccia where a very airy structure is desired. To perform the float test, gently pinch off a small piece of dough (about the size of a walnut) and carefully drop it into a bowl of water at room temperature.
If the dough floats on the surface, it indicates that it has produced enough internal gas (carbon dioxide) to be less dense than water. This suggests that fermentation is well underway and the dough is likely ready for shaping or baking, depending on the stage. If the dough sinks to the bottom, it means it hasn't produced enough gas yet and needs more fermentation time. While not suitable for testing a whole loaf of dough, the float test is a quick check for smaller portions or starters, confirming active fermentation towards a perfectly fermented dough state.
Using a Dough Thermometer: Measuring Internal Temperature for Accurate Fermentation
While less common for home bakers simply checking readiness, monitoring the internal temperature of your dough is a precise way to understand and control fermentation, especially in professional settings or when developing a perfectly fermented dough recipe. Yeast activity is highly dependent on temperature. Different yeast types have optimal temperature ranges; for example, active dry yeast is best activated in warmer water (around 105-115°F or 40-46°C), while its optimal dough fermentation temperature is typically between 75-80°F (24-27°C).
Using a probe thermometer inserted into the center of the dough allows you to verify that the dough is within the desired temperature range for optimal yeast activity. If your kitchen is cool, your dough might be fermenting much slower than expected because its internal temperature is lower. Conversely, a warm kitchen can accelerate fermentation, potentially leading to over-proofing if not monitored. Knowing the dough's actual temperature helps you predict fermentation time more accurately and troubleshoot issues, ensuring you are consistently working towards a perfectly fermented dough.
Factors Affecting Dough Fermentation Time: A Comprehensive Overview
Yeast Type and Quantity: Adjusting for Optimal Fermentation
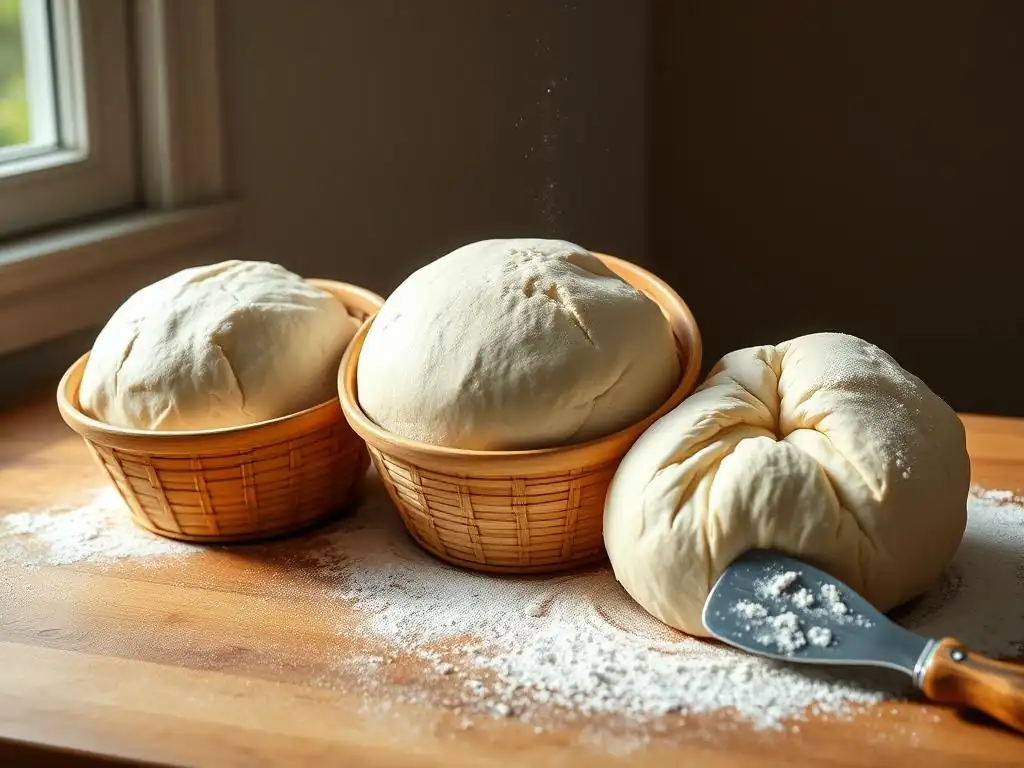
The type and amount of yeast used are primary factors influencing fermentation speed. Different types of yeast behave differently. Instant yeast, for instance, is highly active and can be added directly to dry ingredients, often resulting in faster fermentation compared to active dry yeast, which typically needs to be proofed in warm water first. Sourdough starters, being a mix of wild yeasts and bacteria, generally ferment much slower than commercial yeast.
The quantity of yeast also directly correlates with fermentation time. Using more yeast will speed up fermentation, while using less will slow it down. For example, reducing the amount of instant yeast in a standard bread recipe from 1% of the flour weight to 0.5% could double the required fermentation time at the same temperature. This allows for longer flavor development. Understanding how yeast type and quantity interact is crucial for designing a perfectly fermented dough recipe that fits your schedule and desired outcome.
Temperature Control: Maintaining the Ideal Environment for Yeast Activity
Temperature is arguably the most significant variable affecting fermentation rate. Yeast is most active within a specific temperature range. For commercial yeast, this is typically between 75°F and 80°F (24°C to 27°C). Temperatures below this range slow down yeast activity significantly (cold fermentation, often done in the refrigerator at 35-40°F or 2-4°C, can take 12-48 hours or longer). Temperatures above the optimal range can accelerate fermentation rapidly but can also stress or even kill the yeast if they get too high (above 130°F or 54°C).
Maintaining a consistent dough temperature is key to predictable fermentation. Using slightly warm water when mixing, fermenting dough in a proofing box, a slightly warm oven (turned off, perhaps with the light on), or even just placing the dough in a warm spot in your kitchen can help achieve the ideal temperature. Conversely, intentional cold fermentation in the refrigerator is a technique used to slow the process, allowing for longer enzyme action and complex flavor development, resulting in a perfectly fermented dough with enhanced taste.
Flour Type and Hydration: Understanding Their Impact on Fermentation
The type of flour used and the dough's hydration level also influence fermentation. Whole grain flours contain more nutrients and active enzymes than refined white flours, which can sometimes lead to faster fermentation, especially in the initial stages. The bran in whole wheat flour can also interfere with gluten development, affecting how well the dough holds gas.
Hydration, the ratio of water to flour, plays a role too. Higher hydration doughs (like ciabatta or focaccia, often 70-80%+ hydration) tend to ferment faster than lower hydration doughs (like bagel dough, often 50-55% hydration). The extra water makes the dough slacker and provides more mobility for the yeast and enzymes. However, higher hydration doughs can also be trickier to handle. Adjusting fermentation time based on your flour type and hydration is essential for consistently achieving a perfectly fermented dough, regardless of the specific recipe.
Common Fermentation Problems and Solutions: Troubleshooting Guide
Over-Fermentation: Identifying and Addressing Collapsed Dough
Over-fermentation, also known as over-proofing, occurs when dough ferments for too long or at too high a temperature. The yeast exhausts the available sugars, and the gluten structure weakens from excessive stretching and enzymatic activity. Signs include a dough that has risen dramatically but then starts to deflate or collapse, often looking wrinkly or saggy. It might have a very strong, overly alcoholic or sour smell.
If you catch over-fermentation early, you might be able to gently punch down the dough, reshape it, and give it a very short second rise (perhaps 15-30 minutes). However, if it has significantly collapsed, the gluten structure is likely too compromised to hold its shape and achieve good oven spring. In such cases, the dough might be salvaged for use in flatbreads, pizza crusts, or even as a starter for a new batch, though it won't yield a light, airy loaf.
Prevention is key: monitor your dough, especially in warm conditions, and use the poke test to gauge readiness. Learning the signs prevents ruining your perfectly fermented dough recipe attempts.
Under-Fermentation: Recognizing Dense Dough and Slow Rise
Under-fermentation happens when the dough hasn't fermented long enough. Yeast hasn't produced sufficient gas to adequately expand the dough, and the gluten structure hasn't fully relaxed or developed. Signs include dough that hasn't increased significantly in volume, feels dense and heavy, and springs back immediately when poked. The baked result is typically a dense, heavy loaf with poor volume and a tight, even crumb.
The solution for under-fermented dough is simple: give it more time! If you notice your dough is rising slowly, check the temperature of your dough and its environment. If it's cool, find a warmer spot or use a proofing technique to raise the temperature slightly. Continue to monitor the dough using visual cues and the poke test until it shows the signs of being perfectly fermented. Patience is a virtue in baking, especially when dealing with slow fermentation.
Dealing with Sticky Dough: Adjusting Hydration and Gluten Development
Sticky dough can be a symptom of several issues, including high hydration, insufficient kneading, or sometimes, early stages of fermentation before the gluten has fully developed structure. While some doughs are intentionally high-hydration and sticky (like ciabatta), excessive stickiness that makes the dough unmanageable often indicates a problem.
If your dough is too sticky after initial mixing, resist the urge to add excessive amounts of flour, which can result in a dry, heavy loaf. Instead, try giving it a rest (autolyse) for 20-30 minutes to allow the flour to fully absorb the water. Then, resume kneading.
The gluten should start to develop, making the dough less sticky. Ensuring adequate kneading or employing folding techniques during bulk fermentation helps build the gluten network, which is crucial for managing hydration and achieving a workable, perfectly fermented dough. If the dough remains excessively sticky even after proper development, you might need to slightly reduce the hydration in future batches or adjust your handling techniques.
Creating Your Own Perfectly Fermented Dough Recipe: A Step-by-Step Guide
Selecting High-Quality Ingredients for Optimal Fermentation
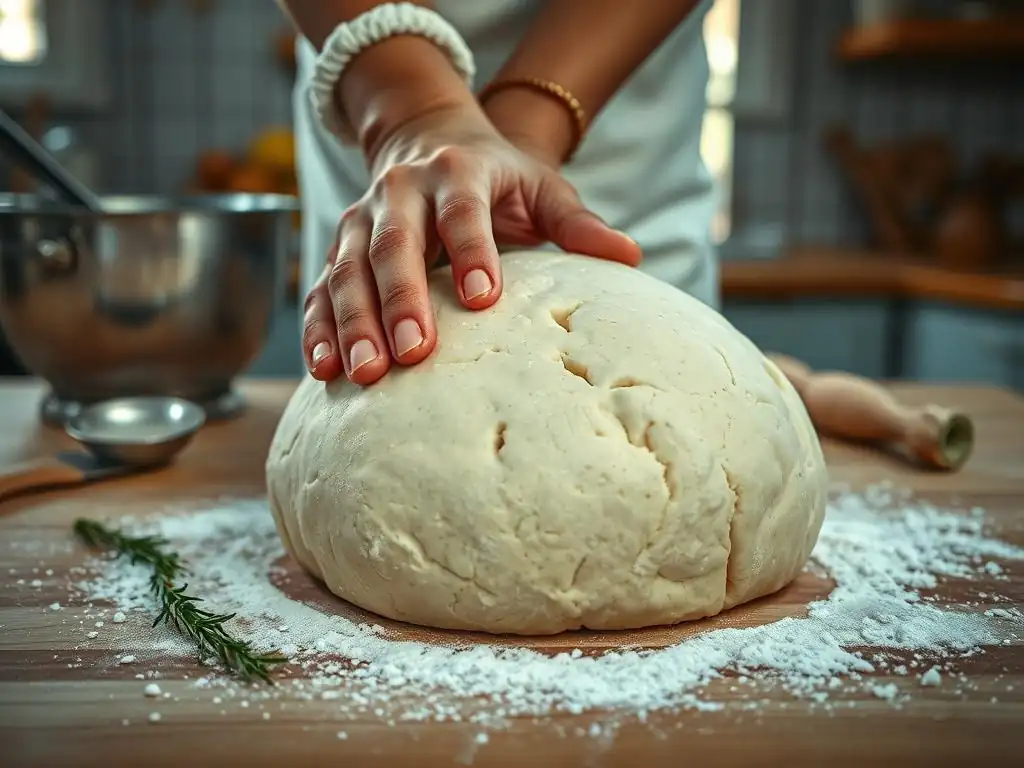
The quality of your ingredients directly impacts the success of fermentation. Start with good quality flour. Fresh flour provides more readily available sugars for the yeast and has better enzyme activity. Different flours have varying protein levels, affecting gluten development and how the dough handles fermentation. A bread flour with higher protein (around 12-14%) is excellent for creating a strong gluten network capable of holding gas, while an all-purpose flour (around 10-12% protein) is more versatile.
Your yeast must also be fresh and active. Check the expiration date on commercial yeast, or ensure your sourdough starter is vigorous and bubbly. Using filtered water, free from chlorine (which can inhibit yeast), is also recommended. Salt is essential for flavor and controls yeast activity, slowing it down slightly – measure it accurately. By starting with the best possible ingredients, you lay a strong foundation for achieving a perfectly fermented dough.
Mixing and Kneading Techniques for Strong Gluten Development
Proper mixing and kneading are vital for developing the gluten network that traps the gas produced during fermentation. Whether you're kneading by hand or machine, the goal is to stretch and align the gluten proteins, creating an elastic and extensible dough. Insufficient kneading results in a weak dough that struggles to hold gas, leading to a dense loaf. Over-kneading, while less common for home bakers, can break down the gluten structure.
Different techniques work for different doughs. Traditional kneading develops gluten through physical manipulation. Techniques like the 'stretch and fold' method, often used for higher hydration doughs, develop gluten more gently over time during the initial fermentation period. Aim for a dough that passes the windowpane test (you can stretch a small piece thin enough to see light through it without tearing). A well-developed gluten structure is a prerequisite for a perfectly fermented dough that rises beautifully.
Monitoring and Adjusting Fermentation Time Based on Environmental Factors
Developing a perfectly fermented dough recipe requires flexibility and observation, as fermentation time is rarely fixed. Environmental factors like room temperature, draft, and even altitude can significantly affect the rate. Instead of relying solely on the clock, learn to monitor your dough using the visual cues, aroma, and practical tests (poke test, float test).
If your kitchen is warmer than usual, your dough will ferment faster, so start checking it sooner than the recipe suggests. If it's cooler, be prepared for a longer fermentation time. You can adjust by finding a warmer spot for the dough or using a proofing method. Conversely, if you need to slow fermentation down (e.g., to bake later or develop more flavor), a cooler spot or refrigeration is the answer. Continuously observing your dough and making adjustments based on its signs, rather than strict timings, is the hallmark of a skilled baker creating a perfectly fermented dough.
Mastering Sourdough Fermentation: A Deeper Dive
Understanding the Unique Characteristics of Sourdough Starters
Sourdough fermentation is distinct from commercial yeast fermentation because it relies on a symbiotic culture of wild yeasts and lactic acid bacteria (LAB) living in a starter made from flour and water. The wild yeasts provide leavening by producing carbon dioxide, similar to commercial yeast, though often at a slower pace. The LAB produce lactic and acetic acids, which contribute the characteristic tangy flavor and help preserve the bread.
A healthy, active sourdough starter is key to successful sourdough fermentation. It should be regularly fed and stored appropriately (usually at room temperature or in the refrigerator). An active starter will typically double or triple in size within a few hours after feeding, showing numerous bubbles throughout and on the surface. Its aroma should be pleasantly tangy, not overly sharp or alcoholic. Understanding the life cycle and behavior of your specific starter is the first step towards achieving a perfectly fermented dough recipe using sourdough.
Recognizing the Signs of a Healthy and Active Sourdough Starter
Identifying a healthy and active sourdough starter is crucial before you even begin mixing your dough. After feeding, a robust starter should show noticeable activity within a few hours, often doubling or tripling in volume within 4-12 hours depending on temperature and hydration. Look for significant bubbling throughout the culture, not just on the surface. The texture should become light and airy.
A simple way to test activity is the float test: drop a small spoonful of starter into water. If it floats, it's generally active enough for baking. The aroma should be pleasant and tangy, like yogurt or vinegar, but not overwhelmingly sharp or like acetone. A starter that shows little to no rise, minimal bubbles, and smells unpleasant may be dormant, hungry, or contaminated, and won't effectively leaven your perfectly fermented dough recipe. Regular feeding and observation help maintain a vigorous starter.
Achieving the Perfect Sourdough Tang Through Controlled Fermentation
The signature tang of sourdough comes from the lactic and acetic acids produced by the LAB in the starter during fermentation. The balance of these acids, and thus the level of tanginess, can be controlled primarily through fermentation time and temperature. Longer fermentation times, especially cold fermentation in the refrigerator (at around 40°F or 4°C), tend to increase the production of acetic acid, resulting in a more pronounced sour flavor. Warmer, shorter fermentation times favor lactic acid production, which yields a milder, yogurt-like tang.
Hydration also plays a role; higher hydration starters and doughs tend to produce more lactic acid. To achieve your desired level of tanginess in a perfectly fermented dough recipe, experiment with different fermentation schedules. A common approach is a long, cool bulk fermentation (e.g., 12-18 hours in the refrigerator) followed by a shorter final proof at room temperature. This balances flavor development with leavening power, allowing you to customize the tang of your sourdough.
Conclusion: Enjoy the Rewards of Perfectly Fermented Dough
Consistent Results and Enhanced Flavors with Proper Fermentation Techniques
Mastering the art of knowing when your dough is perfectly fermented is perhaps the most significant step you can take in improving your baking. It moves you beyond simply following instructions to truly understanding the process. By paying attention to visual cues like volume increase and surface bubbles, tactile signs like the poke test, and the evolving aroma, you gain the confidence to adjust to varying conditions and ingredient behaviors.
The reward for this attention to detail is consistent, high-quality baked goods. A perfectly fermented dough yields bread with superior volume, a desirable open crumb structure, and complex, nuanced flavors that simply don't develop in under or over-fermented doughs. It's the difference between a basic loaf and one that truly sings with taste and texture. Embracing proper fermentation techniques is the key to unlocking the full potential of any perfectly fermented dough recipe you attempt.
BakeWithEase: Your Partner in Mastering the Art of Baking with Perfectly Fermented Dough
At BakeWithEase.com, our goal is to empower you with the knowledge and skills needed to bake with confidence and achieve outstanding results. Understanding dough fermentation is a fundamental part of this journey. We provide resources, guides, and recipes designed to help you recognize the signs of healthy, active dough and troubleshoot common issues.
Whether you are just starting out or refining your technique for a complex perfectly fermented dough recipe, we are here to support you. By learning to read your dough and manage the fermentation process effectively, you'll not only improve the quality of your baking but also find immense satisfaction in creating delicious, beautifully risen bread, pastries, and more. Explore our site for more tips and techniques to continue mastering the art of baking.
Frequently Asked Questions
What are the key signs of a perfectly fermented dough?
A perfectly fermented dough will have increased in volume, have a slightly sour aroma, and exhibit visible air bubbles throughout.
Why is proper fermentation so important in baking?
Proper fermentation is crucial because it develops the flavor and texture of your baked goods, making them more digestible and enjoyable. It also ensures the dough has enough strength to rise properly.
How long does it typically take for dough to ferment completely?
Fermentation time varies based on factors like temperature, humidity, and yeast activity. A good starting point is 1-3 hours, but it's more about observing the signs of fermentation than sticking to a strict timeframe.
What happens if I over-ferment my dough?
Over-fermented dough will often collapse, have a strong, unpleasant odor, and result in a dense, sour final product. The gluten structure weakens, making it difficult to work with.
Can I refrigerate my dough to slow down fermentation?
Yes, refrigerating dough significantly slows down the fermentation process. This allows you to develop deeper flavors over a longer period and manage your baking schedule more effectively.
Final Reflection: The Alchemy of Perfectly Fermented Dough
The pursuit of perfectly fermented dough is more than just a recipe; it's a journey into the heart of baking, a testament to patience and precision that yields unparalleled flavor and texture. In today's fast-paced world, where instant gratification often reigns supreme, taking the time to understand the subtle nuances of fermentation offers a powerful counterpoint – a reminder to slow down, observe, and appreciate the process. This careful attention to detail is not just about achieving a perfect loaf; it's about cultivating a deeper connection with the craft itself.
The impact of understanding fermentation extends far beyond the kitchen. It's a microcosm of the larger processes of growth and transformation we witness in life. The careful nurturing of yeast, the watchful waiting for the right rise, mirrors the patience and dedication required to achieve any worthwhile goal. As the renowned baker, Jim Lahey, once said, Bread making is a metaphor for life. You put in the effort, you wait patiently, and then you are rewarded with something beautiful and delicious.
This sentiment resonates deeply, highlighting the profound connection between the seemingly simple act of baking and the broader human experience.
Now, consider your own journey. What aspects of your life require the same careful attention, the same patient nurturing, as perfectly fermented dough? Perhaps it's a personal project, a relationship, or even a skill you're striving to master. I invite you to apply the principles of observation, patience, and understanding you've learned here to other areas of your life. Embrace the process, trust the timing, and savor the rewards that come from dedicated effort. The journey towards perfection, in baking and in life, is often more rewarding than the destination itself.
Unlock Your Baking Potential: Perfectly Fermented Dough Awaits!
Thanks for taking the time to learn about the secrets of perfectly fermented dough! You've now got the knowledge to elevate your baking game. Ready to put it into practice?
- Bake a test loaf today! Use your newfound knowledge to create a sourdough, pizza dough, or your favorite yeasted bread – and taste the difference perfect fermentation makes. This is your chance to put theory into practice!
- Share your baking journey! Post a photo of your perfectly fermented creation on social media and tag #BakeWithEase. Let’s inspire each other!
- Join our community forum! Discuss your baking experiences, ask questions, and share tips with fellow bread enthusiasts.
So, what delicious creation will you be crafting with your newly honed fermentation skills?