
Creative Cookie Crust Variations for Your Favorite Tart

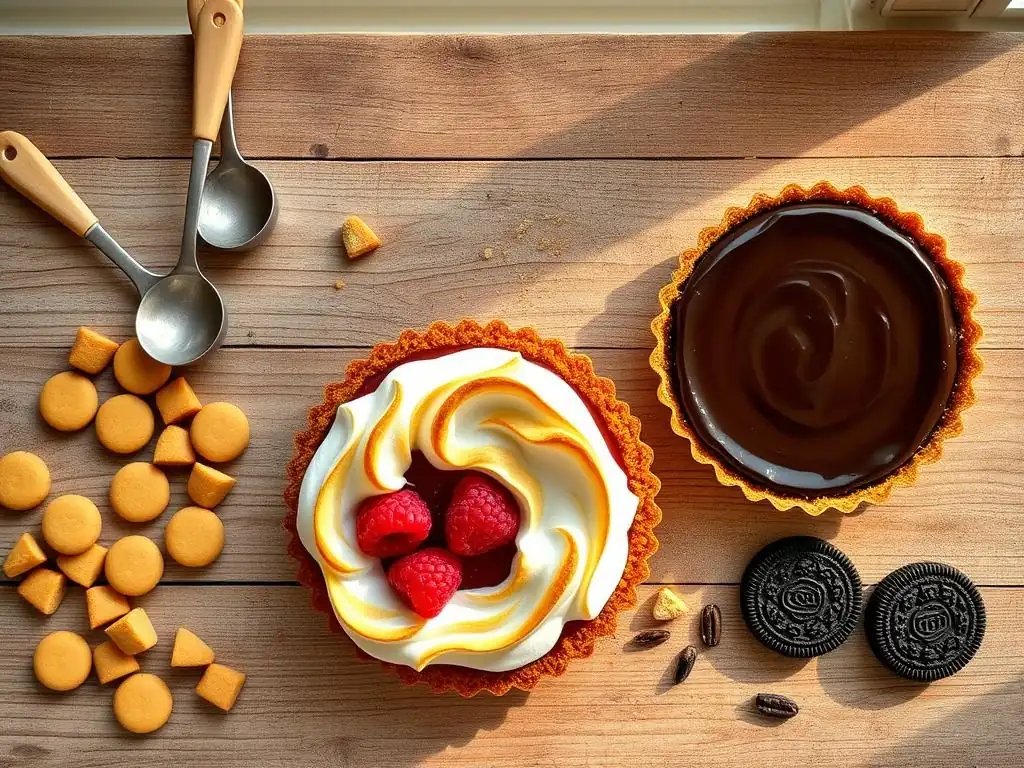
Welcome to BakeWithEase, your companion in the delightful world of baking! Ever dreamt of crafting the perfect tart, but felt intimidated by the crust? You're in the right place. Discover our collection of easy tart cookie crust recipes and unlock a world of creative possibilities. Prepare to elevate your pastry game and impress with flavor combinations you never thought possible. Intrigued? Dive in and let's get baking!
- Creative Cookie Crust Variations for Tarts
- Elevating Tarts: Exploring Diverse Cookie Crust Recipes
- Core Principles: Constructing a Superior Cookie Tart Crust
- Expanding Horizons: Distinctive Cookie Crust Flavor Profiles
- Gluten-Free Options for Cookie Crust Tart Enthusiasts
- Enhancing Your Tart: Imaginative Cookie Crust Decoration
- Addressing Common Cookie Crust Challenges
- Serving and Preserving Your Cookie Crust Tart
- Cookie Crust Tart Recipes: Inspiration and Ideas
-
Frequently Asked Questions
- What makes a cookie crust different from a traditional tart crust?
- Can I use pre-made cookies for a cookie crust?
- How do I prevent my cookie crust from becoming soggy?
- What are some creative flavor combinations I can try with a cookie crust?
- What is the best way to press the cookie crumb mixture into the tart pan?
- Final Reflection: The Sweet Symphony of Simple Crusts
- Unleash Your Inner Pastry Chef: Creative Crust Creations!
Tarts, with their delicate fillings and often vibrant colors, are a beloved dessert. While traditional pastry crusts are wonderful, the simplicity and versatility of a cookie crust offer an exciting avenue for creativity in your baking. Shifting from a classic shortcrust to an easy tart cookie crust recipe can dramatically alter the flavor profile and texture of your finished tart, providing a delightful contrast to creamy custards, rich ganaches, or fresh fruit fillings.
Exploring diverse cookie crust recipes allows bakers of all levels to personalize their tarts with minimal effort. Whether you're aiming for a deep chocolate base for a peanut butter tart or a zesty lemon foundation for a berry tart, the right cookie crust can transform a simple dessert into something truly special. The ease of preparation compared to traditional pastry dough makes simple cookie crust recipes a fantastic starting point for beginners or a quick alternative for experienced bakers.
Crafting a perfect cookie crust for your tart relies on understanding a few fundamental principles. Unlike flaky pastry which depends on layers of butter and precise handling, a cookie crust is typically a crumb-based foundation held together by melted fat, usually butter. The goal is a firm, slightly crisp base that complements, rather than competes with, the tart filling.
Achieving a superior cookie tart crust involves selecting the right cookie type, mastering the crumb-to-fat ratio, and employing proper pressing and baking techniques. A common mistake is using too little fat, resulting in a crumbly crust that falls apart, or too much, leading to a greasy, hard base. With a few simple guidelines, creating a reliable and delicious easy tart cookie crust becomes second nature, opening up a world of tart possibilities.
The foundation of any great cookie crust for tarts lies in its core ingredients: crushed cookies and melted fat. The type of cookie you choose is paramount, as it dictates the base flavor and texture. Classic choices like graham crackers, Oreos, or shortbread cookies provide distinct starting points. For a standard 9-inch tart pan, you'll typically need about 1 ½ to 2 cups of fine cookie crumbs. This often translates to roughly 15-20 full graham crackers, about 25-30 Oreo cookies (creme removed for a less sweet crust), or around 8-10 ounces of shortbread.
The binding agent is usually unsalted butter, melted. The amount required varies depending on the cookie's fat content and how fine the crumbs are, but a common ratio is about 6 to 8 tablespoons (around 85-115 grams) of melted butter per 1 ½ cups of crumbs. Some recipes might call for a tablespoon or two of sugar, especially if using less sweet cookies like graham crackers, and a pinch of salt to enhance the flavors. Using quality ingredients, like good butter and fresh cookies (not stale ones), makes a noticeable difference in the final easy tart cookie crust.
Creating an easy tart cookie crust is a straightforward process. Begin by transforming your chosen cookies into fine crumbs. This can be done efficiently using a food processor, pulsing until the texture resembles coarse sand. If you don't have a food processor, placing cookies in a sturdy zip-top bag and crushing them with a rolling pin works well, though it might take a little longer to achieve uniform fineness.
Once the crumbs are ready, transfer them to a medium bowl. Pour the melted butter over the crumbs and stir thoroughly with a fork or spatula until all the crumbs are evenly moistened. The mixture should resemble wet sand and hold together when squeezed. Press this mixture firmly and evenly into the bottom and up the sides of your tart pan.
Use the bottom of a glass or a flat-bottomed measuring cup to pack the crumbs tightly, ensuring a compact and sturdy crust. For a clean edge, press the crumbs just to the top edge of the tart pan. Chilling the pressed crust for at least 30 minutes in the refrigerator before baking helps it set firmly.
Achieving a crisp and delicious cookie crust for your tart involves a few key techniques. First, ensure your crumbs are fine and evenly mixed with the melted butter; large chunks won't compact properly. Second, press the mixture very firmly into the tart pan. Density is key to preventing the crust from crumbling when sliced. Use consistent pressure across the bottom and up the sides.
Pre-baking the crust is often recommended, especially for tarts with wet fillings like custards or puddings, to prevent a soggy bottom. Bake the pressed crust in a preheated oven, typically at 350°F (175°C), for about 8-12 minutes, or until it looks slightly golden and smells toasted. Allow the pre-baked crust to cool completely on a wire rack before adding any filling.
This cooling step is crucial; adding a cold filling to a warm crust can introduce condensation and make the crust soft. For no-bake tarts, simply chilling the pressed crust for at least 1-2 hours (or even freezing for 30 minutes) is sufficient to firm it up before adding the filling.
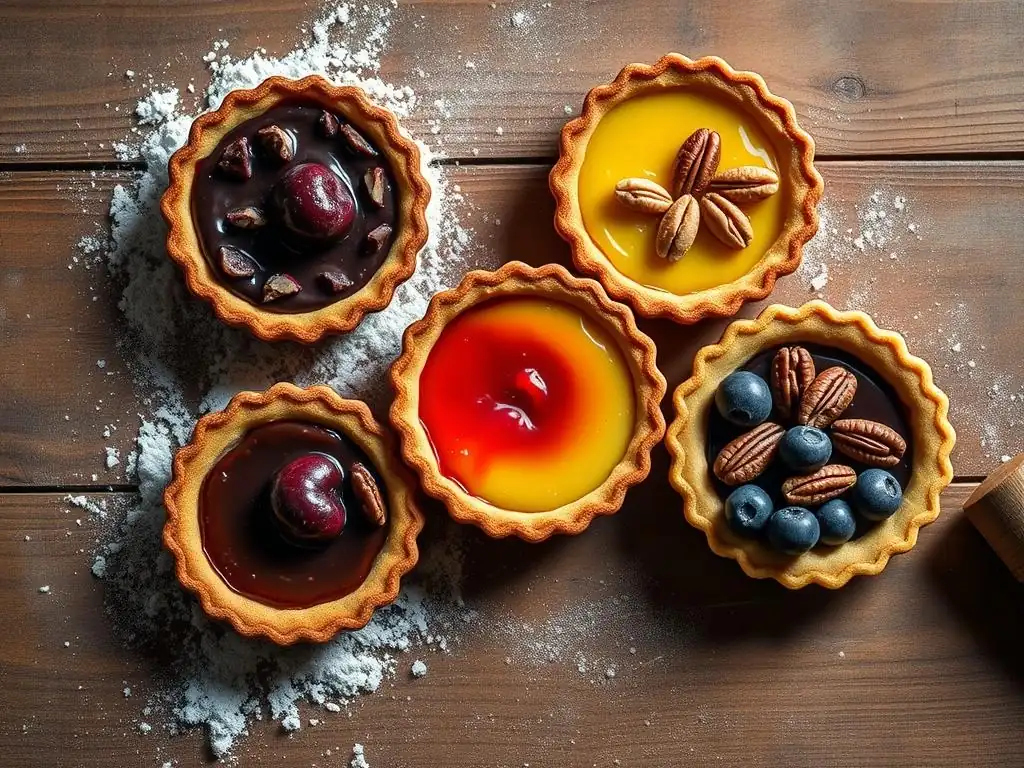
Moving beyond basic graham cracker or vanilla wafer crusts opens up a world of flavor possibilities for your tarts. Each type of cookie brings its own unique characteristics, from deep cocoa notes to warm spices or bright citrus hints. Experimenting with different cookies allows you to perfectly pair your crust with your tart's filling, creating harmonious and exciting flavor combinations.
Developing easy tart cookie crust recipes with distinctive profiles is a simple way to elevate your baking. Consider the overall flavor you want to achieve – rich and decadent, warm and spicy, or light and zesty – and choose a cookie that aligns with that vision. Adding small amounts of complementary ingredients like cocoa powder, spices, or citrus zest directly to the crumbs can further enhance these profiles.
A chocolate cookie crust provides a deeply decadent base perfect for countless tart fillings. Using chocolate wafer cookies or even chocolate sandwich cookies (like Oreos, with or without the creme) results in a rich, dark crumb. For a classic 9-inch crust, you might use about 2 cups of finely ground chocolate cookie crumbs combined with 6-7 tablespoons of melted unsalted butter.
This type of crust pairs exceptionally well with fillings like raspberry ganache, peanut butter mousse, mint chocolate cream, or even a simple vanilla pudding. The slight bitterness often present in chocolate cookies provides a wonderful contrast to sweet fillings. For an extra layer of flavor, you could even add a tablespoon of unsweetened cocoa powder to the crumbs before mixing with butter, intensifying the chocolate notes and creating a truly luxurious easy tart cookie crust.
For lovers of the peanut butter and chocolate combination, a peanut butter cookie crust is a dream come true. Using peanut butter cookies (like Nutter Butter cookies) creates a base that is both slightly savory and sweet, with that unmistakable nutty flavor. A typical recipe for a 9-inch tart might involve crushing about 12-15 standard peanut butter cookies and mixing the crumbs with about 5-6 tablespoons of melted butter.
This crust is naturally lower in required added fat because peanut butter cookies have a higher fat content than many other types. It's an ideal foundation for chocolate ganache tarts, banana cream tarts, or even a simple vanilla or chocolate pudding tart. The robust flavor of the peanut butter crust stands up well to creamy, rich fillings, making it a popular choice for creative easy tart cookie crust recipes.
Speculoos or Biscoff cookies offer a delightful way to infuse warm, caramelized spice notes into your tart crust. These thin, crisp cookies have a unique flavor profile featuring cinnamon, nutmeg, cloves, and ginger. Crushing about 20-25 speculoos cookies yields roughly 1 ½ cups of crumbs, which can be combined with about 5-6 tablespoons of melted butter for a fragrant and flavorful crust.
A speculoos cookie crust is particularly well-suited for tarts with apple, pumpkin, pear, or caramel fillings. Its warm spices complement fall-themed desserts beautifully. The fine texture of speculoos cookies also results in a very smooth and even crumb mixture, making it exceptionally easy to press into a tart pan for a perfect tart cookie crust. The aroma alone as it bakes is incredibly inviting.
Adding a bright, zesty flavor to your tart begins with a lemon shortbread cookie crust. Using store-bought or homemade lemon shortbread cookies brings a buttery richness along with a refreshing citrus note. About 8-10 ounces of lemon shortbread, crushed into fine crumbs (approximately 1 ¾ cups), mixed with about 6-7 tablespoons of melted butter, creates a fragrant and flavorful base.
This crust is a perfect match for berry tarts, lemon curd tarts, cream cheese fillings, or even light mousse tarts. The buttery texture and tangy lemon flavor provide a wonderful counterpoint to sweet or creamy fillings. For an even more intense lemon flavor, you can add a teaspoon of fresh lemon zest to the crumbs before mixing with the butter, enhancing the easy tart cookie crust's vibrant profile.
For those following a gluten-free diet, creating delicious cookie crusts for tarts is absolutely achievable. The market now offers a wide variety of excellent gluten-free cookies, from simple shortbread to chocolate wafers and nut-based options. Adapting easy tart cookie crust recipes to be gluten-free requires simply substituting standard cookies with their GF counterparts.
Alternatively, you can create a gluten-free crumb base using nut flours or a blend of gluten-free flours and starches, mimicking the texture and binding properties of crushed cookies. The key is ensuring the gluten-free crumbs or flour mixture is properly combined with melted fat and pressed firmly to form a stable crust.
A hazelnut flour crust offers a wonderful nutty depth and is naturally grain-free, making it an excellent gluten-free option for tarts. This isn't made from crushed cookies but from the flour itself, acting as a crumb base. For a 9-inch tart, combine about 1 ½ cups of fine hazelnut flour with ½ cup of powdered sugar (for sweetness and tenderness) and a pinch of salt. Then, mix in about 6-8 tablespoons of melted butter until the mixture is moist and clumpy.
This mixture behaves much like cookie crumbs and presses beautifully into a tart pan. Bake it at 350°F (175°C) for about 12-15 minutes, or until lightly golden and fragrant. A hazelnut crust is particularly delicious with chocolate, coffee, or fruit fillings like cherries or berries. It provides a sophisticated, rich base that elevates any easy tart cookie crust recipe into gourmet territory while remaining gluten-free.
While tapioca flour isn't used alone for a crust, it's a key ingredient in many gluten-free cookie recipes or can be added to a gluten-free crumb blend to improve texture and binding. Using gluten-free vanilla or butter cookies as the base (about 1 ½ cups crumbs) and combining them with 6-8 tablespoons of melted butter creates a simple GF easy tart cookie crust.
For a custom blend, you might combine 1 cup of almond flour, ½ cup of tapioca flour, a quarter cup of sugar, and 6-8 tablespoons of melted butter. The tapioca flour helps create a slightly crispier texture when baked. This type of light, gluten-free crust is versatile and works well with most tart fillings, from lemon curd to fresh fruit and cream. Ensure the gluten-free cookies or flour blend is pressed firmly and baked according to instructions for a sturdy base.
Gluten-Free Shortbread Crumble Crust: A Simple Tart Base
Using readily available gluten-free shortbread cookies is perhaps one of the simplest ways to create a GF easy tart cookie crust. These cookies are designed to mimic traditional shortbread and crush into perfect crumbs. For a 9-inch tart, approximately 8-10 ounces of gluten-free shortbread (yielding about 1 ¾ cups of crumbs) mixed with 6-7 tablespoons of melted butter is typically sufficient.
This creates a buttery, crumbly base that behaves just like a traditional shortbread crust. It's excellent for fruit tarts, chocolate tarts, or any tart where a rich, buttery foundation is desired. The ease of using pre-made gluten-free cookies makes this an incredibly accessible option for anyone needing a gluten-free simple cookie crust recipe. Just crush, mix, press, and chill or bake.
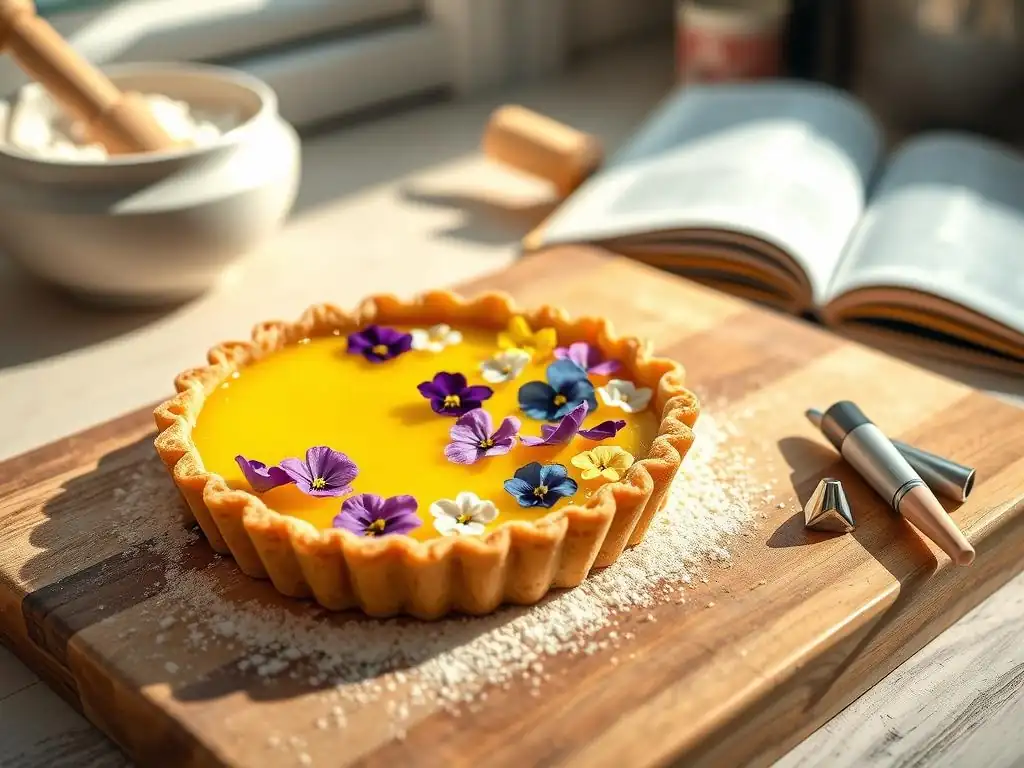
While a plain pressed cookie crust is perfectly functional and delicious, adding decorative elements can elevate the visual appeal of your tart, making it look professionally finished. Simple techniques using leftover crumbs or tools can transform a basic crust into something special. These decorative touches are often quick and easy, adding minimal complexity to your easy tart cookie crust recipe.
From subtle patterns pressed into the surface to a rustic crumble topping or elegant borders, there are many ways to personalize your cookie crust. These methods not only make the tart look more attractive but can also add slight textural variations to the crust itself.
Adding pressed patterns to your cookie crust is a simple way to introduce visual interest. After pressing the main crust firmly into the pan, you can use various tools to create designs on the surface before chilling or baking. The tines of a fork are a classic choice, allowing you to create simple parallel lines or crosshatch patterns on the bottom and sides of the crust.
Another technique involves using the bottom of a textured glass or measuring cup to press a subtle pattern into the bottom crust. For a more intricate design, you could use cookie stamps or even small decorative molds, pressing them gently into the surface. These pressed patterns not only look nice but also help ensure the crust is evenly compacted, contributing to a sturdy easy tart cookie crust.
A cookie crust streusel topping provides delightful texture and extra sweetness to your tart. This isn't a traditional streusel but rather a crumble made from extra cookie crust mixture or a slightly drier version. Reserve a small amount of the crumb mixture (about ¼ to ½ cup) before pressing it into the pan. If the mixture is too wet, you can add a tablespoon or two of extra crumbs or a tiny bit of flour.
After the tart filling is added (if it's a baked tart), sprinkle the reserved crumb mixture over the top, either covering the entire surface or just around the edges. As the tart bakes, these crumbs will crisp up, creating a lovely streusel-like topping that complements the smooth filling and the pressed crust below. This is an easy way to add complexity to your tart cookie crust recipe.
Creating a defined border around your tart's edge is another simple decorative technique. After pressing the crust into the pan, use your fingers or the back of a spoon to shape the top edge. You can make it perfectly flush with the pan rim for a clean look.
Alternatively, you can create a slightly raised or decorative edge. For example, you can use the tines of a fork to press down around the very top edge, creating a crimped effect similar to a pie crust. Or, you can build the crumbs slightly higher and create a small ridge. For a rustic look, simply leave the top edge slightly uneven. A well-defined easy tart cookie crust border helps frame the filling and gives the tart a finished appearance.
Even with easy tart cookie crust recipes, bakers can occasionally encounter challenges. The most common issues include a crust that crumbles too easily, one that is too hard or greasy, or uneven baking. Understanding the potential causes of these problems allows you to troubleshoot and ensure your next cookie crust is perfect.
Fortunately, most cookie crust issues are easily preventable or fixable with minor adjustments to your technique or ingredients. Paying attention to the crumb-to-fat ratio, pressing technique, and baking time are key steps in avoiding these common pitfalls and achieving a consistently good tart cookie crust.
A soft or soggy cookie crust is often the result of insufficient binding, inadequate chilling, or moisture from the filling. To prevent this, ensure you use the correct amount of melted butter; the crumbs should be evenly moistened and hold together when squeezed. Press the mixture very firmly into the pan to create a dense, compact layer.
For tarts with wet fillings (like cheesecakes, custards, or puddings), pre-baking the crust is highly recommended. Bake until lightly golden, then cool completely before adding the filling. If it's a no-bake tart, chilling the pressed crust for at least 1-2 hours (or freezing for 30 minutes) helps it set firmly before you add the filling. Adding a thin layer of melted chocolate or a glaze to the easy tart cookie crust before adding the filling can also create a moisture barrier.
If your cookie crust cracks or breaks, either before or after baking, don't despair – it's usually fixable! Small cracks in an unbaked crust can often be patched simply by pressing nearby crumbs into the gap with your finger or the back of a spoon.
For larger breaks or cracks in a baked crust, you can create a small amount of "glue" by mixing a tablespoon or two of extra cookie crumbs with a teaspoon of melted butter. Use this mixture to patch the broken area, pressing it gently into place. For baked crusts, you might need to return the tart pan to the oven for a few minutes (5-7 minutes at 350°F or 175°C) after patching to help the repair set. This quick fix is an easy way to save your tart cookie crust.
Uneven baking can result in some parts of the crust being too soft while others are overdone. This often happens if the crust is not pressed into an even thickness or if the oven temperature is inconsistent. To ensure uniform baking, take care to press the crumbs evenly across the bottom and up the sides of the tart pan. Use the bottom of a glass or measuring cup for consistent pressure.
If you notice the edges browning too quickly while the bottom is still pale, you can gently tent the edges of the tart pan with aluminum foil. Some bakers also use pie weights placed on parchment paper inside the crust during the initial part of pre-baking to help keep the bottom flat and promote even cooking. Checking the crust visually for even golden color is key to a uniformly baked easy tart cookie crust.
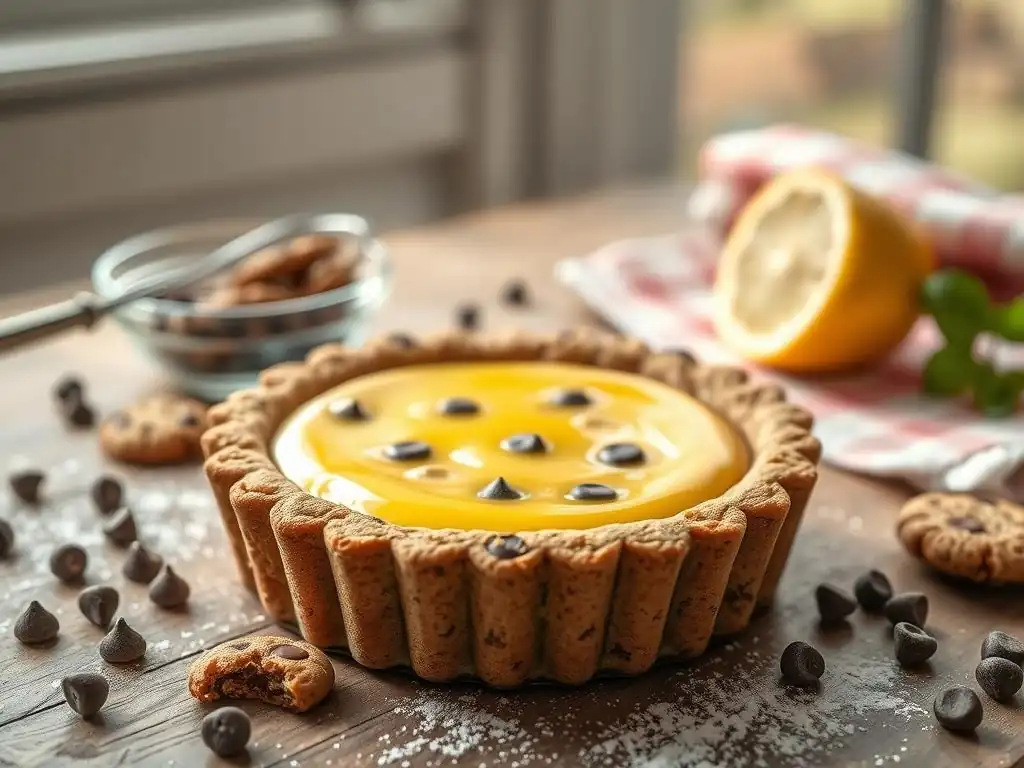
Once your delicious tart is assembled with its creative cookie crust, proper serving and storage are essential to maintaining its quality and flavor. The type of filling will heavily influence how the tart should be handled and stored, but the cookie crust itself also benefits from certain conditions.
Following simple guidelines for chilling, slicing, and storing will ensure that your easy tart cookie crust remains crisp (if intended) and the tart stays fresh and enjoyable for as long as possible.
Most tarts with cookie crusts benefit from being well-chilled before serving, especially those with creamy, mousse, or ganache fillings. Chilling for at least 2-4 hours, or ideally longer, allows the filling to set properly and the flavors to meld. It also helps the cookie crust firm up, making it easier to slice cleanly without crumbling.
When slicing a tart with a cookie crust, use a sharp knife dipped in hot water and wiped clean between cuts. This helps create neat slices and prevents the crust from breaking apart. For tarts with firmer fillings, you can often remove them from the tart pan (if using a removable bottom pan) before slicing, which can also aid in presentation. Serve chilled or at slightly cool room temperature, depending on the filling. An easy tart cookie crust is sturdy enough to hold up to slicing once properly set.
Proper storage is crucial for maintaining the freshness and texture of your cookie crust tart. Leftovers should be stored in an airtight container in the refrigerator. This protects the tart from absorbing odors and prevents the crust from becoming stale or soggy. Most tarts with creamy or fruit fillings will last for 3-5 days when stored this way.
If you need to store the tart for a longer period, many tarts (especially those with baked fillings) can be frozen. Wrap the cooled tart (or individual slices) tightly in plastic wrap, then in aluminum foil, or place in a freezer-safe container. Frozen tarts can last for 1-2 months. Thaw frozen tarts overnight in the refrigerator. Note that freezing can sometimes slightly alter the texture of the easy tart cookie crust, potentially making it a little softer.
The beauty of an easy tart cookie crust lies in its versatility. It can serve as the base for a vast array of tart fillings, offering endless creative possibilities. Think about classic flavor pairings or create new, exciting combinations.
Here are a few ideas to inspire your next tart creation:
- Classic Chocolate & Peanut Butter: Use a chocolate cookie crust with a creamy peanut butter filling or a rich chocolate ganache topped with chopped peanuts.
- Lemon Berry Delight: Pair a lemon shortbread crust with a bright lemon curd filling and top with fresh mixed berries.
- Spiced Apple Caramel: Combine a speculoos cookie crust with a warm, spiced apple filling and drizzle with salted caramel sauce.
- No-Bake Oreo Dream: Use an Oreo cookie crust (creme included) with a simple no-bake cheesecake filling or a chocolate mousse.
- Tropical Key Lime: A graham cracker crust is classic for key lime pie, but try adding a little coconut flakes to the crumbs for a tropical twist on your easy tart cookie crust recipe.
The simplicity of creating an easy tart cookie crust means you can spend more time perfecting your filling or experimenting with flavors. Enjoy the process and the delicious results!
Frequently Asked Questions
A cookie crust typically uses ingredients like cookie crumbs or a shortbread-like dough, resulting in a sweeter and often crumblier texture compared to the flakier pastry of a traditional tart crust. It offers a unique flavor profile.
Yes, absolutely! Using pre-made cookies like Oreo cookies or graham crackers is a convenient shortcut. Just crush them finely and mix with melted butter to create a quick and easy crust.
Blind baking the crust before adding the filling helps to seal the surface and prevent sogginess. Also, consider using a filling with a lower moisture content to reduce absorption.
Experiment with flavors like gingerbread crust with apple filling, chocolate cookie crust with peanut butter filling, or lemon shortbread crust with berry filling. The possibilities are truly endless!
Use the bottom of a measuring cup or your fingers to firmly press the mixture evenly across the bottom and up the sides of the tart pan. This ensures a stable and uniform crust.
Final Reflection: The Sweet Symphony of Simple Crusts
The humble cookie crust, often overlooked, is the unsung hero of countless delicious tarts. Its ease of preparation belies the incredible versatility and flavor depth it can bring to your baking repertoire. From classic chocolate chip to surprising spiced ginger, the possibilities are as limitless as your imagination.
This exploration into easy tart cookie crust recipes has highlighted not just the practical convenience, but also the creative freedom this simple foundation offers. It's a testament to how something seemingly basic can be transformed into something extraordinary with a little ingenuity. The best things in life are simple,
a sentiment that rings particularly true when considering the joy a perfectly crafted cookie crust brings to both the baker and the eater. The ease of preparation allows for experimentation, fostering a sense of playful creativity in the kitchen, a space where memories are made and shared.
Now, it's your turn. Don't be afraid to experiment! Try swapping out your usual graham cracker crust for a buttery shortbread, a nutty pecan crumble, or even a vibrant citrus-infused option. Embrace the simplicity, let your creativity flow, and discover the unique flavor profile that best complements your favorite tart filling. The journey of culinary exploration starts with a single, perfectly crafted crust.
Unleash Your Inner Pastry Chef: Creative Crust Creations!
Thanks for joining us on this delicious journey exploring the world of cookie crusts! We hope you’ve gained some inspiration for elevating your tarts to the next level. Ready to get baking?
- Master the perfect cookie crust: Try out one of the variations we discussed – the chocolate chip, the gingersnap, or even experiment with your own unique blend! This is your chance to shine!
- Share your masterpiece: Snap a photo of your stunning creation and share it on social media using #BakeWithEaseCookieCrusts. Let's inspire each other!
- Dive deeper into tart perfection: Explore our other articles on BakeWithEase.com for even more tips and recipes on creating beautiful and flavorful tarts.
What unexpected cookie will you use for your next tart adventure? Let us know in the comments!