
Beautiful Braided Challah Rolls: Simple Instructions

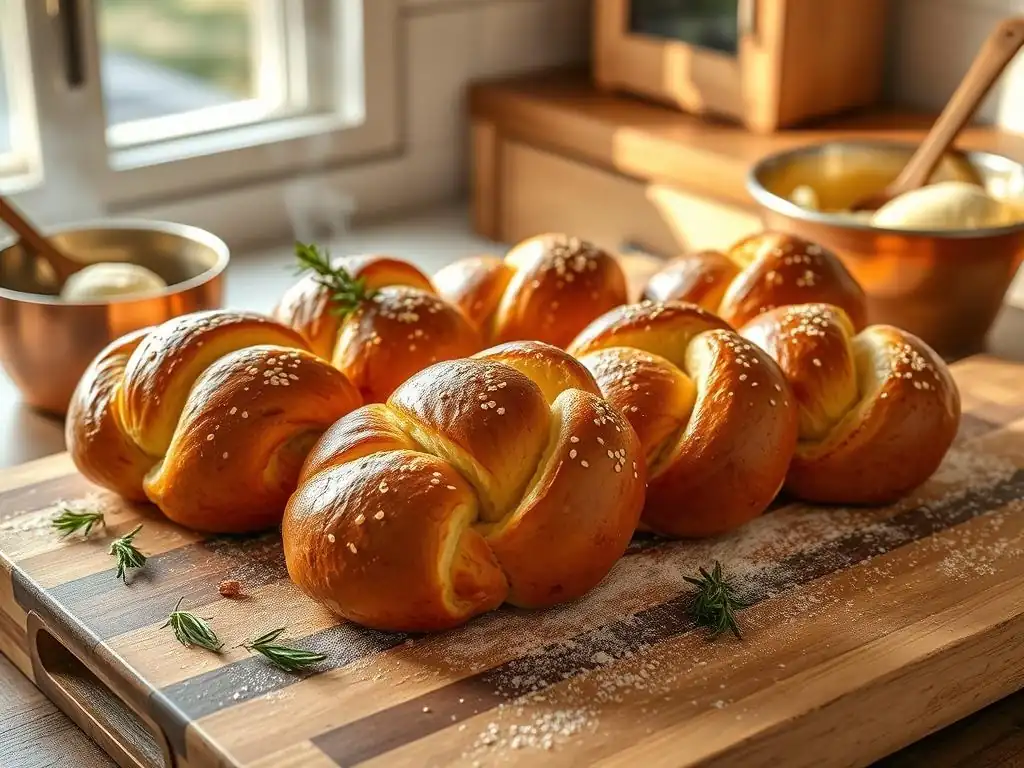
Welcome to BakeWithEase, your haven for baking brilliance! Ever dreamt of creating bakery-worthy bread but felt intimidated? Prepare to be amazed. In this article, we’re demystifying the art of bread making with our Easy Braided Challah Rolls Recipe. Unlock the secrets to soft, golden rolls that are surprisingly simple to create. Ready to impress your friends and family? Let's get baking and discover just how easy it can be!
- Introduction to Easy Braided Challah Rolls
- The Secret to Perfect Braided Challah Rolls: Ingredients & Equipment
- Step-by-Step Guide to Making Braided Challah Rolls
- Tips and Tricks for Baking the Best Braided Challah Rolls
- Enjoy Your Delicious, Easy Braided Challah Rolls!
-
Frequently Asked Questions
- How easy is this braided challah rolls recipe for a beginner baker?
- What makes this challah rolls recipe different from other challah recipes?
- What ingredients are essential for making these challah rolls?
- Can I customize the flavor of these braided challah rolls?
- How should I store these challah rolls to keep them fresh?
- Final Reflection: The Enduring Power of Simple Pleasures
- Unleash Your Inner Baker: Braid Your Way to Deliciousness!
Introduction to Easy Braided Challah Rolls
BakeWithEase: Mastering the Art of Baking Challah Rolls
Welcome to BakeWithEase, your friendly guide to unlocking the joy of baking! We believe that creating delicious, homemade goods should be accessible and fun for everyone, regardless of your experience level. That's why we focus on breaking down complex recipes into manageable steps, using straightforward techniques and easy-to-find ingredients. Our goal is to empower you to bake with confidence and achieve fantastic results right in your own kitchen. This easy braided challah rolls recipe is a perfect example, offering a rewarding baking experience that yields beautiful, tender rolls.
Baking challah, with its rich history and symbolic significance, might seem intimidating at first glance, especially the braiding part. However, our approach simplifies the process, allowing even novice bakers to master the art. We provide clear instructions and helpful tips every step of the way, ensuring you understand the 'why' behind each action. This specific recipe for easy braided challah rolls recipe has been tested and refined to guarantee success, resulting in rolls that are soft, slightly sweet, and perfect for any occasion.
Why You'll Love This Braided Challah Rolls Recipe
This easy braided challah rolls recipe stands out because it delivers exceptional flavor and texture with minimal fuss. Unlike some traditional challah recipes that can be complex and time-consuming, we've streamlined the process without sacrificing quality. You'll find that the dough is forgiving and easy to handle, making the kneading and shaping stages a pleasure rather than a chore. The result is a batch of individual challah rolls that are not only delicious but also incredibly beautiful with their signature braided tops.
Beyond the simplicity, these challah rolls are incredibly versatile. They are perfect for Shabbat or holiday meals, but also make wonderful sandwiches, dinner rolls, or even a base for French toast the next day. The slight sweetness and rich, eggy crumb are universally appealing. Plus, the satisfaction of pulling warm, golden-brown, homemade braided rolls from your oven is truly unmatched. This easy braided challah rolls recipe will quickly become a staple in your baking repertoire.
The Secret to Perfect Braided Challah Rolls: Ingredients & Equipment
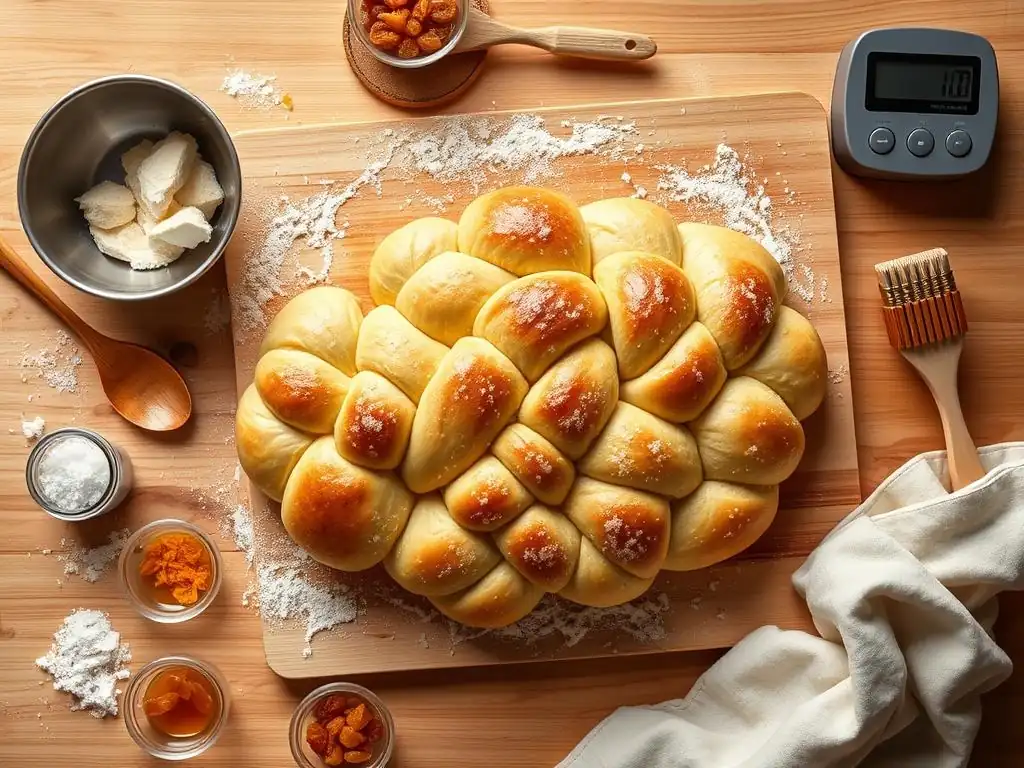
Essential Ingredients for Delicious Challah Rolls
Creating delicious challah rolls starts with quality ingredients. While the list is relatively simple, the type and freshness of each component play a significant role in the final outcome. We'll guide you through selecting the best flour, understanding yeast, and choosing your sweetener for this easy braided challah rolls recipe.
Using fresh, reliable ingredients ensures your dough rises properly and develops the characteristic soft, slightly chewy texture of great challah. For instance, using expired yeast can lead to a flat, dense loaf, a common pitfall we want you to avoid. Similarly, the quality of your flour affects gluten development, which is crucial for the dough's structure and elasticity, essential for successful braiding and a light crumb.
Flour Selection for Optimal Challah Texture
For this easy braided challah rolls recipe, all-purpose flour is generally recommended, especially for beginners. It provides a good balance of protein content (typically 10-12%) that allows for sufficient gluten development without being overly difficult to knead. Look for unbleached all-purpose flour if possible, as it often performs more consistently in yeast doughs.
Alternatively, a bread flour can be used. Bread flour has a higher protein content (around 12-14%), which results in stronger gluten. This can give the challah a slightly chewier texture and make the dough very elastic, which is excellent for developing structure but might require a bit more effort during kneading. If you're new to baking, stick with all-purpose flour for this easy braided challah rolls recipe to ensure the easiest handling.
The Importance of Fresh Yeast in Braided Dough
Yeast is the leavening agent that makes your challah rolls light and airy. For this easy braided challah rolls recipe, we typically use active dry yeast or instant yeast. Both work well, but they are activated slightly differently. Active dry yeast usually needs to be dissolved in warm liquid (around 105-115°F or 40-46°C) with a pinch of sugar before combining with other ingredients, a process called proofing. Instant yeast can often be mixed directly with the dry ingredients, though checking its viability in warm liquid is still a good practice.
Ensuring your yeast is fresh is critical. If using active dry yeast, proofing it first is your test. If it doesn't foam up within 5-10 minutes, it's likely dead and won't leaven your dough. A packet of active dry yeast typically contains about 2.25 teaspoons, which is sufficient for leavening dough made with around 3-4 cups of flour, like in our easy braided challah rolls recipe. Always store yeast properly (in the refrigerator or freezer after opening) to maintain its potency.
Sweetening Your Challah: Honey vs. Sugar
Challah traditionally has a touch of sweetness, which complements its richness and aids in browning. This easy braided challah rolls recipe often uses either granulated sugar or honey. Granulated sugar provides a clean, consistent sweetness and helps feed the yeast. About 1/4 to 1/3 cup of sugar per loaf (or proportional amount for rolls) is common.
Honey, on the other hand, adds a distinct flavor profile and contributes to a softer crumb. It also attracts moisture, potentially helping the challah stay fresh slightly longer. When substituting honey for sugar, use slightly less honey (about 3/4 cup honey for every 1 cup of sugar) and reduce the liquid in the recipe slightly, as honey is a liquid sweetener. Both options work beautifully in this easy braided challah rolls recipe, so choose based on your preference!
Required Equipment for Baking Braided Challah Rolls
While you don't need a professional bakery setup, having the right basic equipment makes the process of baking this easy braided challah rolls recipe much smoother and more enjoyable. Standard kitchen tools are usually sufficient, ensuring accessibility for most home bakers.
Having reliable tools, like accurate measuring cups and a sturdy mixing bowl, helps ensure consistency in your dough. A good baking sheet and parchment paper are essential for baking the rolls evenly and preventing sticking. Don't worry if you don't have every specialized tool; we'll cover the essentials and some helpful optional items.
Mixing Bowls and Measuring Tools
You'll need at least one large mixing bowl to combine your ingredients and allow the dough to rise. Glass, ceramic, or stainless steel bowls all work well. Ensure it's large enough to accommodate the dough doubling in size during the first proofing – typically a 4-6 quart bowl is sufficient for a batch of rolls made from 3-4 cups of flour. You might also need a smaller bowl for proofing the yeast if using active dry yeast.
Accurate measuring cups and spoons are non-negotiable for successful baking. Use dry measuring cups for flour and sugar, and liquid measuring cups for water, oil, and eggs. Measuring by weight using a kitchen scale is even more accurate, especially for flour (1 cup of all-purpose flour weighs approximately 120-130 grams), and can lead to more consistent results with your easy braided challah rolls recipe.
Baking Sheets and Parchment Paper
Baking sheets provide the surface on which your challah rolls will bake. Standard half-sheet pans (roughly 13x18 inches) are ideal as they allow sufficient space between rolls for even baking and browning. You'll likely need one or two baking sheets depending on the batch size of your easy braided challah rolls recipe.
Lining your baking sheets with parchment paper is highly recommended. It prevents the rolls from sticking to the pan, makes cleanup much easier, and helps the bottoms of the rolls bake evenly without burning. Silicone baking mats are also an excellent reusable alternative to parchment paper.
Proofing Basket (Optional)
A proofing basket, also known as a banneton, is an optional tool that is more commonly used for larger loaves of bread like sourdough or rustic boules. It supports the dough during its final rise and can impart a decorative pattern if lined with flour.
For individual challah rolls in this easy braided challah rolls recipe, a proofing basket isn't necessary. You will proof the shaped rolls directly on the prepared baking sheet. The key is simply to provide a warm, draft-free environment for the dough to rise before baking.
Step-by-Step Guide to Making Braided Challah Rolls
Step 1: Preparing the Challah Dough
The first step in making your easy braided challah rolls recipe is creating the dough. This involves activating the yeast, combining the wet and dry ingredients, and kneading until a smooth, elastic dough forms. Patience and attention to detail during this stage are key to a successful outcome.
Properly hydrated and kneaded dough is the foundation for light, airy challah rolls. If the dough is too dry, it will be tough and hard to braid. If it's too wet, it will be sticky and difficult to handle. Achieving the right consistency through careful measurement and kneading is paramount.
Activating the Yeast for Challah
If using active dry yeast for your easy braided challah rolls recipe, you'll need to activate it first. In a small bowl, combine warm water (around 105-115°F or 40-46°C) with a pinch of sugar. Sprinkle the yeast over the top and let it sit for 5-10 minutes. You should see a foamy layer develop on the surface; this indicates the yeast is alive and active. If it doesn't foam, your yeast may be dead, and you'll need to start with fresh yeast.
If using instant yeast, you can often skip this step and mix it directly with the dry ingredients. However, if you're unsure about the freshness of your instant yeast, you can still proof it in warm water (slightly warmer, up to 120-130°F or 49-54°C, is okay for instant yeast) to be certain it's viable before proceeding with the rest of your easy braided challah rolls recipe.
Combining the Wet and Dry Ingredients
In a large mixing bowl, whisk together the dry ingredients: flour, sugar (if using granulated), and salt. In a separate bowl or large liquid measuring cup, whisk together the wet ingredients: warmed milk or water, oil (neutral-flavored oil like vegetable or canola is common), beaten eggs, and honey (if using).
Create a well in the center of the dry ingredients and pour in the activated yeast mixture (if using active dry) and the rest of the wet ingredients. Begin mixing with a wooden spoon or a stand mixer fitted with a dough hook until a shaggy dough forms. At this point, all the flour should be incorporated, but the dough will look rough and sticky.
Kneading the Challah Dough to Perfection
Kneading develops the gluten structure in the dough, which is essential for its elasticity and ability to trap gases produced by the yeast, resulting in a light texture. Turn the shaggy dough out onto a lightly floured surface (or continue in the stand mixer) and knead.
Knead for about 8-10 minutes by hand or 6-8 minutes in a stand mixer on medium speed. The dough should transform from sticky and shaggy to smooth, elastic, and no longer sticking excessively to your hands or the bowl. You can perform the windowpane test: gently stretch a small piece of dough; if it stretches thin enough to see light through it without tearing, the gluten is well-developed. This is a crucial step for an easy braided challah rolls recipe that yields soft rolls.
Step 2: First Proofing: Letting the Dough Rise
After kneading, the dough needs time to rest and rise. This first proofing allows the yeast to ferment, producing carbon dioxide gas which makes the dough expand and develop flavor. This step is sometimes called bulk fermentation.
The duration of the first proofing depends heavily on the environment's temperature. A warmer environment speeds up the process, while a cooler one slows it down. Patience here is key to achieving the desired volume and texture for your easy braided challah rolls recipe.
Creating the Ideal Proofing Environment
Place the kneaded dough in a lightly oiled bowl, turning to coat the surface. Cover the bowl tightly with plastic wrap or a clean kitchen towel. The ideal temperature for proofing yeast dough is typically between 75-85°F (24-29°C).
You can create a warm environment by placing the covered bowl in a slightly warm, turned-off oven (heat the oven for a minute or two, then turn it off), or simply leaving it on the counter in a warm spot in your kitchen. Avoid drafty areas, as cold drafts can inhibit yeast activity.
Understanding Dough Volume and Rise Time
During the first proof, the dough should approximately double in volume. This usually takes about 1 to 1.5 hours in a warm environment. In a cooler kitchen, it might take 2 hours or even longer. Don't rely solely on time; visually check the dough's volume.
To test if the dough is ready, gently press two fingers into the dough. If the indentations remain, the dough is sufficiently proofed. If the indentations spring back immediately, it needs more time. Over-proofing can lead to a yeasty flavor and potentially cause the rolls to collapse during baking, so watch the dough, not just the clock, for your easy braided challah rolls recipe.
Step 3: Shaping the Braided Challah Rolls
Shaping is arguably the most fun part of making this easy braided challah rolls recipe! Transforming the proofed dough into individual, beautifully braided rolls is incredibly satisfying. We'll cover how to divide the dough and the technique for braiding.
Consistent shaping ensures that all your rolls bake evenly and look uniform. Taking a moment to divide the dough accurately and roll out even strands makes the braiding process much simpler and the final result more appealing.
Dividing the Dough into Equal Portions
Once the dough has doubled in size, gently punch it down to release the gases. Turn the dough out onto a lightly floured surface. Use a bench scraper or knife to divide the dough into equal portions. The size of the portions will determine the size of your rolls. For medium-sized rolls, portions weighing about 3-4 ounces (roughly 85-115 grams) work well, yielding approximately 8-10 rolls from a standard recipe using 3-4 cups of flour.
Weighing the portions using a kitchen scale is the most accurate way to ensure uniformity, which is helpful for even baking in this easy braided challah rolls recipe. If you don't have a scale, eyeball the divisions and try to make them as similar in size as possible.
Rolling and Stretching the Dough Strands
Take each portion of dough and roll it into a ball. Then, roll each ball into a long, even rope or strand. The length and thickness of the strands will depend on how many strands you plan to use for each roll's braid. For a 3-strand braid, you'll need three ropes per roll, each about 9-12 inches long and relatively even in thickness from end to end.
Roll from the center outwards, applying gentle, even pressure. If the dough resists stretching, let it rest for a few minutes before trying again; this allows the gluten to relax. Repeat this for all portions of dough needed for your rolls, keeping them covered loosely with a towel while you work to prevent drying.
Braiding Techniques for Beautiful Challah Rolls
Braiding is the signature look of challah. For individual rolls in this easy braided challah rolls recipe, you can use different numbers of strands. We'll detail the classic 3-strand braid, which is the easiest, and briefly touch on a 4-strand option.
Before braiding, arrange the strands in front of you. Ensure they are roughly the same length and thickness. Place the shaped rolls on your prepared baking sheets as you finish braiding them, leaving ample space (at least 2-3 inches) between each roll as they will expand during the second proof and baking.
The Classic 3-Strand Braid
This is the simplest and most common braid. Take three strands and pinch them together firmly at one end. Lay the strands flat and spread them out.
- Take the rightmost strand and cross it over the middle strand.
- The strand that was just crossed over is now the new middle strand.
- Take the leftmost strand and cross it over the new middle strand.
- The strand that was just crossed over is now the newest middle strand.
- Repeat this pattern, alternating crossing the rightmost and leftmost strands over the middle, working your way down the length of the ropes.
- Pinch the ends together firmly at the bottom and tuck them underneath the roll to create a neat finish. Shape into a tight roll.
The Elegant 4-Strand Braid (Optional)
A 4-strand braid creates a slightly wider, flatter roll with a more intricate pattern. Take four strands and pinch them together firmly at one end. Lay them flat and spread them out in order from left to right (1, 2, 3, 4).
- Take strand 4 (rightmost) and cross it over strand 2.
- Take strand 1 (leftmost) and cross it over the new strand 2 (which was originally strand 3).
- Now you have a new order. Repeat the pattern: take the rightmost strand and cross it over the second strand from the left. Then take the leftmost strand and cross it over the second strand from the right.
- Continue this sequence, working from right-over-second-from-left, then left-over-second-from-right, down the length of the ropes.
- Pinch the ends together and tuck underneath. This technique requires a bit more practice but results in a beautiful roll for your easy braided challah rolls recipe.
Step 4: Second Proofing: Ensuring a Light and Airy Texture
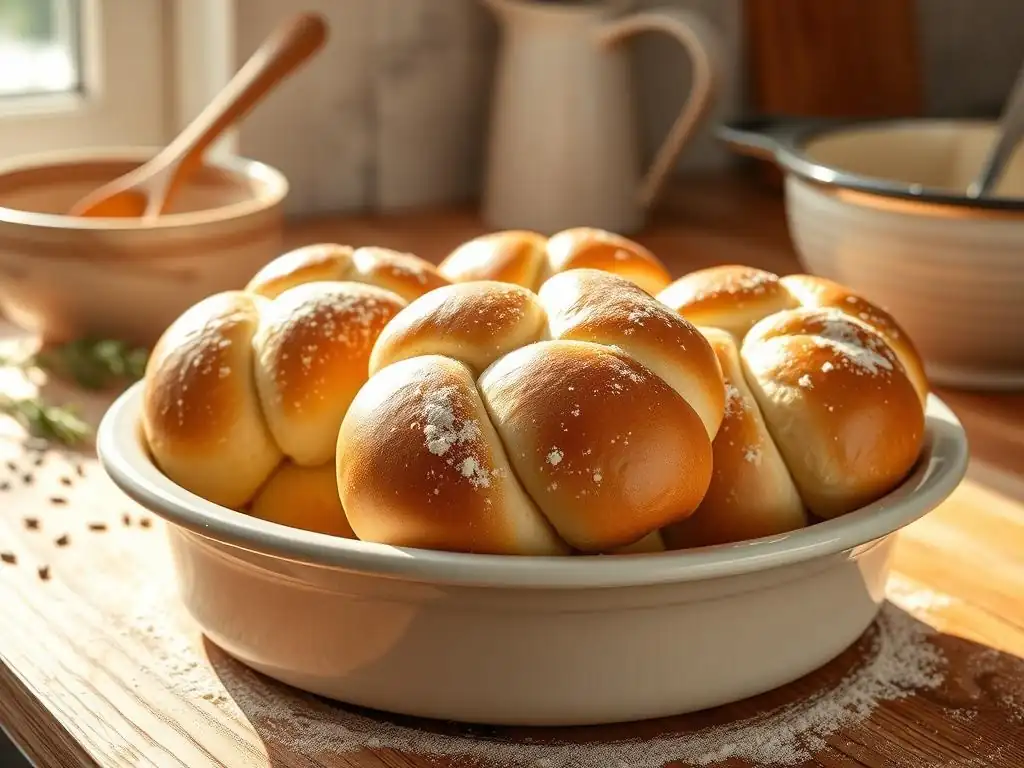
After shaping and placing your braided challah rolls on the baking sheet, they need another period of rising, called the second proof or final proof. This allows the dough to relax after shaping and regain some of the volume lost when punching it down.
This second proof is crucial for achieving a light, airy texture in the final baked roll. If you bake the rolls before they are adequately proofed, they will be dense and might crack on the surface.
Proper Covering During the Second Proof
Cover the shaped rolls loosely on the baking sheet. Plastic wrap, lightly oiled to prevent sticking, is ideal. You can also use a large, clean plastic bag or a clean kitchen towel. The goal is to prevent the surface of the dough from drying out and forming a skin, which would restrict its ability to rise properly.
Place the covered baking sheet in a warm, draft-free location, similar to the first proofing environment. Again, a turned-off oven or a warm spot on the counter works well.
Judging Readiness for Baking
The second proof typically takes about 30-60 minutes, depending on the ambient temperature. The rolls should look noticeably puffier and more voluminous, about 50-75% larger than when you finished shaping them. They won't quite double in size again like they did during the first proof.
A gentle test for readiness is the "poke test." Gently press the side of a roll with your finger. If the indentation springs back slowly and only partially, the rolls are ready to bake. If it springs back immediately, they need more time. If the indentation stays completely, they might be slightly over-proofed. Getting this timing right is key to a perfect easy braided challah rolls recipe.
Step 5: Baking Your Braided Challah Rolls
Baking is where the magic happens! The heat of the oven causes the yeast to produce a final burst of gas (oven spring) and sets the structure of the rolls. Proper temperature and timing are essential for achieving a beautiful golden crust and a fully cooked interior.
Preheating your oven thoroughly is critical for consistent results. Baking at the correct temperature ensures the rolls bake through evenly without burning the exterior before the inside is done.
Oven Temperature and Baking Time
Preheat your oven to 375°F (190°C) with a rack positioned in the center. It's important to preheat for at least 15-20 minutes, or even longer, after the oven signals it's reached temperature, to ensure the heat is stable and the walls of the oven are hot.
Bake the braided challah rolls for approximately 18-25 minutes. The exact time will vary depending on the size of your rolls and your specific oven. Start checking around the 18-minute mark.
Achieving a Golden-Brown Crust
You're looking for a beautiful golden-brown color all over the rolls. The tops should be richly colored, and the bottoms should be firm and golden as well. If the tops are browning too quickly, you can loosely tent the baking sheet with foil for the remaining baking time.
To ensure they are fully baked, the internal temperature of the rolls should reach around 190-200°F (88-93°C) when measured with an instant-read thermometer. If you tap the bottom of a roll, it should sound hollow.
Egg Wash and Seed Toppings for Enhanced Flavor
For that classic shiny, golden challah crust, apply an egg wash before baking. Whisk one large egg with a tablespoon of water or milk. Gently brush this mixture over the surface of each shaped and proofed roll. Be careful not to deflate the rolls while brushing.
Immediately after applying the egg wash, you can sprinkle toppings on your easy braided challah rolls recipe. Popular options include:
- Sesame seeds
- Poppy seeds
- Nigella seeds
- Everything bagel seasoning
- Coarse sea salt
- Or a mixture of seeds!
These toppings add flavor, texture, and visual appeal.
Step 6: Cooling and Serving Your Homemade Challah Rolls
Once your beautiful braided challah rolls are baked to perfection, the final step is proper cooling before enjoying them. While the aroma is incredibly tempting, cutting into hot bread can compromise its texture.
Allowing the rolls to cool properly ensures the internal structure sets and any residual moisture evaporates, resulting in the best possible crumb. This patience is rewarded with perfectly textured rolls from your easy braided challah rolls recipe.
Cooling on a Wire Rack
Immediately after taking the baking sheet out of the oven, carefully transfer the hot challah rolls to a wire cooling rack. This allows air to circulate around the entire roll, preventing the bottoms from becoming soggy from trapped steam.
Allow the rolls to cool completely on the rack before slicing or storing them. For individual rolls, this might take about 30-45 minutes. Cooling them fully ensures they slice cleanly and have the ideal texture.
Serving Suggestions and Storage Tips
These easy braided challah rolls recipe yields rolls that are wonderful served warm or at room temperature. Enjoy them simply with butter, use them for sandwiches, serve them alongside soup or stew, or use them to soak up sauces. They are particularly delightful for breakfast or brunch.
- Freshness: Challah is best enjoyed within 1-2 days of baking.
- Storage: Store cooled rolls in an airtight container or a bread bag at room temperature. Avoid refrigerating challah, as it can dry out quickly.
- Freezing: For longer storage, cool the rolls completely, then wrap them individually in plastic wrap and place them in a freezer-safe bag or container. Frozen challah rolls can last for up to 3 months. Thaw at room temperature or gently warm in a low oven.
Tips and Tricks for Baking the Best Braided Challah Rolls
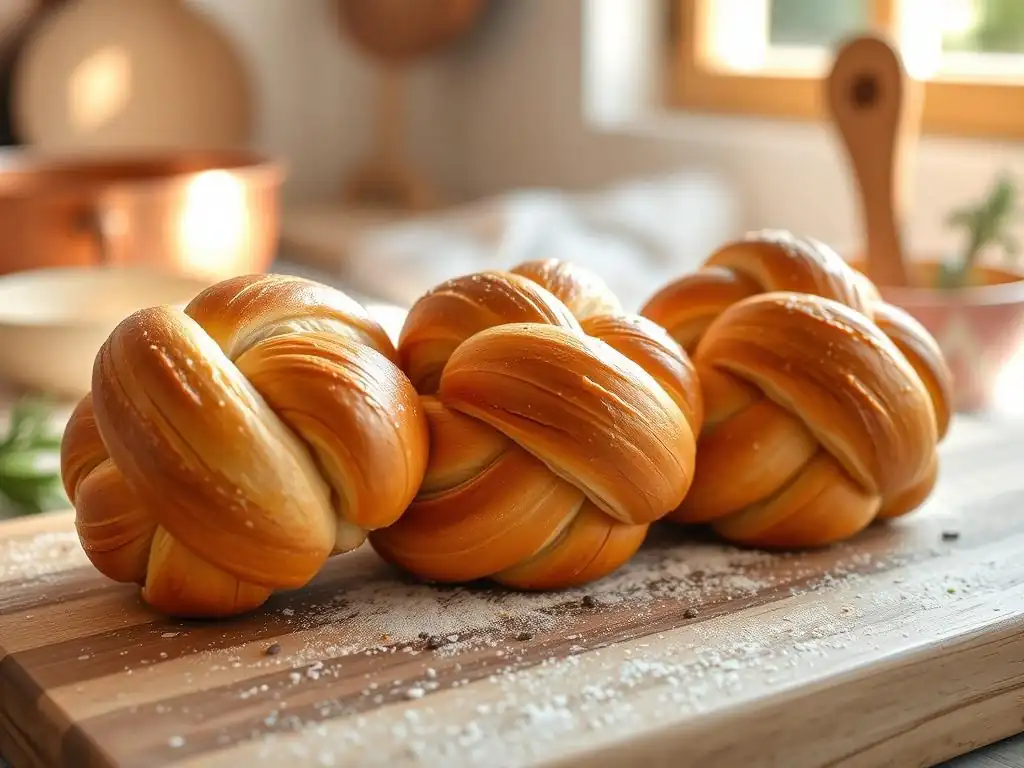
Even with an easy braided challah rolls recipe, baking can sometimes present challenges. Knowing how to troubleshoot common issues and explore variations can help you refine your skills and make these rolls truly your own.
We've gathered some insights to help you navigate potential pitfalls and encourage you to experiment with flavors, ensuring every batch of your easy braided challah rolls recipe is a success and perfectly tailored to your taste.
Troubleshooting Common Challah Baking Problems
Encountering issues is a normal part of the baking journey. Understanding the possible causes behind common problems like dough not rising or a dry finished product can help you correct them in future attempts at your easy braided challah rolls recipe.
Don't get discouraged if your first batch isn't perfect. Baking is a skill that improves with practice. Use these tips to learn from any challenges you face.
Dough Not Rising? Here's What To Do
If your challah dough isn't rising, the most common culprit is inactive or dead yeast. This can happen if the yeast is old, exposed to too much heat or cold during storage, or killed by using liquid that is too hot during activation (above 130°F/54°C).
- Check Yeast Viability: Always proof active dry yeast in warm water with sugar first. If it doesn't foam, discard it and start with fresh yeast.
- Temperature: Ensure your proofing environment is warm enough (75-85°F). Cold temperatures significantly slow down or halt yeast activity.
- Expired Ingredients: Check the expiration dates on your yeast and flour.
- Salt Contact: Ensure salt wasn't added directly on top of the yeast during mixing, as salt can inhibit yeast activity if it comes into direct contact before liquid is added.
Preventing a Dry Challah Roll
A dry challah roll can result from several factors, including insufficient hydration, over-kneading, or over-baking. This easy braided challah rolls recipe is designed to be moist, but variations in flour or environment can sometimes lead to dryness.
- Hydration: Ensure you are measuring your liquid accurately. The dough should be slightly sticky after kneading but manageable. If it feels too stiff during kneading, add a tablespoon of liquid at a time.
- Kneading Time: Don't over-knead, especially if using a stand mixer. Over-kneading can make the dough tough and dry. Stop when the dough is smooth and passes the windowpane test.
- Baking Time: Avoid over-baking. Use the visual cues (golden brown crust) and consider using an internal thermometer (target 190-200°F) to determine doneness rather than relying solely on the suggested time, as ovens vary.
Flavor Variations: Experimenting with Your Challah
Once you've mastered the basic easy braided challah rolls recipe, you can start experimenting with different flavors and additions. Challah is a versatile bread that takes well to both sweet and savory enhancements.
Adding ingredients can transform the character of your challah rolls, making them suitable for different meals or occasions. These variations allow you to personalize your easy braided challah rolls recipe and keep baking exciting.
Adding Spices and Herbs to Your Challah Dough
You can incorporate ground spices directly into the dry ingredients or finely chopped fresh herbs during the final stages of kneading. Consider adding:
- 1-2 teaspoons of ground cinnamon or cardamom for a warmer flavor.
- A pinch of nutmeg.
- 1-2 tablespoons of finely chopped fresh rosemary or dill for a savory twist.
Start with smaller amounts and adjust in future batches based on your preference.
Sweet and Savory Challah Roll Ideas
Beyond spices, you can mix in other ingredients to create unique rolls:
- Sweet: Add 1/2 cup of raisins, cranberries, or chocolate chips to the dough during the last minute of kneading. You can also add citrus zest (lemon or orange) to the wet ingredients.
- Savory: Incorporate 1/4 - 1/2 cup of finely grated cheese (like cheddar or Parmesan), minced garlic, or caramelized onions during the final kneading stage. Top with coarse salt or everything bagel seasoning before baking.
Experimenting with these additions can lead to delightful new versions of your easy braided challah rolls recipe.
Enjoy Your Delicious, Easy Braided Challah Rolls!
You've done it! You've successfully baked a batch of beautiful and delicious braided challah rolls using our easy braided challah rolls recipe. Take a moment to appreciate your accomplishment and the wonderful aroma filling your kitchen.
Baking is a rewarding activity, and creating something as lovely and tasty as homemade challah rolls is a fantastic achievement. We hope this recipe has shown you that baking beautiful bread is within reach for everyone.
We love seeing what our community bakes! Share photos of your braided challah rolls and let us know how this easy braided challah rolls recipe worked for you. Your successes inspire others and help us continue providing helpful, easy-to-follow baking guides.
Baking is often best when shared, whether with family, friends, or fellow baking enthusiasts online. Don't hesitate to showcase your golden, perfectly braided creations!
Further Bread Baking Exploration on BakeWithEase.com
This easy braided challah rolls recipe is just the beginning of your bread baking adventure with BakeWithEase. Our website offers a wide variety of recipes and techniques for all levels.
Explore our sections on different types of bread, from quick no-knead loaves to sourdough starters. Learn about various shaping techniques, proofing methods, and how to achieve the perfect crust. We're constantly adding new content to help you master the art of baking, one delicious loaf or roll at a time. Happy Baking!
Frequently Asked Questions
How easy is this braided challah rolls recipe for a beginner baker?
This recipe is designed for easy baking, even for beginners. The instructions are step-by-step, and the ingredients are readily available.
What makes this challah rolls recipe different from other challah recipes?
This recipe focuses on creating individual rolls instead of a loaf, making it easier to manage and bake. The braiding technique is also simplified for quick and beautiful results.
What ingredients are essential for making these challah rolls?
The essential ingredients include flour, yeast, eggs, sugar, and oil. These are the base for a classic challah dough.
Can I customize the flavor of these braided challah rolls?
Absolutely! You can add raisins, chocolate chips, or even a cinnamon swirl to the dough for a personalized touch.
How should I store these challah rolls to keep them fresh?
Store the baked challah rolls in an airtight container at room temperature. They're best enjoyed within 2-3 days for optimal freshness.
Final Reflection: The Enduring Power of Simple Pleasures
The art of baking, and specifically the creation of beautiful, braided challah rolls, transcends mere culinary skill; it's a testament to the enduring power of simple pleasures in a complex world. This recipe, designed for ease of execution, aims to bring the joy of homemade bread to everyone, regardless of baking experience. The satisfying process, from kneading the dough to the elegant braiding, offers a tangible connection to tradition and a moment of mindful creation in our often-frantic lives.
The aroma of freshly baked challah, warm and yeasty, evokes powerful memories and feelings of comfort and connection. It's a smell that transcends cultures and generations, a symbol of celebration and togetherness. Bread is the staff of life.
This simple adage speaks volumes about the fundamental role of bread, and challah in particular, in nourishing not just our bodies, but also our souls. The recipe shared here is a small contribution to keeping this tradition alive and accessible.
Now, I invite you to roll up your sleeves, gather your ingredients, and embark on this simple yet rewarding journey. Don't be intimidated by the braiding; with a little patience and the steps outlined in this article, you'll be amazed at the beautiful results. More than just a recipe, this is an invitation to slow down, connect with the process, and savor the simple pleasures that enrich our lives. The warm, golden rolls are a delicious reward, but the true satisfaction lies in the journey itself.
Unleash Your Inner Baker: Braid Your Way to Deliciousness!
Thanks for taking the time to explore the art of braiding challah with us! We hope you've gained the confidence to create beautiful and delicious rolls. Now it's time to put your newfound skills to the test!
- Bake your first challah: Gather your ingredients and try out the recipe today! Even a small batch is a rewarding accomplishment.
- Share your creation: Post a picture of your braided masterpiece on social media and tag us! We'd love to see your baking journey.
- Experiment with flavors: Try adding different seeds, spices, or even dried fruit to your dough for a unique twist. What delicious combinations will you create?
Ready to transform your kitchen into a fragrant haven of freshly baked bread? What unique flavor combination will you try first?