
Troubleshooting Common Sourdough Rye Baking Problems

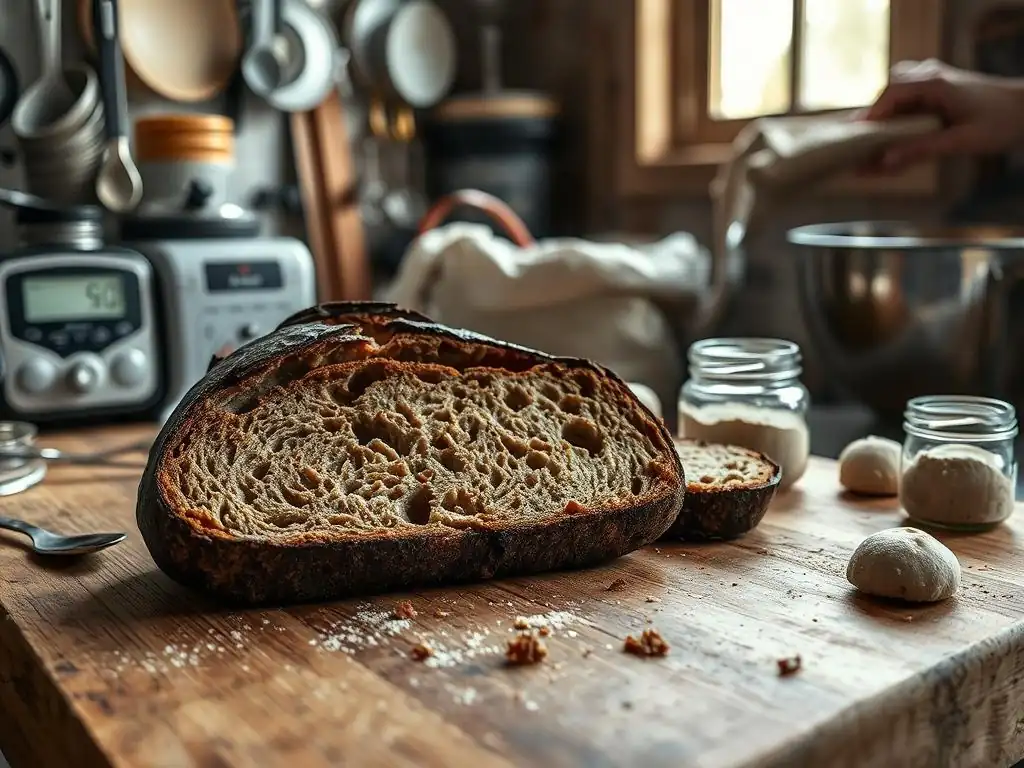
Welcome to BakeWithEase, your trusted companion in the world of baking! Are you wrestling with dense loaves or inconsistent results when crafting your sourdough rye creations? You're not alone! This guide dives deep into the most common sourdough rye baking problems, offering insightful solutions and expert tips to help you achieve that perfect, tangy, and airy rye bread you've been dreaming of. Curious to know why your starter isn't cooperating? Read on and unlock the secrets to sourdough rye success!
- Troubleshooting Common Sourdough Rye Baking Problems: A BakeWithEase Guide
- Introduction to Sourdough Rye Bread Baking Challenges
- Problem 1: Dense and Gummy Sourdough Rye Bread
- Problem 2: Sourdough Rye Lacking Rise
- Problem 3: Overly Sour Sourdough Rye Bread
- Problem 4: Cracked Crust on Sourdough Rye
- Problem 5: Lack of Flavor in Sourdough Rye
- Problem 6: Sticky Dough That's Hard to Handle
- Advanced Techniques for Solving Sourdough Rye Issues
- Conclusion: Mastering Sourdough Rye Baking with Confidence
- Frequently Asked Questions
- Final Reflection: The Enduring Allure (and Challenges) of Sourdough Rye
- Unlock Your Rye Bread Potential!
Troubleshooting Common Sourdough Rye Baking Problems: A BakeWithEase Guide
Introduction to Sourdough Rye Bread Baking Challenges
Why Sourdough Rye Baking Can Be Tricky
Baking with rye flour, especially in sourdough, presents a unique set of challenges compared to wheat-based breads. The primary reason lies in rye's distinct chemical composition. Unlike wheat, rye flour contains significantly less gluten-forming proteins. Instead, it's rich in soluble fibers called pentosans, which absorb a large amount of water and create a sticky, less elastic dough. This difference means traditional kneading methods used for wheat dough are less effective and can even break down the fragile structure rye forms.
Furthermore, the fermentation process with sourdough and rye flour interacts differently. The microbial activity in a rye sourdough starter often results in a faster build-up of acidity, particularly acetic acid, which can affect the dough's handling and the final bread's flavor and texture. The variability in different types of rye flour – from light to dark or whole – also drastically impacts water absorption and dough behavior, making standardized recipes more challenging and contributing to common sourdough rye baking problems.
Common Sourdough Rye Baking Issues for Beginners
Many bakers venturing into sourdough rye for the first time encounter predictable hurdles. Among the most frequent Sourdough rye baking problems are achieving adequate rise, avoiding a dense or gummy crumb, managing the characteristic stickiness of the dough, controlling sourness, and preventing the crust from cracking uncontrollably. These issues stem from the unique properties of rye flour and the specific demands of sourdough fermentation.
Understanding these common problems is the first step toward mastering sourdough rye. Beginners often find that their familiar wheat-baking intuition doesn't always translate directly. For instance, dough that feels "right" for wheat might be too dry for rye, or proofing times might need adjustment based on the flour type and ambient temperature. Recognizing these potential pitfalls allows bakers to anticipate challenges and apply the right techniques to achieve delicious and well-structured sourdough rye loaves.
Problem 1: Dense and Gummy Sourdough Rye Bread
Understanding the Cause of Gummy Rye Bread
A gummy texture is one of the most frustrating Sourdough rye baking problems. This often occurs because rye's pentosans, while absorbing water, can create a mucilaginous texture if the dough isn't handled or baked correctly. Insufficient baking is a major culprit; the internal structure, heavily reliant on gelatinized starches and pentosans rather than a strong gluten network, needs sufficient heat and time to set properly. If removed from the oven too soon, the starches remain partially uncooked, resulting in a sticky, dense, and unpleasant crumb.
Another factor contributing to gumminess can be related to enzyme activity. Rye flour contains amylase enzymes that can break down starches into sugars during fermentation. If fermentation is too long or the starter's enzymatic activity is too high, this can lead to excessive starch breakdown, resulting in a wet, sticky crumb even after baking. Controlling fermentation time and temperature is therefore crucial in preventing this issue and resolving sourdough rye baking problems related to texture.
Insufficient Gluten Development in Rye Dough: Solutions
Unlike wheat bread where vigorous kneading develops a strong gluten network for structure, rye dough relies on limited gluten (if any, in 100% rye) and the water-holding capacity of pentosans. Trying to develop gluten through intensive kneading is largely ineffective and can even damage the delicate structure formed by the pentosans. The focus shifts from "development" to gentle handling and allowing hydration to work.
Instead of kneading, techniques like brief mixing followed by rest periods (autolyse or bulk fermentation rests) allow the flour to hydrate fully. Gentle stretch and folds or coil folds performed early in bulk fermentation (e.g., 2-3 sets within the first 1-2 hours) can help build some tension and structure without tearing the dough. For 100% rye, minimal handling is best; the structure comes more from the dough's consistency, proper proofing, and baking.
Under-Baking Sourdough Rye: How to Ensure Proper Doneness
Under-baking is perhaps the most common cause of gummy sourdough rye baking problems. Because rye bread is dense and retains moisture, it requires a longer baking time than a comparable wheat loaf, even if the crust looks done. The key to ensuring proper doneness is checking the internal temperature. A fully baked rye loaf should reach an internal temperature of at least 205°F (96°C), ideally closer to 210°F (99°C), when measured with an instant-read thermometer in the center of the loaf.
To achieve this, you may need to bake the loaf for 45 to 70 minutes or even longer, depending on its size and hydration. After the initial phase of baking (often with steam), reduce the oven temperature slightly (e.g., to 400-425°F or 200-220°C) and continue baking until the internal temperature is reached. Don't rely solely on visual cues; use a thermometer every time until you are consistently baking perfect loaves.
Troubleshooting Starter Activity for Rye Bread
A weak or inactive sourdough starter is a major contributor to dense rye bread. A starter needs to be vigorous and active to produce enough carbon dioxide gas to leaven the heavy rye dough and provide the necessary acidity to control enzymatic activity. If your starter isn't doubling or tripling reliably within 4-8 hours after feeding, it may not be strong enough for rye.
Ensure your starter is healthy by feeding it regularly and using it at its peak activity (typically when it has roughly doubled or tripled and is still bubbly). Some bakers maintain a separate starter fed partially or entirely with rye flour specifically for rye baking, as the microbial balance can adapt better to the rye environment. Using a strong starter ensures adequate lift and helps prevent the gummy issues associated with poor fermentation.
Problem 2: Sourdough Rye Lacking Rise
Identifying Factors Affecting Sourdough Rye Rise
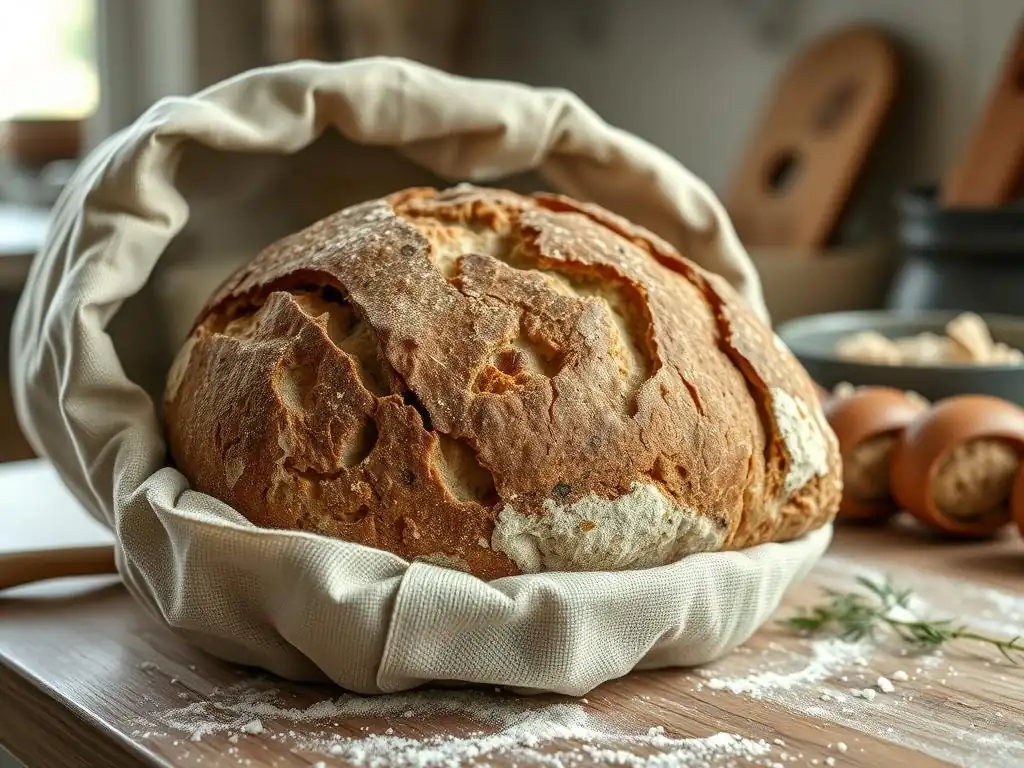
Achieving a good rise in sourdough rye bread can be challenging due to rye's inherent lack of strong gluten structure. Several factors contribute to poor rise, including an inactive starter, incorrect proofing temperature or time, and the nature of the rye flour itself. Rye dough won't typically double in size like a wheat loaf during proofing; a 50-75% increase is often considered successful for loaves with a high percentage of rye.
Understanding the interplay between your starter's strength, the ambient temperature of your kitchen, and the specific type of rye flour you are using is crucial. Each element impacts the rate and extent of fermentation and gas production. Addressing Sourdough rye baking problems related to rise requires careful attention to these variables throughout the process.
Starter Inactivity and Its Impact on Rye Bread
An insufficiently active sourdough starter is one of the most significant culprits behind a flat rye loaf. The starter is the sole leavening agent, and if it doesn't have enough vitality, it simply won't produce enough gas to lift the dense rye dough. Rye flour itself can sometimes be demanding on a starter's microbial community, so a starter that performs well with wheat might need a boost or specific feeding regimen for rye.
To ensure your starter is ready, feed it with fresh flour and water and wait until it shows peak activity – vigorous bubbling and significant volume increase (e.g., doubling) – before incorporating it into your dough. Using a portion of rye flour in your starter's feeding for a day or two before baking can help acclimatize the microbes to the rye environment, potentially leading to more robust activity in the final dough and reducing sourdough rye baking problems with lift.
Room Temperature and Proofing Time for Rye Dough
Proofing temperature and time are critical variables affecting rise. Sourdough activity is highly sensitive to temperature. A typical room temperature range of 70-78°F (21-26°C) is often suitable for bulk fermentation and proofing, but cooler temperatures will slow down fermentation considerably, while warmer temperatures will speed it up. If your kitchen is cold, your dough will take much longer to proof, and a weak starter might not perform adequately over an extended period.
Rye dough also proofs differently than wheat. It tends to expand outwards more than upwards and may not show dramatic visual signs of proofing like doubling. Over-proofing is also a risk; an over-proofed rye dough can lose its structure and collapse, resulting in a dense loaf. Common proofing times might range from 2-4 hours at room temperature or 8-18 hours in the refrigerator (cold proof), but it's essential to watch the dough for signs of aeration (lightness, bubbles) rather than just relying on time.
The Role of Rye Flour in Dough Structure
The inherent properties of rye flour itself limit the potential rise compared to wheat. Rye flour contains significantly less gluten, the protein network that traps gases and allows wheat dough to stretch and expand dramatically. While some recipes incorporate a percentage of wheat flour (like bread flour or vital wheat gluten) to improve structure and rise, 100% rye loaves will naturally be denser and have less overall volume.
The high pentosan content in rye flour also contributes to a different structure that is less extensible. This means the dough is less capable of stretching to accommodate large volumes of gas. Bakers must work with these properties, focusing on gentle handling, proper hydration, and relying on the starter's leavening power within the confines of rye's structural limitations.
Problem 3: Overly Sour Sourdough Rye Bread
Controlling Acidity in Sourdough Rye Baking
Sourdough rye bread is known for its characteristic tang, but sometimes the sourness can be overwhelming. The level and type of acidity (lactic vs. acetic acid) are determined by the microbial activity in your starter and dough, which is heavily influenced by fermentation time, temperature, and hydration. Rye's composition can sometimes favor the production of sharper acetic acid.
Understanding how these factors influence acid production is key to controlling the final flavor profile. Longer, cooler fermentations tend to produce more acetic acid, which gives a sharp, vinegary tang. Warmer, faster fermentations, on the other hand, favor lactic acid bacteria, resulting in a milder, yogurt-like sourness. Adjusting your process based on your desired level of sourness can help resolve sourdough rye baking problems related to taste.
Adjusting Fermentation Time to Reduce Sourness
If your sourdough rye bread is consistently too sour, consider shortening your fermentation time. Both bulk fermentation and the final proof contribute to acid development. Reducing the duration of either stage, particularly the bulk ferment at room temperature, will limit the time available for the microbes to produce acids.
Alternatively, if you prefer a milder tang while still allowing for flavor development, try fermenting at a slightly warmer temperature range, for example, between 78-82°F (26-28°C). This temperature range encourages lactic acid bacteria, which produce a milder acidity. Experimenting with shorter proofing times or warmer temperatures is a direct way to mitigate excessive sourness.
Managing Starter Hydration for a Milder Flavor
The hydration level of your sourdough starter also plays a significant role in the type of acids produced. Stiffer starters (lower hydration, e.g., 50-80%) tend to favor the production of acetic acid, contributing a sharper sourness. This is because the less mobile environment suits acetic acid bacteria better.
Conversely, higher hydration starters (e.g., 100% hydration or more) encourage lactic acid bacteria, resulting in a milder, more rounded tang. If you want to reduce the sharp sourness in your rye bread, try maintaining your starter at a higher hydration level for a few feedings before baking. This adjustment in starter management can subtly but effectively shift the flavor profile of your final loaf.
The Effect of Rye Flour Type on Sourness
The type of rye flour used can also influence the perceived sourness and the fermentation process. Whole rye flour contains more nutrients, which can lead to faster microbial activity and potentially a quicker build-up of acids. Some dark rye flours have stronger inherent flavors that can either complement or clash with the sourdough tang.
The specific balance of wild yeasts and bacteria in your unique starter, influenced by the flour you feed it, is the most dominant factor. However, using a blend of rye flours (e.g., mixing whole rye with some light rye) or incorporating a percentage of wheat flour might subtly alter the fermentation environment and the resulting acidity. Pay attention to how different flours interact with your starter and adjust accordingly to manage sourdough rye baking problems related to flavor.
Problem 4: Cracked Crust on Sourdough Rye
Understanding the Reasons for Crust Cracking
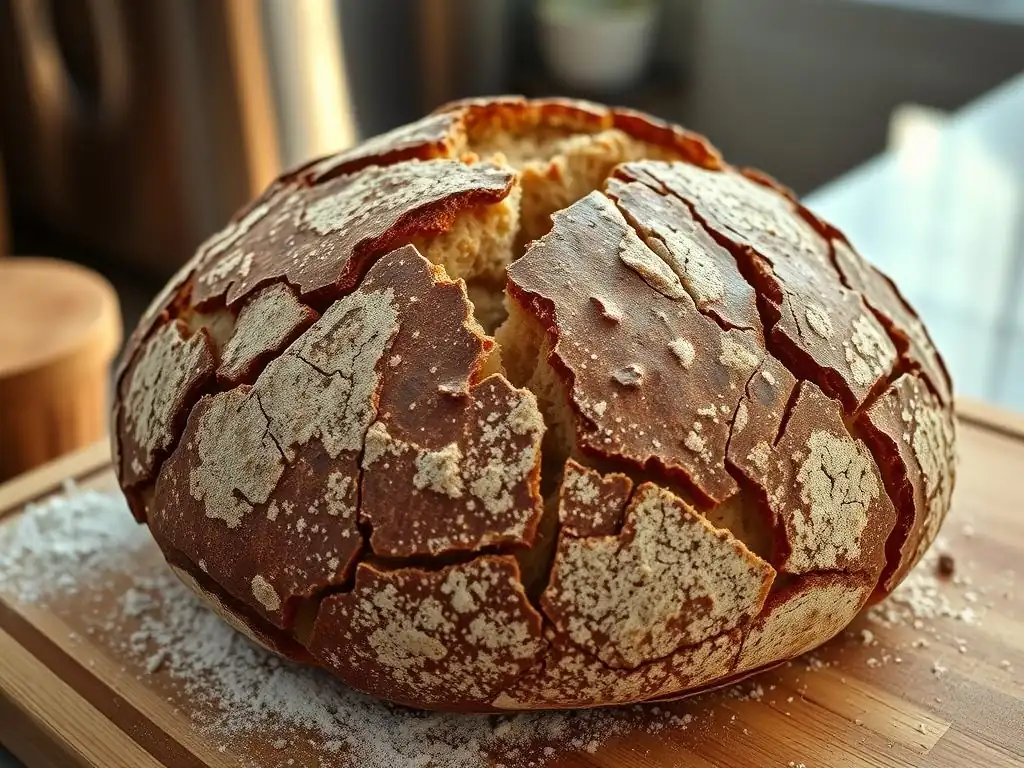
Unsightly cracks on the crust of sourdough rye bread (outside of intentional scoring) are a common issue. This typically happens when the outer layer of the dough dries out and sets too quickly in the oven before the loaf has finished its final expansion (oven spring). As the interior continues to expand, the rigid outer crust is forced to crack along lines of least resistance, often unpredictably.
Common causes include insufficient steam during the initial phase of baking, dough that is too low in hydration for the specific flour used, or inadequate or improperly executed scoring. Addressing these factors is essential for achieving a smooth, controlled crust expansion and preventing these sourdough rye baking problems.
Hydration Levels in Sourdough Rye Dough
While rye dough is notoriously sticky, ensuring adequate hydration is crucial for a pliable crust that can expand without cracking. Dough that is too dry will form a stiff crust almost immediately upon hitting the hot oven, preventing proper oven spring. The correct hydration level depends heavily on the type of rye flour, as whole rye absorbs significantly more water than light rye.
Ensure your recipe uses an appropriate hydration level for the flour type, typically ranging from 70% to over 85% for high-percentage rye loaves. Don't be afraid of sticky dough; that stickiness is often necessary for proper hydration and a better crust. If your dough feels too stiff, consider adding a little more water during mixing (autolyse phase is ideal) to improve pliability.
Scoring Techniques for Rye Bread Crust
Scoring, or making intentional cuts on the surface of the dough just before baking, provides weak points that allow the loaf to expand predictably. Without proper scoring, the crust will find its own path of least resistance, leading to uncontrolled and often deep cracks. For rye bread, which doesn't achieve the dramatic oven spring of high-gluten wheat bread, scoring is still important for directing expansion and improving the final shape.
Use a very sharp blade, such as a lame or razor blade, to make swift, clean cuts. For rye loaves, deeper cuts might be beneficial compared to wheat, as the dough has less expansive power. A simple long score down the center or a few diagonal cuts are common techniques. Ensure the blade is sharp; a dull blade will drag the sticky dough, making clean cuts difficult.
Oven Temperature and Steam for Crust Development
Steam is perhaps the most critical element in preventing uncontrolled crust cracking and addressing sourdough rye baking problems related to appearance. Introducing steam into the oven during the first 15-20 minutes of baking keeps the surface of the dough moist and pliable. This allows the crust to stretch as the loaf expands from the heat. Once oven spring is complete, the steam is removed, and the crust can then dry out and brown.
Methods for creating steam include baking in a preheated Dutch oven with the lid on for the initial phase, placing a tray of hot water or ice cubes on the bottom rack of the oven, or spraying the oven walls with water (use caution with this method). Baking at a high initial temperature, such as 450-500°F (230-260°C), also promotes rapid oven spring while the steam is present.
Problem 5: Lack of Flavor in Sourdough Rye
Enhancing Flavor in Your Sourdough Rye Loaf
While some Sourdough rye baking problems are structural, others relate to flavor. A bland sourdough rye loaf often indicates insufficient flavor development during fermentation. The characteristic deep, complex flavor of sourdough rye comes from the interaction of wild yeasts and lactic acid bacteria with the sugars and proteins in the flour over time. Short processes or inactive starters can result in a lack of depth.
Beyond fermentation, incorporating traditional rye bread ingredients like salt and caraway seeds significantly enhances flavor. The type of rye flour used also plays a major role, with darker flours contributing more robust, earthy notes than lighter ones. Balancing these elements is key to a flavorful loaf.
Using Caraway Seeds and Other Flavor Enhancers
Caraway seeds are a classic addition to rye bread, providing a distinct aromatic and slightly peppery flavor that complements the earthy notes of rye beautifully. Toasting the caraway seeds lightly in a dry pan before adding them to the dough can intensify their aroma and flavor. A typical addition might be 1-2 tablespoons of caraway seeds per loaf, but this can be adjusted to personal preference.
Other ingredients can also deepen the flavor profile. A small amount of fennel seeds, coriander, or even a tablespoon or two of molasses, honey, or dark beer can add layers of complexity. Salt is also crucial; ensure you are using the correct amount (typically 1.8-2% of the total flour weight) as it not only enhances flavor but also helps control fermentation.
The Impact of Long Fermentation on Flavor
One of the most effective ways to develop complex flavor in sourdough rye is through extended fermentation, particularly cold proofing. Allowing the dough to ferment slowly in the refrigerator for 12 to 48 hours gives the sourdough microbes ample time to break down components in the flour, producing a wider range of aromatic compounds and organic acids than a quick room-temperature proof.
A long, slow fermentation allows the characteristic sourdough tang to develop more fully, integrating with the inherent flavors of the rye flour. While it might extend the baking timeline, the improvement in flavor depth and complexity is often well worth the wait for sourdough rye baking problems related to blandness.
Choosing the Right Rye Flour for Flavor
The type of rye flour you use directly impacts the flavor of your bread. Light rye flour, which has had most of the bran and germ removed, will produce a milder, less intense flavor. Medium rye flour contains more of the outer layers, offering a more pronounced rye taste. Whole rye flour, containing the entire grain, provides the deepest, most earthy, and robust flavor.
Experimenting with different types of rye flour, or using blends (e.g., 50% whole rye, 50% light rye), allows you to customize the flavor profile. The flour you feed your starter also influences its flavor contribution. Using a portion of whole rye in your starter feed can sometimes give it a more robust, rye-forward character that carries into the final loaf.
Problem 6: Sticky Dough That's Hard to Handle
Managing Rye Flour's Stickiness
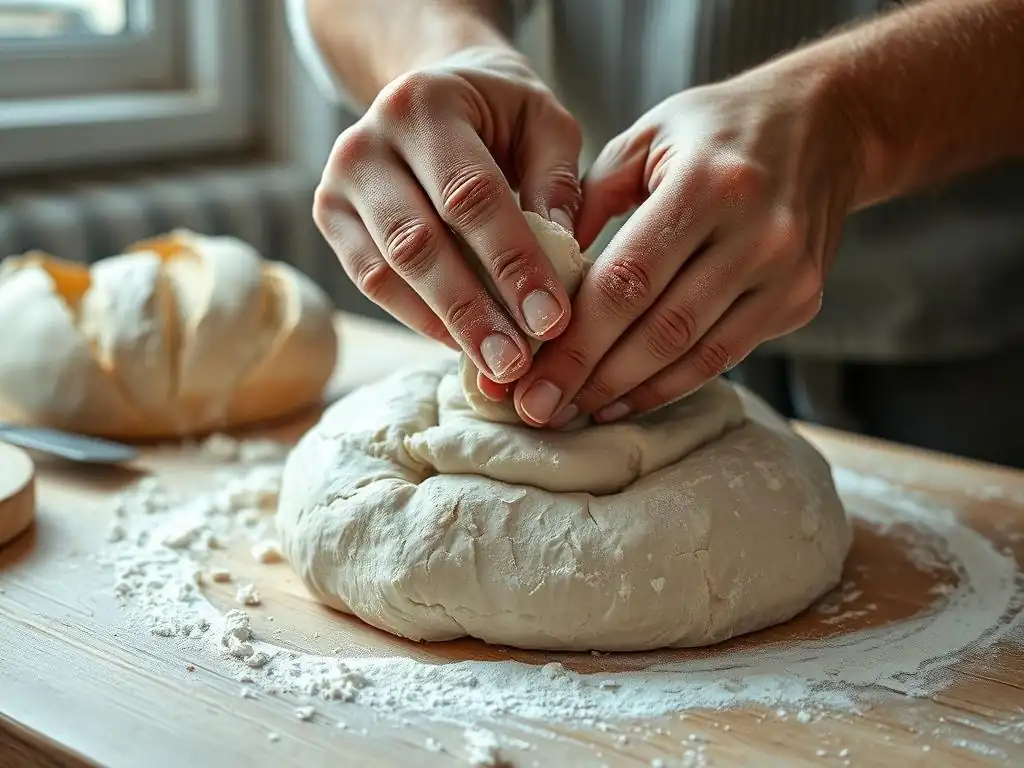
One of the most frequently encountered Sourdough rye baking problems is the inherent stickiness of the dough. Due to its high pentosan content and low gluten, rye dough absorbs water differently than wheat and lacks the elastic structure that makes wheat dough easy to handle. It often feels more like a thick batter or paste than a traditional bread dough.
Accepting this stickiness as a normal characteristic of rye dough is the first step. Trying to make it behave like wheat dough by adding excessive flour will only result in a dry, dense loaf. The key is to use specific techniques designed for sticky doughs and rely on tools that minimize direct contact.
Hydration and Its Effect on Dough Handling
While rye dough is naturally sticky, the hydration level significantly impacts manageability. Dough that is too wet (over-hydrated) will be excessively difficult to handle, clinging to everything. Conversely, dough that is too dry will be stiff, dense, and prone to cracking. Finding the right hydration level for your specific flour and comfort level is crucial.
Recipes for rye bread often have hydration percentages ranging from 70% to over 100%, depending on the amount and type of rye flour used. Whole rye typically requires higher hydration than light rye. If you're new to rye, start with a recipe on the lower end of the typical hydration range (e.g., 70-75% for whole rye) and gradually increase it as you become more comfortable working with stickier doughs.
Techniques for Working with Sticky Rye Dough
Traditional kneading is ineffective and messy with sticky rye dough. Instead, employ techniques that build structure with minimal handling. The 'stretch and fold' or 'coil fold' methods work well, allowing you to develop some tension in the dough using wet hands or a bench scraper to assist. Perform these folds early in the bulk fermentation (e.g., 2-4 sets in the first 1-2 hours) with rest periods in between.
For shaping, avoid using excessive bench flour, which gets incorporated into the dough and can dry it out. Instead, lightly wet your hands and the work surface, or use a thin layer of oil. Shaping rye dough is less about creating taut surface tension (like a boule or batard with wheat) and more about gently consolidating the mass into a log or round before placing it in a proofing basket.
Using a Bench Scraper and Wet Hands
Two indispensable tools for managing sticky rye dough are a bench scraper and a small bowl of water for wetting your hands. A bench scraper is invaluable for dividing the dough, lifting it from the work surface, and helping to shape it without it sticking completely to your hands or the counter. Use it to gently scoop and fold the dough.
Keeping your hands slightly wet prevents the dough from adhering to them, making it much easier to handle during mixing, folding, and shaping. Dip your hands in the bowl of water before touching the dough. This simple technique, combined with liberal use of a bench scraper, transforms the process of working with sticky rye dough from a frustrating mess into a manageable task, effectively tackling one of the most common Sourdough rye baking problems.
Advanced Techniques for Solving Sourdough Rye Issues
Autolyse for Improved Dough Hydration
The autolyse technique, where flour and water are mixed and allowed to rest for 30-60 minutes before adding the starter and salt, can be particularly beneficial for rye dough. This resting period allows the flour to fully hydrate, softening the pentosans and what little gluten is present.
Implementing an autolyse can make the dough slightly less sticky and easier to handle after the starter and salt are added. It also gives enzymes in the flour time to start breaking down starches, which can contribute to a better crumb structure and potentially improved oven spring in rye loaves, helping mitigate sourdough rye baking problems related to texture.
Using a Rye Sourdough Pre-Ferment (Rye Biga)
Creating a pre-ferment, such as a stiff rye biga or a liquid rye poolish, involves mixing a portion of the rye flour and water from the recipe with a small amount of starter and allowing it to ferment for several hours (e.g., 8-16 hours) before mixing the main dough. This technique builds microbial activity and acidity in a controlled environment.
A rye pre-ferment can contribute significantly to both leavening power and flavor development, addressing Sourdough rye baking problems like poor rise and blandness. It ensures the starter is highly active and acclimated to the rye flour before the main dough is mixed, leading to a more reliable fermentation and a more complex, nuanced flavor profile in the final bread.
Adjusting Recipe Ratios for Different Rye Flours
Not all rye flours are created equal, and their differences significantly impact how they behave in a recipe. Whole rye flour absorbs more water and contributes more inherent flavor and density than light or medium rye flour. Using a recipe designed for light rye but substituting 100% whole rye without adjusting hydration will likely result in a dry, dense loaf.
Be prepared to adjust hydration based on the specific flour you are using. If substituting whole rye for light rye in a recipe, you will likely need to increase the water percentage by several points (e.g., 5-10%) to achieve a similar dough consistency. Conversely, using light rye in a whole rye recipe might require slightly less water. Paying close attention to the dough's feel during mixing is key to adapting recipes and overcoming sourdough rye baking problems related to inconsistent results.
Conclusion: Mastering Sourdough Rye Baking with Confidence
Key Takeaways for Successful Sourdough Rye Bread
Baking sourdough rye presents unique challenges, but they are entirely surmountable with understanding and practice. The core Sourdough rye baking problems – density, poor rise, stickiness, and flavor control – stem primarily from rye's low gluten and high pentosan content, requiring different techniques than wheat baking.
Remember these key principles: use a strong, active starter; ensure proper dough hydration suited to the specific rye flour; manage fermentation time and temperature to control flavor and rise; employ gentle handling techniques for sticky dough; always check the internal temperature for doneness; and use steam and proper scoring to manage crust development. Patience and observation are your best tools.
Resources for Further Learning at BakeWithEase.com
Mastering sourdough rye baking is a journey that involves experimentation and learning from each bake. Don't be discouraged by initial sourdough rye baking problems. Each loaf provides valuable insights into the process.
Explore the wealth of resources available at BakeWithEase.com. We offer detailed guides, recipes tailored for various flour types, and tips specifically designed to help you navigate the intricacies of sourdough baking, including high-percentage rye loaves. With consistent practice and the right knowledge, you can confidently bake delicious, well-structured sourdough rye bread that you'll be proud to share.
Frequently Asked Questions
What are some common problems encountered when baking sourdough rye bread?
Some common issues include a dense or gummy crumb, lack of rise, and an overly sour taste. These are often related to hydration, proofing time, and starter activity.
Why is my sourdough rye bread so dense?
Density in sourdough rye often stems from insufficient gluten development, too much rye flour (which has less gluten), or under-proofing. Ensuring proper hydration and a long fermentation can help.
My sourdough rye bread didn't rise. What could be the reason?
A lack of rise is typically due to a weak starter or incorrect proofing temperature. Ensure your starter is active and the dough is proofing in a warm environment.
How can I reduce the sourness in my sourdough rye bread?
To reduce sourness, try shortening the bulk fermentation time or using a less acidic starter. Hydration levels can also impact sourness.
What type of flour is best to use when baking sourdough rye?
A combination of rye flour and bread flour is generally recommended. The bread flour provides gluten structure, while the rye flour contributes to the characteristic flavor and texture.
Final Reflection: The Enduring Allure (and Challenges) of Sourdough Rye
The art of sourdough rye baking, while rewarding, remains a journey fraught with unexpected twists and turns. Mastering this craft requires patience, precision, and a willingness to embrace the inevitable imperfections. This article has explored some of the most common pitfalls, offering solutions to help bakers navigate the complexities of this challenging yet deeply satisfying bread.
The enduring appeal of sourdough rye lies not just in its complex flavor profile, but in the connection it fosters between baker and bread. It's a process that demands attention, respect for the natural fermentation process, and a willingness to learn from each bake. As the great baker, Chad Robertson, once said, Baking is a conversation between you and the ingredients.
This conversation, in the case of sourdough rye, is particularly rich and nuanced, demanding both skill and intuition. The challenges highlighted in this article are, in a way, a testament to the depth and complexity of this ancient craft.
Now, consider your own baking journey. What have you learned from your successes and failures? Don't be discouraged by setbacks; embrace them as opportunities for growth. Each loaf, whether perfectly risen or slightly misshapen, offers valuable lessons. The next time you tackle a sourdough rye, remember the insights shared here, and approach the process with renewed confidence and a spirit of experimentation. The perfect loaf awaits – not as a destination, but as a continuous process of learning and refinement.
Unlock Your Rye Bread Potential!
Thanks for taking the time to explore the world of sourdough rye baking with us! We hope you've gained valuable insights and feel more confident tackling those tricky rye loaves. Now it's time to put your newfound knowledge into practice.
- Bake your perfect rye: Try out one of the techniques discussed today – adjusting hydration, fermentation time, or even experimenting with a different flour blend. You might be surprised at the results!
- Share your sourdough journey: Tag us on social media with your baking triumphs (and even your mishaps!) – we'd love to see what you create!
- Dive deeper into rye: Explore more rye bread recipes and tips on our website – we've got a whole community of bakers waiting to connect with you.
So, what unique ingredient or technique will you try in your next rye bread adventure?