
Quick Custard Filling for LastMinute Tarts

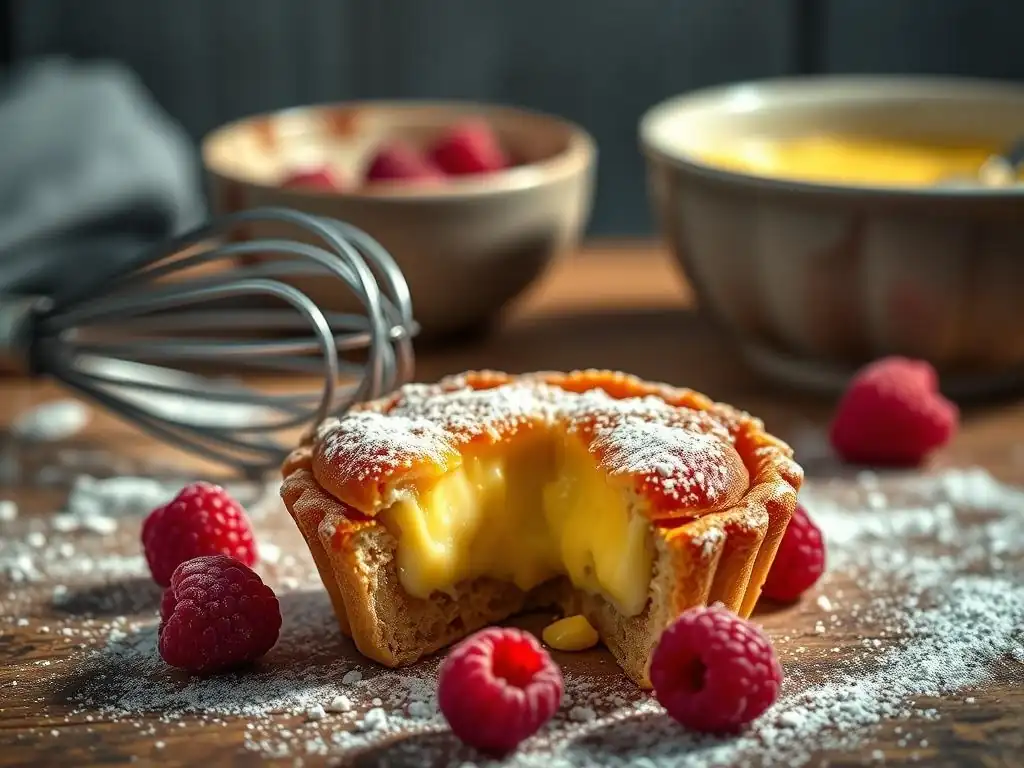
Welcome to BakeWithEase, your partner in creating delicious treats! Ever found yourself craving a decadent dessert but short on time? Our new article dives into the secrets of crafting an easy last minute custard tart that will impress even the most discerning palates. Curious how to whip up a creamy, dreamy custard filling in a flash? Let's get baking!
- Introduction: The Perfect Custard Filling
- Why This Custard Filling Works
- Ingredients for the Quick Custard Filling
- Step-by-Step Guide: Making the Custard Filling
- Tips and Tricks for a Flawless Custard Filling
- Assembling Your Custard Tart
- Troubleshooting Common Custard Filling Issues
- Storing Your Custard Tart: Keeping it Fresh
- More Easy Recipes
-
Frequently Asked Questions
- What makes this custard tart recipe "easy" and "last minute"?
- Can I substitute any of the ingredients in the custard filling?
- What kind of tart crust is best for this custard filling?
- How do I prevent the custard from cracking during baking?
- How long does the custard tart need to cool before serving?
- Final Reflection: The Sweet Simplicity of Spontaneity
- Unleash Your Inner Pastry Chef!
Introduction: The Perfect Custard Filling
Craving a Creamy Tart? This Easy Filling is Your Answer
There's nothing quite like the smooth, rich texture of a classic custard tart. That moment when you bite through the flaky crust and into the velvety filling is pure bliss. But what if a sudden craving strikes, or you realize you need a dessert tonight? Traditional custard can sometimes feel like a lengthy process, involving careful tempering and slow cooking. This often deters bakers looking for a speedy solution.
However, the good news is that achieving that delightful creamy filling doesn't require hours in the kitchen. Our recipe for an easy last minute custard tart filling is designed precisely for those spontaneous baking moments. It simplifies the technique without sacrificing flavor or texture, ensuring you can satisfy that craving or impress guests with minimal fuss and maximum deliciousness.
A Simple Recipe for Delicious Results
Developing a custard filling that is both quick to prepare and reliably delicious was our goal. This recipe focuses on using common pantry staples and a straightforward cooking method that significantly cuts down on preparation time compared to more complex versions. We've streamlined the process to ensure even novice bakers can achieve a perfectly set, wonderfully creamy custard.
The beauty of this simple recipe lies in its balance. It delivers a rich, sweet, and utterly satisfying filling that pairs beautifully with various tart crusts. Whether you're using a pre-made shell or whipping up a quick press-in crust, this easy last minute custard tart filling will transform it into a delightful dessert that tastes like it took hours to create, even when it only took minutes.
Why This Custard Filling Works
Quick & Easy: Ideal for Spontaneous Baking
Life happens, and sometimes you need a dessert now. This quick custard filling is designed for exactly those moments. The total active cooking time for the custard itself is remarkably short, often less than 10 minutes from start to finish on the stovetop. This rapid preparation means you aren't tied to your kitchen for long periods, making it perfect for weeknight treats or unexpected guests.
The simplicity extends beyond just the cooking time. The steps are intuitive and forgiving, reducing the chances of common custard mishaps. By focusing on a few key techniques – primarily whisking and controlled heat – you can confidently whip up this filling even when you're short on time or feeling a little rushed. It truly embodies the spirit of an easy last minute custard tart component.
Minimal Ingredients: Filling You Can Make Right Now
One of the biggest hurdles to spontaneous baking is often missing ingredients. This easy custard filling recipe utilizes components that are likely already in your refrigerator and pantry. Heavy cream, sugar, cornstarch, salt, egg yolks, and vanilla extract are standard staples for most home bakers. You won't need to make a special trip to the store, which is crucial when time is of the essence.
Using a minimal list of accessible ingredients not only saves time but also keeps the process straightforward. There's no need to measure out a dozen different items; just six core ingredients stand between you and a delicious tart filling. This simplicity makes the recipe highly repeatable and perfect for building baking confidence, especially when trying to make an easy last minute custard tart.
Versatile: Perfect for Tarts, Pies, and More
While we highlight this as a filling for a quick custard tart, its usefulness extends far beyond a single application. The smooth, pourable consistency before setting makes it ideal for filling pre-baked tart shells of various sizes, from individual mini-tarts to a standard 9-inch pie plate. Once chilled, it sets firmly enough to slice cleanly but remains wonderfully creamy.
Beyond tarts and pies, this versatile custard can be used in other desserts. Consider layering it with fruit and cake in a trifle, using it as a filling for cream puffs or éclairs (once slightly cooled but still warm), or even serving it simply in bowls topped with berries as a quick pudding. Its adaptability makes it a valuable recipe to have in your baking repertoire for numerous easy last minute dessert ideas.
Ingredients for the Quick Custard Filling
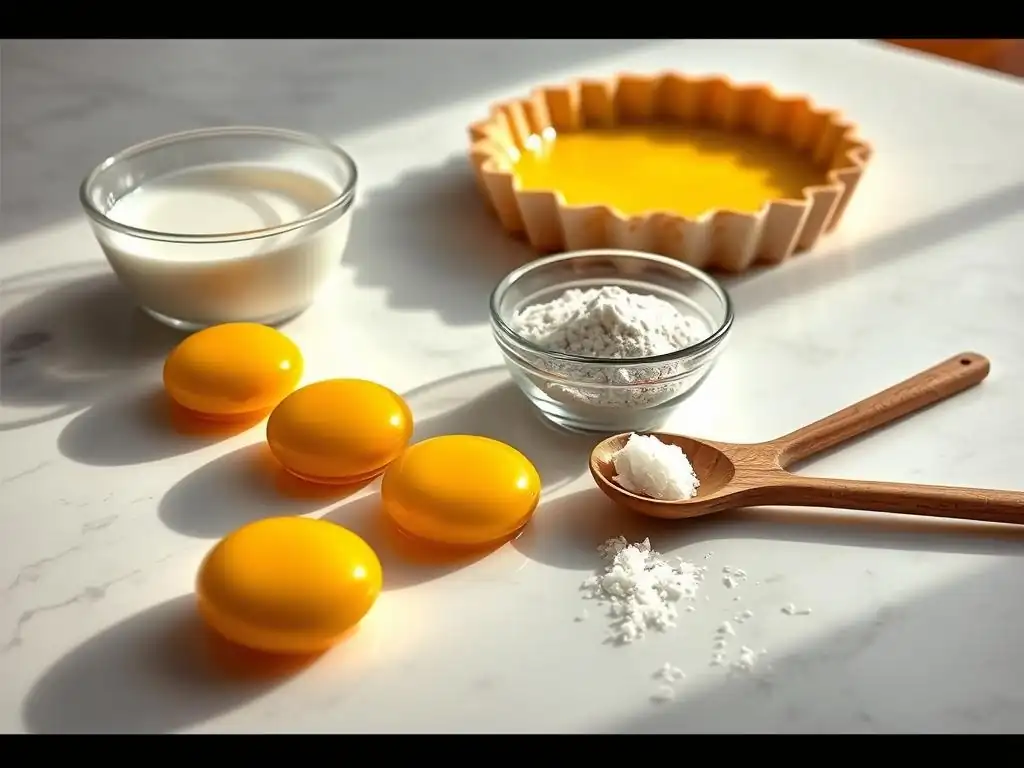
Essential Components for a Smooth and Creamy Filling
Each ingredient in this recipe plays a specific role in achieving the desired texture and flavor of the quick custard filling. The base of heavy cream provides richness and a luxurious mouthfeel, essential for a truly satisfying dessert. Using heavy cream (which contains at least 36% milk fat) contributes significantly to the custard's smooth consistency and prevents it from becoming watery.
Egg yolks are crucial for both thickening the custard and adding richness and color. They provide lecithin, a natural emulsifier, which helps create a stable and smooth mixture. While some custard recipes rely solely on eggs for thickening, the addition of cornstarch in this quick version ensures a rapid set without the need for extensive cooking or a precise double boiler method, making it perfect for an easy last minute custard tart.
Ingredient Breakdown:
- 2 cups heavy cream
- 1/2 cup granulated sugar
- 1/4 cup cornstarch
- 1/4 teaspoon salt
- 4 large egg yolks
- 1 teaspoon vanilla extract
Step-by-Step Guide: Making the Custard Filling
Preparing the Ingredients: A Crucial First Step
Before you even turn on the heat, gathering and preparing your ingredients is essential for a smooth process. Measure out your heavy cream and have it ready. In a separate medium-sized bowl, whisk together the granulated sugar, cornstarch, and salt. This dry mixture is key because it helps disperse the cornstarch evenly, preventing lumps later on.
Next, separate your eggs, placing the 4 large egg yolks into the bowl with the dry ingredients. Save the egg whites for another use, perhaps a meringue or an omelet. Briefly whisk the yolks into the sugar and cornstarch mixture until it forms a thick, pale yellow paste. This paste is sometimes called a roux or slurry and ensures the cornstarch and sugar are well incorporated with the yolks before adding the hot cream.
Cooking the Custard: Achieving the Perfect Consistency
Pour the measured heavy cream into a medium saucepan and place it over medium heat. Heat the cream until it is hot and just begins to simmer around the edges – you'll see small bubbles forming. Do not let it boil vigorously. Once hot, you need to temper the egg yolk mixture. Slowly ladle about half a cup of the hot cream into the egg yolk paste while whisking constantly. This gradually warms the yolks, preventing them from scrambling when added to the rest of the hot cream.
After tempering, pour the warmed yolk mixture back into the saucepan with the remaining hot cream. Return the saucepan to medium heat and whisk continuously. Whisking is critical at this stage to prevent the custard from sticking to the bottom and to encourage even thickening. The custard will thicken relatively quickly, usually within 5-7 minutes, becoming visibly thicker, coating the back of a spoon, and perhaps bubbling gently. Once thickened, remove from heat immediately and stir in the vanilla extract.
Cooling and Setting: Key to a Firm Yet Creamy Tart Filling
Once the custard is cooked and the vanilla added, it needs to cool properly to set into that desirable firm-yet-creamy consistency for your easy last minute custard tart. Immediately pour the hot custard into a clean bowl or directly into your pre-baked tart shell. If pouring into a bowl, press plastic wrap directly onto the surface of the custard to prevent a skin from forming as it cools.
Allow the custard to cool at room temperature for about 20-30 minutes before transferring it to the refrigerator. Chilling is crucial for the custard to set fully. It typically requires at least 2-3 hours in the refrigerator to become firm enough to slice cleanly. For best results and a perfectly set easy last minute custard tart, chilling for 4 hours or even overnight is recommended.
Tips and Tricks for a Flawless Custard Filling
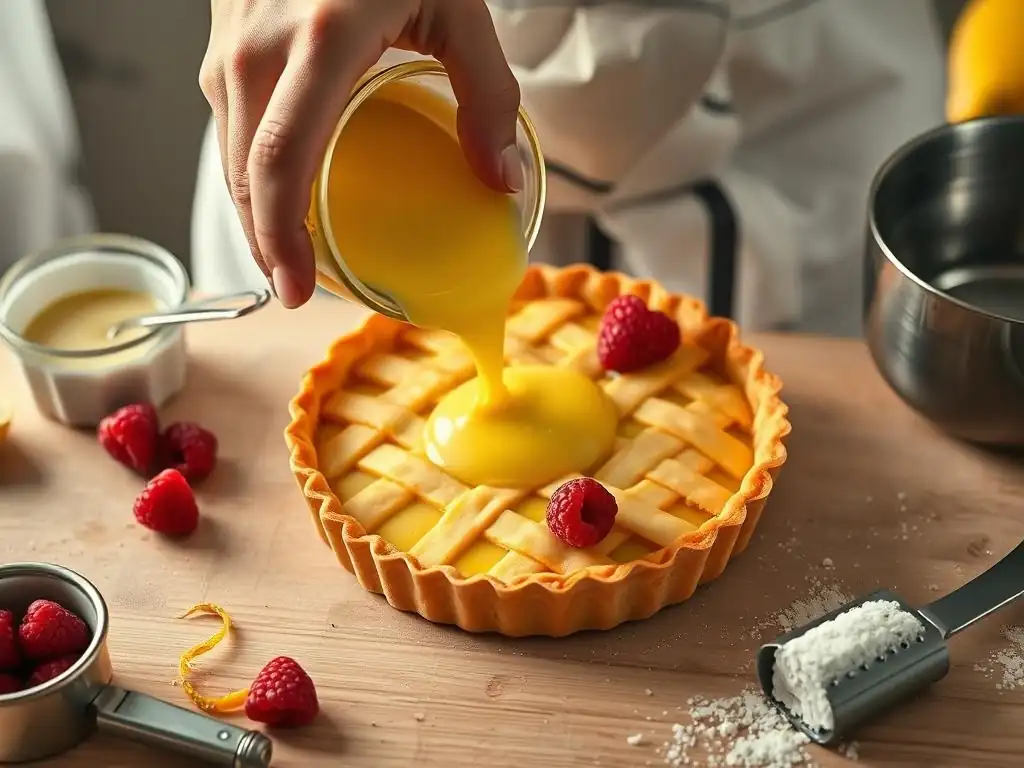
Avoiding Lumps: Pro Techniques for a Smooth Custard
Lumps are the nemesis of a smooth custard, but they are entirely preventable with a few simple techniques. The first line of defense is ensuring the cornstarch and sugar are thoroughly whisked together before adding the egg yolks. This prevents pockets of dry starch from hydrating unevenly. Using a fine-mesh sieve to sift the cornstarch can also help, though it's often unnecessary if you whisk well.
The most critical step to avoid lumps is proper tempering. Slowly whisking a small amount of hot cream into the egg yolk mixture gradually raises the temperature of the yolks. If you add cold yolks directly to hot cream, they will scramble instantly, creating eggy lumps. Once the tempered yolks are added back to the pot, constant and vigorous whisking over medium heat ensures the custard thickens evenly without scorching or lumping on the bottom.
Achieving the Right Sweetness: Adjusting the Sugar to Your Taste
The provided recipe uses 1/2 cup of granulated sugar, which results in a moderately sweet custard, typical for many classic tarts. However, sweetness is a matter of personal preference and can also depend on the sweetness of your tart crust or any planned garnishes (like sweet fruit). It's perfectly acceptable to adjust the sugar level to better suit your taste or dessert components.
For a slightly less sweet custard, you can reduce the sugar by about 1-2 tablespoons. If you prefer a sweeter filling, you can increase it by the same amount. Be mindful that sugar also affects the texture slightly; too little can make it less smooth, and too much can sometimes make it grainy if not dissolved properly. It's best to make small adjustments initially when perfecting your easy last minute custard tart filling.
Flavor Variations: Enhancing Your Custard with Extracts and Spices (Vanilla, Lemon)
While pure vanilla extract provides a classic and beloved flavor profile for this quick custard filling, there are many ways to introduce exciting variations. High-quality vanilla extract or even scraping seeds from half a vanilla bean into the cream during heating will elevate the flavor significantly. Add vanilla after cooking to preserve its delicate aroma.
Beyond vanilla, consider other extracts or spices. A teaspoon of almond extract offers a lovely nutty note that pairs well with berries. For a brighter, zesty flavor, add 1-2 teaspoons of fresh lemon zest (added to the cream before heating, then strained out) or a few drops of lemon extract (added after cooking). A pinch of nutmeg or cinnamon can also be stirred in at the end for a warm, comforting twist on your easy last minute custard tart filling.
Assembling Your Custard Tart
Choosing Your Tart Crust: (Store-bought or Homemade Options)
The beauty of this quick custard filling is that it's forgiving and versatile, complementing various tart crusts. For the ultimate easy last minute custard tart, a pre-baked, store-bought crust is your fastest option. These are readily available in most grocery stores in both pastry and graham cracker varieties. Simply follow the package instructions for pre-baking if necessary before adding the filling.
If you have a little more time or prefer the flavor of homemade pastry, a simple press-in shortbread or butter crust works wonderfully. A standard recipe for a 9-inch tart crust might involve combining 1.5 cups flour, 1/2 cup sugar, 1/4 teaspoon salt, and 1/2 cup cold butter, then pressing it into the pan and pre-baking until golden brown, which usually takes around 15-20 minutes at 375°F (190°C). Ensure the crust is fully cooled before adding the warm custard filling.
Filling the Tart: Ensuring an Even Layer of Custard
Once your crust is pre-baked and cooled (or still slightly warm, which is fine), and your quick custard filling is cooked and still warm but not piping hot, it's time to combine them. Carefully pour the warm custard into the prepared tart shell. Pouring it while still warm helps it settle evenly into the crust, reaching all the edges and corners without creating air pockets.
Use a spatula to gently spread the top surface of the custard to create a smooth, level layer. Avoid overworking it, as this can introduce air bubbles. If you notice any small bubbles on the surface, you can gently pop them with a toothpick. Ensure the filling is distributed evenly so that every slice of your easy last minute custard tart has a consistent amount of creamy goodness.
Garnishing and Serving: Adding the Finishing Touches (Fruit, Chocolate Shavings)
Once the custard tart has been filled and chilled until fully set (remember, at least 2-3 hours, preferably 4+), it's ready for its final touches before serving. Garnishes not only add visual appeal but can also complement the custard's flavor. Fresh berries are a classic pairing; their slight tartness cuts through the richness of the custard beautifully. Arrange strawberries, raspberries, blueberries, or sliced peaches artistically on top.
Other delicious garnishes include whipped cream (piped around the edge or dolloped in the center), chocolate shavings or cocoa powder dusted over the top, or a light dusting of powdered sugar. For a more elegant finish, you could lightly torch the top with a sprinkle of sugar for a crème brûlée effect, though this requires extra care and a torch. Choose a garnish that enhances your easy last minute custard tart without overpowering the delicate custard flavor.
Troubleshooting Common Custard Filling Issues
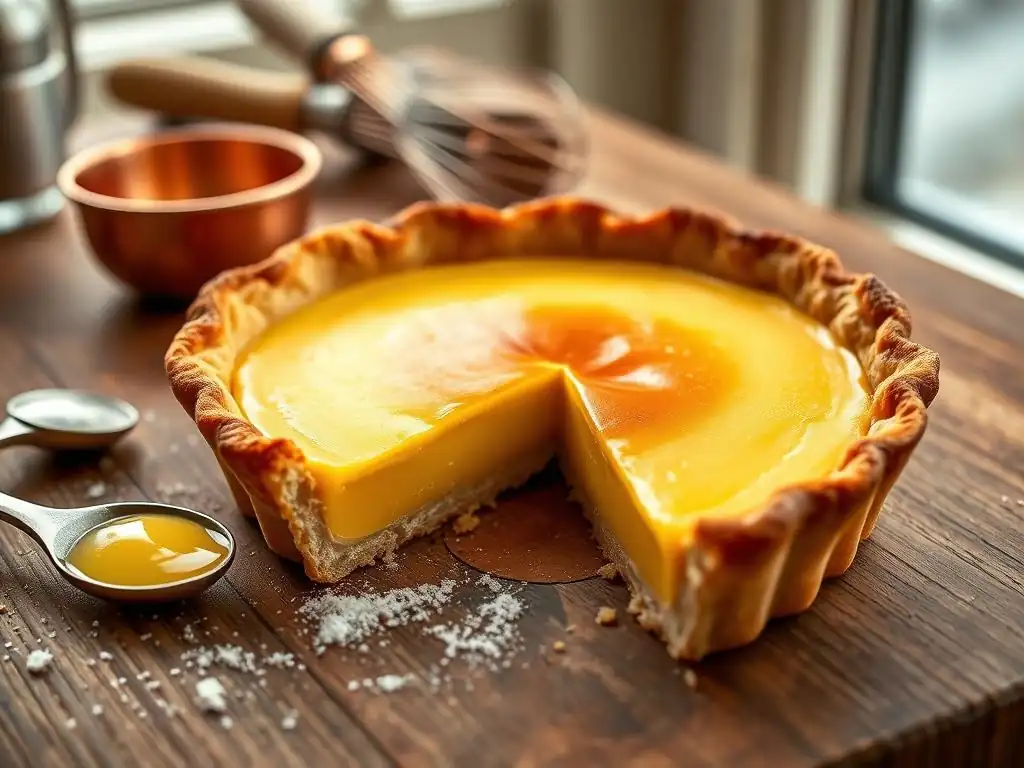
Runny Custard: How to Thicken It Up
A runny custard after chilling is a common issue, but often fixable. The primary reasons are typically not cooking it long enough, insufficient cornstarch, or not chilling it for the recommended time. If your custard is too thin after chilling for the required 2-3 hours, you can attempt to re-thicken it. Gently scoop the runny custard back into a saucepan.
In a small bowl, whisk together 1-2 tablespoons of cornstarch with an equal amount of cold milk or water to form a smooth slurry. Heat the custard over medium-low heat, whisking constantly. Slowly whisk in the cornstarch slurry. Continue to cook, whisking constantly, until the custard thickens again and comes to a gentle bubble for about 30 seconds. Pour back into the tart shell (or a clean bowl), cover the surface with plastic wrap, and chill again until fully set.
Burnt Custard: Prevention and Solutions
Burnt custard is usually a result of heat that is too high or insufficient whisking, causing the sugars and starches to scorch on the bottom of the pan. Prevention is key: always cook custard over medium or medium-low heat and whisk continuously, paying special attention to the bottom edges of the pan where scorching is most likely to occur. Using a heavy-bottomed saucepan helps distribute heat more evenly.
If you do notice a slight burnt smell or see dark specks, immediately remove the pan from the heat. Do not scrape the bottom of the pan; this will incorporate the burnt bits into the rest of the custard. Carefully pour the un-burnt portion of the custard into a clean bowl, leaving any scorched residue behind. While you can't fix the burnt part, you can save the majority of your easy last minute custard tart filling from ruin.
Custard Not Setting: Identifying the Problem and Fixing It
If your custard remains stubbornly liquid or overly soft even after adequate chilling time (4+ hours), the likely culprits are insufficient cooking time or an incorrect ratio of thickeners (cornstarch and egg yolks) to liquid. The custard needs to reach a specific temperature to activate the thickening properties of both the egg proteins and the cornstarch. It should visibly thicken on the stove and gently bubble for a brief moment.
As mentioned in the "Runny Custard" section, the best way to fix custard that hasn't set is usually to gently reheat it. Return the custard to a saucepan and warm it over medium-low heat, whisking constantly. Ensure it thickens significantly and reaches a gentle bubble. If it still doesn't thicken after reheating, you may need to add a small slurry of cornstarch mixed with cold liquid (as described above) before bringing it back to temperature. Re-chill thoroughly until firm for your easy last minute custard tart.
Storing Your Custard Tart: Keeping it Fresh
Proper Refrigeration Techniques for Custard Tarts
Custard tarts, due to their dairy and egg content, are highly perishable and must be stored in the refrigerator. Once your easy last minute custard tart is fully set and any garnishes applied (unless the garnish is best added just before serving), cover it properly before refrigerating. If the tart is in a dish with a lid, secure the lid. Otherwise, use plastic wrap, ensuring it doesn't touch the surface of the custard if possible to prevent condensation marks.
The ideal temperature for refrigerating a custard tart is 35°F to 40°F (1.7°C to 4.4°C). Store the tart on a flat surface in the refrigerator to prevent the filling from shifting. Keeping it covered helps prevent the custard from absorbing odors from other foods in the fridge and maintains its moisture and texture.
Shelf Life: How Long Will Your Tart Last?
When stored correctly in the refrigerator, your easy last minute custard tart is best enjoyed within 3 to 4 days. The quality, particularly the texture of the crust and the freshness of the custard, is highest within the first 2 days. After 4 days, while it might still be safe to eat if kept consistently cold, the texture and flavor may start to decline.
It is generally not recommended to freeze custard tarts. Freezing and thawing can significantly alter the texture of the custard, often making it watery or grainy due to the separation of ingredients. For the best experience, plan to consume your delicious, easy last minute custard tart within its recommended refrigerated shelf life.
More Easy Recipes
Explore Other Delicious Tart and Pie Recipes
Enjoyed making this quick custard filling and assembling your easy last minute custard tart? If you're looking for more straightforward and satisfying baking projects, our site is full of recipes designed for ease and delicious results. From fruit pies with simple crumble toppings to other creamy fillings like chocolate or coconut, there's a world of easy pie and tart baking waiting for you.
Dive into our collection to find your next baking adventure. Discover recipes for classic apple pie, vibrant berry tarts, decadent chocolate cream pie, and more, many featuring step-by-step guides and tips for bakers of all skill levels. Mastering this easy last minute custard tart filling is just the beginning of your journey through delightful pastries!
Frequently Asked Questions
What makes this custard tart recipe "easy" and "last minute"?
This recipe emphasizes simple ingredients and a quick baking process, making it ideal when you're short on time. It skips the traditional, more complex custard preparation methods.
Can I substitute any of the ingredients in the custard filling?
While substitutions are possible, they may affect the final texture and flavor. Using full-fat milk is recommended for the best creamy result, but alternatives like almond milk can be used with a slight texture change.
What kind of tart crust is best for this custard filling?
A pre-made shortcrust pastry is a great option for speed, or you can use your favorite homemade recipe. Just ensure it's blind-baked properly before adding the custard.
How do I prevent the custard from cracking during baking?
Baking at a lower temperature and using a water bath (bain-marie) can help prevent cracking. Also, avoid overbaking the custard.
How long does the custard tart need to cool before serving?
Allow the tart to cool completely at room temperature, then chill in the refrigerator for at least 2 hours to allow the custard to fully set and develop its flavor.
Final Reflection: The Sweet Simplicity of Spontaneity
The frantic search for a dessert solution is a universal experience, and the humble custard tart, when prepared quickly, offers a surprisingly satisfying answer. This article aimed to demystify the process, proving that a delicious, creamy custard filling doesn't require hours of meticulous work. It's about embracing the unexpected, transforming a last-minute panic into a moment of sweet triumph.
The ease of this recipe speaks to a larger cultural shift – a move away from overly complicated culinary endeavors towards simpler, more accessible methods. We're increasingly valuing experiences over perfection, and this quick custard filling embodies that sentiment perfectly. Simplicity is the ultimate sophistication,
as Leonardo da Vinci wisely observed. This recipe allows us to savor the joy of baking without the pressure of elaborate techniques, reminding us that sometimes, the most delightful creations come from the most unexpected moments.
Now, I invite you to consider your own approach to baking and cooking. Don't let the fear of complexity hold you back from creating something delicious. Remember the simplicity of this custard filling, and let it inspire you to embrace spontaneity in the kitchen. The next time you find yourself needing a dessert in a pinch, remember this recipe – and the joy of a perfectly imperfect, last-minute treat.
Unleash Your Inner Pastry Chef!
Thanks for taking the time to whip up some delicious inspiration with us! You've now got the secret to a quick and creamy custard filling – perfect for those last-minute tart cravings. Ready to put your new skills to the test?
- Bake a batch of your favorite tarts: Use our quick custard filling recipe as the star of your next dessert creation!
- Share your tart triumphs: Show us your beautiful creations on social media using #BakeWithEaseCustard. We'd love to see what you come up with!
- Consider experimenting: Try adding different extracts like vanilla, almond, or even lemon to your custard for unique flavor combinations.
What unexpected flavor will you add to your next quick-custard tart?