
From Plant to Perfect Loaf: Your Vegan Baking Journey

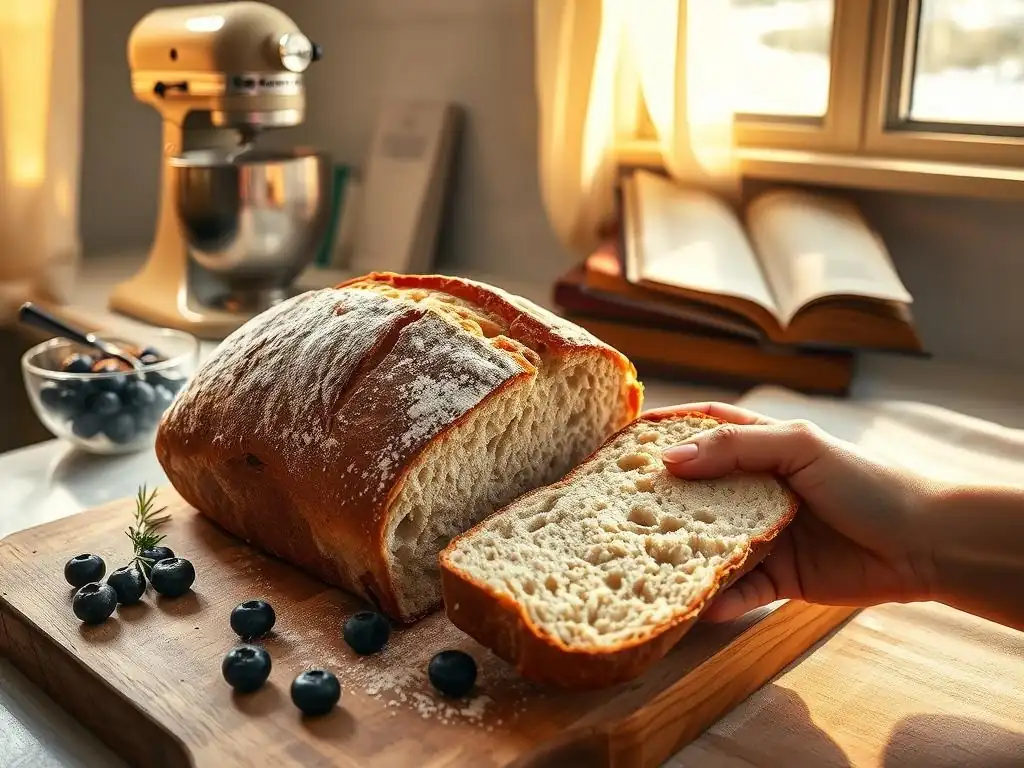
Welcome to BakeWithEase, your trusted guide to delightful baking! Ever wondered if achieving that perfect, tangy sourdough is possible without any animal products? Prepare to be amazed! Our latest article dives deep into a vegan sourdough bread recipe easy enough for beginners, yet rewarding for seasoned bakers. Discover the secrets to a crusty, flavorful loaf that's both delicious and completely plant-based. Ready to unlock the magic of vegan sourdough? Let's get baking!
- From Scratch to Slice: The Art of Vegan Sourdough
- Introduction to Baking Vegan Sourdough Bread
- Cultivating Your Vegan Sourdough Starter
- Essential Ingredients for Vegan Sourdough Bread
-
Vegan Sourdough Bread Recipe: A Step-by-Step Guide
- Step 1: Preparing the Levain: Timing and Ratios
- Step 2: Mixing the Dough: Hydration and Autolyse
- Step 3: Bulk Fermentation: Observing Dough Development
- Step 4: Shaping Techniques: Boule, Batard, and More
- Step 5: Proofing: Fridge vs. Room Temperature
- Step 6: Baking: Oven Spring and Crust Development
- Step 7: Cooling and Slicing: Preserving Crust Integrity
- Mastering Vegan Sourdough Baking Techniques
- Troubleshooting Common Vegan Sourdough Baking Problems
- Enjoying Your Vegan Sourdough Bread
- Conclusion: Embrace the Journey of Vegan Sourdough Baking
-
Frequently Asked Questions
- What exactly makes sourdough bread vegan?
- Can I really make sourdough bread if I'm a beginner baker?
- What are some common mistakes to avoid when making vegan sourdough?
- Are there any special ingredients I need for a vegan sourdough recipe?
- How long does it typically take to make a loaf of vegan sourdough bread?
- Final Reflection: The Flour Power of Vegan Sourdough
- Unleash Your Inner Vegan Baker!
From Scratch to Slice: The Art of Vegan Sourdough
Introduction to Baking Vegan Sourdough Bread
The Appeal of Vegan Sourdough: Flavor, Ethics, and Craft
Vegan sourdough bread offers a unique combination of tangy flavor, satisfying texture, and ethical alignment for plant-based lifestyles. Unlike conventional sourdough, which sometimes uses honey or dairy in variations (though the core is just flour and water), a strictly vegan approach ensures no animal products are used at any point, from starter creation to final bake. The characteristic sourness comes from the lactic acid bacteria present in the starter, providing a depth of flavor not found in commercial yeasted breads.
Beyond the delicious taste, baking vegan sourdough is a rewarding craft. It connects you to a centuries-old tradition of bread making, relying on natural fermentation rather than commercial yeast. The process involves patience, observation, and learning to work with a living culture – your starter. Successfully baking an easy vegan sourdough bread recipe from scratch brings a profound sense of accomplishment and the joy of sharing wholesome, homemade bread.
A Beginner's Guide to Successful Vegan Sourdough Baking
Embarking on your vegan sourdough journey requires understanding a few fundamental principles. The most critical element is the sourdough starter itself – a living culture of wild yeast and bacteria cultivated from flour and water. This starter acts as your leavening agent, giving the bread its rise, flavor, and signature open crumb structure.
For beginners, starting with a simple vegan sourdough bread recipe easy to follow is key. Patience is paramount; sourdough baking isn't a rushed process. Expect fermentation to take several hours, sometimes overnight, depending on ambient temperature. Learning to read your dough – how it feels, how it rises, and when it's ready for the next step – is part of the rewarding learning curve. Don't be discouraged by initial attempts; practice and observation will lead to consistently delicious results.
Cultivating Your Vegan Sourdough Starter
Creating a Rye-Based Vegan Sourdough Starter
Creating a robust vegan sourdough starter from scratch typically takes about 7-14 days, sometimes longer depending on environmental conditions. A rye-based starter is often recommended for beginners because rye flour is rich in nutrients that wild yeast and bacteria thrive on, helping to kickstart fermentation quickly. To begin, combine 50 grams of organic rye flour with 50 grams of lukewarm filtered water in a clean jar. Mix until no dry spots remain, cover loosely (allowing air exchange), and place in a warm spot, ideally between 75-80°F (24-27°C).
For the next few days, you'll simply observe. You might see tiny bubbles or a slightly sour smell develop around day 2-4. From day 3 or 4 onwards, discard about half of the starter (this is crucial to manage volume and concentrate the microbial activity) and feed it again with 50g rye flour and 50g lukewarm water.
Continue this daily feeding routine. By day 7-10, your starter should consistently double in size within 6-8 hours after feeding, have a pleasant, slightly tangy aroma, and show lots of bubbles throughout. This indicates it's active and ready to leaven an easy vegan sourdough bread recipe.
Feeding and Maintaining a Gluten-Free Vegan Sourdough Starter
Maintaining a gluten-free vegan sourdough starter follows similar principles to a wheat or rye starter, but requires using naturally gluten-free flours. Common choices include brown rice flour, sorghum flour, or buckwheat flour. A good starting point is often brown rice flour due to its availability and nutritional profile suitable for microbial growth. To maintain, store your gluten-free starter in the refrigerator and feed it at least once a week, or keep it at room temperature and feed daily.
When feeding, discard a portion (leaving about 50-100g) and feed with equal parts gluten-free flour and water by weight. A common ratio is 1:1:1 (starter:flour:water). For example, if you leave 50g of starter, feed it with 50g gluten-free flour and 50g water. The consistency should be like a thick batter. Gluten-free starters may not rise as dramatically as wheat starters, but they should still show significant bubbling and activity within several hours of feeding when kept at room temperature. Using a clear jar helps you see the activity along the sides.
Recognizing Signs of a Healthy and Active Starter
A healthy and active vegan sourdough starter is the backbone of any successful loaf, including an easy vegan sourdough bread recipe. The most obvious sign is predictable rising after feeding. Within 4-8 hours of being fed at room temperature (around 75-80°F or 24-27°C), a vigorous starter should at least double in volume, often tripling. You'll see numerous bubbles throughout the culture, not just on the surface.
Beyond the visual rise, smell is a key indicator. A healthy starter should have a pleasant, tangy, slightly yeasty aroma, sometimes described as smelling like ripe fruit or yogurt. It should not smell strongly of alcohol (hooch, a dark liquid, can form on top if hungry, which is fixable but indicates it needs more frequent feeding) or like acetone/nail polish remover. The texture, when fed, should be bubbly and airy, easily passing the "float test" when a small spoonful floats on water (though this test isn't foolproof and shouldn't be the only indicator).
Troubleshooting Common Starter Problems: Mold, Inactivity, and Off-Smells
Encountering issues with your vegan sourdough starter is a common part of the baking journey, but most problems are easily fixable. If you see fuzzy, colored spots (usually green or black), that's mold, and unfortunately, you should discard the entire starter and begin again to avoid potential health risks. However, a dark liquid layer on top (hooch) is normal and indicates the starter is hungry; you can pour it off or stir it in before feeding.
Inactivity is another common issue, especially in cooler temperatures. If your starter isn't rising or bubbling much, try moving it to a warmer spot, ensuring you're using lukewarm water (around 80-85°F or 27-30°C) for feeding, and feeding it more frequently (twice a day) for a few days to strengthen it. Off-smells, like strong alcohol or acetone, also suggest the starter is hungry and over-fermenting between feedings. Increase feeding frequency and ensure you're discarding enough old starter before each feed. Patience and consistent feeding are usually the keys to reviving a sluggish starter.
Essential Ingredients for Vegan Sourdough Bread
Flour Selection: Bread Flour, Whole Wheat, and Ancient Grains
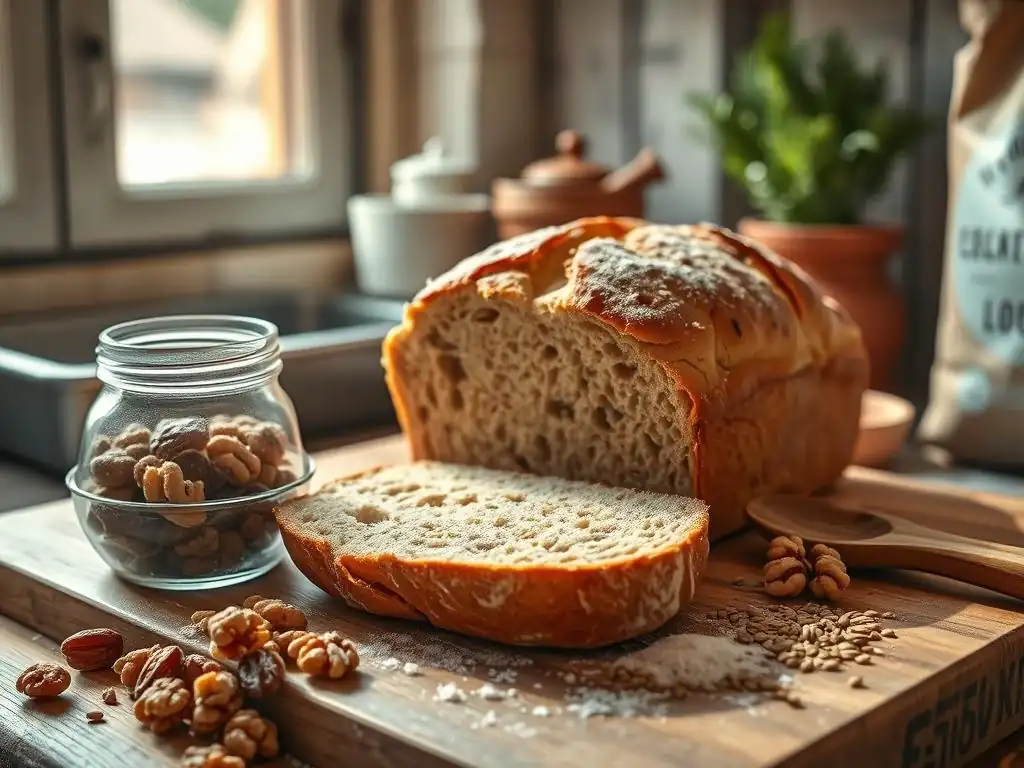
The type of flour you choose significantly impacts the texture, flavor, and structure of your easy vegan sourdough bread recipe. High-protein bread flour (typically 12-14% protein) is excellent for developing strong gluten networks, which trap the gases produced by the starter, resulting in a well-risen loaf with a chewy crumb. Many bakers use a blend of bread flour and other types.
Whole wheat flour adds nutritional value and a deeper, nuttier flavor, but its bran particles can interfere with gluten development, so it's often used in combination with bread flour (e.g., 70% bread flour, 30% whole wheat). Ancient grains like spelt, einkorn, or kamut offer unique flavors and slightly different gluten structures (often weaker than modern wheat), requiring adjustments in hydration and handling. Using a small percentage of rye flour (5-10%) in the final dough can also boost fermentation and add flavor, building on the success of a rye starter.
Water Quality: Filtered vs. Tap Water and Temperature Considerations
Water plays a crucial role in hydration and starter activity. Chlorine and chloramines, often present in tap water, can inhibit the beneficial microbes in your sourdough starter and dough. For the most reliable results, especially when establishing or reviving a starter, using filtered water or tap water that has been left out uncovered for 24 hours to allow the chlorine to dissipate is recommended. Once your starter is well-established and robust, it may be more tolerant of tap water.
The temperature of the water also matters. Lukewarm water (around 80-85°F or 27-30°C) is ideal for feeding your starter as it encourages microbial activity. For the final dough mix, water temperature can influence the overall dough temperature, which in turn affects fermentation speed. Aim for a final dough temperature often cited around 75-78°F (24-26°C) for predictable fermentation times, adjusting your water temperature based on the temperature of your flour and environment.
Salt's Role: Flavor Enhancement and Gluten Development
Salt is not just for flavor in baking; it plays a critical role in dough structure and controlling fermentation. In an easy vegan sourdough bread recipe, salt slows down yeast activity, preventing the dough from rising too quickly and allowing flavors to develop more fully. It also strengthens the gluten network, contributing to better dough structure and a more open crumb.
Typically, salt is added after the initial mixing (autolyse) to allow the flour and water to hydrate fully without the restrictive presence of salt. The standard ratio for salt in sourdough is around 1.8% to 2.2% of the total flour weight. Using non-iodized salt, such as fine sea salt or kosher salt, is generally preferred as iodine can sometimes interfere with yeast activity, although this effect is debated and often minimal in home baking.
Optional Additions: Seeds, Herbs, and Spices for Unique Flavor Profiles
Elevate your simple vegan sourdough bread recipe easy with flavorful additions. Seeds like poppy, sesame, sunflower, or flax can be incorporated into the dough during the mixing phase or used to coat the exterior before baking. Soaking seeds beforehand can prevent them from absorbing moisture from the dough.
Fresh or dried herbs like rosemary, thyme, or dill add aromatic notes. Spices such as caraway seeds (classic for rye bread), black pepper, or even a touch of smoked paprika can create distinct flavor profiles. For a touch of sweetness and texture, roasted garlic or caramelized onions are wonderful additions. When adding inclusions, consider the total weight and how they might affect dough hydration, sometimes requiring a slight adjustment to the water quantity.
Vegan Sourdough Bread Recipe: A Step-by-Step Guide
This guide outlines a straightforward easy vegan sourdough bread recipe suitable for beginners. Ratios are based on baker's percentages, common in sourdough, where ingredients are measured relative to the total flour weight (100%).
Step 1: Preparing the Levain: Timing and Ratios
A levain (or leaven) is a smaller, specifically built mixture of sourdough starter, flour, and water used to inoculate the main dough. Building a levain ensures you're using your starter at its peak activity. For a typical loaf using 500g of flour, you might build a levain using a 1:2:2 ratio (starter:flour:water).
To build the levain: Combine 25g active sourdough starter, 50g bread flour (or a blend matching your main dough), and 50g lukewarm water in a jar. Mix well. Let it sit at room temperature (around 75-80°F / 24-27°C) until it has doubled or tripled in size and is bubbly and light, which usually takes 4-6 hours depending on your starter's vigor and temperature. It should pass the float test.
- Task: Mix Levain
- [ ] Combine starter, flour, and water.
- [ ] Mix thoroughly.
- [ ] Cover loosely.
- [ ] Wait 4-6 hours for peak activity.
Step 2: Mixing the Dough: Hydration and Autolyse
This step involves combining the main ingredients before adding salt. This initial rest period, called autolyse (or autolysis), allows the flour to fully hydrate and gluten development to begin without the presence of salt or starter. For a 500g flour loaf at 75% hydration, you'd mix 500g bread flour and 375g water.
In a large bowl, combine the flour and water from your easy vegan sourdough bread recipe. Mix just until no dry flour spots remain – it will be a shaggy, rough dough. Cover the bowl and let it rest for 30 minutes to 1 hour. This simple step significantly improves dough handling and crumb structure in your final bread.
// Example hydration calculation for 500g flour at 75% hydration
Total Flour: 500g
Total Water: 500g * 0.75 = 375g
Step 3: Bulk Fermentation: Observing Dough Development
Bulk fermentation (or bulk rise) is the longest stage, where the main leavening occurs, and flavor develops. After the autolyse, add your ripe levain (e.g., 125g) and the salt (e.g., 10g for a 2% salt level based on 500g flour). Incorporate them thoroughly using wet hands or a dough whisk, then perform a series of stretch and folds over the next few hours.
During bulk fermentation, the dough should increase in volume by 30-50%, become smoother, and develop strength. The total time can range from 4 to 8 hours or more, depending on the dough temperature and starter activity. A simple test is the "windowpane test": gently stretch a small piece of dough; if you can stretch it thin enough to see light through it without tearing, the gluten is well-developed.
Patience is a key ingredient in sourdough baking. The dough tells you when it's ready, not the clock.
Step 4: Shaping Techniques: Boule, Batard, and More
Once bulk fermentation is complete, gently turn the dough out onto a lightly floured surface. The goal of shaping is to create tension on the surface of the dough, which helps the loaf hold its shape and encourages a good oven spring. Two common shapes for an easy vegan sourdough bread recipe are the boule (round) and the batard (oval).
For a boule, gently preshape the dough into a rough ball and let it rest for 20-30 minutes (bench rest). Then, perform the final shaping by folding the edges into the center and creating tension by pulling the dough towards you across the counter surface. For a batard, after preshaping and bench rest, gently flatten the dough into a rectangle, fold one side two-thirds of the way over, fold the other side over that, and then roll it up from the top, sealing the seam. Place shaped dough seam-side up in a floured proofing basket (banneton).
Step 5: Proofing: Fridge vs. Room Temperature

Proofing is the final rise before baking. This can be done at room temperature or in the refrigerator (cold proofing). Room temperature proofing (typically 1-3 hours) is faster but requires closer monitoring to avoid over-proofing. The dough should feel airy and increase significantly in size, but a poke test (gently poke the dough; if it springs back slowly, it's ready) is more reliable than just volume.
Cold proofing in the refrigerator (typically 8-16 hours, sometimes up to 24 hours) slows down fermentation considerably. This develops more complex flavors and makes the dough easier to handle and score before baking. It also allows you to bake on your schedule. For an easy vegan sourdough bread recipe, cold proofing is often recommended as it's more forgiving. The dough should increase in size by about 30-40% in the fridge.
Step 6: Baking: Oven Spring and Crust Development
Baking sourdough bread requires high heat and initially a moist environment to achieve maximum oven spring and a desirable crust. A Dutch oven is an excellent tool for home bakers as it traps steam released from the dough. Preheat your oven with the Dutch oven inside to a high temperature, typically 450-500°F (230-260°C), for at least 30-60 minutes.
Carefully turn the cold-proofed dough out of the banneton onto parchment paper. Score the top quickly with a sharp razor blade or lame. Carefully transfer the dough on the parchment into the preheated Dutch oven. Cover and bake for 20-25 minutes. Then, remove the lid and continue baking for another 20-30 minutes, or until the crust is deep golden brown and the internal temperature reaches around 205-210°F (96-99°C). Baking covered creates steam for expansion (oven spring), while baking uncovered develops the crust.
Step 7: Cooling and Slicing: Preserving Crust Integrity
After baking, it's crucial to let your easy vegan sourdough bread recipe cool completely on a wire rack. This allows the internal structure to set and moisture to redistribute throughout the loaf. Slicing into a warm loaf can result in a gummy texture inside, even if the crust is perfect.
Cooling typically takes 2-4 hours for a standard-sized loaf. Resist the urge to slice too early! Once fully cooled, use a serrated knife to slice the bread. Store the cooled loaf at room temperature, perhaps wrapped in a linen bag or beeswax wrap, to maintain the crust's texture. Avoid refrigerating sourdough as it can cause it to stale faster.
Mastering Vegan Sourdough Baking Techniques
Autolyse: Enhancing Hydration and Dough Strength
Autolyse is a simple yet powerful technique where you mix only the flour and water from your recipe and let it rest before adding the starter and salt. This allows the flour to fully hydrate, initiating enzymatic activity that breaks down starches into sugars (food for the yeast) and proteins into simpler structures that facilitate gluten development.
By giving the dough this resting period, typically 20 minutes to 1 hour, you create a more extensible and less sticky dough. This makes subsequent steps like mixing in the levain and salt, and performing stretch and folds, much easier. The resulting dough is often stronger and requires less intensive kneading or stretching to build structure, contributing to a better crumb in your easy vegan sourdough bread recipe.
Stretch and Folds: Building Gluten Structure Without Kneading
Stretch and folds are a gentle method of developing gluten structure in high-hydration doughs, common in many easy vegan sourdough bread recipes. Instead of aggressive kneading, you periodically stretch and fold the dough over itself during the bulk fermentation period. This aligns the gluten strands and builds strength and elasticity.
Typically, you perform a series of stretch and folds (3-5 sets) within the first 2-3 hours of bulk fermentation, with 20-40 minute rest periods between sets. To perform a set, wet your hands slightly, grab one edge of the dough in the bowl, stretch it upwards gently without tearing, and fold it over the rest of the dough. Rotate the bowl and repeat 3-4 times until all sides have been folded. This process makes the dough noticeably smoother and more cohesive over time.
Scoring: Creating Visual Appeal and Controlling Expansion
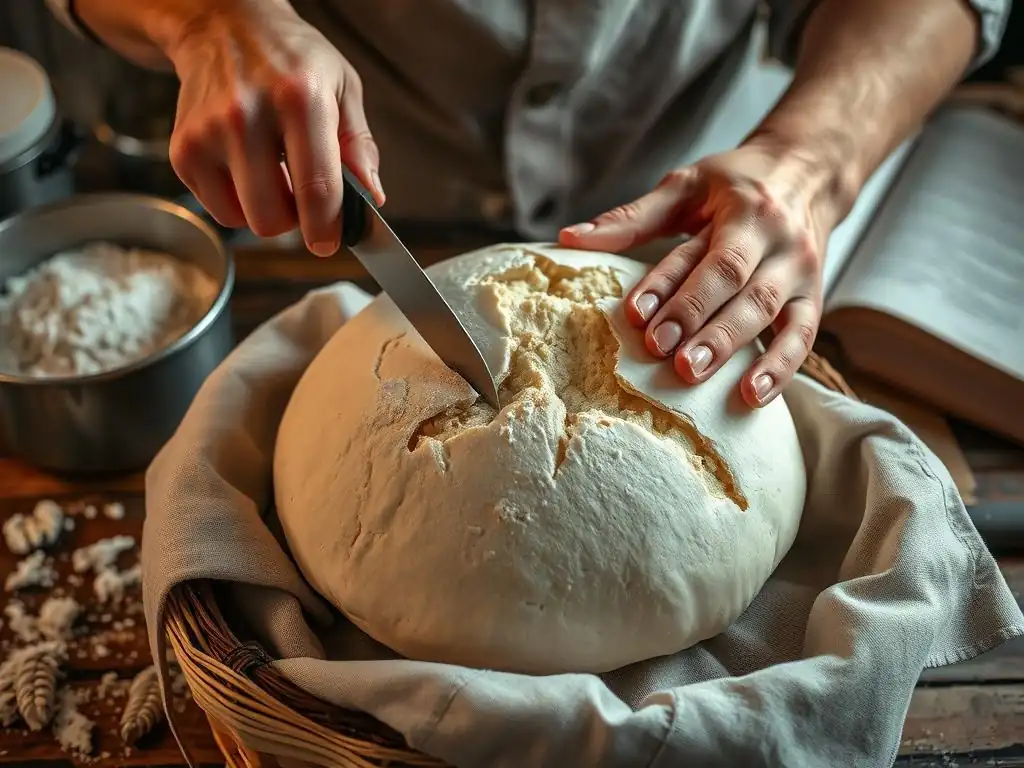
Scoring is the act of cutting the surface of the dough just before it goes into the oven. While it adds beautiful patterns, its primary function is structural: it provides controlled points of expansion for the rising dough during oven spring. Without scoring, the dough might rupture unpredictably in weaker spots.
Using a sharp blade (a razor blade or a lame, which is a handle holding a razor blade) is essential for clean cuts. The depth and pattern of your score influence the final shape and bloom of the loaf. A deep single score down the length of a batard encourages it to open up significantly. Multiple shallow scores on a boule can create intricate patterns. Practice different scoring techniques to see how they affect your easy vegan sourdough bread recipe's final appearance.
Troubleshooting Common Vegan Sourdough Baking Problems
Dense Bread: Under-Proofing, Weak Starter, and Low Hydration
A dense crumb in your vegan sourdough loaf is a common frustration. One major culprit is under-proofing during bulk fermentation or final proofing. If the dough hasn't had enough time to develop sufficient gas from the starter before baking, it won't rise adequately in the oven. Visually, under-proofed dough might still look quite compact before baking and show minimal increase in volume during bulk.
Another cause is a weak or inactive starter. If your levain didn't double or triple reliably after feeding, it won't have the power to lift the heavy dough. Ensure your starter is consistently active before building your levain. Low hydration (using too little water relative to flour) can also result in a tighter, denser crumb, as there isn't enough moisture to facilitate gas expansion and create an open structure. Consider increasing hydration slightly in your next easy vegan sourdough bread recipe attempt if your dough feels very stiff.
Flat Bread: Over-Proofing, Weak Gluten, and Improper Shaping
Conversely, a flat loaf, spreading sideways instead of rising upwards in the oven, is often a sign of over-proofing or insufficient dough strength. Over-proofed dough has exhausted most of its fermentable sugars and gas-holding capacity before baking; it might look very bubbly and airy before going into the oven but collapses during the transition.
Weak gluten development, perhaps due to insufficient stretch and folds or using low-protein flour, means the dough lacks the structure to hold its shape against gravity during fermentation and baking. Improper or insufficient shaping also contributes to flatness; the goal of shaping is to create surface tension that acts like a skin, holding the loaf's form. Ensure you are building adequate tension during the final shaping step of your easy vegan sourdough bread recipe.
Sourness: Controlling Fermentation Time and Temperature
The level of sourness in your vegan sourdough is primarily controlled by fermentation time and temperature. Longer fermentation, especially cold proofing in the refrigerator, allows the lactic acid bacteria (LAB) more time to produce lactic and acetic acids, resulting in a tangier flavor. Colder temperatures favor the bacteria that produce acetic acid, which has a sharper, vinegary tang.
If you prefer a less sour loaf, shorten the bulk fermentation time, especially if fermenting at room temperature. Using a younger levain (one that hasn't reached its peak or just past it) can also result in less sourness. Baking straight from a shorter room-temperature proof rather than a long cold proof will yield a milder flavor. Experiment with fermentation schedules in your easy vegan sourdough bread recipe to find your preferred level of tang.
Gummy Texture: Underbaking and Improper Cooling
A gummy or slightly wet texture inside your loaf, even with a good crust, is almost always a sign of underbaking or slicing too early. The internal temperature needs to reach a certain point (ideally 205-210°F or 96-99°C) for the starches to fully gelatinize and the structure to set properly. If you remove the bread too soon, this process is incomplete.
Equally important is the cooling process. As the bread cools on a wire rack, moisture continues to redistribute from the center outwards, and the internal structure firms up. Slicing into a warm loaf traps steam and disrupts this setting process, leading to a gummy texture. Always allow your easy vegan sourdough bread recipe to cool completely, for at least 2-4 hours, before slicing.
Enjoying Your Vegan Sourdough Bread
Serving Suggestions: Pairings with Soups, Salads, and Dips
Vegan sourdough bread, with its robust flavor and chewy crust, is a perfect accompaniment to a variety of dishes. Its tangy profile cuts through rich flavors and complements fresh ones. Serve thick slices alongside hearty vegan soups like lentil, tomato, or minestrone.
It's also wonderful with fresh, crisp salads; simply tear off pieces to enjoy with your greens. Sourdough is ideal for dipping into flavorful vegan options like hummus, baba ghanoush, white bean dip, or a simple high-quality olive oil with balsamic vinegar. Consider serving it warm with a pat of vegan butter or a sprinkle of flaky sea salt.
Toast Variations: Sweet and Savory Topping Ideas
Toasting transforms vegan sourdough, enhancing its texture and bringing out more of its complex flavors. For savory toast, classic options include smashed avocado with chili flakes, garlic rubbed on the warm surface and topped with tomato bruschetta, or melted vegan cheese.
Sweet variations are equally delightful. Try spreading with vegan butter and a sprinkle of cinnamon sugar, topping with sliced bananas and a drizzle of maple syrup, or using it as the base for a vegan French toast recipe. The sturdy structure of sourdough holds up beautifully to various toppings.
Creative Sandwiches: Vegan Fillings and Flavor Combinations
The firm crust and chewy crumb of vegan sourdough make it an excellent choice for hearty sandwiches. Build vibrant flavor combinations using plant-based ingredients. Consider fillings like grilled vegetables (zucchini, bell peppers, eggplant) with a balsamic glaze and vegan pesto.
Other ideas include smoked tofu or tempeh "bacon," chickpea salad (mashed chickpeas with vegan mayo, celery, and onion), or roasted red pepper and hummus. The tangy sourdough enhances the flavors of the fillings without overpowering them. Experiment with different spreads like vegan cream cheese, mustard, or a spicy vegan aioli.
Using Stale Sourdough: Croutons, Bread Pudding, and More
Don't let leftover vegan sourdough go to waste! Stale bread is often preferred for certain culinary applications. Cube dried-out sourdough to make flavorful croutons; simply toss with olive oil, herbs, and spices and bake until crisp. They're perfect for topping salads or soups.
Stale sourdough is also the base for delicious vegan bread pudding, absorbing liquids beautifully. You can make panzanella, an Italian salad where stale bread is soaked and tossed with tomatoes, cucumber, and a vinaigrette. For a sweet treat, try making vegan bread pudding or soaking slices for French toast. Its strong flavor holds up well in these dishes.
Conclusion: Embrace the Journey of Vegan Sourdough Baking
Resources for Continued Learning
The world of vegan sourdough baking is vast and rewarding, with endless possibilities for learning and experimentation. Many excellent online resources, including websites like BakeWithEase.com, offer detailed guides, recipes, and tips. Look for online communities and forums dedicated to sourdough or vegan baking where you can ask questions and share experiences.
Cookbooks specifically focused on sourdough or plant-based baking can provide in-depth knowledge and new recipe ideas beyond a basic easy vegan sourdough bread recipe. Consider following bakers on social media who share their techniques and insights. Continuous learning and a willingness to try new things are part of the joy of this craft.
Celebrating your baking achievements is part of the fun! Share photos of your beautiful vegan sourdough loaves with friends, family, or online communities. Describing your process and the results can be a great way to solidify your learning.
If you encounter challenges, don't hesitate to seek support. Online forums, local baking groups, or even the comment sections on baking websites can be valuable places to ask for advice when troubleshooting issues like a flat loaf or a gummy crumb in your easy vegan sourdough bread recipe. Fellow bakers are often happy to share their experiences and help you improve. Embrace the learning process, celebrate the successes, and enjoy the delicious results of your efforts!
Frequently Asked Questions
What exactly makes sourdough bread vegan?
Vegan sourdough bread simply means that the recipe excludes all animal-derived products. This primarily involves ensuring that no dairy or eggs are used in the starter or dough.
Can I really make sourdough bread if I'm a beginner baker?
Absolutely! While sourdough can seem intimidating, our recipes focus on simple, step-by-step instructions. You'll find the process is manageable even with no prior baking experience.
What are some common mistakes to avoid when making vegan sourdough?
Over-proofing and using inactive starter are frequent pitfalls. Also, be sure to use a good quality flour to ensure proper gluten development.
Are there any special ingredients I need for a vegan sourdough recipe?
No, you likely already have everything you need! Flour, water, salt, and a vegan sourdough starter are the basics. Some recipes may include optional additions like seeds or herbs.
How long does it typically take to make a loaf of vegan sourdough bread?
The entire process, from feeding the starter to baking, usually takes around 24-36 hours. However, much of this time is inactive, allowing the dough to rise and develop flavor naturally.
Final Reflection: The Flour Power of Vegan Sourdough
The accessibility of vegan baking is exploding, and sourdough, once a culinary Everest, is now within everyone's reach. This journey from plant-based ingredients to a perfectly risen, tangy loaf demonstrates that delicious, ethical baking doesn't require compromise. We've debunked myths, simplified techniques, and proven that creating a vegan sourdough masterpiece is easier than you think.
The shift towards plant-based diets is more than just a trend; it's a reflection of growing awareness about sustainability and ethical food choices. This journey into vegan sourdough baking underscores the power of mindful consumption and the creative possibilities that emerge when we embrace new approaches to familiar traditions. Food is symbolic of love when words are inadequate.
- Alan D. Wolfelt. This sentiment rings true, especially when sharing a homemade loaf, born from simple ingredients and a passion for creating something beautiful and nourishing.
Now, it's your turn. Don't be intimidated by the seemingly complex world of sourdough. Take the leap, experiment with the recipes and techniques outlined in this article, and discover the joy of crafting your own perfect vegan sourdough loaf. The journey itself is rewarding, and the taste of your creation? Unforgettable. Embrace the flour power, and let your baking journey begin!
Unleash Your Inner Vegan Baker!
Thanks for joining us on this delicious journey into the world of vegan baking! We hope you've discovered new techniques and exciting possibilities for creating plant-based masterpieces. Ready to take your skills to the next level?
- Bake your own vegan loaf! Use the recipes and tips from this article to create your very first (or next!) vegan loaf. Don't be afraid to experiment with different flours and flavors!
- Share your creations: Post a picture of your vegan baking success on social media and tag us – we'd love to see your results!
- Explore our other vegan recipes: Dive deeper into the world of plant-based baking with our extensive recipe collection, designed to help you perfect each and every loaf.
What surprising ingredient will you try in your next vegan bake? Let us know in the comments below!