
The Journey to Perfect Crumb: Ciabatta and Rustic Bread Insights

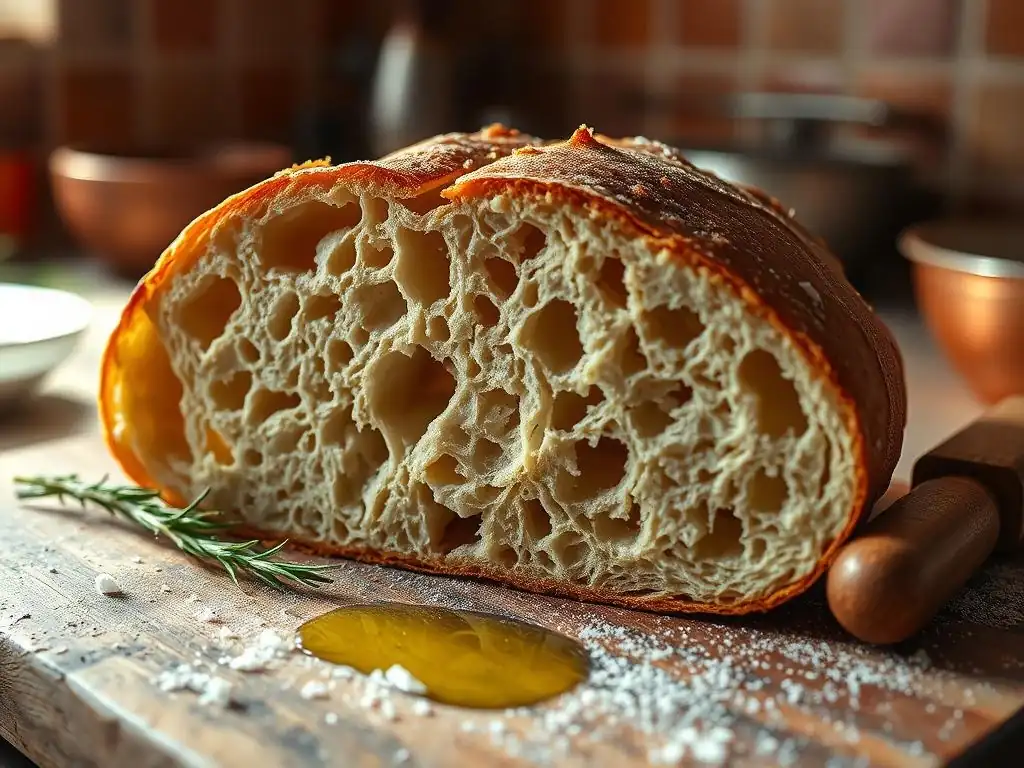
Welcome to BakeWithEase, your trusted companion on the journey to baking brilliance! Ever dreamt of achieving that perfectly airy, irregular crumb in your Ciabatta? Our article, "The Journey to Perfect Crumb: Ciabatta and Rustic Bread Insights," unveils the secrets behind a truly exceptional Ciabatta bread crumb recipe. Discover insider tips and tricks to elevate your bread baking game and unlock the secrets to that sought-after, rustic texture. Ready to transform your loaves? Let's get baking!
- Mastering Open Crumb: Ciabatta and Rustic Bread Techniques
- Understanding Open Crumb in Bread Baking
- Achieving Open Crumb in Ciabatta: A Detailed Guide
- Open Crumb Techniques for Rustic Breads
- Troubleshooting Open Crumb Issues
- Advanced Techniques for Open Crumb
- Ciabatta and Rustic Bread Recipes with Open Crumb
- Serving Suggestions: Enjoying Open Crumb Breads
-
Frequently Asked Questions
- What makes a good ciabatta bread crumb?
- What is the ideal hydration level for a ciabatta dough?
- What role does fermentation play in ciabatta bread crumb development?
- What are some common mistakes that result in a dense ciabatta crumb?
- Can I use regular bread flour for a ciabatta bread crumb recipe, or is a specific type of flour required?
- Final Reflection: The Enduring Allure of the Perfect Crumb
- Unleash Your Inner Baker: Craft the Perfect Crust!
Mastering Open Crumb: Ciabatta and Rustic Bread Techniques
Understanding Open Crumb in Bread Baking
Defining Open Crumb and Its Characteristics
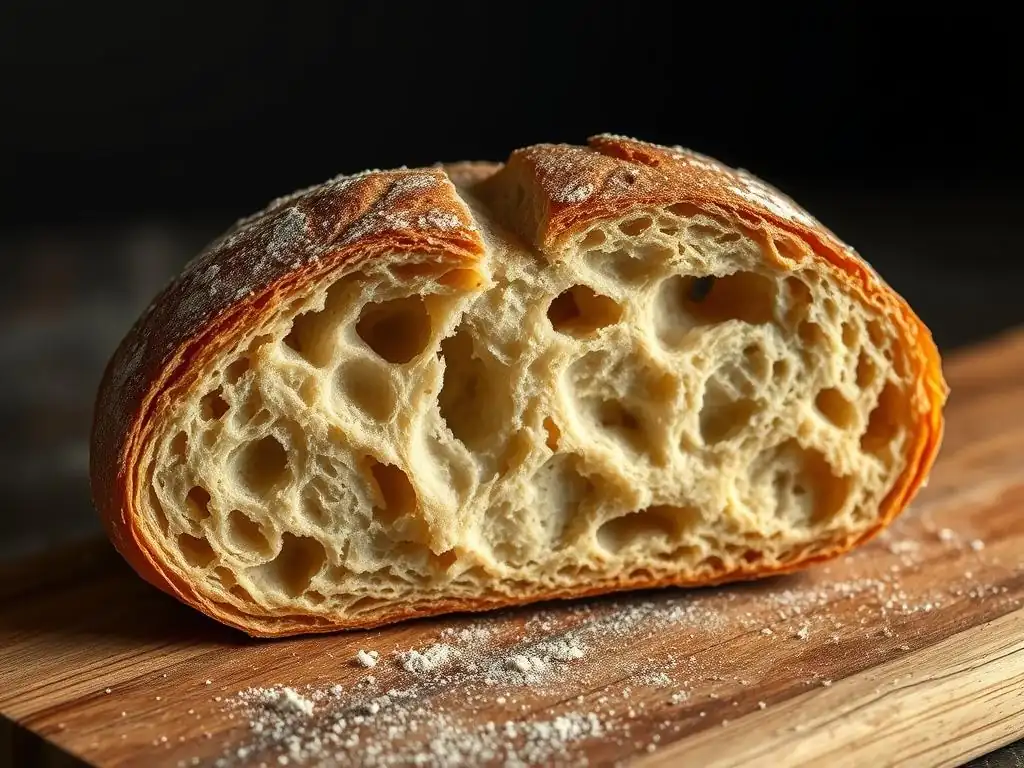
An open crumb refers to a loaf’s interior structure characterized by large, irregular holes—also called alveoli—interspersed within a thin, chewy matrix. This effect arises from a well-developed gluten network and high hydration levels, typically ranging from 75%–85%. Bakers often seek this airy interior because it signifies good gas retention during fermentation and proper dough handling.
The characteristic holes in an open crumb not only create a pleasing visual appeal but also impact mouthfeel. Each pocket traps moisture, leading to a tender bite that contrasts beautifully with a crisp crust. In professional bakeries like San Francisco’s Tartine, bakers achieve an average hole size of about 1–2 cm by using techniques such as gentle folding and temperature-controlled fermentation.
The Appeal of Open Crumb: Texture and Flavor
Beyond aesthetics, the open crumb plays a crucial role in flavor perception. The increased surface area inside the loaf allows more enzymes and organic acids—produced during fermentation—to develop, resulting in nuanced tangy notes, especially in sourdough variants. This complexity elevates simple recipes into memorable sensory experiences.
Texturally, an open crumb loaf offers a light, almost sponge-like chew that balances moisture retention with a delicate chew. When paired with olive oil or melted butter, each sapid pocket fills, delivering bursts of flavor. Many home bakers describe the satisfaction of tearing into such a loaf as akin to revealing a hidden treasure inside the crust.
Achieving Open Crumb in Ciabatta: A Detailed Guide
Essential Ingredients for Ciabatta with Open Crumb
Creating a stellar ciabatta begins with selecting the right components. A typical Ciabatta bread crumb recipe calls for:
- Bread flour with 12.5%–14% protein
- Water at
78%–82%hydration - A preferment (poolish or biga) contributing 15%–20% of total flour weight
- Salt at
2%of flour weight - A small quantity of yeast (0.2%–0.3%)
Quality ingredients are non-negotiable; for instance, King Arthur Bread Flour (12.7% protein) is a common choice. Using tap water around 24°C ensures yeast activation without overheating.
Flavor and structure both benefit from a preferment. A poolish (thin, equal parts flour and water by weight) or a biga (stiffer preferment) introduces lactic acid bacteria and wild yeasts, enhancing aroma and gas production for larger alveoli.
High-Protein Flour: The Foundation for Structure
High-protein flours (12.5%–14%) supply ample gluten-forming proteins—gliadin and glutenin. When hydrated and gently folded, they create strong elastic networks that trap CO₂. For example, using a flour with 13% protein yields a dough that can stretch into paper-thin sheets without tearing, critical for open crumb.
High Hydration: Achieving the Right Dough Consistency
Ciabatta typically calls for at least 78% hydration; professional formulas often push to 82%– 85%. This level of hydration produces a slack, sticky dough that, when handled correctly, results in large, irregular holes. Home bakers can increase hydration gradually—adding 2% more water each batch—to build confidence.
Preferments: Enhancing Flavor and Gas Production
Incorporating a poolish (20%–25% of flour weight) fermented for 12–16 hours at 20°C imparts subtle tang and enhances extensibility. Alternatively, a biga with 50% hydration fermented for 16–18 hours at 18°C provides a firmer structure, yielding a slightly denser but flavorful crumb.
Ciabatta Dough: Mixing and Fermentation Techniques
Achieving the perfect open crumb hinges on minimal mixing and strategic fermentation. The process typically involves:
- Autolyse: Mixing flour and water, resting 30–45 minutes
- Salt and Yeast Incorporation: Adding these post-autolyse
- Bulk Fermentation: 1.5–2 hours at 24°C with 3–4 sets of stretch-and-folds
This regimen fosters gluten development without overworking the dough, preserving gas bubbles essential for large alveoli.
Autolyse: Improving Dough Hydration and Extensibility
During autolyse, enzymes break down starches into simpler sugars, improving yeast activity later. A 30–45 minute rest at 22–24°C lets the flour fully hydrate, making the dough more extensible and easier to handle, crucial for an open crumb.
Minimal Mixing: Preserving Gluten Structure
Unlike hearth loaves mixed for 8–10 minutes, ciabatta dough benefits from only 2–3 minutes of gentle kneading or folding. Overmixing tightens the network, reducing extensibility and preventing the formation of large gas pockets.
Bulk Fermentation: Developing Flavor and Strength
A bulk ferment at 24°C lasting 90–120 minutes, complemented by three to four stretch-and-fold cycles every 20–30 minutes, creates a strong yet pliable dough. Each fold realigns and strengthens gluten strands while retaining trapped CO₂.
Shaping and Baking Ciabatta for Optimal Crumb
Shaping for ciabatta is less about tight logs and more about gentle lifts. After bulk fermentation, the dough is poured onto a heavily floured board, cut into rectangles, and left to bench rest for 15 minutes under a damp cloth. This step allows further relaxation.
Baking in a preheated oven with steam at 250°C for the first 10 minutes, then reducing to 220°C for 15–18 minutes, yields a golden-brown crust. The steam ensures crispness, while the high initial temperature promotes rapid oven spring and bubble expansion.
Gentle Dividing: Avoiding Deflating the Dough
Use a bench knife to gently portion the dough. Avoid pressing down; instead, lift and separate to maintain trapped gas bubbles that form the open crumb.
Proofing: Achieving Proper Expansion
Final proofing on a well-floured couche or towel under slight tension gives structure. Aim for a 40% volume increase—over-proofing leads to collapse, under-proofing yields a tight crumb.
Baking with Steam: Creating a Crispy Crust
Introducing steam in the first 10 minutes—via a pan of water or spritzing—prevents crust set too early, allowing maximum oven spring. Remove steam source after 10 minutes to develop a crisp, blistered exterior.
Open Crumb Techniques for Rustic Breads
Exploring Rustic Bread Varieties
Rustic loaves encompass everything from naturally leavened sourdoughs to hearty whole-wheat blends. Each variety has unique hydration needs and fermentation profiles:
- Sourdough: Spontaneous fermentation delivers a tangy flavor and variable hydration (
70%–90%), making it a prime candidate for open crumb. - Whole Wheat: Heavier bran components can inhibit gas retention; hydration often sits around
75%–78%. - Rye Bread: Rye flour (15%–20% of total) adds complexity but reduces gluten strength, calling for hydration near
82%and careful folding.
Traditional bakeries, like Copenhagen’s Mirabelle, achieve a 1–2 cm average hole size in their 80% hydration sourdough by allowing a 4-hour bulk ferment and using a Dutch oven.
Sourdough: A Tangy Approach to Open Crumb
A 20% starter inoculation, fed at 1:1:1 (starter:flour:water) 12 hours prior, creates ample leavening. Autolyse with 60% of water for 45 minutes, then incorporate starter and salt for a total ferment of 6–8 hours at 22°C.
Whole Wheat: Achieving Open Crumb with Whole Grains
Soak whole wheat flour for 30 minutes in water at 25°C to soften bran. Gradually add water to reach 77% hydration, then perform 4–5 stretch-and-fold cycles during a 2.5-hour bulk ferment.
Rye Bread: Incorporating Rye for Flavor and Texture
Rye’s pentosans hold water but lack gluten, so use a 1:4 rye-to-wheat flour ratio. Increase hydration to 82%, shorten bulk ferment to 90 minutes, and focus on gentle folding to preserve bubbles.
Techniques for Open Crumb in Rustic Loaves
Open crumb in rustic breads relies on balancing hydration with gluten strength. Key techniques include:
- Hydration Levels: Adjust based on flour type; higher water in strong wheat flours, moderate in whole grains.
- Folding: Frequent, gentle stretch-and-fold cycles build structure without degassing.
- Dutch Oven Baking: Creates a sealed environment for exceptional oven spring and moisture retention.
These methods, used by baker Chad Robertson in The Tartine Bread Cookbook, produce loaves with 1-3 cm alveoli even at 85% hydration.
Hydration Levels: Balancing Structure and Openness
For an all-white loaf, start at 80% hydration. For blends with whole wheat, reduce to 78%. Monitor dough behavior; it should flow slowly but hold its shape.
Folding: Developing Strength and Structure
Perform 3–5 rounds of stretch-and-folds every 20–30 minutes during bulk ferment. Each fold traps air and aligns gluten, contributing to a uniform crumb.
Baking in a Dutch Oven: Creating a Steamy Environment
Preheat a cast-iron Dutch oven to 250°C. Place the shaped loaf inside, cover, and bake for 20 minutes. Remove the lid, reduce to 230°C, and bake another 15–20 minutes for a crisp crust.
Troubleshooting Open Crumb Issues
Dense Crumb: Identifying and Correcting Problems
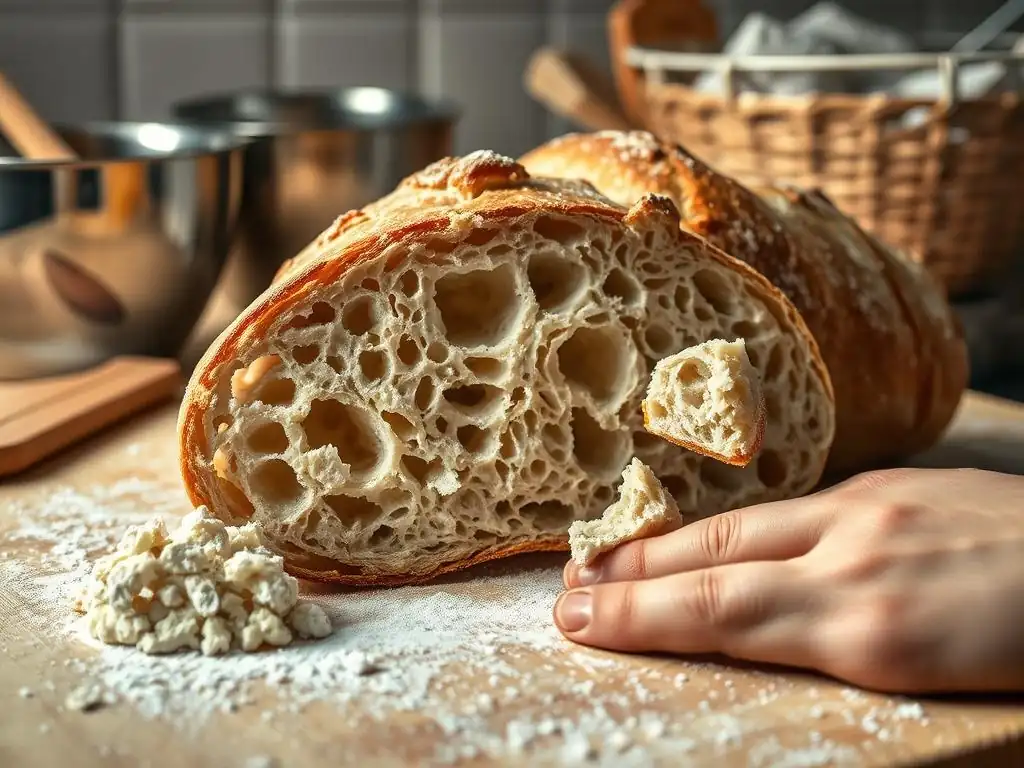
When your loaf turns out dense, consider three usual suspects: under-proofing, low hydration, or over-kneading. Each can collapse nascent bubbles during baking, leading to a tight crumb.
Incorrect oven temperature—too low initial heat—can also inhibit oven spring, resulting in small, uniform holes rather than the desired large alveoli.
Under-Proofing: Recognizing the Signs and Adjusting
A dough that springs back quickly when poked by 80% through its final proof indicates under-proofing. Increase final proof time by 15–20 minutes or proof at 24°C instead of 20°C.
Insufficient Hydration: Increasing Water Content Carefully
If dough appears tight, consider adding 2% more water next bake. Increase in small increments to avoid turning the dough into a batter.
Over-Kneading: Minimizing Gluten Development
Dough overly smooth and elastic signals over-kneading. Cut mixing time by 20% and switch to stretch-and-folds for gentler gluten development.
Uneven Crumb: Achieving Consistent Results
An uneven crumb—where some sections are dense and others overblown—often stems from poor handling, uneven heat, or improper scoring. Uniform dough handling and consistent oven conditions are critical.
Gentle Dough Handling: Avoiding Degassing
Always handle dough delicately. Use a flexible scraper or bench knife to move and shape pieces, avoiding pressing or punching down.
Oven Temperature: Ensuring Even Heat Distribution
Calibrate your oven thermometer; aim for 250°C– 260°C initial bake for ciabatta and 230°C for rustic. Rotate the loaf halfway through if hotspots exist.
Scoring: Controlling Expansion During Baking
A shallow, 3–4 mm slash allows uniform expansion. Overly deep cuts can cause the loaf to collapse, creating large holes adjacent to closed areas.
Advanced Techniques for Open Crumb
Using Poolish and Biga: Exploring Preferment Options
Preferments add depth of flavor and improve crumb structure. Poolish yields a faster, lighter fermentation, while biga develops stronger gluten.
Robertas Bakery in Portland uses a 1:1:1 poolish for its artisan ciabatta, fermenting at 21°C for 14 hours. This yields a mild tang and 2–3 cm holes.
Poolish: A Light and Flavorful Preferment
- Hydration:
100%(equal water to flour) - Fermentation: 12–16 hours at 20–22°C
- Usage: 20% of total flour weight
Lighter body and pronounced aroma are the hallmarks.
Biga: A Stiff and Strong Preferment
- Hydration:
50%–60% - Fermentation: 16–18 hours at 18–20°C
- Usage: 15% of total flour weight
Results in a robust crumb, slightly drier texture, and deeper flavor.
Experimenting with Flours: Developing Unique Textures
Exploring alternative flours unlocks new textures and flavors. Semolina adds chew; spelt introduces a nutty aroma.
At Seattle’s Tall Grass Bakery, a ciabatta blend with 20% semolina and 80% bread flour yields a caramel-colored crust and a pleasantly chewy crumb.
Semolina Flour: Adding a Chewy Crumb
Use 15%–20% semolina in the total flour mix. Its coarse granules absorb water differently, creating small pockets around granules that add textural contrast.
Spelt Flour: A Nutty and Open Crumb
Substitute 10%–15% spelt for bread flour. Spelt’s weaker gluten demands slightly lower hydration ( 75%), but it contributes a sweet, nutty aroma and retains good openness.
Ciabatta and Rustic Bread Recipes with Open Crumb
Classic Ciabatta: A Foundational Recipe
Ingredients (Baker’s %):
Flour (Bread): 100%
Water: 80%
Poolish: 20% of flour
Salt: 2%
Instant Yeast: 0.2%
Procedure:
- Prepare poolish 12–16h prior
- Autolyse flour/water 30min
- Mix in poolish, yeast, salt
- Bulk ferment 90–120min with 3 folds
- Divide, shape, proof 40min
- Bake at 250°C w/steam 10min, then 220°C 15min
Olive Ciabatta: Incorporating Olives for Flavor
Elevate your Ciabatta bread crumb recipe by adding 10% chopped kalamata or Castelvetrano olives (pitted).
- Mix into dough after first fold in bulk ferment
- Ensure olives are at room temperature to prevent cold spots
- Follow classic bake schedule; olives caramelize near crust, adding bursts of briney flavor
Rosemary Rustic Bread: Infusing Rosemary for Aroma and Taste
Ingredients:
Bread Flour: 100%
Water: 78%
Rosemary (chopped): 1%
Salt: 2%
Levain: 20%
Procedure:
- Incorporate rosemary with salt to avoid clumping
- Perform 4 stretch-and-folds during bulk ferment
- Shape into boule, proof 45min in banneton
- Bake in Dutch oven at 240°C covered 20min, uncovered 15min
Serving Suggestions: Enjoying Open Crumb Breads
Pairing Suggestions: Complementing Flavors and Textures
Open crumb loaves shine when paired thoughtfully. The irregular holes soak up dressings, oils, and cheeses:
- Butter and honey for morning toast
- Herb-infused olive oil as an appetizer
- Creamy spreads (ricotta, labneh) for contrast
Consider textures: a soft ricotta against a crunchy crust or liquid tapenade pooling in alveoli elevates each bite.
Ciabatta with Olive Oil and Balsamic: A Simple Classic
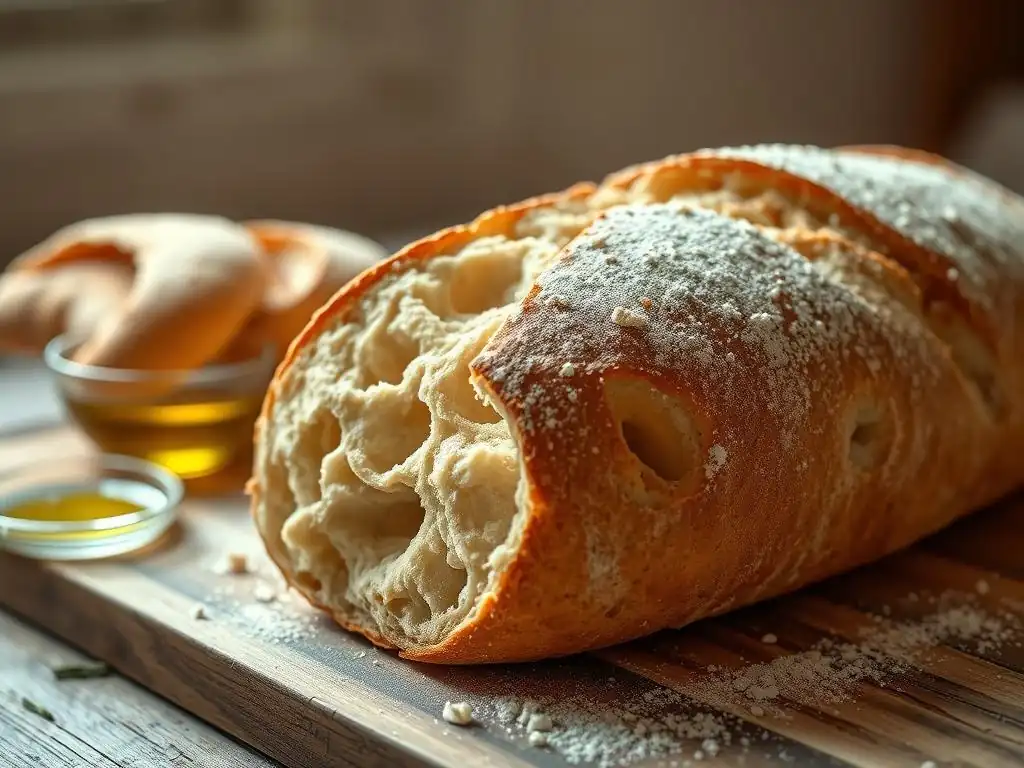
Slice ciabatta diagonally, toast lightly, then drizzle with extra-virgin olive oil and aged balsamic vinegar.
- Use 2 tbsp oil per slice, swirl in 1 tbsp balsamic
- Sprinkle flaked sea salt and cracked pepper
- Serve immediately to preserve contrast between warm bread and cool dressing
Rustic Bread with Cheese and Charcuterie: A Hearty Combination
Serve your open-crumb rustic loaf alongside:
- Aged Manchego (nutty, firm)
- Soft Brie or Camembert (creamy, mild)
- Cured meats: prosciutto, soppressata, chorizo
Arrange on a wooden board, include pickled vegetables and a drizzle of honey. Let guests tear off chunks, reveling in the interplay of airy crumb and rich accompaniments.
Frequently Asked Questions
What makes a good ciabatta bread crumb?
A good ciabatta crumb is characterized by its large, irregular air pockets and a light, airy texture. This is achieved through high hydration and proper fermentation.
What is the ideal hydration level for a ciabatta dough?
The ideal hydration level for ciabatta dough is typically quite high, ranging from 70% to 85%. This high water content creates the signature open crumb structure.
What role does fermentation play in ciabatta bread crumb development?
Fermentation is crucial for developing flavor and the characteristic open crumb in ciabatta. Long, slow fermentation allows the gluten to develop and the yeast to produce gases, creating air pockets.
What are some common mistakes that result in a dense ciabatta crumb?
Common mistakes include over-kneading the dough, insufficient fermentation time, and using too little water. These errors can result in a tight, dense crumb structure.
Can I use regular bread flour for a ciabatta bread crumb recipe, or is a specific type of flour required?
While you can use regular bread flour, high-protein bread flour is generally recommended for ciabatta. It provides the necessary gluten development for the open crumb structure.
Final Reflection: The Enduring Allure of the Perfect Crumb
The pursuit of the perfect ciabatta crumb is more than just a baking challenge; it's a reflection of our desire for authenticity and connection to the craft of bread making. The journey detailed in this article, from understanding hydration levels to mastering the crucial fermentation process, highlights the intricate dance between science and artistry that yields that signature open, airy crumb. This isn't just about a recipe; it's about understanding the fundamental principles that elevate a loaf from good to extraordinary.
The impact of artisanal bread making, and the specific allure of ciabatta, extends far beyond the kitchen table. It represents a return to slower, more mindful processes in a fast-paced world. The satisfaction derived from nurturing a dough, witnessing its transformation, and ultimately sharing the fruits of your labor is deeply rewarding. Bread is the staff of life,
they say, and in crafting ciabatta, we connect with that ancient truth, experiencing the tangible link between simple ingredients and profound satisfaction. This connection, I believe, is what fuels the ongoing fascination with this beautiful bread.
Now, I invite you to take what you've learned and embark on your own journey to the perfect crumb. Don't be afraid to experiment, to adjust hydration, to play with fermentation times. Each loaf, each slightly different crumb, is a lesson learned, a step closer to mastering your own unique ciabatta. The true reward isn't just the delicious bread itself, but the process of discovery, the patience cultivated, and the connection to a timeless tradition. So, gather your ingredients, embrace the challenge, and let the journey begin.
Unleash Your Inner Baker: Craft the Perfect Crust!
Thanks for joining us on this delicious journey into the world of ciabatta and rustic bread! We hope you've gained valuable insights into achieving that perfect crumb. Ready to put your new knowledge to the test?
- Bake your own masterpiece: Try one of the recipes mentioned in the article – you might be surprised how easy it is! Remember to share your baking triumphs (and challenges!) with us in the comments.
- Experiment with flours: This is your chance to explore different flour types and see how they impact the texture and flavor of your bread.
- Share your baking journey: Show off your perfectly crafted loaves on social media using #BakeWithEaseCiabatta
What unique ingredient will you try in your next rustic bread creation?