
Baking Challah: A Beloved Bread Across Europe

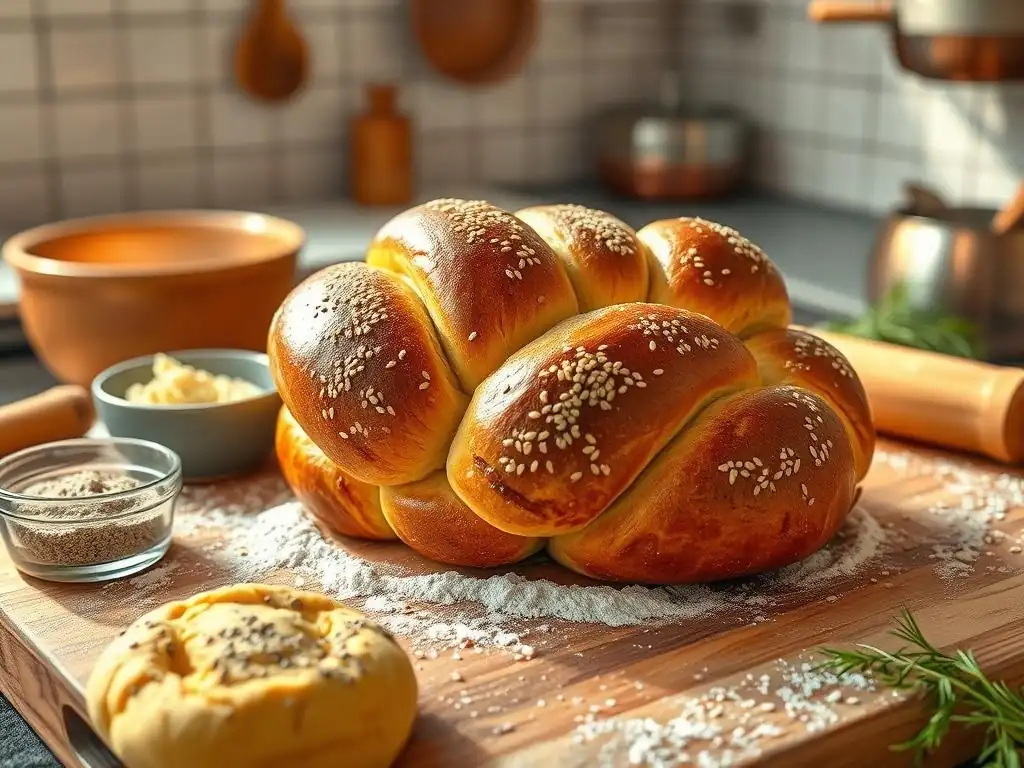
Welcome to BakeWithEase, your trusted guide to the delightful world of baking! Discover the secrets behind creating mouthwatering treats, from delicate pastries to crusty loaves. Ever wondered how to bake a perfect challah? Dive in to our Easy Braided Challah Recipe and unlock the secrets to this beloved bread, a staple across Europe. Ready to experience the joy of baking? Let's get started!
- Baking Challah: A Beloved Bread Across the Jewish Diaspora
- Discovering Challah: A Traditional Jewish Bread
- Mastering the Easy Braided Challah Recipe
- Serving and Enjoying Your Homemade Challah
- Variations of Challah Across Jewish Communities
- The Joy of Baking Challah: A Meaningful Tradition
-
Frequently Asked Questions
- How difficult is the Easy Braided Challah Recipe from BakeWithEase.com for a beginner baker?
- What makes BakeWithEase.com a good resource for learning how to bake challah?
- Does the Easy Braided Challah Recipe on BakeWithEase.com require any special equipment?
- Can I find variations or alternative versions of the Easy Braided Challah Recipe on BakeWithEase.com?
- What if I have trouble finding specific ingredients for the Easy Braided Challah Recipe mentioned on BakeWithEase.com?
- Final Reflection: The Enduring Legacy of Challah
- Unleash Your Inner Baker: Craft the Perfect Challah!
Baking Challah: A Beloved Bread Across the Jewish Diaspora
Discovering Challah: A Traditional Jewish Bread
What is Challah Bread? Exploring its Origins and Significance
Challah is a special braided bread traditionally baked to celebrate the Jewish Sabbath (Shabbat) and other holidays. Its name comes from the Hebrew word for a small piece of dough set aside before baking, a religious obligation derived from the Torah.
This beautiful bread, often rich with eggs and slightly sweet, represents nourishment and blessing, central to the festive meals enjoyed during these sacred times. It's not just food; it's steeped in history and symbolism, often baked in multiples of two to represent the double portion of manna received by the Israelites in the desert on the day before the Sabbath.
The origins of challah are deeply intertwined with Jewish history and migration. While the practice of setting aside a portion of dough dates back millennia, the braided form we commonly recognize today evolved over time, particularly in European Jewish communities. Different regions developed distinct styles, influenced by local ingredients and baking techniques. The act of baking challah became a cherished ritual, often performed by women, passing down recipes and braiding methods through generations. This tradition continues today, with many families taking pride in baking their own challah for weekly celebrations.
Challah in Jewish Baking Traditions: A Regional Overview
Jewish communities around the world have adapted challah to their local palates and available ingredients, leading to a fascinating diversity in this beloved bread. In Ashkenazi Jewish tradition, originating from Central and Eastern Europe, challah is typically made with white flour, eggs, water, yeast, sugar, and oil or margarine. It's often braided into various shapes, most commonly a long braid for the Sabbath and round loaves for holidays like Rosh Hashanah (the Jewish New Year), symbolizing continuity and wholeness. These loaves are frequently topped with sesame or poppy seeds.
Contrastingly, Sephardic Jewish communities, with roots in the Iberian Peninsula, North Africa, and the Middle East, have their own distinct versions of challah, often referred to by different names like pan de shabbat or dajer. These variations can be less enriched with eggs and sugar, sometimes incorporating olive oil and herbs like anise or fennel seeds.
Textures and shapes also differ; some Sephardic challahs are flatter, while others might be formed into rolls or simple round loaves without complex braiding. This rich tapestry of regional challah styles highlights the adaptability and enduring significance of this bread across the Jewish diaspora.
Mastering the Easy Braided Challah Recipe
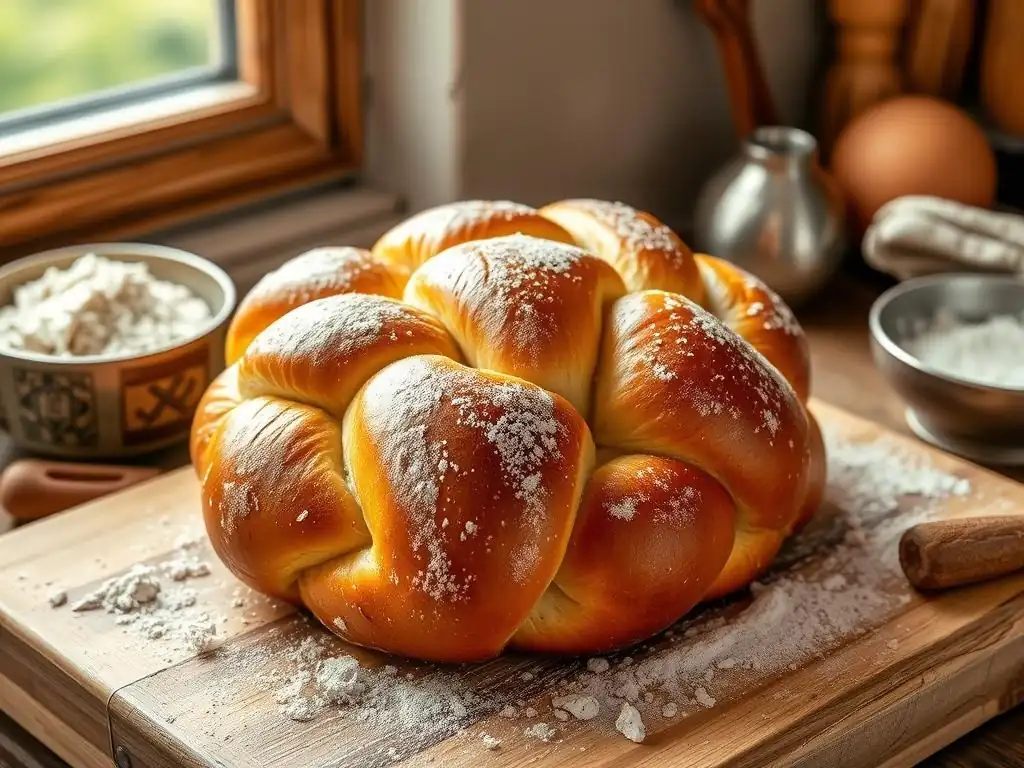
Baking an easy braided challah recipe at home is a rewarding experience, filling your kitchen with a comforting aroma and providing a delicious centerpiece for your table. While it might look intricate, the braiding is simpler than you think, especially with a step-by-step guide. Let's break down the essentials for creating your own beautiful and tasty loaf.
Gather Your Ingredients: Challah Recipe Essentials
A great easy braided challah recipe starts with understanding the role of each ingredient. While specific quantities vary, the core components remain consistent, working together to create that signature rich and slightly sweet texture.
Flour Selection for the Perfect Challah
The type of flour you choose significantly impacts the texture of your challah. Most easy braided challah recipes call for all-purpose flour, which is readily available and provides a good balance of protein for structure and tenderness. Using high-quality unbleached all-purpose flour often yields the best results, offering a soft crumb and a lovely golden crust.
For a chewier texture, some bakers prefer using bread flour, which has a higher protein content (typically 12-14%) compared to all-purpose flour (around 10-12%). This extra protein helps develop gluten more effectively during kneading, resulting in a bread with more structure and chew. Experimenting with a mix of bread flour and all-purpose flour can also be a great way to find your preferred texture for this easy challah recipe.
The Importance of Yeast in Challah Baking
Yeast is the leavening agent that makes your challah light and airy. Most easy braided challah recipes use either active dry yeast or instant yeast. Active dry yeast typically needs to be proofed first in warm liquid (usually water or milk) with a pinch of sugar to ensure it's alive and active, a process that takes about 5-10 minutes until foamy.
Instant yeast, on the other hand, can usually be mixed directly into the dry ingredients without prior proofing, saving a step and often leading to a slightly faster rise. Whichever type you use, ensuring your yeast is fresh is crucial for a successful rise. Storing yeast in an airtight container in the refrigerator or freezer prolongs its shelf life considerably.
Sweetening the Deal: Sugar and Honey in Challah
Challah's characteristic slight sweetness comes from sugar or honey, which also contribute to the crust's browning and the bread's tenderness. Granulated sugar is a common choice in many easy braided challah recipes, providing simple sweetness and food for the yeast. A typical recipe might use anywhere from a few tablespoons up to half a cup of sugar, depending on desired sweetness.
Honey is another popular sweetener for challah, adding a distinct flavor profile and helping to keep the bread moist. It reacts similarly to sugar in providing food for the yeast and aiding browning. Some recipes even use a combination of both sugar and honey to achieve a balanced sweetness and complex flavor. The amount of sweetener used is a matter of personal preference, but it's essential for the traditional challah taste and texture.
Step-by-Step Guide to Baking Homemade Challah
Follow these steps to bake your own delicious easy braided challah recipe. This guide simplifies the process, making it accessible even for beginners.
Preparing the Dough: Mixing and Kneading Techniques
Start by activating your yeast (if using active dry) in warm water or milk with a pinch of sugar, following the package instructions. In a large bowl, whisk together your flour, salt, sugar (or honey), and yeast (if using instant). In a separate bowl, whisk together the wet ingredients: eggs, oil, and the activated yeast mixture (if applicable). Pour the wet ingredients into the dry ingredients and mix with a wooden spoon or stand mixer fitted with a dough hook until a shaggy dough forms.
Turn the dough out onto a lightly floured surface and knead by hand for about 8-10 minutes, or use a stand mixer on medium speed for 6-8 minutes. The dough should become smooth, elastic, and slightly tacky but not sticky. You'll know it's ready when it passes the "windowpane test": you can gently stretch a small piece of dough thin enough to see light through it without it tearing. Proper kneading is vital for developing the gluten structure needed for a well-risen, soft challah.
First Rise: Allowing the Dough to Develop Flavor
After kneading, shape the dough into a ball and place it in a lightly oiled large bowl, turning to coat. Cover the bowl tightly with plastic wrap or a damp kitchen towel. This first rise, often called the bulk fermentation, is crucial for developing flavor and allowing the yeast to produce carbon dioxide, which will make the bread light.
Place the bowl in a warm, draft-free spot. The dough should double in size, which typically takes about 1 to 2 hours at room temperature (around 70-75°F or 21-24°C). If your kitchen is cooler, it might take longer. You can also place the dough in a slightly warmer spot, like a turned-off oven with the light on, to speed things up slightly. The dough should look puffy and feel soft and airy.
Braiding the Challah: A Visual Guide to Perfecting the Technique
Once the dough has doubled, gently punch it down to deflate it. Turn the dough out onto a lightly floured surface and divide it into the number of strands you want for your braid (3, 4, 6, or even more). Roll each piece into a long, even rope. The goal is to make the ropes roughly the same length and thickness for an even braid.
Arrange the ropes parallel to each other. For any braid, the key is to keep the ropes relatively uniform in thickness and to braid with even tension. Don't pull too tightly, or the braid will be dense; don't leave it too loose, or it will flatten out during the second rise. Practice makes perfect, and even a slightly imperfect braid will still result in delicious homemade challah.
3-Strand Braid: A Beginner-Friendly Option
The 3-strand braid is the simplest and a great starting point for your easy braided challah recipe. Lay the three ropes parallel. Pinch the tops together firmly. Take the right-most strand and cross it over the middle strand. Then, take the left-most strand and cross it over the new middle strand.
Continue alternating, always crossing the outside strand over the middle strand. Keep the ropes separate and don't let them twist around each other unintentionally. When you reach the end, pinch the bottoms together and tuck them under the loaf slightly. This classic braid creates a lovely, symmetrical loaf perfect for slicing.
6-Strand Braid: An Advanced Challah Braiding Method
A 6-strand braid looks impressive but follows a logical pattern. Lay the six ropes parallel and pinch the tops together. Number the strands 1 through 6 from left to right. The basic movement is always the same: take the right-most strand (strand 6) and move it over the next two strands (5 and 4), and then under the third strand (3). Strand 6 is now in a new position.
Repeat the pattern from the new right-most strand. Take the new right-most strand (which was originally 5), move it over the next two strands, and under the third. Continue this 'over two, under one' motion from the right side, always using the strand that is currently on the far right. Keep the strands organized and relatively flat as you braid. Pinch the ends firmly and tuck them under. This method yields a beautiful, intricate-looking loaf.
Second Rise: Ensuring a Light and Airy Texture
Once braided, carefully transfer the challah loaf (or loaves) to a baking sheet lined with parchment paper. Cover the challah loosely with plastic wrap or a light kitchen towel. This is the second rise, or proofing, where the shaped loaf rises again before baking.
Let the challah rise in a warm spot for about 45-60 minutes, or until it looks visibly puffy and has increased in size by about 50-75%. It won't double in size again like the first rise, but it should look light and airy. Be careful not to over-proof, as this can cause the loaf to collapse in the oven. While the challah is proofing, preheat your oven, giving it ample time to reach the correct temperature.
Baking to Golden Perfection: Oven Temperatures and Timing
Preheat your oven to a temperature suitable for bread baking, typically between 350°F and 375°F (175°C to 190°C). The exact temperature and baking time will depend on your oven and the size/thickness of your challah loaf. A common starting point for an average-sized loaf is 350°F (175°C).
Bake the challah for approximately 30-40 minutes, or until it is deep golden brown all over and sounds hollow when tapped on the bottom. If the top is browning too quickly, you can loosely tent it with aluminum foil. Using an instant-read thermometer is the most accurate way to check for doneness; the internal temperature should reach around 190-200°F (88-93°C). Remove from the oven and transfer to a wire rack to cool completely before slicing.
Tips and Tricks for Baking the Best Challah
Elevate your easy braided challah recipe with these simple tips and tricks that can make a big difference in the final result. From achieving a perfect crust to adding extra flavor, these techniques will help you bake challah like a pro.
Achieving a Shiny Crust: Egg Wash Secrets
The beautiful, glossy finish on challah comes from an egg wash applied just before baking. A standard egg wash is made by whisking one large egg with a tablespoon or two of water or milk. For an extra shiny crust, you can use only the egg yolk mixed with a little water or milk, as the yolk provides more richness and color.
Apply the egg wash gently and evenly over the entire surface of the braided challah using a pastry brush. Be sure to get into the crevices of the braid. Applying two thin coats, allowing the first to dry slightly before applying the second, can enhance the shine. An egg wash not only gives the challah its signature sheen but also helps seeds and other toppings adhere to the surface.
Adding Flavor: Topping Variations for Challah
While plain challah is wonderful on its own, adding toppings can introduce extra flavor and texture. Apply toppings after the egg wash, just before placing the challah in the oven.
Sesame Seeds: A Classic Challah Topping
Sesame seeds are perhaps the most traditional topping for challah, especially in Ashkenazi communities. They provide a subtle nutty flavor and a pleasant crunch. Sprinkle them generously over the egg-washed loaf for that classic look and taste.
Poppy Seeds: Adding a Nutty Flavor
Poppy seeds are another popular choice, offering a slightly different nutty flavor and a finer texture than sesame seeds. Sometimes, bakers use a mix of both sesame and poppy seeds for visual interest and a more complex flavor profile. Other potential toppings include nigella seeds, coarse sea salt, or even a sprinkle of sugar or streusel for a sweeter loaf.
Troubleshooting Common Challah Baking Issues
Even with an easy braided challah recipe, sometimes things don't go exactly as planned. Knowing how to troubleshoot common issues can save your loaf.
Dough Not Rising: Yeast Problems and Solutions
If your challah dough isn't rising, the most likely culprit is inactive yeast. Ensure your water temperature is correct for activating yeast (around 105-115°F or 40-46°C for active dry) – too hot will kill it, too cold won't activate it. Check the expiration date on your yeast package. If you suspect the yeast is dead, you'll need to start over with fresh yeast. Ensure your rising environment is warm and draft-free. Sometimes, dough just needs more time, especially in a cooler kitchen.
Challah Burning: Oven Temperature Adjustments
If your challah is burning on the outside before the inside is cooked, your oven temperature might be too high or uneven. Use an oven thermometer to check the accuracy of your oven's thermostat. If the top is browning too quickly, loosely tent the loaf with aluminum foil for the remainder of the baking time. You might also try positioning the challah on a lower rack in the oven. Ensuring the loaf is baked through to the correct internal temperature (190-200°F or 88-93°C) is key.
Serving and Enjoying Your Homemade Challah
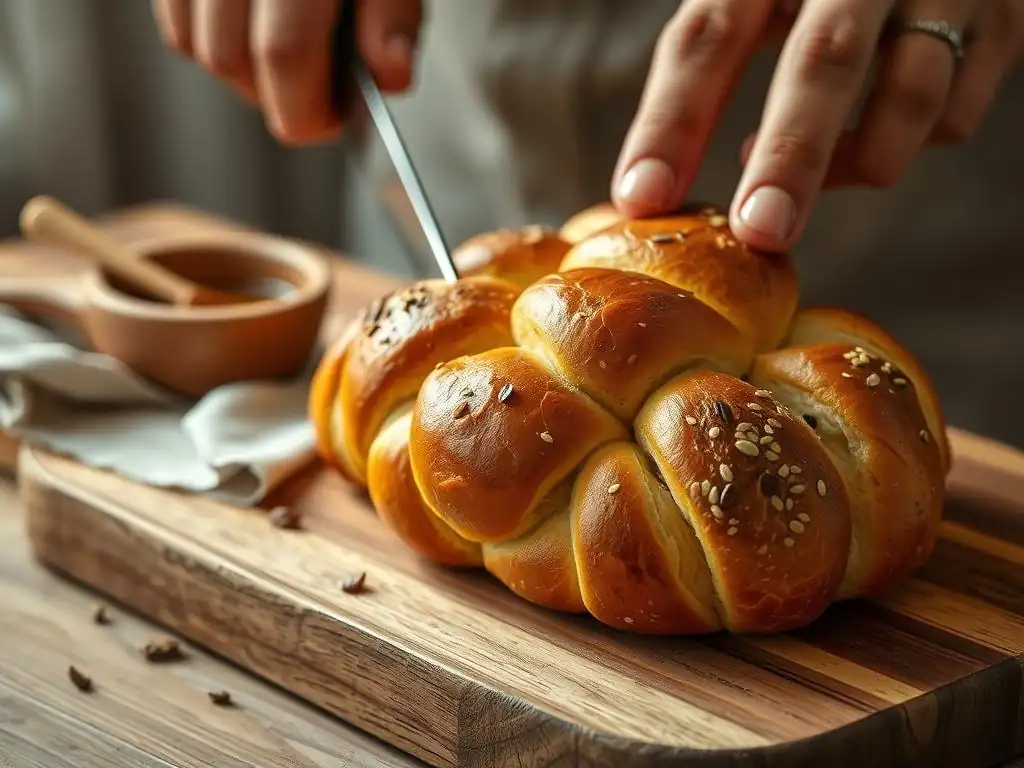
Once your beautiful easy braided challah recipe loaf is baked and cooled, the best part is enjoying it! Challah is incredibly versatile and delicious served in many ways.
Delicious Ways to Serve Challah Bread
Served warm from the oven with butter, challah is pure comfort. It's perfect for dipping in soup or stew, or simply enjoyed on its own. Its rich, slightly sweet flavor also makes it ideal for transforming into other delightful dishes.
Challah French Toast: A Sweet Breakfast Treat
Challah makes arguably the best French toast. Its slightly dense yet soft crumb absorbs the egg mixture beautifully without becoming soggy. Slice the challah about 1-inch thick, dip in a mixture of eggs, milk, sugar, and cinnamon, and cook on a griddle or in a pan until golden brown and cooked through. Serve with maple syrup, fresh berries, and whipped cream for a decadent breakfast or brunch.
Challah Bread Pudding: A Decadent Dessert
Stale challah is the secret to a fantastic bread pudding. The slightly dried bread absorbs the rich custard base (made with eggs, milk or cream, sugar, and vanilla) wonderfully, resulting in a moist and flavorful dessert. Cube the challah, soak it in the custard, and bake until golden and set. Additions like raisins, chocolate chips, or fruit can make it even more special.
Storing Challah: Keeping Your Bread Fresh
Homemade challah is best enjoyed within a day or two of baking. To store it, wrap it tightly in plastic wrap or place it in a bread bag at room temperature. Avoid refrigerating challah, as this can dry it out quickly.
For longer storage, challah freezes exceptionally well. Once completely cooled, wrap the loaf tightly in plastic wrap, then in aluminum foil or place it in a freezer-safe bag. It can be frozen for up to 3-4 months. To thaw, unwrap it and let it sit at room temperature for several hours, or gently rewarm in a low oven (around 300°F or 150°C) until soft.
Variations of Challah Across Jewish Communities
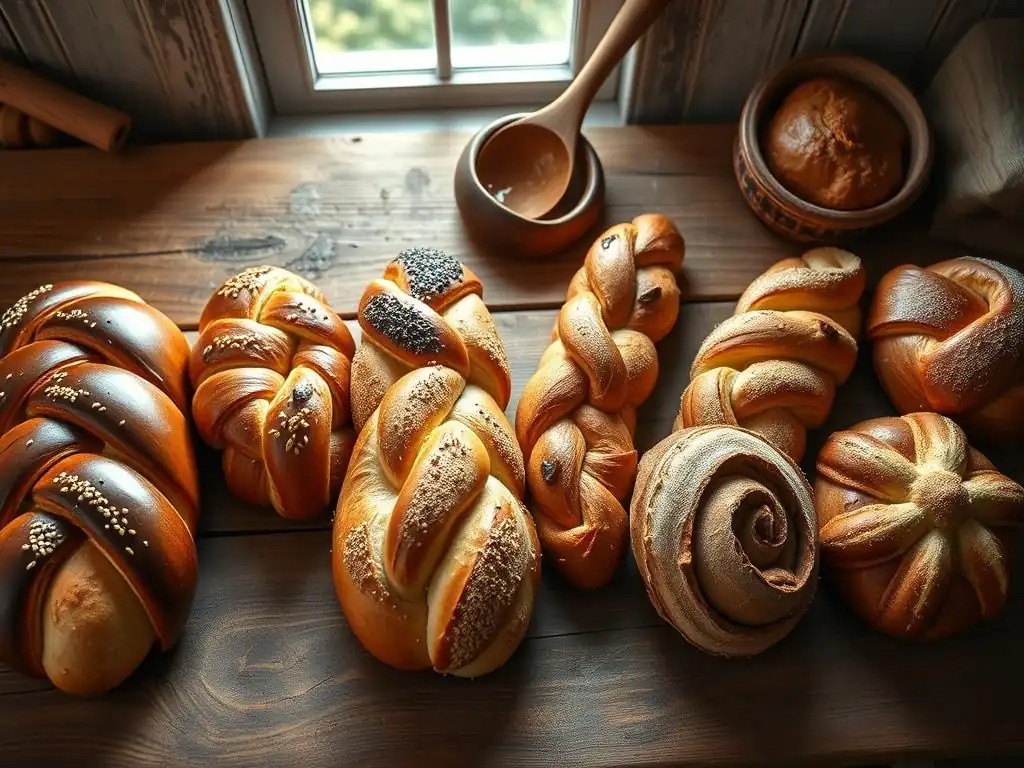
As mentioned earlier, challah is a bread that has evolved with the Jewish people, resulting in fascinating regional variations beyond the common Ashkenazi braided loaf from our easy braided challah recipe guide.
Sephardic Challah: Sweet and enriched with olive oil.
Sephardic challah often differs significantly from its Ashkenazi cousin. These loaves might be less sweet, sometimes incorporating olive oil instead of or in addition to other fats. They are frequently baked as round loaves or rolls, occasionally flavored with spices like anise or mahlab. The texture can be slightly firmer, and the focus is often on a simpler, rustic loaf perfect for dipping and accompanying savory dishes.
Ashkenazi Challah: Typically braided and topped with seeds.
The Ashkenazi challah, the focus of our easy braided challah recipe, is the most widely recognized form globally. Characterized by its rich, eggy dough, slight sweetness, and elaborate braiding, it's the quintessential Sabbath bread in communities originating from Eastern and Central Europe. Toppings like sesame and poppy seeds are common, and the shapes vary from simple three-strand braids to complex six or nine-strand versions, and round loaves for holidays.
Yemenite Challah: Often baked with a soft, almost cake-like texture.
Yemenite Jewish communities have their own unique bread traditions, including a type of challah often called kubaneh or saluf. While not always braided in the conventional sense, these breads are rich, often made with oil, and baked slowly overnight, resulting in an incredibly soft, layered, and almost cake-like texture. They are typically served hot, pulled apart rather than sliced, and are a central part of the Sabbath morning meal.
The Joy of Baking Challah: A Meaningful Tradition
Baking challah is more than just following an easy braided challah recipe; it's an act of creation, a connection to tradition, and a way to bring warmth and comfort into your home. The process, from kneading the dough to watching it rise and braiding the strands, can be incredibly therapeutic and rewarding.
Challah is inherently a bread meant for sharing. Breaking bread together is a universal symbol of community and togetherness, and challah holds this significance deeply within Jewish culture. Sharing your homemade challah, whether with family around the Shabbat table or with friends, is a beautiful way to connect and celebrate. The act of tearing off a piece to share reinforces its role as a communal bread, meant to be enjoyed together.
Further Baking Adventures: Exploring Other Bread Recipes
Mastering an easy braided challah recipe is a fantastic achievement and can be a springboard to explore the vast world of bread baking. From rustic sourdoughs and crusty baguettes to soft brioche and flavorful rye breads, each type of bread offers a unique challenge and reward. Continue experimenting with different flours, techniques, and flavors. The skills you've learned baking challah, like understanding yeast, kneading, and proofing, are fundamental to many other bread recipes. Happy baking!
Frequently Asked Questions
How difficult is the Easy Braided Challah Recipe from BakeWithEase.com for a beginner baker?
The Easy Braided Challah Recipe is designed with beginner bakers in mind. The instructions are step-by-step and the ingredients are easy to find.
What makes BakeWithEase.com a good resource for learning how to bake challah?
BakeWithEase.com provides simple recipes, clear techniques, and helpful tips specifically tailored for bakers of all skill levels, making it ideal for learning the Easy Braided Challah Recipe.
Does the Easy Braided Challah Recipe on BakeWithEase.com require any special equipment?
No, the recipe is designed to be accessible. You'll primarily need standard baking equipment like a mixing bowl, measuring cups/spoons, and a baking sheet.
Can I find variations or alternative versions of the Easy Braided Challah Recipe on BakeWithEase.com?
While the focus is on an Easy Braided Challah Recipe, BakeWithEase.com often includes tips for customization and may offer variations, so check the comments section or related articles.
What if I have trouble finding specific ingredients for the Easy Braided Challah Recipe mentioned on BakeWithEase.com?
BakeWithEase.com prioritizes easy-to-find ingredients. If you're struggling, consider substitutions or check the website's FAQ section for alternative suggestions.
Final Reflection: The Enduring Legacy of Challah
The simple act of braiding challah dough transcends mere baking; it's a tangible connection to centuries of tradition and a powerful symbol of community. From the bustling kitchens of Eastern Europe to the modern home baker's counter, the aroma of baking challah continues to evoke feelings of warmth, comfort, and shared heritage. This enduring appeal speaks volumes about the recipe's inherent simplicity and its capacity to bring people together.
The journey of challah, from its religious significance to its widespread adoption as a comforting staple, is a testament to the power of food to connect us across cultures and generations. It's a recipe that has adapted and evolved, yet maintained its core essence. The act of braiding itself, a repetitive and meditative process, becomes a form of mindful creation, a quiet moment of reflection in a busy world. Food is symbolic of love when words are inadequate.
- Alan D. Wolfelt. This quote perfectly encapsulates the emotional weight and unspoken connection often found within the sharing of a freshly baked challah.
Now, as you've learned the basics of creating this beautiful bread, I invite you to embrace the process. Don't be afraid to experiment with flavors, add your own personal touch, and share the experience with loved ones.
Let the aroma of baking challah fill your home, not just with its delicious scent, but with the warmth of tradition and the joy of creating something meaningful with your own hands. The easy braided challah recipe you've discovered is more than just a set of instructions; it's a key to unlocking a rich cultural heritage and a pathway to creating lasting memories.
Unleash Your Inner Baker: Craft the Perfect Challah!
Thanks for joining us on this delicious journey through the world of Challah! We hope you've gained a deeper appreciation for this beautiful bread and its rich history. Now it's time to put your newfound knowledge to the test!
- Bake your own Challah today! Use the recipe and tips we shared to create a loaf that will impress your family and friends. Don't be afraid to experiment with different flavors and toppings.
- Share your baking experience! Post a picture of your Challah creation on social media and tag us – we'd love to see your masterpieces!
- Explore other traditional bread recipes on our site – perhaps you’ll discover your next favorite bake!
Ready to transform your kitchen into a fragrant bakery? What unique twist will you add to your first Challah?