
UnderProofing Signs: How to Tell and What to Do

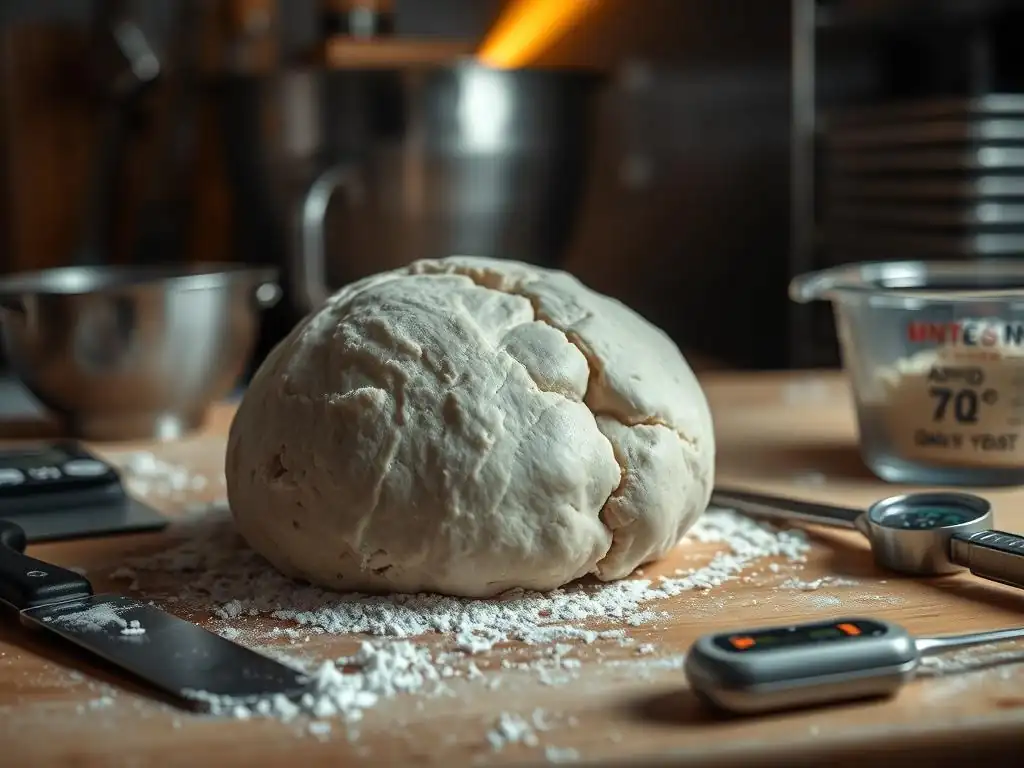
Welcome to BakeWithEase, your compass in the delightful world of baking! Ever wondered if your bread dough is truly ready for the oven? This article dives deep into a crucial aspect of bread baking: how to recognize underproof dough. Understanding the signs can be the difference between a light, airy loaf and a dense, disappointing one. Let's unlock the secrets to perfectly proofed bread and elevate your baking game! Ready to banish underproofed disasters forever? Read on!
- Underproofing Sourdough: How to Tell and What to Do
- The Sourdough Home: Understanding Underproofed Dough for Perfect Loaves
- Identifying Underproofed Dough: Key Signs and Symptoms
- Common Causes of Underproofing in Sourdough Baking
- Troubleshooting Underproofed Dough: Solutions for The Sourdough Home Bakers
- What Happens if You Bake Underproofed Dough?
- Preventing Underproofing: Proactive Steps for Consistent Results
- Conclusion: Mastering the Art of Proofing for Baking Success with The Sourdough Home
- Frequently Asked Questions
- Final Reflection: The Unfolding Story of Underproofed Dough
- Unlock Your Baking Potential: Take the Next Step!
Underproofing Sourdough: How to Tell and What to Do
The Sourdough Home: Understanding Underproofed Dough for Perfect Loaves
Introduction to Sourdough Proofing and Its Importance for The Sourdough Home Bakers
Proofing, also known as fermentation, is the critical stage in sourdough baking where wild yeast and bacteria consume sugars in the dough, producing carbon dioxide gas that causes the dough to rise. This process is fundamental to developing the texture, structure, and complex flavor profile that sourdough is celebrated for. Adequate proofing ensures a light, airy crumb and a well-risen loaf with good oven spring. For home bakers, understanding this stage is key to moving beyond dense, gummy bread and achieving consistently excellent results in their sourdough journey.
The duration and conditions of proofing significantly impact the final bake. Too little proofing, known as underproofing, means the yeast hasn't produced enough gas, resulting in a dense loaf. Overproofing, on the other hand, weakens the gluten structure, leading to a collapsed loaf or poor oven spring. Mastering the art of proofing involves learning to read your dough, paying attention to visual cues, texture, and responsiveness, rather than relying solely on time. This knowledge is essential for anyone looking to bake beautiful, delicious sourdough bread right in their own kitchen.
Identifying Underproofed Dough: Key Signs and Symptoms
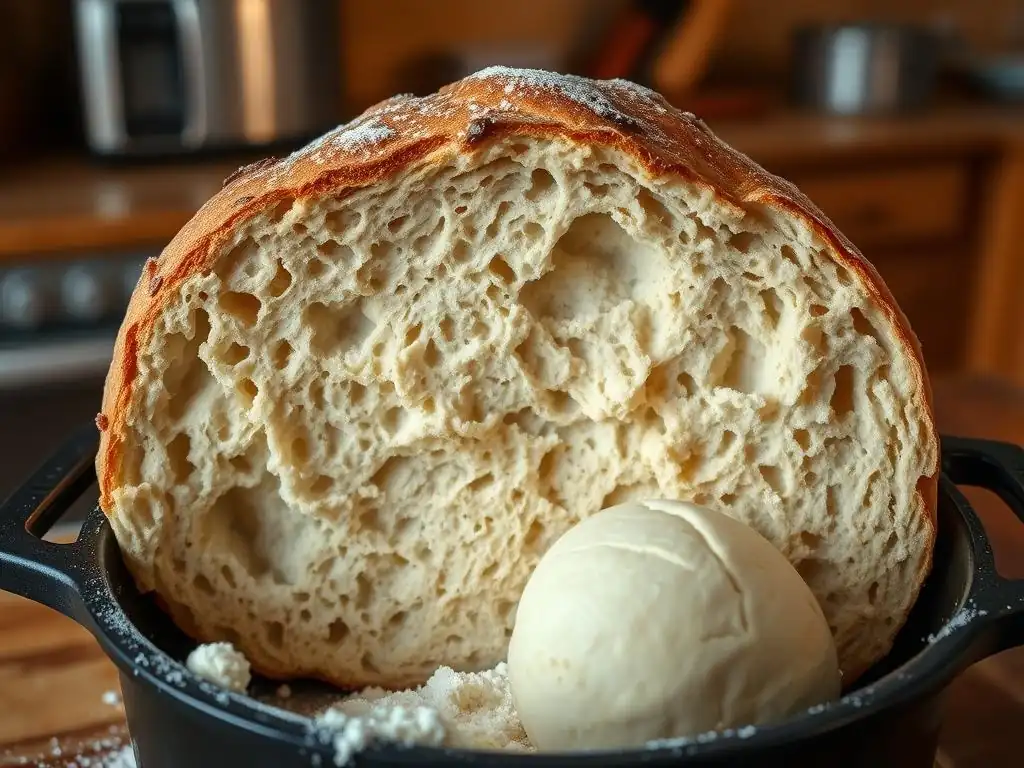
Visual Cues: Recognizing Underproofed Sourdough Appearance
Lack of Volume: A Primary Indicator of Insufficient Proofing
One of the most immediate signs of underproofed dough is a noticeable lack of volume increase during the bulk fermentation or final proofing stage. While the expected rise varies slightly depending on the recipe and conditions, a well-proofed dough typically increases significantly in size. For example, during bulk fermentation at a comfortable room temperature around 75°F (24°C), you might expect the dough to increase by at least 30-50% from its initial volume over several hours. If your dough shows minimal or no discernible growth after the expected timeframe, it's a strong indicator of insufficient fermentation.
When you shape the dough for its final proof, an underproofed mass will often feel heavy and dense. After the final proof (whether in a banneton or loaf pan), it may still appear relatively small compared to what a fully proofed loaf looks like. The surface might look tight and somewhat smooth but without the characteristic bubbly appearance that often signals active fermentation beneath the surface. This lack of expansion throughout the proofing process is a clear signal that the yeast hasn't had enough time or favorable conditions to work effectively.
Dough Density: How Underproofed Dough Feels and Looks
Underproofed dough tends to feel quite dense and compact when handled. Unlike properly proofed dough, which develops a light, airy quality due to trapped gas bubbles, dough that hasn't proofed enough will feel heavy for its size. When you attempt to shape it, it might resist manipulation and feel tough or tight, lacking the pliability of well-developed dough. This density is a direct consequence of insufficient gas production by the yeast; there aren't enough air pockets distributed throughout the gluten structure.
Visually, dense, underproofed dough often maintains a solid, almost putty-like appearance internally if you were to cut into it before baking (though cutting isn't recommended!). The crumb structure, if you could peek inside, would show very few large bubbles and a tightly packed network. This internal density translates directly into the final baked loaf, resulting in a tight, heavy crumb rather than an open, airy one. Learning to recognize underproof dough by its feel and visual density is a crucial skill for any sourdough baker.
Surface Imperfections: Identifying Tears and Roughness on Unbaked Sourdough
The surface of underproofed dough can sometimes exhibit specific imperfections. As you attempt to shape or handle the dough, its tightness and lack of extensibility can cause the surface to tear rather than stretch smoothly. This is particularly noticeable during the final shaping or when transferring the dough. Instead of a smooth, taut skin, you might see small rips or a generally rough texture. This reflects the internal tension within the dough caused by insufficient relaxation and expansion through fermentation.
Furthermore, after being placed in a proofing basket for the final rise, an underproofed loaf might not fill the basket as expected. The surface, instead of smoothing out and becoming slightly bubbly or showing signs of tension from filling the space, might retain a somewhat wrinkled or uneven appearance. These surface cues, combined with the lack of volume and feel, help you tell if your dough is underproofed before it even hits the oven. Recognizing these small details is part of how to recognize underproof dough effectively.
Texture and Feel: Assessing the Dough's Consistency
Stickiness and Tightness: Characteristics of Underproofed Dough
Underproofed dough often presents a challenging combination of stickiness and tightness. While some stickiness is normal, especially with high-hydration doughs, underproofed dough can be excessively sticky, clinging stubbornly to your hands and surfaces. This stickiness isn't due to proper hydration and gas development; it's more like a raw, unworked feel. Simultaneously, the dough feels remarkably tight and resistant when you try to stretch or shape it. It lacks the relaxed, extensible quality of dough that has undergone sufficient fermentation.
This dichotomy of sticky yet tight is a key indicator of underproofing. The yeast hasn't produced enough gas to create internal pressure that helps the dough release from surfaces, hence the stickiness. At the same time, the gluten network hasn't been sufficiently relaxed and expanded by the fermentation process, leading to the feeling of tightness and resistance. Learning to identify these signs of underproof dough through touch is as important as visual checks.
Poor Elasticity: Why Underproofed Dough Doesn't Stretch Well
Properly proofed dough develops excellent elasticity and extensibility. It can be gently stretched and shaped without tearing easily, thanks to the gluten network being both strong and relaxed by the fermentation process. Underproofed dough, however, exhibits poor elasticity and extensibility. When you try to stretch it, it resists and snaps back quickly, or it tears rather than stretching smoothly. This is because the fermentation hasn't progressed enough to sufficiently relax the gluten strands and incorporate enough gas bubbles to aid in stretching.
Imagine trying to stretch a cold rubber band versus a warm, pliable one. Underproofed dough behaves more like the cold rubber band – tight and resistant. This poor stretchability makes shaping difficult and contributes to the dense structure of the final loaf. It's another critical sign to help you tell if your dough is underproofed during handling.
The Poke Test: A Simple Method for Checking Proofing Levels
How to Perform the Poke Test Accurately
The poke test is a classic method used by bakers to gauge the readiness of dough for baking, especially during the final proof. To perform it, lightly flour your finger to prevent sticking. Then, gently but firmly press your finger about half an inch (1-2 cm) into the surface of the dough. Carefully observe how quickly and completely the indentation springs back. The behavior of the indentation provides clues about the dough's proofing stage. It's a simple yet effective way to check for signs of underproof dough or overproof dough.
Ensure you use a consistent depth and pressure each time you perform the test. It's also best to do this test in a less conspicuous spot on the dough, or somewhere that won't affect the final crust appearance significantly. The key is to watch the rate at which the indentation recovers.
Interpreting the Results: What the Poke Test Reveals About Your Dough
The poke test reveals the dough's internal structure and gas development. If you poke the dough and the indentation immediately and completely springs back, leaving no mark, this is a strong indicator of underproofing. The dough is still too tight and elastic, meaning fermentation hasn't produced enough gas to fill the space created by your finger. There's significant resistance and rebound.
Conversely, if you poke the dough and the indentation remains fully or mostly indented without springing back at all, the dough is likely overproofed – the gluten structure has weakened and can no longer hold its shape. A properly proofed dough will show an indentation that springs back slowly and only partially, leaving a small but persistent dimple. This "slow rebound" indicates the dough is adequately gassy but still has enough structure to hold its shape in the oven. Observing a rapid, full rebound is a key way to tell if your dough is underproofed.
Common Causes of Underproofing in Sourdough Baking
Inadequate Starter Activity: Factors Affecting Starter Performance
Weak or Immature Starter: The Importance of a Vigorous Starter
The health and activity of your sourdough starter are paramount to successful proofing. A weak or immature starter simply won't have the necessary population of active yeast and bacteria to ferment the dough efficiently. If your starter doesn't reliably double or triple in volume within 4-8 hours after feeding (depending on ambient temperature and hydration), it may not be robust enough to properly leaven a loaf. Using a starter that hasn't reached its peak activity, or one that has been neglected, is a primary cause of underproofed dough.
A vigorous starter is one that consistently shows significant growth and has a bubbly, airy texture throughout. It should smell pleasantly tangy, not strongly alcoholic or like acetone. Using a starter when it is at or just past its peak activity ensures you're introducing the maximum number of active microorganisms into your dough, providing the necessary engine for fermentation. If you suspect your starter is weak, consistent feeding and monitoring its activity are essential steps before attempting to bake.
Temperature of Starter: Optimizing Temperature for Starter Activity
Temperature plays a crucial role in the activity level of your sourdough starter. Like the dough itself, the microorganisms in the starter thrive within certain temperature ranges. Keeping your starter in a consistently warm environment, ideally between 75-80°F (24-27°C), will encourage vigorous activity and faster maturation after feeding. Temperatures significantly below this range, say consistently below 68°F (20°C), will slow down the metabolic processes of the yeast and bacteria, resulting in a sluggish starter.
Using a sluggish starter, even if it eventually shows some rise, means you're adding fewer active organisms to your dough from the start. This directly impacts the speed and effectiveness of bulk fermentation and final proofing, often leading to underproofed dough. Ensuring your starter is active and bubbly, ideally having doubled or more within 4-6 hours before you use it, is a critical step in preventing underproofing.
Insufficient Bulk Fermentation Time: Allowing Enough Time for Dough to Rise
Environmental Factors: Temperature and Humidity's Impact on Bulk Fermentation
Bulk fermentation is the first rise of the dough after mixing and initial shaping/folding. The duration required for this stage is highly dependent on environmental conditions, particularly temperature and to some extent, humidity. Yeast activity is significantly influenced by temperature; warmer temperatures accelerate fermentation, while cooler temperatures slow it down. For instance, a dough that might take 4 hours to bulk ferment at 80°F (27°C) could take 8-12 hours or even longer at 70°F (21°C). Baking guides often provide time ranges, but these are just estimates; the dough's activity is the real indicator.
Humidity also plays a role by affecting the dough's surface, which can impact gas retention, though temperature is the more dominant factor for fermentation rate. Failing to adjust the bulk fermentation time based on the actual temperature of your kitchen (or proofing environment) is a very common reason for underproofed dough. If your kitchen is cooler than the temperature assumed in a recipe, you must allow significantly more time for the dough to reach the correct proofing stage.
Recipe Specifications: Following Bulk Fermentation Times and Adjusting as Needed
While recipes provide valuable guidance on bulk fermentation times, they are typically based on specific environmental conditions (often around 75-80°F or 24-27°C) and starter activity levels. Blindly following a time specification without observing the dough's actual development is a frequent cause of underproofing. For example, a recipe might say "bulk ferment for 4 hours," but if your kitchen is cool and your starter is not at peak strength, 4 hours might only result in a minimal rise, leaving your dough significantly underproofed.
It is crucial to use the recipe's time estimate as a starting point but prioritize watching for the visual and tactile cues that indicate sufficient fermentation, such as a significant increase in volume (often 30-50%), a slightly domed surface, and a dough that feels aerated and less dense than when you started. Learning how to recognize underproof dough means trusting your observation skills over the clock, especially when environmental factors differ from the recipe's assumptions.
Incorrect Dough Handling: Minimizing Disruptions During Bulk Fermentation
Over-Kneading: How Over-Kneading Can Affect Fermentation (Less Common in Sourdough)
While over-kneading is more commonly associated with doughs using commercial yeast and intensive mixing methods, it can theoretically impact sourdough fermentation, though it's less often the primary cause of underproofing compared to starter activity or temperature. Excessive mechanical development of gluten without allowing sufficient time for the biological activity (fermentation) to catch up can result in a dough that is initially very tight and difficult for the yeast to expand. However, most sourdough methods involve gentler folding over time, which is less likely to lead to this issue.
In the context of underproofing sourdough, it's less about damaging the gluten through over-kneading and more about ensuring the gluten structure is developed enough through appropriate mixing and folding to hold the gas produced during fermentation. A dough with insufficient gluten development can also appear underproofed because it can't hold the gas, but this is distinct from fermentation simply not happening yet.
Degassing the Dough: Avoiding Excessive Handling
During bulk fermentation, the dough fills with carbon dioxide gas bubbles. These bubbles are essential for creating the open crumb structure in the final loaf. Excessive handling or degassing of the dough during bulk fermentation can expel these precious gases, effectively setting back the proofing process. While gentle folds are necessary to build structure and equalize temperature, rough handling or punching down the dough multiple times will force out the accumulated gas.
If you repeatedly handle the dough roughly during bulk fermentation, you are essentially reversing some of the progress made by the yeast. This means the dough will require more time to build up sufficient gas again, potentially leading to underproofing if you stick to a fixed timeframe. Being mindful of gentle handling during folds and minimizing unnecessary manipulation helps preserve the gas and ensures the dough progresses properly through fermentation.
Troubleshooting Underproofed Dough: Solutions for The Sourdough Home Bakers
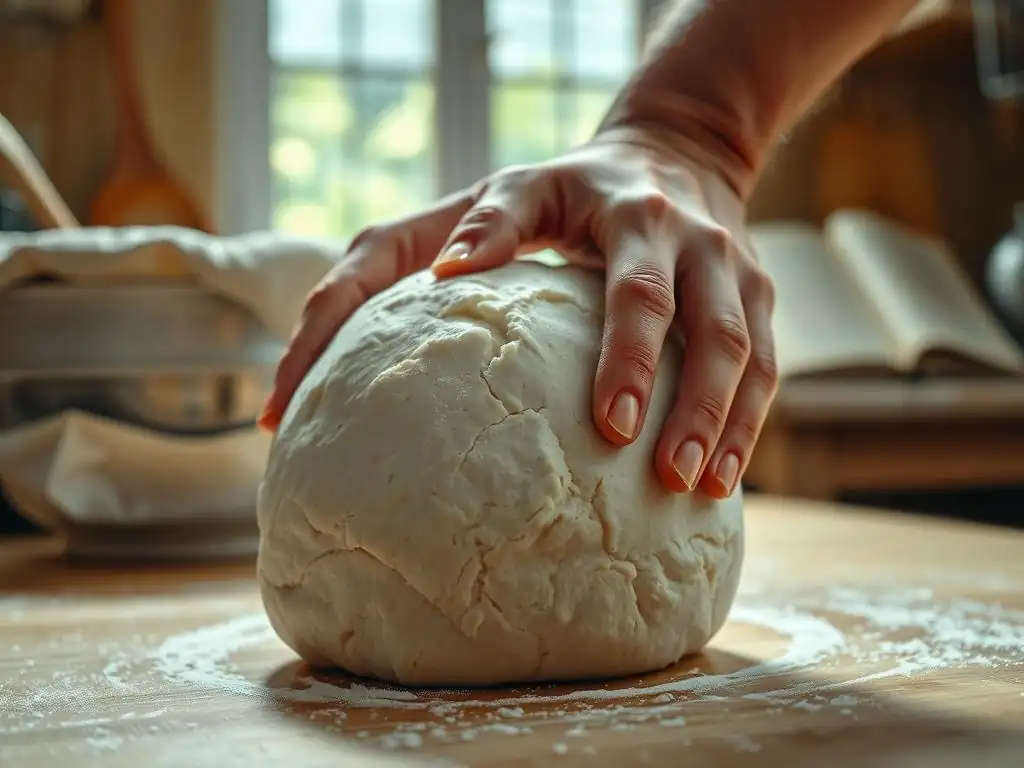
Extending Bulk Fermentation Time: Allowing More Time for Dough to Rise Properly
Creating a Warm Environment: Ideal Bulk Fermentation Conditions
The most straightforward solution for underproofed dough identified during bulk fermentation is to simply allow it more time to ferment. However, just adding time in a cool environment might not be efficient. The best approach is to place the dough in a consistently warm environment to encourage yeast activity. The ideal temperature range for bulk fermentation is often cited as 75-80°F (24-27°C). At these temperatures, fermentation proceeds at a good pace, typically allowing the dough to reach the desired state within 4-8 hours, depending on the recipe and starter strength.
If your kitchen is cooler, find a warmer spot. This could be near a warm appliance, in a proofing box, or a turned-off oven with the light on (monitoring the temperature to ensure it doesn't get too hot). A temperature probe placed next to the dough can help you verify the actual ambient temperature. Extending the time in a warmer environment gives the yeast the conditions it needs to catch up and produce the necessary gas and flavor compounds.
Using a Proofing Box or Warm Oven: Maintaining Consistent Temperature
Maintaining a consistent temperature is key when trying to extend proofing time. Fluctuations can lead to uneven fermentation. Using a dedicated proofing box is ideal, as it provides precise temperature control. If you don't have one, a simple method is to use your oven.
Turn the oven on for just a minute or two to create a slightly warm environment, then turn it off before placing the dough inside. The residual heat, often combined with the oven light left on, can maintain a temperature around 75-85°F (24-29°C). Always check the temperature with an oven thermometer to ensure it's not too hot (above 90°F / 32°C can kill yeast).
Alternatively, you can place the dough in a container inside a larger cooler or insulated bag with a bowl of hot water next to it. The steam and warmth from the water will create a warm, humid environment conducive to fermentation. Whichever method you choose, monitoring the dough's progress visually and with the poke test is essential while extending the fermentation time. You want to reach the point where the dough shows signs of sufficient proofing, not just add arbitrary time.
Adjusting Starter Ratio: Increasing Starter for Faster Fermentation
Calculating the Correct Amount of Starter: Recipe Adjustments
If you consistently find your dough is underproofed using a standard recipe (which often calls for 10-20% starter by weight relative to the flour), you might consider slightly increasing the percentage of active starter in your recipe for future bakes. Using a higher percentage of starter, say 20-30% of the flour weight, introduces more active microorganisms into the dough from the beginning. This will naturally accelerate the fermentation process, potentially allowing you to achieve proper proofing within a shorter timeframe or in cooler conditions.
For example, if a recipe calls for 500g flour and 50g starter (10%), you could try using 500g flour and 100g starter (20%) in your next bake. Remember to adjust the amount of water and flour in your recipe slightly to account for the extra starter weight, maintaining the overall hydration. For instance, if your starter is 100% hydration (equal parts flour and water), adding 50g more starter means you're adding 25g extra flour and 25g extra water to the recipe's total. This adjustment helps ensure the overall dough consistency remains similar.
Incorporating Warm Water: Speeding up Fermentation
Another way to give your fermentation a boost is to use slightly warmer water when mixing your dough. The temperature of the water directly impacts the initial temperature of the dough, and a warmer dough ferments faster. While cold water (often used for autolyse or retarding) slows things down, using water around 80-85°F (27-29°C) can help kickstart fermentation quickly, especially in a cooler kitchen.
Be cautious not to use water that is too hot, as temperatures above 100°F (38°C) can stress or even kill your starter's microorganisms. Aim for a final dough temperature (after mixing) in the ideal range of 75-80°F (24-27°C). You can measure the temperature of your water and flour and use a dough temperature calculator online to estimate the final dough temperature. Starting with slightly warmer water is a simple adjustment that can help prevent your dough from being underproofed.
What Happens if You Bake Underproofed Dough?
The Consequences of Baking Before Full Proofing
Baking dough before it has fully proofed results in a loaf that hasn't developed its full potential in terms of texture, flavor, and appearance. When underproofed dough hits the hot oven, the rapid heat causes a burst of activity in the remaining fermentable sugars and yeast, leading to what's called "oven spring." However, because the dough didn't have enough gas built up initially and the gluten structure wasn't fully relaxed, this oven spring is often uneven and forceful, sometimes causing large, irregular tunnels or blowouts in the crust rather than a uniform rise.
The internal structure of an underproofed loaf will be fundamentally different from a properly proofed one. The limited fermentation means less gas was produced, and the gluten network wasn't adequately expanded. This leads to a range of undesirable outcomes that are easily recognizable signs of underproof dough in the final product.
Dense and Gummy Texture: The Result of Underproofed Baking
The most common and disappointing result of baking underproofed dough is a dense, heavy crumb. Instead of a light, airy structure with a network of bubbles, the interior of the loaf will be tightly packed. The texture often feels heavy or even gummy when chewed. This is because there wasn't enough gas produced during fermentation to properly inflate the dough and create an open structure. The starch hasn't been sufficiently broken down, and the moisture distribution is uneven.
A gummy texture is particularly characteristic of underproofed sourdough. It can feel slightly wet or sticky in the mouth, even if the loaf is baked through. This undesirable texture is a direct consequence of insufficient fermentation time and temperature, leaving the dough underdeveloped internally. Identifying this dense, gummy crumb is a clear way to tell if your dough was underproofed during its final stages.
Poor Flavor Development: How Proofing Affects Taste
Proofing isn't just about rise; it's also crucial for flavor development in sourdough. During the long fermentation process, the wild yeast and lactic acid bacteria produce a complex array of organic acids, alcohols, and other compounds that contribute to the characteristic tangy flavor and aroma of sourdough bread. Underproofed dough hasn't had enough time for these microorganisms to perform their metabolic magic.
Baking underproofed dough means you are cutting short the flavor development process. The resulting loaf will have a much milder, less complex flavor profile. It might taste more like standard bread with a hint of tang, rather than the deep, nuanced sourness and aroma of a well-fermented sourdough. The crust might also be paler and less flavorful. Recognizing this lack of characteristic sourdough flavor is another sign of underproof dough.
Reduced Oven Spring: Lack of Rise During Baking
While underproofed dough can sometimes exhibit some oven spring due to the rapid expansion of gas and steam in the hot oven, the total rise is often significantly reduced compared to a properly proofed loaf. Because the dough didn't build up sufficient internal gas pressure during proofing, and the gluten structure might still be too tight, it lacks the potential for dramatic expansion in the oven.
Instead of seeing a substantial increase in volume and the dough pushing upwards to form a beautiful, domed loaf with a well-opened score, you might see a flatter loaf with limited upward movement. The score might not open cleanly, or the loaf might blow out at weaker points. While other factors can affect oven spring, insufficient proofing is a major contributor to a loaf that spreads outwards rather than upwards. This limited rise is a key visual cue after baking that indicates you were dealing with underproofed dough.
Preventing Underproofing: Proactive Steps for Consistent Results
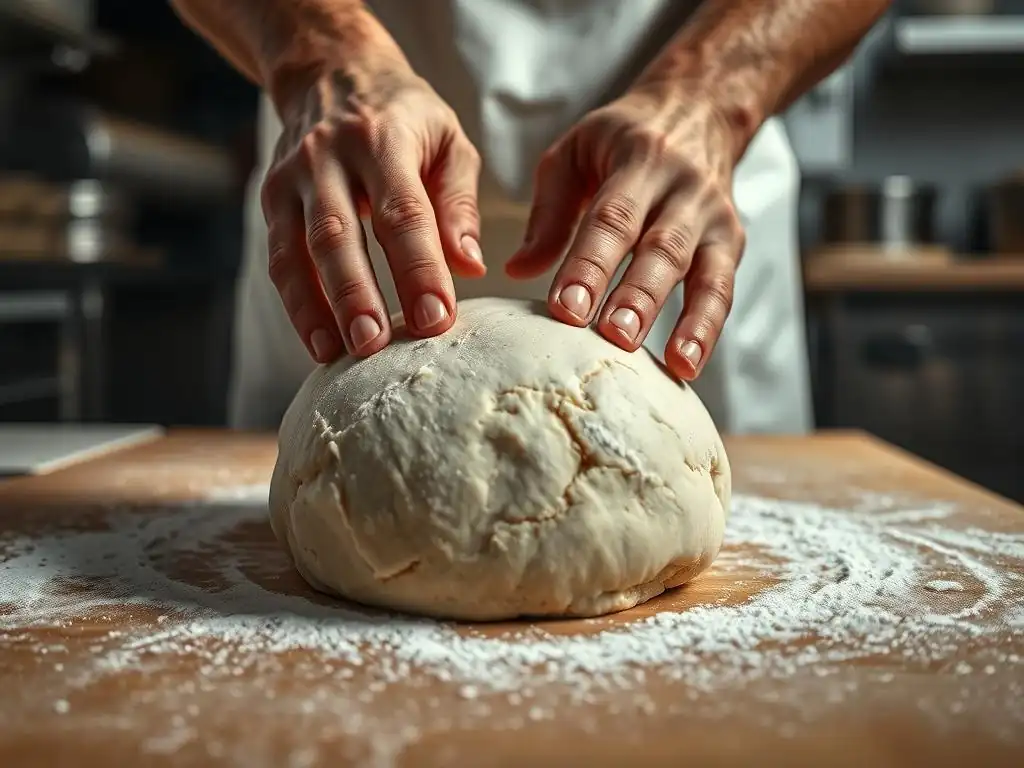
Accurate Measuring: Ensuring Precise Ingredient Ratios
Precision in measuring ingredients is a fundamental step in preventing underproofing and ensuring consistent results. Sourdough baking relies on specific ratios of flour, water, starter, and salt. While a digital scale is highly recommended for accuracy, especially for flour, water, and starter (measuring in grams is most precise), ensuring you use the correct volume or weight measurements specified in a recipe is crucial.
Incorrect ratios can impact dough consistency and fermentation. For example, too little water can result in a stiff dough that is harder for the yeast to expand. Most importantly, using too little starter (relative to the flour) or using a starter that isn't at the correct hydration level (if the recipe assumes a different hydration) can slow down fermentation significantly. Consistent, accurate measurement lays the groundwork for predictable proofing.
Proper Autolyse: Developing Gluten Strength
Autolyse is a simple technique where flour and water are mixed together and allowed to rest for 30 minutes to an hour (or sometimes longer) before adding the starter and salt. This resting period allows the flour to fully hydrate and enzymes naturally present in the flour to begin breaking down proteins, which helps develop gluten. While not strictly necessary for fermentation itself, a well-developed gluten network is essential for trapping the gas produced by the yeast.
Dough that hasn't had sufficient gluten development might appear underproofed in the final bake because it can't hold onto the gas bubbles, resulting in a dense crumb. Incorporating an autolyse phase helps ensure your dough has the structural integrity needed to support the fermentation process and achieve a good rise. It's a proactive step that contributes to better dough handling and ultimately, a well-proofed loaf.
Monitoring Dough Temperature: Maintaining Optimal Temperatures Throughout the Process
Temperature is arguably the most critical factor influencing the rate of sourdough fermentation. Consistently monitoring and managing your dough's temperature throughout the process – from mixing through bulk fermentation and final proofing – is key to preventing underproofing. Aiming for a target dough temperature after mixing (often 75-80°F / 24-27°C) sets the stage for efficient bulk fermentation.
Using a simple probe thermometer to check the dough's temperature is highly recommended. If your dough is cooler than the target temperature, you know fermentation will proceed slower and you'll need to allow more time. Conversely, if it's warmer, it will go faster. Adjusting bulk fermentation time based on the actual dough temperature, rather than just the clock or ambient room temperature, is a powerful technique to avoid underproofed dough and ensure your loaf is perfectly proofed before baking.
Conclusion: Mastering the Art of Proofing for Baking Success with The Sourdough Home
Understanding the nuances of proofing is a cornerstone of successful sourdough baking. Learning how to recognize underproof dough through visual cues like lack of volume and surface tightness, tactile signs like stickiness and poor elasticity, and the behavior during the poke test empowers you to take corrective action. Identifying signs of underproof dough early in the process allows you to extend fermentation time, adjust the environment, or make notes for future bakes.
While baking underproofed dough can lead to disappointing results – a dense, gummy texture, poor flavor, and limited rise – it's a common part of the learning curve. By being proactive with accurate measurements, ensuring a vigorous starter, managing dough temperature, and allowing sufficient time based on the dough's activity rather than the clock, you can significantly improve your consistency. Embrace the process, learn to read your dough, and you'll be well on your way to baking beautiful, perfectly proofed sourdough loaves every time at The Sourdough Home.
Frequently Asked Questions
How can I tell if my dough is underproofed?
Underproofed dough often appears dense and tight, lacks sufficient volume, and may spring back quickly when poked. It may also show a lack of air pockets.
What are some common signs of underproofing specifically in bread dough?
Look for a loaf that's small and dense after baking, with a gummy texture. It will also likely have a tight, almost unexpanded crumb structure.
Why is underproofing a problem when baking?
Underproofing prevents the dough from developing proper flavor and texture. This results in a final product that is heavy, dense, and potentially tough.
What are some steps I can take to avoid underproofing my dough?
Ensure you are using fresh yeast or a healthy starter. Also, pay attention to the dough's volume increase rather than solely relying on the recipe's suggested proofing time.
If I suspect my dough is underproofed, what can I do to fix it?
Gently reshape the dough and allow it to proof for a longer period. Make sure to place it in a warm and humid environment to encourage further rising.
Final Reflection: The Unfolding Story of Underproofed Dough
The subtle art of bread baking, often romanticized, hinges on a precise understanding of dough development. Ignoring the telltale signs of underproofing can lead to disappointing results, impacting not only the texture and taste of your bread but also your overall baking experience. This seemingly small detail—recognizing underproofed dough—holds the key to unlocking consistently delicious loaves. The ability to identify this crucial stage is not just a technical skill, but a gateway to mastering the craft.
The journey from a simple flour and water mixture to a perfectly risen loaf is a testament to the power of patience and observation. Understanding the nuances of dough behavior, the subtle shifts in texture and elasticity, has profoundly impacted my own baking practice. The best bread is made with love, patience, and a keen eye for detail.
This quote, though simple, encapsulates the essence of what I've learned throughout this exploration of underproofing. It's not just about following a recipe; it's about developing a deep understanding of the process, a connection with the ingredients, and an ability to adapt to the ever-changing conditions of the kitchen.
Now, it's your turn to embark on this journey. Take the knowledge gained here, apply it to your next baking project, and observe closely. Don't be afraid to experiment, to feel the dough, to trust your instincts. Each loaf, whether a triumph or a learning experience, will contribute to your growing expertise. The more you understand the subtle cues of underproofed dough, the more confident and successful you will become in the art of bread baking. Embrace the process, enjoy the journey, and savor the delicious rewards.
Unlock Your Baking Potential: Take the Next Step!
Thanks for taking the time to learn about the subtle signs of underproofing! We hope you now feel more confident in identifying and addressing this common baking challenge. Ready to put your new knowledge to the test?
- Bake a loaf (or two!) today: Apply what you've learned and see the difference proper proofing makes. Experiment with your favorite recipe and note the results!
- Share your baking triumphs (or even your learning curves!) with our community: Connect with fellow bakers in the comments below and share your experience. Let's learn from each other!
- Challenge yourself to improve: Try a new bread recipe this week and focus intently on the proofing process. What adjustments will you make?
What delicious creation will you bake next, armed with your new proofing expertise?