
How to Adapt Any Sourdough Recipe for Rye Flour

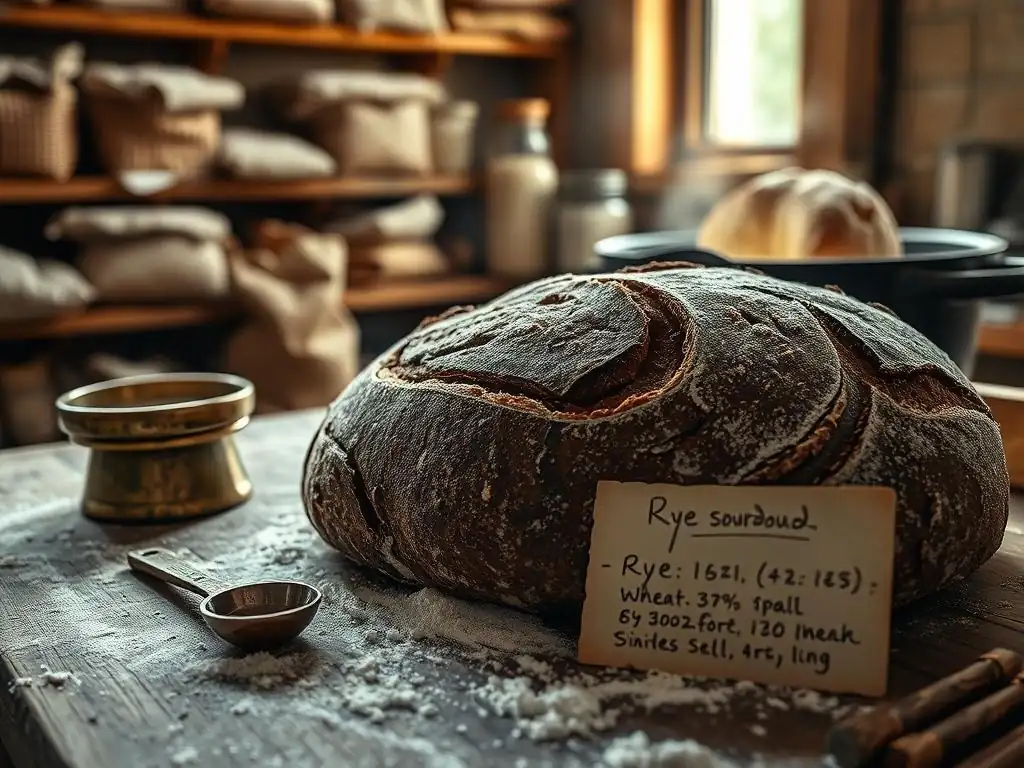
Welcome to BakeWithEase, your companion on the delicious journey of baking! Ever wondered how to infuse the distinctive flavor of rye into your favorite sourdough? You're in the right place. This article dives into the secrets of rye sourdough recipe adaptation, unlocking a world of robust and flavorful bread possibilities. Discover how to seamlessly integrate rye flour into your sourdough loaves and transform your baking repertoire. Ready to elevate your sourdough game? Let's get started!
- How to Adapt Any Sourdough Recipe for Rye Flour: The Sourdough School's Guide
- Understanding Rye Flour in Sourdough Baking
- Key Considerations Before Adapting Your Sourdough Recipe
-
Step-by-Step Guide to Rye Sourdough Recipe Adaptation
- Step 1: Selecting Your Base Sourdough Recipe
- Step 2: Calculating Rye Flour Substitution
- Step 3: Adjusting Hydration Levels for Rye
- Step 4: Mixing and Kneading Rye Sourdough
- Step 5: Bulk Fermentation with Rye Flour
- Step 6: Shaping Your Rye Sourdough Loaf
- Step 7: Proofing Your Rye Sourdough
- Step 8: Baking Your Adapted Rye Sourdough
- Troubleshooting Common Issues When Baking with Rye Sourdough
- Rye Sourdough Recipe Adaptation: Advanced Tips and Tricks
- Enjoying Your Homemade Rye Sourdough Bread
-
Frequently Asked Questions
- How does adding rye flour affect sourdough baking?
- What's the best percentage of rye flour to start with when adapting a sourdough recipe?
- Do I need to adjust the hydration level when using rye flour?
- How does rye flour affect the fermentation time of sourdough?
- Can I use any type of rye flour in my sourdough?
- Final Reflection: Unlocking the Mysteries of Rye Sourdough
- Unleash Your Rye Sourdough Potential!
How to Adapt Any Sourdough Recipe for Rye Flour: The Sourdough School's Guide
Understanding Rye Flour in Sourdough Baking
The Unique Characteristics of Rye Flour
Rye flour, derived from the rye grain (Secale cereale), possesses distinct properties that set it apart from wheat flour, fundamentally altering the baking process. One of its most notable characteristics is its lower gluten-forming protein content compared to wheat.
While rye contains gliadin and glutenin, the proteins that combine to form gluten in wheat, the ratio and structure are different, and crucially, rye contains a significant amount of pentosans. These pentosans are complex carbohydrates that are highly hygroscopic, meaning they absorb a substantial amount of water – often cited as absorbing 8 to 10 times their weight in water, which is significantly more than wheat starch.
This high pentosan content, coupled with the presence of enzymes (like amylase) that remain active even at typical baking temperatures, means that the dough behaves very differently. Instead of forming a strong, elastic gluten network like wheat, the pentosans in rye flour form a viscous gel that contributes to the structure of the loaf.
This gel-like matrix provides some support, but it doesn't trap gas as effectively as a robust gluten network. This inherent difference is key to understanding why rye bread is typically denser than wheat bread and why adapting a standard rye sourdough recipe adaptation requires specific adjustments.
Why Rye Flour Affects Sourdough Bread
The unique composition of rye flour profoundly impacts the outcome of sourdough bread. The limited gluten development means the dough will be less elastic and more sticky than a wheat dough. This stickiness is largely due to the water-absorbing power of the pentosans.
During fermentation, the sourdough starter produces gases, but the weak structural network provided by the rye pentosans struggles to trap these gases, leading to less oven spring and a tighter crumb structure compared to a well-risen wheat loaf. This is a fundamental aspect of baking with rye and a key consideration when undertaking rye sourdough recipe adaptation.
Furthermore, the enzymes present in rye flour can break down starch more readily than in wheat. In sourdough baking, where fermentation times can be long, managing this enzymatic activity is crucial. If not controlled, excessive enzyme activity can lead to a gummy crumb.
Sourdough's acidity naturally helps to inhibit some of this enzymatic action, which is one reason why sourdough is a traditional and effective method for baking with high percentages of rye. The distinct, often tangy and earthy flavor of rye also comes through strongly in the final loaf, contributing to its unique character, making rye sourdough recipe adaptation a worthwhile endeavor for flavor enthusiasts.
Different Types of Rye Flour and Their Impact on Baking
Just like wheat flour, rye flour comes in various types, primarily distinguished by the amount of bran and germ retained during milling. These differences significantly affect hydration needs, fermentation times, and the final texture and flavor of your rye sourdough recipe adaptation.
- Light Rye Flour: This is the most refined type, with most of the bran and germ removed. It has a lighter color and milder flavor than darker rye flours. It absorbs less water than whole or medium rye but still more than white wheat flour. Dough made with light rye is less sticky than that made with darker rye, making it slightly easier to handle for rye sourdough recipe adaptation. It results in a lighter, less dense loaf than whole rye.
- Medium Rye Flour: Contains more of the bran and germ than light rye, resulting in a darker color and stronger flavor. It absorbs more water than light rye and contributes more fiber and nutrients. Dough will be stickier and denser than with light rye. This type is commonly used in many traditional European rye breads.
- Dark Rye Flour: Also known as pumpernickel flour (if coarsely ground) or wholemeal rye flour, this includes almost the entire rye kernel. It's the darkest in color and has the strongest, most robust flavor. Dark rye flour absorbs the most water and results in the densest loaves. Due to the high bran content, the dough is quite sticky and requires careful handling. Adapting recipes with high percentages of dark rye is a more advanced form of rye sourdough recipe adaptation.
Understanding these differences is vital when selecting the right rye flour for your rye sourdough recipe adaptation and predicting how the dough will behave throughout the process.
Key Considerations Before Adapting Your Sourdough Recipe

Determining the Percentage of Rye Flour for Your Sourdough
Deciding how much rye flour to use is the first crucial step in rye sourdough recipe adaptation. The percentage of rye flour relative to the total flour weight will dictate the dough's handling characteristics, hydration needs, and the final loaf's density, texture, and flavor. For beginners, starting with a lower percentage, such as 10-20% of the total flour weight, is highly recommended.
This allows you to get a feel for working with rye dough while still benefiting from the gluten structure provided by the majority wheat flour. A recipe with 15% rye, for instance, will still have good structure but gain some of rye's characteristic flavor and moisture retention.
As you gain experience, you can gradually increase the percentage. Medium rye breads often fall in the 30-60% rye range. Breads with 70-100% rye flour are significantly denser, require different handling techniques (often mixed doughs rather than kneaded), and benefit greatly from the acidity of sourdough to manage enzyme activity and develop flavor. A classic German Pumpernickel, for example, can be 100% dark rye. Consider the desired outcome – a slightly nutty, moist loaf or a dense, robust bread – when choosing your rye percentage for your rye sourdough recipe adaptation.
Hydration Adjustments for Rye Sourdough
Rye flour's high water absorption capacity means you will almost certainly need to increase the hydration (water content) when adding it to a wheat sourdough recipe. However, finding the right balance is key, as rye dough can feel deceptively sticky even when properly hydrated. A common starting point is to add an additional 5-10 grams of water for every 10-20 grams of rye flour you substitute for wheat flour. For example, if you replace 100g of strong white flour with 100g of medium rye flour in a recipe, you might start by adding an extra 50-100g of water.
The exact amount of additional water needed depends heavily on the type of rye flour used (darker flours need more water) and the original recipe's hydration level. It's often best to add water gradually during the mixing process until the dough feels right – it should be moist but still manageable, although it will be stickier than an equivalent wheat dough.
Pay attention to how the dough feels rather than strictly adhering to a fixed percentage increase initially. Proper hydration is critical for a successful rye sourdough recipe adaptation, ensuring the dough isn't too stiff (leading to a dry crumb) or too wet (making it impossible to handle).
Gluten Development in Rye Dough: What to Expect
Unlike wheat dough, where vigorous kneading develops a strong, elastic gluten network capable of trapping fermentation gases and providing significant structure, rye dough behaves quite differently. Due to the lower amount of functional gluten-forming proteins and the interference from pentosans, rye dough will never develop the same kind of elasticity or strength. You won't achieve a windowpane test with high-percentage rye doughs. Attempting to knead rye dough like wheat dough can actually be detrimental, potentially breaking down the limited structure that does form.
Instead of focusing on gluten development through kneading, the structure in rye bread relies more on the gel formed by the pentosans and the stability provided by the sourdough's acidity. For recipes with a low percentage of rye (e.g., under 30%), you can still perform some gentle kneading or stretch-and-folds, but don't expect the dough to become smooth and elastic like a pure wheat dough. For higher percentages, a simple mixing until combined is often sufficient. Understanding this difference in gluten development is vital for managing expectations and properly handling the dough during your rye sourdough recipe adaptation.
Step-by-Step Guide to Rye Sourdough Recipe Adaptation
Step 1: Selecting Your Base Sourdough Recipe
Choose a reliable, well-tested standard sourdough recipe that you are familiar with. Ideally, start with a recipe that uses strong bread flour, as this will provide a good structural base when you introduce rye flour. A recipe you've successfully baked multiple times will give you a solid benchmark for comparison as you embark on your rye sourdough recipe adaptation. Note down the original recipe's total flour weight, the type of flour used, the hydration percentage, and the fermentation and proofing times.
For instance, you might start with a recipe calling for 500g strong white bread flour, 350g water (70% hydration), 100g active sourdough starter, and 10g salt. This familiar starting point makes it easier to observe the specific changes brought about by the addition of rye and the subsequent adjustments you make. Having a consistent base recipe is key to learning how different percentages and types of rye flour affect the process and outcome of your rye sourdough recipe adaptation.
Step 2: Calculating Rye Flour Substitution
Decide on the percentage of rye flour you want to use based on the total flour weight of your base recipe (refer back to "Determining the Percentage of Rye Flour"). Let's use the example base recipe with 500g total flour. If you decide to aim for a 20% rye loaf, you will substitute 20% of the 50 flour weight with rye flour.
Calculation:
- Total Flour: 500g
- Target Rye Percentage: 20%
- Amount of Rye Flour: 500g \* 0.20 = 100g
- Amount of Original Flour (e.g., strong white bread flour): 500g - 100g = 400g
So, your adapted flour mix will be 400g strong white bread flour and 100g rye flour. This simple calculation is the foundation for your rye sourdough recipe adaptation.
Step 3: Adjusting Hydration Levels for Rye
Now that you've determined the flour mix, you need to adjust the water content to accommodate the rye flour's higher absorption. As a starting point, consider increasing the hydration by 5-10% of the amount of rye flour added. Let's say you added 100g of medium rye flour and the original hydration was 70% (350g water for 500g flour).
Original Water: 350g
Amount of Rye Flour Added: 100g
Starting hydration adjustment for rye: 100g \* 0.08 (using an 8% increase as a midpoint) = 8g
New Total Water (initial estimate): 350g + 8g = 358g
However, a more common approach is to increase the overall hydration percentage of the recipe. If your original recipe was 70% hydration, you might increase it to 72-75% for a 20% rye loaf, depending on the rye type. Using the 500g total flour (400g wheat + 100g rye) and aiming for, say, 73% hydration:
New Total Water: 500g \* 0.73 = 365g
You would then use 365g water, 400g strong white flour, 100g rye flour, 100g starter, and 10g salt for your adapted recipe. Remember to add the water gradually during mixing, as the dough's feel is the best indicator of proper hydration in rye sourdough recipe adaptation.
Step 4: Mixing and Kneading Rye Sourdough
Mixing rye sourdough differs from mixing pure wheat sourdough. Combine your adapted flour mix (e.g., 400g wheat, 100g rye), water (e.g., 365g), and active sourdough starter in a bowl. Mix until just combined and no dry flour remains. This initial step is often called the autolyse, though with rye, a shorter period (20-30 minutes) or skipping it entirely is common, especially with higher rye percentages.
After the rest period (if used), add the salt and mix it in thoroughly. For low-percentage rye doughs (under 30%), you can perform a few sets of stretch-and-folds over the first hour or two of bulk fermentation. However, do not expect the dough to become smooth and elastic like a wheat dough.
For higher rye percentages, simply mixing well with a spoon or dough whisk might be sufficient, followed by minimal handling. The dough will be sticky; resist the urge to add too much extra flour. Focus on bringing the ingredients together evenly, which is crucial for successful rye sourdough recipe adaptation.
Step 5: Bulk Fermentation with Rye Flour
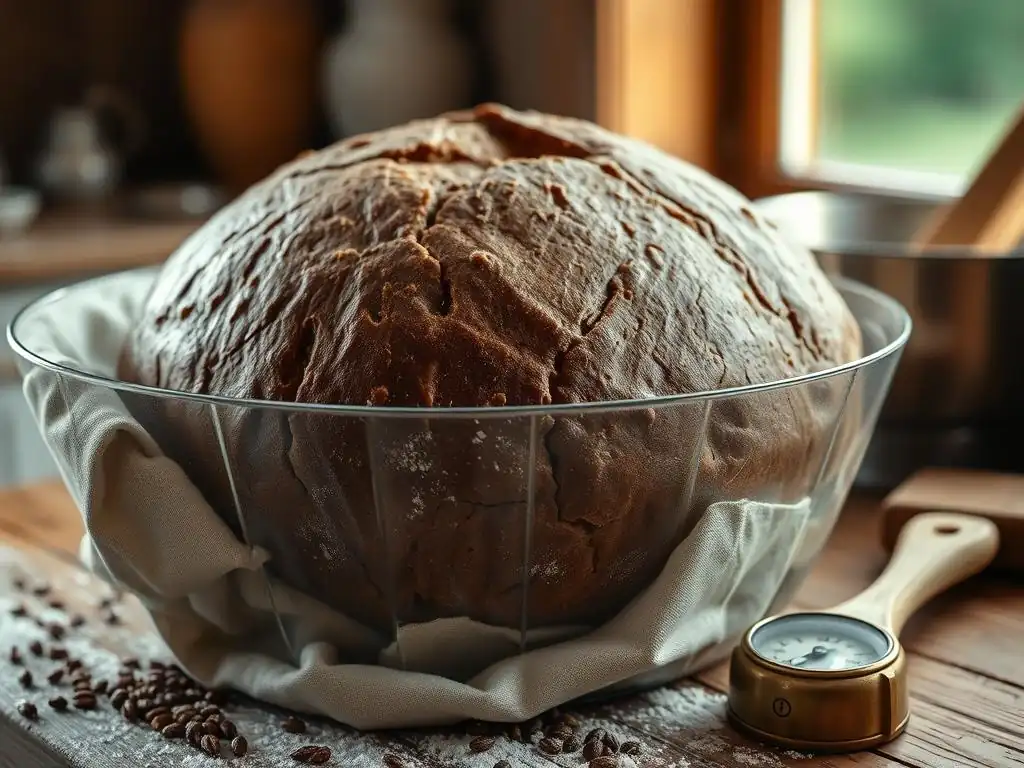
Bulk fermentation is the period after mixing where the dough develops flavor and gases before shaping. Rye doughs tend to ferment faster than pure wheat doughs, partly due to the enzymatic activity and potentially the microbial composition favored by rye's nutrients. Monitor your rye sourdough dough carefully, as the signs of readiness are different. It may not double in size or show as many large bubbles as a wheat dough.
Instead, look for a noticeable increase in volume (perhaps 30-50%), some surface bubbling, and a lighter, slightly airy feel when you gently jiggle the container. The total bulk fermentation time will likely be shorter than your original wheat recipe; perhaps 3-4 hours at room temperature (around 22-24°C / 72-75°F) for a 20% rye loaf, compared to 4-6 hours for a pure wheat loaf. Adjust based on your starter's activity and kitchen temperature. Learning to read the dough's subtle cues is key to successful rye sourdough recipe adaptation.
Step 6: Shaping Your Rye Sourdough Loaf
Shaping rye sourdough requires a different approach due to its lack of strong gluten development. The dough will be less amenable to stretching and creating surface tension compared to wheat dough. For loaves with lower rye percentages (under 30-40%), you can often use standard shaping techniques like a boule or batard, but be gentle. Avoid excessive handling or trying to create a very tight surface, as this can tear the weak structure.
For doughs with higher rye percentages, shaping is often minimal. These doughs are sometimes simply scraped from the bulk fermentation container directly into a proofing basket or loaf pan. If shaping is attempted, it's usually a gentle folding action to create some semblance of tension before placing it seam-side up in a floured banneton. Using a generous amount of rice flour or a rye-floured linen liner in your banneton is highly recommended to prevent sticking, a common challenge in rye sourdough recipe adaptation.
Step 7: Proofing Your Rye Sourdough
Proofing, the final rise before baking, is another stage where rye sourdough diverges from wheat. Due to the weaker structure, rye loaves don't hold their shape as well and are prone to spreading if over-proofed. They also ferment relatively quickly. Cold proofing in the refrigerator is often beneficial for rye sourdough, as it slows down fermentation, develops flavor, and makes the sticky dough much easier to handle and score before baking.
A cold proof of 8-12 hours is a good starting point for many adapted recipes. If proofing at room temperature, the time will be significantly shorter than a wheat loaf, perhaps only 1-2 hours, depending on the rye percentage and temperature. The dough will increase in volume, but again, don't expect it to double. It should feel light and slightly airy but still hold its shape reasonably well when gently poked. Over-proofing is a common pitfall in rye sourdough recipe adaptation and can lead to a flat, dense loaf.
Step 8: Baking Your Adapted Rye Sourdough
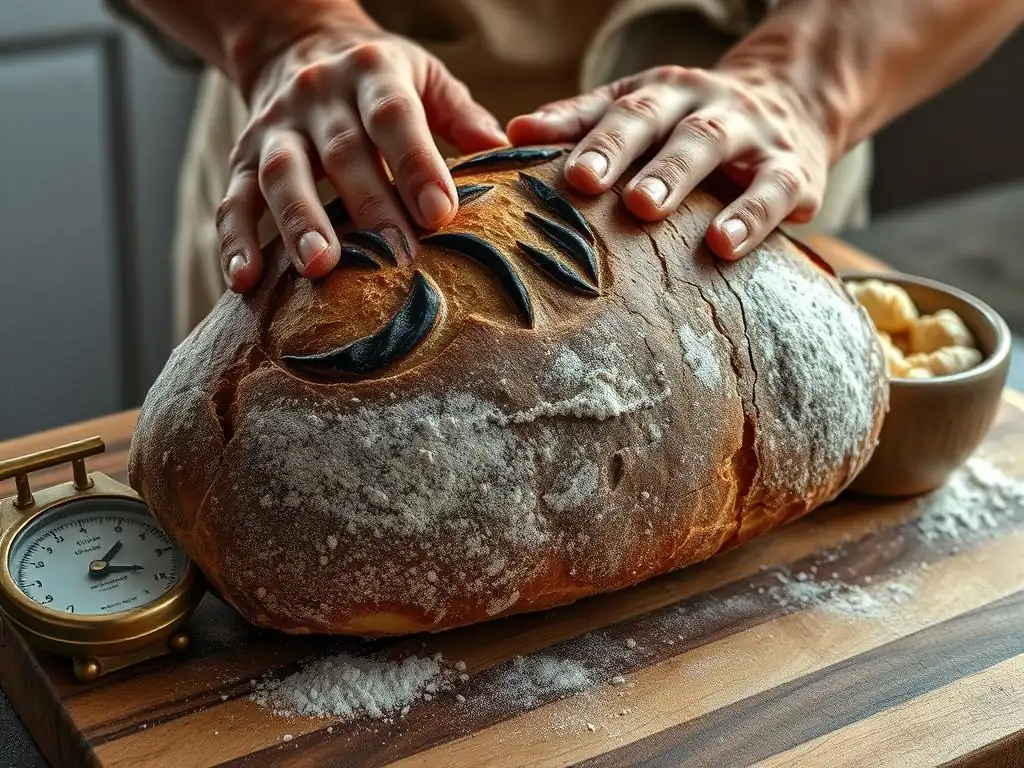
Baking rye sourdough often benefits from baking in a Dutch oven or on a baking stone with steam, similar to wheat sourdough. The initial burst of steam helps the crust stay pliable, allowing for maximum oven spring (though this will be less dramatic than with wheat). Score the loaf just before baking; keep scoring patterns simple, as intricate cuts may collapse due to the weaker structure.
A common baking temperature is around 230-250°C (450-480°F) for the first 20-25 minutes with steam (lid on a Dutch oven), followed by lowering the temperature to 200-220°C (400-430°F) and baking for another 20-30 minutes until the crust is deeply colored and the internal temperature reaches 96-99°C (205-210°F). Rye loaves often benefit from slightly longer baking times at a lower temperature to ensure they are cooked through and the crumb isn't gummy.
Allowing the loaf to cool completely for several hours (4-8 hours, or even longer for high rye loaves) before slicing is absolutely essential to allow the crumb structure to set and moisture to redistribute, preventing a gummy texture – a critical step in successful rye sourdough recipe adaptation.
Troubleshooting Common Issues When Baking with Rye Sourdough
Dense or Gummy Rye Sourdough: Causes and Solutions
A dense or gummy crumb is one of the most frequent issues encountered during rye sourdough recipe adaptation. This can stem from several factors. One primary cause is underbaking or not allowing the loaf to cool completely before slicing.
Rye flour contains starches and pentosans that require sufficient time and heat to gelatinize and set properly. Slicing a warm rye loaf traps steam and disrupts this setting process, resulting in a sticky, gummy texture. Solution: Ensure the internal temperature reaches at least 96°C (205°F) and always let rye bread cool for a minimum of 4-6 hours, preferably longer for high-percentage rye loaves, before cutting.
Another cause can be insufficient fermentation or proofing. While rye dough doesn't rise as much as wheat, it still needs adequate time for the sourdough culture to develop gases and acidity. The acidity helps manage the enzymatic breakdown of starch. Solution: Ensure your starter is active, fermentation and proofing times are sufficient (though not over), and the dough shows signs of activity (some volume increase, surface bubbles). Alternatively, over-hydration can also lead to a gummy crumb. Solution: Carefully manage your hydration levels, starting with a conservative increase and adjusting based on dough feel.
Preventing a Sticky Rye Dough
Rye dough is inherently stickier than wheat dough due to the high water-absorbing pentosans. While you can't eliminate the stickiness entirely, you can manage it during rye sourdough recipe adaptation. Solution: Use wet hands or a wet dough scraper when handling the dough. Lightly oiling your work surface instead of flouring can also help prevent sticking. When shaping or transferring the dough, work quickly and confidently.
Using ample flour (especially rice flour, which doesn't absorb moisture like wheat) in your banneton or proofing basket is crucial. Lining the basket with a floured linen couche is also very effective. Avoid adding excessive flour to the dough itself during mixing or handling, as this will throw off the hydration balance and can result in a dry crumb. Embrace the stickiness to some degree; it's a characteristic of working with rye.
Addressing Weak Gluten Structure in Rye Bread
The weak structure in rye dough is not a problem to be solved by trying to force gluten development, but rather a characteristic to be managed. Since you can't build a strong gluten network like in wheat, the structure relies more on the pentosan gel and the support from the proofing basket and loaf pan. Solution: Handle the dough gently to preserve the limited structure it has. Avoid aggressive kneading or stretching.
For higher percentage rye loaves, consider baking in a loaf pan. The pan provides external support, preventing the dough from spreading outwards and encouraging a better rise upwards. If baking freeform, ensure the dough is not over-proofed, which would weaken its ability to hold its shape. Baking directly from a cold proof in a well-heated Dutch oven or on a hot stone with steam also helps provide initial support and structure during the crucial first minutes of baking, aiding your rye sourdough recipe adaptation efforts.
Rye Sourdough Recipe Adaptation: Advanced Tips and Tricks
Using a Rye Sourdough Starter
For an even deeper rye flavor and potentially different fermentation characteristics, consider maintaining and using a starter fed exclusively or primarily with rye flour. A rye starter tends to be very active and ferments quickly. It also brings the specific enzymatic and microbial profile of rye to your dough from the very beginning. Tip: If your base recipe uses a wheat starter, you can convert a portion of it to rye by feeding it with rye flour over a few cycles. Alternatively, build a separate rye starter from scratch.
When using a rye starter in your rye sourdough recipe adaptation, note that it might reach peak activity faster than a wheat starter. Pay attention to its peak and use it when it's most vigorous. The hydration of your rye starter also matters; a stiffer rye starter (e.g., 80% hydration) will behave differently than a very wet one (e.g., 100% hydration or higher). Using a rye starter can significantly enhance the characteristic tang and aroma of your rye sourdough loaf.
Incorporating Seeds and Grains in Rye Sourdough
Rye sourdough loaves are classic vehicles for incorporating seeds, cracked grains, and other inclusions. These additions not only add flavor and texture but can also help manage the dough's stickiness and contribute to the loaf's structure and moisture retention. Tip: Soak seeds (like sunflower, pumpkin, flax, or caraway) and cracked grains (like cracked rye or wheat) in hot water for a few hours or overnight before adding them to the dough. This pre-gelatinizes their starches and prevents them from absorbing water from the dough, which could otherwise make the loaf dry.
A common ratio is to use 10-20% of the total flour weight in soaked seeds/grains. Drain any excess water from the soak before adding the inclusions during the final stages of mixing. Incorporating seeds is a fantastic way to elevate your rye sourdough recipe adaptation, adding nutritional value and delightful pops of texture and flavor.
Exploring Different Rye Flour Blends
While adapting a recipe to include a single type of rye flour is a great start, exploring blends of different rye flours can yield fascinating results. For example, combining light rye with dark rye can give you some of the robust flavor of dark rye without the extreme density and stickiness of a 100% dark rye loaf. Tip: You can also blend rye flour with other non-wheat flours, though this will introduce additional variables and considerations for rye sourdough recipe adaptation.
Experimenting with blends allows you to fine-tune the flavor profile, crumb texture, and handling characteristics of your rye sourdough. For instance, a blend of 50% medium rye, 20% dark rye, and 30% strong white wheat flour will produce a loaf very different from one using 70% medium rye and 30% wheat. Keep detailed notes on your experiments to track what works best for your taste and desired loaf characteristics.
Adapting a White Sourdough Recipe to a 30% Rye Sourdough
Let's walk through a specific rye sourdough recipe adaptation example: converting a standard 500g flour white sourdough recipe (70% hydration) to a 30% rye version.
- Original Recipe: 500g strong white flour, 350g water, 100g starter, 10g salt. (Total flour = 500g)
- Target: 30% Rye Sourdough.
- Flour Calculation: 30% of 500g = 150g rye flour. Remaining flour = 500g - 150g = 350g strong white flour.
- Adapted Flour Mix: 350g strong white flour, 150g rye flour (let's assume medium rye).
- Hydration Adjustment: Original hydration was 70%. For 30% rye, we might increase the overall hydration to 75%. New total water = 500g \* 0.75 = 375g. (Alternatively, using the per-gram adjustment: 150g rye \* 0.08 = 12g added water. 350g + 12g = 362g water. Let's go with 375g for a slightly wetter dough often beneficial with rye).
- Adapted Recipe: 350g strong white flour, 150g medium rye flour, 375g water, 100g starter, 10g salt.
Mixing: Combine flours, water, starter. Rest 30 mins. Add salt. Mix well. Bulk Fermentation: 3-5 hours at room temp (22-24°C), with gentle stretch-and-folds in the first 1-2 hours. Look for ~40-50% volume increase. Shaping: Gently pre-shape, rest 20 mins, final shape into boule or batard, place in well-floured banneton. Proofing: Cold proof 8-12 hours in the fridge. Baking: Preheat oven/Dutch oven to 250°C (480°F). Bake at 250°C for 20 mins with steam, then 220°C (430°F) for 25-30 mins without steam, until deep brown and internal temp > 96°C (205°F). Cooling: Crucially, cool for at least 6 hours before slicing.
This example provides a concrete starting point for a common rye sourdough recipe adaptation.
Enjoying Your Homemade Rye Sourdough Bread
Serving Suggestions for Rye Sourdough
Homemade rye sourdough, with its distinct flavor and satisfying texture, is incredibly versatile. Its robust character pairs wonderfully with a variety of foods. Suggestion 1: A classic way to enjoy it is simply toasted with good quality butter. The heat brings out the earthy notes of the rye. Suggestion 2: Consider pairing it with strong cheeses, smoked meats, or pickled vegetables, as the tang of the sourdough and the depth of the rye complement these flavors beautifully.
It also makes an excellent base for open-faced sandwiches. Think gravlax (cured salmon), pickled herring, or liver pâté – traditional pairings in cultures where rye bread is a staple. Don't forget simple classics like cream cheese and chives, or a hearty slice alongside a bowl of soup or stew. The dense crumb holds up well to moist toppings and dishes, making your rye sourdough recipe adaptation a practical and delicious choice for many meals.
Storing Rye Sourdough for Freshness
Proper storage is key to keeping your homemade rye sourdough fresh and preventing it from drying out too quickly. Once the loaf has completely cooled (which, as we've emphasized, takes several hours), store it at room temperature. Method 1: Wrap the loaf in a clean linen towel or a specialized bread bag. This allows the crust to breathe somewhat while protecting the crumb. Avoid airtight plastic bags or containers immediately after cooling, as this can trap moisture and make the crust soggy.
Method 2: For longer storage, rye bread freezes exceptionally well. Slice the cooled loaf before freezing, then wrap the slices tightly in plastic wrap or beeswax wraps, and place them in a freezer-safe bag or container. This allows you to take out just the slices you need. Properly stored at room temperature, a high-percentage rye sourdough loaf can stay fresh for 3-5 days. Freezing extends its life for several months, allowing you to enjoy the fruits of your rye sourdough recipe adaptation whenever you like.
Recipes That Pair Well With Rye Sourdough: Smoked Salmon, Cream Cheese, and Dill
One of the most beloved pairings for rye sourdough is smoked salmon, cream cheese, and fresh dill. The rich, slightly oily texture of the smoked salmon, the cool tang of the cream cheese, the fresh, anise-like notes of the dill, and the hearty, slightly sour base of the rye sourdough create a perfect harmony of flavors.
- Simple Preparation: Lightly toast a slice of your rye sourdough recipe adaptation. Spread a generous layer of cream cheese. Top with slices of high-quality smoked salmon. Finish with a sprinkle of freshly chopped dill and perhaps a grind of black pepper or a squeeze of lemon juice.
- Variations: You can add thinly sliced red onion or capers for extra bite and brininess. Using a flavored cream cheese (like chive or dill) can also enhance the experience. This classic combination highlights how the unique characteristics of rye sourdough can elevate simple ingredients into a truly memorable bite.
Frequently Asked Questions
How does adding rye flour affect sourdough baking?
Adding rye flour significantly impacts sourdough baking because it contains pentosans, which absorb more water than wheat flour, making the dough stickier and denser. This also alters the flavor profile, creating a nutty and earthy taste.
What's the best percentage of rye flour to start with when adapting a sourdough recipe?
For beginners, it's recommended to start with a low percentage, around 10-20% rye flour, replacing an equal amount of wheat flour. This allows you to familiarize yourself with the dough's altered hydration and handling properties.
Do I need to adjust the hydration level when using rye flour?
Yes, rye flour absorbs more water, so you'll likely need to increase the hydration level. Start by adding water in small increments, observing the dough's consistency, and aiming for a slightly wetter dough than your standard sourdough.
How does rye flour affect the fermentation time of sourdough?
Rye flour contains more sugars and enzymes, which can accelerate fermentation. You may need to reduce the fermentation time slightly to prevent over-proofing, particularly in warmer environments.
Can I use any type of rye flour in my sourdough?
Different types of rye flour (light, medium, dark) have varying characteristics. Dark rye flour has the most intense flavor and highest water absorption, while light rye flour is milder. Choose based on your desired flavor profile and adjust hydration accordingly.
Final Reflection: Unlocking the Mysteries of Rye Sourdough
Mastering the art of rye sourdough isn't about rigid adherence to recipes; it's about understanding the fundamental principles of sourdough baking and adapting them to the unique characteristics of rye flour. This knowledge empowers bakers to transform any sourdough recipe into a delicious rye creation, opening up a world of flavor and texture possibilities. The ability to adapt recipes is crucial in a world where flour availability and personal preferences constantly shift.
The journey into rye sourdough baking has been a fascinating exploration of texture, flavor, and the subtle nuances of fermentation. The inherent differences between rye and wheat flours – their lower gluten content, higher acidity, and unique flavor profiles – require a nuanced approach. Adapting recipes successfully isn't just about substituting flours; it's about understanding how these differences impact the dough's development and final product. The baker's skill lies not in following a recipe blindly, but in understanding the why behind each step.
This quote perfectly encapsulates the spirit of adaptable baking, emphasizing the importance of knowledge over rote memorization.
Now, it's your turn. Don't be intimidated by the seemingly complex world of rye sourdough. Experiment! Take a favorite sourdough recipe, apply the techniques outlined in this article, and embark on your own journey of discovery. Embrace the unexpected results, learn from your mistakes, and most importantly, enjoy the process of creating your own unique rye sourdough masterpieces. The rewards – the rich, complex flavors and satisfying textures – are well worth the effort.
Unleash Your Rye Sourdough Potential!
Thanks for taking the time to explore the world of rye sourdough with us! You've now got the knowledge to transform your favorite recipes into delicious rye creations. Ready to get baking?
- Dive into your recipe collection and choose a sourdough recipe to adapt using the techniques we outlined. This is your chance to experiment and see the amazing results for yourself.
- Share your rye sourdough journey! Post pictures of your creations on social media and tag us – we'd love to see your baking triumphs.
- Consider experimenting with different percentages of rye flour to fine-tune your preferred flavor and texture. What unexpected flavor combinations will you discover?
Ready to bake your best rye sourdough yet?