
Storing Your Precious Artisan Flours to Keep Them Fresh

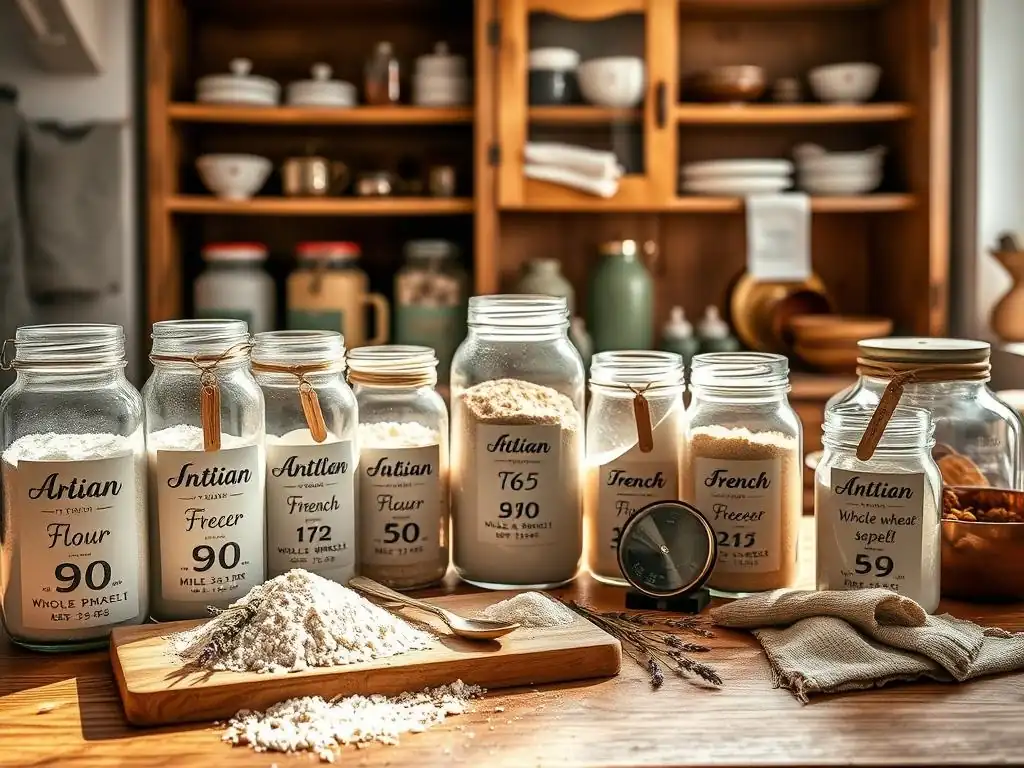
Welcome to BakeWithEase, your guide to unlocking baking brilliance! Are you ready to elevate your creations with the finest artisan flours? But are you storing them correctly? Discover everything you need to know with our artisan flour storage tips and learn how to keep your premium ingredients fresh and ready for your next masterpiece. Let's ensure your baking dreams never fall flat!
- Introduction: Protecting Your Investment in Artisan Baking Flours
- How to Store Artisan Flour: Step-by-Step Guide for Optimal Freshness
- Maintaining Flour Freshness: Tips and Tricks for Long-Term Artisan Flour Storage
- Troubleshooting Common Artisan Flour Storage Problems
- Best Practices for Different Types of Artisan Flour
- Conclusion: Enjoying Fresh, Flavorful Artisan Flour in Your Baking
- Frequently Asked Questions
- Final Reflection: The Enduring Art of Flour Preservation
- Unlock Your Flour Power: Keep Baking Fresh!
Introduction: Protecting Your Investment in Artisan Baking Flours
Why Proper Artisan Flour Storage Matters for Baking Success
Investing in high-quality artisan flours is a crucial step towards achieving exceptional results in your baking. Unlike standard all-purpose flour, artisan varieties often contain more of the grain's natural oils and nutrients, particularly if they are whole grain or freshly milled. These components contribute significantly to the unique flavor, aroma, and texture of your bread, pastries, and other baked goods.
However, these very elements that enhance quality also make artisan flours more susceptible to spoilage if not stored correctly. Improper storage can lead to off-flavors, reduced leavening power, and even attract pantry pests, ultimately wasting your precious ingredients and undermining your baking efforts. Implementing effective artisan flour storage tips is essential to preserve the integrity of your flour and ensure that every loaf or cake you bake lives up to its potential.
Think of your artisan flour not just as an ingredient, but as a living product, especially if it's freshly milled. The subtle nuances of flavor in a heritage grain like Einkorn or the robust character of a stone-ground whole wheat can be easily compromised by exposure to adverse conditions. For instance, prolonged exposure to heat or humidity can accelerate the oxidation of fats present in the germ and bran, leading to rancidity, which manifests as a bitter or stale taste.
This is why consistent and correct storage is paramount. By taking simple, proactive steps, you can significantly extend the shelf life of your artisan flours, ensuring that the investment you made in quality ingredients pays off in delicious, flavorful baked goods every time. Following proven artisan flour storage tips is key to maintaining that peak freshness from the first scoop to the last.
Understanding the Enemies of Fresh Flour: Moisture, Pests, and Time
The primary culprits behind flour spoilage are moisture, pests, and time. Moisture is perhaps the most insidious enemy. Flour is naturally hygroscopic, meaning it readily absorbs moisture from the air. High humidity can cause flour to clump, develop mold, and create an environment ripe for bacterial growth. Ideally, flour should be stored in an environment with relative humidity below 60%.
Temperatures above 70°F (approx. 21°C) also accelerate spoilage, increasing the rate of oxidation and potentially activating latent insect eggs. A study might show that flour stored at 80°F (approx. 27°C) spoils twice as fast as flour stored at 60°F (approx. 15°C).
Pests, such as flour weevils, pantry moths, and flour beetles, are another significant threat. They are attracted to the nutrients in flour and can infest a supply quickly, rendering it unusable. These pests can often enter your home through tiny cracks or even arrive in commercially packaged goods. Once established, they are notoriously difficult to eradicate. Finally, time is a factor.
While properly stored flour can last for months or even years, its quality will gradually decline. The natural oils can oxidize, and the flavor can become stale. Whole grain artisan flours, with their higher oil content from the bran and germ, have a shorter shelf life than refined flours, often best used within 3-6 months of milling, even with good storage. Implementing smart artisan flour storage tips helps combat these enemies, preserving quality for as long as possible.
How to Store Artisan Flour: Step-by-Step Guide for Optimal Freshness
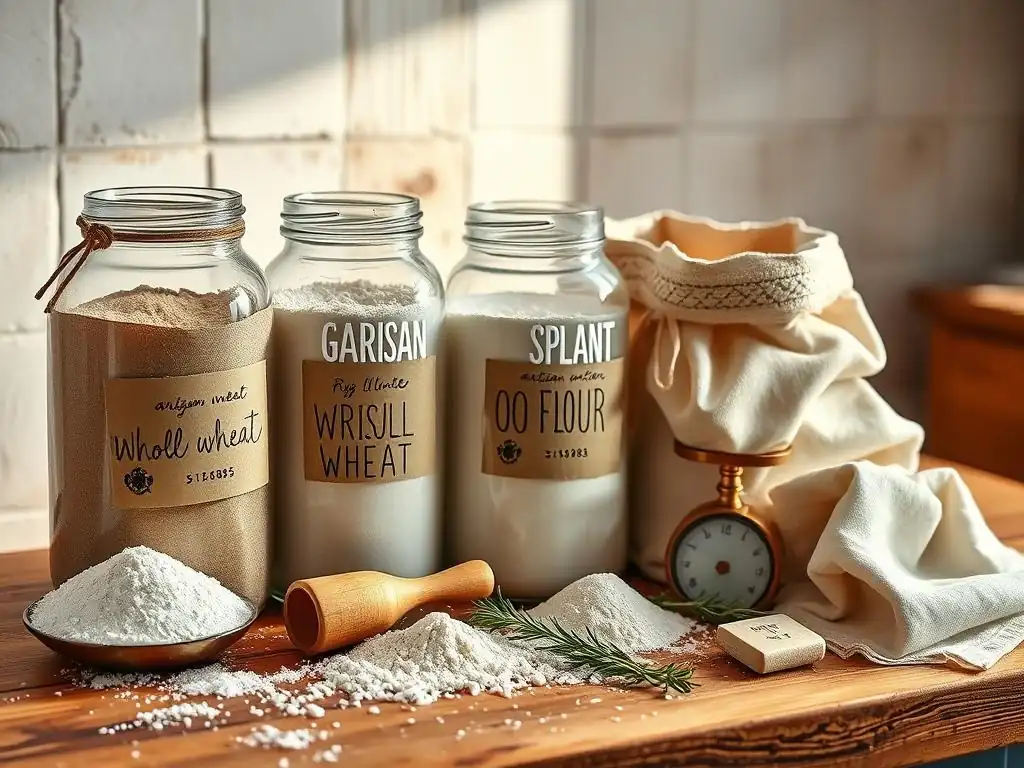
Step 1: Choosing the Right Storage Containers for Artisan Flours
Selecting the appropriate container is the first and arguably most critical step in effective artisan flour storage. The goal is to create a barrier that protects the flour from moisture, pests, and odors. Containers should be made of food-grade material, easy to clean, and, most importantly, airtight. Glass, sturdy plastic, or metal containers are generally preferred over paper or cloth bags, which offer little protection against environmental factors or pests. The size of the container should ideally match the amount of flour you are storing to minimize the amount of air trapped inside.
Airtight Containers: Weck Jars vs. OXO Good Grips - A Comparison
Glass Weck jars, with their rubber seals and metal clamps, are an excellent choice for storing smaller quantities of artisan flour, perhaps up to 2-3 pounds. They are non-reactive, easy to see through (allowing for quick inspection), and the seals provide a very reliable airtight closure when properly assembled. Their aesthetic appeal is a bonus for visible pantry storage.
On the other hand, OXO Good Grips POP containers, made of BPA-free plastic, feature a unique push-button lid mechanism that creates an airtight seal. These are often more convenient for frequent access and come in a wide range of sizes, suitable for storing anywhere from a few cups to several pounds of flour. While glass is non-porous and scratch-resistant, high-quality plastic like that used in OXO containers is durable and less prone to breakage, offering a practical alternative for artisan flour storage tips in a busy kitchen.
Food-Grade Buckets with Gamma Seal Lids: Ideal for Larger Quantities?
For serious bakers or those who buy artisan flour in bulk (e.g., 25 or 50-pound bags), food-grade buckets equipped with Gamma Seal lids are an incredibly practical and cost-effective storage solution. These buckets, typically made of high-density polyethylene (HDPE), are robust and designed for long-term food storage. A standard 5-gallon bucket can hold approximately 30-35 pounds of flour.
The key is the Gamma Seal lid, which screws onto the bucket rim, creating a truly airtight and watertight seal that is also easy to open and close repeatedly. This setup is far superior to standard snap-on bucket lids, which can be difficult to remove and may not form a perfect seal. Using these large containers is a cornerstone of efficient artisan flour storage tips for bulk buyers, protecting large quantities from pests and moisture effectively.
Vacuum Seal Bags: A Space-Saving Solution?
Vacuum sealing flour in specialized bags is another method to consider, particularly for long-term storage or when space is at a premium. Vacuum sealing removes most of the air from the package, significantly reducing the risk of oxidation and inhibiting the growth of aerobic bacteria and mold.
While vacuum seal bags offer excellent protection against moisture and pests, they are less convenient for daily use compared to rigid containers, as the bag must be cut open and then re-sealed or transferred to another container after each use. They are perhaps best suited for storing portions of flour that you don't plan to use immediately, such as freezing flour as a pest preventative measure.
Step 2: Preparing Your Artisan Flour for Storage
Before transferring your artisan flour to its chosen container, a few simple preparation steps can make a big difference in ensuring its longevity. Even commercially packaged flour can sometimes harbor insect eggs or larvae, which can hatch under favorable conditions. Taking a moment to prepare the flour minimizes this risk and sets the stage for successful long-term artisan flour storage.
Checking for Infestation: Signs to Look For Before Storing Flour
Upon opening a new bag of artisan flour, it's wise to perform a quick inspection for signs of infestation. Look closely for tiny insects, such as weevils or beetles, or small, web-like threads, which are indicative of pantry moth larvae. You might also notice small clumps of flour bound together by these threads. Sometimes, you might just see tiny moving specks.
While it might sound daunting, a simple visual check is usually sufficient. If you find any signs of pests, it's best not to store that flour with your other supplies, as the infestation can spread rapidly. While it's frustrating, discarding a small amount of potentially infested flour is far better than contaminating your entire pantry.
Freezing Flour: A Preventative Measure Against Pests (and How to Do It Right)
One highly effective preventative measure against potential pest infestations is to freeze your artisan flour for a short period immediately after purchasing it. Freezing kills any eggs or larvae that might be present in the flour. To do this correctly, place the flour (either in its original packaging, if sturdy, or transferred to a freezer-safe bag or container) in the freezer for at least 48 to 72 hours. Ensure the packaging is sealed to prevent moisture absorption from the freezer environment.
After the freezing period, you can transfer the flour to your long-term storage container. Allow the flour to come back to room temperature before opening the container to prevent condensation from forming, which could introduce unwanted moisture. This simple step is a valuable addition to your artisan flour storage tips arsenal.
Step 3: The Ideal Storage Environment for Artisan Flour
Beyond the container itself, the environment where you store your artisan flour plays a critical role in maintaining its freshness. Flour is sensitive to temperature, light, and humidity, and keeping these factors controlled is essential for long-term quality. A cool, dark, and dry location is the holy grail of artisan flour storage.
Temperature Control: Keeping Your Flour Cool and Dry
Temperature is a major factor in how quickly flour degrades. Storing flour in a cool place, ideally below 60°F (about 15°C), significantly slows down the oxidation process and inhibits the activity of pests and mold spores. While room temperature (around 70°F or 21°C) is acceptable for short-term storage (a few weeks), anything consistently warmer will shorten the flour's shelf life.
Refrigeration (around 40°F or 4°C) or freezing (0°F or -18°C) can extend shelf life considerably, especially for whole grain or less-used flours, but require airtight containers to prevent moisture absorption and odor transfer. A dark pantry, a cool basement, or even a dedicated storage refrigerator can be excellent locations for implementing these artisan flour storage tips.
Light Protection: Shielding Your Flour from Harmful UV Rays
Direct sunlight and even strong artificial light can negatively impact the quality of flour over time. Light, particularly ultraviolet (UV) rays, can accelerate the breakdown of fats and vitamins in the flour, contributing to rancidity and loss of nutritional value. This is why opaque storage containers are often preferred over clear ones for long-term storage, unless the storage location itself is dark. If you use clear containers, ensure they are stored in a cupboard or pantry away from direct light sources. Protecting your flour from light is a simple yet effective component of good artisan flour storage practices.
Humidity Control: The Importance of a Dry Storage Space
Humidity is arguably the most challenging environmental factor to control, but it's crucial for flour storage. High humidity causes flour to absorb moisture, leading to clumping, mold growth, and increased pest activity. The ideal relative humidity for flour storage is below 60%.
Avoid storing flour in areas prone to humidity fluctuations, such as near ovens, dishwashers, or in basements without proper dehumidification. If you live in a humid climate, consider using a dehumidifier in your storage area or adding a desiccant packet to your flour container (ensuring it doesn't come into direct contact with the flour) as part of your artisan flour storage tips strategy.
Maintaining Flour Freshness: Tips and Tricks for Long-Term Artisan Flour Storage
Beyond the initial setup, ongoing practices are key to maximizing the freshness of your artisan flour supply. Even with the best containers and environment, regular checks and smart usage habits will ensure you're always baking with the highest quality ingredients. These maintenance tips are vital for any serious baker focused on artisan flour storage.
Labeling and Dating: Keeping Track of Your Flour Supply
One of the simplest yet most effective artisan flour storage tips is to clearly label and date your containers as soon as you fill them. Include the type of flour (e.g., Organic Rye, Stone-ground Hard Red Wheat), the date you stored it, and perhaps even the date you purchased it or the "best by" date from the original packaging.
This helps you keep track of your inventory and ensures you use older flour first, preventing it from sitting around unused for too long and potentially going stale. Use a permanent marker on a label or directly on the container if it's suitable.
Regular Inspections: Checking for Signs of Spoilage or Infestation
Make it a habit to inspect your stored artisan flours regularly, perhaps every few weeks or whenever you open a container. Look for any signs of clumping (which could indicate moisture), off-odors (rancidity), or signs of pest activity (webs, insects, tunnels in the flour). A quick visual check and a sniff test can tell you a lot about the condition of your flour. Early detection of a problem can prevent it from spreading to other containers in your pantry. Consistent inspection is a cornerstone of diligent artisan flour storage tips.
Rotation: Using Older Flour First to Maximize Freshness
Employ the "first-in, first-out" (FIFO) method for your flour supply. When you purchase new flour, store it behind or below your existing stock. When you need flour for baking, take from the front or the top – the flour that has been stored the longest. This ensures that your flour is rotated consistently and used within its optimal freshness window, reducing the likelihood of spoilage and minimizing waste. Implementing this simple rotation strategy is a fundamental part of effective artisan flour storage.
Desiccants: DampRid Silica Gel Packets for Enhanced Moisture Control
In particularly humid environments or for long-term storage, adding a desiccant packet to your airtight container can help absorb excess moisture. Products containing silica gel are commonly used for this purpose. It is crucial to use food-grade desiccant packets and ensure they do not come into direct contact with the flour itself.
You can place the packet on top of the flour, perhaps separated by a piece of food-safe paper or cloth, or secure it to the inside of the lid. Remember to replace the desiccant periodically as it becomes saturated with moisture. Using desiccants is an advanced technique among artisan flour storage tips for combating humidity.
Troubleshooting Common Artisan Flour Storage Problems
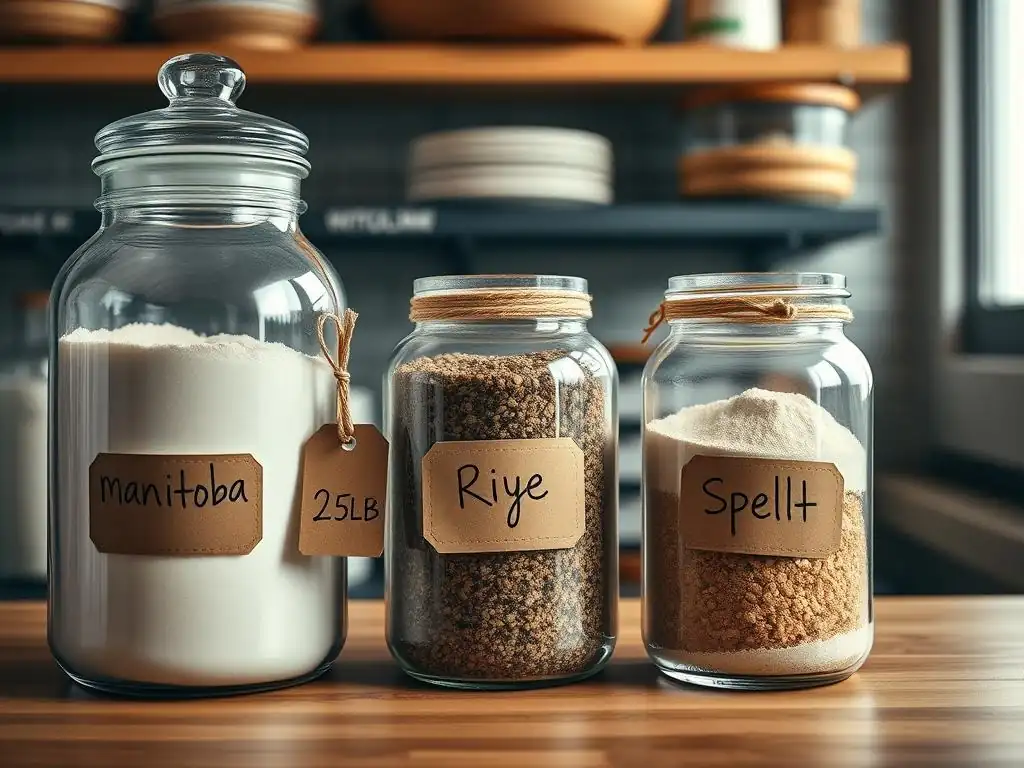
Even with the best practices, occasionally you might encounter issues with your stored flour. Knowing how to identify and address common problems like mites, mold, and rancidity is important.
Identifying and Dealing with Flour Mites
Flour mites are microscopic pests that can sometimes infest flour, especially in warm, humid conditions. While not harmful to consume in tiny quantities, a significant infestation gives the flour a grayish tinge, a musty odor often described as "minty" or "peachy," and a slightly gritty texture. If you suspect flour mites, you might see what looks like "dust" moving on the surface of the flour or the container walls.
To check, spread a small amount of flour thinly on a dark surface; if mites are present, it might appear to slowly "crawl." If you confirm a mite infestation, the best course of action is typically to discard the affected flour. Thoroughly clean the storage area, including cracks and crevices, and consider using traps designed for pantry pests to monitor and catch any remaining insects.
Preventing and Removing Mold Growth on Flour
Mold growth on flour is a clear sign of excessive moisture. It can appear as fuzzy or discolored patches (green, gray, black, or white) and often comes with a strong, musty smell. Unlike mold on hard cheese or fruit, mold spores in flour can permeate the entire batch, even if you only see visible mold in one spot. Consuming moldy flour can be harmful, as some molds produce toxins.
Therefore, if you find mold on your artisan flour, it is strongly recommended to discard the entire amount. To prevent mold, always ensure your flour is stored in airtight containers in a cool, dry environment. If you need to replace moldy flour, look for reputable suppliers offering high-quality artisan varieties.
Recognizing Rancidity in Flour: Signs and Solutions
Rancidity occurs when the fats and oils in flour, particularly in whole grain varieties, oxidize over time. This process is accelerated by heat, light, and air exposure. Rancid flour develops an unpleasant smell, often described as stale, paint-like, or bitter, and tastes off. You might notice it most strongly when you add liquid to the flour.
Once flour becomes rancid, there's no way to reverse it, and using it will negatively impact the flavor of your baked goods. While not dangerous in the way mold is, it makes the flour unusable for quality baking. The only solution is prevention through proper artisan flour storage tips: airtight containers, cool temperatures (refrigeration or freezing is excellent for whole grains), and protection from light. If your flour smells or tastes rancid, it's time to discard it and start fresh.
Best Practices for Different Types of Artisan Flour
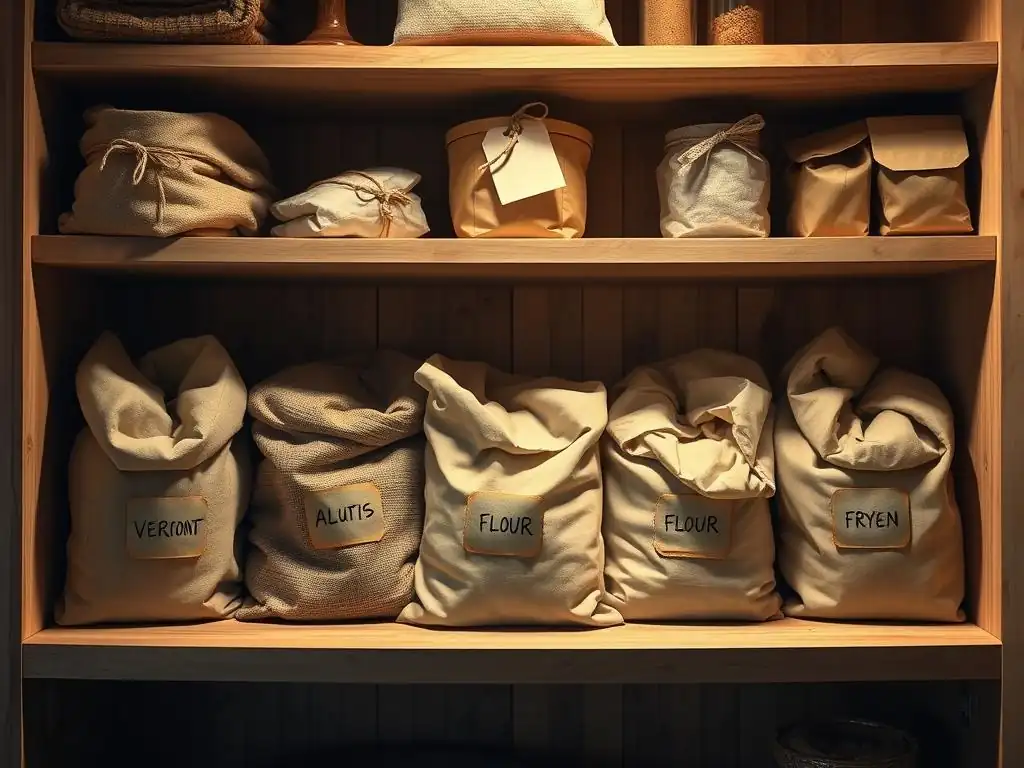
While general artisan flour storage tips apply broadly, some flour types benefit from specific considerations due to their unique composition. Understanding these nuances helps maximize the freshness and performance of each variety.
Storing Whole Wheat Flour: Special Considerations for Bran and Germ
Whole wheat artisan flour, especially stone-ground varieties, contains the bran and germ of the wheat berry in addition to the endosperm. The germ is rich in oils, which are prone to oxidation and can cause the flour to go rancid relatively quickly compared to refined white flour. For this reason, whole wheat flour has a shorter shelf life, typically best used within 1-3 months if stored at room temperature, or up to 6 months if refrigerated.
For longer storage (up to a year), freezing is highly recommended. Always store whole wheat flour in an airtight container to protect these delicate oils from oxygen and moisture. When purchasing whole wheat flour, consider buying from suppliers known for freshness, as the milling date is a key factor in its initial quality.
Storing Rye Flour: Managing its Unique Moisture Content
Rye flour, a staple in many artisan bread recipes, has a unique composition. It contains pentosans, complex carbohydrates that absorb water differently than wheat gluten. While this affects baking performance, it also means rye flour can be slightly more prone to absorbing ambient moisture if not stored properly. Like whole wheat, whole or dark rye flour contains more of the grain's components and thus benefits from cooler storage.
Store rye flour in a cool, dry place in an airtight container. While perhaps less prone to outright rancidity than whole wheat, it can still develop off-flavors over time. Following standard airtight, cool, and dry artisan flour storage tips is generally sufficient for rye, but pay extra attention to humidity control. Consider sourcing fresh rye flour from reputable millers for best results.
Storing Spelt Flour: Maintaining its Delicate Flavor Profile
Spelt is an ancient grain with a lovely, slightly nutty, and sweet flavor profile. Like wheat, it contains gluten, but it behaves differently. Spelt flour, particularly whole spelt, also contains more natural oils than refined wheat flour, making it susceptible to oxidation.
To preserve its delicate flavor, store spelt flour in an airtight container in a cool, dark location. Refrigeration or freezing can significantly extend its shelf life and protect its nuanced taste from becoming stale or rancid. Treating spelt flour with similar care as whole wheat flour in terms of temperature and airtightness is crucial for maintaining its quality for artisan baking.
Storing Gluten-Free Artisan Flours: Preventing Cross-Contamination
Storing gluten-free artisan flours (like rice, oat, almond, or specialized blends) requires careful attention, not just for freshness but also to prevent cross-contamination if you also handle gluten-containing flours. Many gluten-free flours, especially nut or seed-based ones, are high in oils and are very prone to rancidity. These should almost always be stored in the refrigerator or freezer in airtight containers to extend their shelf life significantly.
Even stable gluten-free blends benefit from cooler storage once opened. Furthermore, dedicate separate, clearly labeled containers for all gluten-free flours and store them separately from wheat flours to avoid any accidental gluten contamination, which is critical for individuals with celiac disease or gluten sensitivity. For versatile gluten-free baking, a reliable blend can be a great ingredient to keep fresh with proper storage.
Conclusion: Enjoying Fresh, Flavorful Artisan Flour in Your Baking
Recap of Artisan Flour Storage Best Practices
Mastering artisan flour storage is an essential skill for any baker who values quality ingredients. By implementing a few key practices, you can significantly extend the freshness and usability of your precious flours, ensuring that every bake delivers the flavor and texture you expect. Remember the core principles: use airtight, food-grade containers to protect from moisture, pests, and odors. Store your flour in a cool, dark, and dry environment, ideally below 60°F (15°C) and below 60% humidity. Consider refrigeration or freezing for whole grain and less frequently used flours.
Always check new flour for signs of pests and consider a preventative freeze. Label and date your containers and practice the first-in, first-out rotation method. Regularly inspect your flour for any signs of spoilage or infestation. By following these artisan flour storage tips, you safeguard your investment and the quality of your baking.
Resources for Further Learning: Artisan Flour Guides and Recipes on BakeWithEase.com
Ensuring your artisan flour stays fresh is just the beginning of your baking journey. Once your flour is properly stored, you'll want to put it to good use! BakeWithEase.com offers a wealth of information to help you explore the exciting world of artisan baking. You can find detailed guides on understanding different types of artisan flours, delving into their unique properties and best uses in various recipes.
Our site also features a wide array of recipes specifically developed for artisan flours, ranging from rustic sourdough loaves and enriched brioche to delicate pastries and flavorful cookies. Dive deeper into topics like working with high-hydration doughs, understanding fermentation, and troubleshooting common baking challenges, all utilizing the fresh, high-quality flour you've carefully stored. Explore the many resources available on BakeWithEase.com to continue expanding your baking skills and creativity.
Frequently Asked Questions
How long can I store artisan flour before it goes bad?
Artisan flour's shelf life varies, but generally, it's best used within 6-12 months of milling. Proper storage is crucial to prevent rancidity and bug infestations. Check the expiration date on the packaging for specific guidance.
What are the best containers for storing artisan flour?
Airtight containers are essential! Opt for containers made of glass, stainless steel, or food-grade plastic. These materials prevent moisture and pests from contaminating your flour. Make sure the container is completely sealed.
Where is the best place to store my artisan flour?
Store your artisan flour in a cool, dark, and dry place. Avoid areas with high humidity or temperature fluctuations, such as near the oven or sink. A pantry or a cool, dry basement are often good choices.
Can I freeze artisan flour to extend its shelf life?
Yes, freezing artisan flour is an excellent way to extend its freshness. Place the flour in an airtight freezer-safe bag or container. Allow the flour to come to room temperature before using it in your recipes.
How can I tell if my artisan flour has gone bad?
Signs of spoiled artisan flour include a sour or musty odor, the presence of bugs, or visible mold. The flour might also have a rancid or oily texture. If you notice any of these, discard the flour immediately.
Final Reflection: The Enduring Art of Flour Preservation
The meticulous preservation of artisan flours is not merely a culinary nicety; it's a crucial step in unlocking their full potential and honoring the craftsmanship behind them. Failing to store these precious ingredients correctly diminishes their unique qualities, leading to disappointing baking results. This impacts not only the home baker but also the wider artisan food community, impacting the quality of products available to consumers.
The journey of artisan flour, from field to oven, is a testament to dedication and skill. To waste its potential through improper storage feels like a betrayal of that artistry. The best flour is only as good as the care taken in its handling.
This unspoken truth underscores the importance of understanding the nuances of flour storage, ensuring that every loaf, every pastry, reflects the quality of the ingredients at their peak. The impact extends beyond the individual baker; it influences the overall appreciation and understanding of high-quality ingredients within our food culture.
Consider the implications of your flour storage practices. Are you maximizing the flavor and texture of your artisan flours? Are you contributing to a culture of mindful consumption and appreciation for quality ingredients? I invite you to take a moment to examine your own flour storage habits. Make a conscious effort to implement the tips outlined in this article, and experience the transformative difference it makes in your baking. The reward is not just better bread; it's a deeper connection to the artistry of food itself.
Unlock Your Flour Power: Keep Baking Fresh!
Thanks for diving into the world of artisan flours with us! You've now learned how to keep your precious ingredients at their peak, ensuring every bake is a masterpiece. Ready to put your new knowledge to the test?
- Prioritize your pantry: Immediately reorganize your flour storage, using the tips we've shared. This is your first step to consistently delicious results!
- Experiment with a new flour type: Try a recipe using a flour you haven't baked with before – the possibilities are endless!
- Share your flour storage secrets: Let's build a community of baking enthusiasts! Share your favorite tips and tricks in the comments below.
What's your favorite way to keep your artisan flours fresh and ready to bake?