
Your Ultimate Detailed Guide to Baking with Artisan Flours

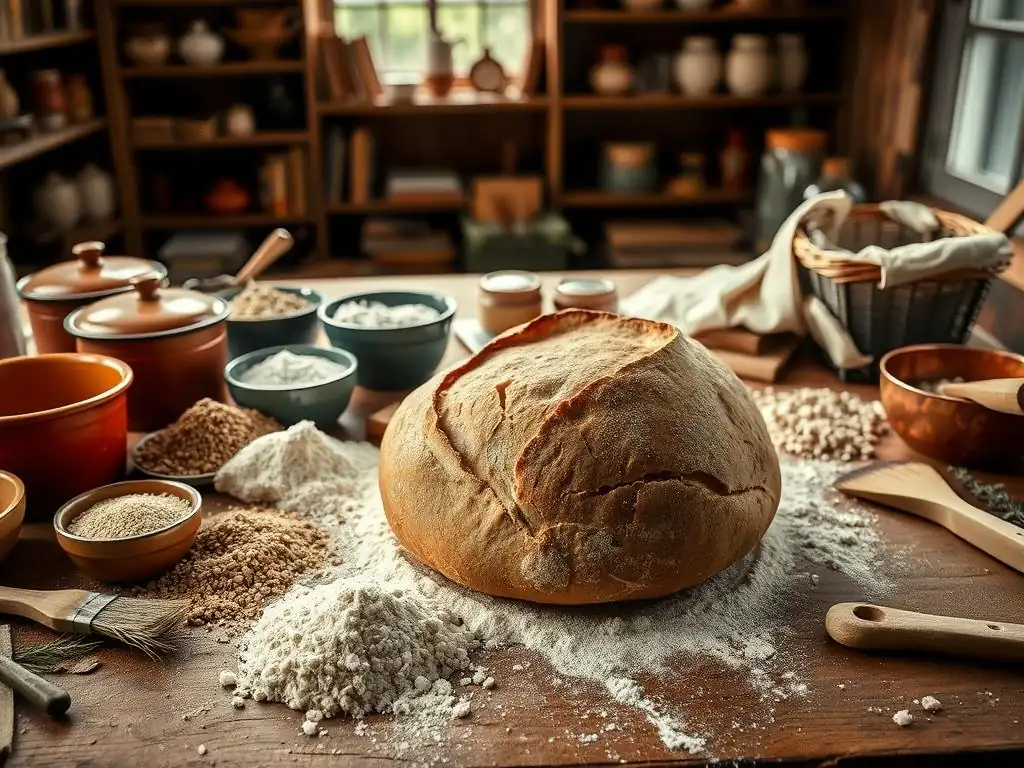
Welcome to BakeWithEase, your kitchen companion for all things baking! Ever wondered how artisan flours can transform your baked goods from ordinary to extraordinary? Unlock the secrets of crafting delectable breads, pastries, and more with our Artisan Flour Baking Guide. Prepare to elevate your baking game and discover the nuanced flavors and textures that premium ingredients can bring. Intrigued? Let's get started!
- Introduction: Unleash the Flavor with Artisan Flour Baking
- Step 1: Selecting the Right Artisan Flour for Your Baking Project
- Step 2: Mastering the Techniques for Baking with Artisan Flour
- Step 3: Artisan Flour Baking Recipes: From Beginner to Expert
- Step 4: Troubleshooting Common Issues in Artisan Flour Baking
- Step 5: Where to Buy the Best Artisan Flours Online and Locally
- Conclusion: Elevate Your Baking with the Magic of Artisan Flours
-
Frequently Asked Questions
- What exactly are artisan flours and why should I use them?
- Are artisan flours difficult to work with, especially for beginners?
- Where can I find artisan flours? Are they readily available?
- Do I need to adjust my recipes when using artisan flours?
- What's the best type of artisan flour to use for sourdough bread?
- Final Reflection: The Enduring Allure of Artisan Flour
- Unleash Your Inner Baker: Master Artisan Flours Today!
Introduction: Unleash the Flavor with Artisan Flour Baking
Embarking on the journey of baking with artisan flours is a transformative experience that elevates your creations from good to truly exceptional. Unlike standard commodity flours, artisan flours are often milled from heritage or specific wheat varieties using traditional methods, such as stone milling. This process retains more of the grain's germ and bran, contributing not only to richer flavor profiles but also to enhanced nutritional value. For anyone looking to deepen their understanding and skill, this artisan flour baking guide is designed to walk you through the nuances of using these premium ingredients.
The unique characteristics of artisan flours demand a slightly different approach in the kitchen, but the rewards – incredible aroma, complex taste, and superior texture – are well worth the effort. Whether you're aiming to bake a crusty loaf of sourdough, a tender cake, or flaky pastries, selecting and mastering the use of the right artisan flour is paramount. This guide will provide the detailed knowledge you need to confidently incorporate these flours into your baking repertoire and achieve outstanding results every time.
Why Choose Artisan Flours for Superior Bread Baking?
Choosing artisan flours for your bread baking projects offers a distinct advantage in both flavor and performance. These flours are typically milled slower and at cooler temperatures than conventional flours, preserving the natural oils and nutrients of the grain. This gentle processing results in flour with more character and a richer, more nuanced taste that translates directly into your finished loaf. Imagine the difference between mass-produced wine and a small-batch vintage; artisan flours bring that level of complexity and depth to your bread.
Furthermore, the unique composition of artisan flours, often including a higher percentage of the whole grain, can impact gluten development and hydration needs. While this might require slight adjustments to your usual recipes and techniques, the resulting bread often boasts a more robust structure, a chewier crumb, and a thicker, more satisfying crust. For serious bread bakers, understanding these properties is a crucial part of mastering the artisan flour baking guide principles.
Understanding the Benefits of Artisan Flours in Your Baked Goods
The benefits of using artisan flours extend beyond just bread, influencing the quality of cakes, pastries, cookies, and more. The presence of the germ and bran not only adds flavor but also contributes valuable fiber, vitamins, and minerals, making your baked goods more nutritious. For instance, a pastry made with a finely sifted artisan pastry flour might still retain more natural goodness and flavor compounds than one made with heavily refined all-purpose flour.
In terms of texture, artisan flours can impart unique qualities. A stone-milled whole wheat artisan flour, for example, can give cookies a delightful chewiness and nutty undertones. Pastry flours, often lower in protein but rich in flavor from specific soft wheat varieties, can yield incredibly tender cakes and flaky pie crusts. Exploring the range of artisan flours available opens up a world of textural and flavorful possibilities for all your baking endeavors, making this artisan flour baking guide essential for expanding your skills.
Step 1: Selecting the Right Artisan Flour for Your Baking Project
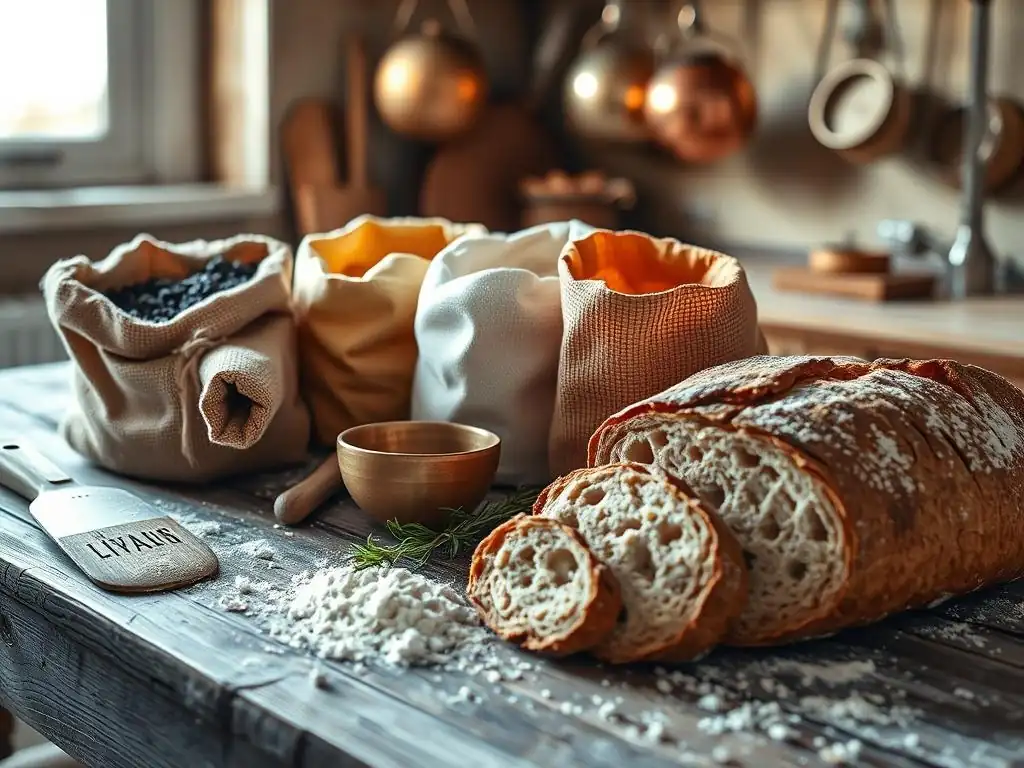
The first crucial step in successful artisan flour baking is selecting the appropriate flour for your specific recipe. Artisan flours come in a vast array of types, milled from different grains and varying in extraction rates and protein content. Making the right choice is fundamental to achieving the desired outcome, whether that's a lofty loaf of bread or a delicate scone. Don't be intimidated by the options; understanding a few key characteristics will guide your selection process effectively.
Consider the final product you envision: a light, airy cake requires a different flour than a dense, hearty rye bread. The milling process also plays a role; stone-milled flours behave differently than roller-milled ones. Paying attention to these details, often provided on the flour packaging or the miller's website, is a vital part of this artisan flour baking guide and will significantly impact your baking success.
Decoding Artisan Flour Types: A Comprehensive Guide
Artisan flours can be broadly categorized by the grain they come from (wheat, rye, spelt, etc.) and their extraction rate, which determines how much of the grain is included. Common types include high-extraction wheat flours (sometimes labeled "bolted"), which remove some but not all of the bran and germ, offering a balance of flavor and performance. There are also specific flours like T55 or T65 from France, known for their particular ash content and gluten potential, ideal for baguettes and rustic loaves.
Beyond wheat, exploring other grains opens up exciting possibilities. Rye flour, for instance, is lower in gluten-forming proteins but contributes a distinct tangy flavor and moist crumb, perfect for dense, traditional loaves. Spelt, an ancient wheat variety, has a slightly different gluten structure that can result in tender baked goods. Understanding these variations is key to applying this artisan flour baking guide to a wide range of recipes.
Choosing the Best Artisan Flour for Sourdough Bread: High-Protein Bread Flour
For sourdough bread, especially loaves aiming for a strong structure and open crumb, a high-protein artisan bread flour is often the preferred choice. Look for flours with a protein content typically ranging from 12% to 14%. This higher protein level contributes to stronger gluten development, which is essential for trapping the gases produced by your sourdough starter, resulting in good oven spring and a well-aerated crumb structure.
Many artisan mills produce bread flours specifically designed for this purpose, often from hard red wheat varieties. These flours provide the necessary strength while also offering complex flavors that complement the natural tang of sourdough. While experimentation is encouraged, starting with a reputable high-protein artisan bread flour is a reliable way to achieve excellent results when following an artisan flour baking guide for sourdough.
Selecting Artisan Flour for Cakes and Pastries: Lower-Protein Pastry Flour
When baking delicate items like cakes, muffins, cookies, and pastries, a lower-protein artisan flour is generally recommended. Artisan pastry flours, typically milled from soft white wheat, have a protein content usually between 8% and 10%. Less protein means less gluten development when mixed, which leads to a more tender and fine crumb structure, desirable for these types of baked goods.
Some artisan mills offer specific cake or pastry flours, while others might label them as "soft wheat flour." These flours often have a finer texture and a slightly different starch composition compared to bread flours. Using the right flour is crucial for achieving that melt-in-your-mouth texture in your sweets and pastries, making this part of the artisan flour baking guide particularly relevant for dessert enthusiasts.
Understanding Protein Content in Artisan Flours: A Baker's Key
Protein content is perhaps the most significant factor distinguishing different types of wheat flour and is a critical piece of information for any baker using an artisan flour baking guide. The primary proteins in wheat that form gluten are gliadin and glutenin. When flour is mixed with water and kneaded, these proteins link together to form a stretchy network called gluten, which provides structure and elasticity to dough.
Flours with higher protein content (like bread flour) develop stronger gluten networks, making them suitable for yeast-leavened breads that require structure to rise. Flours with lower protein content (like cake or pastry flour) develop weaker gluten networks, ideal for tender cakes and pastries where excessive chewiness is undesirable. Always check the protein percentage on the flour label if available, as it's a strong indicator of how the flour will perform in different applications.
Step 2: Mastering the Techniques for Baking with Artisan Flour
Working with artisan flours often requires a slight adjustment in technique compared to using conventional all-purpose flour. Their unique characteristics, such as varying absorption rates and gluten potential, mean that standard recipes might need minor modifications. Embracing these differences and adapting your approach is key to unlocking the full potential of these flavorful ingredients and successfully implementing this artisan flour baking guide. Patience and observation are your best allies in this process.
Understanding how hydration, kneading, and proofing affect dough made with artisan flour is crucial. These steps build the structure and develop the flavor of your baked goods. Don't be afraid to feel the dough, observe its behavior, and make adjustments as needed. Each batch of artisan flour can vary slightly depending on the grain, the milling process, and even environmental factors, making baking a dynamic and rewarding craft.
Hydration is Key: Adjusting Water Ratios for Artisan Flour Baking
Artisan flours, particularly those stone-milled or with higher extraction rates, often absorb more water than highly refined flours. This means you may need to increase the hydration level (the ratio of water to flour by weight) in your recipes when using them. A typical sourdough recipe using standard bread flour might call for 70% hydration, but the same recipe with a high-extraction artisan flour could potentially benefit from 75% or even 80% hydration to achieve the desired dough consistency.
Starting with your recipe's recommended hydration and adding water gradually until the dough feels right is a good approach. The dough should be moist and slightly sticky, but still manageable. Proper hydration is vital for developing gluten, ensuring a moist crumb, and achieving good oven spring, making it a central tenet of any effective artisan flour baking guide. Insufficient hydration can result in a dry, dense product.
Kneading Techniques for Artisan Flour Doughs: Achieving the Perfect Texture
Kneading develops the gluten network, providing structure to your dough. While the goal is the same, doughs made with artisan flours might respond differently to kneading. Some high-extraction or whole-grain artisan flours can benefit from gentle handling or techniques like stretch and folds rather than aggressive kneading, as the bran particles can interfere with gluten development if worked too vigorously.
For doughs with very high hydration, techniques like the "slap and fold" or simply relying on a series of stretch and folds over an hour or two can be more effective than traditional kneading. This allows the gluten to develop more gently and evenly. Pay attention to the dough's texture; it should become smoother, more elastic, and pass the "windowpane test" (stretching a small piece thin enough to see light through it without tearing) when properly kneaded or developed. Mastering kneading is a vital skill in this artisan flour baking guide.
Proofing Artisan Flour Bread: Time and Temperature Guidelines
Proofing, the rising of the dough, is where fermentation takes place, developing flavor and creating gas pockets that give bread its structure. Doughs made with artisan flours, especially those containing a higher proportion of whole grain or heritage varieties, may ferment at a different pace than those made with conventional flour. Factors like the type of flour, the temperature of your kitchen, and the strength of your leavening agent (yeast or sourdough starter) all play a role.
Typical bulk fermentation (first rise) for a sourdough loaf with artisan flour might range from 3 to 6 hours at room temperature (around 70-75°F or 21-24°C), or much longer if retarding in the refrigerator (12-48 hours). The dough should roughly double in size and feel airy. Final proofing (after shaping) can be shorter, perhaps 1-3 hours at room temperature or overnight in the fridge. Learning to read the dough – looking for signs of readiness rather than strictly adhering to times – is a hallmark of a skilled baker using this artisan flour baking guide.
Using a Temperature-Controlled Proofer to Control Proofing Temperature
Maintaining a consistent temperature during the proofing phase is crucial for predictable results, especially when working with sensitive doughs made from artisan flours. A temperature-controlled proofer provides a stable environment, eliminating variables caused by fluctuating ambient temperatures in your kitchen. This consistency allows the yeast or sourdough starter to ferment at a steady, optimal rate, ensuring proper development of flavor and texture.
For example, proofing at a consistent 78°F (25.5°C) in a proofer can reliably achieve the desired dough expansion and maturity within a specific timeframe, say 4 hours for bulk fermentation. Without controlled temperature, the same dough might take 6 hours on a cool day or only 3 hours on a warm day, leading to inconsistent outcomes. Using a proofer is a valuable tool for bakers serious about mastering their artisan flour baking guide techniques and achieving repeatable results.
Step 3: Artisan Flour Baking Recipes: From Beginner to Expert
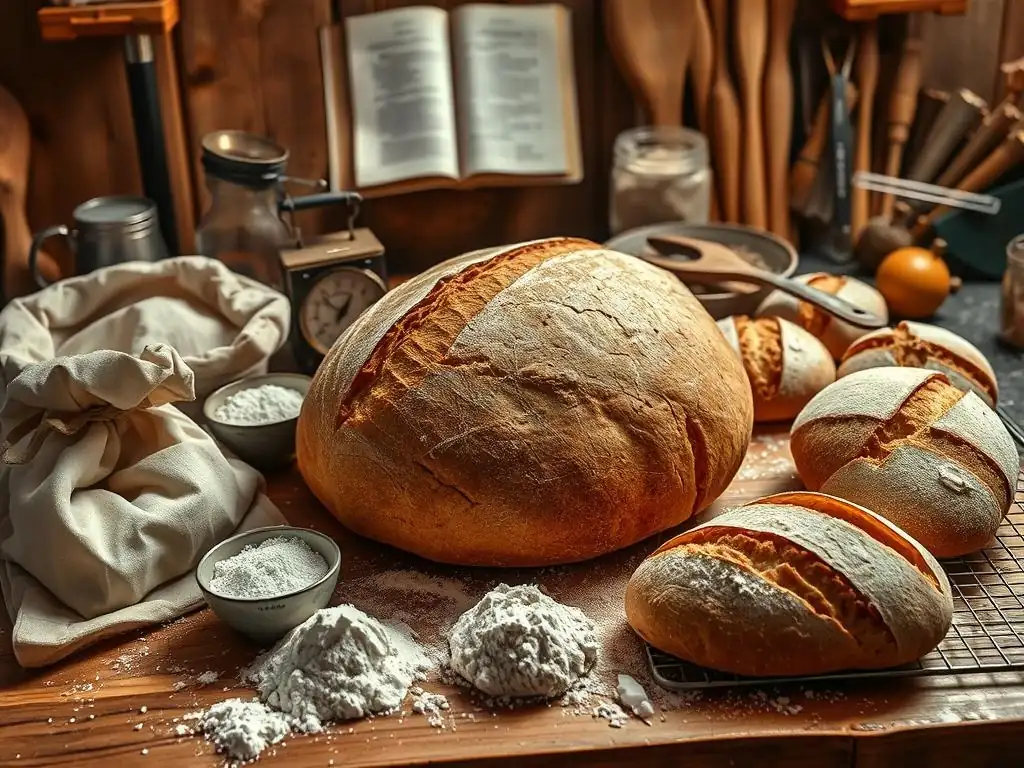
Putting theory into practice is the most exciting part of this artisan flour baking guide. Here, we explore recipes that showcase the unique qualities of artisan flours, ranging from simple loaves perfect for beginners to more complex projects for experienced bakers. Each recipe highlights specific techniques or flour types, allowing you to build your skills incrementally while enjoying delicious, flavorful results.
Remember that these recipes serve as a starting point. Feel free to experiment with different artisan flour varieties once you become comfortable with the basic techniques. Baking is an iterative process; each loaf you bake teaches you something new about the flour, the process, and your own preferences.
Beginner's Guide: Simple Artisan Flour Sourdough Recipe
This recipe is designed to introduce beginners to baking a simple, yet flavorful sourdough loaf using artisan bread flour. It utilizes straightforward techniques and minimal equipment to build confidence.
- Ingredients:
- 400g Strong Artisan Bread Flour (approx. 12-13% protein)
- 100g Mature Sourdough Starter (fed and active)
- 325g Lukewarm Water (approx. 65% hydration relative to flour)
- 8g Fine Sea Salt (approx. 1.6% relative to flour)
Begin by mixing the flour and water in a bowl and letting it rest for 30-60 minutes (autolyse). This helps the flour hydrate evenly. Then, add the sourdough starter and salt, mixing until fully incorporated.
Over the next 2-3 hours, perform a series of stretch and folds every 30 minutes (typically 4-6 sets) to develop gluten. Allow the dough to bulk ferment at room temperature (around 72-75°F / 22-24°C) for 4-6 hours, or until visibly increased in volume and slightly bubbly. Shape the dough, place it in a floured proofing basket, and refrigerate overnight (12-18 hours) for the final proof.
Preheat your oven to 450°F (230°C) with a Dutch oven inside for at least 30 minutes. Score the dough, transfer it to the hot Dutch oven, cover, and bake for 20 minutes. Remove the lid and bake for another 20-25 minutes, or until the crust is deep golden brown and the internal temperature reaches 205-210°F (96-99°C). Let cool completely on a wire rack before slicing.
Recommended Starter: Mature Sourdough Starter
A mature sourdough starter is one that has been fed regularly and is active and bubbly, typically doubling in size within 4-8 hours after feeding. Using a strong starter is crucial for leavening sourdough bread made with artisan flour, providing the necessary lift and characteristic tangy flavor. An inactive starter will result in a dense, flat loaf regardless of the flour quality.
To ensure your starter is ready, feed it 4-12 hours before you plan to mix your dough, using a 1:1:1 ratio of starter, flour (use the same artisan bread flour as your recipe if possible), and water by weight. It should peak and show signs of activity like bubbles and a pleasant, slightly sour aroma. Using a float test (a small dollop floats in water) can also indicate readiness, though visual cues are often sufficient.
Recommended Equipment: Dutch Oven
A Dutch oven is highly recommended for baking sourdough bread, especially when using artisan flours, as it helps create a steamy environment within the oven. The steam prevents the crust from setting too early, allowing the loaf to expand fully during the initial phase of baking (oven spring). This results in a taller loaf with a better crumb structure and a beautifully crisp crust.
A 5-7 quart cast iron Dutch oven is a standard size suitable for most home loaves. Ensure it is oven-safe up to at least 450°F (230°C). Preheating the Dutch oven is essential to provide an initial burst of heat to the dough, further enhancing oven spring.
Intermediate: Crafting a Rustic Artisan Flour Baguette
Moving beyond the basic loaf, this recipe introduces shaping techniques for baguettes using a high-extraction artisan flour, focusing on developing a thin, crispy crust and an open crumb.
- Ingredients:
- 500g Artisan High-Extraction Flour (e.g., T65 or bolted wheat flour)
- 375g Lukewarm Water (75% hydration)
- 1g Instant Dry Yeast (or 100g active liquid levain for sourdough version)
- 10g Fine Sea Salt (2% relative to flour)
Mix flour, water, and yeast (or levain) until just combined and autolyse for 30 minutes. Add salt and mix until incorporated. Perform stretch and folds (4-5 sets over 2-3 hours) until the dough is smooth and elastic. Bulk ferment at room temperature (approx. 72-75°F / 22-24°C) for 2-3 hours, or until increased in volume.
Divide the dough into 2-3 equal pieces (approx. 400-500g each). Gently pre-shape into logs and rest for 20 minutes. Shape into baguettes, ensuring even tension. Proof on a floured couche or in a baguette pan for 45-75 minutes at room temperature, or until puffy but not fully doubled.
Preheat oven to 475°F (245°C) with a baking stone or steel and a steam setup (like a tray with hot water) for at least 30 minutes. Gently transfer baguettes to the hot stone/steel, score them, and add steam. Bake for 20-25 minutes, rotating halfway, until golden brown and crisp. Cool on a wire rack.
Using a Bread Pan with Lid for Optimal Crust Development
While traditional baguettes are baked on a stone with steam, an alternative method for achieving a great crust, especially for other bread shapes, is using a bread pan with a lid or a cloche. This method mimics the steam environment of a professional oven similarly to a Dutch oven, trapping the moisture released by the dough during the initial bake.
A bread pan with a lid is particularly useful for smaller loaves or sandwich breads baked with artisan flour, ensuring they develop a thin, crisp crust rather than a thick, hard one. The trapped steam promotes maximum oven spring before the lid is removed for the crust to brown.
Advanced: Baking a Complex Artisan Flour Miche
A Miche is a large, round loaf, often made with a blend of wheat and rye flours, showcasing deep flavor and a sturdy structure. This recipe requires a strong sourdough starter and a longer fermentation period.
- Ingredients:
- 400g Artisan High-Extraction Wheat Flour
- 100g Artisan Whole Rye Flour
- 425g Lukewarm Water (85% hydration overall)
- 150g Active Rye Sourdough Starter (built with rye flour)
- 10g Fine Sea Salt
Combine flours and water, mix, and autolyse for 60 minutes. Add starter and salt, mixing thoroughly. The dough will be very wet. Perform stretch and folds every 30 minutes for the first 2-3 hours (4-6 sets). Bulk ferment at room temperature (approx.
70-72°F / 21-22°C) for 5-8 hours, or until the dough shows significant signs of fermentation (large bubbles, increased volume). Pre-shape gently into a round and rest for 20-30 minutes. Shape into a tight boule, using minimal flour. Place in a well-floured large proofing basket or bowl lined with a floured towel. Cold proof in the refrigerator for 18-36 hours.
Preheat oven to 500°F (260°C) with a baking stone or steel and a steam setup. Gently invert the dough onto parchment paper or a peel. Score deeply. Slide the loaf onto the hot stone/steel and add steam. Reduce oven temperature to 450°F (230°C). Bake for 20 minutes with steam. Remove steam source and reduce temperature to 425°F (220°C). Continue baking for another 40-60 minutes, or until the crust is very dark and the internal temperature is 205-210°F (96-99°C). This long bake is necessary for such a large loaf. Cool completely (up to several hours) before slicing.
Utilizing a Grain Mill for Freshly Milled Flour
For the ultimate control over your artisan flour baking guide experience, consider milling your own flour using a home grain mill. Freshly milled flour retains all the nutrients and volatile oils from the grain, resulting in unparalleled flavor and aroma in your baked goods. You can mill just the amount you need for a recipe, ensuring maximum freshness.
Home grain mills range from manual hand-crank models to electric impact or stone mills. Using a mill allows you to experiment with different grain varieties (like Einkorn, Emmer, or specific regional wheats) and control the coarseness or fineness of the grind. While it adds an extra step, the quality of bread baked with freshly milled artisan flour is noticeably superior.
Step 4: Troubleshooting Common Issues in Artisan Flour Baking
Even with the best artisan flour and a detailed guide, baking can sometimes present challenges. Dough behavior can vary based on environmental factors, flour specifics, and technique execution. Learning to identify and address common issues is a crucial part of becoming a confident baker. Don't view these problems as failures, but as learning opportunities that deepen your understanding of the process.
Approaching troubleshooting systematically, considering hydration, fermentation time, temperature, and handling, will help you pinpoint the cause of most baking problems. Keeping a baking journal can be invaluable, allowing you to track variables and identify patterns over time.
Dense Bread: Identifying and Correcting Common Problems
Dense bread is one of the most common frustrations in baking, often indicating insufficient leavening or poor gluten development. When using artisan flour, this can happen if the flour's protein content wasn't high enough for the recipe's needs, or if the gluten wasn't properly developed through kneading and fermentation. Another frequent cause is under-proofing; the dough didn't have enough time or warmth to produce sufficient gas before baking.
To correct density, ensure you are using a high-protein artisan bread flour for loaves requiring structure. Extend kneading or stretch-and-fold time until the dough passes the windowpane test. Most importantly, pay close attention to proofing signs – the dough should look significantly increased in volume and feel airy, not dense. If using sourdough, ensure your starter is very active. Baking at the correct high temperature is also important for good oven spring, which prevents density.
Sticky Dough: Handling High-Hydration Artisan Flour Doughs
Dough made with artisan flours, especially those with higher absorption rates or recipes calling for high hydration (75% water to flour or more), can be notoriously sticky. This stickiness is normal and often correlates with a desirable open crumb in the final bread. However, it can make handling difficult for those not used to it.
Instead of adding excessive amounts of flour (which can make the bread dry and dense), rely on techniques that minimize sticking. Keep your hands and work surface lightly wet, not floured, when handling very wet dough. Use a bench scraper to manipulate and move the dough. Allow the dough to rest between folds or shaping steps; this allows the gluten to relax and makes the dough more manageable. Cold proofing also makes sticky dough much easier to handle for shaping and scoring.
Uneven Baking: Achieving Consistent Results with Artisan Flour
Uneven baking, where one part of the loaf is darker or more cooked than another, can occur due to inconsistent oven temperature, improper loaf placement, or uneven heat distribution. Artisan flour loaves, particularly large ones like a Miche, require a consistent and often long bake time to cook through properly while developing a dark, flavorful crust.
To combat uneven baking, ensure your oven is properly calibrated (an oven thermometer is a good investment). Preheat your oven and baking stone/steel for a sufficient amount of time (at least 30-60 minutes) to ensure even heat saturation. If using a Dutch oven, preheat it thoroughly. Rotate your loaf halfway through the baking time, especially if you notice one side browning faster. For larger loaves, reducing the oven temperature slightly after the initial phase and extending the baking time can help ensure the interior cooks fully without the exterior burning.
Using an Instant-Read Thermometer to Ensure Perfect Internal Temperatures
One of the most reliable ways to ensure your bread baked with artisan flour is fully cooked is to check its internal temperature using an instant-read thermometer. While the crust color is a good indicator, it doesn't guarantee the inside is done, especially with larger or denser loaves.
For most lean bread loaves (made only with flour, water, salt, and leavening), a fully baked interior will register between 205°F and 210°F (96°C and 99°C). For enriched doughs (containing milk, eggs, butter, or sugar), the target temperature is slightly lower, typically 190°F to 195°F (88°C to 90°C). Inserting the thermometer into the thickest part of the loaf will give you an accurate reading and confidence that your artisan flour creation is perfectly baked through.
Step 5: Where to Buy the Best Artisan Flours Online and Locally
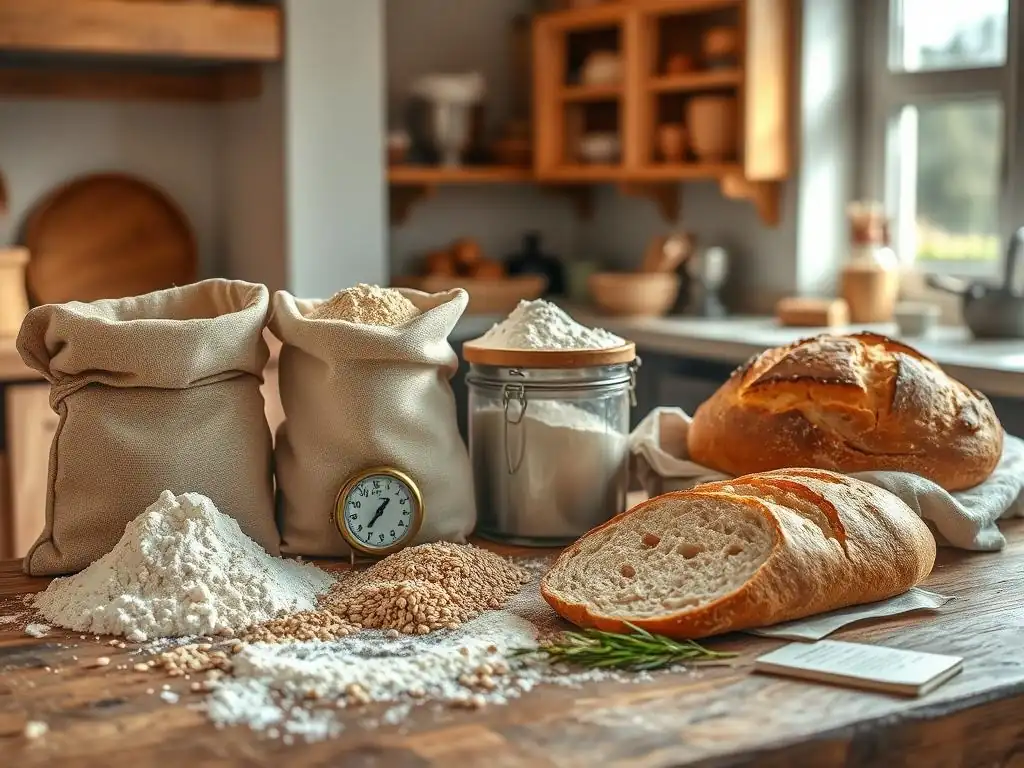
Finding high-quality artisan flour is essential for success following this artisan flour baking guide. While some grocery stores are beginning to stock more specialty flours, the widest selection is often found through dedicated online retailers or by seeking out local mills and bakeries. Investing in good flour is arguably the most impactful step you can take to improve your baking results.
Consider the type of flour you need and the reputation of the producer. Look for information about the grain source, milling process (stone-milled is often preferred for artisan baking), and protein content. Don't be afraid to try flours from different sources to discover your favorites.
Top Online Retailers for Artisan Flour
Several reputable online retailers specialize in high-quality artisan flours, offering a wide variety of grains and milling styles that might not be available locally. Companies like King Arthur Baking, Central Milling, and Bob's Red Mill (specifically their organic or specialty lines) are well-known sources. There are also smaller, independent mills that sell directly through their websites, often providing unique regional grains.
Shopping online provides access to flours from different parts of the country or even the world, allowing you to experiment with diverse flavor profiles and baking characteristics. While shipping costs are a factor, buying in larger quantities can sometimes mitigate this. Researching customer reviews and product descriptions on these sites will help you make informed choices about which artisan flours to purchase for your next baking project.
Finding Local Mills and Bakeries Offering Artisan Flours
Supporting local food systems is a great way to source exceptional artisan flours. Many small-scale grain farmers and millers sell their products directly at farmers' markets, through community-supported agriculture (CSA) programs, or from their own farm stores. These flours are often milled in small batches, ensuring freshness and providing unique characteristics tied to the local terroir.
Additionally, many artisan bakeries that mill their own flour or source directly from local mills will sell flour to the public. Visiting local bakeries or checking their websites is a good way to find these sources. Buying locally not only provides access to incredibly fresh flour but also supports your local economy and connects you directly to the source of your ingredients, enhancing your connection to the artisan flour baking guide principles.
Comparing Prices and Quality: A Buyer's Guide to Artisan Flours
When purchasing artisan flours, price is often higher than conventional flour, reflecting the specialized grains, milling methods, and smaller production scales. Prices can range significantly, from around $3-$5 per pound for some widely available artisan flours to $8-$15 per pound or more for rare heritage grains or specialty grinds.
It's important to compare prices across different vendors, but also consider the quality and type of flour. A higher price might indicate a stone-milled organic heritage grain, while a lower price might be for a roller-milled high-extraction flour from a more common wheat variety. Read descriptions carefully, look for details on protein content, milling process, and grain source. Investing in quality flour is an investment in the flavor and success of your baked goods, making it a worthwhile consideration in your artisan flour baking guide journey.
Conclusion: Elevate Your Baking with the Magic of Artisan Flours
Integrating artisan flours into your baking is a rewarding step that promises richer flavors, improved textures, and a deeper connection to the ingredients you use. From understanding the protein content suitable for your project to mastering the techniques of hydration and proofing, this artisan flour baking guide has provided a framework for success. Whether you're a beginner trying your first sourdough or an experienced baker tackling a complex Miche, artisan flours offer a vast playground for culinary creativity.
Don't be discouraged by the initial learning curve. Each loaf baked, each pastry crafted, is an opportunity to refine your skills and learn more about the unique properties of these exceptional flours. By selecting the right artisan flour, applying appropriate techniques, and troubleshooting common issues, you are well on your way to creating baked goods that are not only delicious but truly stand out. Embrace the journey, enjoy the process, and savor the incredible results that come from baking with artisan flours.
Frequently Asked Questions
What exactly are artisan flours and why should I use them?
Artisan flours are specialty flours that are often milled in small batches. They retain more of the grain's nutrients and offer a richer, more complex flavor profile compared to all-purpose flour.
Are artisan flours difficult to work with, especially for beginners?
While they can present a slight learning curve, no. Our guides provide step-by-step instructions and tips to help bakers of all levels successfully use artisan flours. Start with a simple recipe!
Where can I find artisan flours? Are they readily available?
Artisan flours are becoming increasingly available. Check specialty grocery stores, local mills, and online retailers. BakeWithEase will also recommend trusted suppliers.
Do I need to adjust my recipes when using artisan flours?
Yes, often. Artisan flours can have different absorption rates than all-purpose flour. Our guides will show you how to adjust hydration levels and baking times for best results.
What's the best type of artisan flour to use for sourdough bread?
Whole wheat flour and rye flour are excellent choices for sourdough starters and bread. They provide the necessary nutrients for yeast activity and contribute to a tangy flavor.
Final Reflection: The Enduring Allure of Artisan Flour
The resurgence of artisan flours isn't just a trend; it's a testament to our growing appreciation for quality, provenance, and the simple pleasure of handcrafted food. From the rustic charm of sourdough to the delicate crumb of a rye loaf, the unique characteristics of artisan flours elevate baking from a task to an art form. This guide has explored the diverse world of these flours, equipping you with the knowledge to confidently experiment and create truly exceptional baked goods.
The journey into artisan flour baking is more than just mastering techniques; it's a connection to a richer culinary history and a deeper understanding of the ingredients that nourish us. It's about appreciating the nuances of flavor and texture that mass-produced flours simply can't replicate. As the renowned baker, Chad Robertson, once said, Bread baking is a journey of discovery, a constant learning process, and a celebration of simple ingredients transformed into something extraordinary.
This sentiment perfectly encapsulates the spirit of exploration and satisfaction that comes with working with artisan flours.
Now, it's your turn. Take the knowledge you've gained from this guide and embark on your own baking adventures. Experiment with different flours, explore new recipes, and most importantly, savor the process. Don't be afraid to fail; every misstep is a lesson learned, bringing you closer to mastering the art of baking with artisan flours. The reward? The unparalleled satisfaction of creating something beautiful, delicious, and deeply personal – a testament to your skill and passion.
Unleash Your Inner Baker: Master Artisan Flours Today!
Thanks for diving deep into the world of artisan flours with us! We hope you've gained the confidence to experiment and create truly exceptional baked goods. Ready to take your baking to the next level?
- Start baking with your newfound knowledge! Choose one recipe from the guide and give it a try – we bet you'll be amazed by the results. This is your chance to put your learning into practice.
- Share your baking creations: Tag us on social media with your pictures! Let's celebrate your artisan flour adventures together. Use #BakeWithEaseArtisan.
- Challenge yourself: Try a flour you haven't used before. What unique flavour or texture will it add to your next creation?
Ready to transform your baking? What's the first artisan flour recipe you'll tackle?