
Your Quick Start Guide to Baking Sourdough Rye

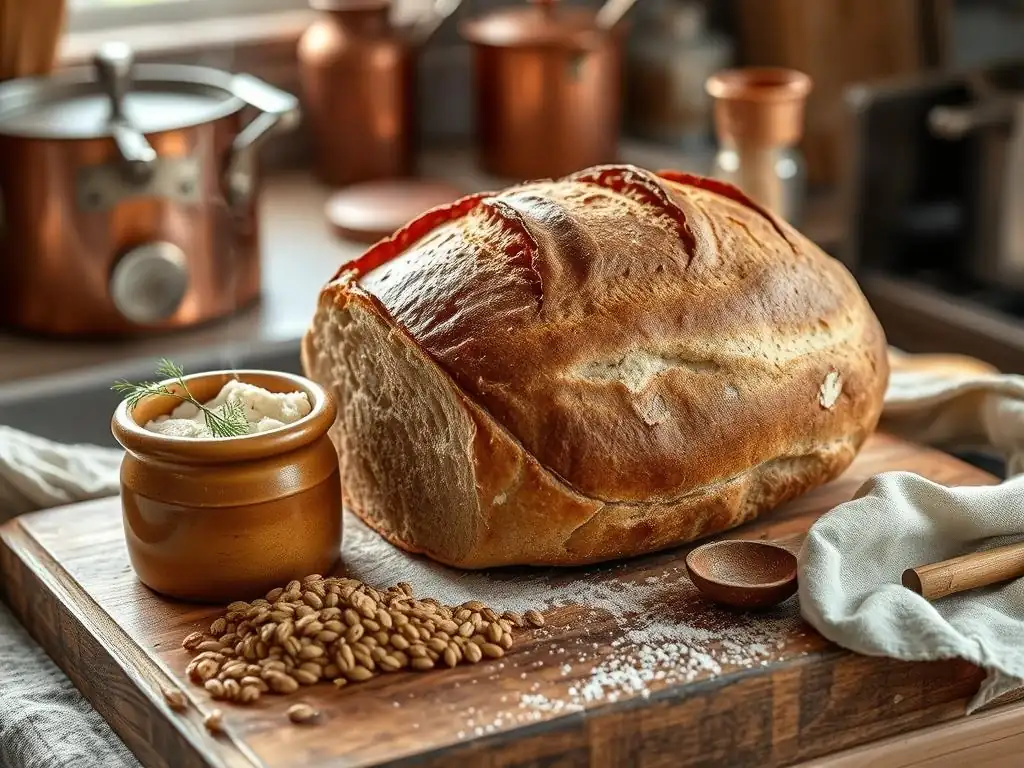
Welcome to BakeWithEase, your ultimate guide to unlocking the magic of baking! Ever dreamed of crafting that perfect loaf of sourdough rye? This is where your journey begins. We're diving deep into easy sourdough rye starter tips to help you conquer this rewarding baking adventure. Get ready to transform simple ingredients into something truly extraordinary – let's get baking!
- Introduction to Sourdough Rye Baking
- Creating Your Sourdough Rye Starter
- Simple Sourdough Rye Recipe
- Sourdough Rye Starter Tips
- Mastering Sourdough Rye
- Enjoying Your Homemade Sourdough Rye
- Conclusion: Your Sourdough Rye Baking Adventure
-
Frequently Asked Questions
- What exactly is a sourdough rye starter, and why use rye?
- How often should I feed my sourdough rye starter?
- What are some signs that my sourdough rye starter is ready to bake with?
- What if my sourdough rye starter seems sluggish or inactive?
- Can I convert an existing wheat sourdough starter to a rye starter?
- Final Reflection: The Enduring Allure of Sourdough Rye
- Unleash Your Inner Baker: Start Your Sourdough Rye Journey!
Introduction to Sourdough Rye Baking
Why Bake Sourdough Rye?
Baking sourdough rye bread offers a uniquely rewarding experience, distinct from baking with wheat flour alone. Rye flour brings a depth of flavor that is both earthy and slightly sweet, complemented by the characteristic tang of sourdough fermentation. Unlike wheat, rye flour has lower gluten content, which results in a denser, moister crumb, a texture highly prized in many traditional European bread styles.
Beyond its delicious taste and texture, sourdough rye also boasts potential health benefits. The fermentation process can help break down phytic acid, improving nutrient availability. Additionally, the lower glycemic index compared to many wheat breads makes it a favorable choice for those monitoring blood sugar levels. Embracing sourdough rye baking is a journey into rich history, satisfying texture, and incredible flavor that's surprisingly accessible with the right guidance and some easy sourdough rye starter tips.
Understanding Sourdough Rye Starter
A sourdough rye starter is simply a living culture of wild yeasts and beneficial bacteria cultivated from rye flour and water. These microorganisms are naturally present in the flour and the environment. When mixed with water and fed regularly, they multiply and create the leavening power needed to make bread rise, while also developing complex flavors through fermentation.
Using rye flour specifically for your starter can be advantageous, especially for beginners looking for easy sourdough rye starter tips. Rye flour is particularly rich in nutrients that wild yeasts love, often leading to a more vigorous and active starter compared to starters made solely with white flour. This robust activity can simplify the process of getting your starter ready for baking, providing a reliable foundation for your sourdough rye bread.
Creating Your Sourdough Rye Starter
Day 1: Initial Mixing
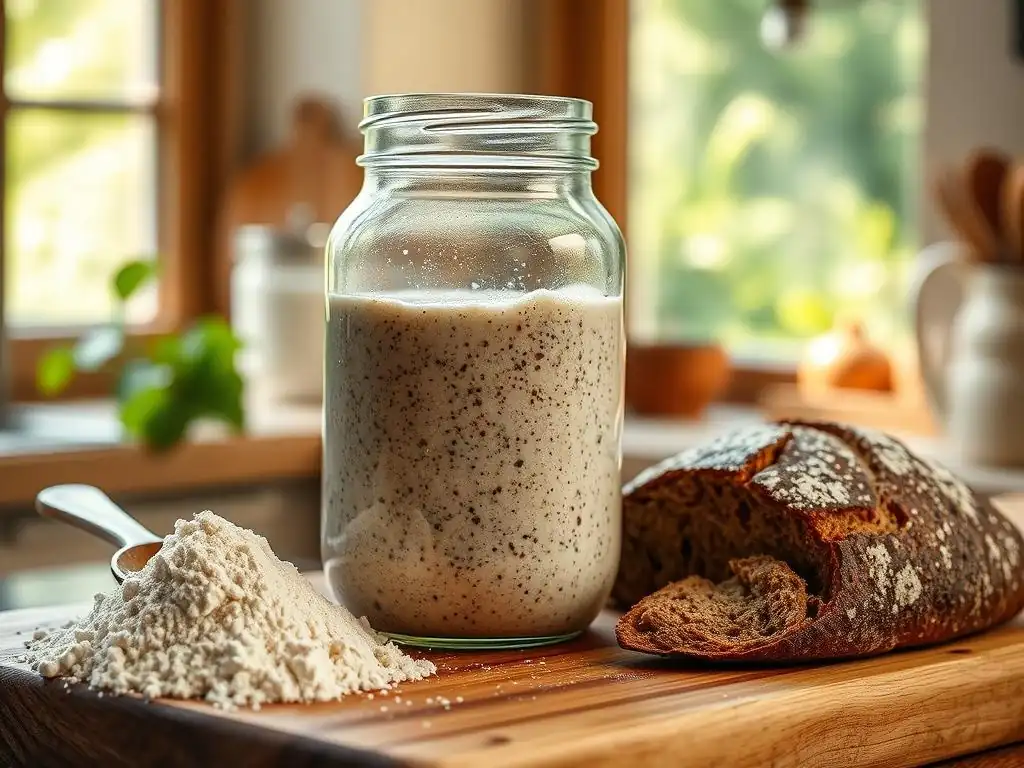
Starting your sourdough rye culture is a straightforward process. You'll need just two ingredients: rye flour and non-chlorinated water. A good starting point is equal parts by weight. For instance, combine 50 grams of rye flour with 50 grams of lukewarm water in a clean jar or container. Mix thoroughly until there are no dry clumps of flour, ensuring a smooth, paste-like consistency.
Cover the jar loosely with a lid or plastic wrap, allowing air to escape but preventing it from drying out. Place the jar in a warm spot in your kitchen, ideally between 70-80°F (21-27°C). This initial mix is the foundation; the wild yeasts and bacteria will begin to wake up and multiply over the next 24 hours, beginning the fermentation process that is key to easy sourdough rye starter tips.
Days 2-7: Feeding and Monitoring
Starting on day 2, and for approximately the next 5-6 days, you will feed your starter daily. Each day, discard most of the starter, leaving only a small amount (e.g., 25-50 grams). Then, add fresh rye flour and non-chlorinated water in equal weights to the remaining starter. A common feeding ratio is 1:1:1 (starter:flour:water), for example, 25g old starter + 50g rye flour + 50g water. Mix well, cover loosely, and return to its warm spot.
You should start to see signs of life within a few days – small bubbles forming on the surface and throughout the mixture, a slight increase in volume, and perhaps a mild, tangy aroma. The activity will likely be inconsistent at first. Continue feeding daily at roughly the same time. By day 5-7, your starter should ideally be reliably doubling or tripling in size between feedings and have a pleasant, tangy smell, indicating it's becoming strong and ready to bake with, embodying the goal of easy sourdough rye starter tips.
Troubleshooting Starter Problems: Inconsistent Rise
It's common for a new starter to have an inconsistent rise in the first week or two. One day it might look active, the next day it might seem dormant. This is usually due to the microbial population stabilizing; different yeasts and bacteria compete before a dominant, stable culture emerges. Patience is key here.
Ensure you are using consistent feeding ratios and temperatures. If your kitchen is cool, finding a warmer spot (like near a warm appliance or inside a turned-off oven with the light on) can help. Sometimes, switching to a different brand of rye flour or using slightly warmer water (around 80-85°F / 27-30°C) can give the microbes a boost. Don't get discouraged by slow activity; persistent, regular feeding is the most effective way to build a strong starter, which is one of the most valuable easy sourdough rye starter tips.
Determining Starter Readiness
Your sourdough rye starter is typically considered ready for baking when it consistently doubles or triples in volume within 4-8 hours after being fed at room temperature (around 75°F / 24°C). When it reaches its peak height and then slowly starts to fall, it is at its most active and potent point for leavening bread.
A simple test to confirm readiness is the float test. Gently drop a small spoonful of starter into a glass of water. If it floats, it's full of carbon dioxide produced by the active yeasts and is ready to bake with. If it sinks, it may need more time to develop strength or another feeding. Achieving this consistent activity is a key milestone in following easy sourdough rye starter tips.
Simple Sourdough Rye Recipe
Ingredients
- 100g active sourdough rye starter (fed 4-8 hours prior)
- 350g lukewarm water (around 80-85°F / 27-30°C)
- 400g strong bread flour (or a mix, e.g., 300g bread flour + 100g rye flour)
- 100g rye flour (medium or dark)
- 10g fine sea salt
This recipe uses a relatively high percentage of hydration and incorporates both wheat and rye flour for a balanced texture and flavor. Using an active starter, following these ingredient ratios is a fundamental part of easy sourdough rye starter tips for a successful loaf. Adjusting the ratio of bread flour to rye flour can significantly impact the final crumb density.
Baking Instructions
Mixing the Dough
In a large mixing bowl, whisk together the active sourdough rye starter and the lukewarm water until the starter is mostly dissolved. Add the bread flour, rye flour, and salt. Mix with a sturdy spoon or your hands until a shaggy dough forms and there are no dry flour spots visible. Cover the bowl and let it rest for 30 minutes (autolyse). This allows the flour to hydrate and the gluten development to begin naturally, a crucial step for easy sourdough rye starter tips aiming for good crumb structure.
After the rest, perform a series of stretches and folds over the next 2-3 hours. Every 30-45 minutes, wet your hand slightly, grab one side of the dough, stretch it upwards, and fold it over the center. Rotate the bowl and repeat 3-4 times until the dough is more cohesive and elastic. This manual process helps build strength in the dough's structure.
Bulk Fermentation
After the stretch and fold series is complete, the dough enters the bulk fermentation phase. Cover the bowl and let it rest at room temperature (around 72-78°F / 22-26°C) until it has significantly increased in volume, ideally by about 50-75%. This can take anywhere from 3 to 5 hours, depending on the temperature and the activity of your starter.
During this time, the starter works to leaven the dough and develop flavor. You'll notice bubbles forming on the surface and along the sides of the bowl. This stage is critical; under-fermenting can lead to a dense crumb, while over-fermenting can make the dough difficult to handle and result in a gummy texture. Pay attention to visual cues and the dough's feel, which is a key part of implementing easy sourdough rye starter tips effectively.
Shaping
Once the bulk fermentation is complete, gently turn the dough out onto a lightly floured surface. Be careful not to degas it too much. Gently shape the dough into your desired form, either a round boule or an oval batard. Rye dough can be stickier than pure wheat dough, so use minimal flour on your hands and surface.
Work quickly and confidently to build tension on the surface of the dough, creating a smooth skin. This surface tension will help the loaf hold its shape during proofing and baking. Place the shaped dough seam-side up into a well-floured banneton or proofing basket (or a bowl lined with a floured tea towel).
Proofing
The shaped dough now needs a final proof before baking. This can be done at room temperature for 1-2 hours, or cold proofed in the refrigerator for 8-15 hours. Cold proofing develops more complex flavors and makes the dough easier to handle and score.
If cold proofing, cover the banneton with a plastic bag or wrap to prevent drying. When ready to bake, preheat your oven and baking vessel (like a Dutch oven) while the dough warms up slightly on the counter for 30-60 minutes if coming straight from the fridge. Proper proofing, whether warm or cold, is vital for a good rise and crumb structure, tying into the overall easy sourdough rye starter tips for successful bread.
Baking
Preheat your oven with a Dutch oven inside to 450°F (230°C) for at least 30-45 minutes. Carefully transfer the proofed dough from the banneton onto a piece of parchment paper or directly into the hot Dutch oven. Score the top of the loaf with a sharp knife or razor blade; this allows the bread to expand predictably as it bakes.
Cover the Dutch oven and bake for 20 minutes. This initial covered bake creates steam, which helps the crust expand before it hardens. After 20 minutes, remove the lid and continue baking for another 20-25 minutes, or until the crust is deep golden brown and the internal temperature reaches around 205-210°F (96-99°C). Baking thoroughly is crucial for preventing a gummy interior.
Cooling and Slicing
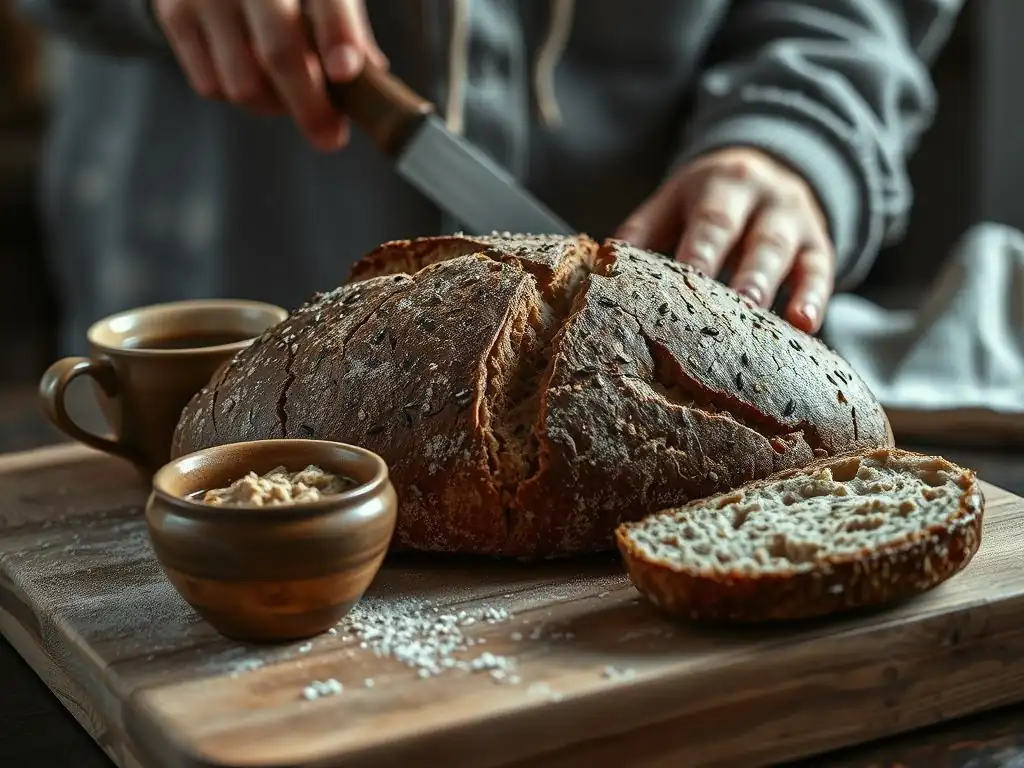
Once baked, carefully remove the loaf from the Dutch oven and place it on a wire rack to cool completely. This is arguably the hardest part – waiting! Slicing into a hot loaf traps steam, resulting in a gummy texture. Allow the bread to cool for at least 2-3 hours, ideally longer for a rye loaf, before slicing.
This cooling period allows the internal structure to set properly and the flavors to fully develop. Patience here is rewarded with a much better crumb and texture. Using a sharp serrated knife will make slicing much easier, revealing the beautiful interior you worked to create with your easy sourdough rye starter tips.
Sourdough Rye Starter Tips
Maintaining a Healthy Starter
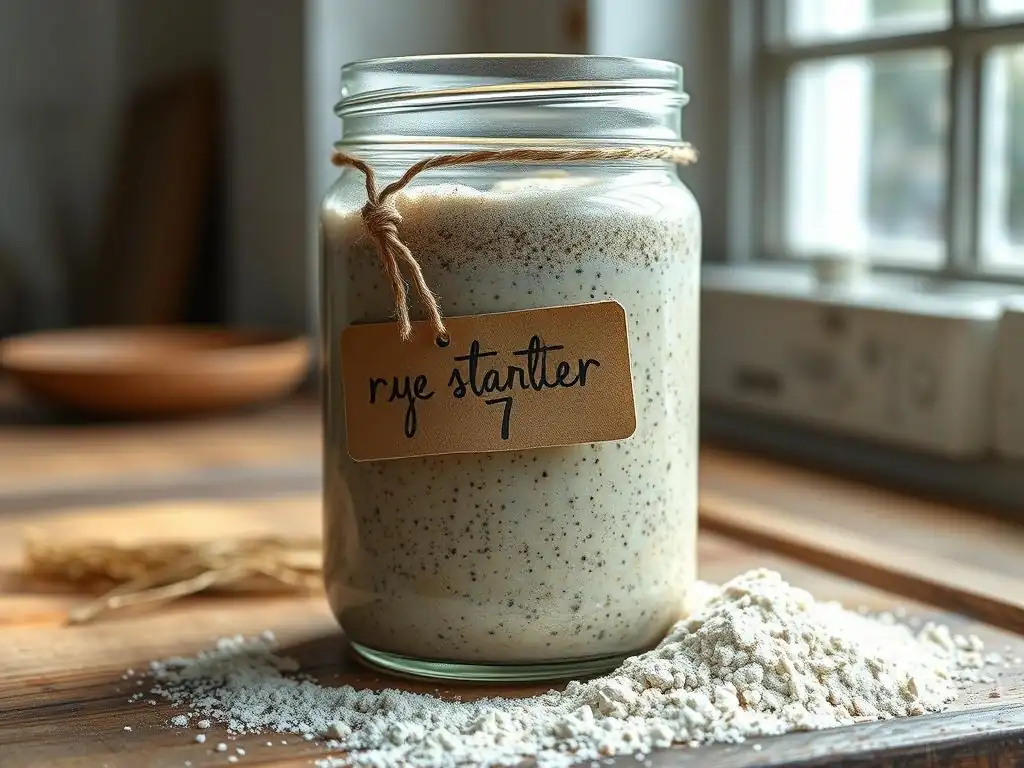
Keeping your sourdough rye starter healthy is key to consistent baking results. If you bake frequently (daily or every few days), keeping your starter at room temperature and feeding it once or twice a day is ideal. Use a consistent feeding ratio, like 1:2:2 (starter:flour:water) or 1:3:3, to ensure it has enough food to remain vigorous between uses.
If you bake less often, storing your starter in the refrigerator is a great option. Feed it, let it sit at room temperature for 1-2 hours, then refrigerate. In the fridge, it only needs to be fed once a week or even every two weeks. When you're ready to bake, take it out, let it warm up, and feed it 1-3 times at room temperature over 1-2 days until it's consistently doubling within 4-8 hours again. These easy sourdough rye starter tips help you manage your starter around your baking schedule.
Adapting the Recipe
One of the joys of sourdough baking is adapting recipes to your preference and your starter's unique characteristics. The hydration level (the ratio of water to flour) is a key variable. The provided recipe is around 70% hydration relative to the total flour weight (350g water / 500g total flour). If your starter is very stiff or you prefer a dough that is easier to handle, you can reduce the water slightly (e.g., to 325g).
Conversely, if you want a more open crumb and your starter is very active, you could increase the water slightly. Remember that rye flour absorbs less water than wheat, so rye doughs tend to be stickier at lower hydration levels than pure wheat doughs. Experimenting with hydration and the ratio of rye to wheat flour are excellent easy sourdough rye starter tips for tailoring the loaf to your taste.
Troubleshooting Baking Issues
Dense Crumb Solutions
A common issue with rye sourdough is a dense or gummy crumb. This can often be traced back to fermentation or proofing issues. Ensure your starter is very active and at its peak when you mix the dough. Under-proofing during bulk fermentation is a major culprit; make sure the dough has increased by at least 50% before shaping.
Over-proofing during the final proof can also lead to a dense crumb because the dough structure collapses. If cold proofing, ensure your starter was strong enough to handle the long fermentation. Baking the loaf thoroughly is also essential; an underbaked rye loaf will definitely be gummy. Using sufficient steam in the oven (like with a Dutch oven) helps achieve a good oven spring, contributing to a less dense crumb. These are crucial easy sourdough rye starter tips for achieving a desirable texture.
Adjusting Sourness
The level of tanginess in your sourdough rye bread is primarily controlled by fermentation time and temperature. Longer and cooler fermentation periods tend to produce a more sour loaf because the lactic acid bacteria (which produce tang) are more active at lower temperatures than the yeasts.
If you prefer a less sour loaf, use your starter when it's just peaked (not starting to fall), perform a shorter bulk fermentation at a slightly warmer temperature (aim for the higher end of the 72-78°F range), and consider a shorter final proof (or bake after a shorter cold proof, perhaps 8-12 hours instead of 15+). Conversely, for more tang, use a longer cold proof in the refrigerator. Adjusting these factors is a simple yet effective way to control the flavor profile, offering personalized easy sourdough rye starter tips.
Mastering Sourdough Rye
Advanced Techniques: Using a Soaker
Incorporating a soaker is an advanced technique that can significantly improve the texture and moisture of rye sourdough, particularly when using whole grains or seeds. A soaker involves soaking a portion of the rye flour, cracked rye berries, or seeds in hot water for several hours or overnight before adding them to the main dough mix.
This pre-hydration step allows the grains to absorb moisture fully, preventing them from stealing water from the dough during mixing and fermentation. It results in a softer, more moist crumb and a longer-lasting loaf. For example, you could soak 50g of cracked rye in 100g of hot water overnight and add this mixture with the rest of the ingredients the next day. This adds another layer of complexity and texture to your rye sourdough journey.
Types of Rye Flour
The type of rye flour you use will impact the flavor, color, and texture of your bread. Light rye flour (also known as white rye) has most of the bran and germ removed, resulting in a lighter color and milder flavor, and slightly more gluten-like structure than darker rye. It's often used in combination with wheat flour.
Medium rye flour contains more of the bran and germ and offers a more pronounced rye flavor and darker color. Dark rye flour, including pumpernickel, is milled from the entire rye berry and has the strongest flavor, darkest color, and highest nutritional content. It results in a very dense loaf. Using different types, or blends, allows for endless variation in your baking.
Exploring Regional Variations
Sourdough rye bread has a rich history across many cultures, leading to diverse regional variations. German Roggenbrot often features high percentages of rye, sometimes with added seeds or spices like caraway. Pumpernickel, a very dark, dense bread, is traditionally made with coarsely ground rye and baked for long periods at low temperatures.
Eastern European variations, like Russian Borodinsky bread, often include coriander and molasses, creating unique flavor profiles. Exploring these regional styles can provide inspiration for adapting your own recipes, perhaps incorporating different flours, spices, or techniques to create your signature sourdough rye loaf.
Enjoying Your Homemade Sourdough Rye
Serving Suggestions
Homemade sourdough rye bread is incredibly versatile. Its hearty flavor pairs beautifully with simple toppings. Enjoy a slice toasted with butter, cream cheese, or a good quality jam. It makes an excellent base for open-faced sandwiches, topped with smoked salmon, pickled herring, or strong cheeses like Gruyère or aged cheddar.
For a heartier meal, serve it alongside soups, stews, or goulash to soak up the delicious broth. The unique tang and texture also make it a fantastic accompaniment to cured meats or pâté. Don't be afraid to experiment and find your favorite pairings; the possibilities are vast.
Storing for Freshness
To keep your sourdough rye bread fresh, store it at room temperature. Once cut, the cut surface should be covered to prevent it from drying out. You can store the loaf in a bread box, a linen bread bag, or wrapped in beeswax wrap. Avoid refrigerating homemade bread, as this tends to dry it out quickly and can make the texture stale.
For longer storage, sourdough rye freezes exceptionally well. Slice the cooled loaf and place the slices in a freezer-safe bag or container. Frozen slices can be popped directly into a toaster for a quick, fresh taste whenever you want. A whole loaf can also be frozen and thawed at room temperature.
Conclusion: Your Sourdough Rye Baking Adventure
Embarking on the journey of baking sourdough rye might seem daunting at first, but with a little patience and the right easy sourdough rye starter tips, it's a deeply rewarding experience. From cultivating your own vigorous starter using nutrient-rich rye flour to mastering the steps of mixing, fermenting, and baking, each stage brings you closer to a truly exceptional loaf.
Remember that baking is a process of learning and adaptation. Not every loaf will be perfect, and that's okay! Pay attention to your starter, observe your dough, and don't be afraid to experiment. With practice, you'll gain confidence, develop your own rhythm, and consistently bake delicious, hearty sourdough rye bread that you can proudly share (or keep all to yourself!). Happy baking!
Frequently Asked Questions
What exactly is a sourdough rye starter, and why use rye?
A sourdough rye starter is a fermented mixture of rye flour and water used to leaven bread. Rye flour encourages a more active and robust starter due to its higher nutrient content.
How often should I feed my sourdough rye starter?
Feed your starter every 12-24 hours at room temperature for optimal activity. Consistency is key to maintaining a healthy and active starter.
What are some signs that my sourdough rye starter is ready to bake with?
Look for a doubling in size after feeding, along with visible bubbles throughout the starter. It should also have a slightly sour, but not unpleasant, aroma.
What if my sourdough rye starter seems sluggish or inactive?
Ensure you are using unbleached rye flour and maintaining a consistent feeding schedule. Warmer temperatures can also help boost activity, but avoid extremes.
Can I convert an existing wheat sourdough starter to a rye starter?
Yes, gradually replace wheat flour with rye flour over several feedings. This allows the starter to adapt to the new flour and develop the characteristic rye flavor.
Final Reflection: The Enduring Allure of Sourdough Rye
The seemingly simple act of baking sourdough rye bread connects us to a rich culinary history, and its enduring popularity speaks volumes about our desire for authentic, handcrafted food. In a world increasingly dominated by processed ingredients and fast-paced lifestyles, the slow fermentation and intricate process of sourdough rye offers a powerful antidote – a tangible link to tradition and a rewarding journey of culinary exploration.
The journey of creating a sourdough rye starter, though initially daunting, becomes a deeply personal experience. It's a testament to patience, observation, and the subtle magic of nature's own alchemy. The best things in life are worth waiting for,
and this certainly rings true for the rich, complex flavor that only a well-nurtured sourdough starter can provide. The process itself fosters a connection to the food we consume, reminding us of the effort and care that goes into creating something truly special.
Now, armed with the knowledge and confidence gained from this guide, I invite you to embark on your own sourdough rye adventure. Don't be intimidated by the initial steps; embrace the process, enjoy the journey, and savor the incredible reward of a loaf of bread baked with your own hands. The satisfaction is immeasurable, and the taste? Unforgettable. Let the aroma of freshly baked sourdough rye fill your home and bring a touch of warmth and tradition to your table.
Unleash Your Inner Baker: Start Your Sourdough Rye Journey!
Thanks for taking the time to explore the wonderful world of sourdough rye bread! We hope you've gained the confidence to tackle this rewarding baking adventure. Now it's time to put your new knowledge into practice.
- Bake your first sourdough rye loaf! Use the recipe and techniques you just learned to create a delicious, homemade loaf. Don't be afraid to experiment – baking is all about discovery!
- Share your baking triumph! Post a picture of your creation on social media and tag #BakeWithEaseSourdoughRye – we'd love to see it!
- Consider exploring other sourdough variations – perhaps a whole wheat or a multigrain. The possibilities are endless!
What unique twist will you add to your first sourdough rye loaf? Let's hear about it in the comments!