
How to Store Buttercream and Bring it Back to Perfect Consistency

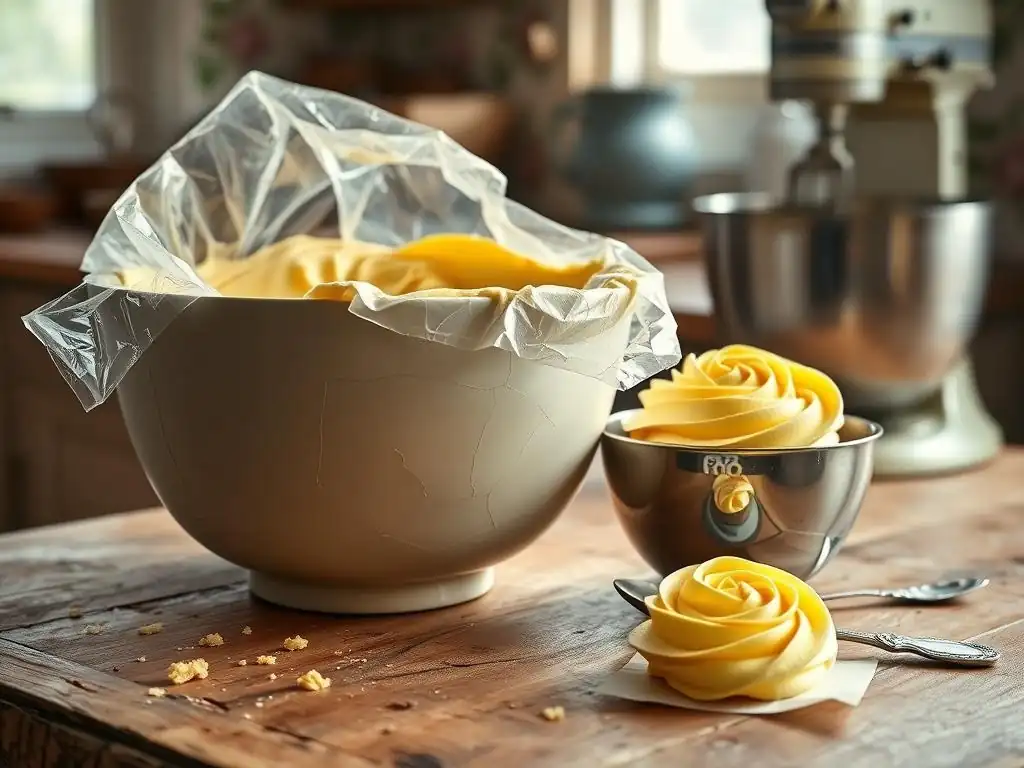
Welcome to BakeWithEase, your haven for baking bliss! Ever found your buttercream looking less than perfect? Fear not! Dive into our guide on How to Store Buttercream and Bring it Back to Perfect Consistency, and unlock the secrets to rescuing even the most stubborn batches. Discover the simple steps to revive your buttercream and ensure your creations are always flawlessly delicious. Intrigued? Let's get baking!
- How to Revive Buttercream: Restoring Perfect Consistency
- Tools and Equipment for Buttercream Storage and Revival
- Tips and Tricks for Maintaining Buttercream Quality
- Troubleshooting Common Buttercream Issues After Storage
- Buttercream Revival Techniques for Different Baking Needs
- Conclusion: Mastering Buttercream Storage and Revival for Baking Success
- Frequently Asked Questions
- Final Reflection: The Enduring Deliciousness of Perfectly Revived Buttercream
- Rediscover Your Perfectly Pipeable Buttercream!
How to Revive Buttercream: Restoring Perfect Consistency
So you've properly stored your delicious buttercream, whether in the fridge or freezer, and now it's time to use it. Pulling chilled or frozen buttercream out can be a bit daunting – it's often hard, stiff, or even looks separated. Don't fret! Learning how to revive buttercream is a fundamental skill for any baker aiming for smooth, spreadable, or perfectly pipeable frosting. This section will guide you through bringing your stored buttercream back to its glorious, ready-to-use state.
Reviving buttercream isn't just about making it soft again; it's about restoring its emulsification, texture, and consistency so it performs exactly how you need it to for your baking project. Whether you're frosting a cake, piping swirls on cupcakes, or filling macarons, the right consistency is key. We'll cover the common issues you might encounter and provide step-by-step techniques to help you master the art of buttercream revival, ensuring your stored frosting is just as good as freshly made.
Troubleshooting Buttercream Problems: Common Issues and Solutions
When you retrieve stored buttercream, especially from refrigeration, you'll likely find it quite firm, almost solid. This is completely normal! The fats in the buttercream solidify when chilled. The main "problem" at this stage is simply its lack of pliability. Another common issue is that the buttercream might appear separated or curdled, with liquid (often butterfat) pooling or streaks visible. This doesn't mean it's ruined; it's usually a temporary state caused by temperature changes affecting the emulsion.
Beyond stiffness and apparent separation, you might encounter graininess, especially with confectioners' sugar-based buttercreams like American buttercream, or a slightly greasy texture. These issues can often be resolved during the revival process. For example, graininess might be due to sugar crystals not fully dissolving or recrystallizing during storage, while greasiness can be related to temperature fluctuations causing the butterfat to break slightly. Knowing how to revive buttercream effectively means being prepared to tackle these textures and restore the smooth, uniform consistency you desire.
Reviving Refrigerated Buttercream: A Step-by-Step Approach
Reviving buttercream that has been stored in the refrigerator is generally the simplest process. The primary goal is to bring its temperature back up and re-incorporate any components that may have separated. The key is patience and gentle encouragement, not drastic measures like high heat.
Start by letting the chilled buttercream sit at room temperature for a period. For a standard batch (enough for a 2-layer cake), this might take anywhere from 30 minutes to 2 hours, depending on your kitchen's temperature and how cold the fridge was. You want it to soften slightly around the edges but still be cool in the center.
Once it's softened a bit, the next step in how to revive buttercream is to mix it. Transfer the buttercream to the bowl of a stand mixer fitted with the paddle attachment, or use a large mixing bowl and a sturdy hand mixer. Start mixing on low speed. Initially, it might look lumpy or broken, but as it mixes, the friction will generate a little heat, and the consistent motion will help emulsify the fats and liquids again.
Gradually increase the speed to medium. Continue mixing until the buttercream is smooth, creamy, and has reached your desired consistency for spreading or piping. This process typically takes 3 to 5 minutes.
How to Soften Stiff Buttercream
If your refrigerated buttercream is still too stiff after initial mixing, you need to soften it further. One gentle method is to take a small portion (about half a cup) of the stiff buttercream and warm it slightly. You can do this in the microwave for very short intervals (5-10 seconds at a time), stirring thoroughly after each burst, until it's just warm and slightly melted, not hot or fully liquid. Alternatively, place the small portion in a heatproof bowl set over a pot of barely simmering water (a makeshift double boiler), stirring constantly until it's just softened.
Once this small portion is softened, return it to the main batch of stiff buttercream in your mixer. Mix on medium speed. The warmth from the softened portion will help loosen the rest of the buttercream, and the mixing action will distribute the warmth and re-emulsify the mixture. Continue mixing until the entire batch is smooth and pliable. This technique allows you to control the softening process without accidentally melting the entire batch, which can lead to a greasy texture.
Achieving the Right Texture: Tips for Smooth Buttercream
Achieving a perfectly smooth and creamy texture is crucial when you how to revive buttercream. After mixing the softened buttercream, assess its consistency. If it still feels a bit stiff or dense, you can add a small amount of liquid – typically milk, cream, or even water – one teaspoon at a time, while mixing on low speed. For a standard batch, you might only need 1-3 teaspoons total. Be cautious not to add too much liquid, as this can make the buttercream too loose and runny.
Alternatively, simply continuing to whip the buttercream on medium speed for an extra few minutes can often improve the texture. The prolonged mixing incorporates air, making the buttercream lighter and fluffier, which contributes to a smoother mouthfeel and easier spreadability. If using a stand mixer, scrape down the sides and bottom of the bowl occasionally to ensure everything is evenly mixed. The goal is a consistent, spreadable texture that holds its shape if you were to pipe it.
Restoring Frozen Buttercream: The Revival Process
Restoring buttercream that has been frozen requires a bit more time and care than refrigerated buttercream, primarily because it needs to be thawed completely before it can be revived. The thawing process is critical to prevent excessive separation and ensure a smoother path to recovery. The best and safest way to thaw frozen buttercream is slowly in the refrigerator.
This can take anywhere from 24 to 48 hours for a standard batch, depending on the volume and how densely it was packed. Avoid thawing at room temperature for extended periods, as this can encourage bacterial growth and lead to poor texture.
Once the buttercream is fully thawed in the refrigerator, it will likely be very cold and stiff, similar to refrigerated buttercream but perhaps with more apparent separation or a slightly greasy look. The next steps for how to revive buttercream after freezing mirror those for refrigerated buttercream: allow it to sit at room temperature until it's softened slightly (about 30-60 minutes after removing from the fridge), then transfer it to a mixer and whip it on low to medium speed. The initial mixing will help bring it together, and continued whipping will restore its smooth consistency and incorporate air.
Thawing Buttercream Correctly: Avoiding Separation
Correct thawing is paramount when dealing with frozen buttercream to minimize separation issues. As mentioned, thawing slowly in the refrigerator is the preferred method. Place the sealed container of frozen buttercream in the fridge and allow it to thaw gradually. This slow process helps the fat and sugar/liquid components re-integrate more gently as the temperature rises uniformly.
Avoid quick thawing methods like leaving it on the counter for many hours, using hot water baths, or microwaving (unless it's just a tiny amount for softening, as described earlier). Rapid temperature changes can cause the fat to melt faster than the water-based components, leading to significant separation and a greasy, broken texture that is harder to fix. Plan ahead and give your frozen buttercream ample time to thaw in the fridge.
Whipping Thawed Buttercream: Achieving Lightness and Fluffiness
After your frozen buttercream has been properly thawed in the refrigerator and has sat at room temperature for a short while to soften slightly, the key step to how to revive buttercream is thorough whipping. Transfer the thawed buttercream to your mixer. Start on the lowest speed to break it up and then gradually increase to medium speed. You might notice it looking curdled or separated initially – this is common after freezing and thawing.
Continue whipping the buttercream for several minutes, typically 5-10 minutes, scraping down the bowl periodically. As you whip, the friction will generate a little warmth, helping the fat and liquid components emulsify again. Air will be incorporated, transforming the dense, separated mixture into a light, fluffy, and smooth frosting. You'll see a visible change as it becomes paler in color and significantly increases in volume and smoothness. Whip until it reaches your desired consistency for your specific application.
Common Buttercream Revival Mistakes to Avoid
When you how to revive buttercream, it's easy to fall into a few common traps that can negatively impact the final texture. One significant mistake is overheating the buttercream. Whether you're trying to soften a small portion in the microwave or over a double boiler, or you leave the entire batch out at room temperature for too long in a warm kitchen, excessive heat will cause the butter to melt completely, breaking the emulsion and resulting in a greasy, slick texture that is difficult to fix. Aim for softening, not melting.
Another pitfall is adding too much liquid too quickly when trying to loosen stiff buttercream. While a teaspoon or two can help, dumping in several tablespoons at once can make the buttercream too runny and lose its structure. It's much easier to add more liquid than to take it away. Finally, impatience is a common mistake. Don't rush the thawing process for frozen buttercream, and don't expect chilled buttercream to be ready in 5 minutes straight from the fridge. Allowing it to warm up slightly at room temperature before mixing is crucial for a smooth revival.
Tools and Equipment for Buttercream Storage and Revival
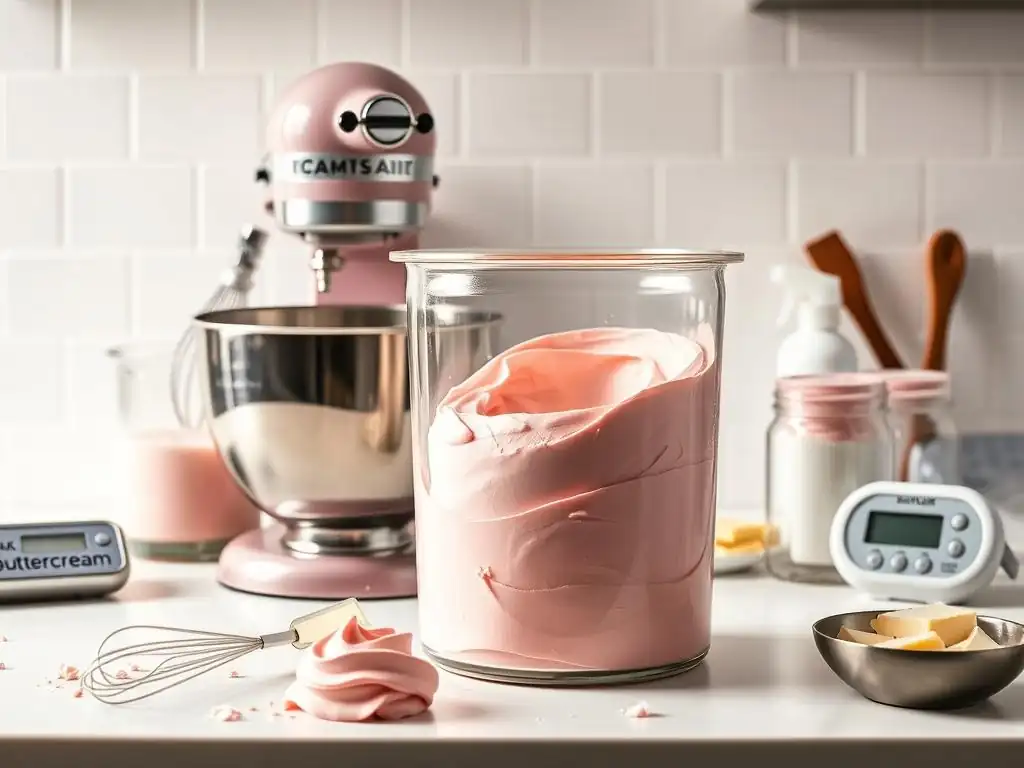
Having the right tools on hand makes both storing and knowing how to revive buttercream significantly easier and more effective. Proper storage ensures your buttercream stays fresh and minimizes potential issues, while specific equipment helps you bring it back to life with the perfect texture. You likely already own most of these items if you enjoy baking, but a quick review can ensure you're well-equipped.
From airtight containers that protect against drying and odors to mixers that provide the power needed for whipping, each tool plays a role. Using the correct equipment helps maintain the quality of your stored buttercream and simplifies the process of restoring its smooth, ready-to-use consistency when you're ready to decorate your cakes and cupcakes. Let's look at the essentials.
Essential Kitchen Tools for Buttercream Storage
Airtight containers are absolutely essential for storing buttercream. Whether you're using plastic tubs with tight-fitting lids or glass containers, the goal is to prevent air exposure, which can dry out the surface of the buttercream and cause a crust to form. Ensure the container is clean and dry before adding the buttercream. Pressing a layer of plastic wrap directly onto the surface of the buttercream before sealing the container adds an extra layer of protection against air contact and helps prevent a skin from forming.
Another simple yet vital tool is a sturdy spatula. Use it to transfer the buttercream into the storage container, pressing it down to remove air pockets. When retrieving stored buttercream, a spatula is also useful for portioning it out and initially breaking up the stiff mass before transferring it to a mixer. Having multiple sizes of spatulas can be helpful for different batch sizes and container shapes.
Recommended Equipment for Reviving Buttercream
The most valuable piece of equipment for how to revive buttercream is a mixer. A stand mixer, particularly with the paddle attachment, is ideal as it provides consistent power and allows you to mix larger batches effortlessly. The paddle attachment is excellent for initially breaking up the stiff buttercream and then creaming it back to a smooth consistency.
If you don't have a stand mixer, a good quality electric hand mixer is also perfectly capable of reviving buttercream. Use sturdy beaters and be prepared to mix for several minutes, moving the mixer around the bowl to ensure everything is incorporated. A large, deep mixing bowl is necessary to contain the buttercream as it whips and increases in volume. For gentle warming techniques, a heatproof bowl and a small saucepan (to create a double boiler) are useful.
Tips and Tricks for Maintaining Buttercream Quality
Proper storage is the first line of defense in maintaining buttercream quality, but even during the revival process, certain practices can help ensure the best possible outcome. The goal is not just to make it soft again, but to preserve its flavor, color, and smooth texture from the moment it goes into storage until it's spread onto your baked goods.
By taking a few extra steps during storage and being mindful during revival, you can significantly enhance the lifespan and usability of your buttercream. These tips help prevent common issues like drying, separation, and off-flavors, making the process of how to revive buttercream smoother and more successful every time.
Preventing Buttercream from Drying Out
The primary way to prevent buttercream from drying out is to minimize its exposure to air during storage. As mentioned, using airtight containers is crucial. However, adding an extra layer of protection directly on the surface of the buttercream makes a significant difference. After transferring the buttercream to the container, use a piece of plastic wrap and press it down gently so it is in direct contact with the entire surface of the frosting, eliminating any air pockets between the buttercream and the wrap.
This technique prevents the top layer from forming a crust, which can lead to dry, hard bits in your otherwise smooth frosting. When you're ready to how to revive buttercream, simply peel off the plastic wrap. You might find the very surface is slightly different, but the bulk of the buttercream underneath will be soft and moist, ready to be whipped back to life.
Avoiding Buttercream Separation During Storage
While some degree of separation is common after storage, especially freezing, proper initial emulsification and storage conditions can help minimize it. Ensure your buttercream is well-emulsified and smooth before storing it. If it already looks slightly greasy or broken when fresh, storing it will likely exacerbate the issue. Whip it properly until it's smooth and stable before packing it away.
Store buttercream in the coldest part of your refrigerator, typically towards the back, where the temperature is most consistent. Avoid storing it in the door, where temperatures fluctuate more due to opening and closing. For freezing, ensure the container is sealed tightly to prevent freezer burn, which can also affect texture. Following the recommended thawing process slowly in the fridge also helps the components re-integrate more smoothly, reducing noticeable separation when you how to revive buttercream.
Maintaining Color and Flavor in Stored Buttercream
Buttercream can absorb odors from its surroundings in the refrigerator or freezer, and prolonged exposure to light can affect its color, especially if it's vibrantly dyed. To maintain the flavor, always store buttercream in truly airtight containers. Avoid storing it near strong-smelling foods like onions or garlic, even if sealed, as odors can sometimes permeate plastic. Glass containers are particularly good at preventing odor absorption.
To preserve vibrant colors, store buttercream in opaque containers or wrap clear containers in foil or place them in a dark spot in the fridge/freezer. This prevents light from degrading the food coloring. When you how to revive buttercream, a brief whip often freshens up the color and redistributes it evenly. If the color has faded slightly, you can add a tiny amount of additional food coloring during the final whipping stage to brighten it up.
Troubleshooting Common Buttercream Issues After Storage
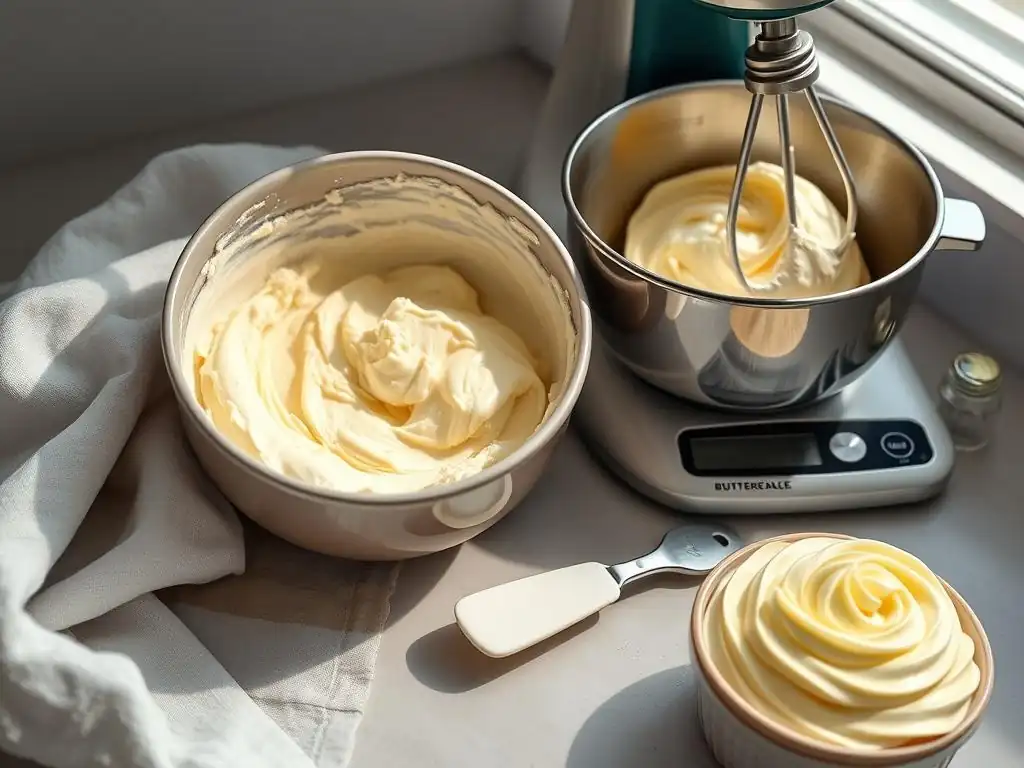
Even with careful storage and revival techniques, you might occasionally encounter specific issues with your buttercream. Don't despair – most problems can be fixed! Knowing how to address common textures like graininess or runniness is part of mastering buttercream revival. These techniques apply whether you how to revive buttercream from the fridge or freezer.
Often, a little extra mixing or a minor adjustment is all that's needed to transform a less-than-perfect batch into smooth, usable frosting. Let's look at how to tackle some frequent complaints that arise after storing and reviving buttercream.
Addressing Grainy Buttercream
Grainy buttercream, often a problem with American buttercream, is usually caused by undissolved or recrystallized sugar. If your buttercream feels gritty after reviving it, the best approach is often gentle heat and re-whipping. Take a small amount (about half a cup) of the grainy buttercream and warm it very gently until just melted or very soft – use the microwave in 5-second bursts or a double boiler, stirring constantly.
Add this warmed, liquidy portion back to the main batch in your mixer. Whip on medium speed for several minutes, scraping down the bowl periodically. The warmth helps dissolve stubborn sugar crystals, and the prolonged mixing helps create a smoother texture. You might need to repeat adding a small warmed portion if the entire batch is very grainy.
Fixing Runny Buttercream
Runny buttercream can happen if it gets too warm during revival or if too much liquid was added. If your revived buttercream is too soft or doesn't hold its shape, chilling is the first step. Place the bowl of buttercream (or the container) in the refrigerator for 15-30 minutes to allow the fats to firm up slightly.
Once it's slightly firmer but not hard, return it to the mixer and whip on medium speed. The chilling helps restabilize the emulsion. If it's still too soft after chilling and re-whipping, especially with American buttercream, you can try adding a tablespoon or two of additional sifted confectioners' sugar while mixing on low speed, then whipping again to see if it thickens. Be cautious not to add too much, which can make it overly sweet or stiff. For meringue-based buttercreams, chilling and re-whipping is usually sufficient.
Dealing with Buttercream That is Too Sweet
Sometimes, after reviving American buttercream, you might find the sweetness overwhelming, especially if the texture needed significant whipping or adjustment. While you can't remove sugar, you can balance the flavor. A pinch of salt added and mixed in can help cut through the sweetness. For a standard batch, start with 1/8 to 1/4 teaspoon of fine salt.
Another technique is to add a small amount of acid, like a teaspoon of lemon juice or a pinch of cream of tartar, which can brighten the flavor and make it taste less cloyingly sweet. Add these sparingly and mix well, tasting as you go. For some applications, blending a portion of the overly sweet buttercream with a less sweet component, like a small amount of plain cream cheese or a batch of Swiss or Italian meringue buttercream if you have it, can also help balance the flavor profile.
Buttercream Revival Techniques for Different Baking Needs
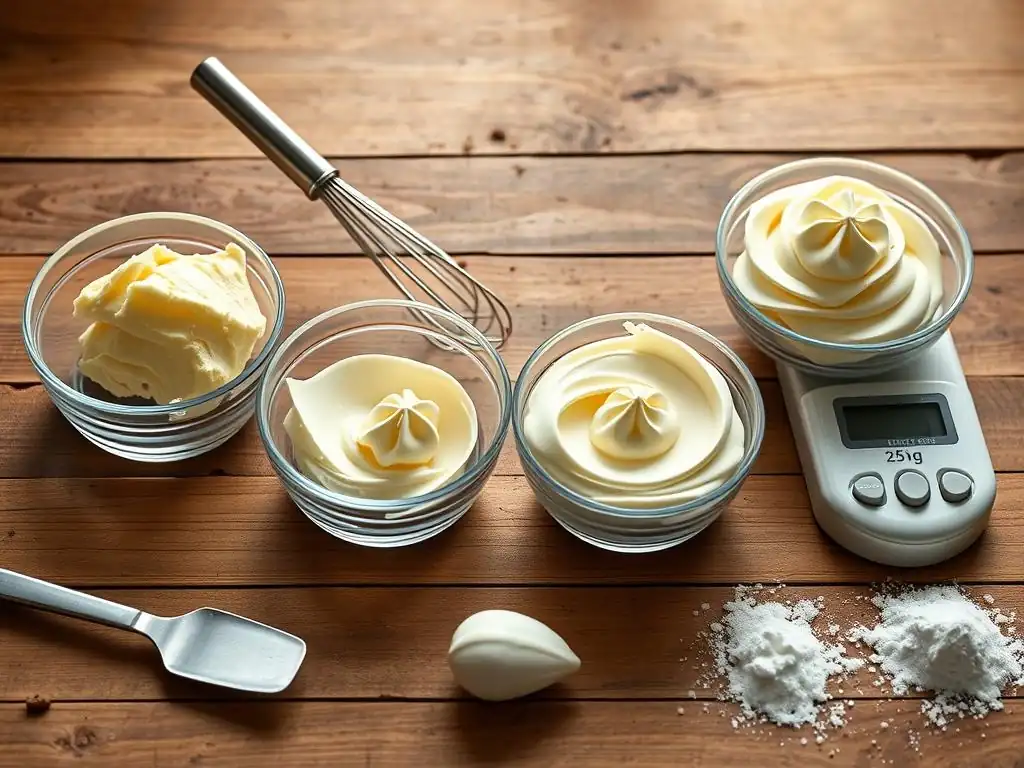
The ideal consistency of your revived buttercream depends heavily on how you plan to use it. Frosting a smooth layer on a cake requires a different texture than piping intricate flowers or writing delicate messages. Knowing how to revive buttercream to suit these specific needs is key to achieving professional-looking results.
During the final whipping stage of revival, you can make small adjustments to achieve the perfect consistency. This might involve adding a tiny bit more liquid for spreadability or whipping longer for stiffness. Let's explore how to tailor your revived buttercream for common baking applications.
Restoring Buttercream for Cake Decorating
When reviving buttercream for frosting a cake, you generally want a smooth, spreadable consistency. It should be soft enough to glide easily over the cake layers without tearing the cake, but firm enough to hold its shape and create clean edges. After the initial revival whipping, if the buttercream feels too stiff, add liquid (milk, cream, water) a teaspoon at a time while mixing on low until it reaches a peanut butter-like consistency – smooth and spreadable but not runny.
If the buttercream is too soft for frosting (maybe you overwarmed it slightly), chill it in the fridge for 10-20 minutes until slightly firm, then whip it again briefly. For crumb coating, a slightly softer consistency is fine, as it's just a thin base layer. For the final coat, ensure it's smooth and free of air bubbles; mixing on low speed for an extra minute or two after it looks smooth can help eliminate bubbles.
Reviving Buttercream for Cupcake Frosting
For cupcake frosting, most bakers aim for a light, fluffy texture that is easy to pipe into beautiful swirls. When you how to revive buttercream for cupcakes, the key is often extended whipping. After the initial revival process brings the buttercream together, continue to whip it on medium-high speed for several minutes (often 3-7 minutes).
This extra whipping incorporates more air, making the buttercream significantly lighter, fluffier, and paler in color. The texture will be airy and smooth, perfect for piping impressive swirls that hold their shape on top of cupcakes. If it's still a bit too stiff to pipe easily, add a splash of liquid while whipping, but focus on achieving lightness through air incorporation.
Adapting Buttercream Consistency for Different Piping Techniques
Different piping tips and techniques require varying buttercream consistencies. For intricate details like writing, fine lines, or small stars, you need a relatively firm buttercream that holds crisp edges. When you how to revive buttercream for these purposes, aim for a consistency that is stiff but still smooth enough to pass through the piping tip without clogging. If it's too soft after revival, chill it briefly as described earlier to firm it up before piping.
For larger tips used for swirls, rosettes, or filling, a slightly softer, fluffier consistency is often preferred, like the one described for cupcake frosting. It should be soft enough to flow smoothly but firm enough to maintain the shape of the piping tip's design. Practice piping a small amount on parchment paper first to test the consistency and make minor adjustments if needed before decorating your final product.
Conclusion: Mastering Buttercream Storage and Revival for Baking Success
Learning how to store and how to revive buttercream is an invaluable skill that extends the usability of your frosting and saves you time and ingredients. By understanding the best practices for different buttercream types and following proper storage methods – using airtight containers and pressing plastic wrap onto the surface – you can preserve the quality of your delicious frosting for days, weeks, or even months.
Reviving chilled or frozen buttercream requires patience and the right techniques. Allowing it to soften at room temperature before whipping, using gentle warming methods for stubborn stiffness, and knowing how to troubleshoot common issues like graininess or runniness will ensure your buttercream comes back to life with a smooth, desirable texture. With practice, you'll master the art of bringing your stored buttercream back to perfect consistency, ready to beautifully adorn your cakes, cupcakes, and other baked creations. Keep practicing, and happy baking!
Frequently Asked Questions
How long can buttercream frosting be stored?
Buttercream can typically be stored in the refrigerator for up to one week or in the freezer for up to three months. Proper storage is key to maintaining its quality and texture.
What's the best way to thaw frozen buttercream?
Thaw frozen buttercream in the refrigerator overnight. Avoid thawing at room temperature as this can lead to uneven thawing and potential bacterial growth.
My buttercream looks separated after thawing; what should I do?
Separation is common after thawing. Re-whip the buttercream using an electric mixer until it returns to a smooth and creamy consistency. You may need to add a small amount of liquid or powdered sugar to adjust the texture.
What if my buttercream is too stiff after thawing?
If the buttercream is too stiff, add small amounts of milk or cream (a teaspoon at a time) while whipping until it reaches the desired consistency. Be careful not to add too much liquid or it will become too thin.
Can I re-freeze buttercream after thawing it once?
While possible, re-freezing buttercream is generally not recommended as it can negatively impact its texture and consistency. It's best to use the thawed buttercream as soon as possible.
Final Reflection: The Enduring Deliciousness of Perfectly Revived Buttercream
The art of reviving buttercream isn't just about saving a few dollars; it's about rescuing a culinary masterpiece from the brink of disaster. A perfectly smooth, fluffy buttercream is the crowning glory of many cakes and desserts, and knowing how to restore it to its former glory is a skill that every baker should possess. This knowledge transcends mere practicality; it's about preserving the joy and effort poured into creating something beautiful and delicious.
The impact of mastering buttercream revival extends beyond the individual kitchen. It speaks to a broader cultural appreciation for resourcefulness and the avoidance of waste. We live in a world increasingly conscious of sustainability, and this simple skill aligns perfectly with that ethos. It's about valuing the ingredients and the time invested in baking, refusing to let a slightly hardened frosting go to waste. Waste not, want not,
an old adage, rings truer than ever in our modern context, and this applies just as much to our baking as it does to any other aspect of life.
Now, consider your own baking journey. Have you ever faced the heartbreak of hardened buttercream? Remember that feeling of disappointment? This article provides you with the tools to prevent that feeling in the future. Take the knowledge you've gained here and apply it to your next baking project. Embrace the challenge of reviving your buttercream, and experience the satisfaction of transforming a seemingly ruined frosting into a delectable delight. Don't let perfectly good buttercream go to waste – let your skills shine!
Rediscover Your Perfectly Pipeable Buttercream!
Thanks for taking the time to learn how to keep your buttercream fresh and fluffy! We hope you now feel confident in achieving that perfect consistency every time. Ready to put your new skills to the test?
- Whip up a batch of your favorite buttercream recipe and try our storage techniques. See how easy it is to bring it back to life!
- Share your buttercream creations with us on social media – we’d love to see what you bake! Use #BakeWithEaseButtercream.
- Challenge yourself to experiment with different flavor combinations and frostings.
What innovative buttercream flavor will you create next?