
Effortless Cake Batters: How Your Stand Mixer Makes It Easy

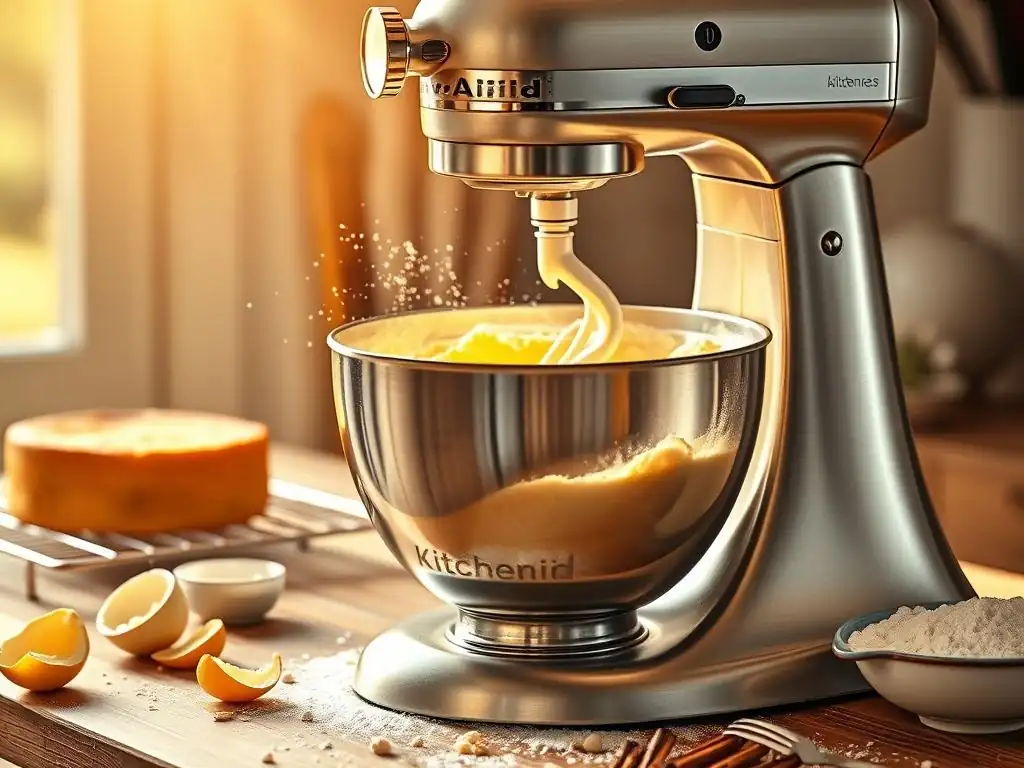
Welcome to BakeWithEase, your trusted guide to effortless baking! Ever wondered how to whip up the perfect cake batter with minimal fuss? This guide delves into creating an easy stand mixer cake batter that's both delicious and surprisingly simple. Discover the secrets to achieving bakery-quality results from the comfort of your kitchen, and unlock a world of baking possibilities with your stand mixer. Intrigued? Let's get baking!
- Introduction: The Secret to Perfect Cakes Starts with Your Stand Mixer
- Understanding the Power of a Stand Mixer for Cake Baking
- Preparing Your Stand Mixer for Cake Batter Success
- Easy Stand Mixer Cake Batter Recipes: Step-by-Step Guide
- Tips and Tricks for Flawless Cake Batter with a Stand Mixer
- Beyond the Basics: Advanced Stand Mixer Cake Batter Techniques
- Cleaning and Maintaining Your Stand Mixer After Cake Baking
- Conclusion: Baking Cakes with Ease Using Your Stand Mixer
-
Frequently Asked Questions
- What are the main benefits of using a stand mixer for cake batter, as opposed to mixing by hand?
- Can I use any type of stand mixer for making cake batter, or are some better suited than others?
- What speed settings should I use on my stand mixer when making cake batter, and why?
- How do I prevent over-mixing my cake batter when using a stand mixer?
- Are there any cake recipes that are particularly well-suited for making with a stand mixer, and why?
- Final Reflection: The Sweet Simplicity of Effortless Baking
- Unleash Your Inner Baker: Effortless Cakes Await!
Introduction: The Secret to Perfect Cakes Starts with Your Stand Mixer
Baking a delicious cake should be a joyful experience, not an arm-aching chore. While hand mixing can certainly get the job done, anyone who has creamed butter and sugar for ten minutes knows the effort involved. This is where your trusty stand mixer comes into play, transforming the process of creating smooth, uniform cake batters from a workout into a breeze. It automates the most labor-intensive steps, allowing you to focus on the fun parts of baking – like choosing flavors or decorating!
Using a stand mixer doesn't just save you time and energy; it also contributes significantly to the quality of your finished cake. Consistent mixing is crucial for developing the right structure and texture. A stand mixer provides that consistency every time, helping you achieve reliable results. Whether you're a complete beginner or looking to refine your skills, mastering the use of your stand mixer is a fundamental step towards effortless cake making and consistently perfect results. Let's dive into how this powerful tool makes creating easy stand mixer cake batter a reality.
Understanding the Power of a Stand Mixer for Cake Baking
Why a Stand Mixer is Your Best Friend for Cake Batter
A stand mixer offers unparalleled power and consistency compared to hand mixing. Its motor-driven action ensures that ingredients are incorporated thoroughly and evenly, which is vital for developing the proper structure in a cake batter. For example, creaming butter and sugar requires beating air into the mixture until it becomes light and fluffy, a process that can take 5-10 minutes by hand but is accomplished swiftly and effectively by a stand mixer in just a few minutes. This aeration is critical for leavening and creating a tender crumb.
Beyond creaming, a stand mixer handles the incorporation of dry and wet ingredients with minimal effort on your part. It ensures that flour is evenly distributed without overworking the gluten, which can lead to tough cakes. The consistent speed and motion break down clumps and create a smooth, homogenous batter, laying the foundation for a cake with a uniform texture. This automation means less physical strain and more reliable results, making the process of creating easy stand mixer cake batter significantly simpler.
Benefits of Using a Stand Mixer for Easy Cake Making
The primary benefit is, without a doubt, the reduction of physical effort and time. Imagine making a large batch of cupcakes; using a stand mixer allows you to mix a significant quantity of batter in one go, freeing your hands to prepare pans or preheat the oven. It significantly speeds up the entire process from start to finish.
Another major advantage is consistency. A stand mixer performs the same mixing action at the same speed every time, eliminating variations that can occur with hand mixing due to fatigue or inconsistency in technique. This leads to more predictable baking outcomes. For instance, achieving the correct emulsion when adding eggs or liquid ingredients is easier with the steady speed of a stand mixer, preventing separation or curdling. This reliability is key to mastering easy stand mixer cake batter recipes and consistently producing delicious cakes.
Preparing Your Stand Mixer for Cake Batter Success
Essential Stand Mixer Attachments for Cake Batter: Which to Use When
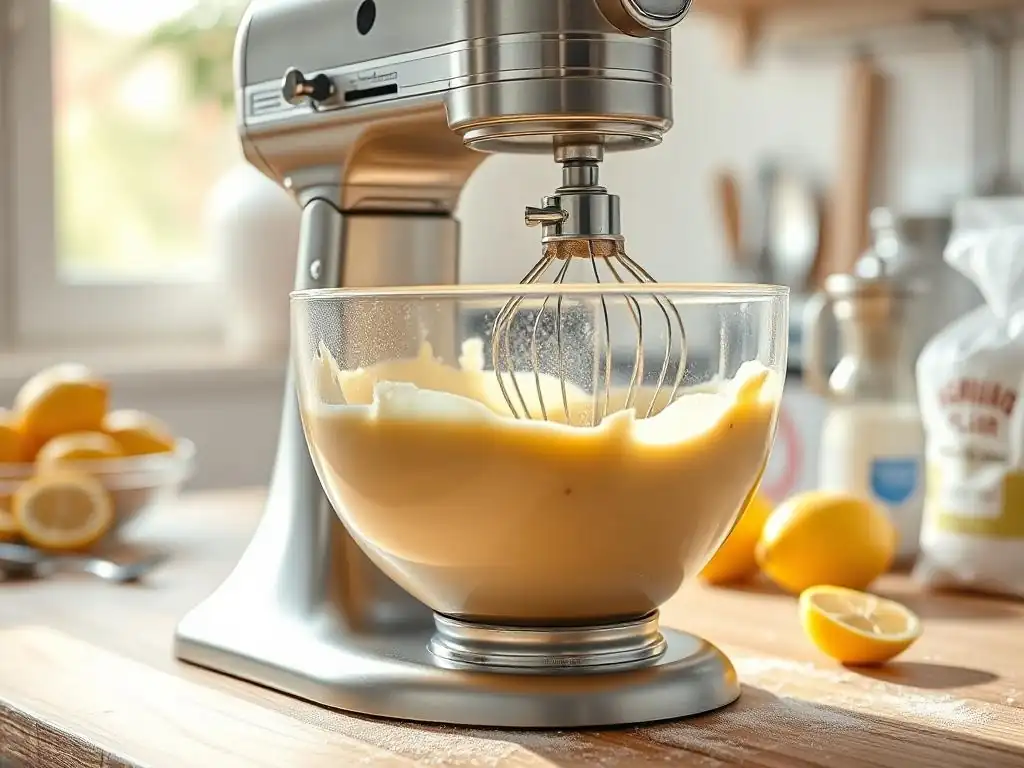
For most cake batters, the primary attachment you'll rely on is the paddle attachment (also known as the flat beater). This is your workhorse for creaming butter and sugar, mixing wet and dry ingredients together, and incorporating additions like chocolate chips or nuts. Its design ensures that it scrapes the sides of the bowl effectively while folding ingredients into the center, preventing unmixed pockets. You'll use the paddle for the majority of the mixing process in standard butter-based cakes.
The whisk attachment (or balloon whisk) is essential when your recipe calls for whipping air into lighter batters, such as sponge cakes, or for whipping egg whites separately. Its wire design is perfect for incorporating maximum air volume quickly, creating light and airy textures. You might use the whisk after creaming with the paddle, or for the entire mixing process in recipes that rely heavily on aerated eggs for leavening. Knowing when to switch attachments is key to achieving the desired batter consistency for your easy stand mixer cake batter.
Stand Mixer Speed Settings for Cake Batter: A Comprehensive Guide
Understanding your stand mixer's speed settings is crucial for optimal cake batter development. Most mixers have settings ranging from "stir" or "1" up to "whip" or "10". For creaming butter and sugar, a medium-high speed (around 6-8) is often recommended to incorporate sufficient air efficiently. This speed allows the paddle to beat the mixture vigorously, breaking down sugar crystals and aerating the fat.
When adding dry ingredients to wet, or vice versa, you'll typically switch to a low speed (1-2). The goal here is to combine ingredients just until they are incorporated, without overdeveloping gluten. Overmixing at this stage can lead to a tough cake.
For whipping egg whites or very light batters with the whisk attachment, high speeds (8-10) are used to maximize air incorporation. Always consult your specific mixer's manual for exact speed guidance, but generally, low speeds are for combining, medium speeds for creaming, and high speeds for whipping air – making your easy stand mixer cake batter journey smoother.
Easy Stand Mixer Cake Batter Recipes: Step-by-Step Guide
Classic Vanilla Cake Batter Using a Stand Mixer
A staple for any baker, vanilla cake batter is a perfect starting point for using your stand mixer. This method ensures a light, fluffy crumb every time.
Ingredients for Vanilla Cake Batter
- 1 cup (2 sticks) unsalted butter, softened
- 2 cups granulated sugar
- 4 large eggs
- 1 teaspoon vanilla extract
- 2 ¾ cups all-purpose flour
- 1 teaspoon baking powder
- ½ teaspoon baking soda
- ¼ teaspoon salt
- 1 ¼ cups buttermilk (or milk with 1 tbsp vinegar added)
Step-by-Step Instructions: Vanilla Cake Batter in a Stand Mixer
- In the bowl of your stand mixer fitted with the paddle attachment, cream the softened butter on medium speed (around 6) until smooth and creamy, about 1-2 minutes.
- Gradually add the granulated sugar to the butter, mixing on medium-high speed (around 8) for 3-5 minutes. Scrape down the sides of the bowl as needed. The mixture should become light in color and fluffy in texture, almost like whipped cream. This creaming step is vital for an easy stand mixer cake batter with good texture.
- Add the eggs one at a time, beating well after each addition until fully incorporated. Mix in the vanilla extract. The mixture might look slightly curdled at this point, but don't worry; it will come together.
- In a separate medium bowl, whisk together the flour, baking powder, baking soda, and salt.
- With the mixer on low speed (1-2), add about one-third of the dry ingredients to the butter mixture. Mix just until almost combined.
- Pour in half of the buttermilk and mix on low speed until almost incorporated.
- Add another third of the dry ingredients, mixing on low speed.
- Add the remaining buttermilk, mixing on low speed.
- Finally, add the remaining dry ingredients. Mix on low speed just until no dry streaks of flour are visible. Do not overmix! Stop the mixer and scrape down the sides and bottom of the bowl with a rubber spatula to ensure everything is combined. Give it one final quick mix on low if needed. Your easy stand mixer cake batter is ready!
Rich Chocolate Cake Batter with Your Stand Mixer
Using a stand mixer makes achieving a smooth, dark chocolate batter a straightforward task, ensuring even distribution of cocoa for deep flavor.
Ingredients for Chocolate Cake Batter
- 1 ¾ cups all-purpose flour
- 2 cups granulated sugar
- ¾ cup unsweetened cocoa powder (natural or Dutch-process)
- 1 ½ teaspoons baking powder
- 1 ½ teaspoons baking soda
- 1 teaspoon salt
- 2 large eggs
- 1 cup milk
- ½ cup vegetable oil
- 2 teaspoons vanilla extract
- 1 cup boiling water
Step-by-Step Instructions: Chocolate Cake Batter in a Stand Mixer
- In the bowl of your stand mixer fitted with the paddle attachment, whisk together the flour, sugar, cocoa powder, baking powder, baking soda, and salt on low speed (1) for about 30 seconds to ensure they are well combined and aerated. This initial step helps create a smooth easy stand mixer cake batter.
- Add the eggs, milk, vegetable oil, and vanilla extract to the dry ingredients in the mixer bowl.
- Mix on medium speed (4-6) for about 2 minutes, scraping down the sides of the bowl frequently. The batter will be thick at this point.
- Reduce the mixer speed to low (1-2). Carefully pour in the cup of boiling water. The batter will become very thin; this is expected.
- Mix on low speed just until the boiling water is fully incorporated and the batter is smooth. Do not overmix. Scrape down the bowl one final time to ensure uniformity. This method, using boiling water, creates a very moist and flavorful chocolate cake batter with minimal effort using your stand mixer.
Light and Fluffy Sponge Cake Batter: The Stand Mixer Advantage
Sponge cake relies heavily on whipped eggs for its airy texture. The stand mixer excels at this, making a seemingly tricky batter remarkably easy.
Ingredients for Sponge Cake Batter
- 6 large eggs, at room temperature
- 1 cup granulated sugar
- 1 teaspoon vanilla extract
- 1 cup cake flour (or all-purpose flour minus 2 tbsp per cup, then sifted)
- ¼ teaspoon salt
Step-by-Step Instructions: Sponge Cake Batter in a Stand Mixer
- Fit your stand mixer with the whisk attachment. Add the room temperature eggs to the clean, dry mixer bowl.
- Begin whisking the eggs on medium speed (around 6) until they become frothy, about 1-2 minutes.
- Gradually add the granulated sugar, about 1-2 tablespoons at a time, while continuing to whisk on medium-high speed (8-10). Do this over several minutes.
- Once all the sugar is added, continue whisking on high speed (10) for 5-8 minutes. The mixture will become very thick, pale yellow, and triple or quadruple in volume. It should fall from the whisk in a thick ribbon that holds its shape on the surface for a few seconds ("ribbon stage"). Add the vanilla extract during the last minute of whisking. This extensive whisking is the secret to an easy stand mixer cake batter that is light and airy.
- In a separate bowl, sift together the cake flour and salt.
- Remove the mixer bowl from the stand. Add about one-third of the sifted dry ingredients to the egg mixture. Using a large rubber spatula, gently fold the flour into the egg mixture using an up-and-over motion. Be careful not to deflate the airy mixture.
- Add the remaining dry ingredients in two more additions, gently folding after each until just combined and no streaks of flour remain. Work quickly but carefully.
- Immediately pour the delicate batter into your prepared pan. This method for creating an easy stand mixer cake batter relies on the air whipped into the eggs, so prompt baking is essential.
Tips and Tricks for Flawless Cake Batter with a Stand Mixer
Common Mistakes to Avoid When Using a Stand Mixer for Cake
One of the most frequent errors is overmixing the batter, especially after adding the dry ingredients. Once flour is introduced, gluten begins to develop. Excessive mixing activates too much gluten, resulting in a tough, dense cake. A good rule of thumb is to mix on the lowest speed just until the dry ingredients disappear, then stop. Scrape down the bowl manually to catch any pockets of unmixed flour. For example, in a standard butter cake, mixing for just 30-60 seconds after the final flour addition is usually sufficient, whereas mixing for 3-4 minutes would likely lead to toughness.
Another common mistake is using ingredients that are not at the specified temperature, particularly butter and eggs. Cold butter won't cream properly with sugar, inhibiting aeration. Cold eggs can curdle the batter and prevent proper emulsion.
Always ensure butter is softened (press it lightly, and your finger should leave an indent, but it shouldn't be greasy or melted) and eggs are at room temperature. Bringing eggs to room temperature can take 30-60 minutes, or you can speed it up by placing them in a bowl of warm water for 5-10 minutes. Following these simple temperature guidelines is key to achieving a smooth, easy stand mixer cake batter.
Achieving the Perfect Cake Batter Consistency with a Stand Mixer
The ideal cake batter consistency varies by recipe, but generally, you're looking for a smooth, homogenous mixture free of lumps or streaks. For butter-based cakes, the batter should be thick but pourable, often described as falling from the spatula in a "ribbon." If your batter looks curdled after adding eggs, this can sometimes be fixed by adding a tablespoon or two of the dry ingredients or liquid from the recipe, mixing gently on low speed until it comes back together.
If your batter seems too thick or too thin based on the recipe's description or appearance (comparing it to a photo in the recipe source can help), double-check your ingredient measurements. Errors in measuring flour or liquid are common causes of consistency issues. For example, using too much flour (even a few tablespoons) can make a batter significantly drier and thicker. While you generally shouldn't add extra liquid unless the recipe suggests troubleshooting steps, ensuring accurate measurements before you start is the best way to guarantee the correct consistency for your easy stand mixer cake batter.
Troubleshooting Cake Batter Problems: Stand Mixer Solutions
Problem: Batter looks curdled after adding eggs. Stand Mixer Solution: This often happens if eggs are added too quickly or are too cold. Add them one at a time, mixing until each is fully incorporated before adding the next. If it still curdles, try adding 1-2 tablespoons of the flour mixture (or the specified liquid) on low speed; this can sometimes help emulsify the mixture. For instance, if a recipe calls for 1 ½ cups of milk, adding 1-2 tablespoons of that milk might help.
Problem: Dry streaks of flour remain in the batter even after mixing. Stand Mixer Solution: This usually means you didn't scrape down the bowl adequately. Stop the mixer, use a rubber spatula to scrape the bottom and sides thoroughly, ensuring all dry pockets are incorporated into the wet mixture, then give it one final, brief mix on the lowest speed (setting 1) for just 5-10 seconds. Avoid the temptation to mix longer on higher speeds, as this will lead to toughness. Proper scraping is essential for a uniform, easy stand mixer cake batter.
Beyond the Basics: Advanced Stand Mixer Cake Batter Techniques
Incorporating Air for a Lighter Cake Texture
Beyond creaming butter and sugar, a stand mixer can be used to incorporate additional air for an even lighter cake. One method is the reverse creaming method, where dry ingredients are mixed with softened butter first before liquids are added. This coats the flour particles in fat, inhibiting gluten development and resulting in a very tender crumb. The stand mixer's paddle attachment is perfect for this initial coating step on low speed.
Another technique is whipping egg whites separately to stiff peaks using the whisk attachment and then gently folding them into the finished batter. This adds a significant volume of air, resulting in an exceptionally light texture, characteristic of angel food or chiffon cakes. The stand mixer makes achieving perfectly whipped egg whites effortless, reaching stiff peaks (where the whites hold their shape when the whisk is lifted) in just a few minutes on high speed (9-10). Mastering these techniques with your stand mixer elevates your easy stand mixer cake batter skills.
Creaming Butter and Sugar for Optimal Cake Structure
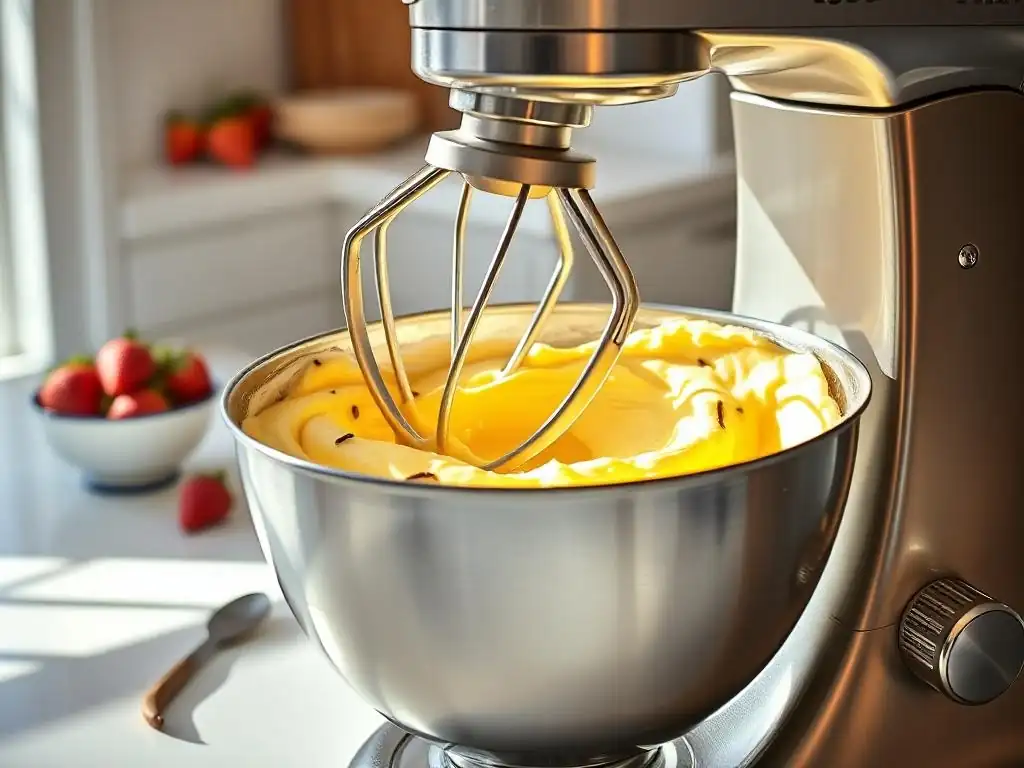
Creaming is more than just mixing; it's about incorporating air bubbles into the fat. As the sugar crystals cut through the softened butter, they create tiny pockets that fill with air. During baking, this trapped air expands, helping the cake rise and creating a tender, open crumb structure. Using the paddle attachment on medium-high speed (6-8) for the recommended time (often 3-5 minutes) is crucial. You'll see a visual change: the mixture will transform from dense yellow to pale yellow and significantly increase in volume, becoming light and fluffy.
The temperature of your butter is paramount for effective creaming. Butter that is too cold won't aerate properly, and butter that is too soft or melted won't hold the air. Softened butter, around 65°F to 70°F (18°C to 21°C), is ideal. If your kitchen is cold, it might take longer to cream; if it's warm, be careful not to over-soften the butter. Achieving this light, fluffy stage through proper creaming with your stand mixer is a foundational technique for developing a superior easy stand mixer cake batter base.
Preventing Overmixing: The Key to a Tender Cake
Overmixing is the enemy of a tender cake. Once liquid is added to flour, gluten starts to form. The more you mix, the more the gluten develops, creating long, elastic strands. While this is desirable in bread making, it leads to a tough, chewy texture in cakes. The stand mixer, with its powerful motor, can overmix batter very quickly, sometimes in just seconds after the last bit of flour is added.
To prevent overmixing, always mix on the lowest speed (1 or stir) when incorporating dry ingredients or alternating wet and dry additions. Mix only until you see no visible streaks of dry flour. It's better to have a few tiny unmixed spots and finish by hand with a spatula than to overmix with the machine. For instance, after adding the final portion of flour, mix on low for just 15-30 seconds, then stop and scrape the bowl. This mindful approach, combined with the stand mixer's efficiency at low speeds, ensures your easy stand mixer cake batter remains tender.
Cleaning and Maintaining Your Stand Mixer After Cake Baking
Proper Cleaning Techniques to Prolong Your Stand Mixer's Life
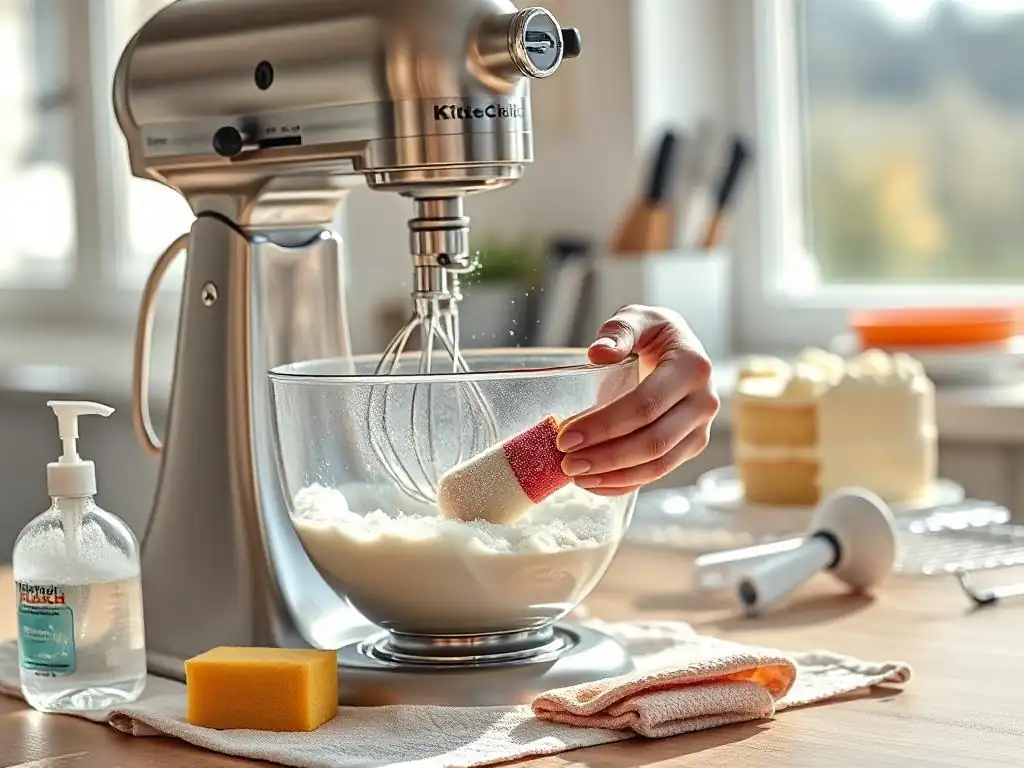
After creating your easy stand mixer cake batter masterpiece, cleaning your equipment promptly is essential for hygiene and longevity. Unplug the mixer before cleaning. Immediately remove the bowl and attachment(s). Wash the bowl, paddle, whisk, and dough hook (if used) in warm, soapy water. Most stainless steel bowls and standard attachments (like the paddle and dough hook) are dishwasher safe, but always check your manual. The whisk attachment often requires hand washing to prevent damage to the wires.
Wipe down the head and base of the mixer with a damp cloth. Avoid getting water into the motor vents. Pay particular attention to the attachment hub and the shaft where the attachments connect, as batter can sometimes get lodged there. A small brush can be helpful for getting into crevices. Ensure all parts are completely dry before reassembling or storing to prevent rust or mildew. Taking a few minutes for proper cleanup after each use significantly extends the life of your stand mixer, ensuring it's ready for your next easy stand mixer cake batter project.
Storing Your Stand Mixer for Optimal Performance
Proper storage protects your stand mixer from dust and potential damage. If you have space on your counter, keeping it assembled and covered with a dust cover is ideal for frequent use. This also prevents dust from accumulating in the motor vents or around the attachment shaft.
If you need to store it away, ensure all attachments are clean and dry before placing them in a designated storage container or bag, which often comes with the mixer. Store the mixer in a cool, dry place, away from extreme temperatures. Avoid storing heavy items on top of the mixer. Proper care and storage not only keep your machine looking good but also ensure its internal components remain in good working order, guaranteeing reliable performance whenever you're ready to whip up another batch of easy stand mixer cake batter.
Conclusion: Baking Cakes with Ease Using Your Stand Mixer
Enjoying Effortless Cake Baking with Your Stand Mixer
Your stand mixer is truly a game-changer in the world of cake baking. It transforms the most physically demanding tasks, like creaming butter and sugar or whipping eggs, into simple, automated steps. This not only saves you time and energy but also helps ensure consistently high-quality results, leading to cakes with perfect texture and structure every time. From classic vanilla to rich chocolate or delicate sponge, an easy stand mixer cake batter is within reach for bakers of all levels.
By understanding the functions of different attachments, mastering speed settings, and following basic techniques and troubleshooting tips, you can unlock the full potential of your appliance. Embrace the power of your stand mixer, and you'll find that baking delicious, homemade cakes becomes a more enjoyable and less intimidating process. So go ahead, gather your ingredients, fire up your mixer, and experience the effortless joy of baking the perfect cake batter.
Frequently Asked Questions
What are the main benefits of using a stand mixer for cake batter, as opposed to mixing by hand?
A stand mixer provides consistent mixing and hands-free operation, resulting in a smoother batter. It also allows for better incorporation of ingredients like butter and sugar.
Can I use any type of stand mixer for making cake batter, or are some better suited than others?
While most stand mixers can handle cake batter, a tilt-head mixer is convenient for smaller batches. A bowl-lift mixer is generally more powerful and better for larger, denser batters.
What speed settings should I use on my stand mixer when making cake batter, and why?
Start on low speed to combine dry ingredients and prevent flour from puffing. Gradually increase to medium speed for creaming butter and sugar, and medium-high for incorporating eggs.
How do I prevent over-mixing my cake batter when using a stand mixer?
Avoid over-mixing by stopping the mixer as soon as the ingredients are just combined. Over-mixing develops gluten, leading to a tough cake. Use a spatula to scrape down the sides of the bowl frequently.
Are there any cake recipes that are particularly well-suited for making with a stand mixer, and why?
Recipes that require thorough creaming of butter and sugar, such as pound cakes or butter cakes, benefit greatly from a stand mixer. The mixer ensures a light and airy texture.
Final Reflection: The Sweet Simplicity of Effortless Baking
The ease of creating perfect cake batter with a stand mixer isn't just about convenience; it's about unlocking a world of culinary creativity. No longer are flawlessly smooth batters a distant dream, reserved only for experienced bakers. The humble stand mixer democratizes the art of baking, making delicious cakes accessible to everyone.
The impact of this readily available technology on the home baking landscape is undeniable. It has empowered a generation of bakers, fostering a sense of accomplishment and joy in the kitchen. The rise of online baking communities and the explosion of cake-related content online are testaments to this shift. Baking is at once child's play and adult joy. And love.
– This quote perfectly captures the feeling of effortless baking, transforming a potentially daunting task into a source of pure pleasure.
Now, consider your own baking journey. What will you create next? Will you experiment with new flavors, explore intricate designs, or simply enjoy the satisfying whir of your stand mixer as it effortlessly blends the ingredients for your next masterpiece? Don't let the fear of a lumpy batter hold you back. Embrace the simplicity, the joy, and the delicious possibilities that await you in the world of effortless cake baking.
Unleash Your Inner Baker: Effortless Cakes Await!
Thanks for joining us on this delicious journey into the world of easy cake batters! We hope you've discovered new ways to make baking simpler and more enjoyable with your stand mixer. Now it's time to put your newfound knowledge into action!
- Bake your dream cake: Choose your favorite recipe (or try a new one! ), gather your ingredients, and let your stand mixer do the heavy lifting. Don't be afraid to experiment!
- Share your baking triumphs: Show off your perfectly textured cake creations on social media using #BakeWithEase – let's inspire each other!
- Explore advanced techniques: Dive deeper into stand mixer functionalities; learn how to create perfect meringues or even homemade pasta.
What amazing cake creation will you bake first? Let us know in the comments below!