
Creating CloudLike Meringue Topping for Your Pies

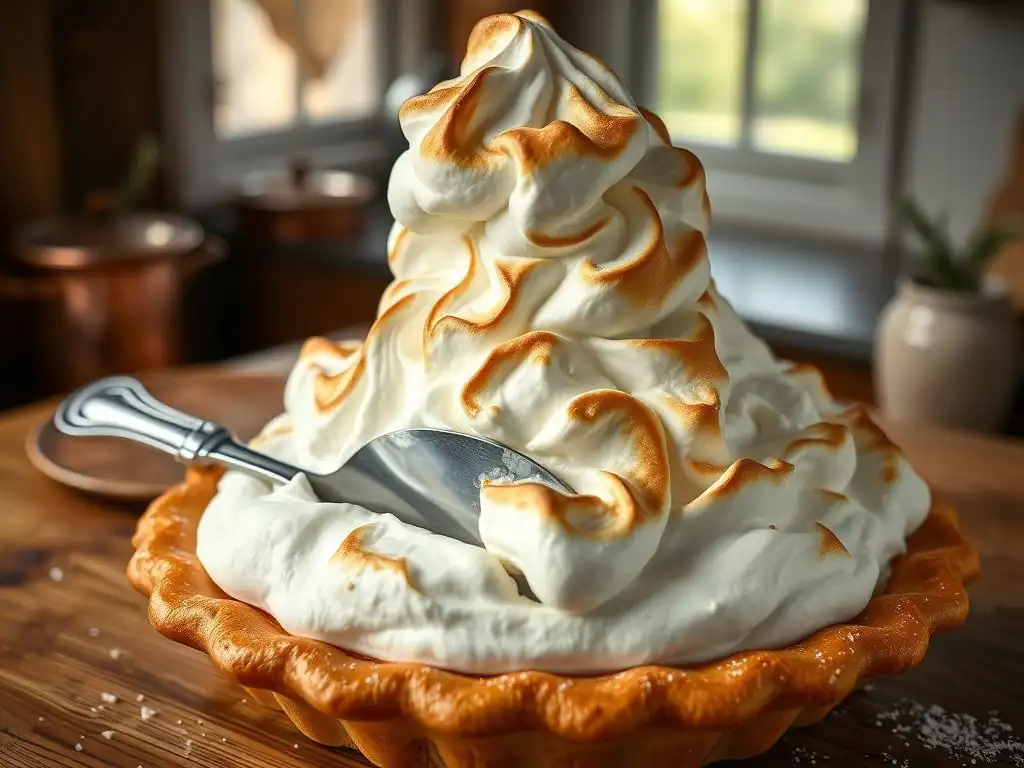
Welcome to BakeWithEase, your passport to pastry perfection! Ever dreamed of crafting a cloud-like meringue topping that's the envy of every baker? Well, you're in the right place. Discover the secrets to achieving that perfect, pillowy texture and learn how to avoid common meringue mishaps. Get ready to elevate your pie game – let's get baking!
- Achieving Perfect Meringue for Lemon Meringue Pie
- Introduction: Elevate Your Lemon Meringue Pie with a Stunning Topping
- Understanding Meringue: The Science of Whipped Egg Whites
- The Secret to Easy Meringue Pie Topping: A Reliable Swiss Method
- Troubleshooting Common Meringue Problems
- Flavor Variations: Subtle Enhancements to Your Meringue
- Storing Your Meringue Pie: Maintaining Freshness
- Serving Suggestions: Enhancing the Meringue Pie Experience
- Conclusion: Savor Your Delicious Homemade Meringue Pie!
-
Frequently Asked Questions
- What is the secret to achieving a stable meringue topping that doesn't weep?
- How do I prevent my meringue from shrinking after baking?
- What type of sugar is best for meringue topping, and why?
- Can I make meringue ahead of time, or does it need to be used immediately?
- What's the difference between Swiss, Italian, and French meringue, and which is best for pies?
- Final Reflection: The Unexpected Joy of a Perfect Meringue
- Unlock Your Inner Pastry Chef: Master the Cloud-Like Meringue!
Achieving Perfect Meringue for Lemon Meringue Pie
Introduction: Elevate Your Lemon Meringue Pie with a Stunning Topping
Why Meringue Matters: The Visual and Textural Heart of the Pie
Meringue is far more than just a sweet topping; it's the crowning glory that defines a classic lemon meringue pie. Its ethereal, cloud-like appearance, often swirled into elegant peaks and baked to a beautiful golden-brown, provides an immediate visual appeal that signals homemade goodness and culinary care.
The way the light catches the glossy surface and highlights the varied textures adds significant aesthetic value, transforming a simple pie into a showstopper worthy of any dessert table. It's the element that draws the eye and promises a delightful experience before the first bite is even taken, making an easy meringue pie topping a truly impactful addition.
Beyond its stunning looks, meringue delivers a crucial textural counterpoint to the tartness of the lemon filling and the richness of the crust. The light, airy foam melts delicately in your mouth, offering a sweet, delicate contrast to the smooth, tangy curd below. When baked, the exterior develops a slight crispness on the peaks, while the interior remains soft and marshmallow-like.
This interplay of textures is essential to the overall enjoyment of the pie, providing a delightful sensory experience that is both complex and satisfying. Mastering the art of creating this fluffy layer is key to achieving the perfect easy meringue pie topping that elevates the entire dessert.
Mastering Meringue: A Guide to Fluffy, Stable Peaks
Creating meringue that is both visually appealing and structurally sound can feel intimidating, but it's a skill well within the reach of any home baker. The goal is to achieve fluffy, voluminous egg whites that hold their shape beautifully, whether spread simply or piped intricately, and remain stable without weeping or shrinking after baking. This guide focuses on providing you with reliable techniques to produce a gorgeous and sturdy easy meringue pie topping every time.
Achieving meringue perfection hinges on a few fundamental principles: using the right ingredients, employing proper technique during whipping, and understanding how heat affects the final result. We'll walk through the science behind how egg whites transform into this airy confection and then dive into a specific, user-friendly method—the Swiss meringue—which is particularly well-suited for creating a stable and glossy topping for your pies. By following these steps, you'll gain the confidence to consistently produce a stunning and easy meringue pie topping that will impress everyone.
Understanding Meringue: The Science of Whipped Egg Whites
What is Meringue? An Airy Confection Explained
At its core, meringue is a simple mixture of whipped egg whites and sugar. The magic happens when air is incorporated into the egg whites through vigorous beating. Egg whites are primarily water and protein. When you whip them, the mechanical action causes the proteins to denature, or unfold. As they unfold, they link together to form a network that traps air bubbles. This process transforms the liquid egg white into a voluminous, white foam.
The addition of sugar plays a vital role in stabilizing this delicate protein network. Sugar dissolves in the water content of the egg whites and coats the denatured proteins, helping to strengthen the structure and prevent the trapped air bubbles from collapsing. Heat, typically from baking or torching, further sets this structure by coagulating the proteins, creating a stable, solidified foam. Understanding this basic science helps demystify the process of creating a perfect easy meringue pie topping.
The Key Ingredients: Egg Whites and Sugar, the Perfect Pair
The quality and preparation of your egg whites are paramount. Fresh egg whites generally whip up to a greater volume and are more stable than older ones, though some bakers prefer aged whites for specific applications. It is absolutely critical that the egg whites are free of any trace of egg yolk, which contains fat.
Fat is the enemy of meringue, as it coats the protein molecules and prevents them from linking together effectively, resulting in a meringue that won't whip properly or hold its shape. Using egg whites that are at room temperature allows them to whip up faster and achieve maximum volume compared to cold whites straight from the refrigerator.
Sugar not only provides sweetness but is essential for stabilizing the whipped egg whites. Granulated sugar is commonly used, but superfine sugar (castor sugar) dissolves more readily, which can be an advantage, especially in methods where the sugar isn't heated beforehand. The ratio of sugar to egg white affects the meringue's stability, sweetness, and texture.
A higher sugar ratio generally results in a denser, more stable, and sweeter meringue. The key is adding the sugar correctly to ensure it dissolves fully, preventing a gritty texture and contributing effectively to the protein network's strength, which is vital for a stable easy meringue pie topping.
Different Types of Meringue: French vs. Swiss vs. Italian
Meringue is typically categorized into three main types based on how the sugar is incorporated into the egg whites. French meringue is the simplest: granulated sugar is gradually added to raw egg whites while they are whipped. It's the least stable of the three and is often used for delicate applications like soufflés or baked meringue cookies, but it's prone to weeping and less ideal for a sturdy pie topping unless baked thoroughly.
Swiss meringue involves gently heating the egg whites and sugar together over a water bath until the sugar dissolves and the mixture is warm, before whipping it to stiff peaks. This heating process partially cooks the egg whites, making the meringue more stable, denser, and glossier than French meringue.
Its stability and smooth texture make it an excellent choice for an easy meringue pie topping that holds its shape well and browns beautifully. Italian meringue is the most stable, made by pouring a hot sugar syrup (heated to the soft-ball stage, around 240°F or 115°C) into whipped egg whites while continuing to beat.
This method fully cooks the egg whites and results in a very stable, glossy meringue that doesn't require further baking to be safe to eat (though it's often torched for color). While highly stable, the hot syrup technique can be more challenging for beginners, making the Swiss method a more accessible choice for an easy meringue pie topping.
The Secret to Easy Meringue Pie Topping: A Reliable Swiss Method
Step-by-Step: Creating a Glossy and Sturdy Meringue
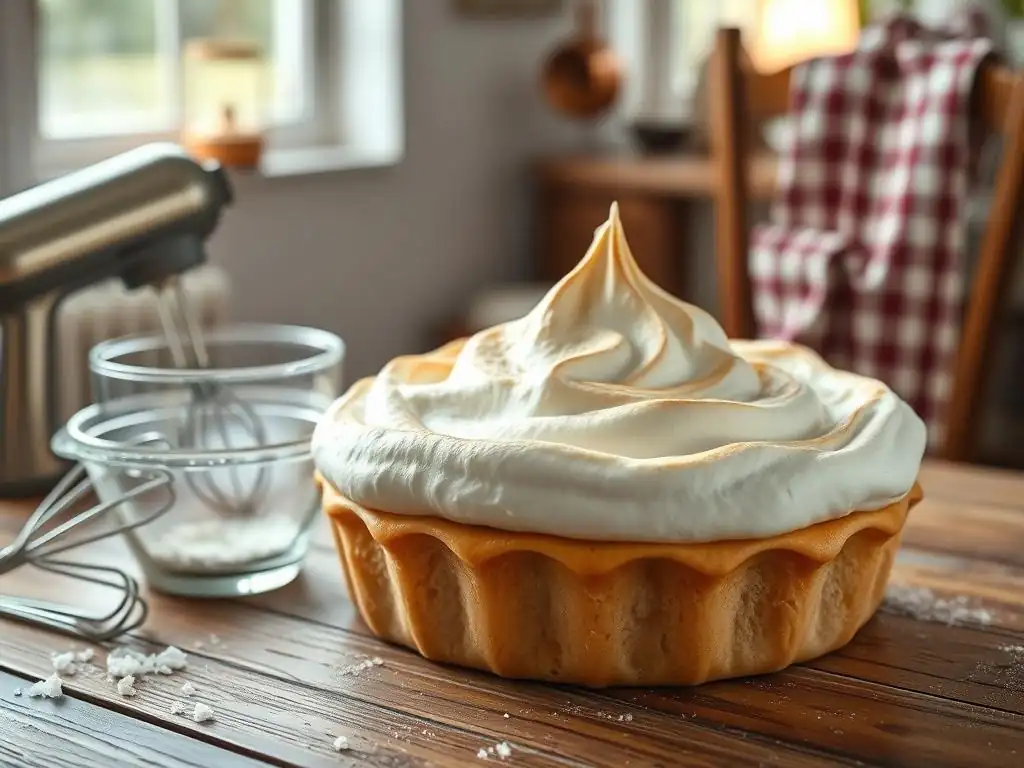
For a consistently beautiful and stable topping for your pies, the Swiss meringue method is often the secret weapon for home bakers seeking an easy meringue pie topping. This technique strikes a wonderful balance between the simplicity of French meringue and the stability of Italian meringue, offering reliability without requiring handling dangerously hot sugar syrup. The gentle heating process ensures the sugar is fully dissolved, resulting in a smooth, glossy texture, while also partially cooking the egg whites, which significantly improves stability and reduces the likelihood of weeping.
The basic process involves warming the egg whites and sugar together over a double boiler until warm to the touch and the sugar is completely dissolved. This mixture is then transferred to a mixer and whipped until it cools and reaches stiff, glossy peaks. This method creates a meringue that is sturdy enough to pipe intricate designs, holds its shape exceptionally well during baking or torching, and develops a lovely golden-brown finish. It simplifies the process, making it genuinely possible to achieve a stunning and easy meringue pie topping with predictable results.
Gathering Your Tools and Ingredients for Meringue Perfection
Essential Baking Tools for Meringue Success
To make a perfect Swiss meringue for your pie topping, having the right tools clean and ready is key.
- Stand Mixer or Hand Mixer: Essential for whipping the egg whites to volume. A stand mixer with a whisk attachment is ideal as it frees your hands, but a good quality hand mixer works too.
- Heatproof Bowl: Glass or metal bowls are preferred as they are non-porous and easier to ensure they are completely grease-free. This bowl will sit over a pot of simmering water.
- Whisk Attachment: For your mixer. Ensure it is perfectly clean and dry.
- Pot for Double Boiler: A saucepan filled with an inch or two of water that your heatproof bowl can sit over without the bottom touching the water.
- Rubber Spatula: For scraping down the sides of the bowl.
- Thermometer (Optional but Recommended): An instant-read thermometer helps ensure the egg white/sugar mixture reaches the correct temperature (around 140-160°F or 60-71°C) for safety and sugar dissolution.
- Piping Bag and Tips (Optional): For creating decorative peaks.
High-Quality Ingredients: The Foundation of Flavor
While simple, the quality of your ingredients impacts the final meringue.
- Fresh Egg Whites: Use large eggs, separated carefully to avoid any yolk. Room temperature egg whites whip best.
- Granulated Sugar: Standard white granulated sugar works well. Superfine sugar dissolves even faster if you have it.
- Cream of Tartar (Optional): A pinch (about 1/4 teaspoon per 2-3 egg whites) can help stabilize the meringue and increase volume, though the Swiss method is quite stable on its own.
- Vanilla Extract (Optional): Adds a lovely background flavor. Add it at the end of whipping.
Ensure all equipment that will touch the egg whites is spotlessly clean and completely dry. Any grease or moisture can prevent the egg whites from whipping properly.
Detailed Instructions: Baking a Beautiful Meringue Pie Topping
Preparing the Egg Whites: Achieving Maximum Volume and Stability
Start by carefully separating your egg whites from the yolks. Even a tiny bit of yolk can ruin the meringue. It's often easiest to separate eggs when they are cold, but let the separated whites sit at room temperature for 30 minutes to an hour before starting. Room temperature whites whip faster and achieve greater volume because their proteins are more relaxed.
Place the room-temperature egg whites and the granulated sugar into your clean, heatproof bowl. Set the bowl over a pot of simmering water (ensure the water is simmering, not boiling rapidly, and the bottom of the bowl doesn't touch the water). Whisk the mixture gently and continuously by hand. Your goal here is to dissolve the sugar and gently warm the egg whites.
Continue whisking until the mixture is warm to the touch (it should feel like warm bathwater, around 140-160°F or 60-71°C). You can test for dissolved sugar by rubbing a small amount between your fingers; it should feel smooth, not gritty. This heating step is crucial for dissolving the sugar thoroughly and creating a stable base for your easy meringue pie topping. If using cream of tartar, whisk it in here.
Adding Sugar: Gradual Incorporation for a Smooth Texture
(Note: In the Swiss method, the sugar is added at the beginning and heated with the egg whites. The previous section covers this initial step.) Once the egg white and sugar mixture is warm and the sugar is dissolved, carefully remove the bowl from the heat. Immediately transfer the mixture to your stand mixer fitted with the whisk attachment, or use a hand mixer in the same bowl (if it's suitable for mixing).
Begin whipping on a medium speed. The mixture will look frothy and opaque at first. Continue whipping, gradually increasing the speed to high. As you whip, the meringue will become thicker, whiter, and significantly increase in volume. The heating step ensures the sugar is already incorporated smoothly, preventing the common issue of undissolved sugar crystals in the finished meringue. This process is key to developing the structure needed for a reliable and easy meringue pie topping.
Achieving the Perfect Consistency: Stiff, Glossy Peaks
Continue whipping the meringue on high speed. You'll notice it progressing through stages: soft peaks (the meringue slumps over when the whisk is lifted), medium peaks (the peaks hold their shape but curl slightly), and finally, stiff peaks. For a stable pie topping, you need to whip until stiff, glossy peaks form. This means when you lift the whisk, the peaks stand straight up without drooping.
The meringue should look smooth, shiny, and completely opaque. Over-whipping can cause the meringue to become grainy or start to collapse, so watch it carefully as it reaches the stiff peak stage. If adding vanilla extract, add it during the last minute or two of whipping. Achieving these stiff, glossy peaks ensures that your easy meringue pie topping will hold its form beautifully, whether you pipe it or spread it, and will maintain its structure during baking.
Piping or Spreading: Creating Visual Appeal
Once your meringue has reached stiff, glossy peaks, it's ready to be applied to your pie. For a classic, rustic look, you can simply spoon the meringue onto the warm pie filling and spread it with a spatula, creating swirls and peaks as you go. Ensure the meringue touches the crust all the way around the edge; this seals the filling and helps prevent the meringue from shrinking away from the crust during baking, a common issue with easy meringue pie toppings.
For a more decorative finish, transfer the meringue to a piping bag fitted with your desired tip (a large star tip is popular for meringue). Pipe swirls, stars, or other patterns over the pie filling, again making sure the base of the piped meringue connects firmly to the crust edge. Creating distinct peaks is important, as these are the parts that will brown and become slightly crispy during baking or torching, adding visual appeal and textural contrast to your easy meringue pie topping.
Baking the Meringue: Achieving a Golden-Brown Hue
Baking serves two purposes: it helps set the meringue structure further and, most importantly, it gives the peaks that characteristic golden-brown color. Place the pie in a preheated oven. A moderate temperature, such as 350°F (175°C), for a short time (around 10-15 minutes) works well for achieving quickly browned peaks with a soft interior.
Alternatively, a lower temperature, like 300°F (150°C), for a longer duration (20-30 minutes) will result in a drier, more uniformly set meringue with less dramatic browning. Watch the meringue closely, especially towards the end of the baking time, as the peaks can go from golden to burnt very quickly.
Another popular method for browning an easy meringue pie topping is using a kitchen torch. This allows you to brown the peaks precisely without further baking the pie. Simply torch the peaks until they reach your desired level of golden color. This method results in a softer, unbaked meringue underneath the torched exterior. Both methods are effective ways to finish your easy meringue pie topping, offering slightly different textures.
Troubleshooting Common Meringue Problems
Weeping Meringue: Preventing and Addressing Moisture Issues
Weeping occurs when the meringue releases liquid, often appearing as sugary beads on the surface or a syrupy pool at the base where the meringue meets the crust. This is a common frustration when making an easy meringue pie topping. Primary causes include undissolved sugar, undercooking the meringue (not setting the protein structure sufficiently), or environmental humidity.
To prevent weeping, ensure the sugar is completely dissolved during the heating stage of the Swiss method. Applying the meringue to a warm (not piping hot or completely cold) pie filling can also help create a good seal at the crust line. Baking the meringue until the peaks are set and lightly colored helps solidify the structure. While you can't control humidity entirely, avoiding extremely humid days for meringue making can also help. If weeping does occur, there's not much you can do to fix it, but preventative steps significantly reduce the risk.
Shrinking Meringue: Maintaining Volume and Shape
Shrinking happens when the meringue pulls back from the edges of the pie crust, leaving a gap. This detracts from the finished look of your easy meringue pie topping. The main reasons for shrinking are failing to seal the meringue properly to the crust edge, applying meringue to a cold filling, or sometimes overbaking which dries out the meringue too much.
To prevent shrinking, always spread or pipe the meringue so that it firmly touches and seals against the inner edge of the pie crust all the way around. This creates a barrier that helps anchor the meringue as it sets. Applying the meringue to a warm filling also promotes better adhesion. Avoid excessively long baking times at high temperatures, which can cause the meringue to dry out and contract.
Cracked Meringue: Avoiding Imperfections Through Proper Baking
Cracks appearing on the surface of the meringue can mar its smooth appearance. This usually happens when the meringue dries out too much or experiences a rapid change in temperature. Baking the meringue at too high a temperature or for too long can make the surface brittle, leading to cracks as the pie cools.
To minimize cracking, bake the meringue at a moderate temperature and for just long enough to achieve the desired color and set. Avoid overbaking. Allowing the pie to cool gradually can also help prevent cracks. Sometimes, leaving the oven door ajar after turning off the heat allows the pie to adjust to room temperature more slowly.
Burnt Meringue: Achieving a Golden-Brown Finish
Burnt meringue peaks are a common pitfall, as the tips can go from perfectly golden to charred in moments. This is a result of baking at too high a temperature or simply not watching the meringue closely enough during the final stages of browning.
The best prevention is vigilance. Keep a close eye on the pie while it's in the oven, especially during the last 5-10 minutes. If you notice the peaks browning too quickly, you can loosely tent the pie with aluminum foil to shield the meringue while the rest of the pie finishes baking. Using a slightly lower oven temperature for a longer time can also provide more controlled browning and reduce the risk of burning your easy meringue pie topping.
Flavor Variations: Subtle Enhancements to Your Meringue
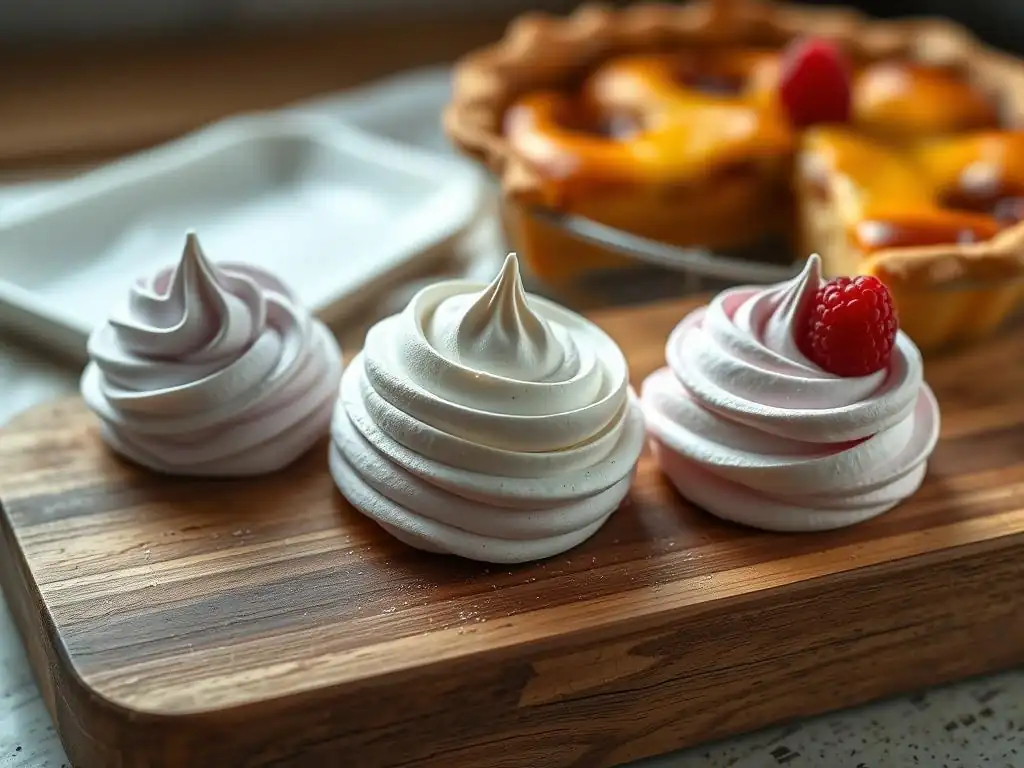
Toasted Coconut Meringue: Adding Texture and Tropical Flavor
Introducing toasted coconut flakes into your meringue adds a delightful textural element and a warm, tropical flavor that pairs wonderfully with citrus fillings like lemon or lime. The slightly chewy, nutty coconut complements the light airiness of the meringue beautifully.
To create this variation, toast shredded coconut in a dry skillet over medium heat, stirring frequently, until golden brown and fragrant. Let the toasted coconut cool completely. Once your Swiss meringue has reached stiff, glossy peaks, gently fold the cooled toasted coconut flakes into the meringue using a rubber spatula. Be careful not to overmix, which can deflate the meringue. Then, proceed to spread or pipe the coconut meringue onto your pie and bake or torch as usual. This adds an exciting twist to a standard easy meringue pie topping.
Vanilla Bean Meringue: A Touch of Elegance
For a more sophisticated flavor profile, elevate your meringue by incorporating vanilla bean. Using vanilla bean paste or the scraped seeds from a vanilla pod provides a more intense and complex vanilla flavor compared to extract alone, and the tiny black specks add a visual cue of quality.
Add vanilla bean paste or scraped vanilla bean seeds to the meringue towards the end of the whipping process, when it is nearing stiff peaks. This ensures the flavor is fully incorporated without hindering the whipping. The rich aroma and nuanced taste of real vanilla bean add a touch of elegance that enhances the overall flavor of your easy meringue pie topping and the pie itself.
Storing Your Meringue Pie: Maintaining Freshness
Proper Refrigeration Techniques for Meringue Pies
Meringue pies, particularly those with custard or curd fillings, require refrigeration to keep the filling safe. However, refrigeration can sometimes cause the meringue to weep or become sticky due to condensation. To minimize this, allow the pie to cool completely at room temperature for several hours before refrigerating it. Placing a warm pie directly into the fridge creates significant condensation.
Once cooled, cover the pie loosely. Avoid pressing plastic wrap directly onto the meringue, as it will stick and crush the peaks. Instead, use toothpicks inserted into the meringue peaks to create a tenting structure, or use a cake carrier or a large bowl inverted over the pie. Then, loosely cover with plastic wrap or foil. This protects the meringue while allowing air circulation and preventing direct contact, helping to preserve the texture of your easy meringue pie topping.
How Long Does Meringue Pie Last? Maximizing Shelf Life
For the best quality and texture, meringue pies are ideally enjoyed the day they are made. The meringue is at its freshest, fluffiest, and least likely to weep. When properly refrigerated, a meringue pie is generally considered safe to eat for 1-2 days.
After 48 hours, the meringue may start to break down, weep more significantly, and lose its desirable texture, although the filling may still be safe for a bit longer. While it might technically be edible, the sensory experience of your carefully crafted easy meringue pie topping diminishes with each passing day. For maximum enjoyment, plan to serve and finish the pie within a couple of days of baking.
Serving Suggestions: Enhancing the Meringue Pie Experience
The Perfect Slice: Presentation Matters
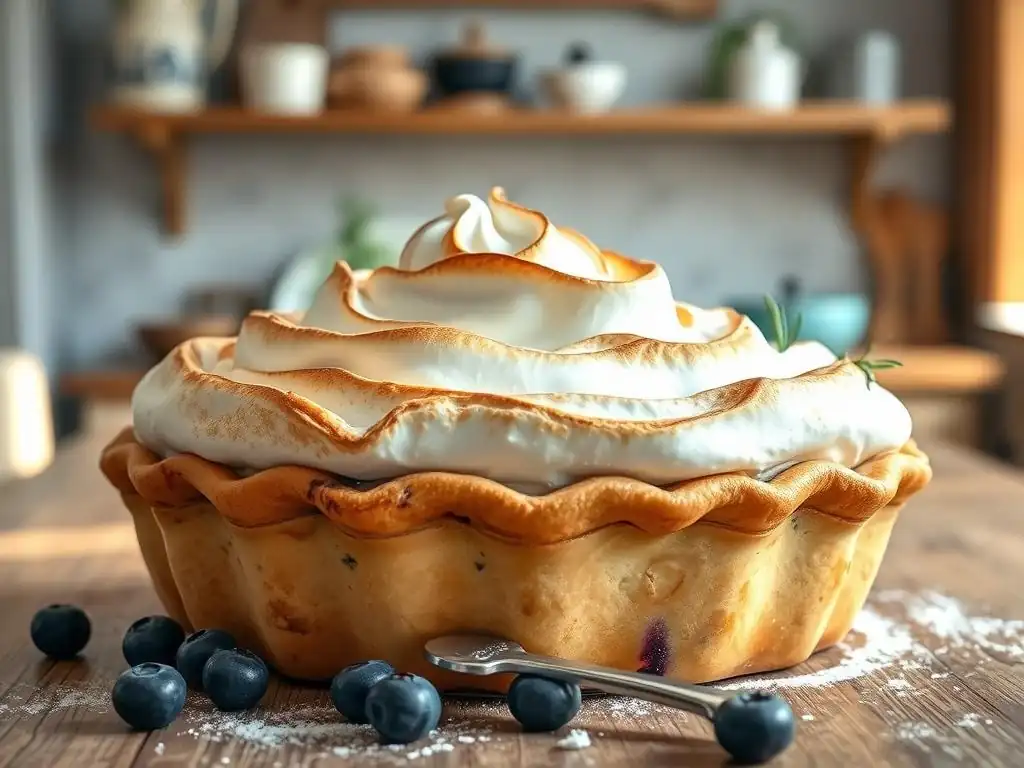
Serving a beautiful meringue pie involves more than just cutting it. To get clean slices that showcase the distinct layers of crust, filling, and your glorious easy meringue pie topping, use a sharp knife. For the cleanest cuts, dip the knife in hot water and wipe it dry between each slice. This helps the knife glide through the meringue and filling without dragging or smearing.
Allowing the pie to sit at room temperature for 15-20 minutes before slicing can also slightly soften the filling and meringue, making it easier to cut cleanly. Serve slices onto individual plates, perhaps with a small garnish like a twist of lemon zest or a fresh berry if the filling is fruity. The presentation of a clean slice highlights the care taken in creating each component, especially your easy meringue pie topping.
Pairing Your Meringue Pie with Beverages
The ideal beverage pairing for a meringue pie depends largely on the filling, but the sweet, airy meringue suggests drinks that offer a balance. For a classic lemon meringue pie, which is sweet and tart, beverages that are not overly sweet work well. Consider sparkling water with a twist of citrus, unsweetened iced tea, or even a light, slightly acidic white wine if serving for a more formal occasion.
For richer fillings like chocolate or coconut, beverages like coffee, milk, or a dessert wine that complements the specific flavor profile would be suitable. The key is to choose a drink that refreshes the palate and balances the sweetness and richness of the pie and its easy meringue pie topping, enhancing the overall dessert experience.
Conclusion: Savor Your Delicious Homemade Meringue Pie!
Embarking on the journey to create a perfect meringue topping for your pies might have seemed daunting, but by understanding the simple science and employing the reliable Swiss method, achieving a stunning and easy meringue pie topping is entirely within your reach. We've covered everything from selecting the right ingredients and mastering the whipping technique to troubleshooting common issues and adding delightful flavor variations.
Now, all that's left is to put your newfound knowledge into practice. Gather your ingredients, follow the steps, and take pride in the beautiful, cloud-like creation you've made. Cutting into your homemade pie, with its golden peaks standing tall, is incredibly rewarding. So go ahead, savor every bite of your delicious pie, complete with a perfectly crafted easy meringue pie topping that you made with ease!
Frequently Asked Questions
What is the secret to achieving a stable meringue topping that doesn't weep?
The key is to ensure the egg whites are at room temperature and that you use a stabilizer like cream of tartar. Proper cooking or baking also helps set the meringue, preventing weeping.
How do I prevent my meringue from shrinking after baking?
Avoid over-baking the meringue. Also, make sure the meringue covers the entire filling and touches the crust to create a seal.
What type of sugar is best for meringue topping, and why?
Granulated sugar is commonly used, but superfine sugar dissolves more easily, resulting in a smoother meringue with a less gritty texture.
Can I make meringue ahead of time, or does it need to be used immediately?
Meringue is best used immediately after making. It's difficult to store without it deflating or weeping, so prepare it right before topping and baking.
What's the difference between Swiss, Italian, and French meringue, and which is best for pies?
Swiss and Italian meringues are more stable due to being cooked, making them excellent for pies. French meringue is uncooked and less stable, best for recipes where it will be baked immediately.
Final Reflection: The Unexpected Joy of a Perfect Meringue
The seemingly simple act of creating a cloud-like meringue topping is, in reality, a gateway to culinary mastery and a surprising source of joy. Mastering this technique not only elevates your pies to new heights of deliciousness but also offers a tangible sense of accomplishment in the kitchen, proving that even the most delicate creations are within reach.
The pursuit of the perfect meringue has, for me, become a metaphor for life's more challenging endeavors. The precise balance of ingredients, the careful attention to technique, and the patience required all mirror the dedication needed to achieve any worthwhile goal. The art of cooking is the art of making something delicious out of something simple.
This quote perfectly encapsulates the magic of transforming humble eggs and sugar into a breathtakingly beautiful and flavorful topping. The process itself, from the initial whipping to the final golden-brown peaks, is incredibly satisfying, a small act of creation that brings immense pleasure.
Now, I invite you to embark on your own meringue journey. Don't be intimidated by the seemingly delicate nature of this topping; embrace the challenge, experiment with different techniques, and savor the sweet reward of a perfectly crafted meringue. Remember, the journey is as important as the destination, and the joy of creating something beautiful and delicious with your own hands is a gift you can give yourself again and again. So, grab your whisk, and let's make some magic!
Unlock Your Inner Pastry Chef: Master the Cloud-Like Meringue!
Thanks for joining us on this delicious journey into the world of meringue! We hope you now feel confident in creating that perfect, cloud-like topping for your pies. Ready to take your baking to the next level?
- Whip up your masterpiece! Try the recipe today and see how effortlessly you can achieve those stunning peaks. Imagine the compliments you'll receive!
- Share your meringue magic! Post a picture of your creation on social media and tag us – we'd love to see your baking triumphs! #BakeWithEaseMeringue
- Explore other delicious meringue recipes! Visit our website for more inspiring baking ideas and techniques.
What flavor combination will you try for your next meringue masterpiece? Let us know in the comments!