
Authentic Crème brûlée: Simple Steps to Restaurant Quality

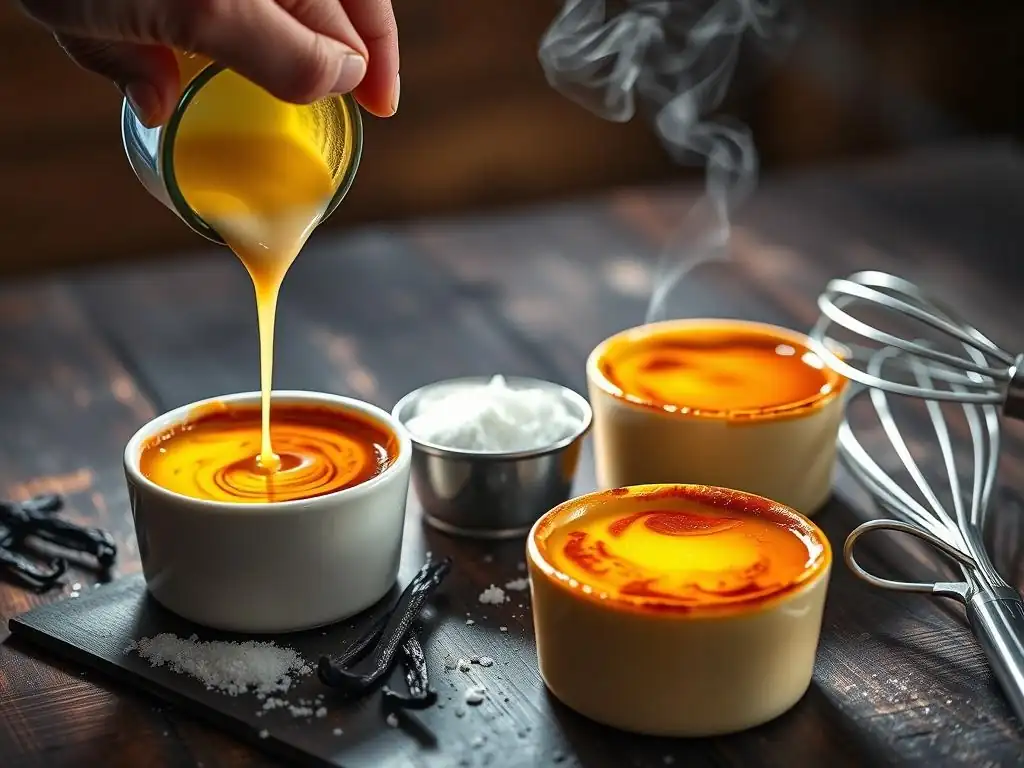
Welcome to BakeWithEase, your companion on the journey to baking bliss! Ever dreamt of creating that perfect, crackling-top dessert? This week, we're unlocking the secrets to an Authentic Crème brûlée that rivals your favorite restaurant. Intrigued by how simple it can be? Dive into our Easy Crème brûlée recipe steps and discover the magic for yourself. Let's get baking!
- CookingDelight Presents: The Ultimate Crème brûlée Guide
- Easy Crème brûlée Recipe Steps: A Beginner-Friendly Guide
- Achieving Restaurant Quality Crème brûlée at Home
- Crème brûlée Variations and Flavor Combinations
- Serving and Enjoying Your Homemade Crème brûlée
- Crème brûlée Troubleshooting: Solving Common Problems
- Mastering the Art of Crème brûlée: Next Steps
- Frequently Asked Questions
- Final Reflection: The Enduring Allure of a Perfectly Cracked Crème Brûlée
- Unlock Your Inner Pâtissier: Master the Art of Crème Brûlée
CookingDelight Presents: The Ultimate Crème brûlée Guide
What Makes Crème brûlée So Special?
Crème brûlée, which translates from French to "burnt cream," is a deceptively simple yet elegant dessert consisting of a rich, creamy custard base topped with a contrasting layer of hardened caramelized sugar. The magic lies in the texture contrast: the smooth, velvety custard yielding to the crisp, brittle glass-like sugar crust. Achieving this perfect balance requires precision in both the custard preparation and the final torching step. The base is typically made from heavy cream, egg yolks, sugar, and vanilla, baked gently until set but still slightly wobbly in the center.
The appeal of crème brûlée goes beyond just texture and flavor. It's an experience. The act of cracking through the caramelized sugar with a spoon is part of the ritual, anticipating the cool, lush custard underneath. While the core ingredients are few, their quality and the technique used significantly impact the final result. A well-made crème brûlée boasts a deeply satisfying richness without being heavy, and the burnt sugar adds a complex, slightly bitter note that perfectly complements the sweet custard. This makes it a perennial favorite on dessert menus worldwide.
History and Origins of This Decadent Custard
The exact origins of crème brûlée are debated, with claims coming from England, France, and Spain. England claims the dessert originated at Trinity College, Cambridge, where a similar dish called "Cambridge burnt cream" or "Trinity Cream" was served, often featuring the college's crest branded onto the sugar top. Recipes for burnt cream appear in English cookbooks as early as the 17th century.
Meanwhile, French culinary history points to crème brûlée appearing in cookbooks around the same period, though some argue it evolved from an earlier Spanish dessert called Crema Catalana. Crema Catalana is traditionally made with milk and cornstarch and flavored with citrus and cinnamon, then topped with caramelized sugar, similar in concept but distinct from the cream and egg-yolk based French version. Regardless of its precise birthplace, the modern iteration of crème brûlée, particularly its popularity outside of Europe, largely solidified during the 20th century, becoming a staple of classic French cuisine served in fine dining establishments globally.
Easy Crème brûlée Recipe Steps: A Beginner-Friendly Guide
Gathering Your Ingredients for the Perfect Crème brûlée
Starting your journey to mastering this classic dessert begins with selecting the right ingredients. For an easy crème brûlée recipe, quality is key, even with simple steps. You'll need fresh, high-fat heavy cream (typically containing at least 36% milk fat), large egg yolks (which provide richness and structure), granulated sugar for both the custard and the topping, and pure vanilla extract or, ideally, a vanilla bean for authentic flavor. A pinch of salt is also crucial to balance the sweetness and enhance the other flavors.
Here is a checklist to help you get started:
- [ ] Heavy cream (approx. 2 cups or 470 ml)
- [ ] Large egg yolks (approx. 5-6 yolks)
- [ ] Granulated sugar (approx. 1/3 cup or 65g for custard, plus more for topping)
- [ ] Pure vanilla extract (approx. 1 teaspoon) or 1 vanilla bean, split and scraped
- [ ] Pinch of salt
Essential Ingredients Checklist: Heavy Cream, Egg Yolks, Sugar, Vanilla Extract, Salt
Using high-quality ingredients is paramount for achieving a restaurant-quality crème brûlée at home. Heavy cream provides the luxurious, silky texture that is the hallmark of this dessert. Using cream with a high fat content ensures a richer, smoother custard that sets beautifully. Egg yolks are the primary thickening agent; the more yolks used relative to the cream, the richer and firmer the custard will be. A standard ratio often calls for about 5-6 large egg yolks per two cups of heavy cream.
Sugar sweetens the custard and, more importantly, forms the signature brittle crust. Granulated sugar is standard, but superfine sugar dissolves more easily in the custard base. For the topping, granulated sugar works best as it caramelizes evenly under the torch.
Vanilla is the classic flavoring; using a real vanilla bean provides the most authentic and complex vanilla notes, visible as tiny black specks throughout the custard. If using extract, ensure it's pure vanilla for the best flavor. Salt, even just a tiny amount (like 1/8 teaspoon), is vital for enhancing the overall flavor profile and preventing the dessert from tasting one-dimensionally sweet.
Ingredient Substitutions and Alternatives
While the classic recipe is built on heavy cream and egg yolks, some substitutions can be considered, though they may alter the texture. For a slightly less rich version, you could potentially use a mix of heavy cream and whole milk, but this will result in a softer set and may require a slightly longer baking time. However, substituting low-fat milk or half-and-half is generally not recommended as it significantly compromises the texture and richness.
Regarding flavoring, while vanilla is traditional, you can experiment with others. Infusing the cream with citrus zest (lemon, orange), spices (cinnamon stick, star anise), or even coffee beans before mixing with the yolks can create exciting variations. For the topping, while granulated sugar is standard, some bakers use brown sugar for a slightly different flavor profile, though it can be harder to get an even, hard crust. These easy steps for crème brûlée allow for creative twists once you've mastered the basic technique.
Step-by-Step Crème brûlée Recipe: From Prep to Torch
Follow these easy crème brûlée recipe steps carefully to ensure success. The process involves gentle heating, careful mixing, slow baking, and a dramatic finish. It's less about complex maneuvers and more about patience and precision with temperature and time.
Here's a breakdown of the key stages:
- Prepare the custard base by infusing the cream and tempering the egg yolks.
- Pour the custard into ramekins and bake in a water bath until set.
- Cool the custards completely.
- Top with sugar and caramelize with a torch.
Step 1: Preparing the Custard Base
Begin by gently heating the heavy cream, sugar (for the custard), and salt in a saucepan over medium heat. If using a vanilla bean, add the bean pod and scraped seeds to the cream mixture now. Heat until the sugar is dissolved and the mixture is warm but not boiling – around 150-160°F (65-70°C). Remove from the heat.
In a separate bowl, whisk the egg yolks until just combined (avoid creating too much foam). Slowly temper the egg yolks by gradually whisking about half of the warm cream mixture into the yolks. This gently raises the temperature of the yolks without scrambling them.
Once the yolks are tempered, pour the yolk mixture back into the saucepan with the remaining cream. If you used a vanilla bean, remove the pod. Whisk gently to combine. If using vanilla extract, stir it in now. For an extra smooth custard, strain the mixture through a fine-mesh sieve into a clean bowl or directly into your ramekins. Straining removes any potential lumps of cooked egg or unmixed ingredients, ensuring a silky texture. This foundational step is crucial for an easy crème brûlée recipe with a smooth finish.
Step 2: Baking the Crème brûlée to Perfection
Proper baking is essential to achieve the right texture. Crème brûlée is baked gently in a bain-marie, or water bath. This method provides even, gentle heat, preventing the edges from overcooking before the center sets and helping to create a smooth, creamy custard without curdling. Preheat your oven to a relatively low temperature, typically 300-325°F (150-160°C). Arrange your ramekins (standard size is 4-6 ounces) in a baking dish or roasting pan.
Carefully pour the strained custard into the ramekins, filling them almost to the top. Place the baking dish on the oven rack, then carefully pour hot water into the baking dish around the ramekins, filling it halfway up the sides of the ramekins. Bake for 30-40 minutes, or until the edges are set and slightly firm, but the center is still slightly wobbly when the pan is gently shaken. The exact time will vary depending on your oven and the size and depth of your ramekins. Do not overbake, as this can lead to a rubbery texture.
Step 3: Cooling and Refrigerating for Optimal Texture
Once baked, carefully remove the baking dish from the oven. Let the ramekins cool in the water bath for about 15-20 minutes. This slow cooling helps the custard finish setting gently. After this initial cooling period, carefully lift the ramekins out of the water bath and place them on a wire rack to cool completely to room temperature. This usually takes another hour or so.
After reaching room temperature, cover each ramekin tightly with plastic wrap. Ensure the plastic wrap doesn't touch the surface of the custard to prevent condensation from forming on top, which can make the sugar topping difficult to caramelize later. Refrigerate the custards for at least 4 hours, but preferably overnight. Chilling is a critical step for the custard to firm up properly and achieve its ideal creamy texture. This refrigeration step is non-negotiable for successful easy steps for crème brûlée.
Step 4: The Art of the Torch: Creating the Signature Brittle Crust
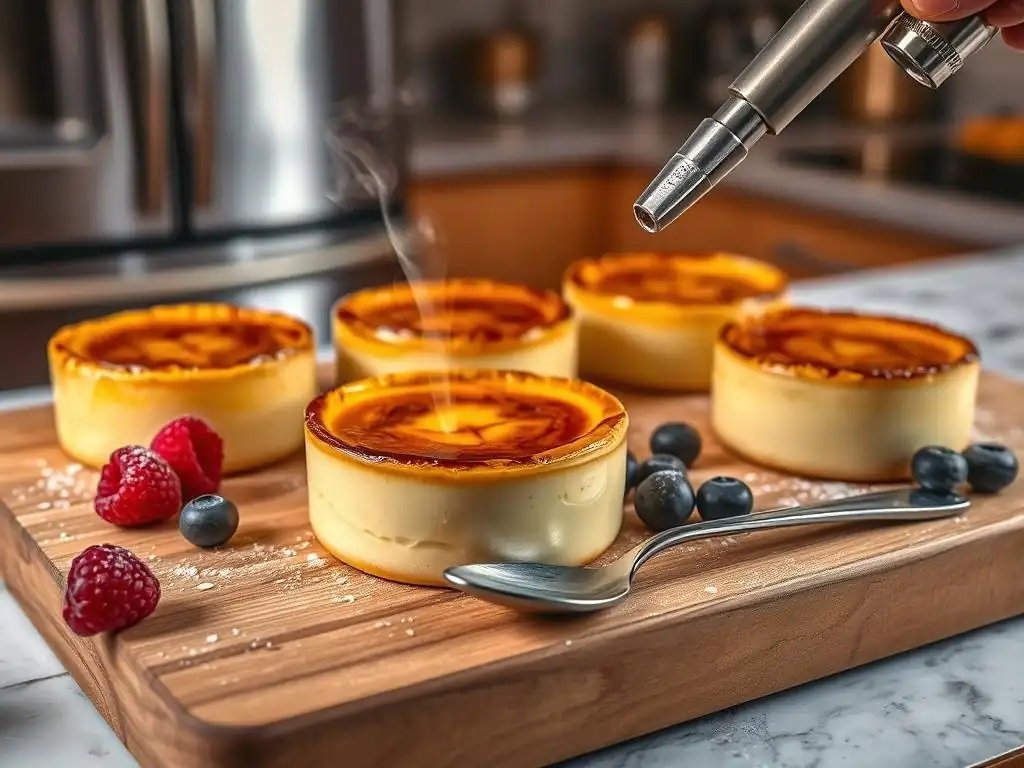
This is the most dramatic and iconic step. Just before serving, remove the chilled custards from the refrigerator. Blot any condensation from the surface with a paper towel. Sprinkle a thin, even layer of granulated sugar over the top of each custard. You'll typically need about 1-2 tablespoons of sugar per ramekin, depending on its size. Ensure the sugar covers the surface completely and evenly; too much sugar will create a thick, hard crust, while too little might burn or not form a complete layer.
Using a kitchen torch (a small butane torch works best), hold the flame about 2-3 inches above the sugar surface. Move the torch steadily back and forth in a circular motion, melting the sugar gradually. The sugar will first melt into a liquid, then bubble, turn amber, and finally darken to a rich brown caramel. Keep the torch moving to prevent burning spots.
Stop when the entire surface is a uniform golden-brown color. The sugar will harden into a brittle crust as it cools. Serve immediately after torching for the best contrast in temperature and texture. These crème brûlée recipe easy steps culminate in this satisfying crack!
Achieving Restaurant Quality Crème brûlée at Home
Transforming your homemade crème brûlée from good to truly exceptional involves paying attention to details throughout the process. The goal is a custard that is incredibly smooth and creamy, paired with a perfectly caramelized, brittle sugar crust. This requires mastering the techniques outlined in the easy crème brûlée recipe steps, plus a few extra tips.
One key aspect is the custard's texture. It should be set enough to hold its shape but yield to the slightest pressure, almost like a firm pudding but silkier. The flavor should be rich and balanced, with clear notes of vanilla complementing the sweetness. The caramelized sugar should be thin, even, and shatter easily, providing a delightful crunch against the smooth custard.
Tips and Tricks for a Smooth and Creamy Texture
Achieving that signature smooth, creamy texture is paramount. First, ensure your ingredients are at room temperature (except the cream, which is heated). This helps them emulsify better. When whisking the egg yolks, do so gently to avoid incorporating too much air, which can lead to a foamy or bubbly custard surface. Tempering the yolks slowly and gradually with the warm cream is crucial; adding hot liquid too quickly will scramble the eggs.
Straining the custard mixture is a simple yet highly effective step. It removes any small bits of cooked egg, chalazae (the stringy white bits in egg yolks), or undissolved sugar, guaranteeing a velvety smooth final product. Baking in a water bath is non-negotiable; it regulates the temperature and ensures the custard cooks evenly and gently, preventing toughness or curdling. Lastly, do not overbake. The center should still be slightly jiggly when you remove it from the oven; it will continue to set as it cools and chills.
Avoiding Common Crème brûlée Mistakes
Even with easy crème brûlée recipe steps, common pitfalls can occur. One frequent issue is a rubbery or grainy custard. This is usually a result of overbaking or baking at too high a temperature, often compounded by not using a water bath. Baking at 300-325°F (150-160°C) is key, and remember the custard should jiggle slightly in the center when done.
Preventing Curdling and Overbaking
Curdling happens when the proteins in the egg yolks cook too quickly or at too high a temperature, causing them to seize up and separate from the cream. This is primarily prevented by tempering the egg yolks properly and baking in a water bath at a low temperature. If you suspect your custard has curdled slightly before baking (it might look slightly grainy), you can try blending it briefly with an immersion blender or processing it in a regular blender for a few seconds before straining and pouring into ramekins.
Overbaking is equally detrimental. A visual check is the best indicator: the edges should be set, but the center should still have a slight wobble. If the entire surface is firm and doesn't jiggle at all, it's likely overbaked. Removing the custards from the water bath after their initial cool-down and letting them cool completely on a rack also helps prevent residual heat from the water bath from continuing to cook them excessively.
Achieving the Perfect Brûlée: Evenness and Color
The final step, the brûlée, can also present challenges. The most common issue is uneven caramelization or burning spots. This often happens when the torch flame is held too close to the sugar, is moved too slowly, or the sugar layer is too thick or uneven.
To achieve a perfect, evenly golden-brown crust, ensure the sugar is spread in a thin, uniform layer over the entire surface of the chilled custard. Hold the torch 2-3 inches away and move it constantly and steadily across the surface. Start from the edges and work your way towards the center.
Don't aim for a very dark brown color, as this can taste bitter. A rich amber or golden-brown is ideal. If you don't have a torch, you can use the broiler element in your oven, but this method is riskier and harder to control; place the sugared ramekins on a baking sheet under a preheated broiler, watching constantly as it takes only seconds to caramelize or burn.
Crème brûlée Variations and Flavor Combinations
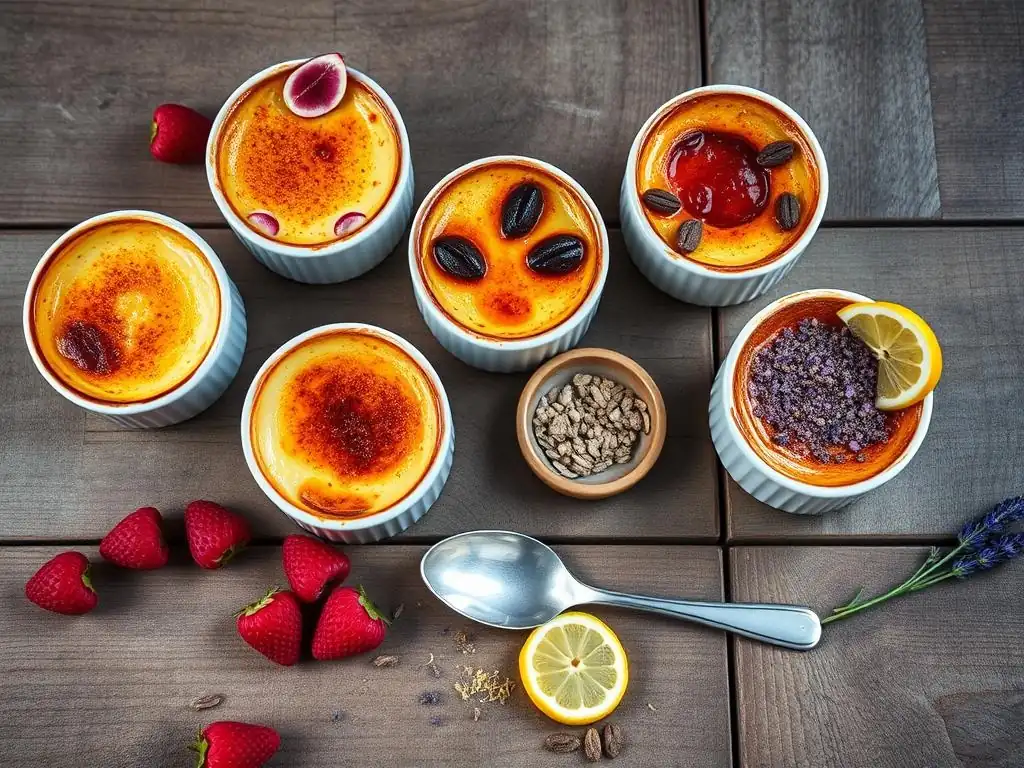
While the classic vanilla version is beloved, the easy crème brûlée recipe steps provide a versatile base for exploring other delicious flavor combinations. The simple custard can be infused with various ingredients to create unique and exciting desserts, demonstrating the adaptability of this classic.
Exploring variations allows you to tailor the dessert to different tastes and occasions. From rich chocolate to aromatic coffee or salty-sweet caramel, the possibilities for enhancing the basic crème brûlée are numerous, while the core technique remains largely the same.
Classic Vanilla Crème brûlée Recipe
The standard bearer, the classic vanilla crème brûlée, relies on the quality of the vanilla itself. For the most authentic and intense flavor, use a whole vanilla bean. Split the bean lengthwise and scrape out the tiny seeds with the back of a knife. Add both the seeds and the pod to the cream mixture while it heats. The heat helps to infuse the vanilla flavor deeply into the cream.
Alternatively, use high-quality pure vanilla extract. Add the extract after the cream has been heated and removed from the heat, just before combining with the tempered yolks. Heating vanilla extract directly can cause some of its aromatic compounds to evaporate. A typical recipe using vanilla extract might call for 1 to 1.5 teaspoons per two cups of cream. The goal is a clear, clean vanilla flavor that shines through the rich custard.
Exploring Unique Crème brûlée Flavors
Beyond vanilla, countless ingredients can be used to infuse the cream base. This is where you can get creative with your easy crème brûlée recipe. Consider adding citrus zest, spices like cinnamon or cardamom, or even tea leaves (like Earl Grey or chai) to the cream as it heats. Strain the cream thoroughly before tempering the yolks to remove any solids.
Chocolate Crème brûlée: A Rich Indulgence
For a decadent twist, chocolate crème brûlée is a popular choice. Melt high-quality bittersweet or semi-sweet chocolate (about 4-6 ounces per two cups of cream) into the warm cream mixture after removing it from the heat. Whisk until completely smooth before tempering the yolks. This creates a darker, richer custard.
Alternatively, you can whisk in unsweetened cocoa powder (about 2-3 tablespoons) into the dry sugar before adding the warm cream. Heat the cream mixture with the cocoa powder until smooth and warm, then proceed with tempering the yolks and baking as usual. Ensure the cocoa powder is fully dissolved to avoid a grainy texture.
Espresso Crème brûlée: A Caffeinated Treat
Coffee lovers will appreciate an espresso-infused crème brûlée. Add 1-2 tablespoons of instant espresso powder or very finely ground coffee beans (use a spice grinder) to the cream while it heats. Let it steep for about 10 minutes off the heat after heating, then strain the cream thoroughly to remove any solids before tempering the yolks.
For a stronger coffee flavor, you can reduce brewed espresso and add a few tablespoons to the finished custard base before pouring into ramekins. The amount needed will depend on the strength of your espresso and desired intensity, but start small (1-2 tablespoons) and taste the base before adding more.
Salted Caramel Crème brûlée: A Sweet and Salty Delight
This variation is a two-step process, combining a caramel flavor within the custard and the classic brûléed sugar top. You can make a simple caramel sauce (sugar dissolved and caramelized in a pan, then whisked with warm cream) and whisk a few tablespoons of this sauce into the custard base before baking. Add a pinch of flaky sea salt to the top of the finished, torched sugar crust for that signature sweet and salty contrast.
Another method is to add a few tablespoons of high-quality caramel extract to the cream mixture along with the vanilla, or slightly reduce the sugar in the custard and whisk in dulce de leche or a store-bought caramel sauce into the warm cream. Remember to adjust the amount of added sugar in the base based on the sweetness of the caramel you are adding.
Serving and Enjoying Your Homemade Crème brûlée
The moment of truth arrives when you serve your perfectly chilled and torched crème brûlée. The presentation can enhance the experience, and pairing it with the right beverage can elevate the flavors even further. These easy steps for crème brûlée lead to a delightful dessert that deserves a thoughtful presentation.
Serving crème brûlée isn't just about putting a dish on the table; it's about presenting a culinary achievement. The visual appeal of the golden, brittle crust is part of the dessert's charm, and there are simple ways to make it even more enticing.
Presentation Ideas for a Stunning Dessert
While the classic ramekin presentation is timeless, you can add simple garnishes to make it more visually appealing. A single fresh berry, a sprig of mint, or a dusting of powdered sugar around the base of the ramekin (not on the torched top!) can add a touch of elegance.
Consider serving crème brûlée in different vessels for variety. While shallow ramekins are ideal for getting a good custard-to-crust ratio, you could use wider, shallower dishes for a different look. Ensure the dish is oven-safe and suitable for a water bath. The key is to let the beauty of the torched sugar and the creamy custard speak for themselves.
Recommended Pairings: Wine, Coffee, and More
Crème brûlée pairs wonderfully with several beverages. For wine, consider a late-harvest Riesling, a Sauternes, or a Banyuls. These sweet wines have enough acidity to cut through the richness of the custard and complement the caramelized sugar notes.
Coffee or espresso is also a classic pairing. The slight bitterness and warmth of coffee provide a lovely contrast to the sweet, cool custard. For a non-alcoholic option, a strong black tea or a dessert tea with notes of vanilla or caramel can also be a delightful accompaniment.
Crème brûlée Troubleshooting: Solving Common Problems
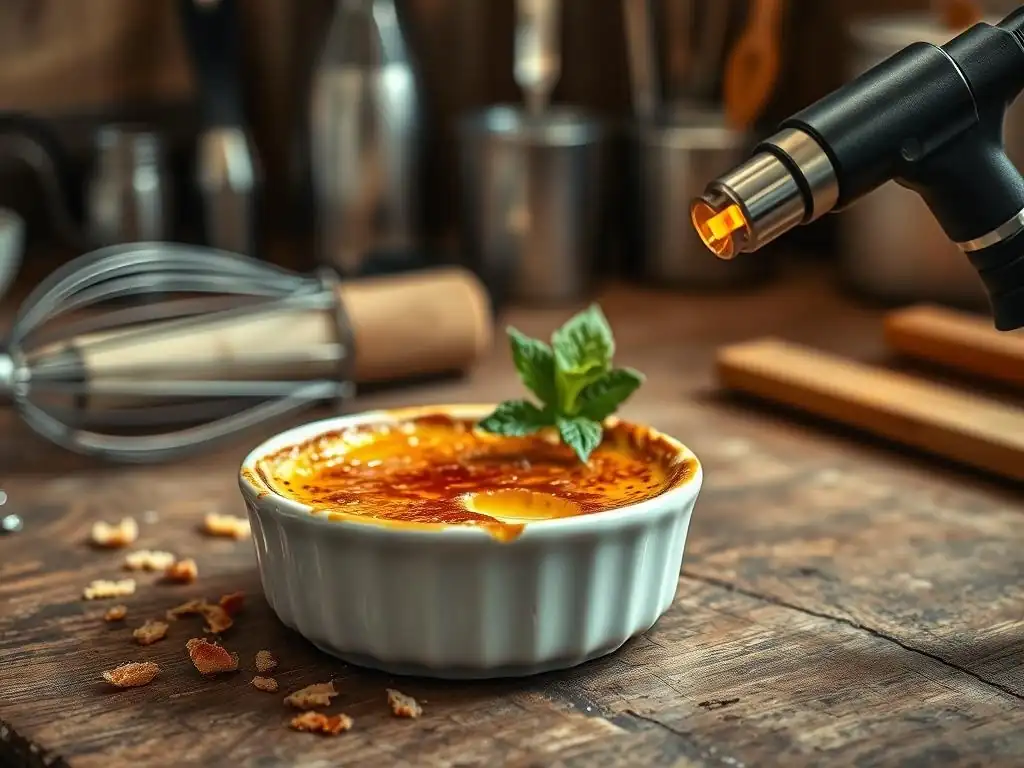
Even when following easy crème brûlée recipe steps, sometimes things don't go exactly as planned. Knowing how to identify and potentially fix common issues can save your dessert and your sanity. Don't be discouraged by minor setbacks; troubleshooting is part of the baking process.
Understanding the potential problems and their causes helps you prevent them in future attempts. Whether it's a custard that hasn't set or a sugar crust that won't cooperate, there are often simple explanations and solutions.
My Crème brûlée is Too Runny: What Went Wrong?
A runny crème brûlée is usually a sign that the custard did not cook long enough or was not chilled sufficiently. If the custard is still liquid after baking and cooling, it likely needed more time in the oven. The center should be set but still slightly wobbly when removed from the water bath.
Ensure your oven temperature is accurate and that the water bath is deep enough (at least halfway up the ramekins). Baking time is approximate; rely on the visual cue of the set edges and slightly wobbly center. If the custard was properly baked but still seems too soft after chilling for several hours (at least 4, preferably overnight), it might be due to an incorrect ratio of egg yolks to cream or using a lower-fat cream.
If it's just slightly too soft but edible, serve it as is; it will still taste delicious. Unfortunately, there's no way to "re-bake" a runny crème brûlée once it's cooled without ruining the texture.
The Sugar Didn't Brûlée Properly: Troubleshooting Tips
Problems with the sugar crust are often related to the sugar itself, the torching technique, or condensation on the custard surface. If the sugar melts but doesn't caramelize, it might be spread too thinly or the torch flame isn't hot enough or close enough. Ensure you're using granulated sugar, which caramelizes well.
If the sugar burns in spots or turns black, the torch is either too close, held in one spot for too long, or the sugar layer is too thick. Move the torch continuously and evenly. If the sugar won't melt or caramelize evenly, check for moisture on the custard surface. Any condensation will prevent the sugar from melting properly. Blot the surface very gently with a paper towel just before adding the sugar. Ensure the custards are well-chilled, as a cold surface helps the sugar harden quickly after torching.
Mastering the Art of Crème brûlée: Next Steps
Once you've successfully made a classic crème brûlée using these easy crème brûlée recipe steps, you might want to explore more advanced techniques or learn how to store your creations. Baking is a journey, and there's always something new to learn and refine.
Refining your technique and understanding how to handle leftovers ensures you can enjoy your homemade crème brûlée to the fullest and continue to expand your baking skills.
Advanced Techniques for Crème brûlée Perfection
For those looking to elevate their crème brûlée further, consider techniques like infusing the cream with flavors overnight in the refrigerator before heating. This allows flavors like citrus zest, coffee beans, or spices to impart more deeply. Using a vacuum sealer on the cream and flavorings before heating can also intensify infusion.
Experiment with different types of sugar for the topping, such as demerara or turbinado sugar, which have larger crystals and can create a slightly different texture and flavor when brûléed. Some chefs also experiment with adding a small amount of liqueur to the custard base (like Grand Marnier or rum), which requires careful consideration of the alcohol content as it affects baking time and setting.
Storing Leftover Crème brûlée: Maintaining Freshness
Crème brûlée is best served fresh, right after torching the sugar crust. The sugar crust is hygroscopic, meaning it absorbs moisture from the air (and the custard), which will cause it to soften over time. Therefore, it's crucial to only torch the custards just before you plan to serve them.
If you have leftover untoasted custards, keep them covered tightly with plastic wrap in the refrigerator for up to 3-4 days. When you're ready to enjoy them, simply remove from the fridge, blot any condensation, add sugar, and torch as usual. Leftover torched crème brûlée can be refrigerated, but the sugar crust will soften significantly within a few hours. While still edible, it loses the signature crunch. For best results, plan to torch only what you will eat immediately.
Frequently Asked Questions
What makes this crème brûlée recipe "easy"?
This recipe focuses on simplified steps and readily available ingredients, making it accessible even for novice bakers. We've broken down the process to eliminate complexity.
Can I make crème brûlée without a kitchen torch?
While a kitchen torch provides the classic caramelized crust, you can use your broiler on a very low setting. Keep a close eye to prevent burning!
What kind of cream is best for crème brûlée?
For the richest flavor and texture, heavy cream (whipping cream) with a high fat content is recommended. This ensures a smooth and creamy custard.
How do I prevent my crème brûlée from curdling?
Avoid overheating the custard by baking in a water bath (bain-marie) and monitoring the internal temperature. This gentle cooking method prevents curdling.
Can I prepare the crème brûlée ahead of time?
Yes, you can bake the custards up to 2-3 days in advance and store them in the refrigerator. Caramelize the sugar topping just before serving for the best texture.
Final Reflection: The Enduring Allure of a Perfectly Cracked Crème Brûlée
The pursuit of culinary perfection, even in the simplest of dishes, reveals a deeper truth about our connection to food and experience. A perfectly crafted crème brûlée, with its smooth, creamy custard and satisfying crackle of caramelized sugar, is more than just a dessert; it's a testament to the power of mindful preparation and the joy of sharing something beautiful. This recipe, designed for ease of execution, aims to unlock that joy for everyone.
The enduring appeal of crème brûlée lies not just in its deliciousness, but in its ability to transport us. It evokes memories of elegant dinners, quiet evenings, and the simple pleasure of savoring a perfectly balanced flavor. The simplest things are often the most beautiful.
This quote, though not specifically about crème brûlée, perfectly encapsulates the essence of this classic dessert. Its beauty lies in its simplicity, a simplicity that, when executed with care, yields extraordinary results. The process itself, from the gentle simmering of the cream to the satisfying crack of the sugar, becomes a meditative act, a mindful connection to the creation of something delicious.
Now, I invite you to take what you've learned from this recipe and apply it to your own culinary adventures. Don't be afraid to experiment, to adjust the sweetness, to perhaps even try infusing your cream with vanilla bean or other subtle flavors. The most important ingredient, however, remains your own passion and dedication to the process. Embrace the journey, savor the creation, and share the joy of a perfectly crafted crème brûlée with those you love. The reward is far sweeter than the caramelized sugar itself.
Unlock Your Inner Pâtissier: Master the Art of Crème Brûlée
Thanks for joining us on this delicious journey into the world of crème brûlée! We hope you've gained the confidence to tackle this classic dessert. Ready to take your baking skills to the next level?
- Craft your perfect crème brûlée: Use the recipe and tips from the article to make your own batch – we guarantee a satisfyingly crunchy top and creamy custard!
- Share your masterpiece: Snap a picture of your creation and share it with us on social media using #BakeWithEaseCremeBrulee. Let's see those beautiful caramelized tops!
- Experiment with flavors: Try adding a hint of vanilla bean, lavender, or even a touch of espresso to personalize your recipe. What unique twist will you create?
Ready to experience the joy of creating a restaurant-quality crème brûlée at home? What unique ingredient will you add to your next masterpiece?