
Why Your Butter Leaked During Baking (And How to Prevent It)

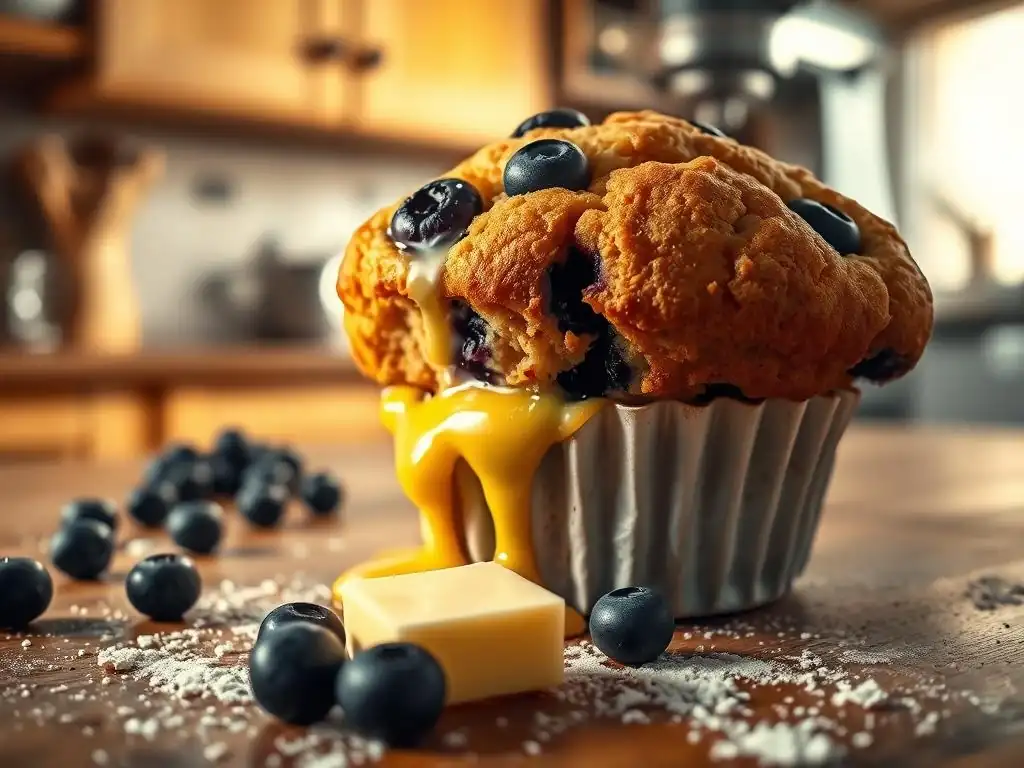
Welcome to BakeWithEase, where conquering kitchen challenges becomes a delicious adventure! Ever wondered why your meticulously crafted pastries sometimes suffer the dreaded butter leak during baking? This article dives deep into the science behind this common problem, offering practical solutions and expert techniques to ensure perfectly golden, structurally sound baked goods every time. Intrigued? Keep reading to unlock the secrets to a flawless bake!
- Preventing Fat Leakage in Pastries: A Baker's Guide
- Understanding Fat Leakage in Pastries
- Common Causes of Fat Leakage
- The Science Behind Fat Leakage
- Practical Solutions to Prevent Fat Leakage
- Troubleshooting Fat Leakage in Specific Pastries
- Advanced Baking Techniques to Avoid Fat Issues
- Recap and Best Practices for Preventing Fat Separation
- Frequently Asked Questions
- Final Reflection: The Unsung Hero of Baking—Preventing Butter Leaks
- Unlock Butter Baking Secrets!
Preventing Fat Leakage in Pastries: A Baker's Guide
Understanding Fat Leakage in Pastries
Fat leakage in pastries, often seen as pools of melted butter seeping out onto your baking sheet, is a frustrating issue for bakers, particularly when working with laminated doughs like croissants or puff pastry. This phenomenon occurs when the fat—typically butter—melts and escapes the confines of the dough structure prematurely during the baking process. Instead of staying within the layers to create steam and separation, the fat runs out, leading to pastries that are greasy, flat, and lack the desired flaky texture.
Beyond the aesthetic disappointment, fat leakage compromises the very structure of the pastry. Laminated doughs rely on distinct, thin layers of dough separated by equally thin layers of fat. As the pastry bakes, the water in the butter turns to steam, forcing these layers apart and creating the characteristic airy, flaky structure. When the butter leaks out, this crucial separation doesn't happen effectively, resulting in a dense, heavy, and unappealing final product. Addressing this is key to achieving a successful butter leaking during baking fix.
Common Causes of Fat Leakage
Several factors contribute to butter leaking during baking. Understanding these common culprits is the first step toward preventing this issue and achieving beautifully laminated pastries.
The Role of Fat in Pastry Lamination
Fat, most commonly butter, plays a pivotal role in creating the flaky layers of pastries like croissants and puff pastry through a process called lamination. This involves repeatedly folding and rolling dough around a block of fat, creating alternating layers. During baking, the fat melts, and the water content within it (butter is typically 16-18% water) turns into steam. This steam is trapped by the gluten structure of the dough layers, pushing them apart and causing the dramatic rise and separation that defines these pastries.
The behavior of the fat is critical. It needs to remain solid and distinct from the dough layers during handling and proofing, yet melt completely during baking to produce steam. Butter's melting point, usually between 30-35°C (85-95°F), is perfectly suited for this, liquefying relatively early in the baking process. However, this low melting point also makes it susceptible to softening or melting before it reaches the oven, which is a primary cause of butter leaking during baking.
Oven Temperature and Fat Migration
One of the most frequent reasons for butter leaking during baking is an incorrect oven temperature. If the oven is too hot, the butter melts too rapidly, before the dough's structure has a chance to set. The liquid fat then has nowhere to go but out, seeping onto the baking sheet. Conversely, if the oven is too cool, the fat might melt slowly, but the dough might not develop enough structure or steam quickly enough to create separation, potentially still leading to some pooling or a dense result.
Uneven oven heating can also contribute. Hot spots in an oven can cause butter in one section of a pastry to melt and leak while other sections are still developing. For instance, baking a batch of croissants at a verified 220°C (425°F) without reducing the heat might cause significant butter runoff within the first 10-15 minutes, whereas starting at that temperature and dropping it to 180°C (350°F) after the initial oven spring often prevents this. Controlling and verifying your oven temperature is a crucial butter leaking during baking fix.
Insufficient Gluten Development and Fat Separation
The gluten network in the dough provides the structural integrity needed to contain the melting fat and the steam it produces during baking. If the dough is not mixed sufficiently to develop a strong enough gluten network, it will be too weak to support the layers and trap the steam. As the butter melts, the fragile dough structure collapses, allowing the fat to escape.
Proper gluten development results in a dough that is extensible yet strong. It should be able to be rolled thinly without tearing excessively. A dough that tears easily during rolling or shaping indicates insufficient gluten, making it highly prone to fat leakage. While over-mixing can also weaken gluten by making it brittle, under-development is a more common issue leading to a weak structure unable to prevent butter leaking during baking.
Incorrect Dough Handling and Fat Release
How you handle the laminated dough is paramount. Rolling too aggressively or unevenly can rupture the delicate layers of dough and butter. When these fat pockets are broken, the butter is no longer held in distinct layers and is much more likely to squeeze out during further handling or melt out rapidly in the oven. Applying uneven pressure while rolling can create thin spots in the dough where the butter is barely contained.
Furthermore, working with dough that is too warm is a major cause of butter release. If the dough or your workspace is above approximately 10°C (50°F), the butter block within the dough will soften significantly. Soft butter is sticky and integrates into the dough rather than staying in distinct layers. It is also much easier to squeeze out during rolling. Keeping everything cold – the dough, the butter, the workspace, and even your hands – is essential for maintaining the integrity of the layers and preventing butter leaking during baking.
The Science Behind Fat Leakage
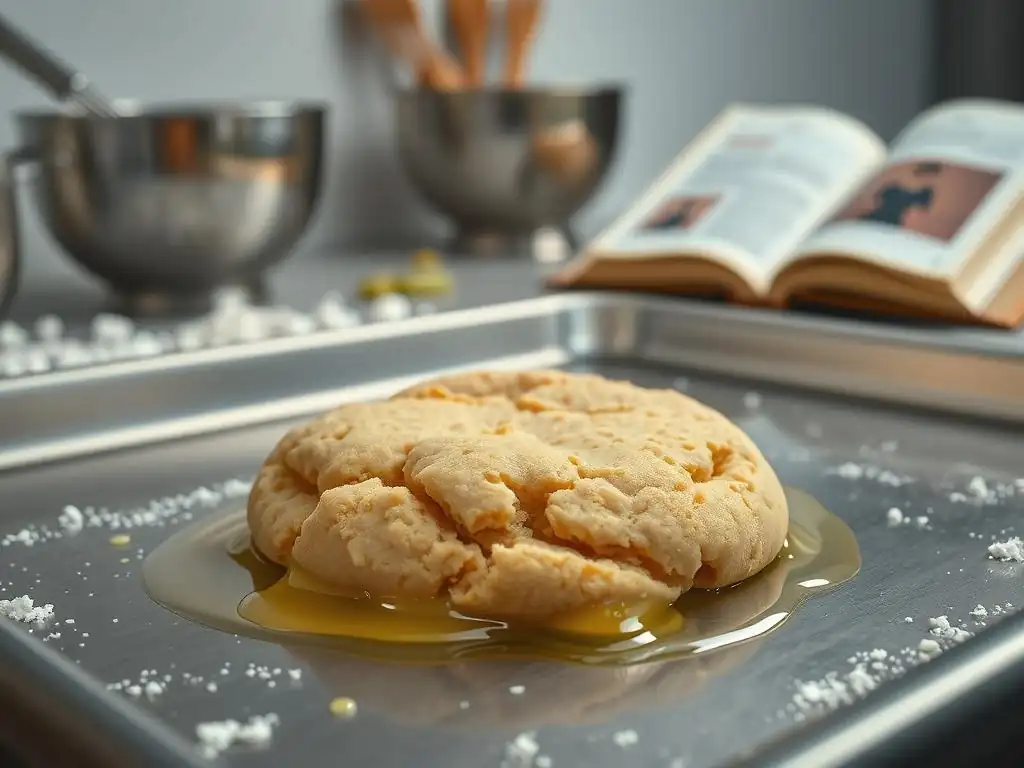
Delving into the scientific principles behind fat leakage provides a deeper understanding of why these issues occur and how to effectively address them.
Emulsification Breakdown in Laminated Doughs
While not a true, stable emulsion like hollandaise sauce, laminated dough relies on the fat being distributed in discrete layers within the dough matrix. The water in the butter and the flour proteins help create a temporary 'stability' where the fat is held in place. Fat leakage can be seen as a breakdown in this structural arrangement; the fat separates completely from the dough structure and pools. This breakdown is primarily triggered by heat.
As the temperature rises, the butter melts. If the dough structure isn't sufficiently developed or is compromised (e.g., by poor handling), it cannot contain the liquefied fat. The water in the butter vaporizes, creating steam, but if the fat has already separated and pooled, this steam production doesn't effectively lift the layers. The result is melted fat outside the pastry structure. Understanding this delicate balance is key to preventing butter leaking during baking.
The Impact of Dough Hydration on Fat Retention
The hydration level of the dough – the ratio of water to flour – significantly impacts its strength and ability to retain fat. Dough that is too dry might be stiff and difficult to roll thinly and evenly, increasing the risk of tearing the delicate fat layers. Conversely, dough that is too wet can be overly soft and weak, lacking the structural integrity needed to contain the melting butter during baking.
A correctly hydrated dough, typically around 50-60% hydration for laminated doughs like croissants, achieves the right balance. It's extensible enough to be rolled thin without tearing but has sufficient gluten strength to form a strong network that can trap the steam and hold the melting fat within the layers. Getting the hydration right supports the overall structure, which is crucial for preventing butter leaking during baking.
The Melting Point of Fat and Its Effect on Baking
The specific melting point of the fat used is a critical factor. Butter's relatively low melting point (30-35°C / 85-95°F) is what makes it ideal for creating flaky layers, as it melts fully during baking to produce steam. However, this also means it can melt during handling if temperatures aren't kept low, or leak out in an oven that's too hot before the dough sets. Fats with higher melting points, like some shortenings (often 45-50°C / 115-122°F), are more stable during handling but may not melt completely during baking, resulting in a different, often less flaky, texture.
Choosing the right fat and managing its temperature is paramount. Using butter with a higher fat content (like European butter at 82% fat) compared to standard US butter (around 80% fat) can help slightly, as less water content means slightly more stable fat. Ultimately, matching the fat's properties with careful temperature control throughout the process is essential to avoid butter leaking during baking.
Practical Solutions to Prevent Fat Leakage
Now that we understand the causes, let's explore actionable steps you can take to prevent butter leaking during baking and achieve perfectly layered pastries.
Controlling Oven Temperature for Optimal Fat Performance
Accurate oven temperature is non-negotiable for preventing butter leakage. Always preheat your oven thoroughly and use a separate oven thermometer to confirm its actual temperature. Many home ovens can be off by 25°C (50°F) or more. For laminated doughs like croissants, a common technique is to start baking at a higher temperature, such as 200-220°C (400-425°F), for the first 10-15 minutes.
This initial blast of high heat helps the dough layers set quickly and creates rapid steam production for maximum oven spring. After this initial phase, reduce the oven temperature to a moderate 175-180°C (350-375°F) to allow the pastry to finish baking through without the exterior burning or excessive butter melting and running out. This two-stage temperature approach is a highly effective butter leaking during baking fix.
Achieving Proper Gluten Development: Mixing Techniques
Properly developing the gluten in your dough is foundational. For laminated doughs, this typically means mixing the dough just enough to bring it together and start forming gluten, but not so much that it becomes overly tight or elastic. Using a stand mixer on a low speed for about 5-10 minutes or kneading by hand for a similar duration is often sufficient. The goal is a dough that is relatively smooth but still slightly extensible.
You can test for proper development using the 'windowpane test'. Take a small piece of dough and gently stretch it. If you can stretch it thinly enough to see light through it without it tearing, the gluten is well-developed. If it tears immediately, it needs more mixing. If it feels very tight and snaps back, it might be over-mixed. Getting this initial mix right is a key step in preventing a weak structure that can lead to butter leaking during baking.
Chilling Your Dough: The Importance of Cold Fat
Maintaining cold temperatures throughout the lamination process is perhaps the single most important factor in preventing butter leakage. The butter must be firm but pliable – not hard and brittle, and certainly not soft or melted. The ideal temperature for handling laminated dough is typically between 4°C and 10°C (40°F and 50°F). Chilling solidifies the butter, ensuring it stays in distinct layers separate from the dough.
Adequate chilling time is required between each fold (turn) of the dough, usually 30-60 minutes in the refrigerator. This allows the gluten to relax and the butter to firm up again before the next rolling step. A longer chill (several hours or overnight) is essential after the final fold and again after shaping the pastries before baking. Skipping or shortening chilling times is a primary cause of butter leakage and addressing this is a critical butter leaking during baking fix.
Incorporating Fat Correctly: Layering and Folding Methods
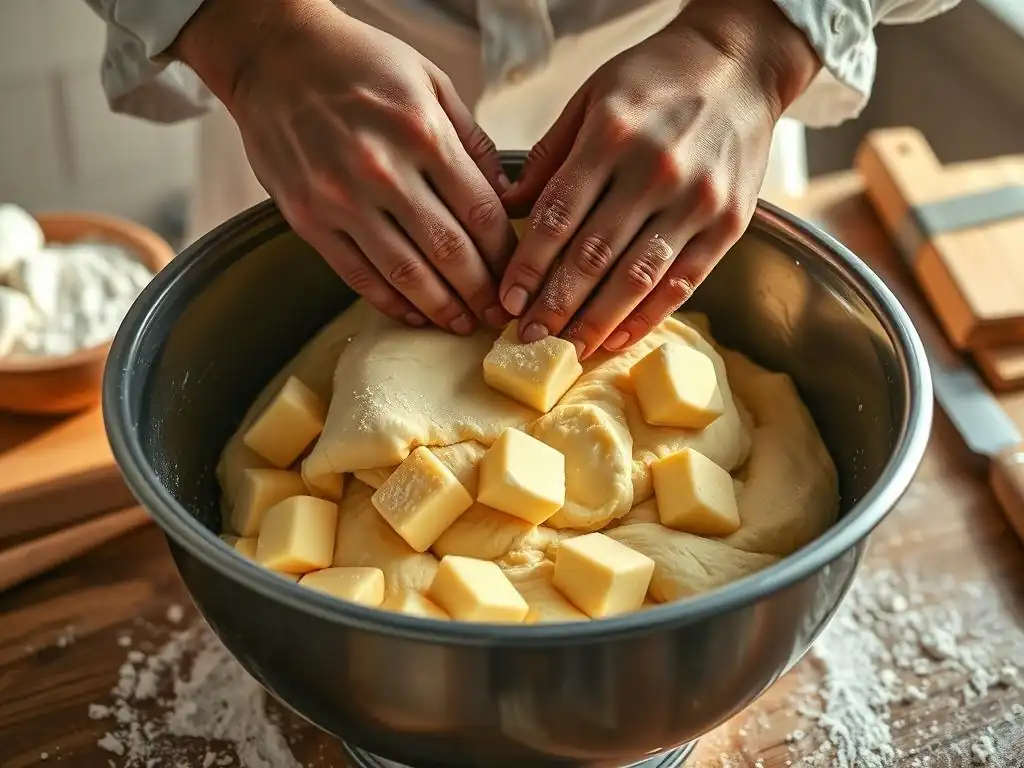
The lamination technique itself is key. The goal is to create many thin, even layers of dough and butter. This is achieved by enclosing a cold block of butter in the dough and repeatedly rolling and folding (turns). Common folds include the single fold (folding into thirds) and the double fold (folding both ends to the center, then in half). Precision is important here.
Roll the dough evenly and gently, applying consistent pressure across the surface. Avoid pressing down too hard or unevenly, as this can break the butter layers. Use just enough flour on your work surface to prevent sticking – excess flour can get incorporated into the layers, affecting the final texture and potentially creating weak spots. Keeping the edges neat also helps maintain layer integrity. Mastering these techniques directly impacts your ability to prevent butter leaking during baking.
Choosing the Right Type of Fat for Baking (e.g., Butter vs. Shortening)
The type of fat impacts both the process and the outcome. Butter is preferred for its flavor and flakiness in pastries like croissants and puff pastry, but its lower melting point makes it more challenging to work with. Vegetable shortening, with a higher melting point and 100% fat content (no water), is more stable during handling and less prone to leakage, but it results in a different, often less flavorful and flaky, texture.
For many home bakers, especially when starting out, using a blend of butter and a high-quality shortening in pastries like pie crust can offer a good balance of flavor, flakiness, and ease of handling, reducing the risk of fat issues. For authentic laminated doughs, high-quality butter (ideally 82% fat) is the standard, requiring strict adherence to temperature control and technique. Choosing the appropriate fat for your specific pastry type and skill level is part of achieving a good butter leaking during baking fix.
Troubleshooting Fat Leakage in Specific Pastries
While the principles are similar, fat leakage can manifest differently and require slightly different approaches depending on the specific pastry.
Preventing Fat Leakage in Croissants
Croissants, with their numerous layers and delicate shape, are particularly susceptible to butter leakage. Key prevention steps include ensuring the butter block is the correct consistency (cold but pliable, similar to the dough) during lamination, providing ample chilling time (at least 30-60 minutes) between each of the typically three turns, and giving the shaped croissants a final, long chill (at least 30-45 minutes in the fridge or 15-20 in the freezer) before they go into the oven.
During baking, starting at a higher temperature (e.g., 200°C/400°F) for the first 10-15 minutes helps set the structure quickly, then reducing it (e.g., to 175°C/350°F) prevents the butter from melting too fast as the interior bakes. Proper proofing is also vital; under-proofed croissants have a weaker structure less able to contain the melting butter. Addressing these points collectively provides a robust butter leaking during baking fix for croissants.
Addressing Fat Separation in Puff Pastry
Puff pastry relies entirely on steam created by the butter's water content for its incredible rise and flakiness. Fat separation here usually means the butter melted too early, often due to insufficient chilling or an oven that wasn't hot enough initially to set the layers quickly. Prevention mirrors croissant technique: use very cold, pliable butter, ensure adequate chilling between turns (at least 30-45 minutes), and roll evenly without excessive pressure.
Puff pastry is typically baked at a high temperature (often 200-220°C / 400-425°F) to maximize steam production and lift. However, this high heat requires the dough to be very cold when it enters the oven. Ensure your cut puff pastry pieces are well-chilled before baking. If you observe significant butter pooling early in the baking process, it's a strong indicator that the dough wasn't cold enough or the oven temperature was too low initially to set the structure fast enough – adjusting these factors is the primary butter leaking during baking fix for puff pastry.
Fixing Fat Issues in Pie Crust
Fat issues in pie crust often result in a greasy, hard, or shrunken crust rather than dramatic leakage onto the pan (though that can occur). The goal in pie crust is to keep distinct pieces of cold fat (butter, shortening, or both) suspended within the dough before baking. As the crust bakes, these pieces melt, creating small pockets that contribute to flakiness and tenderness. Overworking the dough or letting the fat warm up before baking causes these fat pieces to melt and integrate too much with the flour.
The solution involves using very cold fat (cut into small pieces, typically pea-sized for flaky crust), mixing it into the flour quickly using a pastry blender or your fingertips until the fat is distributed in visible pieces, adding just enough ice-cold water, and handling the dough minimally. Crucially, the shaped pie crust must be chilled thoroughly (at least 30 minutes) before baking. Blind baking with pie weights also helps the crust hold its shape and structure, indirectly aiding in containing melting fat. Proper technique here is the best butter leaking during baking fix for pies.
Advanced Baking Techniques to Avoid Fat Issues
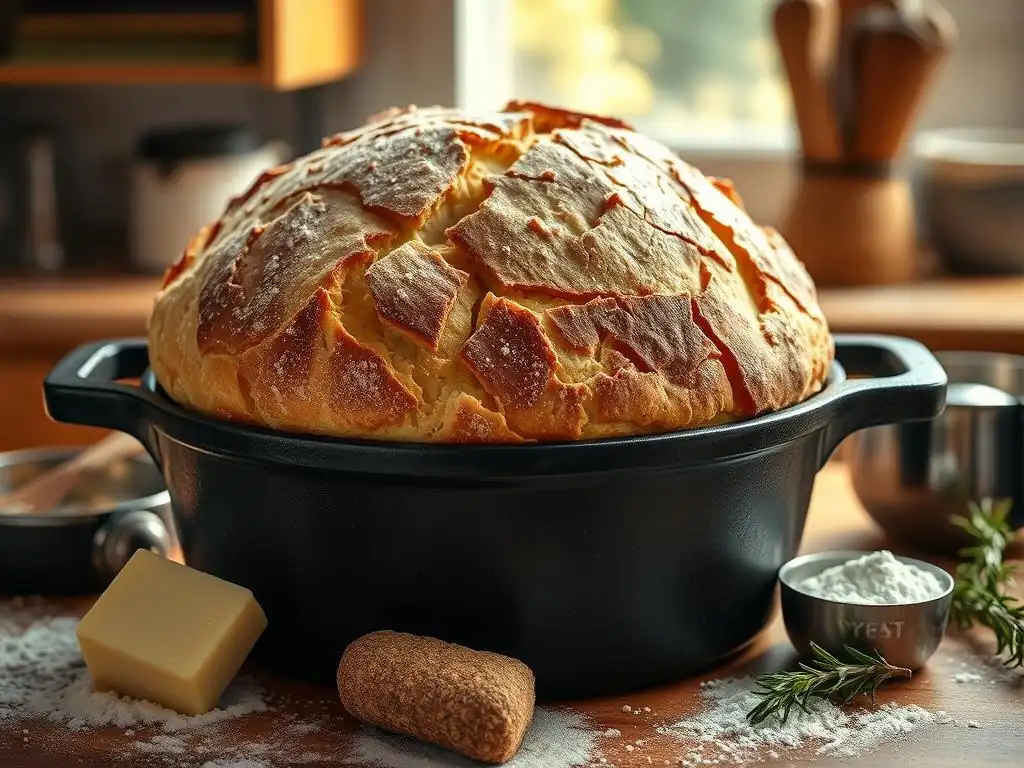
For those looking to refine their pastry skills further, mastering advanced techniques can significantly reduce the likelihood of encountering fat leakage.
Laminating Dough Effectively
Effective lamination is a skill honed through practice. It begins with ensuring your butter block is the same consistency as your dough – pliable but cold. Rolling should be a process of gradually lengthening the dough with firm, even strokes, rather than forcing it into shape. Aim for uniform thickness across the entire sheet of dough before performing each fold. Inconsistent thickness means some areas will have disproportionately more or fewer layers.
Most laminated doughs require 3 to 6 turns, depending on the desired number of layers and flakiness. Each turn exponentially increases the layers (e.g., 3 single folds result in 27 layers). The key is performing each turn neatly and evenly. Keeping the edges straight and the corners square makes subsequent rolling easier and helps maintain consistent layers. Precision in each step of lamination is fundamental for preventing weak points where butter could escape.
The Importance of Dough Resting
Resting the dough is as important as the folding itself. Resting periods, typically 30-60 minutes in the refrigerator between turns, allow the gluten network that has been stretched and tightened during rolling to relax. Relaxed dough is easier to roll thinly and evenly for the next turn without tearing. If the dough springs back significantly when you try to roll it, it needs more rest.
Resting also ensures the butter remains cold and firm between turns. If the butter warms up, it becomes soft and sticky, making the layers difficult to handle and increasing the likelihood of the butter merging with the dough or squeezing out during rolling. A final, long rest (several hours or overnight) after shaping pastries like croissants allows flavors to develop and the structure to stabilize before baking. This patience is a crucial butter leaking during baking fix.
Recognizing the Signs of Overworked Dough
Learning to recognize overworked dough is vital. Overworked dough feels very tight and elastic; it will resist rolling and snap back aggressively. Visually, it might look less smooth or even slightly dull compared to dough that has been mixed just right. Overworking develops the gluten network too much, making it overly strong but also brittle.
In laminated doughs, this brittleness can cause the dough layers to tear during rolling, especially around the edges, creating direct pathways for butter to leak out before the dough even reaches the oven. In the oven, overworked dough may lead to a tough texture and poor rise because the overly tight gluten restricts expansion. Avoiding this stage during your initial mixing is a proactive measure against fat issues and a key part of a comprehensive butter leaking during baking fix.
Recap and Best Practices for Preventing Fat Separation
Preventing butter leaking during baking boils down to understanding the delicate balance between dough structure, fat behavior, and temperature control. By focusing on a few key areas, you can dramatically improve your results.
Key Takeaways for Preventing Fat Migration
The primary culprits behind butter leaking during baking are consistently related to temperature and handling. Dough or butter that is too warm during lamination, insufficient chilling time between steps, rough or uneven rolling technique, and an incorrect oven temperature are the most common causes. The core solution lies in keeping everything cold until the pastry hits the hot oven.
To prevent butter leaking during baking, always ensure your butter is cold but pliable for lamination, chill your dough thoroughly between every single turn and before baking, handle the dough gently and roll evenly, use an accurate oven thermometer, and consider adjusting your oven temperature during the bake cycle. Mastering these principles is the most effective butter leaking during baking fix.
Recommended Tools and Equipment
Having the right tools can make a significant difference in managing temperature and achieving even layers. A heavy rolling pin (which stays colder longer), a large, cool work surface (like marble or granite, or a silicone mat placed over a cold surface), and an accurate, independent oven thermometer are essential.
Other useful items include a bench scraper for dividing and moving dough, parchment paper (helpful for handling and can sometimes contain minor leaks), and a ruler or measuring tape to ensure you roll your dough to consistent dimensions. Using a stand mixer for the initial dough mixing can help achieve consistent gluten development without overworking.
Further Resources for Perfecting Pastry Baking
Perfecting laminated pastries takes practice, but numerous resources can guide you. Look for reputable baking books specifically on viennoiseries or classic French pastry techniques. Online baking communities and detailed tutorials can also offer valuable insights and visual guides.
Keep a baking journal to note down conditions: room temperature, dough temperature before baking, oven temperature settings used, and the results. This helps you identify what works and troubleshoot issues like butter leakage. Each bake is a learning opportunity, and consistent practice combined with attention to detail is the best way to find your ultimate butter leaking during baking fix.
Frequently Asked Questions
Why did my butter leak out of my baked goods during baking?
Butter leakage during baking is often due to the melting of butter before the other ingredients have had a chance to set. This can be caused by overmixing or using butter that is too soft.
What type of butter is best to use to avoid leakage?
Using cold, unsalted butter is generally recommended to prevent butter leakage. Cold butter helps to create pockets of steam, resulting in a flakier texture rather than melting out.
How does overmixing contribute to butter leakage?
Overmixing develops the gluten in flour, making the dough tougher. This can trap the melting butter, leading to it seeping out during baking instead of creating desirable layers. Aim for minimal mixing until just combined.
What are some common baking errors that cause butter leakage?
Common errors include using butter that is too warm (room temperature is often too warm!), not chilling the dough before baking, and baking at too low of a temperature, which allows the butter to melt slowly.
What can I do if I notice butter leaking during baking?
If you notice butter leaking, try lowering the oven temperature slightly and allowing the baked goods to cool completely before handling. This can help the remaining butter solidify and prevent further leakage.
Final Reflection: The Unsung Hero of Baking—Preventing Butter Leaks
The seemingly simple act of baking often hides a multitude of potential pitfalls, and few are as frustrating as discovering your precious butter has leaked all over your oven. This seemingly minor issue can ruin a perfectly good recipe, leaving you with a sticky mess and a deflated sense of accomplishment. Understanding the science behind butter leakage, as explored in this article, is crucial for achieving consistently successful baking results.
The impact of understanding butter's behavior in baking extends far beyond simply preventing a messy oven. It's about mastering a fundamental element of baking, a skill that builds confidence and allows for greater creativity in the kitchen. As the renowned pastry chef, Julia Child, once said, A good cook is like a good musician. He knows the notes, but he also knows how to play them.
Understanding the "notes" of butter—its melting point, its water content, its interaction with other ingredients—is key to playing the "song" of successful baking.
Now, it's your turn to conduct your own culinary symphony. Consider the lessons learned here—the importance of cold butter, the role of proper creaming, and the impact of ingredient temperatures—and apply them to your next baking project. Don't let a little butter leakage derail your baking dreams. Instead, embrace the knowledge gained, experiment with different techniques, and savor the delicious rewards of perfectly baked goods, free from unwanted buttery surprises. Happy baking!
Unlock Butter Baking Secrets!
Thanks for taking the time to learn about those pesky butter leaks! You now have the knowledge to create flawlessly baked goods. Ready to put your new skills to the test?
- Master the perfect butter technique: Try baking your favorite recipe again, paying close attention to the butter preparation methods discussed. Note the differences!
- Share your baking triumph (or tale of woe!): Tell us about your experience in the comments – what worked, what didn't, and what you learned! Let's build a supportive baking community.
- Challenge yourself: Try a new recipe that previously intimidated you due to the butter component – you've got this!
So, what delicious creation will you bake next to showcase your newfound butter expertise?