
How to Achieve a BakerySmooth Finish on Your Buttercream Cake

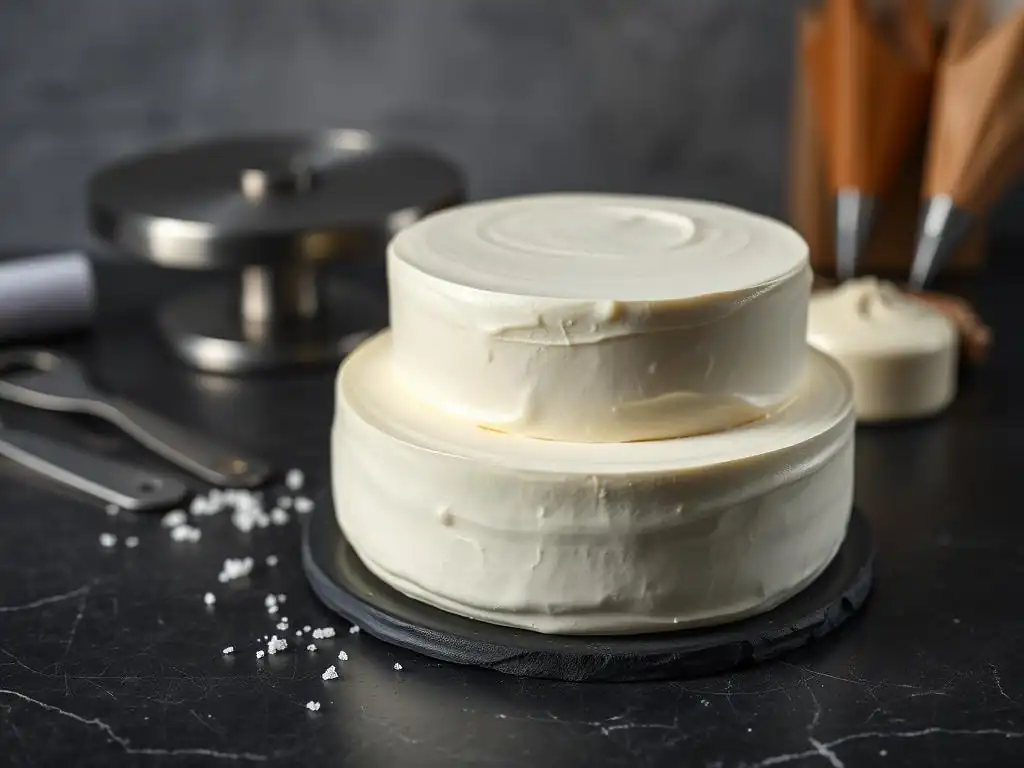
Welcome to BakeWithEase, your guide to baking perfection! Ever wondered how bakeries achieve that flawlessly smooth, professional finish on their buttercream cakes? This article unlocks the secrets to creating a bakery-smooth buttercream frosting right in your own kitchen. Discover the techniques and tips that will elevate your cakes from homemade to show-stopping – are you ready to transform your frosting skills?
- How to Achieve a Bakery-Smooth Finish on Your Buttercream Cake: Sally's Baking Addiction Guide
- Introduction: The Secret to Bakery-Worthy Buttercream
- Preparing for a Perfectly Smooth Buttercream Finish
- Mastering the Buttercream Application Technique
- Techniques for Achieving a Bakery-Smooth Surface
- Troubleshooting Common Buttercream Smoothing Problems
- Advanced Buttercream Smoothing Techniques
- Maintaining Your Bakery-Smooth Buttercream Cake
- Conclusion: Enjoy Your Bakery-Perfect Buttercream Cake
-
Frequently Asked Questions
- How is bakery-smooth buttercream different from regular buttercream?
- What are the key techniques for achieving a bakery-smooth buttercream?
- What type of buttercream is best for a bakery-smooth finish?
- What tools are helpful for achieving a bakery-smooth buttercream finish?
- Can I achieve a bakery-smooth finish even if I'm a beginner baker?
- Final Reflection: The Pursuit of Perfect Buttercream
- Unlock Your Inner Cake Artist: Master the Bakery-Smooth Finish!
How to Achieve a Bakery-Smooth Finish on Your Buttercream Cake: Sally's Baking Addiction Guide
Introduction: The Secret to Bakery-Worthy Buttercream
Achieving a flawless, bakery-smooth finish on your buttercream cake is a skill that elevates your baking from homemade to professional. It's the kind of finish that makes people ask, "Did you buy this?" While it might seem intimidating at first glance, mastering the art of creating a perfectly smooth buttercream frosting is entirely achievable with the right tools, techniques, and a little patience. This article will guide you through every step, ensuring your next cake boasts that coveted bakery smooth buttercream frosting.
Forget lumpy, uneven surfaces. We'll cover everything from preparing your cake and frosting to applying and smoothing the buttercream using tried-and-true methods. Whether you're decorating for a special occasion or simply practicing your skills, these techniques will help you achieve a stunningly smooth buttercream finish every time, making your cakes look as good as they taste.
Preparing for a Perfectly Smooth Buttercream Finish
Before you even touch your cake with buttercream, proper preparation is key. This involves gathering the right equipment, selecting a suitable buttercream recipe, and ensuring your frosting is at the ideal consistency. These foundational steps are critical for achieving that coveted bakery smooth buttercream frosting. Skipping these can make the smoothing process much more challenging than it needs to be.
Think of this stage as setting the stage for success. Just like prepping your ingredients before baking, getting your tools and buttercream ready in advance ensures a smoother, more efficient decorating process. A little preparation goes a long way in achieving a beautiful, perfectly smooth finish on your cake.
Essential Tools for Smooth Buttercream
Having the correct tools is non-negotiable when aiming for a bakery smooth buttercream frosting. While you don't need a professional kitchen's worth of gadgets, a few specific items make a significant difference. A sturdy turntable or cake stand is invaluable, allowing you to easily rotate the cake as you work, ensuring even application and smoothing. Bench scrapers or cake scrapers, typically metal or plastic, are perhaps the most crucial tool for achieving straight, smooth sides. They provide a flat, rigid surface to scrape against the buttercream.
Offset spatulas of various sizes are also essential. A larger one (around 8-10 inches) is great for applying frosting and smoothing the top, while a smaller one is useful for filling in gaps or working in tighter spaces. A spirit level can even be helpful for ensuring your cake top is perfectly flat. Having these tools readily available before you start frosting will streamline the process and drastically improve your chances of achieving a professional, bakery smooth finish.
Choosing the Right Buttercream Recipe for a Smooth Finish
Not all buttercream recipes are created equal when it comes to achieving a super smooth finish. For beginners aiming for a bakery smooth buttercream frosting, American buttercream (powdered sugar-based) is often the easiest to work with due to its stability and ease of preparation. However, it can be quite sweet and sometimes slightly grainy if not made correctly. Swiss or Italian meringue buttercreams, made with egg whites and sugar syrup, tend to be incredibly smooth, light, and silky, making them excellent candidates for a flawless finish, though they require a bit more technique to prepare.
Ermine buttercream, also known as boiled milk frosting, is another fantastic option. It uses a cooked flour and milk base whipped with butter, resulting in a uniquely smooth, stable, and less sweet frosting that is excellent for smoothing. Ultimately, the best recipe is one you are comfortable making, but generally, buttercreams that are less prone to air bubbles and have a naturally silky texture will make achieving a bakery smooth finish much easier. Experimenting with a few types can help you find your favorite.
Achieving the Ideal Buttercream Consistency
The consistency of your buttercream is paramount for a bakery smooth finish. If it's too stiff, it will be difficult to spread evenly and will likely tear the cake or create air pockets. If it's too soft, it won't hold its shape, making smoothing nearly impossible. The ideal consistency is often described as smooth peanut butter – spreadable but firm enough to hold soft peaks. Temperature plays a huge role; too cold, and it's stiff; too warm, and it's soupy.
You can adjust the consistency by adding a liquid (like milk, cream, or a clear extract) a teaspoon at a time to loosen it, or by adding more sifted powdered sugar or chilling it slightly to stiffen it. It's often beneficial to beat the buttercream on low speed for several minutes before using it. This helps to push out excess air bubbles, which are notorious for creating imperfections when trying to achieve a bakery smooth buttercream frosting. Achieving this perfect balance is a skill that improves with practice.
Mastering the Buttercream Application Technique
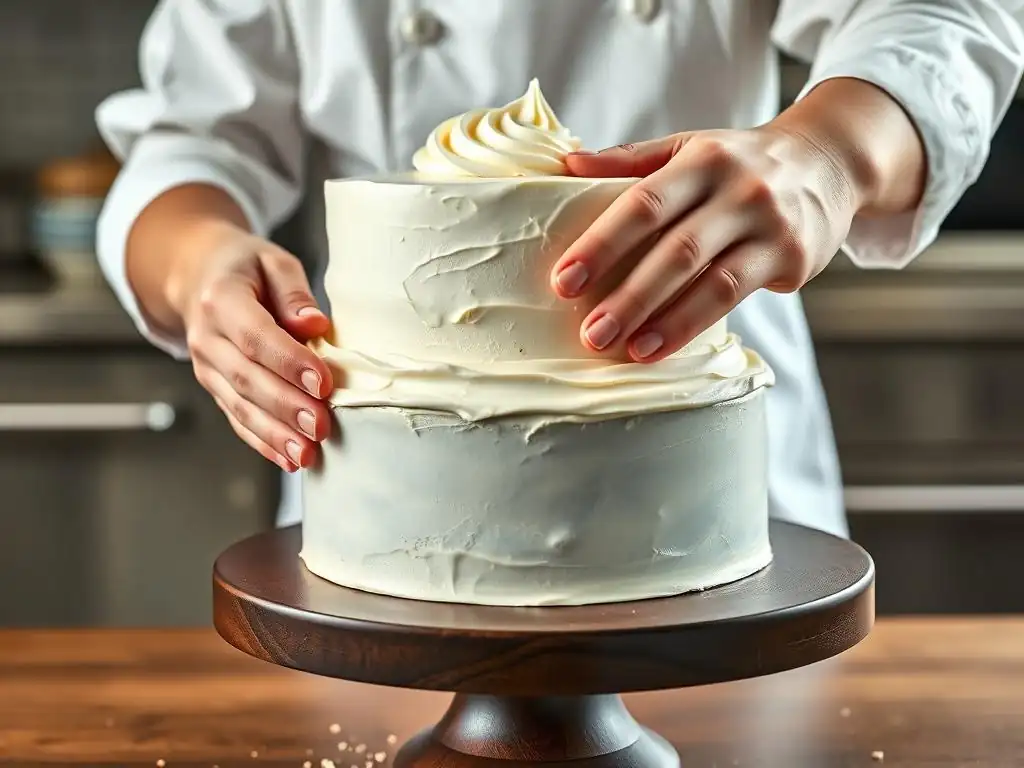
Once your cake is cooled and your buttercream is ready, the application process begins. This isn't just about slapping frosting onto the cake; it's a strategic process that builds the foundation for your bakery smooth finish. Proper application techniques minimize crumbs, ensure even coverage, and make the final smoothing steps much more effective.
Taking your time during application will save you headaches later on. Rushing this stage often leads to uneven layers, trapped crumbs, and frustrating imperfections that are hard to fix. Focus on evenness and coverage, setting yourself up for success in achieving that polished, bakery smooth buttercream frosting.
Crumb Coating: The Foundation for Smooth Buttercream
A crumb coat is a thin layer of buttercream applied to the cake before the final layer. Its primary purpose is to trap any loose crumbs, preventing them from showing up in your final, smooth buttercream finish. Think of it as a primer for your cake. Apply a thin, even layer all over the cake using an offset spatula, ensuring every part is covered.
Once applied, chill the cake in the refrigerator for at least 15-30 minutes, or until the crumb coat is firm to the touch. This solidifies the crumb layer, locking in those pesky crumbs. A well-executed crumb coat is absolutely essential for achieving a truly bakery smooth buttercream frosting, as it provides a clean, stable surface for the final layer of frosting. Don't skip this vital step!
Applying the Final Layer of Buttercream Frosting
After the crumb coat has chilled and set, it's time to apply the final, thicker layer of buttercream. Start by adding a generous amount of frosting to the top of the cake and spread it outwards towards the edges, creating a slight overhang. Then, apply frosting to the sides, working your way around the cake. It's better to apply slightly too much frosting than too little at this stage.
Use an offset spatula to spread the frosting evenly around the sides and top. The goal here isn't perfect smoothness yet, but rather consistent coverage. Ensure the layer is thick enough (typically 1/4 to 1/2 inch) so you have enough material to work with when you start smoothing with a bench scraper or other tools to achieve that desired bakery smooth buttercream frosting.
Tips for an Even Buttercream Application
Achieving an even application of buttercream is crucial for a smooth finish. One helpful tip is to use a piping bag fitted with a large round tip (like a 1A or 1M) to pipe the buttercream onto the sides of the cake in even rows. This helps distribute the frosting consistently around the cake's circumference, making it easier to get an even thickness. Start from the bottom and work your way up.
Another tip is to ensure your cake layers are level before you start frosting. Uneven layers will make it much harder to apply an even layer of buttercream. If you're applying with an offset spatula, try to maintain a consistent angle and pressure as you work your way around the cake. Consistent application is the first step towards achieving a beautiful, bakery smooth buttercream frosting.
Techniques for Achieving a Bakery-Smooth Surface
With the buttercream applied, it's time for the magic – smoothing! Several techniques can help you achieve that perfect, bakery smooth buttercream frosting. The key to success often lies in patience and using the right tools correctly. Don't expect perfection on the first pass; smoothing is often an iterative process.
These methods rely on different principles – heat, scraping, or gentle pressure – to create a flawless surface. Mastering one or more of these will significantly improve the look of your finished cakes, giving them that professional edge that screams "bakery smooth."
The Hot Water Method for Smoothing Buttercream
The hot water method is a popular way to achieve a very smooth buttercream finish, particularly with American buttercream. It involves using a metal bench scraper or offset spatula that has been heated in hot water. Fill a tall container with hot (not boiling) water. Dip your metal tool into the water for a few seconds, then wipe it completely dry with a clean towel.
Immediately press the warm, dry tool against the side or top of the cake, holding it perpendicular to the surface. As the warm metal touches the buttercream, it slightly melts the outer layer, allowing the tool to glide smoothly and create a polished finish. Re-dip and wipe the tool frequently as you work your way around the cake, ensuring it stays warm. This technique is particularly effective for achieving that signature bakery smooth buttercream frosting on the sides of a cake.
Using a Bench Scraper for a Flawless Finish
The bench scraper is perhaps the most fundamental tool for achieving straight, smooth sides on a cake. Hold a clean, straight bench scraper firmly against the side of the chilled, crumb-coated cake with the final layer of buttercream applied. Ensure the scraper is perfectly perpendicular to the cake stand and touches the cake board.
Rotate the turntable smoothly and consistently while holding the scraper still. The scraper will shave off excess buttercream, filling in any gaps and creating a smooth, straight surface. Wipe excess buttercream from the scraper frequently onto a separate bowl. Repeat this process, gradually adjusting the angle slightly if needed, until the sides are straight and smooth. Pair this with a smoothed top using an offset spatula for a complete bakery smooth buttercream frosting look.
The Viva Paper Towel Smoothing Technique
This technique is particularly useful for American buttercream and doesn't require heating tools. It relies on the specific texture of certain paper towels, like Viva brand in the US, which have very little pattern or texture. After applying and roughly smoothing the buttercream with a spatula and scraper, chill the cake until the buttercream is firm but not rock hard (around 30-60 minutes depending on size and fridge temperature).
Carefully place a piece of the smooth paper towel against the chilled buttercream surface, either the side or the top. Gently rub over the paper towel with your hand or a fondant smoother, applying even pressure. The paper towel absorbs a tiny amount of moisture and helps to polish the surface, smoothing out minor imperfections and tool marks. Carefully peel the paper towel away. Repeat on all surfaces for an incredibly smooth buttercream finish.
Troubleshooting Common Buttercream Smoothing Problems
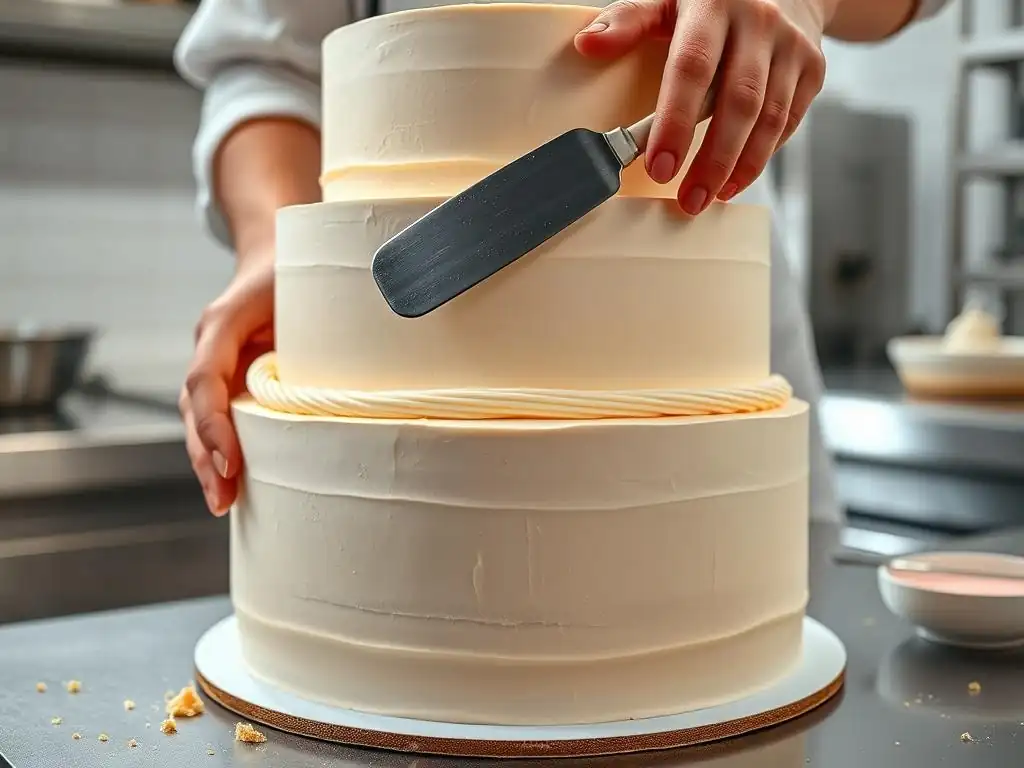
Even with the right tools and techniques, you might encounter issues when striving for a bakery smooth buttercream frosting. Don't get discouraged! Many common problems have simple fixes. Recognizing these issues and knowing how to address them is part of mastering the art.
From annoying air bubbles to frustrating tears, these problems can hinder your progress towards a perfectly smooth finish. Understanding the causes and solutions will help you quickly recover and get back on track to creating a beautiful, professional-looking cake.
Dealing with Air Bubbles in Buttercream
Air bubbles are a common nemesis of a smooth buttercream finish. They often occur when the buttercream is over-whipped at high speed. To minimize bubbles, beat your finished buttercream on the lowest speed of your mixer for several minutes before applying it. This helps to deflate the air.
If you notice small bubbles while smoothing, you can often gently press them with a warm, dry offset spatula or your finger. For larger bubbles, you might need to pop them with a pin or the tip of a knife, then gently smooth the area with a spatula. Chilling the cake slightly can also make small bubbles less noticeable. Preventing them in the first place by mixing correctly is the best strategy for achieving bakery smooth buttercream frosting.
Fixing Uneven Buttercream Surfaces
Unevenness can result from applying the buttercream inconsistently or not scraping properly. If you notice low spots after scraping, add a little more buttercream to those specific areas using a small offset spatula. Then, go back over the area with your bench scraper or smoothing tool.
For high spots or ridges, gently scrape them down with your tool. Patience is key here; you might need to repeat the scraping and filling process a few times to get a perfectly straight, even surface. Ensure your bench scraper is always perpendicular to the cake stand when smoothing the sides for the best results in achieving a bakery smooth buttercream frosting.
Preventing Buttercream from Tearing
Buttercream tearing, especially when smoothing, often happens if the buttercream is too cold or too stiff, or if you're applying too much pressure too quickly. Ensure your buttercream is at the correct, spreadable consistency before you start. If it feels too firm while working, let it warm up slightly at room temperature for a few minutes.
When using a bench scraper or other smoothing tool, use consistent, moderate pressure rather than digging into the frosting. If a tear occurs, carefully fill the gap with a small amount of fresh buttercream using a small offset spatula, then gently smooth the area again. Sometimes, slightly warming your smoothing tool (using the hot water method) can help prevent tearing on a slightly firmer buttercream, aiding in your quest for bakery smooth buttercream frosting.
Advanced Buttercream Smoothing Techniques
Once you've mastered the basic smoothing methods, you might want to explore advanced techniques to elevate your bakery smooth buttercream frosting skills. These methods can help achieve even sharper edges or provide an ultra-smooth finish that's perfect for intricate decorations or flawless surfaces.
These techniques require a bit more practice and precision but offer stunning results. They are often used by professional bakers to achieve the highest level of polish on their cakes, perfect for showcasing intricate designs or simply achieving that ultimate bakery smooth look.
The Palette Knife Technique for Sharp Edges
Achieving sharp, crisp edges on the top of your cake is a hallmark of professional, bakery smooth buttercream frosting. After smoothing the sides with a bench scraper, you'll have a slight "lip" of buttercream around the top edge. Use a large offset spatula or a flat palette knife. Hold the spatula parallel to the top surface of the cake, with the edge resting just above the cake's top edge.
Starting from the outside edge, gently pull the spatula towards the center of the cake in one smooth motion. This pulls the excess buttercream from the lip inwards, creating a sharp angle. Wipe the spatula clean after each swipe and repeat around the entire circumference of the cake until the top edge is crisp and defined. This technique requires a steady hand and practice.
Achieving a Super Smooth Buttercream Finish with Ganache Underlayer
For an exceptionally smooth and stable finish, particularly under fondant or when you need razor-sharp edges, a ganache underlayer can be used before frosting with buttercream. Ganache, made from chocolate and cream, sets up very firmly and can be smoothed to a glass-like surface. You would typically apply a thin layer of ganache to the chilled cake, smooth it meticulously, and chill again until firm.
Then, you can apply your buttercream over the ganache layer. The firm, smooth ganache provides an incredibly stable and level base, making it significantly easier to achieve a perfectly bakery smooth buttercream frosting finish on top. This method is often used for tiered cakes or designs where absolute precision is required. A typical ratio for dark chocolate ganache for covering cakes is 2 parts chocolate to 1 part heavy cream by weight.
Maintaining Your Bakery-Smooth Buttercream Cake
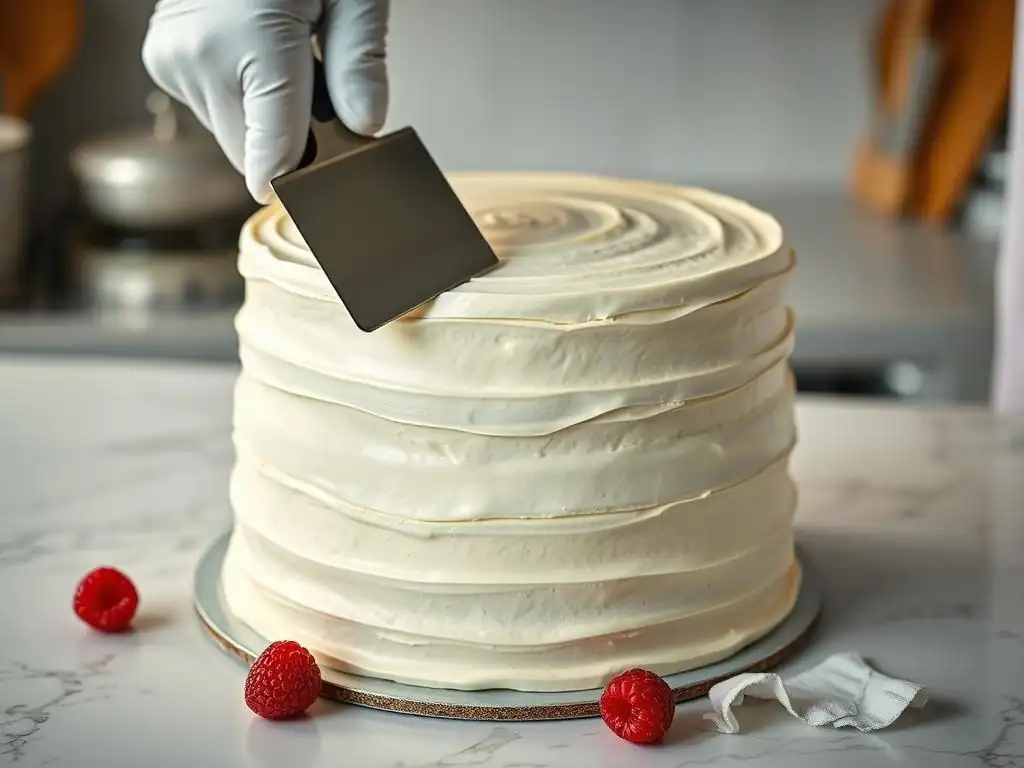
Congratulations! You've achieved a beautiful, bakery smooth buttercream frosting finish on your cake. Now, the challenge is keeping it that way until it's time to serve. Proper storage and careful transportation are essential to prevent damage and preserve your hard work.
Taking a few precautions will ensure your stunning cake arrives at its destination or stays pristine in your own home. Protecting that smooth surface is the final step in showcasing your decorating skills.
Storing Your Finished Cake Properly
Once your cake is frosted with bakery smooth buttercream, the best way to store it depends on the type of buttercream and how long it needs to be stored. Cakes frosted with most types of buttercream can be stored at room temperature for 1-2 days, provided the environment is cool (ideally below 70°F or 21°C) and away from direct sunlight or heat sources. Use a cake dome or a large container to protect it from dust and odors.
For longer storage or if using a less stable buttercream (like meringue-based) or fillings that require refrigeration, store the cake in the refrigerator. Ensure it is covered to prevent it from drying out or absorbing fridge odors. An airtight cake carrier is ideal. Before serving a chilled cake, allow it to sit at room temperature for 30-60 minutes to allow the buttercream to soften slightly for the best texture.
Transporting a Smooth Buttercream Cake
Transporting a cake with a perfectly bakery smooth buttercream frosting requires careful planning. Use a sturdy cake box or carrier that is slightly larger than the cake. Place a non-slip mat or a piece of shelf liner on the bottom of the box or carrier to prevent the cake from sliding.
When transporting by car, place the cake box on a flat surface where it won't shift, like the floorboard of the front seat or the trunk, ensuring it's level. Avoid placing it on a seat, which can be sloped. Drive carefully, avoiding sudden stops or sharp turns. If it's a hot day, transport the cake in an air-conditioned vehicle to prevent the buttercream from melting and ruining your smooth finish.
Conclusion: Enjoy Your Bakery-Perfect Buttercream Cake
Achieving a bakery smooth buttercream frosting finish is a rewarding skill that requires practice, patience, and the right techniques. By focusing on preparation, using appropriate tools, applying the buttercream strategically, and employing effective smoothing methods, you can transform a simple cake into a stunning centerpiece. Don't be discouraged by imperfections; they are part of the learning process.
With each cake you decorate, you'll refine your touch and improve your results. Now that you have the knowledge and techniques, go forth and create beautiful, bakery-perfect buttercream cakes that are sure to impress everyone who sees (and tastes!) them. Enjoy the process and the delicious outcome!
Frequently Asked Questions
How is bakery-smooth buttercream different from regular buttercream?
Bakery-smooth buttercream focuses on achieving an exceptionally smooth and flawless finish. This often involves specific techniques and ingredients to minimize air bubbles and graininess, resulting in a professional-looking cake.
What are the key techniques for achieving a bakery-smooth buttercream?
Key techniques include using softened butter, whipping the buttercream for an extended period, and employing the hot knife or smoothing tool method. These help eliminate air pockets and create a silky-smooth texture.
What type of buttercream is best for a bakery-smooth finish?
While various buttercreams can be smoothed, Swiss meringue buttercream and Italian meringue buttercream are often preferred due to their naturally silky texture and stability. American buttercream can also work with the right techniques.
What tools are helpful for achieving a bakery-smooth buttercream finish?
Helpful tools include an offset spatula, a bench scraper or cake smoother, a turntable, and potentially a hot knife or heating gun. These tools aid in applying and smoothing the buttercream evenly.
Can I achieve a bakery-smooth finish even if I'm a beginner baker?
Yes! While it may take practice, following the step-by-step guides and focusing on proper techniques from BakeWithEase.com will significantly improve your chances of achieving a bakery-smooth finish, even as a beginner.
Final Reflection: The Pursuit of Perfect Buttercream
The quest for a bakery-smooth buttercream finish isn't just about aesthetics; it's about the artistry of baking and the joy it brings. Achieving that flawlessly smooth surface elevates a simple cake into a masterpiece, a testament to patience, precision, and a deep appreciation for the craft. This pursuit, while seemingly small, reflects a larger desire for excellence and attention to detail in all aspects of life.
The impact of a perfectly frosted cake extends beyond the visual. It speaks to a dedication to quality, a commitment to exceeding expectations, and the satisfaction of creating something beautiful. The best things in life are worth fighting for,
and a flawlessly smooth buttercream is certainly one of those things. The process itself, from the careful preparation of the buttercream to the meticulous smoothing techniques, is a meditative practice, a chance to disconnect from the everyday and focus on the task at hand. This mindful approach to baking can be applied to other areas of life, fostering a sense of calm and accomplishment.
Now, I invite you to consider your own pursuit of perfection. What aspects of your life could benefit from the same dedication and attention to detail that goes into achieving a bakery-smooth buttercream finish? Perhaps it's a project at work, a personal goal, or even a simple act of kindness. Embrace the process, appreciate the journey, and remember that the pursuit of excellence, no matter how seemingly small, can yield immense rewards and a profound sense of satisfaction. Go forth and create your own masterpieces!
Unlock Your Inner Cake Artist: Master the Bakery-Smooth Finish!
Thanks for taking the time to level up your buttercream skills! You've now got the knowledge to create flawlessly smooth cakes. Ready to put your new expertise into action?
- Give your buttercream a whirl: Practice the techniques described, focusing on the spatula angle and consistent pressure. See how much smoother your cakes become!
- Share your masterpiece: Post a picture of your perfectly smooth cake on social media and tag #BakeWithEase – we'd love to see your creations!
- Explore our other cake decorating tutorials to discover even more amazing techniques.
So, what amazing cake design will you create next?