
Why Proofing Time is Everything for Basic White Bread

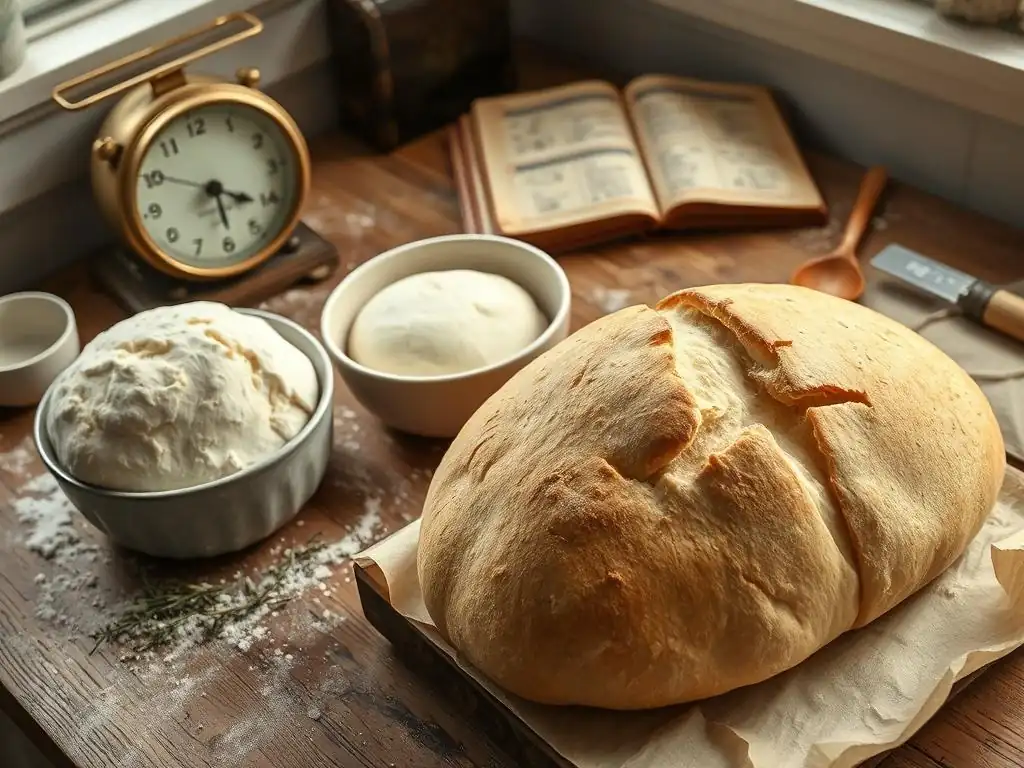
Welcome to BakeWithEase, where baking becomes a joy! Ever wonder why your basic white bread sometimes falls flat? The secret often lies in the proofing process. Discover the critical role of proofing and unlock the secrets to achieving perfectly risen loaves. Ready to learn how long to proof white bread for that bakery-worthy finish? Let's get started!
- Why Proofing Time is Crucial for Sourdough Bread
- Understanding the Crucial Role of Proofing in Sourdough Baking
- The Science Behind Proofing Sourdough: What's Happening Inside
- How Long to Proof Sourdough: Finding the Perfect Proofing Time
- Over-Proofing Sourdough: Recognizing the Signs and Avoiding Disaster
- Under-Proofing Sourdough: The Pitfalls of Insufficient Proofing
- Troubleshooting Common Proofing Problems in Sourdough
- Perfecting Your Sourdough Proofing Technique for Consistent Results
- Frequently Asked Questions
- Final Reflection: The Unsung Hero of a Perfect Loaf
- Unlock Your Perfect Loaf: Mastering Bread Baking Timing
Why Proofing Time is Crucial for Sourdough Bread
Understanding the Crucial Role of Proofing in Sourdough Baking
Proofing, often called the final rise, is a non-negotiable stage in the journey from a shaggy dough to a beautifully baked loaf. It's the period after shaping but before baking, where the dough rests and expands, building its final volume and developing complex flavors. Skipping or mishandling this step means compromising the entire bake. Think of it as the dough taking its final deep breath before hitting the hot oven. Proper sourdough proofing time allows the yeast and bacteria in your starter to continue their work, creating the airy structure and signature tang we love in sourdough.
Getting the proofing time right is paramount for achieving that perfect balance of crumb structure, flavor depth, and a beautiful crust. An under-proofed loaf will be dense and heavy, while an over-proofed one might collapse or have a poor texture. Mastering the art of knowing when your sourdough is perfectly proofed is a skill developed with practice, but understanding the underlying principles is the first step. It's not just about following a recipe's suggested time; it's about learning to read the dough itself and understanding the factors that influence how long sourdough should proof.
What is Proofing and Why Does it Matter for Sourdough?
Proofing is the final fermentation period for shaped dough before it's baked. During this time, the yeast in the sourdough starter produces carbon dioxide gas, which gets trapped in the gluten network, causing the dough to rise and expand. This expansion is crucial for achieving a light and airy crumb structure in the final bread. Simultaneously, the lactic acid bacteria (LAB) in the starter continue to produce organic acids, like lactic and acetic acid, which contribute significantly to the characteristic sour flavor and improve the bread's keeping quality.
For sourdough specifically, proofing is even more critical because the leavening process is slower and more complex than with commercial yeast. The wild yeast and bacteria work in synergy, requiring specific time and environmental conditions to perform optimally. A typical sourdough starter might contain billions of microbial cells per gram, but their activity is highly dependent on temperature and available food (sugars in the flour). Getting the proofing time right ensures that these microbes have adequate time to inflate the dough and develop the signature sourdough flavor profile before the heat of the oven halts their activity.
Proofing vs. Bulk Fermentation: Key Differences for Sourdough Bakers
While both proofing and bulk fermentation involve the dough rising due to microbial activity, they occur at different stages and serve distinct purposes. Bulk fermentation, also known as the first rise, happens before the dough is shaped. It's the initial, longer fermentation period where the gluten structure is developed through stretching and folding, and significant flavor development begins. The dough typically doubles or nearly triples in volume during bulk fermentation.
Proofing, on the other hand, occurs after the dough has been shaped into its final form (like a boule or batard) and placed in a proofing basket (banneton) or baking vessel. The primary goal of proofing is to inflate the shaped dough to the correct volume and tension for baking. Minimal handling occurs during proofing to avoid deflating the delicate gas structure.
Proofing time is generally shorter than bulk fermentation, although this can vary greatly depending on the temperature and desired outcome (e.g., cold proofing in the refrigerator). Understanding this distinction is vital for controlling the overall fermentation process and achieving predictable results for how long to proof sourdough.
The Science Behind Proofing Sourdough: What's Happening Inside
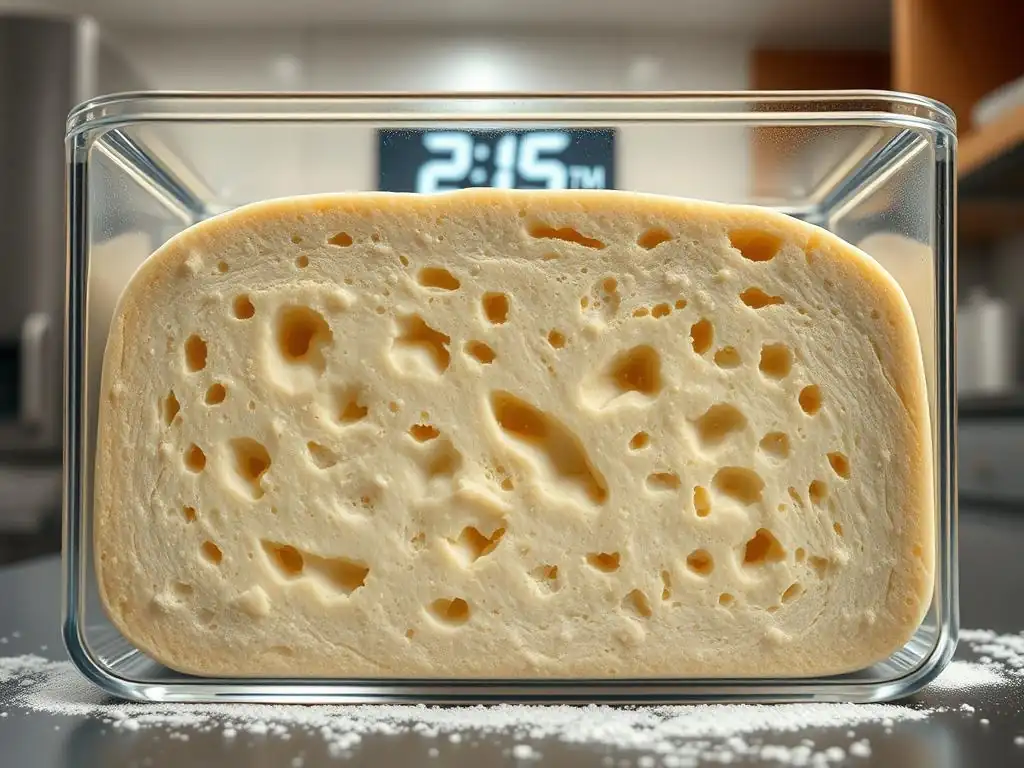
The magic of sourdough proofing lies in the complex interplay between the wild yeast and lactic acid bacteria within the starter. As the dough rests, these microbes feast on the sugars in the flour, producing a variety of metabolic byproducts. The primary byproduct responsible for the rise is carbon dioxide gas, which inflates the gluten matrix. However, unlike commercial yeast which primarily produces ethanol and CO2, sourdough fermentation also yields significant amounts of organic acids.
These acids, mainly lactic acid and acetic acid, contribute significantly to the flavor and texture of the final bread. Lactic acid tends to produce a milder, more rounded sourness, while acetic acid contributes a sharper, vinegary tang. The ratio of these acids can be influenced by factors like temperature (warmer temperatures favor lactic acid, cooler temperatures favor acetic acid) and hydration level. The development of these acids during the specific sourdough proofing time is crucial for building the characteristic complex flavor profile that distinguishes sourdough from commercially leavened bread.
Microbial Activity During Proofing: CO2 Production, Acetic and Lactic Acid Development
During proofing, the wild yeasts in your sourdough starter are busy consuming simple sugars (like glucose and fructose, which are created by enzymes breaking down starch in the flour) and producing ethanol and carbon dioxide (CO2). This CO2 gas is what causes the dough to expand. Simultaneously, the lactic acid bacteria (LAB) are also metabolizing sugars, primarily producing lactic acid and acetic acid. Some LAB strains also produce a small amount of CO2.
The rate of activity for both yeast and LAB is highly dependent on temperature. Yeast activity is generally optimal between 25-30°C (77-86°F), while LAB have a broader optimal range, often performing well between 20-40°C (68-104°F). This means that at different proofing temperatures, the balance of CO2 production (rise) and acid production (flavor) can shift.
For instance, a warmer proofing environment (like 26°C/79°F) might lead to a faster rise due to increased yeast activity but potentially less complex sourness compared to a slower, cooler proof (like 20°C/68°F) which allows more time for acid development by the LAB. Finding the right sourdough proofing time involves balancing these microbial processes.
The Impact of Temperature on Sourdough Proofing Time
Temperature is arguably the most significant factor influencing how long to proof sourdough. Higher temperatures accelerate microbial activity, leading to faster proofing times. Conversely, lower temperatures slow down fermentation, resulting in longer proofing times. For example, dough proofing at room temperature (around 20-24°C / 68-75°F) might take 2-4 hours to reach optimal proof.
Proofing in a warmer environment, like a proofer set to 26°C (79°F), could potentially cut that time down to 1.5-3 hours. On the other hand, cold proofing in the refrigerator at around 4°C (39°F) can extend the proofing time dramatically, often for 12-48 hours or even longer. This slow, cold fermentation is excellent for developing deeper, more complex flavors and improving the dough's handling characteristics, making it a popular technique for managing sourdough proofing time around a busy schedule.
How Proofing Affects the Texture, Flavor, and Crust of Your Sourdough
Proper proofing time is directly linked to the final quality of your sourdough loaf. In terms of texture, correctly proofed dough results in a light, airy, and open crumb structure with irregular holes. This is because the gluten network has been sufficiently stretched by the CO2 gas produced during fermentation, creating pockets that expand in the oven. Under-proofed dough lacks sufficient gas production, resulting in a dense, tight crumb. Over-proofed dough, where the gluten structure has started to break down, may collapse or have a gummy texture.
Flavor development is heavily reliant on sufficient sourdough proofing time, particularly the production of organic acids by LAB. A longer, cooler proof allows more time for these acids to accumulate, leading to a more pronounced sour tang and complex flavor profile. A short, warm proof might result in a milder flavor. The crust is also affected; well-proofed dough has sufficient internal tension to expand properly in the oven, leading to a good oven spring and a thin, crisp crust. Over-proofed dough might lack the structure to expand, resulting in a flatter loaf and potentially a less impressive crust.
How Long to Proof Sourdough: Finding the Perfect Proofing Time
Determining the ideal sourdough proofing time is more of an art than a strict science, as it depends on several variables. Recipes often provide a time range, but this is merely a guideline. The most reliable way to know when your sourdough is ready to bake is by observing its visual cues and performing a simple test. Relying solely on a clock can lead to inconsistent results because factors like the temperature of your kitchen, the strength of your starter, and the dough's hydration level all play a significant role in the fermentation speed.
Experienced bakers learn to "read" their dough, recognizing the subtle signs that indicate it has reached optimal proof. This involves observing its size, feel, and resilience. While a recipe might suggest proofing for 2-4 hours at room temperature, your specific dough might be ready in 1.5 hours if your kitchen is warm and your starter is very active, or it might take 5 hours if the environment is cooler or your starter is sluggish. Mastering how long to proof sourdough requires attentiveness and learning to trust your senses.
Factors Influencing Sourdough Proofing Time: Starter Activity, Hydration, and Temperature
Several key factors dictate how long sourdough needs to proof. The activity level of your sourdough starter is paramount; a vigorous, recently fed starter will ferment the dough much faster than a weak or neglected one. A starter that reliably doubles in volume within 4-6 hours after feeding is generally considered active. Using a larger percentage of starter in your dough recipe will also shorten the proofing time because you're introducing more active microbes from the start.
Dough hydration also plays a role. Higher hydration doughs (those with a higher water-to-flour ratio, e.g., 80% hydration) tend to ferment faster than lower hydration doughs (e.g., 65% hydration). The extra water makes the dough softer and potentially more accessible for the microbes. As discussed previously, temperature is a major driver; warmer temperatures accelerate fermentation, while cooler temperatures slow it down. A 10% increase in starter percentage or a few degrees difference in ambient temperature can significantly alter the optimal sourdough proofing time.
Visual Cues: Knowing When Your Sourdough is Properly Proofed
Visual inspection is the first step in assessing proofing progress. Properly proofed sourdough dough will have increased significantly in volume since shaping, though it won't necessarily double like during bulk fermentation. It should look visibly airy and somewhat puffy. The surface, especially if proofed in a banneton, should appear smooth and slightly domed, indicating good surface tension.
Another visual cue is the appearance of small bubbles just beneath the surface of the dough, particularly around the edges where it meets the proofing basket. These bubbles are evidence of the CO2 gas production. If the dough looks tight, small, and dense, it likely needs more proofing time. If it looks overly expanded, fragile, and possibly starting to flatten, it might be on the verge of being over-proofed. Learning to recognize these visual signs is crucial for judging how long to proof sourdough effectively.
The Poke Test: A Simple Way to Check Sourdough Proofing
The most common and reliable method for checking if your sourdough is properly proofed is the poke test. To perform this test, gently flour your finger and lightly press it into the side of the dough to a depth of about half an inch. Observe how the indentation springs back.
- Under-proofed: The indentation springs back almost immediately and completely. This indicates the gluten structure is still very tight and has a lot of elastic recoil. It needs more sourdough proofing time.
- Properly Proofed: The indentation springs back slowly and only partially, leaving a small, lasting indent. This indicates the dough is sufficiently inflated, the gluten is relaxed but not broken down, and it has just enough structure to hold its shape and get good oven spring.
- Over-proofed: The indentation remains completely or almost completely, and the dough might feel very soft and fragile. This indicates the gluten structure has weakened significantly, and the dough may collapse when handled or in the oven.
Mastering the poke test takes a little practice, but it's an invaluable tool for determining precisely how long to proof sourdough for optimal results.
Over-Proofing Sourdough: Recognizing the Signs and Avoiding Disaster
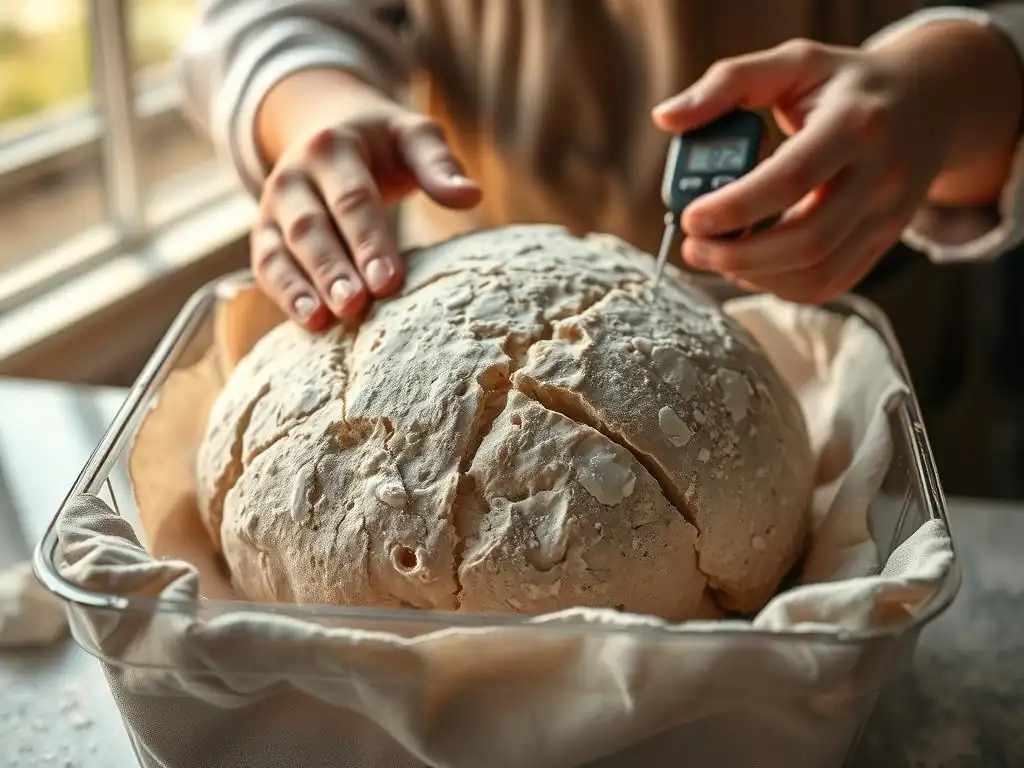
Over-proofing is a common frustration for sourdough bakers. It occurs when the dough is allowed to ferment for too long during the final rise, leading to the breakdown of the gluten structure and the depletion of available sugars for oven spring. While sourdough is more resilient than dough made with commercial yeast due to its acidity, it is still susceptible to over-proofing, particularly in warm environments. Recognizing the signs early can sometimes help you mitigate the damage.
Avoiding over-proofing requires careful monitoring, especially when proofing at room temperature. Pay close attention to the visual cues and perform the poke test regularly as the suggested proofing time window approaches. Understanding the factors that accelerate fermentation (warmth, active starter, high hydration) allows you to anticipate how quickly your dough might proof and adjust your timing or environment accordingly. Learning to judge the correct sourdough proofing time is key to prevention.
Identifying Over-Proofed Dough: What to Look For
Several signs indicate that your sourdough dough has gone past its optimal proofing point. Visually, the dough might look overly inflated and potentially a bit flatter than it was when first shaped, especially if proofed seam-side up without support. The surface might appear loose and less taut. The edges, if proofed in a banneton, might start to spill over the rim slightly.
When you perform the poke test on over-proofed dough, the indentation will remain almost entirely, with very little to no spring back. The dough will feel extremely soft, slack, and potentially fragile or even a bit sticky. You might also notice a strong, overly acidic or vinegary smell, indicating excessive acid production by the LAB. These signs tell you that the gluten network, which holds the gas, has been weakened by the prolonged enzymatic and acidic activity.
The Consequences of Over-Proofing: Flat Loaves and Sour Flavor
Baking an over-proofed loaf typically results in several undesirable outcomes. The most noticeable consequence is poor oven spring. Because the gluten structure is compromised, the dough lacks the tension and elasticity needed to expand vigorously in the hot oven. This often leads to a flat, dense loaf with little height. The crumb structure, if any structure remains, might be tight and gummy rather than open and airy.
Flavor-wise, an over-proofed loaf can be excessively sour, sometimes with an unpleasant, sharp, or vinegary tang due to excessive acetic acid production. While some sourness is desirable in sourdough, over-proofing can push it beyond a pleasant level. The crust might also be thinner and less crisp because the loaf didn't expand properly to stretch the surface. Getting the sourdough proofing time right is essential to avoid these issues.
Saving Over-Proofed Dough: Reshaping or Using as Pizza Dough
While you can't perfectly "un-proof" dough, you might be able to salvage an over-proofed batch to avoid complete waste. If the dough is only slightly over-proofed and still has some structure, you can try gently reshaping it. This expels some of the excess gas and helps rebuild a bit of tension. After reshaping, give it a very short, final proof (maybe only 30-60 minutes depending on the temperature) before baking. Keep a close eye on it, as it will proof very quickly.
If the dough is significantly over-proofed and very slack, reshaping might not yield a decent loaf. In this case, it's often best to repurpose the dough. Over-proofed sourdough makes excellent pizza dough. The slackness isn't detrimental for a flat pizza crust, and the developed flavor is a bonus. You can also use it for focaccia or other flatbreads. Simply gently deflate it, shape it into a rough rectangle or circle, top as desired, and bake. While not the loaf you intended, it's a tasty way to use dough that exceeded its optimal sourdough proofing time.
Under-Proofing Sourdough: The Pitfalls of Insufficient Proofing
Under-proofing occurs when the dough is not allowed sufficient time to ferment and rise during the final proofing stage before baking. This means the yeast hasn't produced enough carbon dioxide gas to adequately inflate the gluten network. While over-proofing leads to a collapsed structure, under-proofing results in a dough that is still too dense and tight. It's just as important to avoid under-proofing as it is to avoid over-proofing when trying to achieve a successful sourdough bake.
Recognizing the signs of under-proofed dough is crucial for future success. It often stems from impatience or misjudging the required sourdough proofing time based on recipe guidelines without considering the environmental factors. Learning to identify the symptoms allows you to either adjust the proofing for the current bake (if possible) or, more importantly, inform your timing and technique for subsequent bakes, leading to more consistent and desirable results.
Recognizing Under-Proofed Dough: Signs and Symptoms
Under-proofed dough exhibits several tell-tale signs. Visually, it will not have increased significantly in volume since shaping. It might still look quite dense and compact in the proofing basket. The surface will likely appear tight and smooth, lacking the airy, slightly bubbly look of properly proofed dough.
When you perform the poke test on under-proofed dough, the indentation will spring back very quickly and completely, leaving little to no mark. The dough will feel firm and resistant when poked, indicating a tight gluten structure that hasn't been sufficiently relaxed and inflated by gas. This resilience is a clear indicator that the dough needs more sourdough proofing time to develop its volume and texture.
The Consequences of Under-Proofing: Dense Bread and Poor Oven Spring
Baking an under-proofed loaf results in a bread with characteristic flaws. The most prominent issue is poor oven spring, or sometimes excessive, uncontrolled oven spring that bursts in an undesirable way because the surface wasn't relaxed enough. While the dough might still rise a bit in the oven (the "oven spring"), it won't achieve the optimal expansion because it lacked sufficient gas production before baking.
The resulting bread will have a dense, tight crumb structure with small, uniform holes instead of the desired open, irregular crumb. The texture can feel heavy or even gummy. Flavor-wise, an under-proofed loaf might taste less complex or tangy than expected because the acids haven't had enough time to develop sufficiently. The crust might also be thick and hard due to the lack of proper expansion. Getting the sourdough proofing time right is essential for achieving that desired airy texture and flavor.
Adjusting Proofing Time for Future Baking Success
If you identify that your bread was under-proofed, the key is to learn from the experience and adjust your approach for future bakes. Consider the conditions under which you proofed: Was the room temperature cooler than usual? Was your starter less active? Did you use a lower percentage of starter?
Based on your observations, plan to increase the sourdough proofing time for your next bake under similar conditions. If proofing at room temperature, allow more time and rely on the poke test and visual cues rather than just the clock.
If you frequently under-proof, consider using a slightly warmer proofing environment (like a proofing box or oven with the light on) or increasing the percentage of starter in your recipe slightly (e.g., from 20% to 25% of the flour weight). Alternatively, embrace cold proofing in the refrigerator, which provides a much longer window and makes judging the exact proofing time less critical.
Troubleshooting Common Proofing Problems in Sourdough
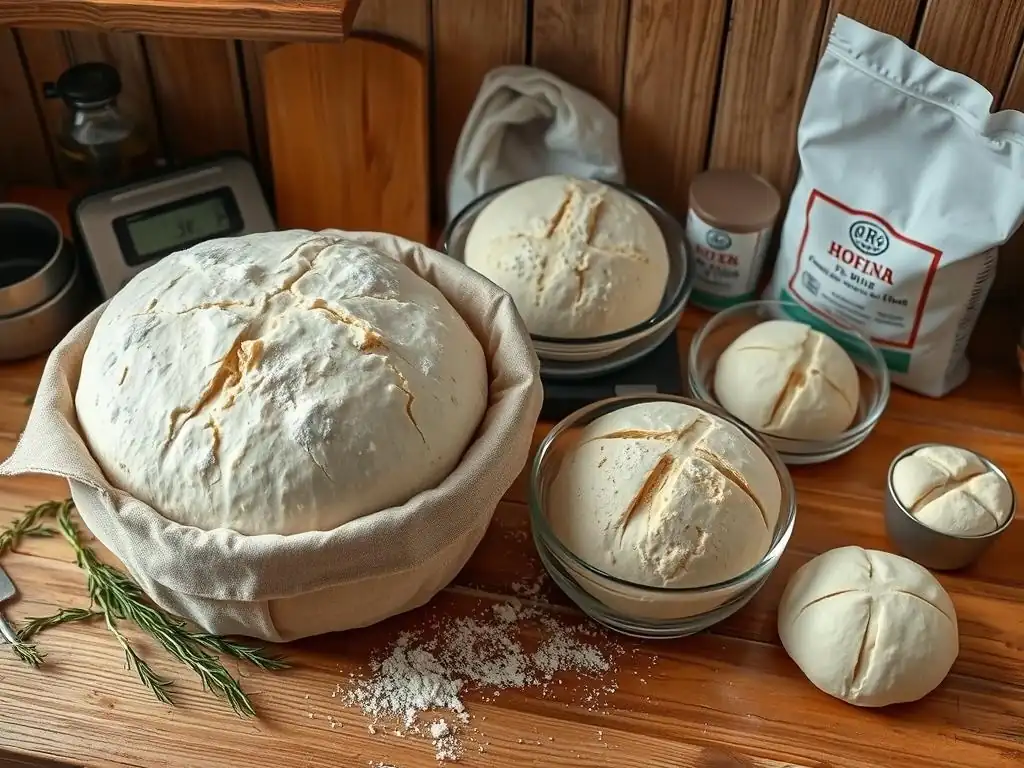
Even with careful attention, proofing sourdough can present challenges. Factors like fluctuating room temperature, inconsistent starter activity, or dry air can all impact the process. Knowing how to identify and address common issues can save a bake and help you refine your technique for achieving consistent sourdough proofing time. The key is to observe your dough and understand how environmental factors influence its behavior.
Developing intuition about your dough's needs comes with practice. Don't be discouraged by occasional setbacks. Each bake is an opportunity to learn how your specific starter, flour, and environment interact during the fermentation process. By understanding the underlying principles and having a few troubleshooting strategies up your sleeve, you can navigate common proofing hurdles and improve your consistency in hitting that perfect sourdough proofing time.
Dealing with Slow Proofing: Using a Warmer Environment or Increasing Starter Percentage
If your sourdough is proofing too slowly – the volume increase is minimal after the expected time, and the poke test shows it's clearly under-proofed – several factors could be the cause. A cool room temperature is a common culprit. If your kitchen is below 20°C (68°F), fermentation will be sluggish.
To speed things up, find a warmer spot for your dough. This could be on top of your refrigerator, inside a microwave (with the door closed, but not turned on), or inside your oven with just the light on (which often provides a gentle warmth of around 25-27°C / 77-81°F). Be cautious not to make it too hot, as extreme heat can kill the yeast.
Another reason for slow proofing is a less active starter or using a smaller percentage of starter in your dough. If your starter isn't doubling predictably, focus on feeding it consistently and waiting until it's vigorous before using it. If you suspect the starter percentage is too low for your desired proofing time, consider increasing it slightly in future recipes (e.g., from 15% to 20% of the total flour weight). Remember that increasing the starter percentage will reduce the overall sourdough proofing time needed.
Preventing Over-Proofing in Warm Environments: Using the Refrigerator for Cold Proofing
Conversely, if you live in a warm climate or your kitchen is consistently warm, your dough might proof much faster than expected, increasing the risk of over-proofing, especially if you need to step away for a few hours. The most effective way to manage proofing speed in warm conditions is to use the refrigerator for cold proofing. After shaping, place the dough in its proofing basket and immediately transfer it to the refrigerator (usually around 4°C / 39°F).
The cold temperature dramatically slows down fermentation. This allows for a much longer proofing window, often 12-48 hours, giving you flexibility. It also develops more complex flavors. When you're ready to bake, you can often bake the dough directly from the refrigerator. Cold dough is also easier to score cleanly. Using cold proofing is an excellent strategy for controlling the sourdough proofing time and preventing over-proofing in unpredictable or warm environments.
The Importance of Humidity in Sourdough Proofing: Preventing Skin Formation
While temperature is the primary factor, humidity also plays a role in successful proofing. If the air surrounding your dough is too dry, the surface of the dough can dry out and form a skin. This skin restricts the dough's ability to expand evenly and can lead to a tough crust or uneven rise. It also makes scoring more difficult.
To maintain adequate humidity during proofing, especially during room temperature proofing, you can place the dough in a covered container (like a large food-grade plastic bag or a proofing box with a lid). If using a proofing basket uncovered, you can lightly spray the surface of the dough with water before placing it in the basket or cover the basket loosely with a damp towel or plastic wrap.
When cold proofing in the refrigerator, covering the dough is essential as refrigerator air is typically very dry. Ensuring proper humidity helps the dough achieve optimal sourdough proofing time and a better final texture.
Perfecting Your Sourdough Proofing Technique for Consistent Results
Achieving consistent results in sourdough baking largely hinges on mastering the proofing stage. It requires patience, observation, and an understanding of how your specific variables (starter, flour, temperature) interact. While recipes provide a starting point, becoming a truly proficient sourdough baker means learning to read your dough and adjust the sourdough proofing time based on its cues, not just the clock.
Developing a consistent routine for feeding and maintaining your starter is the first step towards predictable proofing. A happy, active starter is the foundation of a good rise. Experimenting with different proofing environments (room temperature vs. cold proofing) will help you understand how each affects the final loaf and allows you to choose the method that best fits your schedule and desired outcome. Practice makes perfect, and each bake, whether successful or not, provides valuable insights into perfecting your sourdough proofing time.
Tips for Achieving Consistent Proofing Every Time
Consistency is built on control and observation. Here are a few tips:
- Use an active starter: Ensure your starter is vibrant and recently fed, reliably doubling in volume within 4-8 hours before you use it.
- Monitor temperature: Be aware of your ambient temperature. Consider using a thermometer near where you proof your dough. Adjust your proofing time expectations based on whether it's warmer or cooler than average.
- Use a consistent container: Proofing in the same type of basket or container each time helps you visually assess the volume increase more consistently. Mark the side of your container during bulk fermentation to track its progress.
- Develop your poke test feel: Practice the poke test on dough at different stages (under-proofed, properly proofed, over-proofed) to learn the subtle differences in how it springs back.
- Keep a baking journal: Note the temperature, starter activity, proofing time, and the outcome (crumb structure, oven spring). This data is invaluable for understanding what works and predicting future sourdough proofing time needs.
- Consider cold proofing: If consistency is challenging due to fluctuating room temperatures, cold proofing offers a more stable and forgiving environment.
Using a Proofing Box or the Refrigerator for Controlled Proofing
For ultimate control over sourdough proofing time, especially if you bake frequently, investing in a proofing box can be beneficial. These devices maintain a consistent temperature and humidity level, removing much of the guesswork associated with ambient conditions. They allow you to precisely control the speed of fermentation.
Alternatively, as discussed, the refrigerator offers a readily available environment for controlled, slow proofing. While it doesn't offer the same precise temperature control as a dedicated proofing box, it provides a stable, cool environment that dramatically extends the proofing window. This allows for schedule flexibility and enhances flavor development. Many bakers find that cold proofing in the refrigerator is the easiest way to consistently achieve well-proofed sourdough with excellent flavor and structure, simplifying the task of determining how long to proof sourdough.
The Ultimate Guide to Mastering Sourdough Proofing Time
Mastering sourdough proofing time is an ongoing journey, not a destination. It involves understanding the science behind fermentation, learning to read your dough's visual and tactile cues, and adapting your technique based on your specific starter, flour, and environment. Don't be afraid to experiment with different proofing times and temperatures. Bake the same recipe but proof one loaf at room temperature and another in the refrigerator to observe the differences.
Pay close attention during bulk fermentation and proofing. How quickly does the dough rise? How does it feel? How does it respond to the poke test? These observations are your most valuable tools. By combining knowledge, observation, and practice, you will develop the intuition needed to consistently nail the perfect sourdough proofing time, leading to consistently beautiful, flavorful, and well-structured loaves. Happy baking!
Frequently Asked Questions
How long should I proof my white bread dough?
The ideal proofing time for white bread varies, but generally falls between 1 to 2 hours. The goal is for the dough to double in size. Remember, temperature and humidity play a significant role.
What happens if I over-proof my white bread dough?
Over-proofed dough can collapse during baking, resulting in a flat, dense loaf. It may also have a sour or alcoholic smell.
Can I under-proof my white bread dough?
Yes, under-proofed dough won't rise sufficiently, leading to a dense and heavy bread. The texture will be tough and uneven.
How can I tell if my white bread dough is properly proofed?
A properly proofed dough will have doubled in size and feel light and airy. Gently poke it; the indentation should slowly spring back.
What's the best environment for proofing white bread dough?
A warm (75-85°F or 24-29°C), humid environment is ideal. You can use a proofing box, warm oven, or a covered bowl in a warm spot. This promotes yeast activity.
Final Reflection: The Unsung Hero of a Perfect Loaf
The seemingly simple act of proofing white bread dough is, in reality, the cornerstone of its success. A perfectly proofed loaf boasts a light, airy crumb and a delightful, subtly sweet flavor – a testament to the power of patience and precision in baking. Ignoring this crucial step results in a dense, disappointing loaf, highlighting the profound impact of even the smallest details in the culinary arts.
The influence of proofing time extends beyond the individual baker's kitchen; it speaks to a broader appreciation for the process and the rewards of mindful creation. It's a reminder that rushing often yields inferior results, a lesson applicable far beyond the realm of baking. The best things in life are worth waiting for,
a sentiment perfectly encapsulates the essence of successful bread making. This simple act of waiting, of allowing the yeast to work its magic, connects us to a long tradition of bakers who understood the importance of time and attention to detail.
Now, consider your own life. What areas require the same patient attention to detail as proofing bread? Where are you rushing, sacrificing quality for speed? I invite you to reflect on this, to embrace the power of mindful waiting, and to discover the unexpected rewards that come from allowing processes to unfold naturally. Perhaps, like the perfect loaf of bread, you too will discover a deeper satisfaction in the journey, not just the destination.
Unlock Your Perfect Loaf: Mastering Bread Baking Timing
Thanks for joining us on this baking journey! We hope you now understand the crucial role of proofing time in achieving that perfectly risen, delicious loaf of white bread. Ready to put your new knowledge into action?
- Prioritize your proofing schedule: Plan your baking day around the specific proofing times required for your recipe. This is the key to success!
- Experiment with different proofing environments: Try a warm, draft-free corner, a proofing box, or even a yogurt maker for optimal results. Note your observations!
- Share your baking triumphs (and challenges!): Tell us about your experiences with proofing – what worked best for you?
What unexpected proofing tip will you try next to elevate your bread baking game?