
Oven Too Hot? Protect Your Bread From Burning


Welcome to BakeWithEase, your trusted guide to unlocking baking brilliance! Ever wondered how to adjust oven temperature to achieve that perfectly golden crust on your bread, preventing the dreaded burnt bottom? Dive in to discover foolproof methods and expert tips to transform your oven into your baking ally, ensuring every loaf rises to delicious perfection. Let's get baking!
- Preventing Burnt Bread: Mastering Oven Temperature and Baking Techniques
- Understanding Oven Temperature's Impact on Bread
- Adjusting Oven Temperature for Bread: A Detailed Guide
- Protecting Bread From Burning: Practical Techniques
- Identifying and Addressing Burnt Bread Issues
- Achieving Perfect Bread: Oven Control and Monitoring Tips
- Alternative Bread Baking Methods: Adapting to Different Equipment
- Salvaging Bread: Solutions for Over-Baking
- Consistent Bread Baking: Maintaining Accurate Oven Temperatures
-
Frequently Asked Questions
- How does adjusting oven temperature help prevent burning?
- What are some signs that my oven temperature is too high?
- How do I accurately determine my oven's true temperature?
- If I lower the oven temperature, should I also adjust the baking time?
- What are some other techniques besides temperature adjustment to prevent burning?
- Final Reflection: The Art and Science of Perfect Baking
- Unlock Perfectly Baked Bread: Take Control of Your Oven!
Preventing Burnt Bread: Mastering Oven Temperature and Baking Techniques
Understanding Oven Temperature's Impact on Bread
Why Accurate Oven Temperature is Essential for Bread
Achieving the perfect loaf of bread hinges significantly on maintaining an accurate oven temperature throughout the baking process. The initial high heat in many bread recipes is crucial for oven spring – the rapid rise that occurs in the first 10-15 minutes as gases expand and yeast is activated. If the temperature is too low, this spring is weak, resulting in a dense loaf.
Conversely, an oven that is too hot can cause the crust to set too quickly, preventing adequate expansion and potentially leading to a tough crust before the interior is fully cooked. Understanding precisely how to adjust oven temperature for your specific bread type is fundamental.
Beyond oven spring, temperature dictates the Maillard reaction and caramelization, which are responsible for the bread's flavorful, golden-brown crust. Different types of bread, like lean artisan loaves or enriched brioche, require distinct temperature ranges. Baking an artisan loaf at too low a temperature might result in a pale, tough crust, while baking a sweet, enriched dough at too high a temperature will likely lead to a burnt exterior long before the inside is baked through. Learning how to adjust oven temperature settings based on the recipe and your oven's quirks is key to consistent, delicious results.
Common Causes of Inaccurate Oven Temperatures
Many home ovens, even modern ones, can have temperature variances of 25-50°F (15-30°C) from the set temperature. This discrepancy is a primary reason bakers struggle with burnt or underbaked bread. Faulty thermostats are a common culprit; they misread the internal temperature, causing the heating elements to cycle incorrectly. Heating elements themselves can also age and perform less efficiently, leading to uneven heating or hot spots within the oven cavity.
Another frequent issue is inadequate preheating time. An oven might signal it's reached temperature quickly, but the walls, racks, and especially any baking stones or steel placed inside, need much longer to absorb and radiate heat evenly. Opening the oven door frequently to check on your bread also causes significant temperature drops, which the oven then tries to compensate for, sometimes overshooting the target temperature. Understanding these potential issues is the first step in learning how to adjust oven temperature effectively for your bread baking.
Adjusting Oven Temperature for Bread: A Detailed Guide
Step 1: Verify Oven Temperature with a Reliable Thermometer
The single most important step in mastering how to adjust oven temperature is knowing what temperature your oven is actually reaching. Relying solely on the oven's built-in display can be misleading. Invest in an inexpensive, oven-safe thermometer and place it near the center of your oven, away from the walls or heating elements. Preheat your oven to a standard baking temperature, like 350°F (175°C) or 400°F (200°C), and let it preheat for at least 30-45 minutes. Then, check the reading on your independent thermometer.
Repeat this check at a few different temperatures commonly used for bread, such as 450°F (230°C). Note the difference between the oven's setting and the thermometer's reading. For example, if you set your oven to 400°F but your thermometer consistently reads 375°F, you know your oven runs about 25°F (15°C) cool. If it reads 425°F, it runs 25°F hot. This information is invaluable for accurately adjusting oven temperature for any recipe.
Step 2: Calibrating Your Oven for Precise Baking Temperatures
Once you know how your oven's internal thermostat compares to reality, you can often calibrate it. Many modern ovens have a setting (check your manual!) that allows you to offset the displayed temperature by a certain number of degrees, usually in 5°F or 10°F increments. If your thermometer showed your oven runs 25°F cool when set to 400°F, you would calibrate it to display 25°F higher. This means when you set it to 400°F, the thermostat will aim for a true 425°F, hopefully resulting in the cavity actually reaching closer to 400°F.
If your oven doesn't have a calibration setting, or if the variance is inconsistent across different temperatures, you'll have to manually adjust the temperature dial or keypad every time you bake. If a recipe calls for 400°F but your oven runs 25°F cool, you'll need to set it to 425°F. Conversely, if it runs 25°F hot, set it to 375°F. This manual adjustment based on your thermometer's readings is a practical way how to adjust oven temperature for accurate bread baking.
Step 3: Reducing Oven Temperature: When and By How Much?
Many bread recipes, particularly those for rustic or artisan loaves, call for baking at a high initial temperature (often 450-500°F or 230-260°C) for the first 15-20 minutes to maximize oven spring and crust development. After this initial phase, the temperature is often reduced to 400-450°F (200-230°C) for the remainder of the baking time. This reduction allows the interior of the loaf to cook through without the crust becoming excessively dark or burning. Knowing how to adjust oven temperature mid-bake is a crucial skill.
The amount of temperature reduction depends on the recipe and the type of bread. For a standard lean dough baked at 475°F initially, reducing to 425°F after 15-20 minutes is common. For enriched doughs with sugar or fat, which brown faster, you might start at 400-425°F and reduce to 375-400°F.
Always follow the recipe's guidance first, but be prepared to make adjustments based on your oven's performance and how quickly your bread is browning. Monitoring is key; if the crust looks perfect but the bread isn't done inside, reducing the temperature further (by another 25°F) can buy you time to finish the bake without burning.
Protecting Bread From Burning: Practical Techniques
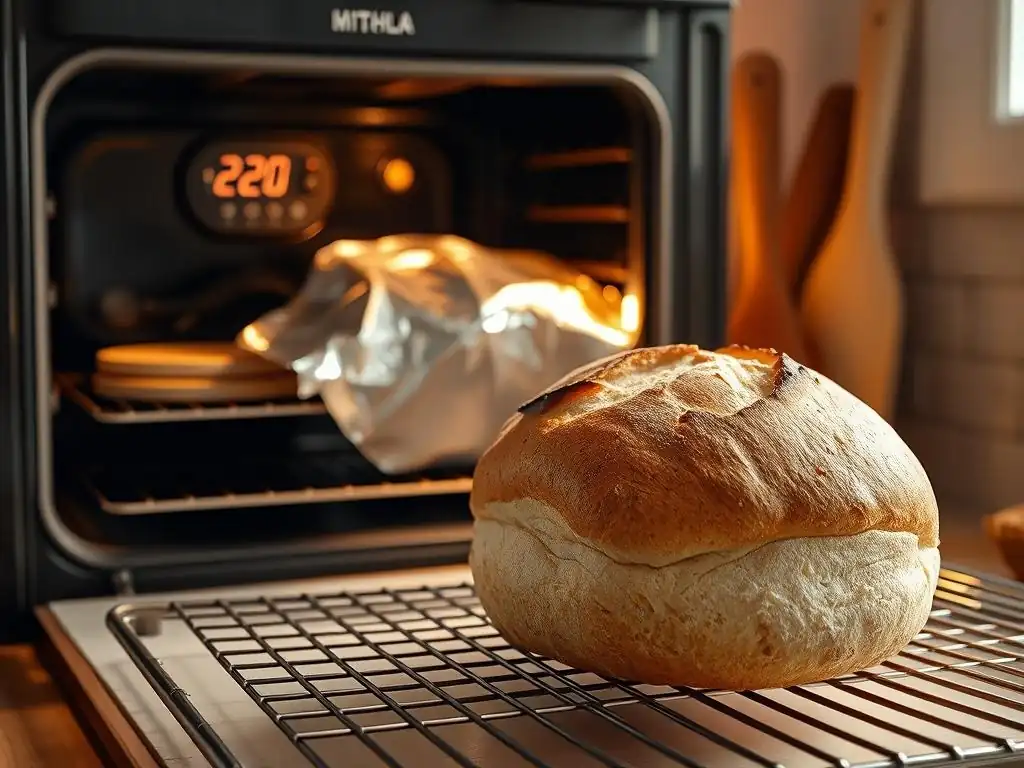
Shielding Bread: Using Foil or Baking Sheets Effectively
Even with accurate temperatures, some parts of your bread might brown faster than others, especially edges or the very top. If you notice your bread's crust is reaching the desired color well before the total baking time is up, you can protect it by shielding. A common method is to loosely tent the entire loaf with aluminum foil. The foil reflects radiant heat, slowing down the browning process. This is particularly useful for longer bakes or for loaves with sugary additions that caramelize quickly.
Alternatively, if only a specific spot is browning too fast, you can cover just that area with a small piece of foil. Another effective technique, especially if the top is browning excessively, is to place an empty baking sheet on the rack positioned directly above your bread. This sheet acts as a shield, blocking some of the direct heat radiating from the top heating element, helping you control how to adjust oven temperature's effect on the upper crust. Use these techniques preventatively if you know your oven has hot spots or if a recipe has caused excessive browning before.
Optimizing Rack Position for Even Baking
Where you place your bread in the oven significantly impacts how it bakes and browns. The middle rack is generally considered the sweet spot for most bread baking, as it provides the most even heat distribution, being equidistant from the top and bottom heating elements. Baking on the bottom rack exposes the bread more directly to the bottom element's heat, which is great for ensuring a well-developed bottom crust but can lead to a burnt base if the oven runs hot or the baking surface (like a thin pan) conducts heat too quickly.
The top rack exposes the bread more to the top heating element, promoting faster browning of the upper crust. This can be desirable for achieving a deep color on top, but it also increases the risk of burning, especially in ovens where the top element is particularly strong or close to the rack. If you notice consistent issues with the top or bottom of your bread burning despite setting the correct temperature, experimenting with different rack positions is a simple, effective adjustment before needing to figure out how to adjust oven temperature settings themselves.
Baking with a Dutch Oven: Achieving Consistent Heat
Using a Dutch oven or a similar heavy, lidded pot is a popular and highly effective method for baking artisan bread, largely because it creates a controlled microclimate that manages heat and steam beautifully. The heavy cast iron or ceramic absorbs and radiates heat very evenly, ensuring a consistent temperature around the loaf. The lid traps steam released by the dough during the initial phase of baking.
This trapped steam keeps the crust moist and pliable, allowing the loaf to expand fully during oven spring without the crust setting too early. After 20-30 minutes, the lid is removed. This allows the steam to escape, dropping the humidity around the loaf and allowing the crust to dry out and brown beautifully under the direct heat. Baking bread in a Dutch oven is an excellent way to mitigate issues caused by inconsistent oven temperatures or dry oven environments, providing a reliable method for achieving a perfect crust without burning.
Identifying and Addressing Burnt Bread Issues
Recognizing Signs of Over-Baking
Recognizing the signs of over-baking goes beyond just seeing a black crust. While a very dark, hard crust is the most obvious indicator, over-baking can manifest in other ways. A burnt smell emanating from the oven, even before the crust looks completely charred, is a strong warning sign. When you tap the bottom of the finished loaf, it should sound hollow; however, if it sounds brittle or excessively hard, the bottom crust may be burnt or significantly overcooked.
The interior crumb can also indicate over-baking. While not directly burnt, the crumb of an over-baked loaf will be excessively dry and potentially tough. Sometimes, the edges or bottom might be burnt while the top looks perfect. This often points to issues with rack position or a bottom heating element that's too powerful. Learning to recognize these signs early allows you to intervene during the bake (e.g., shielding the bread) or understand how to adjust oven temperature and technique for future loaves.
Common Mistakes Leading to Excessive Crust Browning
Several common mistakes can lead to your bread crust browning too much or burning. The most direct cause is, of course, an oven temperature that is simply too high for the recipe or the type of dough. As discussed, this can be due to an inaccurate oven thermostat or setting the temperature too high intentionally without realizing the oven runs hot. Baking for too long is another obvious culprit; always check for doneness (internal temperature, crust color) rather than strictly adhering to a timer, especially if you're new to a recipe or oven.
Using the wrong rack position is also a frequent error; placing a loaf too close to a strong heating element (top or bottom) accelerates browning on that side. Dough composition matters too: enriched doughs containing sugar, milk, or fat will brown much faster than lean doughs due to the caramelization of sugars and Maillard reactions involving proteins and fats. If you're baking a rich challah or brioche, you might need to start at a lower temperature or shield it sooner than you would a rustic sourdough, requiring you to proactively consider how to adjust oven temperature or technique.
Achieving Perfect Bread: Oven Control and Monitoring Tips
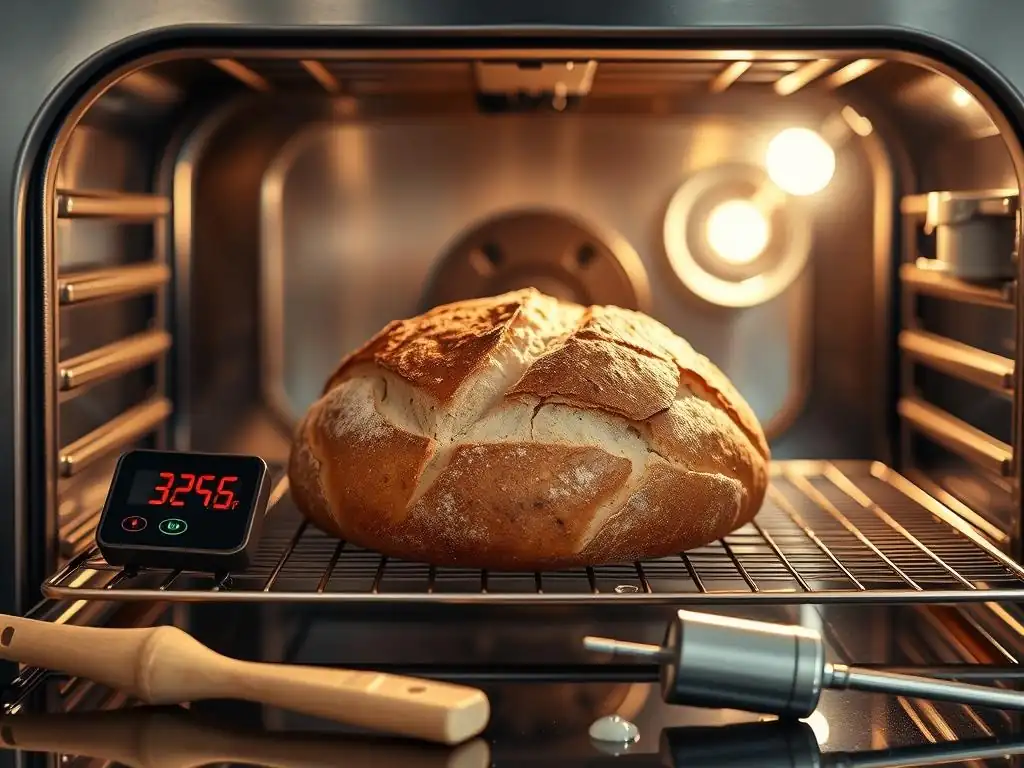
Preheating Properly: Ensuring Optimal Temperature Stability
Proper preheating is absolutely critical for successful bread baking and preventing issues like a burnt exterior and undercooked interior. Simply waiting for your oven's light to indicate it's reached the set temperature is often insufficient. The air inside might be hot, but the oven walls, racks, and especially any baking surfaces like stones or steels need time to absorb and stabilize at that temperature. For bread, particularly those requiring high heat and good oven spring, preheating for a minimum of 30-60 minutes after the oven signals it's ready is highly recommended.
Baking on a cold or inadequately heated surface (like a baking sheet or stone) prevents the rapid transfer of heat to the base of the loaf, hindering oven spring and potentially leading to a pale, dense bottom crust or requiring a longer overall bake time during which the top crust might burn. Ensuring everything inside the oven is uniformly hot before the bread goes in provides a stable environment, allowing the temperature to recover more quickly after the door is opened and contributing significantly to even baking and crust development.
This diligent preheating is a fundamental step in controlling your oven environment.
Monitoring Bread Color: Visual Indicators of Doneness
While recipe times and internal temperatures are important guides, the color of your bread's crust is a crucial visual indicator of doneness and a sign that you've successfully managed how to adjust oven temperature throughout the bake. For most rustic or lean loaves, a deep, rich golden-brown to mahogany color is desirable. This indicates that the Maillard reaction and caramelization have fully occurred, contributing maximum flavor and a crisp texture. A pale crust often signifies under-baking or a temperature that was too low.
For enriched breads, the target color might be a lighter golden brown due to the faster browning caused by sugar and fat. Learn to recognize the appropriate color for the type of bread you are baking. Don't be afraid to open the oven door briefly in the latter stages of baking to check the color, both on the top and the bottom of the loaf (using a spatula to lift it gently).
If the crust is browning too quickly, implement shielding techniques immediately. If it's not browning enough after the recommended time, you might need a few extra minutes, possibly with a slight temperature increase if the interior isn't done.
Utilizing Baking Stones or Tiles: Enhancing Heat Distribution
Baking stones or tiles are simple tools that can dramatically improve your bread baking results, especially regarding heat distribution and preventing burnt bottoms. Made of ceramic or cordierite, these surfaces are placed in the oven during the long preheating phase. They absorb a significant amount of heat and store it. When you place your dough onto the hot stone, the heat is transferred rapidly and evenly to the base of the loaf.
This intense, even heat from below provides excellent oven spring and ensures the bottom crust develops properly without burning, provided the overall oven temperature is correct. Unlike a thin metal baking sheet which can heat up too fast and cause scorching, a stone or tile provides a more stable heat source. Using a pizza stone or baking tiles across a rack is a simple yet effective way to create a more consistent baking environment, helping to prevent common issues like a burnt bottom crust or poor oven spring often linked to unstable oven temperatures.
Alternative Bread Baking Methods: Adapting to Different Equipment
Baking Bread in a Convection Oven: Adjustments and Considerations
Convection ovens use a fan to circulate hot air, which results in faster baking and more even browning compared to conventional ovens. While this can be beneficial for achieving a uniform crust color, the increased airflow also means moisture evaporates more quickly, and the surface of the bread browns at an accelerated rate. If you're baking a recipe designed for a conventional oven, you'll almost always need to make adjustments when using a convection setting to avoid burning.
The general rule of thumb how to adjust oven temperature for convection baking is to reduce the temperature by about 25-50°F (15-30°C) from the conventional recipe's specification. For example, if a recipe calls for 450°F in a conventional oven, you might set your convection oven to 425°F or even 400°F. You'll also likely need to reduce the baking time. Start checking for doneness 5-10 minutes earlier than the recipe indicates. Monitor your bread closely, as convection browning can happen very quickly.
No-Knead Bread in a Cast Iron Skillet: A Simple Alternative
Baking bread in a cast iron skillet, often associated with simple no-knead methods, is another way to achieve excellent results even if your oven's temperature is inconsistent. Similar to a Dutch oven, a preheated cast iron skillet provides intense, even heat to the bottom of the loaf, promoting a strong bottom crust and good oven spring. Many recipes involve placing the dough directly into a very hot skillet, sometimes starting on the stovetop briefly to develop the bottom crust before transferring to the oven.
The heavy cast iron holds and distributes heat effectively, minimizing the impact of minor oven temperature fluctuations. While not providing the steamy environment of a lidded Dutch oven, baking in a skillet is a straightforward technique that focuses heat where it's needed most initially, helping to prevent a pale or undercooked base, which can sometimes happen if the oven's bottom element is weak or slow to heat up. It's a robust method that is less sensitive to slight variations in how to adjust oven temperature than baking on a standard baking sheet.
Salvaging Bread: Solutions for Over-Baking
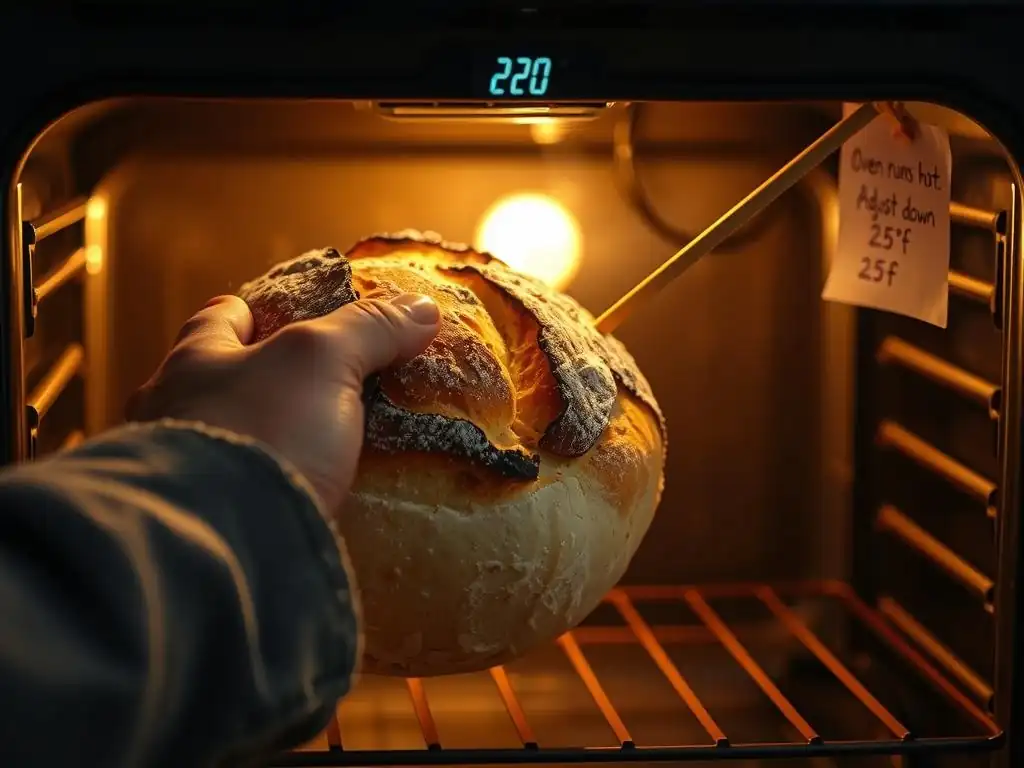
Techniques for Removing or Masking Burnt Flavors
If your bread has suffered from over-baking, particularly if the bottom or edges are burnt, there are a few ways to try and salvage it. The most direct method is to carefully scrape off the burnt portions using a microplane grater or a sharp knife. This works best for areas that are just charred on the surface. Be gentle so you don't tear into the good part of the crust or crumb. While this won't magically fix the texture or dryness of an over-baked interior, it can remove the acrid, bitter taste of burnt crust.
For slightly burnt edges or bottom crusts, you can also try incorporating the bread into dishes where the flavors will be masked or transformed. Making bread crumbs is an excellent option; the burnt bits will be less noticeable when ground up and mixed with other ingredients or seasonings. Similarly, using the bread for croutons, especially if you toast them further with oil and seasonings, can help mask the burnt flavor profile.
Repurposing Slightly Burnt Bread [Recipe Ideas]
Even if your bread is a little too dark or dry from being over-baked, it can still be useful! Slightly burnt bread is often perfect for making croutons. Cut or tear the bread into pieces, toss with olive oil and your favorite herbs and seasonings (garlic powder, dried oregano, salt, pepper), and bake again at a lower temperature (around 300°F / 150°C) until crispy. The extra toasting can sometimes mellow out minor burnt notes.
Another great option is turning it into bread pudding or a savory strata. The liquid (milk, cream, eggs, broth) soaked up by the bread helps soften the dry crumb, and the other ingredients and flavors in the pudding or strata can effectively mask any slight off-flavors from over-baking. For example, a savory bread pudding with cheese and herbs can easily hide a slightly over-baked crust. These methods ensure your baking efforts don't go entirely to waste, even when mastering how to adjust oven temperature proves challenging.
Consistent Bread Baking: Maintaining Accurate Oven Temperatures
Regular Oven Cleaning: Ensuring Accurate Heat Distribution
Regularly cleaning your oven is more than just about hygiene; it plays a role in achieving consistent and accurate baking temperatures. Spills, grease, and burnt-on food debris on the oven floor or walls can create hot spots. These residues can absorb or reflect heat unevenly, leading to parts of your oven being hotter or cooler than the thermostat indicates. They can also smoke during baking, imparting unpleasant flavors to your bread and potentially causing uneven browning or scorching where debris is present.
A clean oven allows heat to circulate freely and evenly, ensuring that the temperature you set (and verify with your thermometer) is more consistent throughout the cavity. Wiping down spills as they happen and performing more thorough cleanings periodically helps maintain optimal baking conditions. This simple maintenance step contributes to predictable results and reduces unexpected issues like burnt spots caused by localized overheating, making the process of how to adjust oven temperature more reliable.
Creating a Baking Log: Tracking Results for Future Success
Becoming consistently successful at bread baking, especially when dealing with oven temperature quirks, benefits greatly from keeping a baking log. For each loaf you bake, note down key details: the recipe used, the oven temperature you set, the actual temperature indicated by your independent oven thermometer, the rack position, the total baking time, and importantly, the results. Describe the crust color (top and bottom), the crumb texture, and any issues like uneven browning or burning.
Over time, this log will reveal patterns specific to your oven and your recipes. You might notice that loaves on the bottom rack always brown too fast at a certain temperature, or that a specific recipe consistently requires a 25°F temperature reduction in your oven to prevent the top from burning. This data-driven approach helps you learn how to adjust oven temperature and techniques based on empirical evidence from your kitchen, leading to fewer burnt loaves and more consistently perfect results.
Frequently Asked Questions
How does adjusting oven temperature help prevent burning?
Adjusting the oven temperature allows you to control the rate of baking. Lowering the temperature provides more even cooking and prevents the outside from burning before the inside is done. This is especially useful for delicate items.
What are some signs that my oven temperature is too high?
Signs include a rapidly browning or burning exterior, an underbaked interior, and uneven cooking. You might also notice excessive smoke or a burnt smell emanating from the oven.
How do I accurately determine my oven's true temperature?
Use an oven thermometer placed inside your oven while it preheats and during baking. Compare the thermometer reading to your oven's setting to identify any discrepancies. This helps you understand your oven's calibration.
If I lower the oven temperature, should I also adjust the baking time?
Yes, if you lower the oven temperature, you'll likely need to increase the baking time. Monitor your baked goods closely and use visual cues like golden brown color and a clean toothpick test to determine doneness.
What are some other techniques besides temperature adjustment to prevent burning?
Other helpful techniques include using an oven shield or baking stone to diffuse heat. You can also tent your baked goods with foil to slow down browning or adjust the rack position.
Final Reflection: The Art and Science of Perfect Baking
The quest for perfectly baked bread transcends mere culinary skill; it's a testament to understanding the nuanced dance between heat, time, and ingredients. In a world of instant gratification, taking the time to master oven temperature control offers a profound connection to a timeless craft. It's a journey of precision and patience, rewarding those who persevere with golden-brown crusts and fluffy interiors.
The impact of consistent oven temperature extends far beyond the individual loaf. It's a reflection of our relationship with food, with tradition, and with the simple act of creation. Baking is at once a science and an art; it requires precision and creativity.
This quote perfectly encapsulates the journey we've undertaken in this article, exploring the practical techniques alongside the inherent artistry of baking. The ability to accurately adjust oven temperature allows us to replicate successes and learn from failures, fostering a deeper appreciation for the process itself.
Now, consider your own baking experiences. Have you ever been frustrated by unevenly baked goods? Remember the feeling of that first perfectly risen loaf? This article provided you with the tools to avoid those frustrating moments and consistently achieve baking excellence. Take this knowledge, apply it to your next baking project, and experience the joy of mastering your oven. Embrace the challenge, experiment with different recipes, and discover the satisfaction of creating something truly delicious, one perfectly baked loaf at a time.
Unlock Perfectly Baked Bread: Take Control of Your Oven!
Thanks for taking the time to learn how to prevent your bread from burning! We hope you gained valuable insights into mastering oven temperatures and achieving that golden-brown perfection. Now it's time to put your newfound knowledge into practice.
- Try our recommended baking stone: This simple upgrade can significantly improve heat distribution and prevent scorching. We've included specific recommendations in the article.
- Share your baking triumphs (and challenges!): Let's build a community of bakers! Share your experiences and photos on our social media channels.
- Experiment with different baking techniques: Adjust your baking time and temperature based on your oven and the specific recipe. Don’t be afraid to try something new!
What small tweak will you make to your baking process to guarantee perfectly baked bread every time?