
Why Your Bread Dough is Too Dry (and How to Fix It)

Welcome to BakeWithEase, your companion in conquering the world of baking! Ever wrestled with dough that just won't cooperate? You're not alone. This guide dives deep into the frustrating issue of dry bread dough, exploring the common causes and, more importantly, providing you with actionable solutions to rescue your baking dreams. Curious about how to bring that parched dough back to life? Let's get started!
- Why Your Bread Dough is Too Dry (and How to Fix It) - BakeWithEase.com
- Introduction: Troubleshooting Dry Bread Dough for Baking Success
- Understanding the Properties of Ideal Bread Dough
- Common Causes of Dry Bread Dough: Identifying the Culprit
- How to Fix Dry Bread Dough: Solutions for a Better Bake
- Preventing Dry Bread Dough in the Future: Proactive Baking Techniques
- Advanced Techniques for Hydration: Sourdough and High-Hydration Doughs
- Conclusion: Mastering Dough Hydration for Baking Excellence
- Frequently Asked Questions
- Final Reflection: The Unexpected Joys of a Perfectly Hydrated Dough
- Unlock Perfectly Hydrated Dough: Your Baking Journey Starts Now!
Why Your Bread Dough is Too Dry (and How to Fix It) - BakeWithEase.com
Introduction: Troubleshooting Dry Bread Dough for Baking Success
There are few things more frustrating in the kitchen than diving into a baking project, only to find your bread dough feels stiff, crumbly, and just... wrong. A dry bread dough can feel like a major roadblock, making kneading difficult and hinting at a dense, unappealing loaf to come. It's a common issue that can leave even experienced bakers scratching their heads.
The hydration level of your dough is crucial for the final texture and rise of your bread. Dough that is too dry won't develop gluten properly, leading to a loaf that is tough, crumbly, and lacks that desirable open crumb structure. Identifying the cause of this dryness early is key to salvaging your bake and ensuring a delicious result. This guide will walk you through understanding why your dough might be dry and, more importantly, how to implement a dry bread dough fix to get back on track and achieve baking success.
Understanding the Properties of Ideal Bread Dough
The Importance of Proper Hydration in Bread Baking
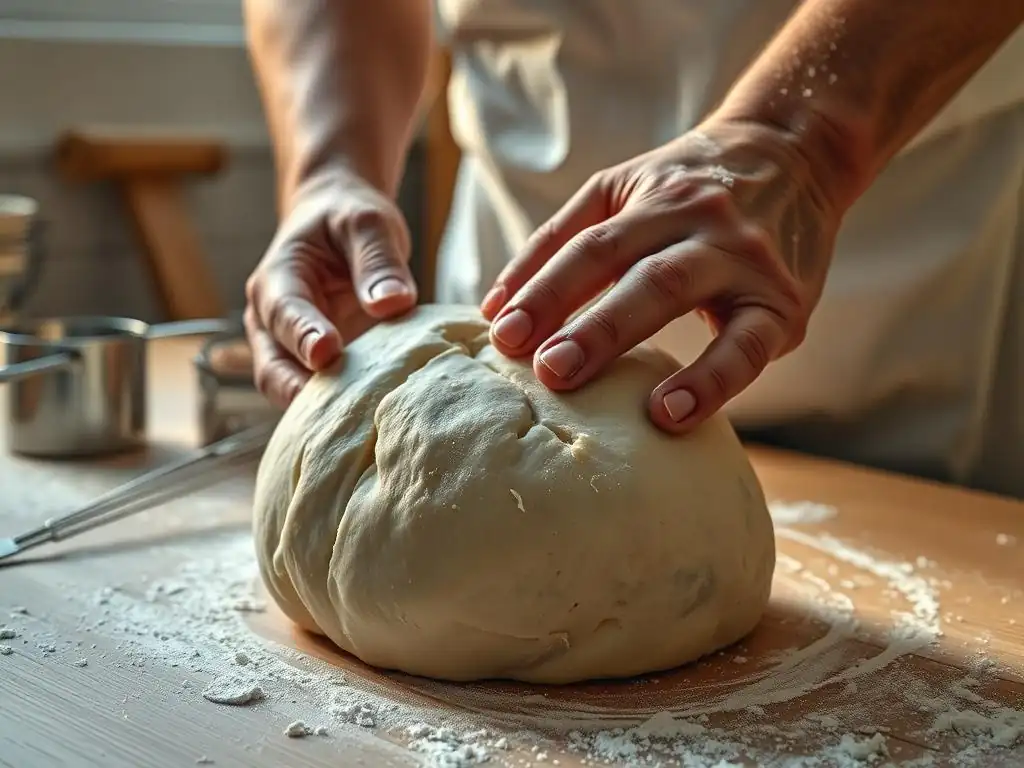
Water is the magic ingredient that activates the gluten in flour. When you mix flour and water, the proteins glutenin and gliadin link together, forming a network known as gluten. This elastic network traps the gasses produced by yeast during fermentation, allowing the dough to rise and giving bread its structure and texture. Proper hydration—the right ratio of water to flour—is essential for this gluten development to occur effectively.
Without enough water, the gluten network cannot fully form or stretch, resulting in a stiff, inelastic dough. This lack of elasticity means the dough struggles to expand during fermentation and baking, leading to a dense, heavy loaf with a tight crumb. Think of it like trying to stretch a dry rubber band versus a moist one; the moist one is pliable and extends easily, just like well-hydrated dough should. Achieving the correct hydration is a fundamental step towards a light, airy, and flavorful bread.
Recognizing the Signs of a Dough That's Too Dry
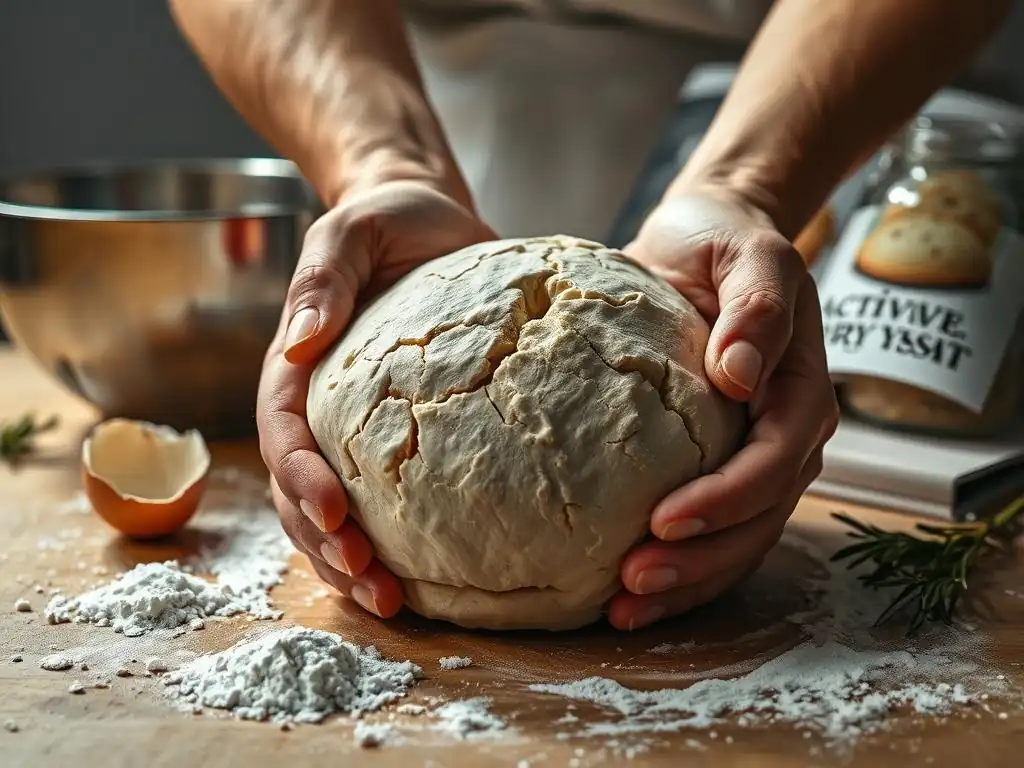
Identifying dry bread dough early is the first step towards a successful dry bread dough fix. A dough that is too dry will immediately feel different in your hands compared to a properly hydrated dough. It will likely feel stiff, firm, and may not be sticky at all, even after initial mixing. Instead of forming a cohesive mass easily, it might crumble or break apart when you try to handle it.
Visually, dry dough often looks rough and shaggy, with no smooth surface developing even after a few minutes of kneading. If you try to stretch it, it will likely tear quickly rather than stretching thinly like a windowpane. You might also notice visible dry spots or patches of unabsorbed flour. These are clear indicators that the dough needs more moisture to become pliable and ready for fermentation and baking.
Common Causes of Dry Bread Dough: Identifying the Culprit
Measuring Errors: Inaccurate Ingredient Ratios Affecting Dough Hydration
Baking is often described as a science, and precise measurement is critical, especially when it comes to the hydration of your dough. Using too much flour or too little liquid is the most straightforward cause of dry bread dough. Simply scooping flour directly from the bag with a measuring cup can compact the flour, leading you to use significantly more than the recipe intended by weight.
For example, a cup of flour scooped and leveled might weigh around 120-130 grams, but if compacted by scooping, it could easily be 150 grams or more. This extra 20-30 grams of flour per cup throws off the water-to-flour ratio considerably.
Similarly, mismeasuring the liquid, even by a small amount, can have a big impact. If a recipe calls for 300 grams of water (which is 300 ml) and you only add 280 ml due to an inaccurate measuring cup or oversight, that 20 ml difference, while seemingly small, represents a significant percentage of the total liquid, particularly in smaller batches. This slight imbalance increases the effective hydration percentage needed for the flour, resulting in a noticeably drier dough than intended.
Flour Type and Absorption Rates: Why Your Flour Matters
Not all flours are created equal, and their ability to absorb water varies significantly based on their protein content and how they are milled. Bread flour, for instance, has a higher protein content (typically 12-14%) than all-purpose flour (around 10-12%).
This higher protein content means bread flour can absorb and hold more water, allowing for higher hydration levels while still producing a manageable dough. A recipe designed for bread flour with 65% hydration might yield a perfect dough, but using all-purpose flour with the same amount of water could result in a very wet, sticky dough because the AP flour absorbs less liquid.
Conversely, using a lower-protein flour or a specialty flour with different absorption properties (like whole wheat flour, which absorbs more water initially due to the bran) in a recipe intended for a higher-absorption flour can lead to dry dough. If a recipe calls for AP flour at 60% hydration, substituting a high-gluten bread flour without increasing the water will likely result in a stiff, dry dough because the bread flour could handle and needs more hydration to reach its optimal state. Understanding your flour's typical absorption rate is vital for preventing dry dough.
Environmental Factors: How Humidity and Temperature Influence Dough
The environment in your kitchen plays a subtle yet significant role in dough hydration. Dry air can pull moisture out of your dough, both during mixing and, more noticeably, during longer fermentation periods like the first rise. In a very dry climate or during dry winter months when indoor heating is on, the ambient humidity can drop significantly, sometimes below 30%. Exposed dough in such conditions can quickly form a dry, crusty skin, reducing its overall hydration and elasticity.
Temperature also influences dough hydration indirectly through its effect on fermentation speed and water evaporation. Warmer temperatures accelerate yeast activity, which can sometimes make the dough feel softer and more relaxed, potentially masking initial dryness. However, if the ambient temperature is warm and the air is dry, the surface of the dough will still dry out rapidly unless properly covered. Conversely, very cold conditions can slow down fermentation and make the dough feel stiffer initially, but the risk of surface drying might be lower if humidity is adequate.
Over-Kneading and Gluten Development Issues
While kneading is essential for developing gluten and creating the structure of your bread, it's possible to overwork the dough, especially with a stand mixer. Over-kneading can generate excessive heat through friction, which can subtly dry out the dough by evaporating some of its moisture. This is more likely to happen with powerful mixers or prolonged, high-speed kneading. The dough might initially seem fine but then become stiff and less pliable as you continue.
Furthermore, if the initial hydration was already slightly low, over-kneading exacerbates the dryness issue. Instead of becoming smooth and elastic, the dough might start to feel tight, tough, and potentially even break down slightly, losing its ability to stretch smoothly. A properly kneaded dough should be smooth, elastic, and pass the windowpane test (a small piece can be stretched thin enough to see light through without tearing), indicating a well-developed gluten network that is supple, not dry or brittle.
How to Fix Dry Bread Dough: Solutions for a Better Bake
The Water Addition Method: Gradually Rehydrating Your Dough
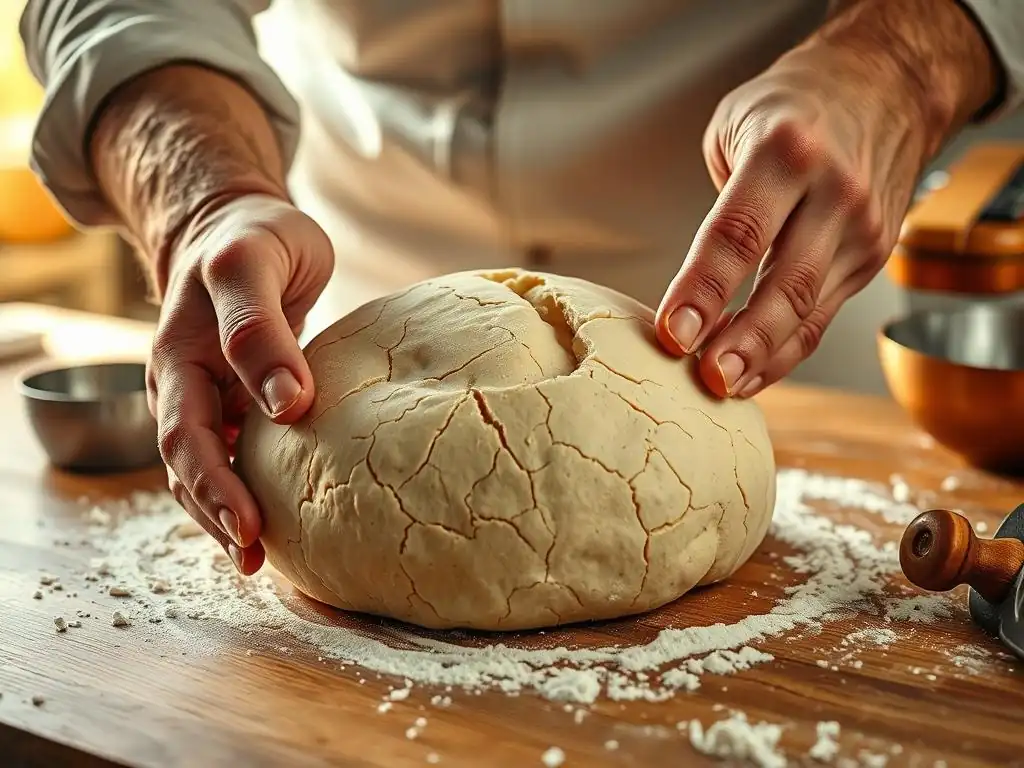
If you've discovered your dough is too dry during mixing or early kneading, the most direct dry bread dough fix is to carefully add more liquid. The key is to do this gradually to avoid overcorrecting and making the dough too wet. Start by adding a very small amount of water, perhaps just a teaspoon or tablespoon at a time, depending on the batch size. Drizzle the water over the dough and begin kneading it in.
You can do this by hand, working the water into the dough on a clean surface, or in a stand mixer on a low speed. It might feel messy at first, as the water sits on the surface, but continue kneading until the water is fully incorporated. Observe the dough's texture: does it feel more pliable? Is it becoming smoother?
If it still feels too stiff, repeat the process, adding another small amount of water. Continue adding and kneading in small increments until the dough reaches the desired consistency – supple, elastic, and slightly tacky but not overly sticky. This slow, deliberate approach ensures you don't accidentally turn dry dough into soup.
The Oil Addition Method: Adding Fat for Moisture and Elasticity
Adding a small amount of fat, such as vegetable oil, olive oil, or melted butter, can also help fix dry bread dough, especially if the dough is only slightly dry or feels a bit stiff. While water directly increases hydration, fat coats the gluten strands, making the dough feel softer, more extensible, and less prone to drying out further. It can improve the dough's texture and elasticity, making it easier to handle and knead.
Start with just a teaspoon of oil for a standard loaf-sized batch (around 500g-1kg flour). Pour the oil over the dough and knead it in until it is fully incorporated. Like the water addition method, it might feel slippery initially, but continue kneading until the dough absorbs the fat and becomes smooth and less stiff.
You can add another teaspoon if needed, but be cautious not to add too much, as excessive fat can interfere with gluten development and result in a heavy crumb. This method is particularly useful if the dough feels stiff but not crumbly – it adds suppleness without significantly altering the overall hydration percentage.
Adjusting Proofing Environment: Creating a Humid Atmosphere
Preventing the dough from drying out during its rise (proofing) is just as important as fixing it during mixing. If your kitchen environment is dry, the surface of the dough can form a skin, limiting its ability to expand evenly. A simple dry bread dough fix during proofing is to create a humid microclimate for your dough.
You can do this by placing the dough in a lightly oiled bowl and covering it tightly with plastic wrap or a damp kitchen towel. Ensure the towel stays damp throughout the proofing period. Another effective method is to place the bowl in a large plastic bag and inflate it slightly before sealing.
For even better results, especially in very dry conditions (like winter heating), you can create a makeshift proofing box. Place the covered dough in a cold oven with a pan of hot water on the rack below it. The steam from the water will create a warm, humid environment ideal for preventing surface drying and encouraging an even rise.
The Importance of Autolyse in Achieving Optimal Dough Hydration
The autolyse technique, while not a direct fix for already dry dough, is a powerful preventative measure that helps achieve optimal hydration from the start. Autolyse involves mixing just the flour and water from a recipe and letting the mixture rest for 20 minutes to an hour before adding salt and yeast and beginning to knead. During this resting period, the flour absorbs the water more fully and evenly, and enzymatic activity begins to break down proteins, making the gluten easier to develop with less kneading.
Using autolyse helps hydrate the flour more completely than simply mixing everything at once. It allows the water to penetrate all parts of the flour particles, reducing the chance of dry pockets and ensuring a more homogenous dough. This initial hydration phase makes the dough more extensible and easier to work with, reducing the likelihood of it feeling dry or stiff during the main mixing and kneading stages. Incorporating an autolyse step is a simple yet effective way to improve dough handling and prevent dry bread dough issues before they start.
Preventing Dry Bread Dough in the Future: Proactive Baking Techniques
Accurate Measuring Techniques: Ensuring Consistent Results
To consistently avoid dry bread dough, adopting accurate measuring techniques is paramount. The most reliable method is using a digital kitchen scale to weigh your ingredients, especially flour and water. Most professional recipes and many modern home recipes provide measurements in grams, which are far more precise than volume measurements (cups and spoons).
Weighing ensures you use the exact amount specified, regardless of how compacted your flour is or the variations in liquid measuring cups. For example, a recipe calling for 500g of flour and 325g of water is giving you a precise 65% hydration, which is much easier to hit by weight.
If you must use volume measurements, take care when measuring flour. Gently spoon the flour into your measuring cup rather than scooping directly from the bag, and level off the excess with a straight edge without tapping or compacting the flour. For liquids, use a clear liquid measuring cup placed on a flat surface and read the measurement at eye level. Implementing these practices significantly reduces the chance of ingredient ratio errors, a primary cause of dry dough.
Flour Storage: Maintaining Flour Quality and Hydration
How you store your flour can impact its hydration potential and contribute to dry bread dough if not managed properly. Flour is hygroscopic, meaning it absorbs moisture from its environment. If stored improperly in a humid environment, it can absorb too much moisture; conversely, if stored in a very dry environment or left exposed, it can dry out. Flour that has dried out will require more liquid than usual to reach the correct dough consistency.
Store your flour in airtight containers in a cool, dry place away from direct sunlight. This protects it from pests, moisture fluctuations, and oxidation, which can affect its quality. Using fresh flour also helps; older flour can sometimes perform differently. While it's hard to put a precise number on how much hydration changes based on storage, keeping flour in a stable environment minimizes variability and helps ensure that your recipe's hydration levels work as intended, preventing unexpected dry dough.
Adjusting Recipes Based on Environment: Adapting to Your Kitchen
Even with perfect measuring, environmental conditions can necessitate slight recipe adjustments to prevent dry bread dough. Be mindful of the humidity and temperature in your kitchen. On a very dry day, your flour might be slightly drier than usual, or the dough surface might dry out faster during mixing and kneading. You might need to add a touch more water than the recipe specifies – perhaps an extra tablespoon or two per loaf – to achieve the correct dough consistency.
Conversely, on a very humid day, your flour might already contain more moisture, or the dough might feel wetter than expected. In this case, you might need slightly less water or a tiny bit more flour. Pay attention to how the dough feels rather than strictly sticking to the numbers if the texture isn't right. Learning to read your dough's consistency and making small adjustments based on your environment is an advanced skill that helps ensure consistent results and prevents dry dough issues regardless of the weather outside.
Advanced Techniques for Hydration: Sourdough and High-Hydration Doughs
Understanding Sourdough Hydration: Managing a Wet Dough
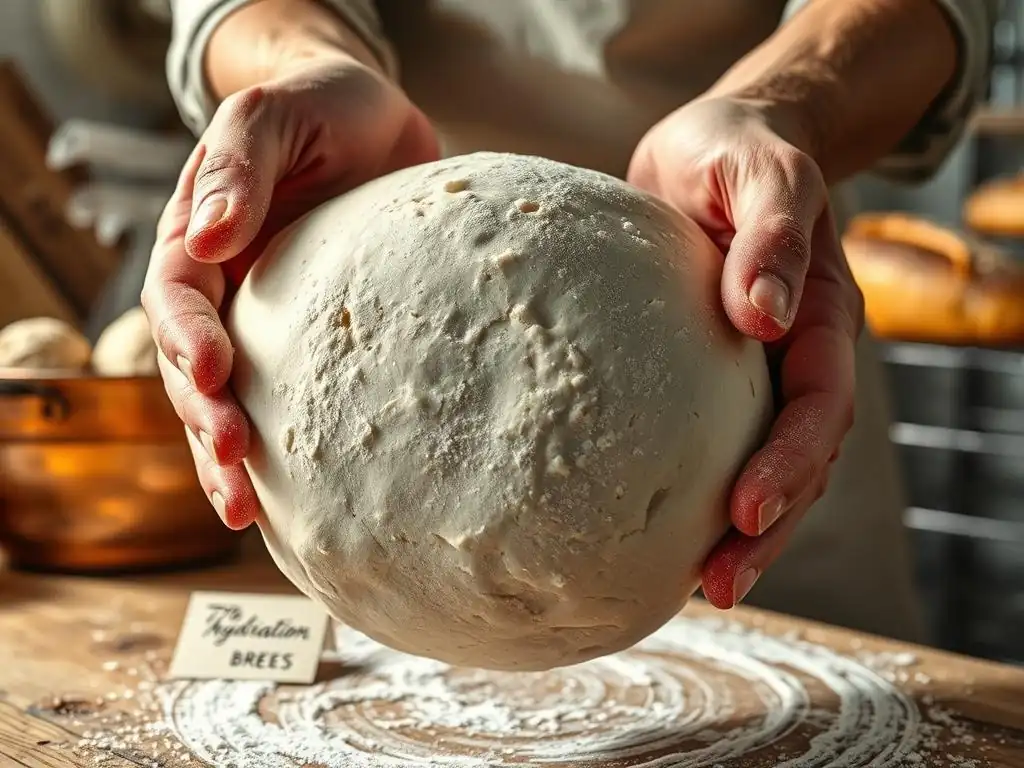
Sourdough baking often involves higher hydration levels compared to commercial yeast breads, sometimes ranging from 70% to over 85% hydration (water weight as a percentage of flour weight). This is partly because the starter itself adds hydration, and higher hydration encourages the open, airy crumb characteristic of many sourdough loaves. However, managing this higher hydration requires different techniques. A sourdough dough that feels dry at 70% hydration would be exceptionally stiff; the challenge is often managing dough that feels very wet and sticky.
A common issue in sourdough that mimics dryness can be insufficient fermentation or a weak starter, leading to a dough that doesn't develop strength and feels dense or tight rather than extensible, which can be mistaken for dryness. True dry sourdough dough is rare if the recipe is followed, but if it occurs, the water addition method is the fix. The key to managing typical high-hydration sourdough is developing strength through techniques like stretch and folds or coil folds rather than aggressive kneading, which helps the dough handle its wetness and build structure without feeling dry.
Working with High-Hydration Doughs: Tips and Tricks
Working with high-hydration doughs (typically 75% hydration and above) can be challenging because they are inherently wetter and stickier than lower-hydration doughs. They will feel much different – less like a traditional kneadable dough and more like a very thick batter initially. Trying to handle these doughs like a standard 60% hydration dough will likely lead to frustration and potentially make you think the dough is somehow "wrong," perhaps even too dry if it hasn't developed structure yet.
The key to managing these wet doughs is minimizing sticking and using techniques that build structure gently. Keep your hands and work surface lightly wet rather than floured, as flour will incorporate and lower the hydration. Use tools like a bench scraper extensively for mixing, dividing, and shaping.
Techniques like 'stretch and folds' or 'coil folds' performed during the bulk fermentation phase are crucial for developing gluten strength without the need for vigorous kneading. These methods build tension and structure, transforming a seemingly unmanageable sticky mass into a dough that can be shaped and baked into a beautiful, open-crumb loaf.
Conclusion: Mastering Dough Hydration for Baking Excellence
Encountering dry bread dough can be a frustrating experience, but it's a common hurdle that every baker faces at some point. Understanding the fundamental role of water in dough development and recognizing the common causes – from simple measuring errors and flour types to environmental factors and kneading technique – is the first step towards preventing and fixing the issue.
Fortunately, a dry bread dough fix is often straightforward, whether it involves carefully adding more water or oil or adjusting your proofing environment. By focusing on accurate measurements, understanding your ingredients, and paying attention to your dough's feel and your kitchen's conditions, you can significantly reduce the likelihood of ending up with dry dough. We encourage you to experiment, learn from each bake, and not be afraid to make small adjustments.
With practice, reading your dough will become intuitive, allowing you to master hydration and consistently bake delicious, perfectly textured bread. BakeWithEase is here to provide the resources and guidance you need on your baking journey!
Frequently Asked Questions
What causes bread dough to be too dry?
Dry bread dough can result from insufficient hydration, using the wrong type of flour, or environmental factors like humidity. Ensuring you measure ingredients accurately is crucial for achieving the right consistency.
How can I fix dry bread dough?
To fix dry bread dough, you can add a little water or milk, one tablespoon at a time, while kneading. This will help to restore moisture and improve the dough's texture.
What are common signs of dry bread dough?
Common signs of dry bread dough include a cracked surface, difficulty in kneading, and an overall crumbly texture. These indicators suggest that the dough lacks sufficient moisture.
Can I prevent my dough from drying out?
Yes, you can prevent drying by covering the dough with a damp cloth or plastic wrap while it rests. Additionally, ensure to use the right amount of liquid and fat in your recipe.
Is it possible to rescue dough that has already dried out?
Yes, you can often rescue dry dough by kneading in additional moisture or by incorporating a small amount of oil. However, results may vary depending on how dry the dough has become.
Final Reflection: The Unexpected Joys of a Perfectly Hydrated Dough
The quest for the perfect loaf begins, and often ends, with hydration. A seemingly small detail, the water content of your bread dough dramatically impacts the final product, influencing texture, flavor, and overall baking success. Ignoring this crucial element can lead to frustration, but mastering it unlocks a world of delicious possibilities.
The journey from dry, crumbly dough to a beautifully risen loaf is a testament to the power of precision and understanding. It's a journey I've personally undertaken countless times, learning from both successes and failures. The satisfaction of biting into a perfectly textured crust, knowing you've nurtured the dough from its initial dryness to its glorious final form, is unparalleled. The best bread is made with love, and a precise understanding of hydration.
– A baker's personal reflection. This simple quote encapsulates the heart of this article: it's not just about following a recipe, but about understanding the fundamental principles that govern the baking process.
Now, it's your turn. Take a moment to reflect on your own baking experiences. Have you struggled with dry dough? What adjustments did you make? Remember, the path to perfect bread is paved with experimentation and a willingness to learn. Don't be discouraged by setbacks; embrace them as opportunities to refine your technique and deepen your understanding. The next time you mix your dough, pay close attention to the hydration level. With a little practice and patience, you too can achieve the joy of baking a truly exceptional loaf.
Unlock Perfectly Hydrated Dough: Your Baking Journey Starts Now!
Thanks for taking the time to learn about achieving the perfect dough hydration! You're now equipped with the knowledge to conquer dry dough and bake with confidence. Ready to put your newfound expertise to the test?
- Bake a test loaf today! Experiment with the adjustments we discussed and see the incredible difference proper hydration makes. Pay close attention to the texture as it develops.
- Share your baking triumphs (and challenges!) with our community on social media. Let's inspire each other! Use #BakeWithEaseHydration.
- Explore our other articles on bread baking techniques for even more tips and tricks! We've got plenty more to help you on your baking adventure.
What's your biggest bread-baking challenge, and how will you tackle it using today's tips?