
Cracks in Your Crust? Fix Those Unsightly Splits

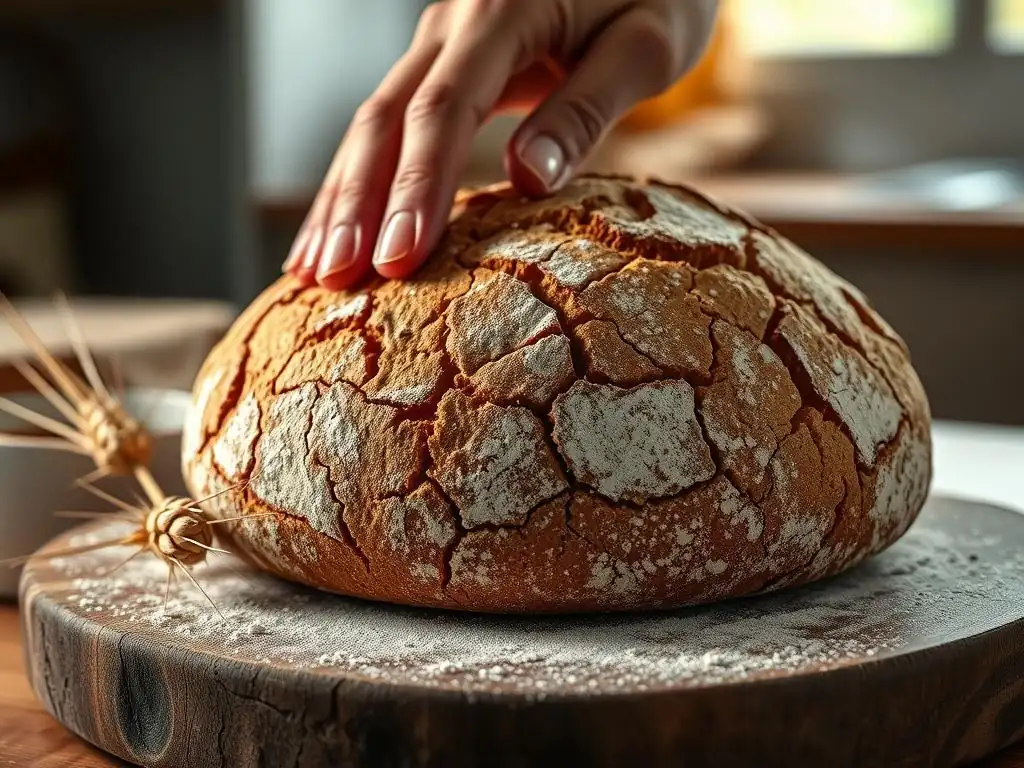
Welcome to BakeWithEase, your haven for all things baking! Ever wondered why your beautiful bread crust cracks during baking, leaving unsightly splits? Don't fret, you're not alone! We're diving deep into crust cracking baking tips to unlock the secrets behind perfect, even loaves. Discover the simple adjustments you can make to achieve bakery-worthy results and banish those cracks forever. Ready to bake a better loaf? Let's get started!
- Understanding Bread Crust Cracking: BakeWithEase' Troubleshooting Guide
- Troubleshooting Cracked Bread Crusts: Practical Solutions
- Crust Cracking Baking Tips: Advanced Techniques for a Flawless Finish
- Achieving the Perfect Bread Crust: BakeWithEase' Final Thoughts on Cracked Crust Prevention
- Frequently Asked Questions
- Final Reflection: Beyond the Crack: Baking, Resilience, and the Sweetness of Imperfection
- Unlock Your Baking Potential: Perfect Crusts, Every Time!
Understanding Bread Crust Cracking: BakeWithEase' Troubleshooting Guide
Why Does My Bread Crust Crack? Common Causes Explained
Dealing with a beautiful loaf of bread only to find it marred by large, unsightly cracks can be frustrating. These splits aren't just cosmetic; they often indicate an issue during the baking process. Understanding the root causes is the first step in preventing them.
The crust forms when the outer layer of the dough dries and hardens under the oven's heat. If this outer layer becomes too rigid too quickly, or if the internal expansion (oven spring) is too vigorous for the crust to accommodate, the crust will rupture at its weakest points. This is a common challenge, but mastering a few techniques can significantly reduce or eliminate crust cracking baking problems.
Several factors contribute to this phenomenon, ranging from the dough's composition and handling to the environment in which it's baked. Insufficient moisture in the dough or oven, improper gluten development, incorrect proofing, or even the way the dough is scored can all play a role. Identifying which of these elements is primarily responsible in your specific baking setup is key to implementing the right solution. Let's explore these common culprits in detail to help you diagnose your crust cracking issues.
Dough Hydration and Crust Cracking: Finding the Right Balance
Oven Temperature's Impact on Bread Crust
Scoring Techniques and Their Role in Crust Formation
Gluten Development and its Relation to Crust Cracks
Over-Proofing: A Major Culprit for Cracked Bread Crusts
Troubleshooting Cracked Bread Crusts: Practical Solutions
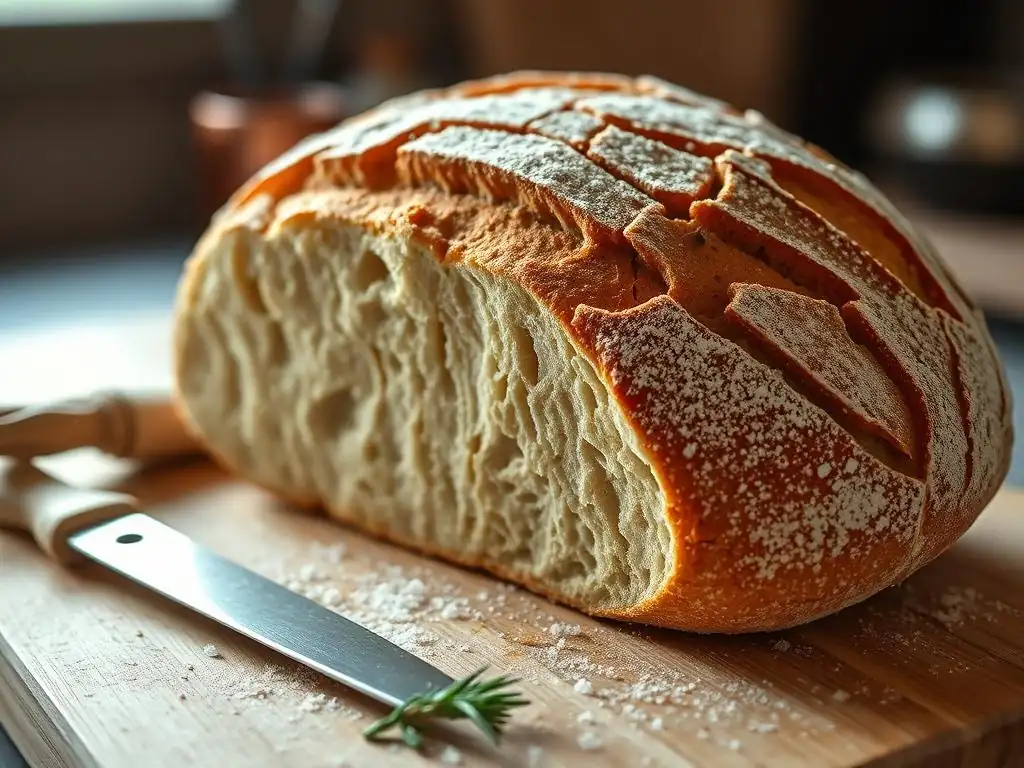
Adjusting Dough Hydration for a Smoother Crust
Dough hydration, or the ratio of water to flour, significantly impacts the dough's extensibility and thus its ability to handle oven spring without cracking. Dough that is too dry, typically below 60% hydration for a lean bread, tends to form a skin too early in the bake, which is prone to cracking as the loaf expands. Increasing the hydration slightly, perhaps to 65-70%, can give the dough more flexibility.
For instance, if your recipe uses 500g flour and only 300g water (60% hydration), try increasing the water to 325g or 350g (65-70% hydration) in your next bake. This added moisture keeps the crust pliable longer, allowing for more graceful expansion.
However, simply adding water isn't always the answer. The type of flour also matters; stronger bread flours with higher protein content (around 12-14%) can absorb more water and still maintain structure compared to all-purpose flour (around 10-12% protein).
If you increase hydration, ensure you are also developing adequate gluten to support the wetter dough. An autolyse phase, where flour and water are mixed and rested for 20-60 minutes before adding salt and yeast, can help the flour hydrate more fully and begin gluten development passively, leading to a more extensible dough that is less likely to suffer from crust cracking.
Reducing Water Content: A Step-by-Step Approach
Using Stronger Flour to Improve Dough Structure
The Importance of Autolyse for Dough Strength
Mastering Oven Temperature for Perfect Bread Crusts
An oven that is too hot can cause the crust to set almost instantly, creating a rigid shell that is guaranteed to crack under the pressure of rapid internal expansion. Conversely, an oven that is too cool might result in insufficient oven spring and a pale crust. Finding the optimal temperature is crucial.
Many lean bread recipes call for high initial temperatures, often between 450°F and 500°F (230°C - 260°C), but sometimes slightly lower temperatures, like 425°F (220°C), can allow the crust to develop more slowly and flexibly. Experimenting with a 25-50°F (15-30°C) reduction in your initial baking temperature might solve your crust cracking issues.
Baking environment is also key. Baking in a Dutch oven or a lidded pot traps steam released by the dough, keeping the surface moist and flexible during the critical oven spring phase. For example, preheating a Dutch oven at 475°F (245°C) for 30 minutes, then baking the loaf inside with the lid on for the first 20 minutes before removing the lid to finish browning, is a highly effective technique.
Using a baking stone or steel on a lower rack can also help by providing strong, consistent heat from below, encouraging good oven spring, but it's most effective when combined with steam. These crust cracking baking tips involving temperature and environment are often game-changers.
Lowering Oven Temperature: A Detailed Explanation
Baking with a Dutch Oven: A Solution for Even Baking
Using a Baking Stone or Baking Steel for Crust Enhancement
Perfecting Your Scoring Technique to Prevent Cracks
Scoring isn't just for aesthetics; it's a functional cut made in the dough's surface just before baking that directs the oven spring. If the dough isn't scored adequately, or if the scores are too shallow or poorly placed, the expanding gases inside the loaf will find the path of least resistance, which is often a weak spot on the surface, resulting in uncontrolled, jagged cracks elsewhere on the loaf. Proper scoring provides designated "release valves" for the steam and gases, allowing the loaf to expand predictably and gracefully along the cuts.
The depth and angle of your score are critical. For lean doughs baked in a steamy environment, a deep, angled cut (held at about 30-45 degrees to the surface) allows a beautiful "ear" to form and facilitates significant expansion. For example, a single, bold slash down the length of a bâtard should be about 1/2 inch deep.
Using a very sharp blade, like a baker's lame or a razor blade, is essential for making clean cuts that open up nicely rather than tearing the surface. Different bread shapes and styles benefit from different scoring patterns; a boule might get a cross or a square pattern, while a baguette requires multiple diagonal slashes. Mastering these crust cracking baking tips related to scoring ensures controlled expansion.
The Importance of Scoring Depth and Angle
Different Scoring Patterns for Different Bread Types
Using a Sharp Blade or Lame for Clean Scores
Improving Gluten Development for a Stronger Crust
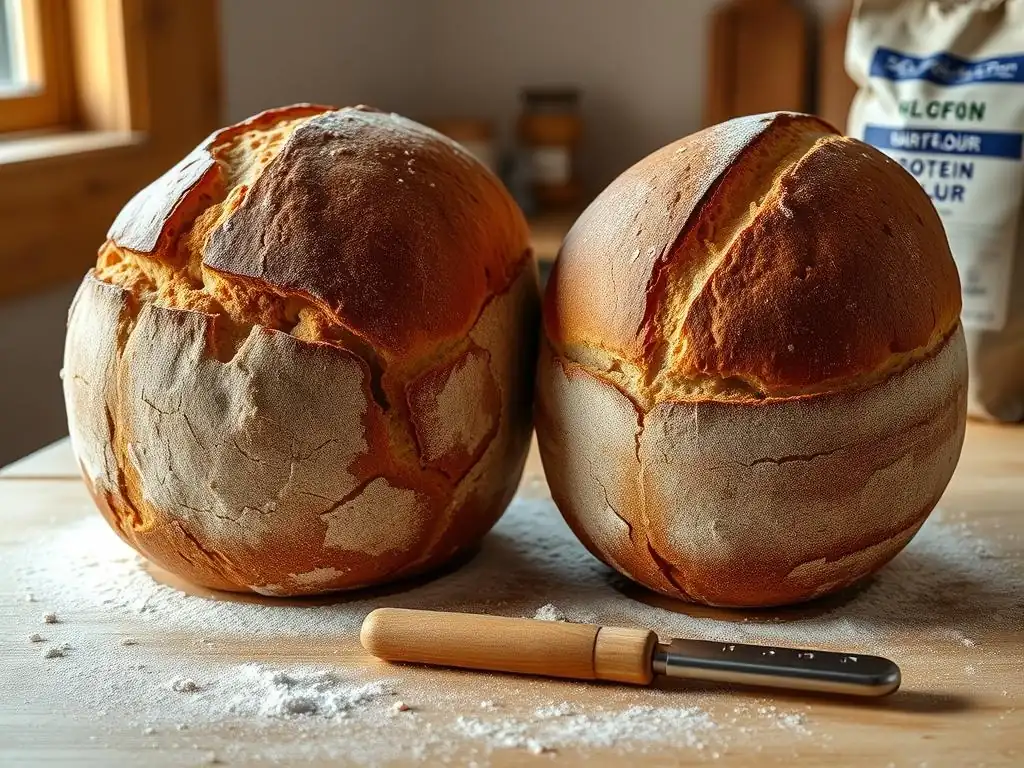
Gluten is the protein network in dough that provides structure and elasticity. If the gluten is not sufficiently developed, the dough will lack the strength and extensibility needed to inflate properly and uniformly during fermentation and baking. This can lead to weak spots and uneven expansion, increasing the likelihood of the crust cracking in unpredictable places. Kneading, whether by hand or machine, is the primary method for developing gluten. Adequate kneading aligns the gluten strands, creating a strong, flexible network capable of trapping gases and stretching without tearing.
For example, kneading bread dough for 10-15 minutes by hand, or 8-10 minutes in a stand mixer on medium speed, is often sufficient for proper gluten development in many recipes. The "windowpane test" is a good indicator: take a small piece of dough and gently stretch it; if you can stretch it thin enough to see light through it without it tearing, the gluten is well-developed. Dough that tears easily or feels dense and inelastic likely needs more kneading. Achieving optimal gluten structure is a foundational skill in baking and directly contributes to preventing crust cracking baking issues.
Kneading Techniques for Optimal Gluten Formation
Using a Stand Mixer vs. Hand Kneading
The Windowpane Test: Assessing Gluten Development
Preventing Over-Proofing to Avoid Crust Cracking
Proofing is the final rise of the shaped dough before baking. It allows the dough to relax and fill with gases produced by the yeast. However, over-proofing is a common cause of crust cracks.
When dough is over-proofed, the gluten structure becomes weakened and stretched to its limit before it even hits the oven. It has used up most of its fermentable sugars and lacks the vigor for a strong final push (oven spring). When placed in the hot oven, the weak structure collapses slightly before the crust sets, and the minimal remaining expansion can cause the fragile surface to crack unevenly rather than expanding along controlled scores.
Recognizing the signs of over-proofing is key. A properly proofed loaf, when gently poked, will spring back slowly, leaving a small indentation. An over-proofed loaf will either not spring back at all, leaving a deep indentation, or it may even deflate slightly.
Adjusting proofing time based on ambient temperature and humidity is crucial; warmer conditions require shorter proofing times. For instance, if a recipe suggests 1-2 hours of final proofing at room temperature (around 70-75°F / 21-24°C), that time might need to be reduced to 45-60 minutes on a hot, humid day. Learning to read the dough, rather than strictly following clock times, is one of the best crust cracking baking tips.
Understanding the Proofing Process
Recognizing the Signs of Over-Proofing
Adjusting Proofing Time Based on Temperature and Humidity
Crust Cracking Baking Tips: Advanced Techniques for a Flawless Finish
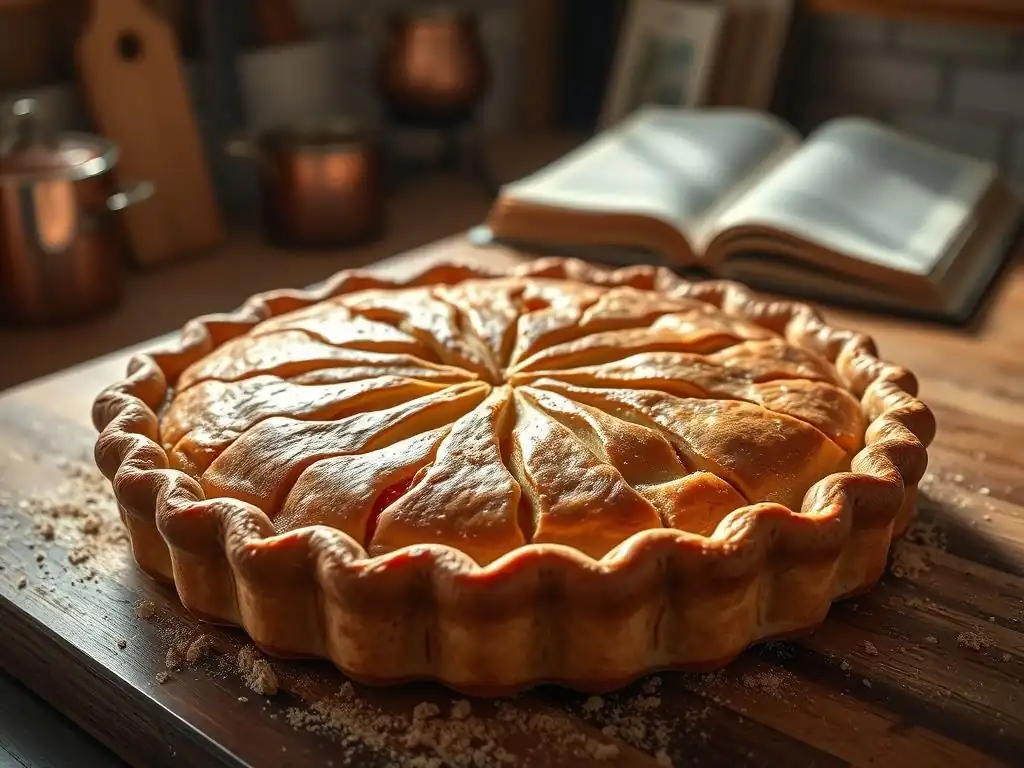
Using Steam in Your Oven for a Shiny, Crack-Free Crust
Steam is arguably the most critical element for achieving a beautiful, crack-free crust, especially on lean bread. A steamy environment in the oven keeps the surface of the dough moist and elastic for the first 10-15 minutes of baking. This allows the dough to expand fully during oven spring without the crust setting prematurely and cracking. Once the loaf has achieved its maximum volume, the steam dissipates (or the lid is removed from a Dutch oven), allowing the crust to dry out and brown beautifully.
There are several ways to create steam in a home oven. A common method is to place a metal pan (like a broiler pan or cast iron skillet) on the bottom rack while the oven preheats. Just before loading the bread, carefully pour a cup of hot water or ice cubes into the hot pan to generate steam.
Another technique is to generously spritz the surface of the dough with water using a spray bottle just before putting it in the oven. For consistent results, baking inside a preheated Dutch oven or a dedicated combo cooker (a pot with a shallow lid) is highly effective as it naturally traps the dough's own steam around the loaf. Incorporating steam is a top crust cracking baking tip for many bakers.
Creating Steam with a Pan of Water
Spritzing the Dough with Water Before Baking
Using a Combo Cooker for Steamed Baking
Enriching Your Dough for a More Flexible Crust
While lean doughs (made only from flour, water, salt, and yeast) are most prone to crust cracking, enriched doughs, which contain fats, dairy, or sugar, tend to have softer, more flexible crusts that are less likely to crack. These added ingredients interfere with gluten development and crust formation in ways that promote tenderness and elasticity.
Adding a moderate amount of fat, such as 10-15% butter or oil based on the flour weight, coats the gluten strands, resulting in a softer crumb and a more tender crust that is less likely to become brittle and crack. Incorporating dairy like milk or yogurt instead of water also contributes fat and protein, leading to a softer texture and a richer, more flexible crust.
Similarly, adding sugar (even just 2-3% of the flour weight) not only adds sweetness and promotes browning but also helps keep the crust more tender and flexible. These additions are excellent crust cracking baking tips for achieving softer loaves like challah or brioche.
Adding Fat (Butter, Oil) to the Dough
Incorporating Dairy (Milk, Yogurt) for a Softer Crust
Using Sugar to Enhance Crust Color and Flexibility
The Role of Flour Type in Achieving a Smooth Crust
The type of flour used significantly impacts dough structure and crust characteristics. While bread flour is excellent for developing a strong gluten network needed for good oven spring, its higher protein content can sometimes contribute to a thicker, potentially more crack-prone crust if other factors aren't controlled. All-purpose flour, with its lower protein content, generally produces a softer, more tender crust that may be less likely to crack, though it might yield a loaf with less volume.
Exploring different types of wheat flour or blending them can help. For example, using a portion of softer wheat flour or even a small percentage of a non-wheat flour like rye or spelt (which contain different types of protein that behave differently than wheat gluten) can alter the dough's extensibility and the final crust texture. Blending 80% bread flour with 20% all-purpose flour, for instance, might provide enough structure for good oven spring while slightly softening the crust. Experimenting with different flour combinations is a valuable crust cracking baking tip to find the texture you desire.
Using Bread Flour vs. All-Purpose Flour
Exploring Different Types of Wheat Flour
Blending Flours for Optimal Results
Achieving the Perfect Bread Crust: BakeWithEase' Final Thoughts on Cracked Crust Prevention
Frequently Asked Questions
Why is my bread crust cracking during baking?
Cracking is often due to rapid expansion of the dough during baking. This can be caused by too much yeast or baking at too high a temperature.
What can I do to prevent my bread crust from cracking?
You can prevent cracking by scoring the dough before baking, allowing steam to escape. Also, ensure proper proofing and avoid over-proofing.
Does the type of flour affect crust cracking?
Yes, the gluten content of the flour plays a role. Higher gluten flours can lead to greater expansion and more cracking if not properly managed.
Is there a specific oven temperature that minimizes crust cracking?
Generally, baking at a slightly lower temperature can help. This allows the crust to set more slowly, reducing the sudden expansion that causes cracking.
How does moisture affect crust cracking in baking?
Maintaining proper moisture levels is crucial. Adding steam to the oven during the initial baking phase can help the crust remain more pliable and less prone to cracking.
Final Reflection: Beyond the Crack: Baking, Resilience, and the Sweetness of Imperfection
The seemingly simple act of baking bread, with its precise measurements and careful timing, mirrors the complexities of life itself. A cracked crust, often viewed as a failure, actually offers a powerful lesson in resilience and the beauty of imperfection. It reminds us that even in the face of setbacks, there's still sweetness to be found.
The journey of baking, from kneading the dough to the final golden-brown crust, is a metaphor for our own personal growth. We strive for perfection, but sometimes, despite our best efforts, cracks appear. These imperfections, however, don't diminish the value of the final product; they add character and tell a story. The best bread is the bread you bake with love.
– Unknown. This simple quote encapsulates the essence of the process, highlighting that the heart and intention behind the creation are often more important than the flawless outcome. The cracks in our crusts, like the challenges in our lives, can teach us valuable lessons about adaptability and perseverance.
Consider the cracks in your own "crust" – the challenges you've faced, the setbacks you've overcome. Don't let them define you; instead, let them be a testament to your strength and resilience. Embrace the imperfections, learn from the cracks, and continue to bake – to create, to grow, to live – with passion and purpose. The sweetness of the journey, after all, is often found in the unexpected twists and turns along the way.
Unlock Your Baking Potential: Perfect Crusts, Every Time!
Thanks for taking the time to learn about fixing those pesky cracks in your pie crust! We hope you gained valuable insights into achieving a flawlessly golden-brown finish. Now it's time to put your new knowledge into practice.
- Try our foolproof crust recipe: This single change can significantly reduce cracking. We've included the link in the article!
- Share your baking triumphs (and challenges!) with our community: Let's inspire each other with gorgeous pie photos and baking tips!
- Experiment with different flours and fats: See how these ingredients impact your crust's texture and resistance to cracking.
Ready to create the perfect pie crust? What unique techniques will you try next?