
High Hydration Starter: Understanding and Managing Wetter Starters

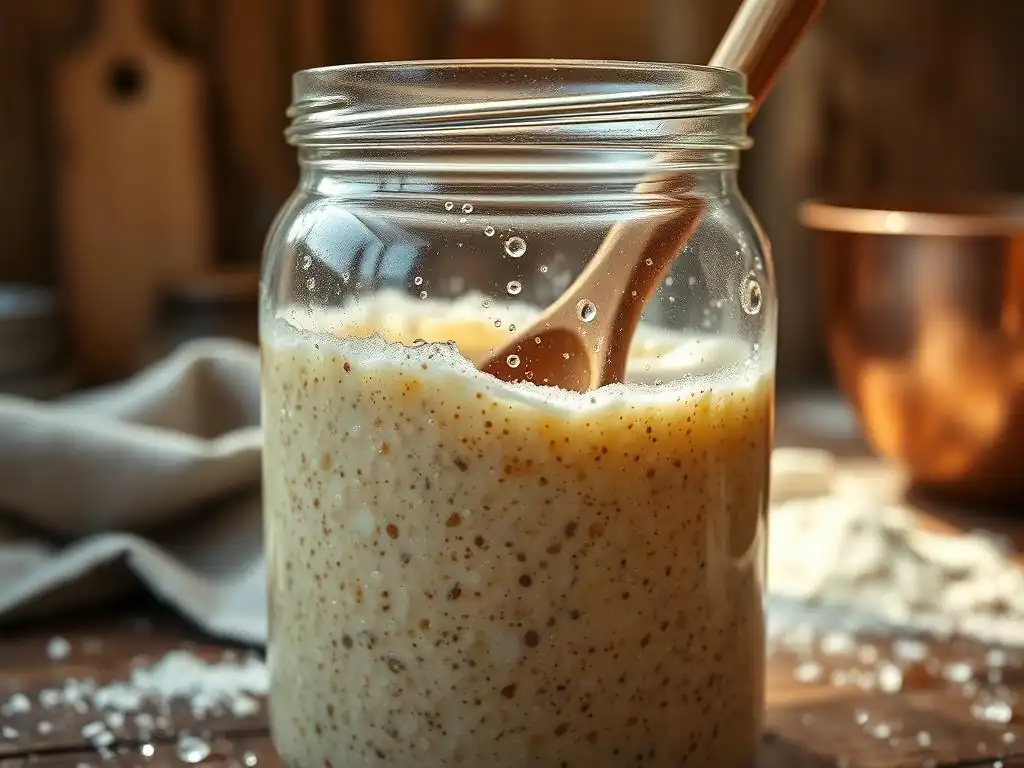
Welcome to BakeWithEase, your haven for unlocking baking brilliance! Ever wondered about the secrets behind those exceptionally airy sourdough loaves? This week, we're diving deep into the world of high hydration sourdough starter. Understanding its nuances can be the key to achieving incredible textures and flavors. Curious to learn how to manage a wetter starter and elevate your sourdough game? Let's get baking!
- Introduction to High Hydration Sourdough Starters
- Understanding the Science Behind Wetter Starters
- Creating Your Own High Hydration Starter: A Step-by-Step Guide
- Maintaining Your High Hydration Sourdough Starter
- Using High Hydration Starter in Sourdough Recipes
- Advanced Techniques for High Hydration Starters
- Troubleshooting Common High Hydration Starter Problems
- Frequently Asked Questions About High Hydration Starters
- Conclusion: Mastering the Art of High Hydration Sourdough Baking
-
Frequently Asked Questions
- What exactly is a high hydration sourdough starter?
- Why would someone choose to use a high hydration starter over a lower hydration one?
- What are some potential challenges when working with a high hydration starter?
- How often should I feed a high hydration sourdough starter?
- What are some signs that my high hydration sourdough starter is healthy and ready to use?
- Final Reflection: The Thriving, Wetter World of Sourdough Starters
- Unleash Your Hydrated Baking Potential!
Introduction to High Hydration Sourdough Starters
What is a High Hydration Sourdough Starter?
A high hydration sourdough starter is simply a starter that is fed with a higher percentage of water relative to the amount of flour used, measured by weight. While a standard starter is often maintained at 100% hydration (equal parts flour and water by weight), a high hydration starter typically refers to anything at or above this 100% mark.
This means for every 100 grams of flour, you would use 100 grams or more of water. Common high hydration ratios include 100%, 110%, or even 125% hydration, with 100% being the most widely used example of a "wetter" starter compared to stiffer, lower hydration starters.
This increased water content creates a much looser, often pourable or very wet consistency compared to a thick, paste-like low hydration starter. Understanding this ratio is key because the hydration level significantly impacts the starter's texture, activity speed, and ultimately, the characteristics it imparts to your sourdough bread.
For instance, a starter fed with 50 grams of flour and 50 grams of water is 100% hydration, while one fed with 50 grams of flour and 60 grams of water is 120% hydration (60/50 = 1.2, or 120%). This simple difference in the flour-to-water ratio defines a high hydration sourdough starter.
Why Use a High Hydration Starter? Benefits for Sourdough Baking
Using a high hydration sourdough starter offers several distinct advantages that can influence both the process and the final product of your baking. One primary benefit is often observed in the starter's activity. The increased water makes the starches and nutrients in the flour more accessible to the wild yeast and lactic acid bacteria, potentially leading to faster and more vigorous fermentation compared to a stiffer starter under similar conditions. This can result in a starter that peaks more quickly and is ready to use sooner after feeding, which is convenient for bakers on a tighter schedule.
Furthermore, a high hydration starter is often favored for its potential contribution to achieving a more open crumb structure in the final loaf. While many factors influence crumb, the character of the starter plays a role.
A wetter starter can introduce more water into the dough from the outset without requiring drastic adjustments to the main dough hydration, which can contribute to a more extensible dough that's easier to handle for certain techniques aimed at developing an airy interior structure. The ease of mixing and integrating a loose, high hydration starter into dough is also a practical benefit many bakers appreciate.
High Hydration vs. Low Hydration Starters: A Comparative Overview
The fundamental difference between a high hydration sourdough starter and a low hydration (or stiff) starter lies in their water-to-flour ratio by weight. A high hydration starter, typically 100% or more, has a loose, pancake-batter-like consistency, whereas a low hydration starter, often around 50-70% hydration, is thick and paste-like, almost like a firm dough. This difference in hydration leads to variations in how they behave and are managed.
| Feature | High Hydration Starter (e.g., 100%) | Low Hydration Starter (e.g., 60%) |
|---|---|---|
| Consistency | Loose, liquid, pourable | Stiff, dough-like, holds shape |
| Activity Speed | Generally faster fermentation | Generally slower fermentation |
| Acidity | Tends towards more lactic acid (milder flavor) | Tends towards more acetic acid (tangier flavor) |
| Feeding Ratio | Often 1:1:1, 1:2:2, or 1:3:3 (Starter:Flour:Water) | Often higher ratios of flour/water to starter (e.g., 1:5:3) due to slower activity |
| Storage | Requires more frequent feeding at room temp | Can often go longer between feedings at room temp |
These differences influence not just the starter maintenance but also the resulting bread characteristics. A high hydration starter can contribute to a milder tang and potentially a more open crumb, while a low hydration starter is often associated with a more pronounced sour flavor and a denser, more uniform crumb. Choosing between them depends on your baking goals, schedule, and preferred flavor profile.
Understanding the Science Behind Wetter Starters
The Role of Hydration in Sourdough Starter Activity
Hydration plays a critical role in the biological activity within a sourdough starter, acting as the medium through which yeast and bacteria access their food source – the sugars in the flour. In a high hydration sourdough starter, the increased water content makes the flour particles more readily available to the microorganisms. Enzymes in the flour, like amylase, work more efficiently in a wetter environment to break down complex starches into simpler sugars that the yeast can ferment. This enhanced accessibility of nutrients directly contributes to faster metabolic rates for the microbial population.
Furthermore, water is essential for the transportation of nutrients into the microbial cells and the removal of waste products. A higher water percentage facilitates this process, allowing the yeast and bacteria to grow and reproduce more quickly. This is why a 100% hydration starter often shows signs of activity, such as bubbling and rising, much faster than a stiff starter fed at, say, 60% hydration, assuming all other conditions like temperature and flour type are equal. The physical environment created by the higher water content is simply more conducive to rapid microbial growth and fermentation.
How Hydration Affects Fermentation and Flavor Development
The hydration level of your sourdough starter significantly influences the balance between the two main types of acids produced by lactic acid bacteria: lactic acid and acetic acid. Lactic acid contributes a milder, yogurt-like tang, while acetic acid is responsible for the sharper, vinegary notes often associated with sourdough. In a high hydration sourdough starter (100% or more), the environment tends to favor the production of lactic acid. This is partly due to the more liquid environment and potentially higher temperatures within the starter compared to a stiffer one.
Conversely, a lower hydration starter creates a more acidic, less fluid environment that encourages the production of acetic acid, especially at cooler temperatures. Therefore, if you prefer a milder-flavored sourdough bread, maintaining a high hydration sourdough starter might be beneficial. The specific ratio (e.g., 100% vs. 120%) and the feeding schedule will fine-tune this balance, but generally, wetter starters lean towards lactic fermentation, contributing to a softer, less pungent sourness in the final loaf compared to the sharper tang from a low hydration starter.
Managing Acidity in High Hydration Starters
Managing acidity is crucial for maintaining a healthy and effective high hydration sourdough starter. While wetter starters naturally favor lactic acid production, they can still become excessively acidic if not managed properly, which can weaken the yeast activity over time. Regular and appropriately sized feedings are key to buffering the acidity.
When you feed your starter, you introduce fresh flour and water, diluting the accumulated acids and providing new food. For a 100% hydration starter kept at room temperature (around 70-75°F or 21-24°C), feeding every 12 to 24 hours is often necessary to keep the acidity in check and the yeast active.
Overly acidic starters might smell strongly of vinegar or nail polish remover (a sign of excessive acetic acid, though less common in high hydration starters unless neglected) or simply stop rising vigorously. If your high hydration sourdough starter seems sluggish and smells very sour, it might be too acidic.
Increasing the feeding ratio (using more fresh flour and water relative to the amount of starter carried over) can help dilute the acidity and provide a fresh, less acidic environment for the microbes to thrive. For example, instead of a 1:1:1 feeding, try a 1:2:2 or even 1:3:3 ratio for a few cycles to help it recover.
Creating Your Own High Hydration Starter: A Step-by-Step Guide
Initial Setup: Flour and Water Ratios for High Hydration
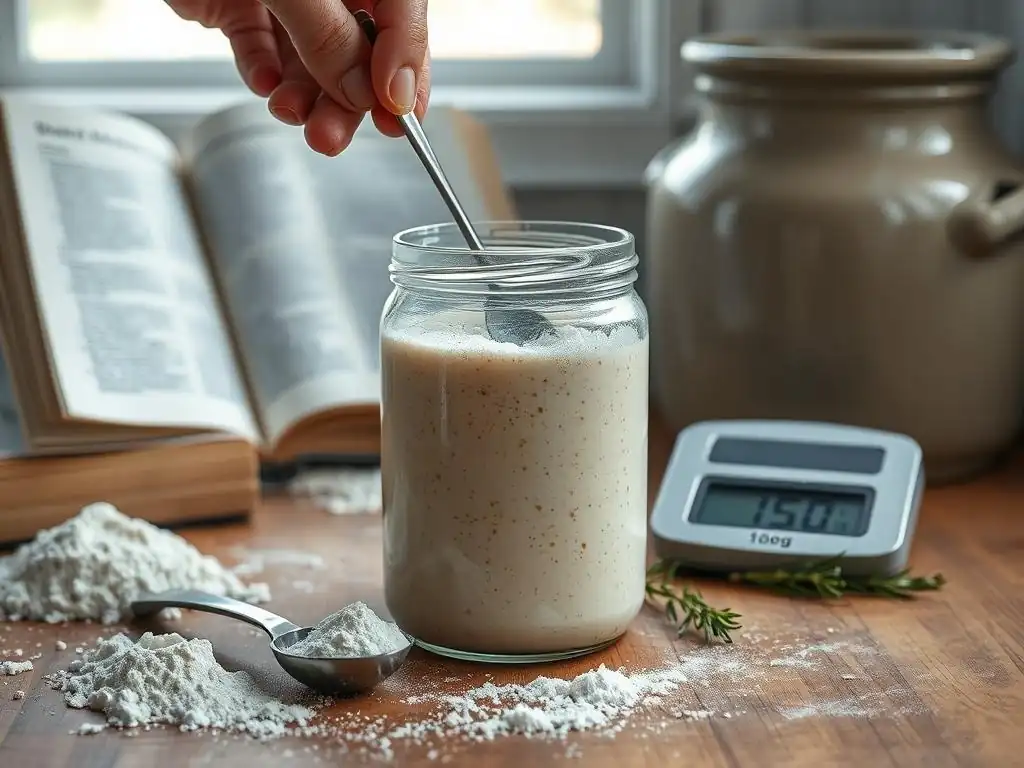
Creating a high hydration sourdough starter begins with selecting your flour and water and establishing the desired hydration level. For a standard high hydration starter, 100% hydration is the most common starting point. This means you will use equal weights of flour and water. For example, you might start with 50 grams of flour and 50 grams of water in a clean jar. The type of flour matters; a mix of all-purpose and whole wheat or rye flour is often recommended initially because whole grain flours contain more nutrients and beneficial microbes, which can help kickstart fermentation.
Combine the flour and water thoroughly in your jar, ensuring no dry clumps remain. The mixture will be quite wet, like a thick batter. Loosely cover the jar (a lid resting on top or a cloth secured with a band works well to allow gases to escape while preventing drying and contaminants) and place it in a warm spot, ideally between 70-80°F (21-27°C).
Over the next few days, you will observe little to no activity initially, followed by some bubbles and perhaps a thin layer of liquid (hooch) on top. This initial phase is about cultivating the wild yeast and bacteria present in the flour and air.
Feeding Schedule for a 100% Hydration Starter
Once your high hydration sourdough starter shows consistent signs of activity – bubbling, rising, and falling predictably, usually around day 5-7 – you can transition to a regular feeding schedule. For a 100% hydration starter kept at room temperature (70-75°F or 21-24°C), feeding it once or twice a day is typical. A common feeding ratio is 1:1:1 by weight (starter:flour:water). So, you would discard a portion of your starter, leaving behind, say, 50 grams. To this, you would add 50 grams of fresh flour and 50 grams of fresh water.
The goal of regular feeding is to maintain a healthy, active culture by providing fresh food and reducing the overall acidity. If you are feeding twice a day, aim for roughly 12 hours between feedings. If once a day, around 24 hours is usually sufficient, though you may need to adjust based on your kitchen temperature and the starter's behavior.
Look for the starter to double in size within 6-8 hours after a feeding at room temperature as a sign of good health. Adjust the feeding ratio (e.g., 1:2:2 or 1:3:3) if you need to slow down activity or if the starter seems overly acidic or hungry.
Monitoring Starter Activity: Signs of a Healthy, Active Starter
Monitoring the activity of your high hydration sourdough starter is crucial for knowing when it's ready to bake with and whether it's healthy. A healthy, active 100% hydration starter will exhibit several key signs after being fed. Within a few hours, you should start seeing small bubbles forming throughout the mixture and on the surface. As fermentation progresses, the starter will begin to rise in its jar.
The peak of activity is when the starter has roughly doubled or even tripled in volume and the surface is covered in bubbles, sometimes forming a domed shape. If you gently shake the jar, the starter should feel light and airy, not dense. A reliable test is the "float test": take a small spoonful of starter at its peak and drop it into a glass of water; if it floats, it's typically ready to use in baking.
After peaking, the starter will gradually start to fall, and you might see more bubbles on the surface or streaks down the side of the jar where it rose. A healthy high hydration sourdough starter should reliably double in size within 4-8 hours after a 1:1:1 feeding at a comfortable room temperature (72-78°F).
Maintaining Your High Hydration Sourdough Starter
Feeding Frequency and Amounts for Optimal Performance
Maintaining a high hydration sourdough starter requires consistent feeding to keep the yeast and bacteria thriving. The ideal feeding frequency depends heavily on the temperature at which you store your starter. At warm room temperature (around 70-75°F or 21-24°C), a 100% hydration starter is quite active and typically needs to be fed every 12 to 24 hours. If your kitchen is warmer, closer to 80°F, it might need feeding every 8-12 hours. Colder temperatures slow activity, allowing for less frequent feeding.
The amount you feed is also important. A common maintenance ratio is 1 part starter to 1 part flour and 1 part water by weight (1:1:1). For example, keeping just 25-50 grams of starter and feeding it 50 grams of flour and 50 grams of water is sufficient for most home bakers and minimizes discard.
If you need to slow down the starter's activity or are going to be away for a bit (but not long enough to refrigerate), you can use a higher ratio, like 1:2:2 or 1:3:3. This provides the microbes with more food relative to their population size, extending the time until they consume all the available nutrients and become overly acidic.
Storing Your Starter: Room Temperature vs. Refrigeration
Where you store your high hydration sourdough starter dictates how often you need to feed it. Keeping your starter at room temperature requires regular, often daily or twice-daily, feeding to keep it active and healthy. This is ideal if you bake frequently, perhaps several times a week, as your starter will always be ready or can be quickly activated with a single feeding. Ensure it's in a consistent temperature spot, away from drafts or direct sunlight.
For less frequent bakers, storing your high hydration sourdough starter in the refrigerator is a convenient option. Colder temperatures dramatically slow down microbial activity, allowing you to feed it much less often, typically once a week or even every two weeks. To store, feed your starter as usual, let it sit at room temperature for 1-2 hours to start fermentation, and then place it in the fridge.
When you're ready to bake, take it out, let it warm up, and feed it once or twice at room temperature until it's active and consistently doubling again. This usually takes 1-3 feedings depending on how long it was refrigerated.
Troubleshooting Common Issues with High Hydration Starters: Kahm Yeast
Even a well-maintained high hydration sourdough starter can occasionally encounter issues. One common problem is the appearance of Kahm yeast, which manifests as a thin, white, powdery or wrinkled film on the surface of the starter. It's often mistaken for mold, but it's generally harmless, although it can affect the flavor of your starter, giving it off-notes. Kahm yeast typically appears when the starter hasn't been fed frequently enough, there's insufficient airflow (though too much can cause drying), or the surface has dried out slightly.
To deal with Kahm yeast, simply scrape off the layer from the surface. There's no need to discard the entire starter unless mold (fuzzy, colored spots) is present. After removing the Kahm yeast, give your starter a few regular feedings at room temperature (e.g., 1:1:1 ratio every 12-24 hours) to strengthen the yeast and bacteria population, which will outcompete the Kahm yeast. Ensure your feeding schedule is appropriate for your storage temperature and that your jar is covered loosely enough to allow gas exchange but not so open that the surface dries out.
Using High Hydration Starter in Sourdough Recipes
Adapting Recipes for High Hydration Starters: Adjusting Liquid Ratios
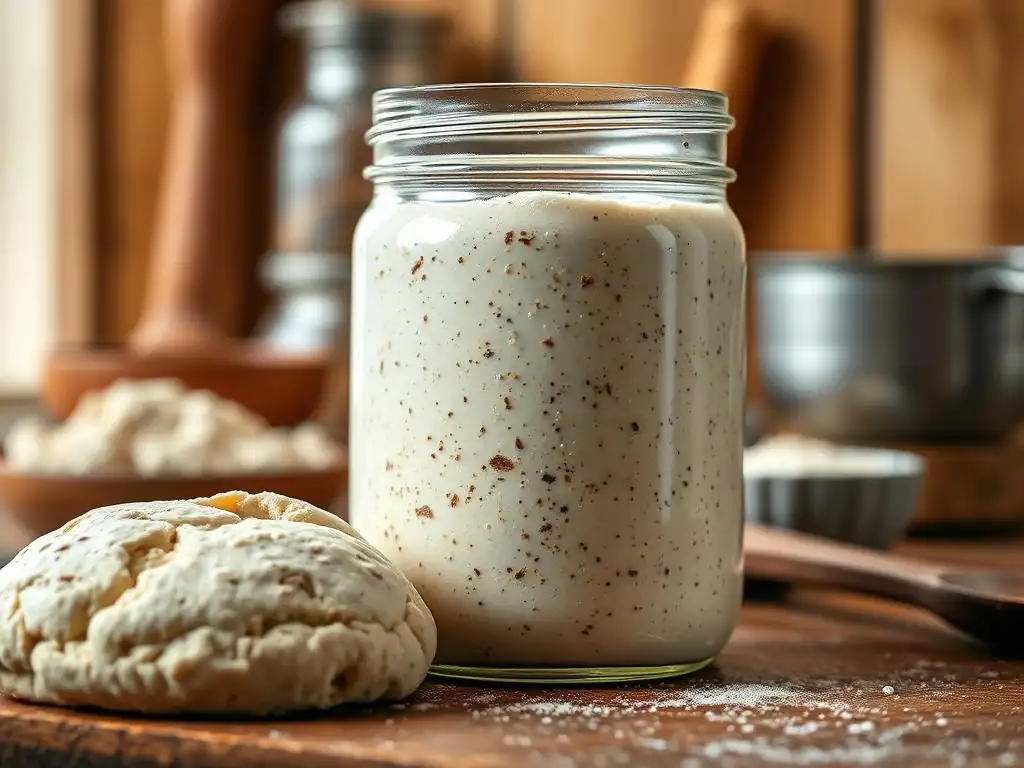
When using a high hydration sourdough starter, particularly one at 100% hydration or higher, you are introducing more water into your dough than if you used a stiffer starter or a commercial yeast preferment with less water. This means you'll likely need to adjust the amount of water in the main dough recipe to achieve the desired overall dough hydration.
For example, if a recipe calls for 100 grams of 60% hydration starter and 350 grams of water in the main dough, but you are using 100 grams of 100% hydration starter, you've added an extra 40 grams of water (100g water in 100% starter vs. 60g water in 60% starter).
To compensate, you would subtract that extra water from the amount of water added in the main dough. In this example, you would use 350g - 40g = 310 grams of water in the main dough. Always calculate the amount of flour and water contributed by your specific starter hydration and adjust the recipe's main flour and water quantities accordingly to maintain the intended overall dough hydration. This simple calculation ensures your dough isn't too wet or too dry, which is crucial for proper dough development and structure.
Benefits of Using a High Hydration Starter in Specific Sourdough Breads: Open Crumb
Using a high hydration sourdough starter, especially a 100% hydration starter, is often favored by bakers aiming for a very open, airy crumb structure in their bread. While the starter's hydration isn't the only factor determining crumb (dough hydration, flour type, fermentation time, shaping, and baking method are equally, if not more, important), a wetter starter can contribute positively. It introduces water into the dough early in the process, which can aid in gluten development during the initial mixing and autolyse phases.
A high hydration starter also tends to be very active, providing a strong lift to the dough during bulk fermentation and proofing. This vigorous activity helps create the large gas pockets that characterize an open crumb. Many popular recipes for high-hydration loaves, such as Tartine-style country bread or various ciabatta recipes, specifically call for a mature, active 100% hydration starter (often referred to as a 'levain' built from the starter) because its strength and consistency are well-suited to the long fermentation times and gentle handling required for such breads.
Achieving Optimal Results: Tips and Tricks for Baking with a Wetter Starter
Baking with a high hydration sourdough starter requires paying attention to its peak readiness and integrating it correctly into your dough. Always use your starter when it is at its peak activity – typically doubled or tripled in size, bubbly, and passes the float test. Using it too early or too late can result in a less vigorous rise. When incorporating your high hydration starter into the dough, ensure it is fully dispersed with the water before adding the flour, or mix it thoroughly with the flour and water from the start.
Consider building a levain (a specific amount of starter refreshed with flour and water for a particular bake) 4-12 hours before mixing your main dough. This ensures you are using a portion of starter at its absolute peak. Remember to adjust your recipe's water content based on your starter's hydration. Finally, because a high hydration starter tends to produce a milder tang, you might need to adjust fermentation times or temperatures if you desire a more pronounced sour flavor, as tang is often developed over longer, cooler fermentation periods in the main dough.
Advanced Techniques for High Hydration Starters
Autolyse with High Hydration Starter
Autolyse is a technique where flour and water are mixed and left to rest before adding the salt and, traditionally, the leavening agent. This resting period allows the flour to fully hydrate and enzymes to start breaking down proteins and starches, which helps gluten development. When using a high hydration sourdough starter, some bakers choose to include the starter during the autolyse phase, sometimes called a "fermentolyse."
Including the high hydration starter in the autolyse (or fermentolyse) means mixing the flour, water, and starter together and letting the mixture rest, often for 30 minutes to an hour. The benefit is that the starter's enzymes can begin working on the dough from the very beginning, potentially leading to a more efficient breakdown of starches into sugars, providing more food for the microbes during bulk fermentation. However, the starter's acids and microbial activity also start immediately, so the timing of subsequent steps, like adding salt and beginning stretch and folds, needs careful consideration.
Using High Hydration Starter for Levain Builds
Many sourdough recipes, especially those aiming for specific hydration levels or quantities of starter for a bake, call for building a 'levain' or 'preferment' from a small amount of your mature starter. A levain is essentially a specific, controlled feeding of your starter intended for immediate use in a recipe once it peaks. When working with a high hydration sourdough starter, your levain build will also be high hydration.
For example, if a recipe requires 200 grams of 100% hydration levain, you might take 20 grams of your mature 100% hydration starter and feed it with 90 grams of flour and 90 grams of water (20+90+90 = 200 grams total, and 180g water / 180g flour = 100% hydration). Building a levain ensures you are adding a precisely measured amount of highly active culture at its peak performance to your dough, rather than using a potentially less active starter straight from the fridge or one past its peak at room temperature.
This method allows for more predictable fermentation times and results.
Experimenting with Different Flours in Your High Hydration Starter
The type of flour used to feed your high hydration sourdough starter significantly impacts its flavor, activity, and the characteristics it imparts to your bread. While many bakers maintain their 100% hydration starter primarily with bread flour or all-purpose flour, experimenting with other flours can yield interesting results. Whole wheat flour, for instance, contains more nutrients and bran, which often makes a starter more vigorous and can contribute a nuttier flavor. Rye flour is particularly rich in enzymes and microbes, making it excellent for building a strong, active starter, and it imparts a distinct tangy flavor.
Maintaining separate high hydration starters with different flours (e.g., one with all-purpose, one with rye) allows you to choose a starter profile that best suits the bread you plan to bake. For example, a rye-fed high hydration starter might be perfect for a hearty rye loaf, while an all-purpose or bread flour starter is versatile for most other sourdough breads. Remember that different flours absorb water differently, so maintaining hydration precisely at 100% might feel slightly different in consistency depending on the flour used.
Troubleshooting Common High Hydration Starter Problems
Identifying and Addressing Weak Starter Activity
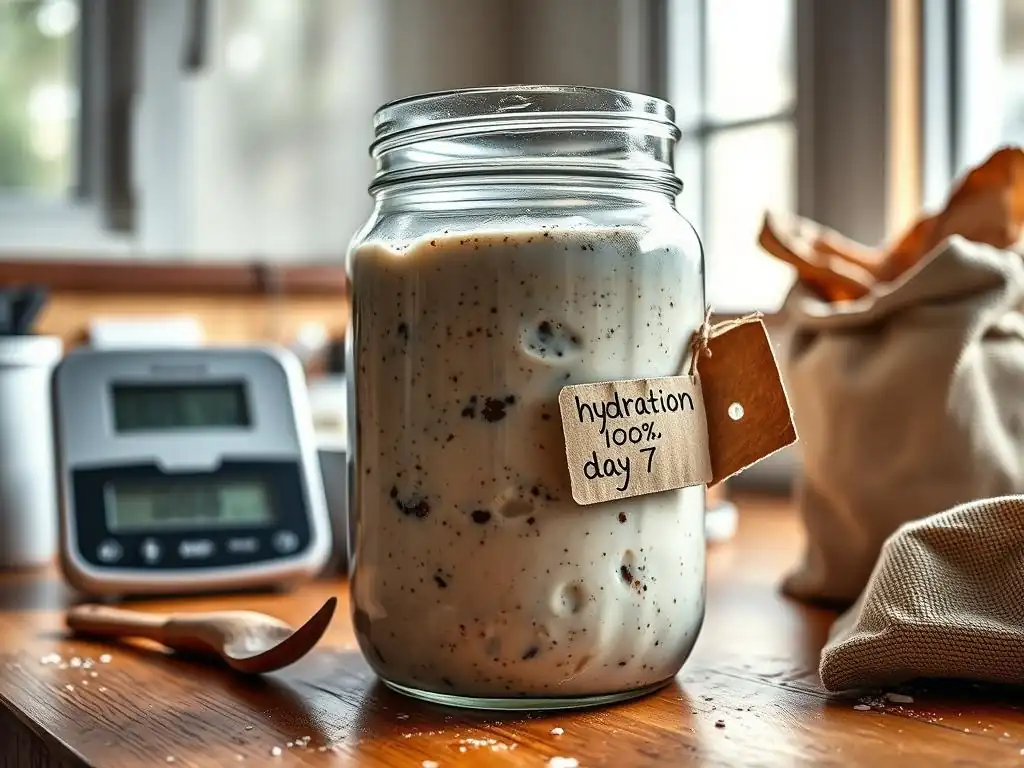
A weak high hydration sourdough starter is frustrating, showing sluggish or minimal rise after feeding. This can be identified if your starter doesn't double (or at least significantly increase) in volume within the expected timeframe (e.g., 4-8 hours after a 1:1:1 feeding at room temperature), has few bubbles, or smells overly acidic or inactive. Common causes include inconsistent feeding, too-cool temperatures, using chlorinated water, or an imbalance in the microbial population.
To address weak activity, first ensure you are using unchlorinated water (filtered or bottled water works). Increase the feeding frequency to twice a day if you're only feeding once, using a 1:1:1 ratio. You can also try increasing the feeding ratio to 1:2:2 or even 1:3:3 for a few cycles; this provides a larger buffer of fresh food, diluting acidity and giving the microbes ample resources to multiply.
Ensure your starter is in a warm spot, ideally 75-80°F (24-27°C), as this temperature range is optimal for yeast activity. Switching to a small percentage of rye or whole wheat flour (e.g., 10-20% of the total flour) can also provide a nutrient boost to help revive a sluggish high hydration sourdough starter.
Preventing and Treating Kahm Yeast
Kahm yeast is a common surface growth on high hydration sourdough starters, appearing as a white, powdery or wrinkled film. While not harmful, it's a sign that conditions aren't optimal for the starter's desired microbial balance and can affect flavor. Preventing Kahm yeast involves maintaining a healthy, active starter through regular feeding appropriate for your temperature. A strong starter with a slightly acidic surface is less hospitable to Kahm yeast. Ensuring your starter isn't left unfed for too long, especially at room temperature, is key.
If Kahm yeast appears on your high hydration sourdough starter, treatment is straightforward. Simply scrape off the visible layer of Kahm yeast from the surface and discard it. Below the surface, your starter is likely fine. Give the starter a few vigorous feedings at a regular schedule (e.g., 1:1:1 every 12 hours) at room temperature to strengthen the yeast and bacteria, which will help suppress future Kahm growth. Make sure your jar cover allows for some air exchange but doesn't let the surface dry out excessively.
Dealing with Excessive Acidity in Your Starter
Excessive acidity in a high hydration sourdough starter can lead to a sharp, vinegary smell and can weaken the yeast over time, resulting in poor rise. While some acidity is normal and desirable for flavor, too much suggests the bacteria are producing acids faster than the yeast can ferment or that the starter is going too long between feedings. A strong vinegar or acetone-like smell (though acetone is more common in neglected starters) is a key indicator.
To reduce excessive acidity, adjust your feeding strategy. Increase the feeding ratio dramatically for a few cycles. Instead of 1:1:1, try feeding at 1:5:5 or even 1:10:10 (starter:flour:water by weight). For example, keep only 10 grams of overly acidic starter and feed it with 100 grams of flour and 100 grams of water. This significantly dilutes the accumulated acids and provides a large amount of fresh food, allowing the yeast to catch up and rebalance the microbial population. Ensure you are feeding frequently enough for your temperature; warmer temperatures require more frequent feeding to prevent over-acidification.
Frequently Asked Questions About High Hydration Starters
Is a High Hydration Starter Right for Me?
Choosing whether a high hydration sourdough starter is right for you depends on your baking goals and lifestyle. A 100% hydration starter is popular because it's versatile and relatively easy to maintain once established. It's often preferred by bakers aiming for an open crumb and a milder sourdough flavor. Its vigorous activity can also mean shorter fermentation times in the starter itself, which can be convenient.
However, a high hydration starter requires more frequent feeding if kept at room temperature compared to a stiff starter, due to its faster metabolism. If you don't bake often, storing it in the refrigerator is essential, which adds a step (reviving it) before you can bake. If you prefer a very tangy, acetic flavor or want a starter that can sit out longer between feedings, a lower hydration starter might be a better fit. Consider your baking frequency and desired bread characteristics when deciding.
How Often Should I Feed My High Hydration Starter?
The feeding frequency for a high hydration sourdough starter, particularly one at 100% hydration, is primarily dictated by its storage temperature. If kept at warm room temperature (70-75°F or 21-24°C), it typically needs to be fed every 12 to 24 hours. This ensures the microbes have a consistent food supply and prevents the starter from becoming overly acidic or depleting its resources.
If you store your high hydration sourdough starter in the refrigerator (around 35-40°F or 2-4°C), its activity slows dramatically. In this case, you can usually feed it once a week or even every two weeks. When you take it out to bake, you'll need to give it 1-3 regular feedings at room temperature until it shows vigorous activity (doubling in size within a few hours) before using it in a recipe. Always observe your starter; it will tell you when it's hungry by starting to fall or developing a layer of hooch.
Can I Convert a Low Hydration Starter to a High Hydration Starter?
Yes, you can absolutely convert a low hydration starter to a high hydration starter, and vice versa. The process is straightforward and simply involves adjusting the feeding ratio over one or more feedings. To convert a low hydration starter (e.g., 60% hydration) to a high hydration starter (e.g., 100% hydration), you'll need to add more water relative to the flour during your next feeding.
For example, if you have 50 grams of a 60% hydration starter (which contains roughly 31g flour and 19g water), and you want to convert it to 100% hydration using a 1:1:1 ratio of starter:flour:water for the new feeding, you would feed it with 50 grams of flour and 50 grams of water. The resulting mixture (50g old starter + 50g flour + 50g water = 150g total) will now have approximately (31+50)g flour and (19+50)g water, which is 81g flour and 69g water.
This isn't quite 100% yet, but after a few feedings using the desired 1:1:1 (starter:flour:water) ratio for 100% hydration, your starter's overall hydration level will quickly adjust to 100%. Maintain the new feeding ratio consistently, and your starter will adapt to its new hydration level within a few cycles.
Conclusion: Mastering the Art of High Hydration Sourdough Baking
Working with a high hydration sourdough starter, especially a 100% hydration starter, opens up a world of possibilities in sourdough baking, from achieving incredibly open crumbs to exploring milder flavor profiles. Understanding the unique characteristics of a wetter starter – its faster activity, tendency towards lactic acidity, and looser consistency – is key to successfully maintaining it and using it effectively in your recipes.
By paying attention to feeding ratios, monitoring for signs of peak activity, and learning to troubleshoot common issues like Kahm yeast, you can keep your high hydration sourdough starter vibrant and reliable. Remember to adjust your recipes to account for the extra water a wetter starter contributes and don't be afraid to experiment with different flours in your feeding routine. With practice and observation, you'll master managing your high hydration starter and unlock new levels of deliciousness in your homemade sourdough bread.
Frequently Asked Questions
What exactly is a high hydration sourdough starter?
A high hydration sourdough starter simply means the starter has a higher ratio of water to flour, typically 1:1 by weight (e.g., 100g flour, 100g water). This affects the fermentation process and texture.
Why would someone choose to use a high hydration starter over a lower hydration one?
High hydration starters are often favored for their faster fermentation rates and the lighter, airier crumb they contribute to the final baked product. This can also lead to a more complex flavor profile.
What are some potential challenges when working with a high hydration starter?
High hydration starters can be stickier and more difficult to handle. They may also be more prone to over-fermentation if not monitored closely, requiring more experience.
How often should I feed a high hydration sourdough starter?
Feeding frequency depends on factors like temperature, but generally, a high hydration starter kept at room temperature may need feeding every 12-24 hours. In the fridge, it can be fed once a week or less.
What are some signs that my high hydration sourdough starter is healthy and ready to use?
A healthy high hydration starter will be bubbly, active, and have a pleasant, slightly sour aroma. It should double in size after feeding and show signs of good fermentation.
Final Reflection: The Thriving, Wetter World of Sourdough Starters
The pursuit of a robust, high-hydration sourdough starter is more than just a baking technique; it's a journey into understanding the delicate balance of nature within a simple jar. The principles discussed – from managing hydration levels to recognizing healthy fermentation – are crucial not only for baking success but also for appreciating the intricate microbial ecosystem at play. This understanding empowers bakers to troubleshoot effectively and achieve consistently delicious results.
The shift towards higher hydration starters reflects a broader culinary trend towards embracing natural processes and appreciating the nuances of fermentation. This isn't just about creating a more active starter; it's about connecting with the ancient art of bread making and understanding the living organism we nurture. As the renowned baker, Chad Robertson, once said, Bread baking is a conversation with nature, a dialogue between the baker and the elements.
This resonates deeply with the experience of cultivating a high-hydration starter, where patience and observation are key to a successful outcome. The subtle shifts in texture, aroma, and activity become a source of fascination and learning.
Now, consider your own starter. What have you learned from this exploration of higher hydration? Take a moment to observe your starter, to appreciate its unique character and the life it holds.
Don't be afraid to experiment, to push the boundaries of your understanding, and to embrace the occasional setback as a learning opportunity. The journey of mastering a high-hydration sourdough starter is a continuous process of discovery, a testament to the enduring power of patience, observation, and a deep respect for the natural world. The rewards – a vibrant starter and exceptional bread – are well worth the effort.
Unleash Your Hydrated Baking Potential!
Thanks for diving deep into the world of wetter starters with us! You've now unlocked a key to more flavorful and nuanced breads. Ready to put this knowledge into action?
- Experiment with your next sourdough: Try increasing the hydration of your starter by 10% and observe the changes in texture and flavor. This is your primary challenge: embrace the wet!
- Share your wetter starter experiences! Tell us about your successes (and even your mishaps!) in the comments below. Let's learn from each other.
- Explore different flour types with your wetter starter: Rye, whole wheat, or spelt—the possibilities are endless!
What exciting bread adventure will your wetter starter take you on next?