
Mastering the Crust: Techniques for Ciabatta and Rustic Bread

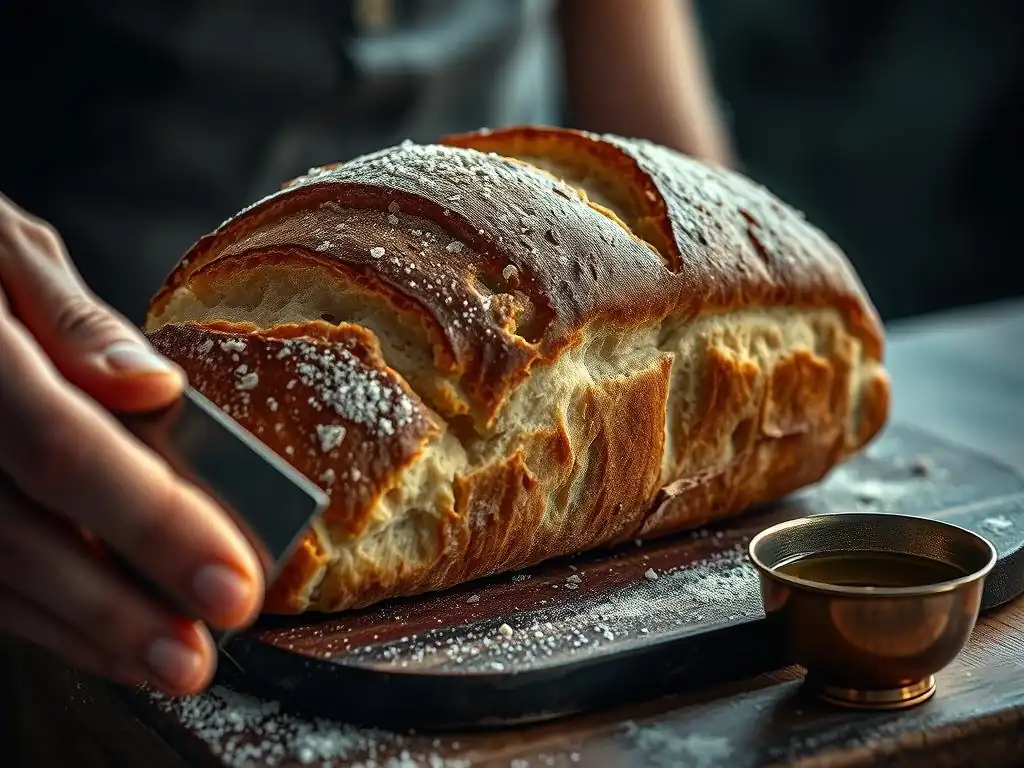
Welcome to BakeWithEase, your partner in creating delicious baked goods! Ever dreamt of achieving that perfect, airy Ciabatta crust? Unlocking the secrets is easier than you think. Dive into our expert guide on Ciabatta crust techniques and discover how to bake crusty, rustic bread that will impress everyone. Ready to elevate your bread baking game? Let's get started!
- Mastering the Crust: Techniques for Ciabatta and Rustic Bread at BakeWithEase
- Introduction to Achieving Perfect Ciabatta and Rustic Bread Crusts
- Understanding the Fundamentals of Crust Formation
- Ciabatta Crust Techniques: Achieving the Signature Texture
- Rustic Bread Crust Techniques: Achieving a Thick and Chewy Crust
- Troubleshooting Common Crust Issues: A BakeWithEase Guide
- Advanced Crust Techniques for Ciabatta and Rustic Bread
- BakeWithEase's Top Tips for Consistently Perfect Crusts
- Conclusion: Elevate Your Bread Baking with These Crust Techniques
-
Frequently Asked Questions
- What makes a Ciabatta crust so unique and desirable?
- What are some easy Ciabatta crust techniques for beginners?
- How does the baking environment influence the Ciabatta crust?
- What ingredients are essential for achieving an ideal Ciabatta crust?
- Can I achieve a good Ciabatta crust without specialized equipment?
- Final Reflection: The Humble Crust, a Gateway to Baking Mastery
- Unleash Your Inner Baker: Craft the Perfect Crust!
Mastering the Crust: Techniques for Ciabatta and Rustic Bread at BakeWithEase
Introduction to Achieving Perfect Ciabatta and Rustic Bread Crusts
Why Crust Matters: The Importance of a Crispy and Flavorful Crust in Bread Baking
The crust of a loaf of bread is far more than just its outer shell; it's a crucial element that contributes significantly to the overall sensory experience. A well-developed crust provides a delightful contrast in texture to the soft, airy interior, offering that satisfying crackle or chew with every bite. Think of the distinct difference between a crisp, golden ciabatta crust and the thicker, more robust crust of a rustic country loaf – each provides a unique textural counterpoint that elevates the bread.
Beyond texture, the crust is a powerhouse of flavor. It's where the most intense chemical reactions occur during baking, creating complex compounds that lend depth and aroma to the bread. A properly baked crust develops rich, nutty, and sometimes slightly sweet notes that are simply not present in the crumb. Mastering the crust is key to transforming a simple loaf into an extraordinary one, making the effort to learn Ciabatta crust techniques easy and rewarding for home bakers.
BakeWithEase's Guide to Understanding Ciabatta and Rustic Bread Crusts
At BakeWithEase, we believe that understanding the 'why' behind baking techniques makes the 'how' much simpler. The crust characteristics of ciabatta and rustic breads are quite distinct, primarily due to their hydration levels, shaping methods, and baking environments. Ciabatta, known for its high hydration and open crumb, typically develops a thin, exceptionally crispy crust. Rustic breads, often baked with slightly lower hydration but longer fermentation, tend to have a thicker, chewier, and more robust crust.
This guide will walk you through the fundamental principles governing crust formation and then delve into specific techniques tailored for achieving the signature crusts of both ciabatta and rustic loaves. We'll explore everything from ingredient roles to the critical impact of temperature and steam during baking. Whether you're aiming for those perfect ciabatta crust techniques easy to replicate at home or a deeply flavored rustic crust, we've got you covered with practical tips and explanations.
Understanding the Fundamentals of Crust Formation
The Science Behind Crust Development: Maillard Reaction and Caramelization
The beautiful golden-brown color and complex flavors of a bread crust are primarily the result of two chemical processes: the Maillard reaction and caramelization. The Maillard reaction is a complex series of reactions between amino acids and reducing sugars that occurs at temperatures typically above 140°C (284°F). This reaction is responsible for the browning of many foods, including bread crust, and produces hundreds of different flavor compounds, contributing savory, nutty, and roasted notes.
Caramelization, on the other hand, is the browning of sugars when heated to high temperatures, usually starting around 160°C (320°F). As sugars break down, they form new compounds that contribute sweet, nutty, and slightly bitter flavors, along with the characteristic brown color. In bread baking, both reactions happen simultaneously in the outer layer of the dough as it's exposed to the oven's heat, working together to create the desirable crust properties we seek. Understanding these processes is fundamental to mastering techniques for a perfect Ciabatta or rustic bread crust.
Key Ingredients that Influence Crust Quality: Flour, Water, and Salt
While many ingredients go into bread, flour, water, and salt play particularly critical roles in crust development. The type of flour used impacts the gluten structure, which in turn affects how the dough expands and how the crust sets. High-protein flours, like bread flour, develop strong gluten networks that can trap more steam, potentially leading to a thinner, crispier crust in high-hydration doughs like ciabatta.
Water is essential not only for hydrating the flour to develop gluten but also because it turns into steam during baking. This steam keeps the surface of the dough pliable initially, allowing it to expand fully (oven spring) before the crust sets. Salt, while primarily a flavor enhancer and dough strengthener, also influences crust color by affecting fermentation rates and enzymatic activity, which impacts the availability of sugars for browning reactions.
The Role of Hydration in Crust Formation: High Hydration for Open Crumb and Crust
Hydration refers to the ratio of water to flour in a dough, typically expressed as a percentage (e.g., 75% hydration means 75g water per 100g flour). High-hydration doughs, like those used for ciabatta (often 75-85% or even higher), contain a significant amount of water. During baking, this water rapidly converts to steam within the dough.
The steam generated internally pushes outwards, expanding the dough and keeping the surface moist and elastic longer, allowing for maximum oven spring. Once the internal temperature rises and the steam escapes, the crust sets quickly in the dry heat of the oven. This process often results in a thinner, more delicate, and crispier crust compared to lower-hydration doughs, which tend to produce thicker, chewier crusts. High hydration is a key factor in achieving the signature open crumb and delicate crust sought after when trying Ciabatta crust techniques easy for beginners.
Ciabatta Crust Techniques: Achieving the Signature Texture
The Importance of a Poolish or Biga for Ciabatta Crust Development
Using a pre-ferment like a poolish (equal parts flour and water, plus a little yeast, fermented for several hours) or a biga (lower hydration than poolish, fermented longer) is a cornerstone of traditional ciabatta making. These pre-ferments contribute significantly to flavor development through longer fermentation, creating complex acids and alcohols.
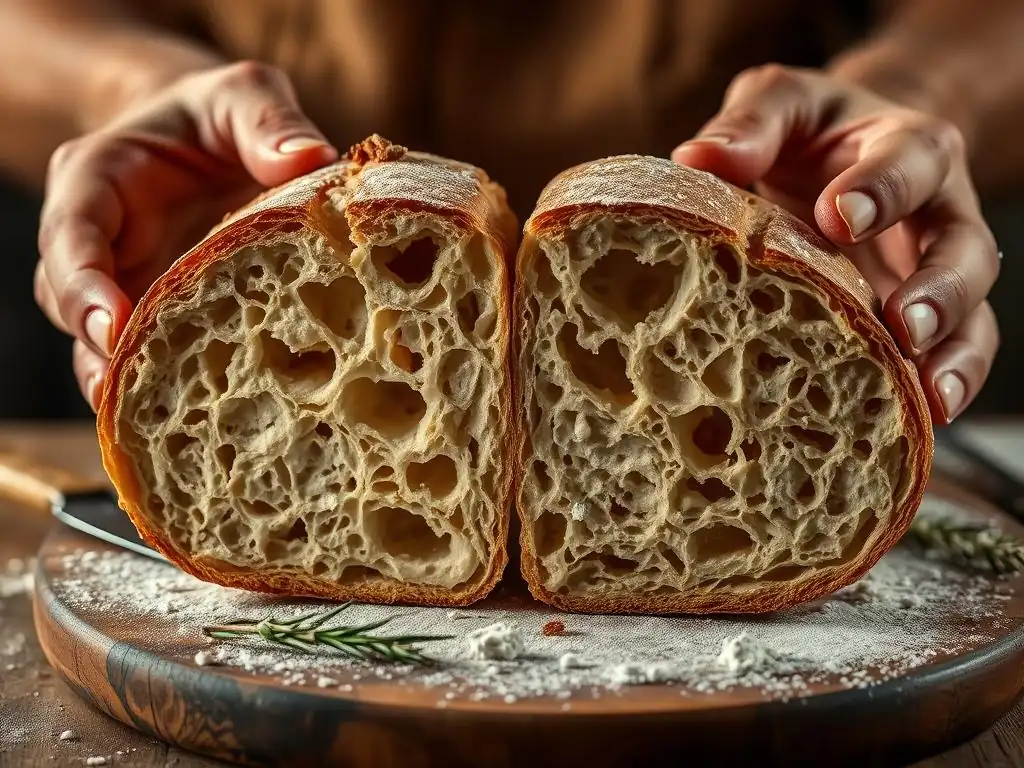
Beyond flavor, they also contribute to the dough's structure and strength. The acids produced help condition the gluten, making it more extensible, which is crucial for handling a high-hydration dough. Furthermore, the presence of a pre-ferment leads to a more active dough, contributing to better oven spring and the formation of large, irregular air pockets characteristic of ciabatta's open crumb. This robust structure supports the development of that signature thin, crispy crust. Incorporating a poolish or biga is one of the fundamental Ciabatta crust techniques easy to learn and implement.
Shaping Techniques for a Thin, Crispy Ciabatta Crust
Ciabatta translates to "slipper" in Italian, reflecting its characteristic flat, elongated shape. Achieving this shape while preserving the delicate structure is key to its crust. Unlike traditional bread shaping where dough is heavily kneaded and tension is built, ciabatta dough, being very wet, is typically handled very gently. The dough is often simply poured or scraped onto a floured surface and then stretched or folded rather than kneaded.
After a long bulk fermentation, the dough is usually divided into portions without significant degassing. These portions are then gently stretched or pulled into the desired slipper shape. Minimal handling prevents knocking out the precious air bubbles that contribute to the open crumb and the thinness of the crust. The goal is to maintain as much air as possible within the dough structure, allowing it to expand dramatically in the oven and form a thin, crisp exterior. Mastering these gentle handling techniques is essential for achieving the perfect ciabatta crust.
Baking Ciabatta: Temperature and Steam for Optimal Crust Formation
Baking temperature and the presence of steam are paramount for developing the ideal ciabatta crust. Ciabatta is typically baked at high temperatures, often between 220°C and 240°C (425°F to 465°F). The high initial heat provides a strong oven spring, allowing the dough to expand rapidly before the crust sets.
Crucially, steam is introduced into the oven at the beginning of the bake. Steam keeps the surface of the dough moist and pliable for the first 10-15 minutes. This allows the dough to achieve its maximum volume before the crust hardens.
Without sufficient steam, the crust would set too early, restricting oven spring and resulting in a denser loaf with a potentially thicker, less crispy crust. After this initial steaming period, the steam is vented, allowing the crust to dry out and crisp up in the dry heat. These specific baking conditions are vital for perfecting your Ciabatta crust techniques easy or advanced.
How to create steam in a home oven for a perfect Ciabatta crust
Creating a steamy environment in a standard home oven might seem tricky, but it's quite achievable. One common method is to place a baking stone or steel on a rack in the oven and preheat it thoroughly at the desired high temperature. Below the stone/steel, place a heavy-duty metal tray or cast-iron pan on a lower rack.
Just before loading the bread, carefully pour about a cup of hot water or add a handful of ice cubes into the hot tray. This will instantly generate a burst of steam. Be extremely cautious when doing this to avoid burns from the steam. Another method involves covering the bread for the initial part of the bake using a Dutch oven or an inverted metal bowl over the loaf on a baking stone.
This traps the moisture released by the dough itself, creating steam. After 15-20 minutes, the cover is removed to allow the crust to brown and crisp. Experimenting with these methods will help you find the best way to incorporate steam into your easy Ciabatta crust techniques.
Rustic Bread Crust Techniques: Achieving a Thick and Chewy Crust
Developing Flavor and Crust Through Long Fermentation
Long fermentation is a hallmark of many rustic bread recipes and plays a significant role in developing both the bread's flavor and its crust characteristics. Fermenting dough slowly, often over 12-24 hours or even longer, particularly during a cold proof in the refrigerator, allows wild yeasts and lactic acid bacteria (especially in sourdough) to produce a wider array of organic acids.
These acids contribute complex, tangy flavors to the crumb and also condition the gluten structure, making the dough stronger and easier to handle. Furthermore, long fermentation breaks down complex carbohydrates into simpler sugars, which are essential for the Maillard reaction and caramelization during baking. A dough that has undergone a long, slow fermentation will typically develop a richer color and more flavorful crust compared to a quickly risen loaf.
Scoring Techniques for Rustic Bread: Enhancing Crust Appearance and Expansion
Scoring, or lameing, is the act of cutting the surface of the dough just before baking. While it adds decorative patterns, its primary function is practical: it allows the dough to expand in a controlled manner during oven spring. Without scoring, the crust would tear unpredictably as the internal gases expand.
For rustic breads aiming for a thick, chewy crust and significant oven spring, scoring is crucial. Deep, well-placed cuts guide the expansion, often creating a beautiful "ear" or lip on the crust as the dough opens up. Different scoring patterns affect the shape and appearance of the final loaf and how the crust develops around the cuts. Using a sharp blade (like a lame or razor blade) is essential for clean cuts that promote optimal oven spring and a well-formed crust.
Baking Rustic Bread: Controlling Temperature and Humidity for a Thick Crust
Baking rustic bread effectively requires managing both temperature and humidity, much like ciabatta, but often with variations tailored to the desired crust thickness and chewiness. Rustic loaves are typically baked at high temperatures, usually in the range of 230°C to 260°C (450°F to 500°F), especially initially. This high heat ensures a strong oven spring and helps set the crust quickly.
Humidity in the oven's environment is also critical for rustic bread, though the goal might be slightly different than for ciabatta. Steam is still needed in the initial phase to allow full expansion. However, the duration or method might differ to encourage a slightly thicker crust. Baking methods like using a Dutch oven are popular precisely because they effectively trap the dough's own moisture, creating a perfectly humid environment for the first part of the bake.
Utilizing a Dutch Oven for Rustic Bread Crust Perfection
The Dutch oven method is widely considered one of the most effective ways for home bakers to achieve a professional-quality rustic bread crust. A heavy cast-iron Dutch oven is preheated along with the oven to a very high temperature. The shaped dough is then carefully placed inside the hot Dutch oven, the lid is secured, and it's placed back in the oven.
The lidded Dutch oven acts like a miniature steam oven, trapping all the moisture released by the dough as it bakes. This creates a highly humid environment around the loaf, allowing the crust to remain pliable and the loaf to achieve maximum oven spring without tearing. After about 20-30 minutes, the lid is removed, allowing the trapped steam to escape and the dry, high heat of the oven to intensely brown and crisp the crust. This two-stage baking process results in a loaf with a fantastic open crumb and a thick, beautifully colored, and chewy crust.
Troubleshooting Common Crust Issues: A BakeWithEase Guide
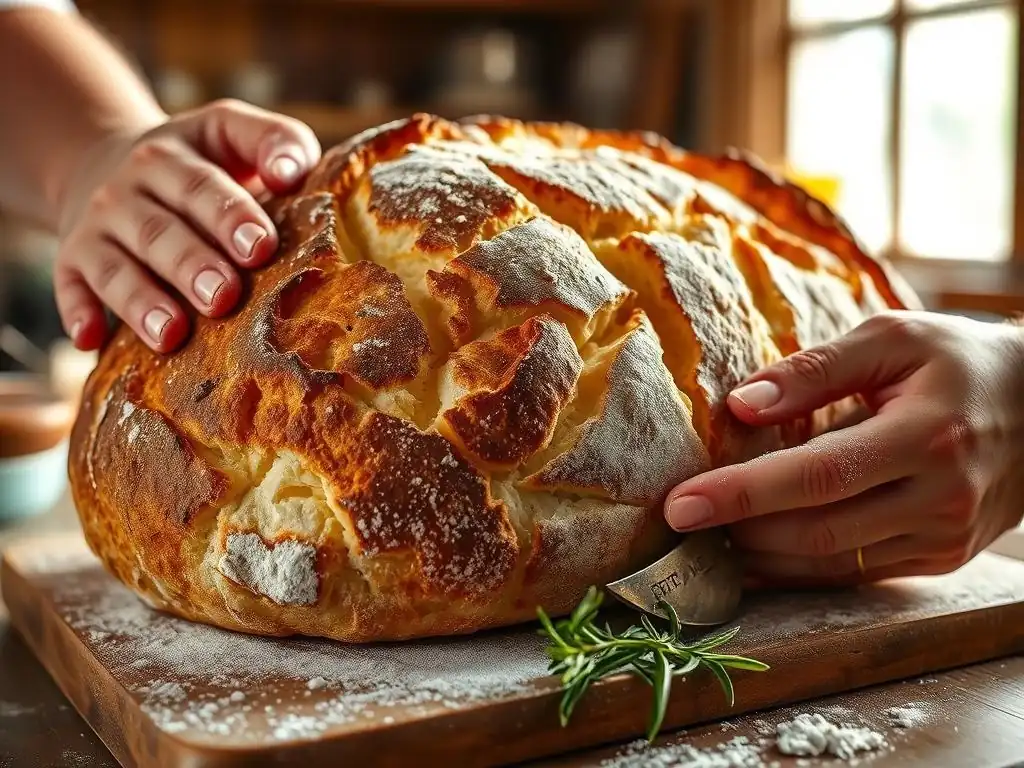
Pale Crust: Causes and Solutions
A pale crust lacks the desirable golden-brown color and depth of flavor. This is often caused by insufficient heat or a lack of available sugars for the Maillard reaction and caramelization. Common culprits include baking at too low a temperature or for too short a time.
To fix a pale crust, ensure your oven thermostat is accurate – consider using an oven thermometer. Always preheat your oven thoroughly, often for 30-60 minutes, especially if using a baking stone or Dutch oven. Baking for a longer duration can also help, though be careful not to overbake the interior.
Sometimes, a lack of available sugars can be the issue; ensuring sufficient fermentation time helps break down starches into fermentable sugars. Adding a small amount of diastatic malt powder (about 0.5% of flour weight) can also boost enzymatic activity and provide more sugars for browning, resulting in a richer color.
Tough Crust: Causes and Solutions
A tough or excessively hard crust can make slicing difficult and eating unpleasant. This can result from several factors, including dough hydration being too low, over-mixing the dough, or baking for too long at too low a temperature.
If your crust is consistently tough, consider increasing your dough's hydration slightly in future bakes, particularly for recipes like ciabatta where a thin, crispy crust is desired. Be mindful of mixing times; overdeveloping gluten can sometimes lead to a tougher texture overall, including the crust.
Ensure you are baking at the correct high temperature; lower temperatures require longer baking times to achieve color, which can dry out and toughen the crust. Lastly, allowing the bread to cool completely on a wire rack is crucial; trapping steam can make the crust soggy initially, but letting it cool properly allows it to crisp up without becoming overly hard.
Uneven Crust: Causes and Solutions
An unevenly colored or textured crust can detract from the aesthetic appeal of your loaf. This issue is frequently caused by uneven heat distribution within the oven or inconsistent shaping and scoring.
Ovens often have hot spots. Using a baking stone or steel can help distribute heat more evenly on the bottom, but air circulation can still be variable. Rotating your loaf halfway through the baking time can help promote more even browning. Ensure your loaves are shaped uniformly, with relatively consistent thickness across the surface. Inconsistent scoring can also lead to uneven expansion and crust development; practice using a sharp blade for clean, consistent cuts. For easy Ciabatta crust techniques, gentle handling is key to maintaining an even structure before baking.
Avoiding a Soggy Crust: Tips and Tricks
A soggy crust, particularly on the bottom, is a common frustration. This usually happens due to moisture trapped during or after baking. The most frequent cause is allowing the bread to cool on a solid surface immediately after coming out of the oven.
Always transfer your freshly baked bread to a wire cooling rack as soon as possible. This allows air to circulate freely around the entire loaf, letting steam escape and preventing the bottom crust from becoming condensation-ridden and soggy. Ensure the bread is fully baked; underbaked bread retains more internal moisture that can migrate to the crust. If using steam during baking (like the Dutch oven method), make sure to remove the lid for the final stage of baking to allow the crust to dry out and crisp up properly.
Advanced Crust Techniques for Ciabatta and Rustic Bread
Using Malt Syrup for Enhanced Crust Color and Flavor
Diastatic malt syrup or powder is a secret ingredient used by many professional bakers to improve crust quality. Diastatic malt contains enzymes (amylase) that break down starch into sugars (like maltose). Adding a small amount (typically 0.5% to 1% of the flour weight) provides more fermentable sugars for the yeast and, crucially, more reducing sugars available for the Maillard reaction and caramelization during baking.
The result is a crust that browns more deeply and evenly, with a richer, more appealing color. It also contributes a subtle sweetness and malty flavor to the crust and crumb. This technique is particularly effective in doughs that undergo long fermentation where the yeast might consume most of the naturally available sugars. Incorporating malt can elevate your easy Ciabatta crust techniques and rustic bread results.
Applying Egg Wash or Milk Wash for a Shiny Crust
For certain types of bread, particularly enriched loaves or rolls, applying a wash to the surface before baking can create a beautiful, shiny, and often softer crust. While not traditional for ciabatta or classic rustic loaves (which rely on steam for crust development), it's a technique used on some variations or other bread types.
An egg wash (beaten egg, sometimes mixed with a little water or milk) results in a glossy, golden-brown finish. A milk wash provides a softer, matte crust with a slightly less intense brown color. These washes contain proteins and sugars that contribute to browning and create a barrier that affects the final texture. For ciabatta and rustic breads aiming for crispness, steam is generally preferred over washes, but understanding washes adds another tool to your baking repertoire.
Cold Proofing for Improved Crust Texture and Flavor
Cold proofing, which involves retarding the final rise of the dough in a refrigerator (typically 4°C/40°F) for 12 to 72 hours, offers significant benefits for both crumb structure and crust quality. The long, slow fermentation develops more complex flavors, as mentioned earlier.
Crucially, cold dough is easier to handle and score. When a cold loaf hits a hot oven, the temperature difference creates a powerful thermal shock that contributes to excellent oven spring. Furthermore, the cold surface stays pliable longer, allowing for maximum expansion before the crust sets. The longer fermentation also leads to a slightly drier surface skin on the dough, which can contribute to a crispier crust upon baking. Cold proofing is an excellent technique to incorporate into your Ciabatta crust techniques easy to manage within a busy schedule.
BakeWithEase's Top Tips for Consistently Perfect Crusts
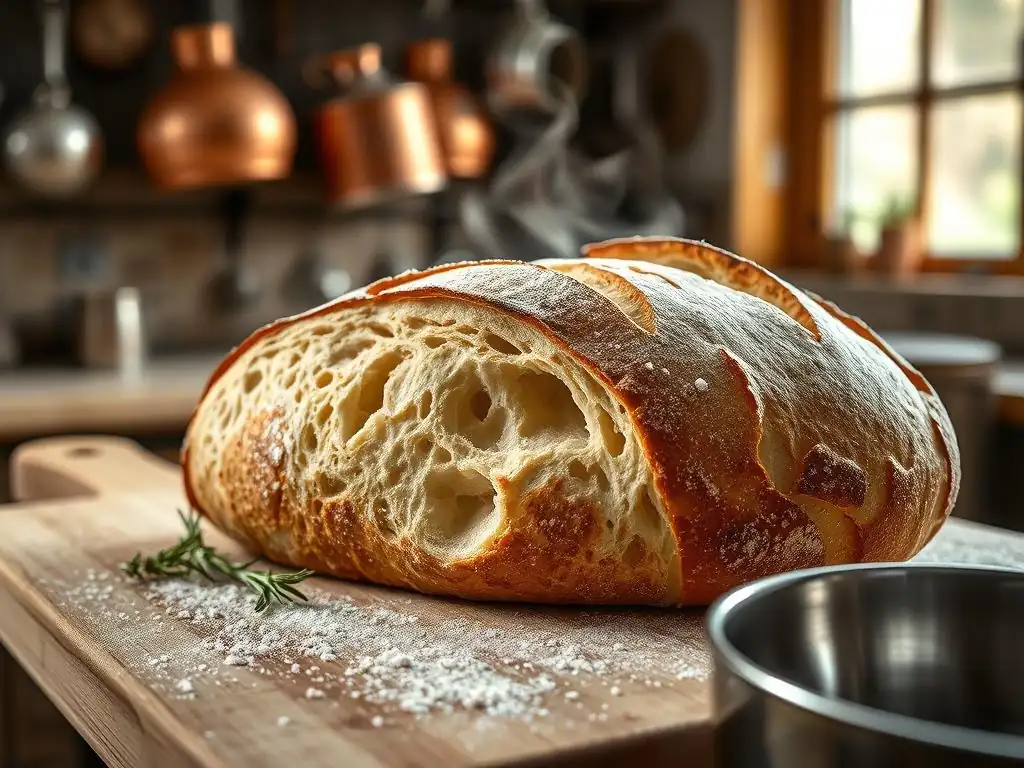
Measuring Ingredients Accurately: The Foundation of Consistent Baking
Precision in measuring ingredients is perhaps the single most important factor in achieving consistent baking results, including crust quality. Baking is a science, and even small variations in flour, water, salt, or yeast can significantly impact dough hydration, fermentation rate, and gluten development – all of which influence the final crust.
Using a digital kitchen scale to weigh your ingredients, especially flour and water, is highly recommended for accuracy. Volume measurements (cups and spoons) can be notoriously inconsistent due to differences in how ingredients are scooped or packed. By weighing, you ensure that your dough has the precise hydration level intended by the recipe, setting the stage for predictable crust formation whether you're practicing Ciabatta crust techniques easy or tackling a complex sourdough.
Controlling Oven Temperature: Ensuring Even Baking
An accurate and stable oven temperature is vital for proper crust development. If the oven is too cool, the bread will not achieve sufficient oven spring, and the crust will take too long to brown, potentially becoming tough. If it's too hot, the crust may burn before the interior is fully baked.
Invest in an inexpensive oven thermometer to verify your oven's actual temperature, as built-in thermostats can be inaccurate by as much as 25°C (50°F) or more. Preheat your oven thoroughly, allowing ample time for baking stones, steels, or Dutch ovens to come up to temperature – often 45-60 minutes. This ensures the radiant heat is sufficient to properly set the crust.
Experimenting with Different Flour Types for Varied Crust Textures
The type of flour you use significantly impacts the resulting crust. Different flours have varying protein levels and characteristics that affect gluten development and hydration capacity.
- High-protein bread flour (around 12-14% protein) develops strong gluten, excellent for structure and trapping steam, often leading to thinner, crispier crusts in high-hydration doughs like ciabatta.
- All-purpose flour (around 10-12% protein) is versatile but may result in a slightly less robust structure and a different crust texture compared to bread flour.
- Whole wheat or other whole grain flours contain bran and germ, which can interfere with gluten development but add fiber, flavor, and sometimes contribute to a thicker, chewier crust due to the structure provided by the grain particles. Experimenting with blends of different flours is a great way to discover new textures and flavors in your crusts.
Conclusion: Elevate Your Bread Baking with These Crust Techniques
Mastering the crust is a rewarding journey in bread baking, transforming simple ingredients into loaves with incredible texture, flavor, and aroma. By understanding the science behind crust formation – the Maillard reaction and caramelization – and paying close attention to key factors like hydration, fermentation, shaping, and baking environment, you can reliably achieve the crust you desire.
Whether you're perfecting the thin, crispy shell of ciabatta using easy Ciabatta crust techniques involving high hydration and steam, or developing the thick, chewy exterior of a rustic loaf through long fermentation and a Dutch oven bake, the principles are within your reach. Don't be afraid to troubleshoot common issues like pale or tough crusts and experiment with advanced techniques like malt or cold proofing. With practice and attention to detail, your bread crusts will move from good to truly outstanding, bringing immense satisfaction to your baking endeavors.
Frequently Asked Questions
What makes a Ciabatta crust so unique and desirable?
The distinct characteristics of a Ciabatta crust come from the high hydration dough and baking process. This combination creates a light, airy interior with a crisp, uneven crust.
What are some easy Ciabatta crust techniques for beginners?
Beginners can focus on proper hydration and gentle handling of the dough. Also, using a preheated baking stone or Dutch oven will significantly improve crust development.
How does the baking environment influence the Ciabatta crust?
A steam-filled oven is crucial for a good Ciabatta crust. The steam allows the crust to stay pliable longer, enabling maximum oven spring and a thin, crispy finish.
What ingredients are essential for achieving an ideal Ciabatta crust?
High-protein flour is key for developing the gluten structure needed for a sturdy crust. Using simple ingredients like flour, water, salt, and yeast contributes to the bread's rustic flavor.
Can I achieve a good Ciabatta crust without specialized equipment?
Yes, while a baking stone or Dutch oven helps, you can create steam by placing a pan of hot water in the oven. Also, spritzing the loaf with water before baking provides initial moisture.
Final Reflection: The Humble Crust, a Gateway to Baking Mastery
The pursuit of the perfect ciabatta crust isn't merely about achieving a beautiful, crackled exterior; it's a journey into the heart of bread baking itself. Mastering this seemingly simple element unlocks a deeper understanding of dough hydration, fermentation, and oven spring – principles applicable to all bread making. The techniques discussed here, while focused on ciabatta, are transferable skills that elevate your baking to a new level.
The satisfying crunch of a perfectly formed ciabatta crust, the aroma of freshly baked bread filling your kitchen – these are sensory experiences that transcend the simple act of eating. They connect us to a long tradition of baking, a craft passed down through generations. As we strive for that ideal crust, we also connect with something primal, something deeply satisfying about creating something beautiful and delicious from simple ingredients. Bread is the staff of life,
they say, and in mastering its crust, we truly appreciate the artistry and effort behind this fundamental food.
Now, it's your turn. Don't be intimidated by the seemingly complex techniques. Experiment with different flours, hydration levels, and baking times. Embrace the imperfections, learn from each loaf, and savor the journey. The perfect ciabatta crust awaits, and with practice and patience, you'll find yourself not just baking bread, but crafting a culinary masterpiece, one satisfying crackle at a time.
Unleash Your Inner Baker: Craft the Perfect Crust!
Thanks for joining us on this delicious journey into the world of ciabatta and rustic bread! You've learned valuable techniques to elevate your baking game. Now it's time to put your newfound knowledge into practice.
- Bake your masterpiece! Try your hand at one of the recipes inspired by today's article. Challenge yourself to perfect that beautiful, crackly crust.
- Share your success (or even your struggles!): Post a picture of your creation on social media using #BakeWithEaseCrust. Let's inspire each other!
- Explore our extensive bread recipe collection: Dive deeper into the world of artisanal baking with more tips, tricks, and delicious recipes.
What unique ingredient will you experiment with in your next ciabatta attempt? Let us know in the comments below!