
Preventing Burnt Edges: Taming the Maillard Reaction in Cookies

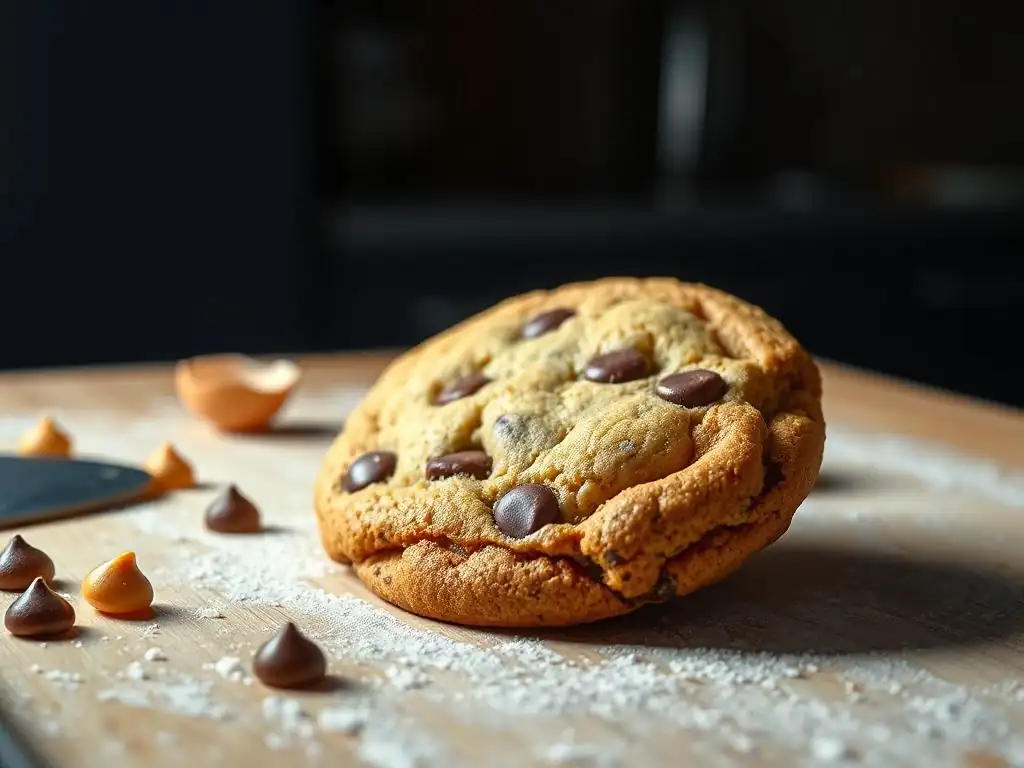
Welcome to BakeWithEase, your haven for conquering the kitchen and creating irresistible baked goods! Ever wondered why your cookies sometimes emerge from the oven with those frustratingly burnt edges? This week, we're diving deep into the science behind it. Get ready to unravel the mysteries of the Maillard reaction and discover practical tips on how to avoid burnt cookies, transforming your baking from a guessing game into a delicious success. Ready to bake perfect cookies every time? Let's get started!
- Preventing Burnt Edges: Taming the Maillard Reaction in Cookies - BakeWithEase
- Introduction: Achieving Perfectly Baked Cookies & Avoiding Burnt Edges
- Why Cookie Edges Burn: The Science Behind the Browning
- How to Avoid Burnt Cookies: Practical Tips and Techniques
- Mastering Cookie Dough Composition to Prevent Burning
- Oven Positioning and Baking Sheets: Minimizing Hot Spots
- Advanced Techniques for Preventing Burnt Cookie Edges
- Troubleshooting Common Cookie Baking Problems
- Conclusion: Baking Perfect Cookies Every Time - Taming the Maillard Reaction
-
Frequently Asked Questions
- How does the Maillard reaction contribute to burnt cookies?
- What oven temperature is generally recommended for baking cookies to avoid burning?
- Besides temperature, what other factor significantly impacts cookie burning?
- Can the type of baking sheet affect whether my cookies burn?
- What ingredient adjustments can I make to prevent burnt cookie edges?
- Final Reflection: The Sweet Science of Perfectly Browned Cookies
- Unlock Perfectly Golden Cookies: Master the Maillard Reaction Today!
The Maillard reaction is a complex chemical process that occurs when amino acids and reducing sugars react in the presence of heat. This reaction is responsible for the delicious browning and development of rich, complex flavors in many cooked foods, including cookies. Think of the golden-brown crust on bread or the sear on a steak – that's the Maillard reaction at work!
In cookies, it’s what transforms pale dough into that appealing toasted hue and contributes significantly to the aroma and taste we love. While essential for flavor, this reaction is highly temperature-dependent and accelerates rapidly as heat increases, particularly above 300°F (around 150°C).
For cookies, the Maillard reaction, along with caramelization (the browning of sugars alone at even higher temperatures, typically starting around 320°F or 160°C), is what gives them their characteristic color and depth of flavor. However, because cookie dough is often thin and has exposed edges, these areas reach the necessary temperatures faster than the center. When the reaction proceeds too quickly or lasts too long in these thin, sugary edges, it can lead to excessive browning, bitterness, and a hard, unpleasantly burnt texture. Learning how to avoid burnt cookies means understanding how to control this powerful chemical process.
Anyone who bakes cookies regularly has likely encountered the disappointment of burnt edges. You pull a batch from the oven, hopeful for golden perfection, only to find the centers are soft and chewy but the edges are dark brown, brittle, and taste undeniably charred. This common issue can ruin an otherwise perfect batch and makes you wonder how to avoid burnt cookies next time. It’s particularly frustrating because the rest of the cookie might be baked just right, highlighting the unevenness of the baking process.
This problem isn't just aesthetic; burnt edges have a distinctly acrid flavor that can overpower the sweet, buttery notes of the cookie. It's a waste of ingredients and effort, turning a simple pleasure into a baking woe. The good news is that burnt cookie edges are often preventable with a few simple adjustments to your technique, ingredients, and equipment. By understanding the underlying causes, primarily related to heat distribution and the Maillard reaction, you can take steps to ensure your cookies bake evenly from edge to center.
One of the most significant factors contributing to burnt cookie edges is uneven heat distribution within your oven. Ovens rarely maintain a perfectly uniform temperature throughout. Hot spots and cooler zones are common, often due to the location of heating elements (usually at the bottom or top) and the oven's convection patterns.
For example, the back of the oven might be 15-25°F (8-14°C) hotter than the front, or one corner might receive more direct heat. When cookies are placed on a baking sheet in such an oven, the edges positioned in these hotter zones will heat up and brown much faster than those in cooler areas or the thicker centers of the cookies.
This means that even if your oven thermostat is set correctly, some parts of your baking sheet might be exposed to temperatures significantly higher than intended. This accelerated heating drives the Maillard reaction and caramelization into overdrive on the thin edges, leading quickly to burning while the rest of the cookie is still baking. Identifying and mitigating these hot spots is crucial for achieving evenly baked cookies and is a key step in learning how to avoid burnt cookies effectively.
Sugar Concentration and the Maillard Reaction: A Key Factor
The concentration of sugar in your cookie dough plays a direct role in how quickly and intensely the edges will brown. Sugar is a primary participant in both the Maillard reaction (reacting with proteins) and caramelization (browning on its own).
Cookie recipes with a higher ratio of sugar to other ingredients, such as some crisp shortbreads or thin and crispy chocolate chip cookies, will naturally brown faster than recipes with less sugar, like chewy oatmeal cookies or sugar cookies with minimal spread. The edges, being the thinnest part of the dough, dry out and heat up quickly, concentrating the sugars in that area.
As these sugars reach higher temperatures, the Maillard reaction and caramelization accelerate rapidly. If the sugar concentration is high, this process can lead to dark, burnt edges even before the interior of the cookie is fully cooked. For instance, a cookie dough with 1 cup of sugar might brown significantly faster at the edges than a similar dough with only 1/2 cup of sugar when baked at the same temperature and time. Understanding your dough's composition helps predict its browning behavior and guides adjustments needed on how to avoid burnt cookies based on the recipe.
Baking time and temperature are fundamental controls in the cookie-baking process, but if not precisely managed, they are major culprits behind burnt edges. Baking at too high a temperature, even for the correct duration, can cause the thin edges to brown excessively before the center has a chance to set. For example, baking a standard cookie recipe at 375°F (190°C) might result in burnt edges in 8 minutes, whereas baking the same cookie at 350°F (175°C) might take 10-12 minutes, allowing for more even heat penetration and browning across the entire cookie.
Similarly, leaving cookies in the oven for too long, even at a moderate temperature, allows the Maillard reaction and caramelization to continue beyond the point of desirable golden brown. The edges, having started browning first, will simply darken further until they are burnt. Over-baking by just one or two minutes can be the difference between perfectly golden edges and charred ones, especially for thin cookies. Precise timing and adjusting the oven temperature are critical strategies for preventing burnt edges and mastering how to avoid burnt cookies.
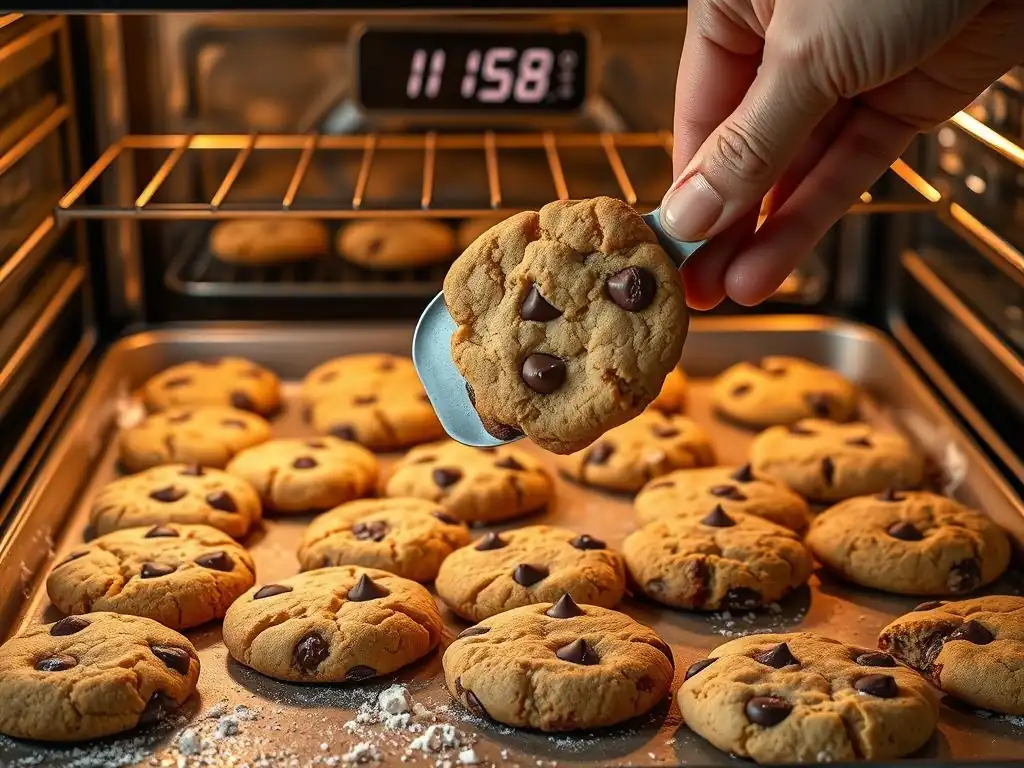
Lowering Oven Temperature for Even Baking
One of the most effective ways to prevent burnt cookie edges is to simply lower your oven's baking temperature slightly. While many cookie recipes call for temperatures between 350°F and 375°F (175°C to 190°C), reducing the temperature by 10-25°F (5-14°C) can significantly slow down the browning process, particularly at the edges. For example, if a recipe suggests 375°F (190°C), try baking at 350°F (175°C) instead. This allows the cookie more time to cook through to the center before the edges become excessively dark.
When you lower the temperature, you will also need to increase the baking time. A cookie that might take 8-10 minutes at 375°F could take 10-13 minutes at 350°F. This extended, gentler heat penetration promotes more even cooking and browning across the entire surface of the cookie. It gives the heat time to reach the center and set the dough without torching the thinner edges. Experimenting with a slightly lower temperature is a simple yet powerful technique for how to avoid burnt cookies.
Adjusting Baking Time for Golden Brown Perfection
Paying close attention to baking time and being willing to adjust it based on visual cues is essential for preventing burnt edges. The time listed in a recipe is always a guideline, as oven calibration, altitude, humidity, and even the type of baking sheet can affect the actual baking duration.
Instead of relying solely on the clock, start checking your cookies a couple of minutes before the minimum baking time specified in the recipe. Look for visual indicators of doneness: the edges should be set and turning a light golden brown, while the centers still might look slightly soft or pale depending on the cookie type.
For example, if a recipe says "bake for 10-12 minutes," start checking at 8 minutes. If the edges are already significantly browning, they might be done closer to 10 minutes. If they are still pale, they will need the full 12 minutes or potentially even slightly longer. It's better to take them out slightly underdone (they will continue to cook on the hot baking sheet for a minute or two) than to leave them in too long and risk burnt edges. This vigilant approach to timing is a key skill in how to avoid burnt cookies.
Using Parchment Paper or Silicone Baking Mats: A Simple Solution
Placing parchment paper or a silicone baking mat on your baking sheet is an incredibly simple yet effective method for preventing burnt cookie bottoms and edges. Both materials create a barrier between the hot metal surface of the baking sheet and the cookie dough. This barrier helps to diffuse the direct heat from the sheet, preventing the rapid, intense heating that often causes bottoms and edges to brown too quickly.
Parchment paper is a disposable option that also prevents sticking. Silicone baking mats, like Silpat, are reusable and provide excellent non-stick properties while offering superior heat diffusion. Using either of these can significantly reduce the risk of hot spots on the baking sheet transferring intense heat directly to the cookie edges, promoting more even baking from the bottom up. Studies show that using parchment paper can reduce the rate of bottom browning by as much as 20-30% compared to baking directly on a dark metal sheet, making it a vital tool for how to avoid burnt cookies.
The Importance of Oven Thermometers: Ensuring Accurate Temperature
Relying on your oven's internal thermostat can be misleading, as they are often inaccurate. Oven temperatures can fluctuate significantly and may be off by as much as 50°F (28°C) from the set temperature. If your oven runs hot, even setting it to the recipe's suggested temperature could mean you are actually baking at a much higher temperature, leading directly to burnt edges. A simple, inexpensive oven thermometer placed inside the oven will give you a true reading of the actual temperature.
By using an oven thermometer, you can calibrate your baking. If the thermometer shows your oven is 25°F (14°C) hotter than the setting, you know to set the oven 25°F lower than the recipe calls for to achieve the desired temperature. This ensures your cookies are baking at the temperature intended by the recipe developer, which is crucial for controlling the rate of the Maillard reaction and preventing premature burning, especially of the delicate edges. Accurate temperature is foundational to learning how to avoid burnt cookies.
As we discussed, sugar content is directly linked to browning via the Maillard reaction and caramelization. If you consistently find your cookies burning at the edges, especially with a particular recipe, slightly reducing the amount of sugar can help slow down this process. This requires a bit of experimentation, as sugar also contributes to texture (crispness, spread) and moisture retention. Reducing sugar by just 10-15% (e.g., using 7/8 cup instead of 1 cup in a recipe) can make a noticeable difference in browning speed without drastically altering the cookie's texture or sweetness profile for many recipes.
For instance, if a chocolate chip cookie recipe calls for 1 cup (200g) of granulated sugar and you find the edges burn, try reducing it to 7/8 cup (175g) or even 3/4 cup (150g) in your next batch. Observe the difference in how the edges brown and how the overall texture changes. This isn't a universal fix for all recipes, as some rely heavily on sugar for structure, but it's a viable adjustment for many standard cookie doughs to help control the Maillard reaction at the edges and is a strategic move for how to avoid burnt cookies.
Adding Moisture to the Dough: Hydration and the Maillard Reaction
Moisture content in cookie dough also plays a role in preventing burnt edges. Water must evaporate from the dough before the temperature can rise significantly and drive the Maillard reaction and caramelization. Doughs with higher moisture content take longer to heat up and dry out, thus slowing down the browning process at the edges. Recipes with ingredients like brown sugar (which contains more moisture than granulated sugar), extra egg yolks, or sour cream tend to produce chewier cookies that are less prone to burning at the edges compared to drier doughs like shortbread.
Consider replacing a portion of granulated sugar with brown sugar (e.g., using half granulated, half brown instead of all granulated) or adding an extra egg yolk to a recipe to increase moisture slightly. For example, swapping 1/4 cup of granulated sugar for 1/4 cup of brown sugar in a standard cookie recipe can introduce more moisture and acidity, which slightly inhibits the Maillard reaction initially, giving the cookie center more time to catch up to the edges. Incorporating moisture-rich ingredients is a clever compositional tweak for how to avoid burnt cookies.
Chilling cookie dough in the refrigerator before baking is a widely recommended technique for several reasons, including preventing burnt edges. Cold dough spreads less rapidly when it hits the hot oven. This slower spread means the edges remain thicker for longer, allowing the center of the cookie more time to heat through and bake before the edges become thin and overly exposed to heat. Chilling also solidifies the fats in the dough, which again slows down the rate at which the cookie spreads and bakes.
Refrigerating dough for at least 30 minutes, or even up to 2-3 days, can make a significant difference. For example, chilling a standard cookie dough at 35°F (1.7°C) for 2 hours versus baking it immediately at room temperature (say, 70°F or 21°C) will result in noticeably thicker cookies with less spread and significantly reduced edge browning. The chilled dough takes longer to reach the browning temperature, allowing for more even cooking from within. This simple step is one of the most effective methods for how to avoid burnt cookies.
Oven Positioning and Baking Sheets: Minimizing Hot Spots
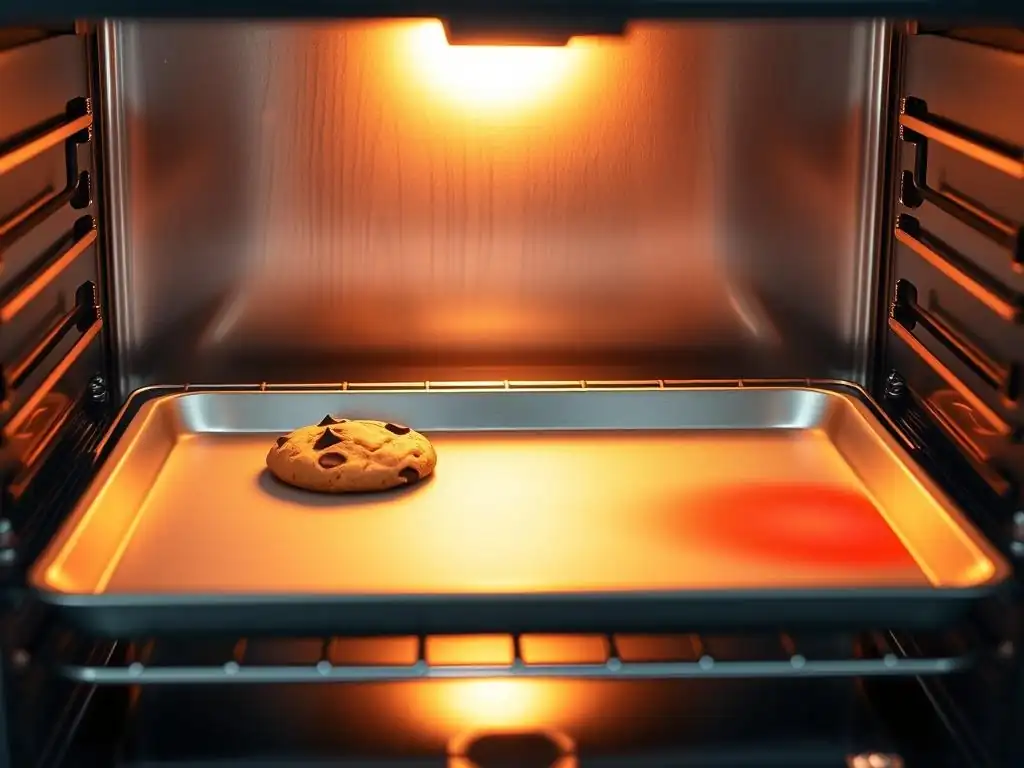
Baking in the Center Rack: Optimal Heat Distribution
The position of your baking sheet in the oven significantly impacts how evenly your cookies bake and whether the edges burn. In most ovens, the center rack provides the most consistent and even heat distribution. Placing your baking sheet here allows the cookies to be equidistant from both the top and bottom heating elements (in a conventional oven) or receive the most balanced airflow (in a convection oven). This minimizes the risk of bottoms burning from being too close to the lower element or tops browning too quickly from the upper element.
Baking on the top or bottom rack increases the likelihood of uneven heating and hot spots directly affecting the cookies. For example, cookies on the bottom rack are much more susceptible to burnt bottoms and edges due to proximity to the heating element. By utilizing the center rack, you are giving your cookies the best chance to experience uniform heat, promoting even cooking and browning across the entire sheet, which is fundamental for how to avoid burnt cookies.
Choosing the Right Baking Sheet: Material and Thickness Matters
The type of baking sheet you use can have a substantial impact on how quickly cookie bottoms and edges brown. Dark-colored, thin metal baking sheets absorb and transfer heat very efficiently, which can lead to rapid browning and potentially burnt bottoms and edges.
Lighter-colored, thicker aluminum baking sheets are generally preferred for cookies because they reflect heat slightly and provide more even heat transfer, reducing the risk of scorching. Insulated baking sheets, which consist of two thin sheets with a layer of air in between, are even better at preventing burnt bottoms by significantly slowing heat transfer to the bottom of the cookie.
For example, baking a batch of cookies on a dark, non-stick sheet might result in significantly darker bottoms and edges after 10 minutes compared to baking the same cookies on a light-colored, heavy-gauge aluminum sheet, which might require 12 minutes for the same level of browning. Investing in good quality, light-colored baking sheets is a worthwhile step for consistent results and is a key part of how to avoid burnt cookies.
Rotating Baking Sheets During Baking: Promoting Even Browning
Even when using the center rack and ideal baking sheets, most ovens still have some degree of uneven heating. Rotating your baking sheet halfway through the baking time can counteract these hot spots and ensure all cookies on the sheet bake and brown evenly. If a cookie recipe calls for 10-12 minutes of baking, for instance, rotate the sheet 180 degrees after 5 or 6 minutes.
This simple action ensures that the cookies previously exposed to a hotter area of the oven are now in a cooler spot, and vice versa. It helps prevent the cookies on one side of the sheet from getting significantly darker or more burnt than those on the other side. This manual intervention balances the heat exposure across the entire batch, leading to more uniformly baked cookies and is a highly effective strategy for how to avoid burnt cookies.
While not applicable to all cookie types (like drop cookies), using cookie rings or cutters for shaped cookies can help create more uniform shapes and thickness, which promotes even baking. When all cookies on a sheet are the same size and thickness, they will generally bake at the same rate. Irregularly shaped cookies, especially those with thin extensions or points, will inevitably have those thinner parts brown and potentially burn faster than the thicker sections.
For example, using a 2-inch round cutter ensures every sugar cookie on the sheet has the same diameter and a relatively consistent thickness (assuming the dough was rolled evenly). This consistency means the edges are all equally exposed to heat and will brown at a similar rate. While not a direct method to stop the Maillard reaction, creating uniform shapes indirectly contributes to preventing burnt edges by eliminating the unevenness that causes certain parts to overcook. It's a technique focused on consistency, which is valuable for how to avoid burnt cookies in shaped varieties.
The "icebox" or refrigerator cookie method inherently promotes even baking and helps prevent burnt edges. This method involves shaping the dough into logs, chilling them thoroughly until firm (often for several hours or overnight), and then slicing uniform rounds from the log before baking. Because the dough is chilled and the slices are typically of consistent thickness, these cookies hold their shape well during baking and spread minimally.
The cold, dense dough takes longer to heat up, allowing the center and edges to bake more evenly. The uniform thickness of the sliced cookies also means that all parts of the edge and interior are exposed to heat for a similar duration. This method is particularly effective for butter-rich doughs that are prone to spreading too much and developing thin, quickly-browning edges. It's a structured approach that bakes control into the process, aiding in how to avoid burnt cookies.
Experimenting with Different Flour Types: Affecting Gluten Development and Browning
While sugar and fat often steal the spotlight, the type of flour used in cookie dough can also subtly influence browning and texture, indirectly affecting the likelihood of burnt edges. Flours differ in protein content, which affects gluten development and water absorption. All-purpose flour, typically with 10-12% protein, is standard for most cookies. However, using a lower protein flour like cake flour (8-9% protein) can result in a more tender cookie with less gluten development. Reduced gluten can sometimes lead to slightly less structure and potentially a different spread pattern.
Conversely, using a higher protein flour like bread flour (12-14% protein) increases gluten development, leading to chewier cookies. More gluten can sometimes mean the dough holds together differently as it heats. While flour type's impact on edge burning is less direct than sugar or temperature, understanding how different flours behave can be useful for advanced adjustments.
For example, a dough made with cake flour might spread slightly more and thus have thinner edges prone to faster browning compared to a dough made with bread flour. Experimenting with these variables is part of the deeper dive into how to avoid burnt cookies through dough science.
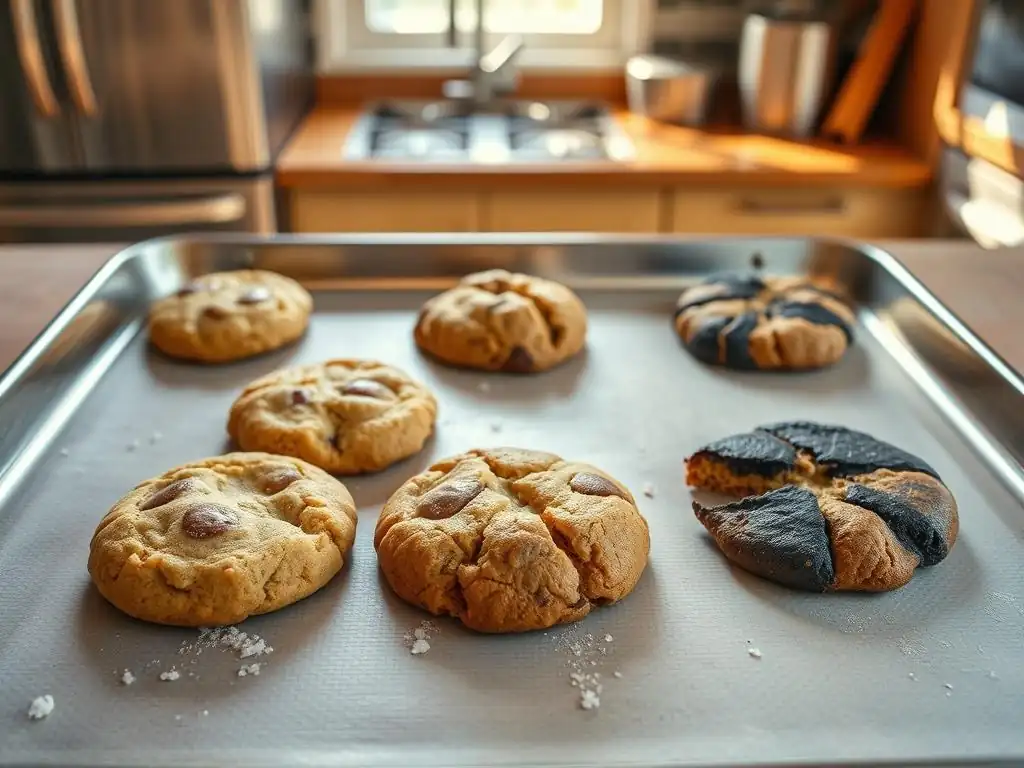
If you find your cookie bottoms are burning while the tops and edges look perfect, the issue is often direct heat transfer from the baking sheet, likely exacerbated by oven hot spots near the bottom heating element.
- Solution 1: Use Parchment Paper or Silicone Mats.: This is the simplest and most effective fix. It creates a barrier that slows heat transfer. Studies show this can decrease bottom browning rate significantly.
- Solution 2: Switch Baking Sheets.: If using a dark, thin sheet, switch to a light-colored, heavy-gauge aluminum sheet or, ideally, an insulated baking sheet. Light colors reflect heat, and insulated sheets dramatically reduce bottom heat.
- Solution 3: Move Rack Position.: Ensure you are baking on the center rack. If you must use a lower rack, try placing an empty baking sheet on the rack below your cookie sheet to act as a heat shield.
- Solution 4: Lower Oven Temperature Slightly.: Reducing the oven temperature by 15-25°F (8-14°C) and increasing baking time allows the cookies to cook through before the bottoms get too hot.
Excessive spread can lead to very thin edges that brown and burn almost instantly. This is a common problem that also contributes to the question of how to avoid burnt cookies.
- Solution 1: Chill the Dough.: This is paramount. Chilling solidifies the fat, which makes the dough spread much slower. Chill for at least 30 minutes, or up to several days for best results.
- Solution 2: Check Your Butter.: Ensure your butter isn't too soft or melted when mixing the dough. Use softened butter (cool to the touch, presses slightly) or cold butter cut into pieces, depending on the recipe method. Over-softened butter leads to excessive spread.
- Solution 3: Re-evaluate Ingredients.: Too much sugar, especially granulated sugar, can increase spread. Ensure you're measuring accurately. Using a higher ratio of brown sugar to granulated sugar can sometimes help control spread due to its moisture content. Also, too little flour will cause excessive spread.
- Solution 4: Don't Overmix.: Overmixing dough can develop too much gluten, which can sometimes affect spread, though fat temperature is usually the bigger culprit. Mix just until ingredients are combined.
If your edges look perfect but the centers are still raw or doughy, it means the interior hasn't reached the correct internal temperature to set before the edges are done. This often happens when the outside bakes too quickly.
- Solution 1: Lower Oven Temperature and Increase Time.: This is the most common fix. Lowering the temperature (e.g., from 375°F to 350°F or 190°C to 175°C) slows down the edge browning, giving the center more time to cook through. You will need to bake for a longer duration.
- Solution 2: Ensure Dough Portions Are Consistent.: Unevenly sized cookies will bake at different rates. Use a cookie scoop or scale to ensure all cookies are the same size.
- Solution 3: Chill the Dough.: As mentioned, chilling helps the cookie hold its shape and thickness longer, allowing for more even heat penetration to the center before the edges are overdone.
- Solution 4: Don't Overcrowd the Baking Sheet.: Give cookies enough space (usually 2 inches apart). Overcrowding can affect airflow and lead to uneven baking, with centers potentially staying doughy.
Achieving perfectly baked cookies with soft centers and golden edges is a rewarding part of baking, and preventing burnt edges is a skill every baker can master. The key lies in understanding and controlling the factors that accelerate the Maillard reaction and caramelization, particularly heat and sugar concentration. We've explored several effective strategies for how to avoid burnt cookies.
Here's a quick recap of the most impactful techniques:
- Lowering your oven temperature slightly (e.g., 350°F instead of 375°F) and increasing baking time.
- Using parchment paper or silicone baking mats to create a heat barrier.
- Verifying your oven's actual temperature with an oven thermometer.
- Chilling cookie dough before baking to control spread and slow down heating.
- Baking on the center oven rack for optimal heat distribution.
- Choosing light-colored, heavy-gauge or insulated baking sheets.
- Rotating baking sheets halfway through the baking time.
- Adjusting sugar content or adding moisture to the dough composition.
- Ensuring uniform cookie size and thickness.
By implementing these tips, you can take control of the baking process, minimize uneven browning, and significantly reduce the frustration of burnt cookie edges, leading to consistently delicious results.
Preventing burnt edges is just one step on the path to cookie baking mastery! At BakeWithEase.com, we have a wealth of resources designed to help you tackle common baking challenges, understand the science behind your favorite treats, and bake with confidence.
Explore more articles in our Baking Science Deep Dive category to learn about topics like the role of fats, the science of leavening, or how different sugars behave in baking. Our extensive collection of simple, step-by-step cookie recipes provides tested formulas where these techniques are already considered. Whether you're troubleshooting a specific issue like how to avoid burnt cookies or looking to expand your baking repertoire, BakeWithEase.com is here to guide you every step of the way. Happy baking!
Frequently Asked Questions
The Maillard reaction is a chemical reaction between amino acids and reducing sugars that occurs upon heating. While it creates desirable flavors and browning, excessive heat leads to over-browning and burning, particularly around the edges of cookies.
A temperature between 350°F (175°C) and 375°F (190°C) is usually recommended. This allows for even baking and reduces the risk of edges burning before the center is cooked through.
Oven placement is crucial. Placing the baking sheet in the center rack ensures even heat distribution. Avoid placing it too close to the top or bottom heating elements.
Yes, it can. Dark baking sheets absorb more heat and can cause cookies to burn more quickly, especially on the bottom. Lighter-colored sheets are generally preferred.
Consider adding a small amount of acidic ingredient, like lemon juice or vinegar, to the dough. This can help slow down the Maillard reaction and reduce browning.
The quest for the perfect cookie, free from those dreaded burnt edges, is a journey shared by bakers of all levels. Mastering the Maillard reaction, the complex chemical process responsible for that beautiful golden-brown hue, is key to achieving cookie nirvana. This isn't just about aesthetics; it's about unlocking the full potential of flavor and texture.
Understanding the nuances of oven temperature, baking time, and even the type of pan used has profoundly impacted my own baking. It's no longer a matter of luck, but of informed precision. The best things in life are worth waiting for,
and this certainly applies to cookies. Patience and a keen eye for detail are as crucial as the ingredients themselves. The subtle shifts in color, the aroma filling the kitchen – these are the indicators of a successful bake, a testament to the delicate balance between science and artistry.
Now, it's your turn. Don't be afraid to experiment, to adjust baking times based on your oven's quirks, and to embrace the learning process. The next time you're faced with a batch of cookies, remember the principles outlined in this article. Take control of the Maillard reaction, and unlock the secret to consistently perfect, beautifully browned cookies. The reward? The pure joy of biting into a cookie that's not only delicious but also a testament to your baking prowess.
Thanks for taking the time to learn about mastering the Maillard reaction! We hope you now feel confident in creating perfectly golden-brown cookies, every time. Ready to put your newfound knowledge into practice?
- Bake a batch of your favorite cookies, paying close attention to the baking time and temperature adjustments discussed. Notice the difference!
- Share your baking triumphs (or challenges!) with our community on social media using #BakeWithEaseMaillard. Let's learn from each other!
- Try experimenting with different flours or sugars to see how it impacts browning. Which combination produces your favorite results?
So, what delicious cookie creation will you tackle first?