
Chocolate Elegance: Simple Plated Chocolate Dessert Recipes

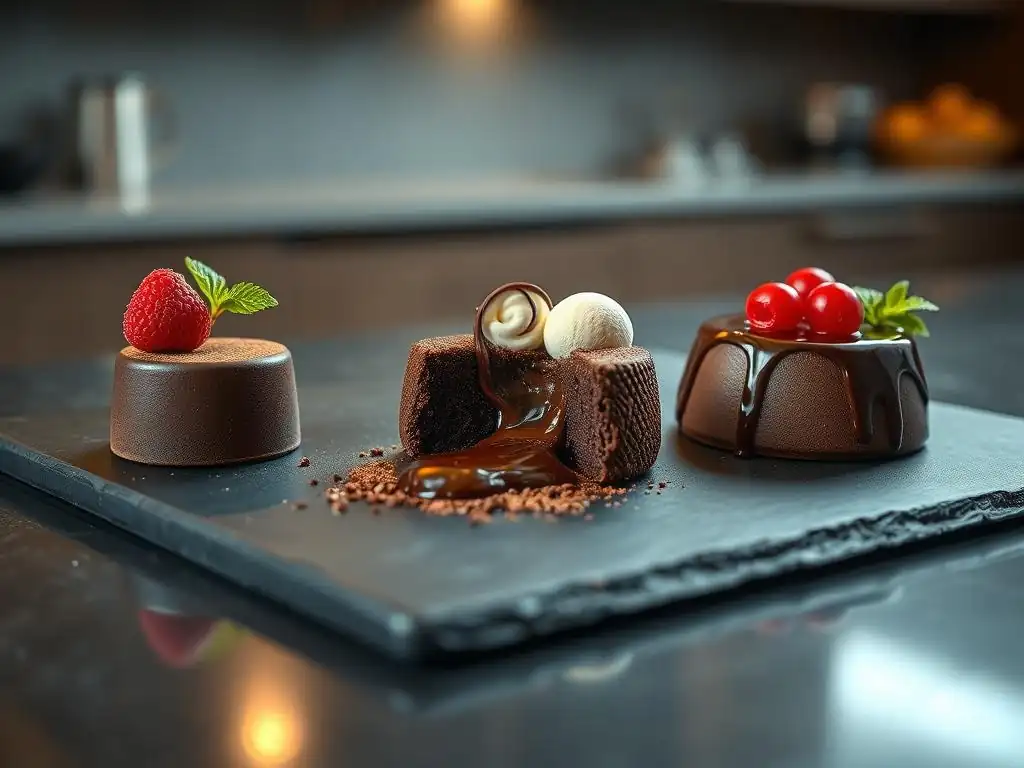
Welcome to BakeWithEase, your companion in the kitchen! Ever dreamt of creating elegant, restaurant-worthy desserts without the restaurant-level stress? Dive into the world of easy plated chocolate dessert recipes and discover how simple ingredients can transform into stunning culinary creations. Intrigued? Let's unlock the secrets to chocolate elegance together...
Welcome to BakeWithEase, where we believe that creating stunning desserts doesn't have to be complicated. This guide is dedicated to the art of plating simple chocolate desserts, transforming everyday treats into elegant experiences. We'll explore how easy it is to take classic chocolate recipes and elevate them with just a few thoughtful touches on the plate. Get ready to impress yourself and your guests with beautiful, delicious creations.
- Introduction to Easy Plated Chocolate Desserts
- Mastering the Basics for Elegant Chocolate Plating
- Recipe 1: Decadent Chocolate Lava Cake with Raspberry Coulis
- Recipe 2: Chocolate Avocado Mousse with Hazelnut Crumble
- Recipe 3: Dark Chocolate Ganache Tartlets with Sea Salt
- Tips and Tricks for Perfect Plated Chocolate Desserts
- Conclusion: Unleash Your Creativity with Chocolate Plating
-
Frequently Asked Questions
- What makes a chocolate dessert recipe "easy" for plating?
- What are some common ingredients found in easy plated chocolate dessert recipes?
- Can I modify these recipes to be gluten-free or vegan?
- How important is presentation when plating a chocolate dessert?
- Where can I find more easy plated chocolate dessert recipes?
- Final Reflection: The Enduring Allure of Simple Chocolate Elegance
- Unleash Your Inner Chocolatier!
Introduction to Easy Plated Chocolate Desserts
Plated desserts are not just for fancy restaurants anymore. With a little know-how and some straightforward techniques, you can create restaurant-quality presentations right in your own kitchen. The focus here is on making it accessible, proving that easy plated chocolate dessert recipes are well within your reach, regardless of your baking experience. It's about enhancing the eating experience through thoughtful arrangement and complementary elements.
Elevate Your Baking: The Art of Plated Desserts at Home
Plated desserts are about presenting individual servings of dessert as a complete composition on a plate. This involves arranging the main component, like a cake or mousse, alongside sauces, garnishes, and textures. Learning this art allows you to showcase your baking skills and add a touch of sophistication to any occasion, from a casual dinner party to a special celebration. It’s a skill that truly elevates home baking.
Mastering the art of plating at home involves focusing on detail and precision, much like following a recipe accurately. For instance, a simple brownie can become an elegant plated dessert by cutting it into a neat square, adding a swirl of salted caramel sauce, a quenelle of vanilla bean ice cream, and a sprinkle of toasted nuts. This transformation highlights how presentation enhances the perceived value and enjoyment of the dessert. Many home bakers find that even simple techniques, like using a piping bag for sauces or arranging berries artfully, make a significant difference in the final look.
Why Chocolate is the Perfect Plating Medium
Chocolate is a universally loved flavor, making it an ideal foundation for easy plated chocolate dessert recipes. Its rich color provides a beautiful contrast on a plate, and its versatility allows it to be used in countless forms: cakes, mousses, ganaches, sauces, tempering for shards or curls, and even as edible decorations. The depth of chocolate flavor also pairs wonderfully with a wide range of accompaniments like fruits, nuts, caramels, and creams, offering endless possibilities for creative plating.
Beyond its delicious taste and visual appeal, chocolate is also forgiving to work with, especially in simple forms like ganache or melted chocolate for drizzling. For example, a basic chocolate ganache made from just chocolate and cream can serve as both a sauce and a base for other textures on the plate.
Tempering chocolate, while initially intimidating, becomes quite manageable with practice and opens up possibilities for elegant, crisp elements like chocolate shards or geometric shapes, adding height and structure to your easy plated chocolate dessert recipes. Its robust flavor also stands up well to various temperatures, from warm lava cakes to chilled mousses.
Mastering the Basics for Elegant Chocolate Plating
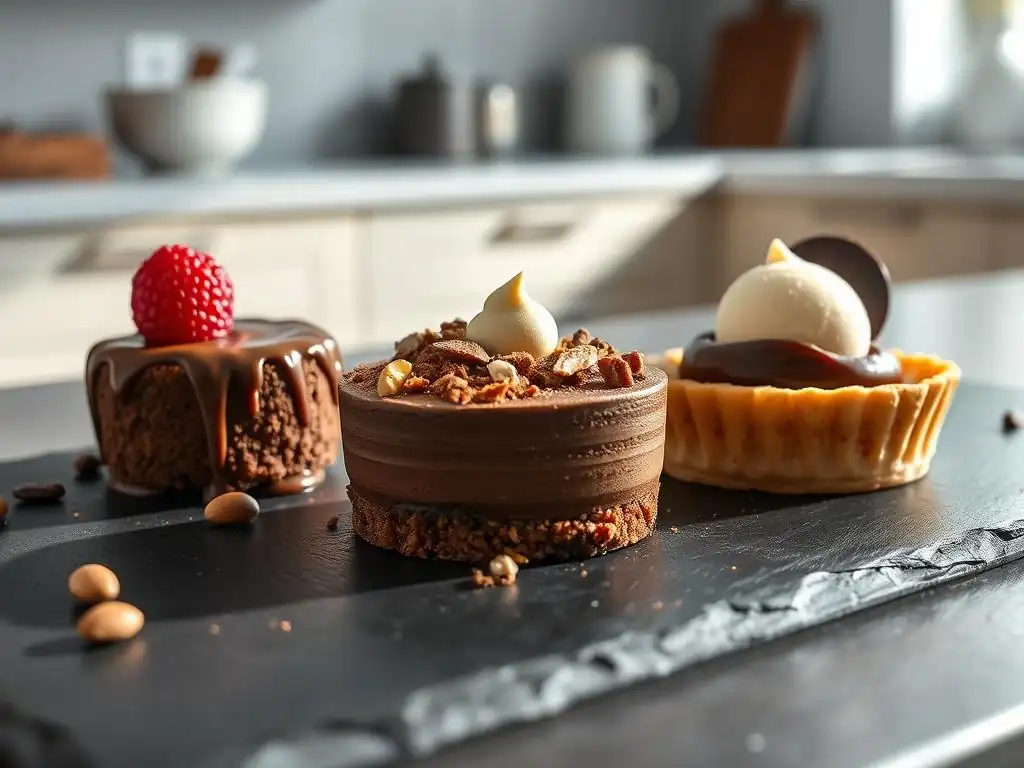
Before diving into specific recipes, understanding some fundamental tools, techniques, and concepts will make your plating journey smoother and more successful. These basics are applicable to any simple chocolate dessert you choose to plate, laying the groundwork for beautiful presentations.
Essential Tools and Ingredients for Chocolate Desserts
Having the right tools can significantly simplify the process of creating and plating chocolate desserts. Beyond standard baking equipment like mixing bowls, whisks, and spatulas, consider adding items such as a kitchen scale for accurate ingredient measurement (especially chocolate), a good quality melting pot or double boiler setup, a piping bag with various tips for sauces and creams, and offset spatulas for smoothing and spreading. Small strainers are also useful for dusting cocoa powder or powdered sugar.
When it comes to ingredients, the quality of your chocolate is paramount. Using a good couverture chocolate with a specific cocoa percentage (e.g., 70% dark chocolate for intense flavor or 35% milk chocolate for sweetness) will greatly impact the final taste and texture of your easy plated chocolate dessert recipes. Other essential ingredients often include high-quality butter, fresh eggs, different types of sugar (granulated, powdered), cream (heavy or whipping cream), and flavorings like vanilla extract, coffee, or sea salt. Having these staples on hand ensures you're ready to tackle a variety of chocolate creations.
Understanding Chocolate Tempering: A Beginner's Guide
Tempering chocolate is the process of heating and cooling chocolate to specific temperatures to stabilize the cocoa butter crystals. Properly tempered chocolate will be shiny, snap cleanly when broken, and resist melting at room temperature.
While not all simple plated chocolate desserts require tempering (like mousses or ganaches), it's essential for elements like chocolate shards, curls, or dipped items used for garnish. The basic process involves melting chocolate to a specific temperature (e.g., dark chocolate to 45-50°C or 115-122°F), cooling it down while agitating (seeding with more chocolate or using a marble slab) to a working temperature (e.g., dark chocolate to 28-29°C or 82-84°F), and then slightly reheating it to a final working temperature (e.g., dark chocolate to 31-32°C or 88-90°F).
Though it sounds technical, tempering is achievable at home with a reliable thermometer. For dark chocolate, typical melting is around 45-50°C, cooling to 28-29°C, and reheating to 31-32°C. Milk and white chocolate have slightly different temperature ranges due to their composition.
A simple method is the 'seeding' method: melt about 2/3 of your chocolate, remove from heat, and stir in the remaining 1/3 of finely chopped chocolate until it's all melted and the temperature drops to the working range. This process ensures that the stable beta crystals in the added chocolate encourage the melted chocolate to crystallize correctly. Practice makes perfect, and successfully tempered chocolate adds a beautiful, professional touch to your easy plated chocolate dessert recipes.
Plating Techniques: Creating Visual Appeal
Creating visual appeal on the plate involves several fundamental techniques:
- Arrangement: Think about where each element will sit. A common approach is the 'rule of thirds' or placing elements off-center.
- Height: Adding verticality, perhaps with a leaning chocolate shard or a quenelle of mousse, makes the dessert more dynamic.
- Color Contrast: Use sauces (like a bright raspberry coulis) or garnishes (fresh mint leaves, colorful berries) to make the chocolate stand out.
- Texture Contrast: Combine smooth elements (mousse, ganache) with crunchy ones (crumbles, nuts, tempered chocolate pieces).
- Negative Space: Don't overcrowd the plate. Leaving some empty space allows the elements to breathe and highlights the composition.
Applying these techniques can transform even the simplest dessert. For example, instead of just placing a slice of chocolate cake on a plate, try cutting it into a neat shape, drizzling a contrasting white chocolate sauce alongside it using a squeeze bottle, adding a scattering of toasted almond slivers for crunch, and finishing with a fresh strawberry. This simple approach adds layers of visual interest and texture, turning a basic slice into an inviting easy plated chocolate dessert recipe. Experiment with different plate shapes and sizes to see how they influence your presentation.
Recipe 1: Decadent Chocolate Lava Cake with Raspberry Coulis
Chocolate lava cakes are a classic choice for an elegant plated dessert because of their dramatic molten center. They are surprisingly simple to make and provide a perfect canvas for beautiful plating. Paired with a vibrant raspberry coulis, the combination is both visually stunning and deliciously balanced.
Ingredients for the Molten Chocolate Lava Cake
To make four individual lava cakes, you'll need:
- 115g (1 stick) unsalted butter, plus extra for greasing
- 170g (6 ounces) good quality dark chocolate (around 60-70% cocoa), chopped
- 2 large eggs
- 2 large egg yolks
- 60g (1/4 cup) granulated sugar
- 1 teaspoon vanilla extract
- 30g (1/4 cup) all-purpose flour
- Pinch of salt
- Cocoa powder, for dusting ramekins
Using specific weights like 115g butter and 170g chocolate ensures consistent results every time, which is crucial for achieving that perfect molten center in these easy plated chocolate dessert recipes. The quality of the dark chocolate will significantly impact the richness and flavor of the lava. Choosing a chocolate you enjoy eating plain is a good rule of thumb. Using both whole eggs and extra yolks contributes to the rich, custardy texture of the molten interior.
Step-by-Step Instructions for Baking Lava Cakes
- Preheat your oven to 200°C (400°F). Generously butter four 6-ounce ramekins and dust them with cocoa powder, tapping out the excess. This step is vital to prevent sticking.
- In a heatproof bowl set over a saucepan of simmering water (or in a microwave on medium power), melt the butter and chopped dark chocolate together, stirring until smooth. Be careful not to let the water touch the bottom of the bowl. Remove from heat and let cool slightly for about 5 minutes.
- In a separate bowl, whisk together the eggs, egg yolks, granulated sugar, and vanilla extract until pale and slightly thickened.
- Gradually whisk the slightly cooled chocolate mixture into the egg mixture until well combined.
- Sift the flour and salt over the chocolate mixture and gently fold until just combined. Do not overmix.
- Pour the batter evenly into the prepared ramekins.
- Place the ramekins on a baking sheet and bake for 10-14 minutes, or until the edges are set but the center is still soft and jiggly. Baking time can vary depending on your oven, so check starting around 10 minutes.
- Let the cakes rest in the ramekins for just 1 minute before inverting them onto serving plates. Running a knife around the edge can help release them.
Following these steps precisely helps ensure the cake bakes around the edges while the center remains perfectly molten. Baking for approximately 12 minutes is often the sweet spot for many ovens, but visually checking for set edges is the most reliable indicator. Resting for just a minute allows the cake to firm up slightly before inverting, minimizing the risk of it collapsing when turned out, a key step for successful easy plated chocolate dessert recipes like this.
Preparing the Raspberry Coulis: A Simple Recipe
A raspberry coulis adds a bright, tart contrast to the rich chocolate lava cake. It's incredibly simple to make:
- 200g (about 1.5 cups) fresh or frozen raspberries
- 2-4 tablespoons granulated sugar (adjust to taste)
- 1-2 tablespoons water (optional, for desired consistency)
- 1 teaspoon lemon juice (optional, brightens flavor)
Combine the raspberries, sugar, and water (if using) in a small saucepan. Heat over medium heat, stirring occasionally, until the raspberries break down and the sugar dissolves, about 5-10 minutes. If using frozen raspberries, this may take slightly longer. Once cooked, remove from heat and stir in the lemon juice, if desired. For a smooth coulis, press the mixture through a fine-mesh sieve to remove seeds. For a slightly thicker, rustic coulis, you can skip the sieving. Taste and add more sugar if needed. Let cool to room temperature before plating.
This simple coulis recipe requires minimal effort but provides a vibrant color and tartness that cuts through the richness of the chocolate. Using about 200g of raspberries yields enough coulis for several plated desserts. Adjusting the sugar level is crucial; start with 2 tablespoons and add more until it reaches your desired balance of sweet and tart. A smooth coulis created by sieving offers a more refined look suitable for elegant presentations of easy plated chocolate dessert recipes.
Plating the Lava Cake: Tips for a Professional Look
Plating the lava cake is where the magic happens. Once inverted onto the plate, the cake stands as the central element. Use the raspberry coulis to add color and design. You can spoon a pool of coulis next to the cake, drizzle it artfully over or around the cake using a spoon or squeeze bottle, or create dots or swirls.
Consider adding textural elements. A sprinkle of powdered sugar over the cake (using a sieve) adds a delicate finish. A few fresh raspberries placed strategically around the plate echo the coulis flavor and add freshness. For extra indulgence, a quenelle of vanilla bean ice cream or a dollop of whipped cream can be placed alongside the cake, adding height and temperature contrast.
A simple chocolate shard or curl (if you've practiced tempering!) can lean against the cake for added height. The key is balance – don't add too many elements, letting the beautiful lava cake remain the star of these easy plated chocolate dessert recipes.
Recipe 2: Chocolate Avocado Mousse with Hazelnut Crumble
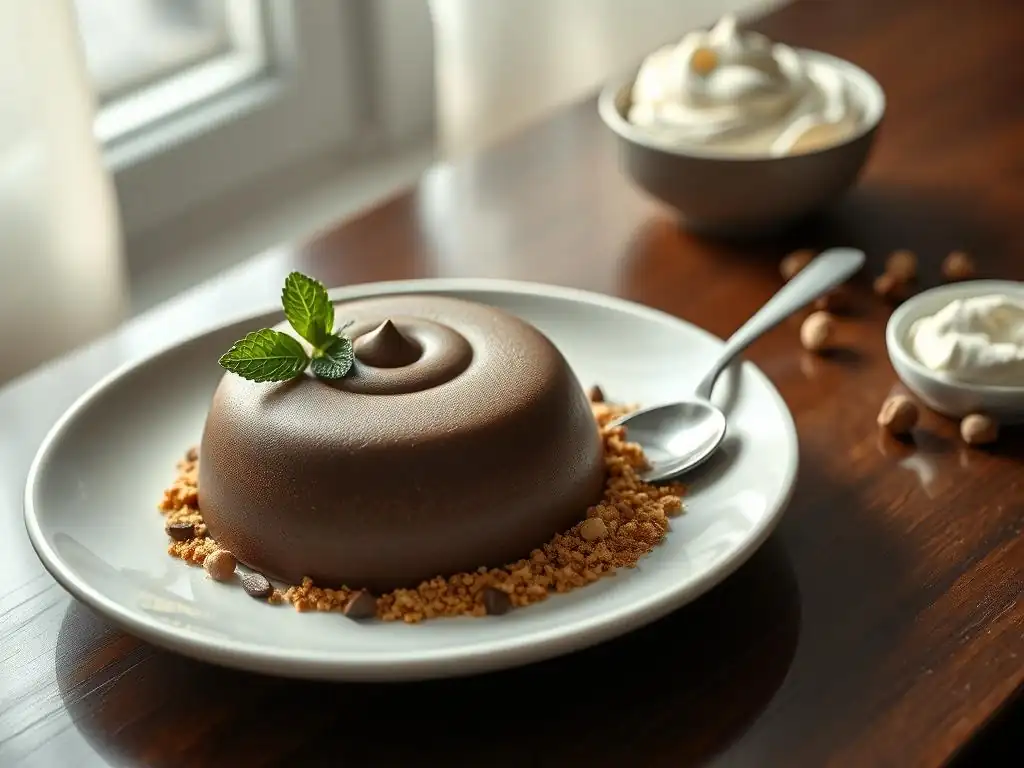
This no-bake mousse is incredibly rich, creamy, and surprisingly simple, making it a fantastic candidate for easy plated chocolate dessert recipes. The avocado provides a silky texture and healthy fats without imparting a strong flavor, allowing the chocolate to shine. Pairing it with a crunchy hazelnut crumble adds essential textural contrast.
Why Avocado Works Wonders in Chocolate Mousse
Avocado's unique composition makes it an excellent base for dairy-free or vegan chocolate mousse. Its high fat content contributes to a luxurious, velvety smooth texture that mimics the richness of traditional dairy-based mousses made with cream or butter. When blended thoroughly with cocoa powder and sweetener, the mild flavor of ripe avocado is completely masked by the chocolate.
Using avocado also means this mousse is quicker to prepare than many traditional recipes that require whipping egg whites or cream to stiff peaks. A ripe avocado blends easily into a smooth puree. For example, a standard recipe using two ripe avocados can create a mousse with a texture comparable to one using a cup of heavy cream, but often with less saturated fat (depending on the chocolate used). This makes it a clever ingredient choice for simple yet elegant easy plated chocolate dessert recipes.
Recipe: Creamy Chocolate Avocado Mousse
This recipe yields 4-6 servings of rich, decadent mousse:
- 2 ripe avocados, pitted and scooped out
- 60g (1/2 cup) unsweetened cocoa powder
- 120ml (1/2 cup) maple syrup or other liquid sweetener (adjust to taste)
- 60ml (1/4 cup) plant-based milk (almond, oat, or soy)
- 1 teaspoon vanilla extract
- Pinch of salt
Combine all ingredients in a food processor or high-speed blender. Process until completely smooth and creamy, scraping down the sides as needed. This may take 2-3 minutes to achieve a truly silky texture. Taste and adjust sweetness if necessary. Pour the mousse into individual serving dishes or glasses, or into a larger container, and chill in the refrigerator for at least 1 hour to set. For plating, you can scoop the chilled mousse or pipe it.
Achieving a perfectly smooth texture is key here, which is why a powerful blender or food processor is recommended. Processing for 2-3 minutes ensures no avocado lumps remain. The recipe uses about 60g of cocoa powder, providing a deep chocolate flavor that effectively covers the avocado taste. Chilling for at least an hour allows the mousse to firm up enough for easier plating techniques, making it suitable for easy plated chocolate dessert recipes that require structure.
Making the Hazelnut Crumble: Texture and Flavor
A simple hazelnut crumble adds crucial crunch and nutty flavor to the smooth mousse.
- 50g (1/2 cup) hazelnuts, toasted and roughly chopped
- 30g (1/4 cup) all-purpose flour or almond flour
- 30g (2 tablespoons) cold unsalted butter, cut into small cubes (or coconut oil for vegan)
- 30g (2 tablespoons) granulated sugar
- Pinch of salt
Preheat oven to 180°C (350°F). In a bowl, combine the flour, sugar, and salt. Cut in the cold butter (or coconut oil) using your fingertips or a pastry blender until the mixture resembles coarse crumbs. Stir in the chopped toasted hazelnuts. Spread the mixture onto a baking sheet lined with parchment paper. Bake for 10-15 minutes, or until golden brown and fragrant. Let cool completely before using; it will crisp up as it cools. Store in an airtight container.
Toasting the hazelnuts before chopping enhances their flavor significantly. Baking the crumble until golden brown, typically between 10-15 minutes, ensures it's crisp. Using cold butter or coconut oil is essential for creating a crumbly texture rather than a paste. This crumble adds a delightful textural contrast that elevates the simple mousse into an interesting easy plated chocolate dessert recipe.
Plating the Mousse: Adding Height and Texture
Plating the chocolate avocado mousse allows for various presentations. You can scoop quenelles of chilled mousse onto a plate, pipe swirls using a piping bag, or simply serve it in elegant glasses or bowls with the crumble sprinkled on top.
For a composed plate, place a scoop or piped portion of mousse slightly off-center. Scatter the cooled hazelnut crumble around the mousse or create a 'bed' of crumble for the mousse to sit on. A drizzle of chocolate sauce or a few fresh berries can add color and moisture. Consider adding a sprig of fresh mint or a dusting of cocoa powder for a simple garnish. The contrast between the dark, smooth mousse and the light, crunchy crumble is key to the visual and textural appeal of this easy plated chocolate dessert recipe.
Recipe 3: Dark Chocolate Ganache Tartlets with Sea Salt
These mini tartlets feature a rich, silky dark chocolate ganache filling in a crisp pastry shell, finished with a sprinkle of flaky sea salt. They are elegant, flavorful, and perfect for individual servings, making them ideal candidates for easy plated chocolate dessert recipes.
Creating the Perfect Chocolate Ganache
A classic dark chocolate ganache is incredibly simple, requiring just two main ingredients: chocolate and cream. The ratio of chocolate to cream determines the consistency, from a pourable sauce to a firm filling. For these tartlets, a slightly firmer ganache is needed to hold its shape when sliced.
- 200g (about 7 ounces) good quality dark chocolate (around 60-75% cocoa), finely chopped
- 200ml (about 3/4 cup + 1 tablespoon) heavy cream (double cream)
- Optional: 1 tablespoon butter (for shine and smoothness)
Place the chopped chocolate in a heatproof bowl. Heat the heavy cream in a small saucepan over medium heat until it just begins to simmer around the edges. Do not boil. Pour the hot cream over the chopped chocolate. Let it sit undisturbed for 5 minutes to allow the chocolate to melt.
Add the butter (if using). Gently whisk the mixture starting from the center and moving outwards until it is completely smooth and emulsified. Avoid whisking too vigorously, which can incorporate air bubbles. Let the ganache cool slightly at room temperature, stirring occasionally, until it reaches a spreadable consistency before filling the tartlet shells. For a firmer set, you can chill it slightly, but be careful not to let it get too hard.
Using equal weights of chocolate and cream (a 1:1 ratio by weight) typically yields a firm yet creamy ganache perfect for tart fillings. For example, 200g of chocolate and 200ml of cream creates a beautiful texture once set. Using finely chopped chocolate ensures it melts evenly and quickly when the hot cream is added. Allowing it to sit undisturbed for 5 minutes before whisking is a crucial step for achieving a smooth, lump-free ganache for these easy plated chocolate dessert recipes.
Baking the Tartlet Shells: A Detailed Guide
While you can use store-bought tartlet shells for ultimate ease, making your own sweet pastry adds a superior flavor and texture. This recipe makes enough for about 6-8 mini tartlet shells (around 3-4 inches in diameter).
- 150g (1 1/4 cups) all-purpose flour
- 50g (1/4 cup) powdered sugar
- Pinch of salt
- 75g (5 tablespoons) cold unsalted butter, cut into small cubes
- 1 large egg yolk
- 1-2 tablespoons cold water or milk
In a bowl, whisk together the flour, powdered sugar, and salt. Cut in the cold butter using your fingertips or a pastry blender until the mixture resembles coarse crumbs with some pea-sized pieces of butter remaining. In a small bowl, whisk the egg yolk with 1 tablespoon of cold water or milk. Add the egg mixture to the dry ingredients and mix until the dough just comes together. Add the second tablespoon of liquid only if needed. Do not overwork the dough. Gather the dough into a disc, wrap in plastic wrap, and chill for at least 30 minutes.
Preheat oven to 180°C (350°F). Roll out the chilled dough on a lightly floured surface to about 3mm (1/8 inch) thickness. Cut out circles large enough to fit into your tartlet molds. Gently press the dough into the molds, trimming excess. Prick the bottoms with a fork.
For 'blind baking' (baking the shell without filling), line the shells with parchment paper or foil and fill with pie weights or dried beans. Bake for 15-20 minutes until the edges are lightly golden. Remove weights and parchment/foil and bake for another 5-10 minutes until the bottom is dry and golden. Let cool completely before filling with the ganache.
Blind baking is an essential step (15-20 mins with weights, then 5-10 mins without) to ensure the tartlet shells are fully cooked and crisp before adding the moist ganache filling. Chilling the dough for at least 30 minutes makes it much easier to roll and handle without becoming sticky. These steps contribute to creating a perfect base for these easy plated chocolate dessert recipes.
Adding the Sea Salt: Enhancing the Chocolate Flavor
Finishing the dark chocolate ganache tartlets with flaky sea salt is more than just a garnish; it's a flavor enhancer. The salt crystals provide a delightful textural contrast against the smooth ganache and, more importantly, they amplify the rich, complex notes of the dark chocolate.
Just a small sprinkle of flaky sea salt, like Maldon or Fleur de Sel, is needed on top of the set ganache before serving. The specific type of salt matters – flaky salts have a pleasant crunch that dissolves slowly, providing bursts of salty flavor that balance the sweetness and bitterness of the chocolate. This simple addition elevates the flavor profile significantly, turning a classic combination into a more sophisticated one suitable for elegant easy plated chocolate dessert recipes.
Plating the Tartlets: Simple Elegance
Plating mini tartlets is inherently simple because the tartlet itself is the perfect individual portion. The elegance comes from thoughtful additions and arrangement.
Place a single tartlet on a plate, slightly off-center. You can dust the plate with a fine sifting of cocoa powder or powdered sugar around the tartlet (use a stencil for a pattern if desired). A simple drizzle or smear of a contrasting sauce, like caramel or a berry coulis, adds color and moisture.
A small quenelle of crème fraîche or a dollop of whipped cream next to the tartlet offers a creamy element. A few fresh berries, a sprinkle of chopped nuts, or a small chocolate curl can complete the composition. The key is to keep it clean and uncluttered, letting the beautiful tartlet and its sprinkle of sea salt be the focal point of these easy plated chocolate dessert recipes.
Tips and Tricks for Perfect Plated Chocolate Desserts
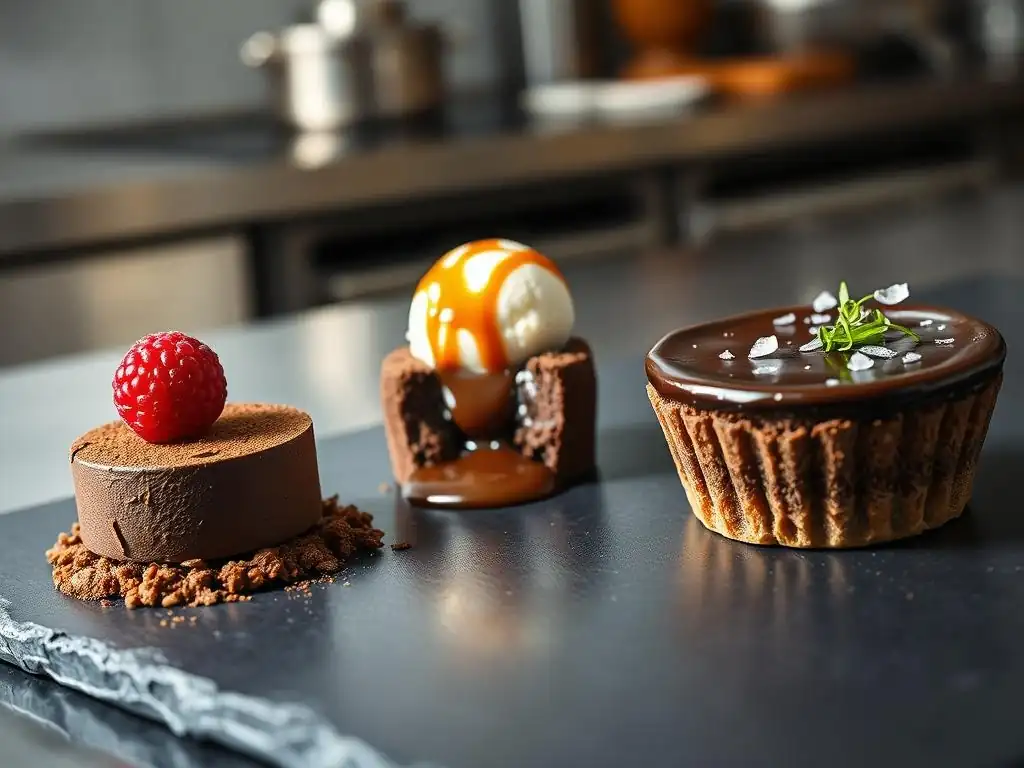
Beyond the recipes, a few general tips can help you consistently create beautiful and delicious plated chocolate desserts. These pointers cover everything from ingredient selection to final presentation.
Chocolate Selection: Choosing the Right Chocolate
The type and quality of chocolate you use significantly impacts the outcome of any chocolate dessert. For melting, baking, or making ganache, choose a good quality baking chocolate or couverture chocolate (chocolate specifically made for melting and tempering). Chocolate chips often contain stabilizers that prevent them from melting smoothly, making them less ideal for ganache or sauces.
Consider the cocoa percentage:
- White chocolate (around 20-35% cocoa butter): Sweet, creamy, no cocoa solids.
- Milk chocolate (around 30-40% cocoa solids): Sweeter, milky flavor.
- Dark chocolate (50-100% cocoa solids): Ranges from bittersweet to intensely bitter.
For ganache or mousse, a dark chocolate with 60-75% cocoa offers a good balance of richness and subtle bitterness. For lava cakes, a 60-70% dark chocolate works well. Using specific cocoa percentages mentioned in recipes, like 70% for an intense flavor, provides a guideline, but feel free to experiment to find your preference for your easy plated chocolate dessert recipes.
Mastering Chocolate Sauces and Garnishes
Sauces and garnishes are essential for adding moisture, flavor, texture, and visual appeal to plated desserts. Simple chocolate sauces can be made by melting chocolate with a little cream or butter, or by making a simple syrup base with cocoa powder. Other sauces like caramel, berry coulis, or créme anglaise also pair wonderfully with chocolate.
Garnishes can range from edible flowers and fresh fruit to toasted nuts, cookie crumbs, or tempered chocolate elements. Learning a few basic techniques, like how to make a simple chocolate drizzle (melted chocolate in a piping bag with a tiny snip off the end) or how to toast nuts evenly (spread on a baking sheet at 180°C/350°F for 5-10 minutes), will greatly enhance your plating capabilities. Practicing simple sauce swirls or creating neat lines with a spoon can make a big difference in the final look of your easy plated chocolate dessert recipes.
Storage and Presentation Tips for Chocolate Desserts
Proper storage is key to maintaining the quality of your desserts before plating. Mousses and ganaches need to be chilled to set properly, often for at least 1-2 hours. Cakes can often be baked ahead and stored at room temperature or chilled. Crumble toppings should be stored in an airtight container to remain crisp.
When presenting, use clean plates. Wipe away any drips or smudges before serving. Serve chilled desserts cold and warm desserts warm (like the lava cake immediately after baking). Prepare your garnishes and sauces ahead of time so plating can be done quickly just before serving, ensuring everything is at its optimal temperature and texture. Thinking through the plating steps before you start can help streamline the process and lead to more beautiful results for your easy plated chocolate dessert recipes.
Conclusion: Unleash Your Creativity with Chocolate Plating
You've now got the basics, some simple recipes, and key techniques for creating beautiful and delicious plated chocolate desserts at home. From the dramatic molten center of a lava cake to the silky texture of an avocado mousse or the crisp shell of a ganache tartlet, these easy plated chocolate dessert recipes provide a fantastic starting point. Remember that presentation is an extension of your baking – it's about celebrating the delicious dessert you've created.
Beyond the Recipes: Experimenting with Flavors and Textures
These recipes are just the beginning. Once you feel comfortable with the techniques, don't hesitate to experiment. Try pairing the lava cake with a different sauce, like salted caramel or coffee cream. Swapping hazelnuts in the crumble for pistachios or almonds can completely change the flavor profile. Add spices like chili or cinnamon to your chocolate ganache for an unexpected twist.
Think about combining elements from different recipes – perhaps serving the avocado mousse with a different type of crumble or adding a tempered chocolate garnish to your tartlets. The principles of combining contrasting textures (creamy vs. crunchy), temperatures (warm vs. cold), and flavors (sweet vs. tart/salty) apply across all easy plated chocolate dessert recipes. Have fun playing with ingredients and arrangements to find your own signature style.
BakeWithEase: Your Partner in Chocolate Dessert Mastery
At BakeWithEase.com, we are committed to helping you explore the wonderful world of baking with confidence and creativity. Whether you're just starting out or looking to refine your skills, we offer step-by-step guides, simple recipes, and helpful tips to make your baking journey enjoyable and rewarding.
These easy plated chocolate dessert recipes are designed to be accessible while still allowing you to produce stunning results. We encourage you to try them, practice the plating techniques, and then start experimenting on your own. Baking and plating are skills that improve with practice, and we're here to support you every step of the way as you master the art of elegant chocolate desserts. Happy baking and happy plating!
Frequently Asked Questions
What makes a chocolate dessert recipe "easy" for plating?
An easy plated chocolate dessert recipe typically involves simple techniques and readily available ingredients. The focus is on elegant presentation without requiring advanced baking skills.
What are some common ingredients found in easy plated chocolate dessert recipes?
Common ingredients include high-quality chocolate, fresh fruit for garnish, creams or custards for texture, and sometimes pre-made elements like cookies or biscuits for added crunch.
Can I modify these recipes to be gluten-free or vegan?
Yes, many plated chocolate dessert recipes can be adapted. Substitute gluten-free flour blends in baked components and use plant-based alternatives for dairy products like cream and butter.
How important is presentation when plating a chocolate dessert?
Presentation is key to a plated dessert. Consider elements like color contrast, texture variation, and geometric arrangement to create a visually appealing and professional-looking dish.
Where can I find more easy plated chocolate dessert recipes?
Websites like BakeWithEase.com offer a variety of step-by-step guides and recipes suitable for all skill levels, focusing on simple techniques and accessible ingredients.
Final Reflection: The Enduring Allure of Simple Chocolate Elegance
The art of creating exquisite chocolate desserts doesn't require culinary school; it simply requires a touch of creativity and a willingness to experiment. This exploration of easy plated chocolate dessert recipes demonstrates that breathtaking presentations are achievable even with minimal ingredients and techniques. The beauty lies not in complexity, but in the thoughtful arrangement and the quality of the chocolate itself.
The enduring appeal of chocolate transcends generations and cultures; its rich, comforting flavor evokes feelings of joy and celebration. It's a versatile ingredient that can be molded into countless forms, from delicate mousses to decadent ganaches. The recipes presented here are a testament to this versatility, offering a pathway to creating memorable experiences with simple elegance. Chocolate is a gift from the gods.
- This sentiment, though perhaps hyperbolic, speaks to the powerful emotional connection many people have with this beloved ingredient.
Now, consider your own culinary journey. What simple chocolate creation will you craft next? Perhaps you'll experiment with a new flavor combination, or refine a technique you've learned. Don't be afraid to embrace imperfection; the most rewarding creations often come from a place of playful experimentation. Let the elegance of simplicity guide you, and discover the joy of creating beautiful, delicious chocolate desserts that will delight you and those you share them with.
Unleash Your Inner Chocolatier!
Thanks for joining us on this delicious journey into the world of elegant chocolate desserts! We hope you’ve found some inspiration and are ready to create stunning treats. Now it's time to put your newfound skills to the test.
- Master your favorite recipe: Choose one plated chocolate dessert recipe from the article and make it your own! Experiment with different flavors and presentations to truly personalize it.
- Share your creations: Post a picture of your masterpiece on social media and tag us – we'd love to see your chocolate artistry! Use #BakeWithEaseChocolate.
- Challenge a friend: See who can create the most impressive chocolate dessert. Share your results!
Ready to embark on your chocolate adventure? What’s the first decadent chocolate dessert you'll be whipping up?