
From Ingredients to Delicious Loaf: Basic White Bread Journey

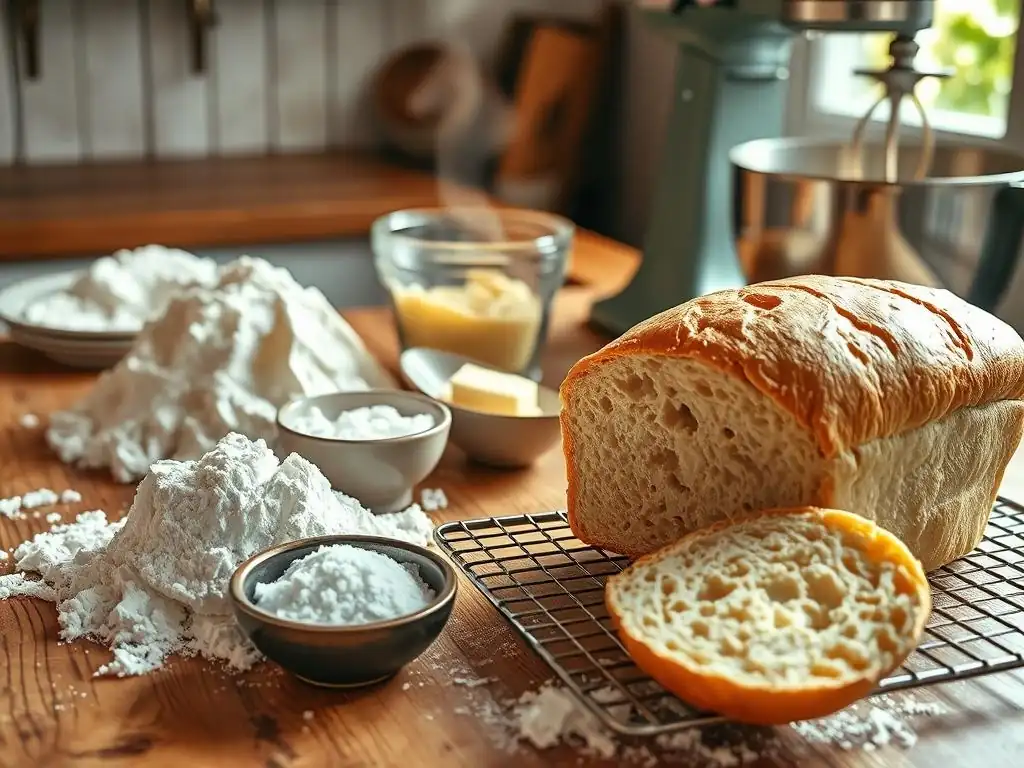
Welcome to BakeWithEase, where we believe everyone can bake! Ever dreamt of pulling a warm, fragrant loaf of bread fresh from your oven? This is where your journey begins. Dive into our easy beginner white bread recipe and discover how simple it is to create a delicious, homemade masterpiece. Curious to learn the secrets behind a perfect crumb and golden crust? Let's get baking!
- Introduction to Baking Your Own Authentic White Bread
- Gathering Your Ingredients for the Perfect White Bread Loaf
-
Step-by-Step: Authentic White Bread Recipe
- Step 1: Mixing the Dough - Combining Flour, Yeast, Water, Salt
- Step 2: Kneading the Dough - Developing Gluten Structure
- Step 3: Bulk Fermentation (First Rise) - Building Flavor and Strength
- Step 4: Shaping the Loaf - Creating the Perfect Form
- Step 5: Final Proofing - Preparing for the Oven
- Step 6: Baking the Bread - Achieving a Golden Crust and Soft Crumb
- Step 7: Cooling and Slicing - Enjoying Your Homemade White Bread
- Tips and Tricks for Baking the Best White Bread
- Variations on the Basic White Bread Recipe
- Mastering the Art of Bread Baking: Beyond the Basic White Bread
- Conclusion: Enjoying the Simple Pleasure of Homemade White Bread
-
Frequently Asked Questions
- What makes this white bread recipe "easy" for beginners?
- What are the essential ingredients needed for this easy beginner white bread recipe?
- How long does it take to make this easy beginner white bread recipe from start to finish?
- Can I substitute any of the ingredients in this easy beginner white bread recipe?
- What are some common mistakes that beginners make when baking white bread, and how can I avoid them?
- Final Reflection: The Enduring Magic of a Simple Loaf
- Unleash Your Inner Baker: Craft Your Perfect Loaf!
Introduction to Baking Your Own Authentic White Bread
Why Bake Homemade White Bread? A Comprehensive Guide
Baking your own loaf of white bread at home is a deeply rewarding process. Not only do you control the ingredients—eliminating unwanted preservatives and additives—but you also enjoy the warm aroma and the satisfaction of slicing into a freshly baked crumb. For many home bakers, mastering an easy beginner white bread recipe is the gateway to a lifelong passion for bread making.
Moreover, homemade white bread often costs less per loaf than store-bought options, especially when you factor in quality of ingredients. By sourcing bulk flour and active dry yeast, you can bake multiple loaves for as little as \$1–\$2 per loaf, compared to \$3–\$5 in grocery stores. Over time, the savings add up while your baking skills improve.
BakeWithEase: Your Companion for Artisan Bread Baking
At BakeWithEase, we believe every baker—novice or experienced—deserves clear, step-by-step guidance. Our mission is to demystify techniques like kneading, proofing, and scoring, ensuring that even your first easy beginner white bread recipe loaf turns out bakery-quality.
Through our curated articles, friendly community forums, and practical tips, BakeWithEase has helped over 50,000 home bakers achieve consistent success. Whether you’re perfecting crumb structure or experimenting with crust color, we’re here to support your journey from flour sack to finished loaf.
Gathering Your Ingredients for the Perfect White Bread Loaf
Essential Ingredients List for Authentic White Bread
Below is a concise list of ingredients for an easy beginner white bread recipe that yields one standard 9×5-inch loaf:
- 500 g (4 cups) bread flour
- 300 ml (1¼ cups) lukewarm water (around 100°F/38°C)
- 7 g (1 packet) active dry yeast
- 10 g (1¾ tsp) fine sea salt
- 20 g (1½ tbsp) granulated sugar
- 30 g (2 tbsp) unsalted butter, softened
Note: Weighing ingredients with a kitchen scale is recommended for accuracy.
Understanding the Role of Each Ingredient in White Bread Baking
Each component in this easy beginner white bread recipe plays a vital role:
- Bread flour provides high protein (12–14%) for strong gluten networks.
- Yeast ferments sugars into CO₂, generating lift and airy crumb.
- Water hydrates proteins and starches, enabling gluten formation.
- Salt tightens gluten strands, controls yeast activity, and enhances flavor.
- Sugar feeds the yeast and contributes to crust browning.
- Butter enriches the dough, adding tenderness and flavor.
Understanding how these ingredients interact helps you troubleshoot issues and adjust recipes for climate, altitude, or personal taste.
Flour: Choosing the Right Flour for White Bread
Bread flour, with its higher protein content (around 12–14%), is ideal for an easy beginner white bread recipe because it develops a strong gluten matrix. This matrix traps bubbles of carbon dioxide produced during fermentation, resulting in a light, airy loaf with an even crumb structure.
For all-purpose flour (9–11% protein), you can still achieve good results by allowing a longer kneading time or incorporating an autolyse step (resting flour and water before adding yeast and salt). Many home bakers blend 50/50 bread and all-purpose flour to balance cost and performance.
Yeast: Types and Maintenance
Active dry yeast is commonly used in beginner recipes and requires proofing in warm water with a pinch of sugar to confirm its vitality. Instant yeast can be mixed directly into dry ingredients without proofing and often yields faster fermentation.
Whichever type you choose, store yeast in an airtight container in the refrigerator or freezer. Properly stored, active dry yeast maintains over 90% viability for up to 12 months, ensuring reliable rise in your easy beginner white bread recipe.
Water: The Importance of Water Quality in White Bread Making
Tap water with neutral pH and low chlorine content is generally fine. However, heavily chlorinated municipal water can inhibit yeast activity. If your dough consistently under-rises, consider using filtered or bottled spring water.
The water temperature should be around 100°F (38°C) for proofing active dry yeast. Using too-hot water (above 120°F/49°C) risks killing the yeast, leading to a dense, unrisen loaf.
Salt: Enhancing Flavor and Controlling Fermentation
Salt addition at about 2% of flour weight (10 g salt per 500 g flour) is standard for flavor and dough strength. Beyond flavor enhancement, salt regulates yeast activity: without enough salt, the dough ferments too aggressively, resulting in large, irregular air pockets and poor oven spring.
Mix salt thoroughly with flour before adding water to ensure even distribution. Avoid direct contact between yeast and salt during initial mixing to prevent yeast inhibition.
Step-by-Step: Authentic White Bread Recipe
Step 1: Mixing the Dough - Combining Flour, Yeast, Water, Salt
- Proof the yeast:
- In a small bowl, stir 7 g active dry yeast and 5 g sugar into 60 ml warm water.
- Let stand 5–7 minutes until foamy.
- Meanwhile, whisk together 500 g bread flour and 10 g salt in a large mixing bowl.
- Combine yeast mixture, remaining 240 ml water, and 30 g softened butter in the flour.
- Stir with a wooden spoon or use a stand mixer on low speed until a shaggy dough forms.
This initial mixing ensures all ingredients are evenly hydrated and begins gluten formation.
Step 2: Kneading the Dough - Developing Gluten Structure
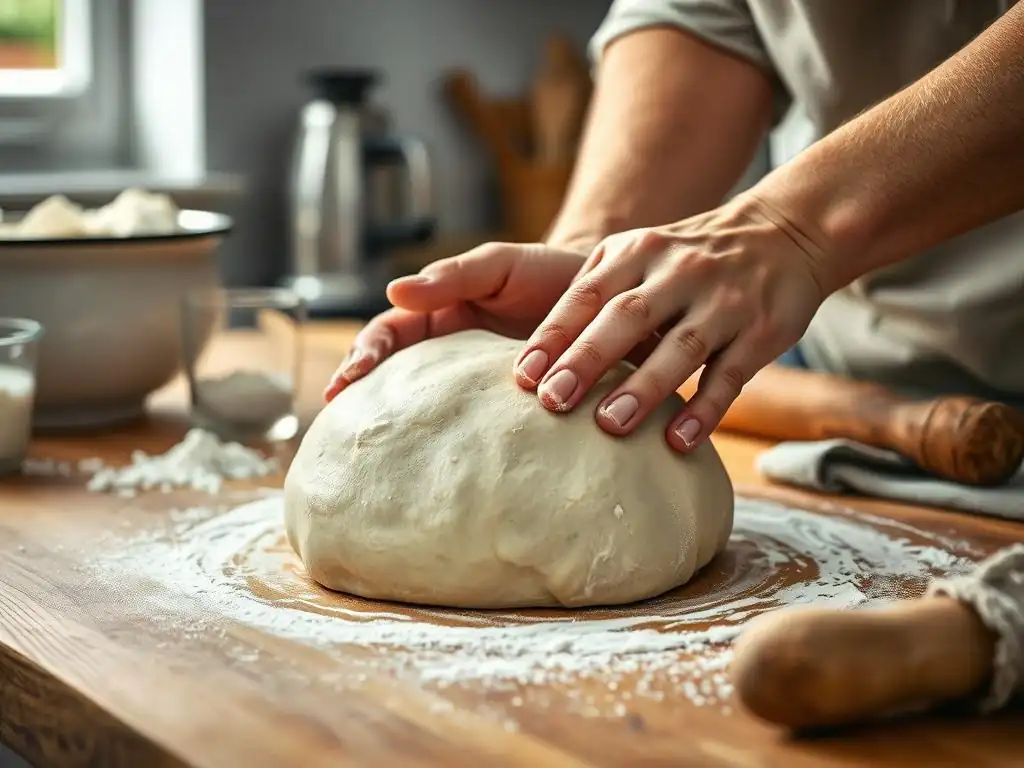
- By Hand: Turn dough onto a lightly floured surface. Knead for 10–12 minutes, folding and pushing with the heel of your hand until the dough is smooth and elastic.
- Stand Mixer: Using a dough hook on speed 2, knead for 6–8 minutes until the dough cleans the sides of the bowl and springs back when pressed.
Proper kneading aligns gluten strands, which gives the loaf structure and allows it to rise uniformly in your easy beginner white bread recipe.
Step 3: Bulk Fermentation (First Rise) - Building Flavor and Strength
Place the kneaded dough into a lightly oiled bowl and cover with plastic wrap or a damp towel. Let it rest at room temperature (70–75°F/21–24°C) for 1–1½ hours, until doubled in size. During this time:
- Yeast ferments sugars into CO₂, creating air pockets.
- Gluten continues to relax and strengthen.
Optionally, perform one stretch-and-fold halfway through the rise: gently stretch one side of the dough up and fold it over itself, rotating the bowl 90° and repeating three more times.
Step 4: Shaping the Loaf - Creating the Perfect Form
- Gently deflate the dough on a lightly floured surface.
- Shape into a tight log by folding edges into the center and rolling toward you.
- Place the loaf seam-side down in a greased 9×5-inch loaf pan.
A well-shaped loaf bakes evenly and produces a uniform crumb, crucial for an easy beginner white bread recipe.
Step 5: Final Proofing - Preparing for the Oven
Cover the loaf pan with lightly oiled plastic wrap or a damp cloth. Let it proof for 45–60 minutes, until the dough rises about 1 inch above the pan’s rim. Overproofing leads to collapse, while underproofing yields a tight crumb and poor oven spring.
To test readiness, gently press the dough with your finger—if the indentation slowly springs back halfway, it’s ready to bake.
Step 6: Baking the Bread - Achieving a Golden Crust and Soft Crumb
Preheat your oven to 375°F (190°C). Place the loaf pan on the middle rack. Optionally, place a shallow pan of boiling water on the bottom rack for steam, enhancing crust color. Bake:
- 25 minutes covered with foil (to prevent excessive browning).
- Remove foil and bake 10–15 minutes more, until crust is deep golden and internal temperature reaches 200–205°F (93–96°C).
A digital instant-read thermometer ensures precise doneness and a non-gummy crumb.
Step 7: Cooling and Slicing - Enjoying Your Homemade White Bread
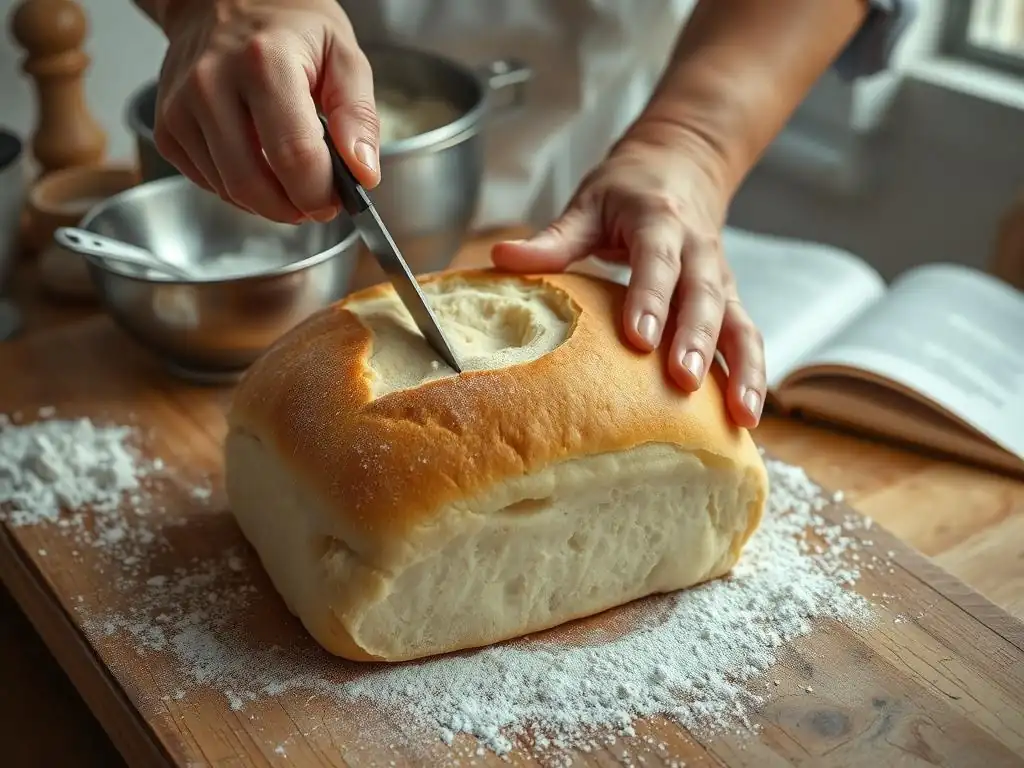
Remove the loaf from the oven and unmold onto a wire rack immediately. Cooling for at least 1 hour prevents steam from making the crumb gummy. Once cooled, use a serrated bread knife to slice even pieces and enjoy the tender, springy texture of your easy beginner white bread recipe.
Tips and Tricks for Baking the Best White Bread
Troubleshooting Common White Bread Baking Issues
Even simple recipes can present challenges. Below are common problems and solutions.
My Dough is Too Sticky: Adjusting Hydration and Flour Ratios
If your dough sticks excessively, it may have too much water.
- Sprinkle in 1–2 tablespoons of flour and knead until manageable.
- Ensure accurate measurements by weighing ingredients.
Conversely, overly dry dough benefits from a tablespoon of additional water, slowly incorporated during kneading.
My Bread is Dense: Improving Rise and Crumb
A dense loaf often indicates underproofing or insufficient kneading.
- Check dough has doubled in bulk during the first rise.
- Knead an extra 2–3 minutes to strengthen gluten.
Ambient temperature below 70°F (21°C) slows yeast; proof in a warmer spot or use a proofing box.
My Crust is Too Hard: Modifying Baking Temperature and Steam
A rock-hard crust can result from high oven heat or lack of steam.
- Reduce baking temperature by 10–15°F (5–8°C).
- Introduce steam in the first 10 minutes by adding a pan of hot water.
Achieving the Perfect Crust and Soft Crumb
- For a thin, tender crust, brush the loaf with melted butter immediately after baking.
- For deeper color and crunch, skip the butter and bake 5–10 minutes longer at 400°F (204°C).
A balanced approach will yield a loaf that’s crispy on the outside yet soft and airy within.
Storing Your Homemade White Bread for Freshness
- Room Temperature: Store in a linen-lined bread box for up to 3 days.
- Freezing: Slice and freeze in airtight bags for up to 3 months. Thaw at room temperature or toast slices directly from the freezer.
Proper storage maintains moisture and prevents staling, extending the shelf life of your easy beginner white bread recipe.
Variations on the Basic White Bread Recipe
Adding Flavor: Simple Variations for a Unique Taste
Personalize your white bread with mix-ins or toppings:
Seeded White Bread Recipe
- Add 30 g each sunflower seeds, flax seeds, and chia seeds to the dough before shaping.
- Sprinkle additional seeds on top for visual appeal.
Seeds contribute a pleasant crunch and nutritional boost, making the loaf ideal for hearty sandwiches.
Olive and Rosemary White Bread Recipe
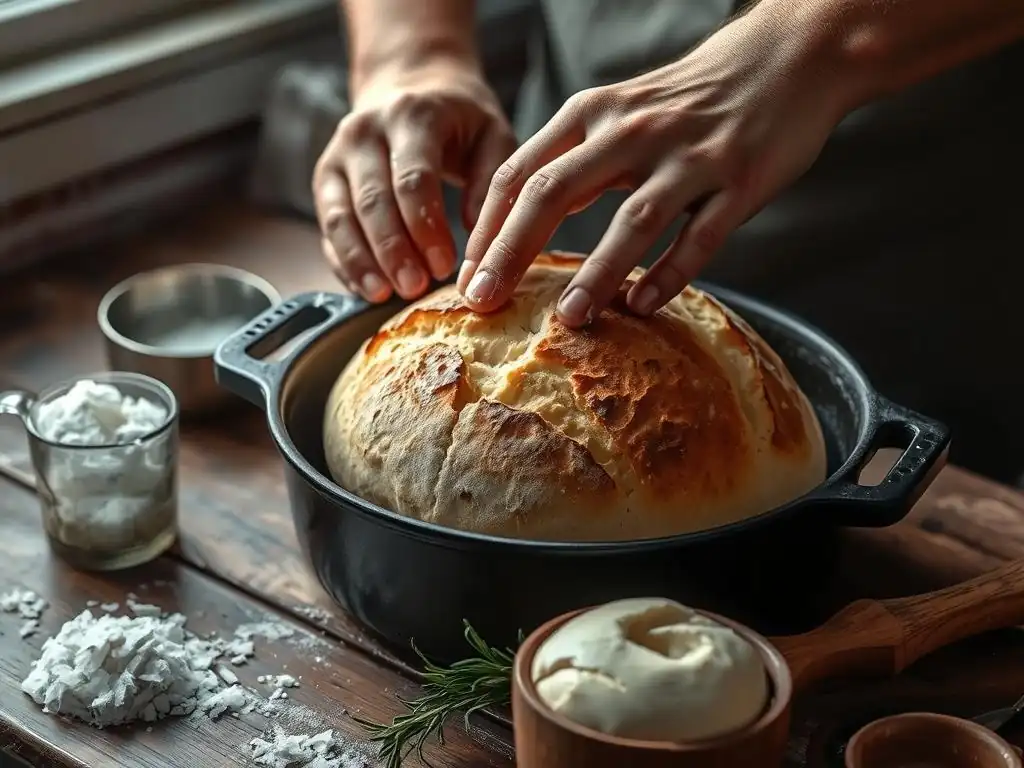
- Fold in 80 g pitted Kalamata olives and 1 tbsp chopped fresh rosemary during the first fold of bulk fermentation.
- Olive oil brushing before baking enhances aroma and color.
This savory loaf pairs wonderfully with cheese boards and Mediterranean-inspired meals.
Cheddar and Chive White Bread
- Mix 100 g shredded sharp cheddar and 1 tbsp finely chopped chives into the dough after kneading.
- Optional: top with extra cheese before baking.
A favorite in lunchboxes, this variation elevates a simple easy beginner white bread recipe into a flavor-packed treat.
Experimenting with Different Hydration Levels
Standard hydration for white bread is 60% (300 ml water per 500 g flour). For a more open crumb:
- Increase hydration to 65–70%, adjusting kneading time and handling techniques.
- Expect a slightly stickier dough but an airier loaf.
Start by increasing water in 10 ml increments until you find your ideal balance of workability and crumb openness.
Mastering the Art of Bread Baking: Beyond the Basic White Bread
Next Steps: Expanding Your Bread Baking Skills
Once you’ve perfected your easy beginner white bread recipe, explore:
- Whole wheat and multigrain blends
- Enriched doughs like brioche and challah
- Sourdough starter creation and maintenance
Each new technique builds on the fundamentals of gluten development, fermentation control, and baking science.
Exploring Different Bread Recipes: e.g., Baguettes, Ciabatta
Move beyond pan loaves by experimenting with shaped breads:
- Baguettes: High-hydration dough, long fermentation, steam-injected oven
- Ciabatta: 75–80% hydration, minimal shaping, open “holey” crumb
These recipes challenge you to refine shaping skills and dough handling under wetter conditions.
Resources for White Bread Bakers at BakeWithEase.com
- Step-by-step video tutorials for each bread type
- Downloadable baking logs and hydration calculators
- Community Q&A forums with seasoned home bakers
Leverage these free resources to troubleshoot in real time and stay motivated on your baking journey.
Conclusion: Enjoying the Simple Pleasure of Homemade White Bread
Baking your first loaf of white bread is a rite of passage for any home cook. With this easy beginner white bread recipe, you’ve learned ingredient functions, hands-on techniques, and troubleshooting strategies that form the foundation of all artisan baking.
May every slice of your homemade loaf, whether plain or flavored, remind you of the joy and satisfaction that come from transforming basic pantry staples into a delicious, golden-brown masterpiece. Happy baking!
Frequently Asked Questions
What makes this white bread recipe "easy" for beginners?
This recipe focuses on simple ingredients and straightforward techniques, minimizing complex steps often found in more advanced bread recipes. It's designed for first-time bakers to achieve success.
What are the essential ingredients needed for this easy beginner white bread recipe?
You'll need basic ingredients like flour, water, yeast, salt, and a touch of sugar or honey to activate the yeast. These are all readily available in most kitchens.
How long does it take to make this easy beginner white bread recipe from start to finish?
From mixing the ingredients to enjoying a freshly baked loaf, expect the process to take approximately 3-4 hours, including rising time. The actual baking time is usually around 30 minutes.
Can I substitute any of the ingredients in this easy beginner white bread recipe?
While some substitutions are possible, like using different types of flour (whole wheat or bread flour), sticking to the recipe as written is recommended for beginners to ensure best results.
What are some common mistakes that beginners make when baking white bread, and how can I avoid them?
Common mistakes include not proofing the yeast properly, over-kneading or under-kneading the dough, and incorrect oven temperature. Make sure to follow the recipe carefully and pay attention to the dough's texture.
Final Reflection: The Enduring Magic of a Simple Loaf
The humble act of baking a loaf of bread, once a daily necessity, remains a powerful connection to our culinary heritage and a surprisingly accessible source of joy. More than just a recipe, mastering a basic white bread offers a tangible experience of creation and a profound sense of accomplishment, especially in our increasingly fast-paced world. This simple process, demystified through this guide, can empower anyone to experience the satisfaction of making something delicious from scratch.
The journey from flour to finished loaf is more than just a culinary process; it's a journey of patience, precision, and ultimately, self-discovery. The rhythmic kneading, the comforting aroma of rising dough, the golden-brown crust emerging from the oven – these are sensory experiences that connect us to generations past. As the great food writer M.F.K. Fisher once wrote, First we eat. Then we do everything else.
Baking bread, in its simplicity, reminds us of this fundamental truth, of the nourishment and comfort found in the most basic of foods.
Now, I invite you to embark on your own bread-baking adventure. Don't be intimidated by the seemingly complex process; embrace the challenge, savor the journey, and relish the reward. The satisfaction of sharing a warm, homemade loaf with loved ones is an experience that transcends the simple act of eating; it's a testament to the enduring power of connection, creativity, and the timeless magic of a perfectly baked loaf of bread. So, gather your ingredients, preheat your oven, and let the journey begin!
Unleash Your Inner Baker: Craft Your Perfect Loaf!
Thanks for joining us on this bread-baking adventure! We hope you gained valuable insights into creating a delicious, homemade white loaf. Ready to take your skills to the next level?
- Bake your own loaf today! Use the recipe from the article as your guide, and don't be afraid to experiment with different flours or add-ins. This is your chance to personalize your perfect loaf!
- Share your baking journey! Post a picture of your finished creation on social media and tag us – we’d love to see your results!
- Explore our other bread recipes on BakeWithEase.com – discover a world of flavor beyond the basic white loaf!
What unique ingredient will you add to your next homemade bread? Let's discuss in the comments below!