
Bake Your Best Basic White Bread: Proven Techniques

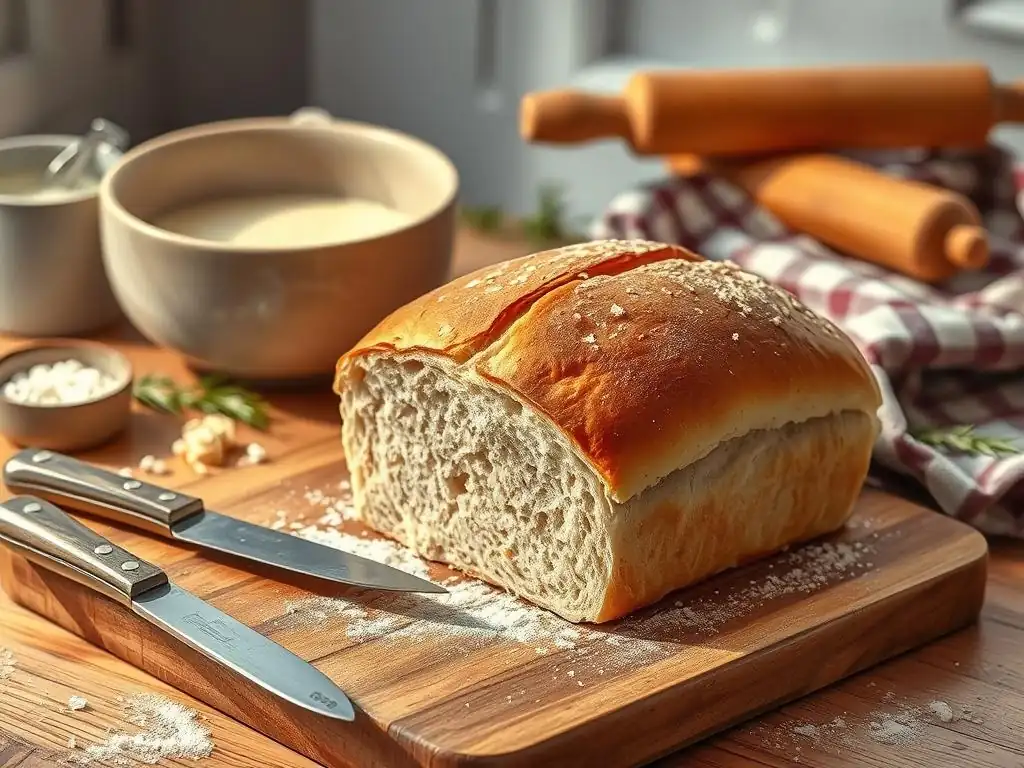
Welcome to BakeWithEase, your haven for all things baking! Ever dreamt of pulling a perfectly golden, aromatic loaf of bread from your own oven? You're in the right place. We're unlocking the secrets to achieving baking bliss, one simple recipe at a time. Dive into our Easy Basic White Bread Recipe and discover proven techniques that will transform your baking from daunting to delightful. Curious how to achieve that perfect crumb and airy texture? Let's get started!
- Introduction to Easy Basic White Bread Baking
- Essential Ingredients for a Perfect White Bread Loaf
-
Step-by-Step Guide to Baking Easy Basic White Bread
- Preparing the Dough: Mixing and Kneading for White Bread
- First Rise: Allowing the Dough to Proof Properly
- Shaping the Dough: Techniques for a Perfect Loaf
- Second Rise: Achieving the Right Texture and Volume
- Baking Your White Bread: Time and Temperature Guidelines
- Cooling and Slicing: Preserving Freshness
- Proven Techniques for Baking the Best White Bread
- Storing and Serving Your Homemade White Bread
- Advanced Techniques: Level Up Your White Bread Baking
- Conclusion: Enjoying Your Homemade Easy Basic White Bread
- Frequently Asked Questions
- Final Reflection: The Enduring Power of a Simple Loaf
- Unleash Your Inner Baker: Perfect Loaves Await!
Introduction to Easy Basic White Bread Baking
Welcome to BakeWithEase's Basic White Bread Guide
Welcome, fellow baking enthusiasts, to BakeWithEase! We're thrilled to guide you through the rewarding process of baking your very own easy basic white bread right in your kitchen. There's a unique satisfaction that comes from pulling a warm, golden loaf from the oven, filling your home with that irresistible aroma. This guide is designed to make that experience accessible and enjoyable for everyone, whether you're a complete beginner or looking to refine your technique. We'll cover everything from the foundational ingredients to proven methods that ensure consistent, delicious results every time you bake this simple white bread recipe.
Embarking on the journey of baking an easy basic white bread recipe opens the door to a world of homemade goodness. Forget store-bought loaves; the texture, flavor, and freshness of bread made from scratch are incomparable. This particular recipe is a fantastic starting point because it requires minimal ingredients and straightforward steps, building a solid foundation for more complex baking projects down the line. Our aim is to demystify the process, providing clear, actionable steps and helpful tips to build your confidence and help you achieve baking success with your very first loaf.
Why Master the Art of Basic White Bread?
Mastering the art of baking a simple white bread recipe is more than just learning a single dish; it's about understanding fundamental baking principles that apply across countless recipes. The process of mixing, kneading, proofing, and baking dough is core to so many baked goods, from pizzas and pastries to rolls and artisan loaves. By perfecting your basic white bread, you gain invaluable hands-on experience with yeast activation, gluten development, and fermentation – skills that are transferable and essential for any aspiring baker. It's like learning the alphabet before writing a novel; it provides the necessary building blocks.
Furthermore, having a reliable easy basic white bread recipe in your repertoire means you can always have fresh bread on hand. Think of the convenience: spontaneous sandwiches, perfect toast for breakfast, or a simple side for dinner, all made with wholesome ingredients you control. Beyond the practicality, there's the immense pleasure of sharing something you've created with loved ones. A warm, homemade loaf is a gesture of comfort and care, and the aroma alone is enough to bring smiles. It’s an achievable goal that yields significant rewards, making it a worthwhile skill to cultivate.
The Ultimate Guide to Baking Simple White Bread at Home
This guide serves as your comprehensive roadmap to successfully baking a simple white bread recipe from start to finish. We've broken down the process into manageable steps, explaining the 'why' behind each action so you understand the science of baking as you go.
You'll learn how to select the right ingredients, mix and knead your dough to perfection, understand the crucial stages of rising, and bake your loaf to a beautiful golden-brown finish. We'll also equip you with troubleshooting tips for common issues, ensuring that even if things don't go exactly as planned the first time, you'll know how to adjust and improve.
Our goal is to empower you to bake with confidence and joy. This isn't just about following instructions; it's about developing an intuition for baking dough. By the end of this guide, you won't just have a delicious loaf of easy basic white bread; you'll have a deeper understanding of the baking process and the confidence to experiment further. We'll share proven techniques honed over countless loaves, offering insights that go beyond the basic recipe instructions. Get ready to transform simple ingredients into a truly extraordinary result and discover the pure pleasure of homemade bread.
Essential Ingredients for a Perfect White Bread Loaf
The Key Ingredients for Easy Basic White Bread
An exceptional easy basic white bread recipe relies on just a handful of simple ingredients: flour, water, yeast, salt, and often a touch of sugar or fat. The quality of these components directly impacts the final loaf. Using fresh, high-quality ingredients is perhaps the most important first step in ensuring your bread turns out well. Think of these as the building blocks; you can't construct a sturdy house with weak materials. We'll delve into each ingredient individually, explaining its role and how to choose the best options for your baking.
For instance, the type of flour makes a significant difference, as does the temperature of your water for activating the yeast. Salt isn't just for flavor; it also plays a role in controlling yeast activity and strengthening the gluten structure. Sugar provides food for the yeast and contributes to crust color.
Even a small amount of fat, like butter or oil, can improve the softness and keeping quality of the loaf. Understanding the function of each ingredient helps you troubleshoot if something goes wrong and gives you the knowledge to make informed decisions about substitutions or variations in the future.
Understanding Flour for Baking White Bread
Flour is the structural backbone of your simple white bread recipe. For most basic white breads, all-purpose flour or bread flour is recommended. Bread flour typically has a higher protein content, usually between 12-14%, compared to all-purpose flour's 10-12%. This higher protein means more gluten development, which results in a chewier texture and a loaf that holds its shape better. While all-purpose flour works perfectly well for a soft, tender loaf, bread flour offers a bit more structure and oven spring.
It's also important to measure your flour correctly. Using too much or too little flour can drastically alter the dough's consistency and the final bread's texture. The most accurate method is using a kitchen scale, weighing the flour to the gram (e.g., 300g for a standard loaf). If using volume measurements, spoon the flour lightly into your measuring cup and level it off with a straight edge, avoiding scooping directly from the bag, which compacts the flour and leads to using too much. The goal is a dough that is slightly sticky but manageable after kneading.
Importance of Yeast in White Bread Recipes
Yeast is the magical leavening agent that makes your easy basic white bread rise, giving it a light and airy texture. It's a living organism that feeds on sugars in the dough, producing carbon dioxide gas and alcohol. These gases get trapped within the gluten network of the dough, causing it to expand.
The most common types used in home baking are active dry yeast and instant yeast. Active dry yeast typically needs to be dissolved in warm water (around 105-115°F or 40-46°C) with a pinch of sugar for 5-10 minutes until foamy, a process called proofing or blooming, to ensure it's alive and active.
Instant yeast, on the other hand, can usually be mixed directly with the dry ingredients, saving a step. It's designed to be more vigorous and faster-acting than active dry yeast. Regardless of the type, proper storage is crucial; yeast should be kept in an airtight container in the refrigerator or freezer to maintain its viability. Using expired or inactive yeast is a common reason for dough failing to rise, so always check the expiration date and consider proofing active dry yeast to confirm it's ready to work its magic in your simple white bread recipe.
Water Temperature and its Impact on Bread Dough
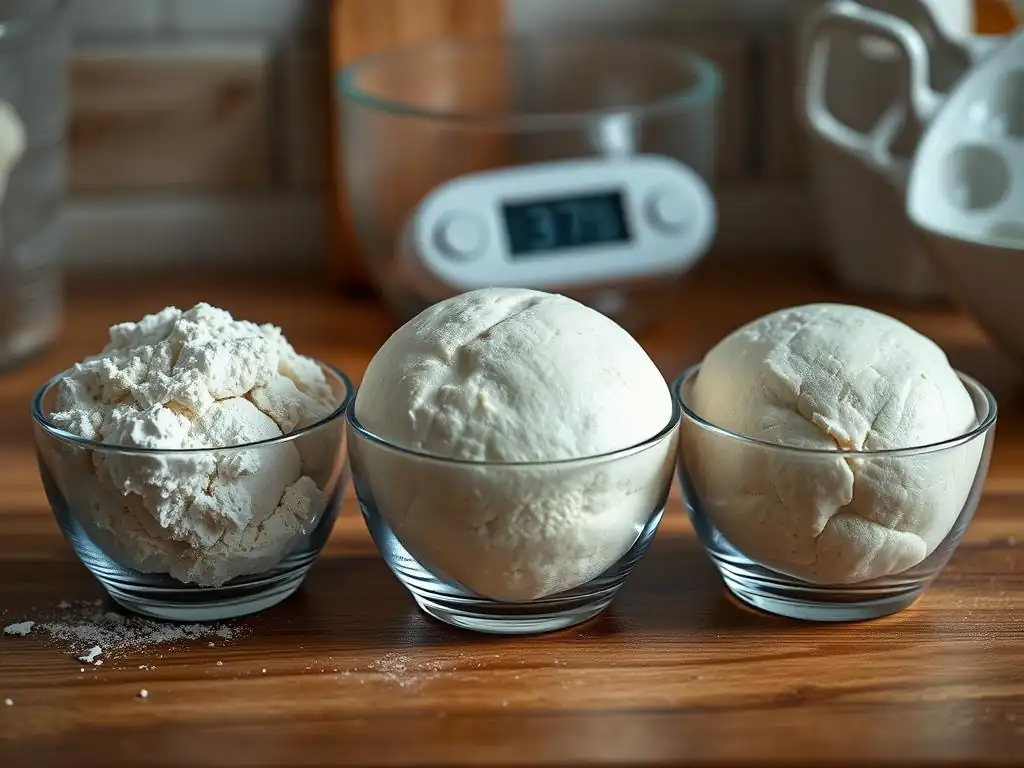
The temperature of the water used in your easy basic white bread recipe is surprisingly critical, especially when working with yeast. Water acts as a solvent, dissolving the salt and sugar, hydrating the flour to start gluten development, and, most importantly, activating the yeast. For active dry yeast, the ideal water temperature range is typically 105-115°F (40-46°C). Water that is too cool won't properly activate the yeast, leading to slow or no rising. Water that is too hot can kill the yeast, rendering it inactive.
Using a thermometer is the most reliable way to check your water temperature. If using instant yeast, you can often use cooler water (around 85-95°F or 30-35°C) or even room temperature water, as this type of yeast is more resilient. However, warmer water will still speed up the initial dough activity. The total amount of water, known as hydration, also impacts the dough's consistency and the final bread's texture. A standard white bread might have hydration around 60-65% (relative to flour weight), resulting in a dough that's easy to handle but still moist enough for a good crumb.
Sugar and Salt: Balancing Flavors in White Bread
Sugar and salt, while used in relatively small amounts in an easy basic white bread recipe, play vital roles beyond just adding flavor. Sugar provides readily available food for the yeast, helping to kickstart fermentation and contributing to a faster initial rise. It also aids in browning the crust during baking, giving your loaf that appealing golden color. While some recipes use only a pinch or omit it entirely, a small amount (like 1-2 tablespoons per loaf) makes a noticeable difference in yeast activity and crust development.
Salt, conversely, helps control yeast activity, slowing it down slightly. Without salt, the yeast would ferment too rapidly, potentially leading to over-proofing and a less flavorful loaf. Salt also strengthens the gluten structure, contributing to better dough handling and a more uniform crumb structure. Furthermore, salt is essential for balancing and enhancing the overall flavor of the bread, preventing it from tasting bland. Using too much salt can inhibit yeast activity significantly, while too little can result in a flat, tasteless loaf. Typically, salt is used at about 1.8-2% of the flour weight in bread recipes.
Step-by-Step Guide to Baking Easy Basic White Bread
Preparing the Dough: Mixing and Kneading for White Bread
The first step in your easy basic white bread recipe journey is preparing the dough. Begin by activating your yeast if using active dry, combining it with warm water and a pinch of sugar in a large mixing bowl and letting it bloom. Once foamy, add the remaining water (if any), salt, sugar (if using), and about half of the flour. Mix with a spoon or spatula until a shaggy dough forms. Gradually add the remaining flour, mixing until the dough pulls away from the sides of the bowl.
Now comes the kneading, a crucial step for developing gluten, which gives the bread its structure and chewiness. You can knead by hand on a lightly floured surface for about 8-10 minutes, pushing, folding, and turning the dough until it becomes smooth, elastic, and no longer excessively sticky. Alternatively, use a stand mixer with a dough hook on medium speed for about 5-7 minutes. The dough is properly kneaded when it passes the "windowpane test": you can gently stretch a small piece of dough thin enough to see light through it without tearing.
First Rise: Allowing the Dough to Proof Properly
After kneading, the dough needs time to rise, also known as the first proofing or fermentation. Lightly grease a clean bowl with oil or cooking spray and place the dough inside, turning it to coat. Cover the bowl tightly with plastic wrap or a damp towel to prevent the dough from drying out. Place the bowl in a warm, draft-free place, ideally around 75-80°F (24-27°C). A slightly warm oven (turned off, with the light on) or simply a spot on your kitchen counter works well.
During this first rise, the yeast is actively producing carbon dioxide, causing the dough to expand. The dough should roughly double in size, which typically takes anywhere from 60 to 90 minutes, depending on the temperature of your kitchen and the yeast activity. You can tell it's ready when you gently press two fingers into the dough, and the indentation remains, slowly springing back only slightly. This stage develops much of the bread's flavor and texture, so be patient and let it rise sufficiently.
Shaping the Dough: Techniques for a Perfect Loaf
Once the dough has doubled in size, it's time to shape it into a loaf. Gently punch down the dough to release the gases. Turn the dough out onto a lightly floured surface. For a standard sandwich loaf, you'll typically want to create a rectangle or square shape roughly the width of your loaf pan. Gently flatten the dough into this shape.
There are several shaping techniques, but a simple and effective one is to fold the top third of the dough down towards the center, then fold the bottom third up over the top fold, like a letter. Then, starting from one end, roll the dough tightly into a log shape, pinching the seam closed along the bottom.
This creates tension on the surface, which helps the loaf rise evenly and hold its shape during the second rise and baking. Place the shaped loaf seam-side down in a greased or parchment-lined loaf pan (a standard 9x5 inch pan is common for an easy basic white bread recipe).
Second Rise: Achieving the Right Texture and Volume
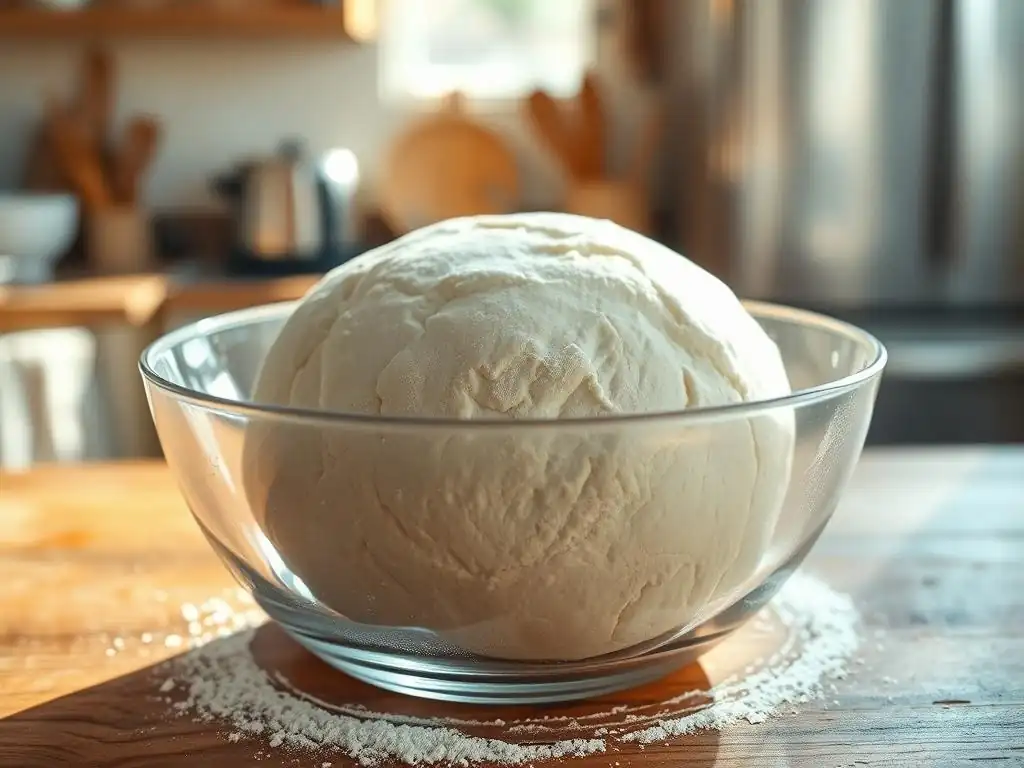
After shaping, the dough needs a second rise, or proofing, in the loaf pan. This stage is crucial for achieving the final volume and a tender crumb structure. Cover the loaf pan loosely with plastic wrap or a clean kitchen towel. Again, place it in a warm, draft-free location. This second rise is usually shorter than the first, typically taking 30-60 minutes.
The dough should rise until it has nearly doubled in size again and has risen about 1 inch above the rim of the loaf pan. You can test for readiness by gently pressing a finger into the side of the loaf; the indentation should spring back very slowly or remain visible. Be careful not to over-proof during this stage, as it can cause the loaf to collapse in the oven. While the dough is proofing, preheat your oven to the recommended baking temperature, usually around 375-400°F (190-200°C).
Baking Your White Bread: Time and Temperature Guidelines
Baking is where the magic truly happens, transforming your proofed dough into a golden, crusty loaf of easy basic white bread. Preheat your oven to the correct temperature, typically 375°F (190°C) or 400°F (200°C), depending on the specific recipe and your oven. A slightly higher temperature initially can help with oven spring (the final burst of rising in the oven). Some bakers like to place a pan of hot water in the bottom of the oven to create steam, which helps the crust stay pliable initially, allowing for better expansion and contributing to a crispier crust.
Bake the loaf for the time specified in your recipe, usually between 25 and 35 minutes. The bread is done when the crust is a deep golden brown and the internal temperature reaches 190-200°F (88-93°C) when measured with an instant-read thermometer inserted into the center of the loaf. If the crust is browning too quickly, you can loosely tent the loaf with aluminum foil for the remainder of the baking time.
Cooling and Slicing: Preserving Freshness
Once baked, immediately remove the loaf from the oven and take it out of the loaf pan. Place the bread on a wire cooling rack to cool completely. This step is just as important as baking! Cooling on a rack allows air to circulate around the entire loaf, preventing the bottom crust from becoming soggy due to trapped steam. Cutting into a hot loaf can compromise its texture, resulting in a gummy interior.
Allow the bread to cool for at least 1-2 hours before slicing. This allows the internal structure to set and moisture to redistribute evenly throughout the loaf. Slicing warm bread also tends to be messier and can compress the crumb. Once fully cooled, use a sharp serrated knife to slice your delicious homemade easy basic white bread. Enjoy the fruits of your labor!
Proven Techniques for Baking the Best White Bread
Achieving a Golden-Brown Crust on Your White Bread
A beautiful golden-brown crust is the hallmark of a perfectly baked easy basic white bread. Several factors contribute to achieving this desirable color and texture. First, ensure your oven is accurately calibrated and preheated to the correct temperature. An oven thermometer can help verify this. Baking at a sufficiently high temperature, typically 375-400°F (190-200°C), is essential for crust development.
The presence of sugar in the dough, even a small amount, aids in caramelization, contributing to the golden hue. Brushing the top of the loaf with a liquid before baking can also enhance crust appearance and texture. Options include:
- Water: Creates a crispier crust.
- Milk: Results in a softer, slightly richer brown crust due to milk sugars.
- Egg wash (beaten egg mixed with a little water or milk): Produces a shiny, deep golden-brown crust.
- Melted butter: Gives a soft, buttery crust.
Experimenting with these washes can help you find your preferred crust style for your simple white bread recipe.
Troubleshooting Common White Bread Baking Problems
Even experienced bakers encounter issues sometimes. Knowing how to troubleshoot common problems can save your loaf!
Dough Not Rising? Here's What to Do
If your easy basic white bread dough isn't rising, the most likely culprit is inactive yeast.
- Check Yeast Expiration: Verify the expiration date on your yeast package.
- Check Water Temperature: Ensure the water used to activate active dry yeast was between 105-115°F (40-46°C). Water outside this range can kill or inactivate the yeast.
- Proofing Environment: Make sure your proofing location is warm enough (ideally 75-80°F / 24-27°C) and free from drafts. Cold temperatures significantly slow down yeast activity.
- Consider the Flour: Very old or improperly stored flour can sometimes affect yeast activity, though this is less common than yeast issues.
If your yeast is confirmed active and temperatures are correct, give the dough more time. Sometimes it just needs patience. If after ample time (e.g., 2-3 hours for the first rise) there's still no significant change, your yeast may be dead, and you might need to start over with fresh yeast.
Bread Too Dense? Tips for a Lighter Texture
A dense loaf of simple white bread can be disappointing. This is often due to insufficient rising or kneading.
- Insufficient Kneading: Gluten development is key to trapping gases produced by yeast. If the dough wasn't kneaded long enough, the gluten network is weak, leading to a dense crumb. Ensure your dough passes the windowpane test after kneading.
- Under-Proofing: If the dough didn't double in size during the first rise or didn't rise sufficiently in the pan during the second rise, it won't have the necessary volume for a light texture. Allow adequate time for both rising stages, checking for the proper indicators (doubling in size, indentation test).
- Over-Proofing: Paradoxically, letting the dough rise too long can also lead to a dense loaf. If the dough rises too much and then collapses during baking, the structure is compromised. Watch the dough carefully during the second rise and bake it when it's just right.
- Too Much Flour: Adding too much flour during mixing or kneading results in a dry, heavy dough that struggles to rise and bakes into a dense loaf. Use a scale for accuracy if possible, and add flour gradually until the dough is the correct consistency – it should be slightly sticky, not stiff.
Preventing a Soggy Bottom in Your White Bread Loaf
A soggy bottom crust is usually a result of moisture trapped underneath the loaf after baking.
- Cooling: The most common cause is not cooling the bread properly. Always remove the loaf from the pan immediately after taking it out of the oven and place it on a wire rack. This allows air to circulate freely around the bottom and sides, letting steam escape.
- Pan Type: Some loaf pans conduct heat differently. Dark metal pans tend to brown the bottom crust more effectively than lighter pans or glass. If you consistently have issues, consider switching pan types.
- Baking Time/Temperature: Ensure the bread is baked for the full recommended time and reaches the proper internal temperature (190-200°F / 88-93°C). Under-baking can leave excess moisture in the loaf, contributing to a soggy bottom. Sometimes, increasing the baking time by a few minutes or slightly increasing the oven temperature can help firm up the bottom crust.
Expert Tips for Enhancing the Flavor of Basic White Bread
While an easy basic white bread recipe is delicious on its own, there are simple ways to elevate its flavor profile. These tweaks can add depth and interest without significantly complicating the process.
Adding Herbs and Spices to Your White Bread
Incorporating dried herbs or spices into your simple white bread dough is an easy way to add a burst of flavor. Common additions include dried rosemary, thyme, oregano, or a blend of Italian herbs. For a subtle savory note, add 1-2 tablespoons of finely chopped fresh herbs or 1-2 teaspoons of dried herbs per standard loaf towards the end of the kneading process.
Spices like garlic powder, onion powder, or even a pinch of black pepper can also enhance the savory character. For something different, consider adding cinnamon and a touch of sugar for a sweeter bread. Just be mindful of the quantities; a little goes a long way, and you want the bread flavor to still be the star. Add herbs or spices during the final minute or two of kneading to ensure even distribution.
Using Different Types of Flour for Unique Flavors
While the core of an easy basic white bread recipe is white flour, incorporating a small percentage of other flours can add interesting flavors and textures. For example, substituting 10-20% of the white flour with whole wheat flour will add a nutty, earthy flavor and increase fiber content. Rye flour, even in small amounts (5-10%), imparts a distinct tang and density.
You could also experiment with bread flour for a chewier texture or pastry flour for a softer crumb, though these are still technically white flours. Using specialty flours like spelt or kamut (ancient grains) can introduce unique, often slightly sweeter or nuttier, profiles. Remember that different flours absorb liquids differently, so you might need to slightly adjust the water quantity if you make significant substitutions. Start with small percentages (10-20%) to see how it affects your simple white bread recipe.
Storing and Serving Your Homemade White Bread
Best Practices for Storing White Bread to Maintain Freshness
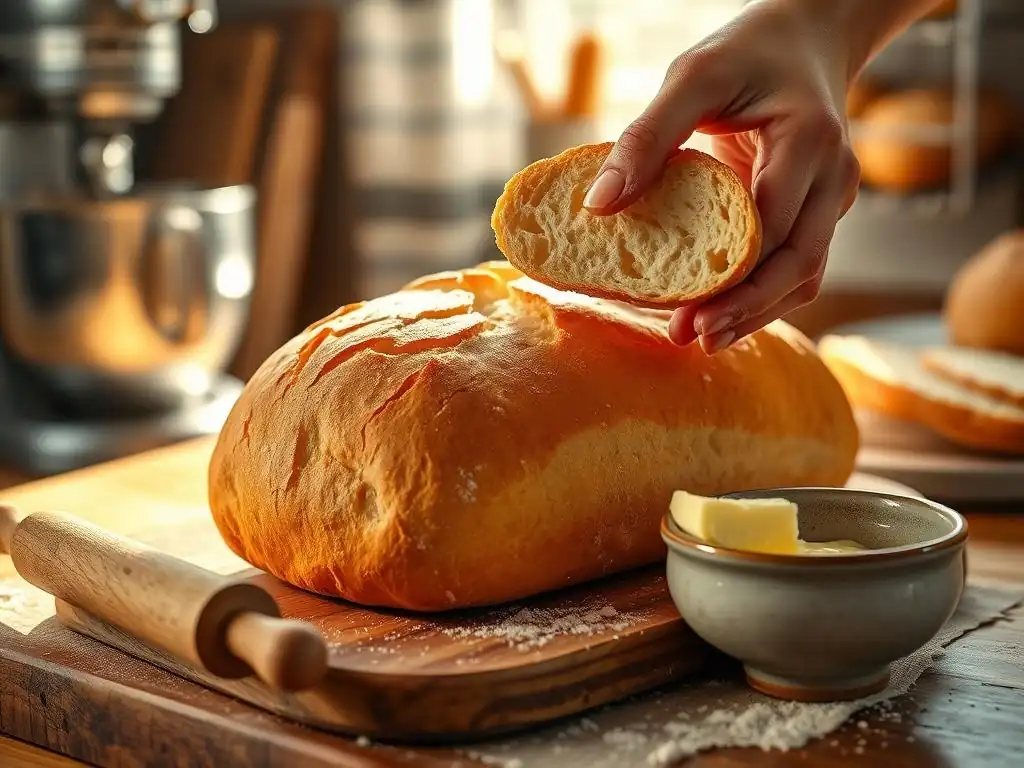
Proper storage is key to keeping your homemade easy basic white bread fresh and delicious for as long as possible. Once completely cooled, the best way to store a whole loaf is at room temperature in a bread box or a paper bag. A paper bag allows the crust to remain crisp, while a bread box helps maintain a balance of moisture. Avoid storing fresh bread in the refrigerator, as it can actually cause it to stale faster due to a process called retrogradation of starch.
For sliced bread, or if you prefer a softer crust, store it in a resealable plastic bag or airtight container at room temperature. This will keep the interior soft but may soften the crust. Homemade bread typically stays fresh for 3-4 days at room temperature. If you won't finish the loaf within this time, freezing is an excellent option.
Slice the cooled loaf, wrap it tightly in plastic wrap, and then place the wrapped slices or the whole loaf in a freezer-safe bag. Frozen bread can last for several months. Thaw slices as needed or the whole loaf overnight at room temperature.
Creative Ways to Serve and Enjoy Your Basic White Bread
Your fresh, homemade easy basic white bread is incredibly versatile! Naturally, it's perfect for classic uses like sandwiches and toast. Elevate your toast by spreading it with artisanal jams, nut butters, avocado, or simply good quality butter.
Beyond the basics, consider using thick slices for French toast – the slightly dense texture of homemade bread is ideal for soaking up the custard. It makes fantastic grilled cheese sandwiches, with a golden, crispy exterior and gooey interior. Serve it alongside soups, stews, or salads to soak up delicious broths and dressings. Warm slices with butter are also a simple, comforting snack or side dish. Don't underestimate the power of a fresh slice right off the cooling rack with nothing but butter – it's pure baking bliss.
Recipes Using Leftover White Bread
Even if your easy basic white bread recipe is so good it disappears quickly, you might occasionally have a few slices left over. Stale bread is not a problem; it's an opportunity!
- Croutons: Cut stale bread into cubes, toss with olive oil, herbs, salt, and pepper, and bake until golden and crispy. Perfect for salads and soups.
- Breadcrumbs: Pulse stale bread in a food processor until fine crumbs form. Use fresh or dry them in a low oven for later use in meatballs, as a coating for fried foods, or as a topping for casseroles.
- Bread Pudding: Stale bread is essential for absorbing the custard base in both sweet and savory bread puddings.
- French Onion Soup Topping: Thick slices of toasted white bread are traditionally placed on top of bowls of French onion soup before broiling with cheese.
- Panzanella: This Italian salad uses chunks of stale bread soaked in dressing, mixed with tomatoes, cucumbers, and other vegetables.
These ideas ensure that not a single crumb of your delicious homemade simple white bread goes to waste, extending its enjoyment in new and exciting ways.
Advanced Techniques: Level Up Your White Bread Baking
Exploring Variations: Whole Wheat and Multigrain White Bread
Once you've mastered the easy basic white bread recipe, you might want to explore variations that add complexity and nutrition. One common approach is to incorporate whole wheat flour. Start by substituting a small percentage, perhaps 20-30%, of the white flour with whole wheat flour. This adds a nuttier flavor and denser texture. Because whole wheat absorbs more liquid, you may need to slightly increase the water in the recipe. Gradually increase the percentage of whole wheat in future loaves as you get comfortable with its handling characteristics.
Introducing grains and seeds is another way to create a multigrain white bread. You can add ingredients like rolled oats, flax seeds, sesame seeds, or sunflower seeds to the dough. Often, these are soaked in hot water for about 30 minutes before adding to the dough (this is called a tangzhong or soaker depending on the method, or simply pre-soaking seeds) to soften them and prevent them from absorbing too much moisture from the dough itself.
Start by adding 1/4 to 1/2 cup of total grains/seeds per standard loaf volume. These additions not only boost nutrition but also add wonderful texture and flavor dimensions to your simple white bread recipe.
Sourdough White Bread: Adding a Tangy Twist
For those seeking a more complex flavor and a different leavening method, transitioning to a sourdough white bread is a fantastic next step. Instead of commercial yeast, sourdough relies on a wild yeast and bacteria culture (a 'starter') for leavening and flavor. Creating and maintaining a sourdough starter is a commitment, requiring regular feeding, but the tangy depth it imparts to bread is unparalleled.
To make a sourdough white bread, you substitute the commercial yeast and some of the flour and water with an active sourdough starter, typically using about 20-30% starter relative to the total flour weight. The fermentation process is slower than with commercial yeast, often taking several hours for the bulk fermentation and a final proof that might occur in the refrigerator overnight.
This slow fermentation develops complex acids that give sourdough its characteristic tang and contribute to a more open crumb structure. While requiring more patience and understanding of fermentation cycles, baking a sourdough simple white bread recipe is incredibly rewarding.
Enriched White Bread: Incorporating Milk, Butter, and Eggs
An enriched white bread recipe takes the basic formula and adds ingredients like milk, butter, and eggs. These additions contribute to a softer crumb, richer flavor, and a more tender crust compared to lean doughs made only with flour, water, yeast, and salt. Milk, used instead of or in addition to water, adds lactose (a sugar that doesn't get consumed by yeast, aiding browning) and fat, making the crumb softer.
Butter or other fats tenderize the dough by coating gluten strands, inhibiting their development slightly, resulting in a finer, cake-like crumb. Eggs add protein and fat, contributing to richness, color, and structure. Enriched doughs are often slightly sweeter and are perfect for things like challah, brioche, or soft sandwich loaves. While technically still a "white bread," the inclusion of these ingredients transforms the texture and flavor profile significantly from a basic lean loaf, offering a different but equally delightful baking experience.
Conclusion: Enjoying Your Homemade Easy Basic White Bread
Recap of Key Steps for Baking Perfect White Bread
Baking your own easy basic white bread is a rewarding process that follows a clear path: selecting quality ingredients, accurately measuring them, mixing and kneading to develop gluten, allowing for two crucial rises (proofing), shaping the dough, and finally, baking it to a beautiful golden finish. Remember the importance of correct water temperature for yeast, the role of kneading in developing structure, and the necessity of patient proofing for a light texture. Cooling the loaf completely on a wire rack is also vital for preventing a soggy bottom and ensuring the best texture when sliced.
By following the steps outlined in this guide – from understanding your ingredients to mastering the timing of rises and baking – you are well-equipped to bake a fantastic simple white bread recipe. Don't be discouraged if your first loaf isn't absolutely perfect; baking is a skill that improves with practice. Pay attention to how the dough feels at each stage, observe how it rises, and note how your oven bakes. Each loaf is a learning opportunity, bringing you closer to baking consistently excellent bread.
We hope this guide has empowered you to dive into the wonderful world of baking your own easy basic white bread. There's immense satisfaction in creating something so fundamental and delicious from scratch. We love seeing what our community bakes!
We encourage you to share photos of your beautiful homemade simple white bread loaves. Let us know about your baking journey – what worked well, what challenges you faced, and how you enjoyed your bread. Your experiences can inspire and help others in the BakeWithEase community. Happy baking, and enjoy the incredible taste and aroma of fresh bread straight from your oven!
Frequently Asked Questions
What is the key to making easy basic white bread?
The key to making easy basic white bread lies in using high-quality ingredients and following step-by-step techniques for mixing, kneading, and proofing.
How long does it take to bake basic white bread?
Typically, the entire process of making basic white bread can take about 2 to 3 hours, including mixing, rising, and baking time.
Can I use a bread machine for this recipe?
Yes, you can use a bread machine! Just follow the manufacturer's instructions for adding ingredients and select the appropriate cycle for baking bread.
What are some common mistakes to avoid when baking bread?
Common mistakes include using cold ingredients, not allowing the dough to rise properly, and skipping the kneading process. Each step is crucial for a successful loaf.
Where can I find more baking tips and recipes?
You can explore more baking tips and recipes at BakeWithEase.com, where we offer a variety of resources for both beginners and experienced bakers.
Final Reflection: The Enduring Power of a Simple Loaf
The humble loaf of white bread, a culinary staple for centuries, remains surprisingly relevant in today's fast-paced world. Its simplicity belies a depth of satisfaction; mastering its creation offers a profound connection to both culinary history and the present moment. More than just a recipe, baking a basic white bread is an act of mindful creation, a testament to the enduring power of tradition and the joy of simple pleasures.
The influence of this seemingly simple bread extends far beyond the kitchen table. It represents a connection to generations past, a tangible link to our culinary heritage. Bread is the staff of life,
a common saying, underscores its fundamental importance in sustaining communities and cultures throughout history. This simple act of baking, therefore, becomes a powerful act of cultural preservation and personal connection, a way to honor the past while nourishing the present.
Now, consider your own kitchen. Imagine the aroma of freshly baked bread filling your home, the warmth radiating from the golden-brown crust. I invite you to try this recipe, not just to bake a loaf, but to experience the process. Embrace the kneading, the rising, the baking – each step a mindful act that connects you to something larger than yourself. Let the simple act of making bread become a source of peace, creativity, and connection in your own life.
Unleash Your Inner Baker: Perfect Loaves Await!
Thanks for joining us on this bread-baking journey! We hope you've gained valuable insights and feel empowered to tackle even the most challenging doughs. Now, it's time to put your new skills into action.
- Bake your own loaf today! Use the techniques we've shared to create a beautiful, delicious white bread – you'll be amazed at the results.
- Share your baking triumph! Post a picture of your loaf on social media and tag us – we’d love to see your creation!
- Explore our other recipes and techniques on BakeWithEase.com for more baking inspiration. Maybe try a sourdough next?
What unique twist will you add to your perfect loaf? Let us know in the comments!