
Why Is My Bread So Heavy? (It's Not Always the Flour)


Welcome to BakeWithEase, your guide to unlocking the secrets of perfect baking! Ever wondered why your homemade bread feels more like a brick than a fluffy cloud? It's a common frustration. But before you blame the flour, let's explore a few surprising culprits. Discover why achieving that light, airy texture might have less to do with the type of flour you use and more to do with mastering key techniques. Dive into our article, "Why Is My Bread So Heavy? (It's Not Always the Flour)," and prepare to transform your bread baking forever!
- Understanding Heavy Bread: Beyond the Flour
- Troubleshooting Heavy Bread: Factors Beyond Flour
- Other Potential Culprits for Dense Bread
- Solutions for Baking Lighter Bread: A Summary
- Resources for Better Bread Baking
- Frequently Asked Questions
- Final Reflection: The Weight of a Loaf, and the Lessons Within
- Unlock Lighter, Fluffier Bread!
Understanding Heavy Bread: Beyond the Flour
Common Causes of Dense and Heavy Bread
Experiencing a loaf of bread that feels more like a brick than a fluffy cloud can be disheartening. While many bakers might first suspect the flour, the reality is that dense or heavy bread is often the result of several interconnected factors in the baking process. These can range from issues with the leavening agent, like yeast, to problems with how the dough was handled, proofed, or even baked. Understanding these common pitfalls is the first step to diagnosing why your bread turned out heavy, not flour being the sole culprit.
Other frequent issues leading to a heavy bread include insufficient kneading, which prevents proper gluten development, or incorrect hydration levels, where the balance of water to flour is off. Proofing, the process where the dough rises, is also critical; both under-proofing and over-proofing can result in a dense crumb structure. Even the oven temperature plays a significant role in the final texture. Identifying which of these steps went wrong is key to improving your next bake and achieving that desirable light, airy loaf.
The Role of Flour in Bread Density: A Closer Look
While the focus here is on factors beyond flour, it's worth acknowledging that flour does play a part in bread density. Different flours have varying protein contents, which directly impacts gluten development. A high-protein bread flour (typically 12-14% protein) is excellent for developing strong gluten networks needed for airy yeast breads, whereas a lower-protein all-purpose flour (around 10-12% protein) or cake flour (7-9% protein) will naturally produce less gluten and potentially denser results if used in a recipe designed for bread flour.
However, simply using the "wrong" type of flour isn't usually the primary reason for truly heavy bread. Even with all-purpose flour, proper technique in kneading, proofing, and baking can yield a relatively light loaf. The flour's freshness and proper storage also matter; old flour can sometimes affect yeast activity or hydration. But compared to issues like inactive yeast, insufficient kneading, or poor proofing, the flour type itself is less likely to be the main cause of a severely dense loaf.
Troubleshooting Heavy Bread: Factors Beyond Flour
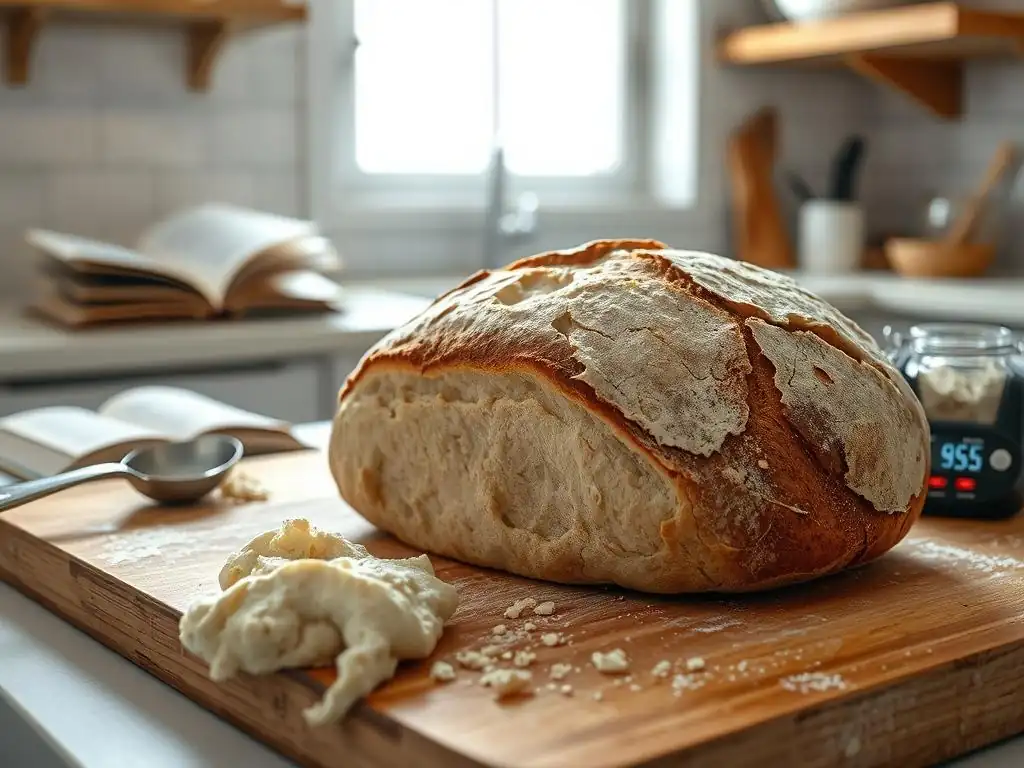
Yeast Issues: Activity and Quantity
Yeast is the living organism responsible for producing the gas (carbon dioxide) that makes bread rise. If your yeast isn't active or you haven't used enough, your dough won't rise properly, leading to a dense, heavy bread. This is a far more common issue than problems with the flour itself. Ensuring your yeast is viable and measured correctly is fundamental to a successful bake.
The type of yeast also matters. Active dry yeast typically requires activation in warm water (around 105-115°F or 40-46°C) before being added to dry ingredients, while instant yeast can often be mixed directly with the dry ingredients. Using water that is too hot can kill the yeast, rendering it inactive, while water that is too cool won't activate it effectively. Always check the yeast package for specific temperature recommendations.
Testing Your Yeast's Activity
Before committing your ingredients to a recipe, especially if your yeast has been open for a while, it's wise to test its activity. For active dry yeast, dissolve about 1 teaspoon of yeast and a pinch of sugar in 1/4 cup of warm water (around 110°F). Within 5-10 minutes, the mixture should become foamy and bubbly, indicating the yeast is alive and well. If there's little to no activity, your yeast is likely dead or inactive and won't leaven your bread properly, resulting in heavy bread.
Even if your yeast is active, using too little of it for the amount of flour and the desired rise time will lead to insufficient gas production. A typical loaf of bread using 3-4 cups of flour might call for 1 to 2 teaspoons of instant yeast or slightly more active dry yeast. If you halve the amount of yeast without significantly increasing the proofing time, your dough will struggle to develop volume, resulting in a dense texture. Always measure yeast accurately, preferably by weight (instant yeast is roughly 3g per teaspoon), for consistent results.
Insufficient Yeast: The Impact on Bread Texture
When there isn't enough active yeast relative to the amount of flour and other ingredients, the dough will rise very slowly, or not at all, during proofing. The limited amount of carbon dioxide produced means the gluten network doesn't get inflated properly. Imagine trying to inflate a balloon with very little air – it won't expand fully.
This lack of expansion during proofing and subsequent baking (oven spring) results in a compact structure. The crumb will be tight, with very small or non-existent holes, giving the bread a heavy, dense feel and often a gummy texture. A loaf made with insufficient yeast might look relatively flat compared to a well-risen loaf of the same recipe, clearly demonstrating why your bread is heavy, not flour being the primary issue here.
Hydration Levels: Too Much or Too Little Water
Hydration refers to the ratio of water to flour in a bread dough, usually expressed as a baker's percentage (weight of water / weight of flour * 100%). This ratio is critical for developing the gluten structure and achieving the desired crumb texture. Dough that is too dry or too wet can both result in a heavy loaf, though for different reasons.
Too little water prevents the flour proteins from fully hydrating, which inhibits gluten development. The dough will be stiff, hard to knead, and won't stretch easily. A tight gluten network that lacks elasticity cannot trap gases effectively, leading to a dense crumb. Conversely, too much water can make the dough difficult to handle and can weaken the gluten structure if not managed with specific techniques (like stretch and folds), sometimes leading to a loaf that collapses or has an inconsistent, dense bottom.
The Importance of Proper Dough Hydration
Proper hydration is essential for allowing the gluten proteins in the flour to absorb water and form a strong, elastic network during kneading. This network is what gives bread dough its structure and allows it to trap the gases produced by the yeast, causing it to rise. Think of gluten as tiny elastic balloons within the dough; water is necessary for them to form and inflate.
For a typical white bread made with all-purpose or bread flour, a hydration level between 60% and 70% is common. Lean doughs (flour, water, salt, yeast) often fall in this range. Enriched doughs (containing milk, eggs, butter) and doughs using whole wheat or other thirsty flours may require higher hydration. Getting the hydration right for your specific flour and recipe is crucial for avoiding a heavy bread.
How to Adjust Hydration for Lighter Bread
Adjusting hydration often requires a bit of feel and experience, as flour absorption can vary based on the type, brand, and even humidity. If your dough consistently turns out heavy and stiff, it might be under-hydrated. Try adding a tablespoon or two more water than the recipe calls for during kneading, until the dough feels pliable and slightly tacky but not sticky.
If your dough is very wet and difficult to handle, leading to a loaf that spreads out rather than rising, it might be over-hydrated for your skill level or the recipe's technique. For lighter bread that isn't dense due to excess water, consider slightly reducing the water or incorporating techniques like stretch and folds over several hours instead of intense kneading. Using a kitchen scale to measure ingredients, especially flour and water, provides the most accurate hydration control.
Kneading Techniques: Developing Gluten Properly
Kneading is the process of working the dough to develop the gluten network. This is a critical step, and improper kneading is a frequent cause of heavy bread, not flour being the primary issue. Kneading aligns the gluten proteins and builds strength and elasticity, allowing the dough to hold its shape and trap gas.
Whether kneading by hand or with a mixer, the goal is to transform a shaggy, sticky mass into a smooth, elastic dough that springs back when poked. Insufficient kneading is a common culprit for dense bread because the weak gluten structure cannot support the rise.
The Significance of Gluten Development
Gluten development is arguably one of the most important factors in achieving a light, airy bread texture. When flour is mixed with water, two proteins, glutenin and gliadin, bond together to form gluten. Kneading strengthens these bonds, creating a complex, stretchy network throughout the dough.
This elastic gluten network acts like a balloon, capturing the carbon dioxide gas produced by the yeast during fermentation and proofing. As the gas expands, the gluten network stretches, allowing the dough to increase significantly in volume. A poorly developed gluten network cannot stretch effectively, meaning the gas escapes, and the loaf remains dense – a classic case of heavy bread, not flour type necessarily being the problem.
Over-Kneading vs. Under-Kneading: Impact on Bread Heaviness
Both under-kneading and over-kneading can result in dense bread, though for different reasons. Under-kneading is more common among beginners and results in a dough with a weak, underdeveloped gluten structure. This dough won't rise well, leading to a tight, heavy crumb. You can often identify under-kneaded dough because it tears easily when stretched and doesn't pass the windowpane test.
Over-kneading, while less common, can also damage the gluten structure. Excessive working can break down the protein network, causing the dough to become slack and sometimes sticky or even liquidy. Over-kneaded dough may rise initially but can collapse during proofing or baking, resulting in a dense, often tough or gummy texture. Finding the sweet spot for kneading is key to avoiding heavy bread.
Proofing Time: Allowing the Dough to Rise Sufficiently
Proofing is the final rise of the dough before baking. This is when the yeast produces a significant amount of gas, causing the shaped loaf to expand and become light and airy. Getting the proofing time right is crucial; both under-proofing and over-proofing can lead to heavy bread.
The ideal proofing time isn't just a fixed number of minutes or hours; it depends on factors like the amount of yeast used, the dough temperature, and the ambient temperature of the room. A dough proofing at 75°F (24°C) will rise much faster than one proofing at 65°F (18°C). Learning to judge when your dough is properly proofed is a skill that significantly impacts the final texture.
Understanding the Proofing Process
During proofing, the yeast continues to ferment sugars in the dough, releasing carbon dioxide gas. This gas gets trapped within the elastic gluten network developed during kneading, causing the dough to expand and lighten. This expansion is what gives baked bread its open, airy crumb structure.
Proper proofing allows the dough to reach its optimal volume and develop flavor. A common goal is to allow the dough to roughly double in size during the first proof (bulk fermentation) and then increase by about 50-85% during the second proof (final proof after shaping), depending on the type of bread. Rushing this process will lead to a dense loaf.
Over-Proofing vs. Under-Proofing: Effects on Bread
Under-proofing means the dough hasn't had enough time to rise sufficiently before baking. The yeast hasn't produced enough gas to expand the gluten network fully. When baked, the loaf will be smaller than it should be, with a tight, dense crumb and often a poor oven spring. This is a very common cause of heavy bread.
Over-proofing occurs when the dough rises for too long or at too warm a temperature. The gluten network stretches too thin and eventually begins to collapse as the yeast runs out of food or fermentation byproducts accumulate. An over-proofed loaf may look large initially but will often deflate when handled or collapse in the oven, resulting in a dense, sometimes gummy, and often flatter loaf.
A good test for proper proofing is the poke test: gently press your finger into the dough; if the indentation springs back slowly and partially, it's likely ready. If it springs back immediately, it's under-proofed. If it stays indented, it's likely over-proofed.
Oven Temperature: Baking at the Right Heat
The temperature of your oven plays a vital role in the final texture of your bread. Baking at the correct temperature ensures that the dough experiences sufficient "oven spring" – a rapid expansion that occurs in the first 10-15 minutes of baking as the yeast activity increases in the heat and trapped gases expand.
Too low an oven temperature can result in a sluggish oven spring and a loaf that doesn't achieve its full potential volume. This can contribute to a denser, heavier crumb. Conversely, while less common as a cause of heavy bread (more often leading to burnt crusts and uncooked interiors), excessively high temperatures without proper technique (like using a baking stone or Dutch oven) can also negatively impact the rise and texture.
The Impact of Oven Temperature on Bread Texture
When dough hits a hot oven (typically 400-450°F or 200-230°C for lean breads), the yeast activity surges before the yeast dies off, and the trapped gases expand rapidly. This rapid expansion is oven spring, and it's crucial for creating an open, airy crumb. The heat also sets the crust, providing structure for the expanding loaf.
If the oven temperature is too low, this initial burst of activity and expansion is diminished. The crust sets too slowly, and the dough doesn't achieve optimal volume before the interior begins to cook. This lack of vigorous oven spring is a significant contributor to a dense, heavy bread texture.
Calibrating Your Oven for Optimal Baking
Many home ovens are not accurately calibrated, meaning the temperature displayed on the dial or screen might be significantly different from the actual temperature inside. Variations of 25-50°F (15-30°C) are not uncommon. Baking at an inaccurate temperature is a frequent, though often overlooked, reason for inconsistent or heavy bread results.
To ensure you're baking at the correct temperature, use an inexpensive oven thermometer placed inside your oven. Check the thermometer after the oven has preheated for at least 20-30 minutes. Adjust your oven setting based on the thermometer reading to achieve the temperature specified in your recipe. This simple step can make a dramatic difference in preventing heavy bread and achieving a lighter, more consistent crumb.
Other Potential Culprits for Dense Bread
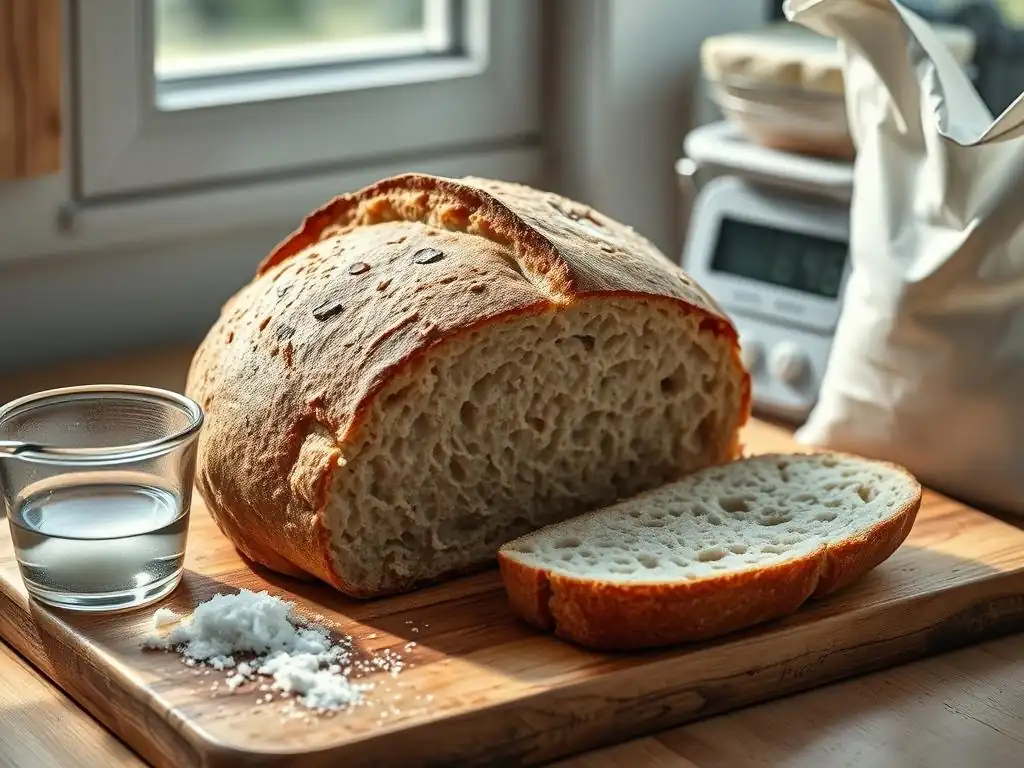
Ingredient Quality: Beyond Flour
While we've established that flour isn't always the main problem, the quality and freshness of all your ingredients matter. Stale yeast is a primary culprit, as discussed. However, other ingredients can subtly impact the dough's structure and rise, potentially contributing to a heavy texture if they are old or used incorrectly.
Fats like butter or oil, and enrichments like eggs and milk, can tenderize the crumb but can also make the dough heavier and slower to rise if used in excessive amounts or in recipes not designed for them. Using fresh ingredients ensures they perform their intended function in the recipe, supporting yeast activity and gluten development for a lighter loaf.
The Importance of Fresh Ingredients
Using fresh yeast is paramount, but the freshness of other ingredients also plays a role. While less critical than yeast, very old flour can sometimes have reduced enzyme activity that affects fermentation, and stale fats can introduce off-flavors. Sugar provides food for the yeast, and salt controls yeast activity and strengthens gluten; using the correct amounts of fresh sugar and salt is important.
Consider the freshness of your baking powder or baking soda if your recipe calls for them (more common in enriched or quick breads, but some yeast breads include them). These chemical leaveners produce gas when they react with moisture or acid and heat. If they are old, they won't produce the necessary lift, contributing to a heavy bread texture alongside any yeast issues. You can test baking powder by adding a teaspoon to hot water; it should bubble vigorously.
Baking Powder/Soda Issues: Impact on Rise
In recipes that include both yeast and chemical leaveners like baking powder or baking soda, the latter contribute to the initial lift and tenderness, especially in enriched doughs. Baking powder contains both an acid and a base and reacts when wet and/or heated to produce carbon dioxide. Baking soda is a base that requires an acid (like buttermilk or yogurt) to react and produce gas.
If the baking powder or soda is old and has lost its potency, it won't contribute to the rise. This means the loaf will rely solely on the yeast for leavening, which may not be sufficient for the specific recipe, resulting in a denser outcome. While less common in simple lean bread recipes, this is a potential factor for heavy bread in enriched or combination-leavened doughs.
Measuring Accuracy: The Importance of Precision
Baking is a science, and accurate measurement of ingredients is crucial for consistent results. Eyeballing ingredients or using inconsistent volume measuring techniques can significantly alter the hydration level and the balance of flour to leavener, leading to unpredictable and often heavy bread.
The most common culprit for inaccurate measurements is flour. Scooping flour directly from the bag with a measuring cup can compact it, adding significantly more flour than intended – sometimes 20-30% more than if measured by weight or using the spoon-and-level method. This excess flour results in a much lower hydration level than the recipe intends, leading to a stiff dough and heavy bread.
Using a Kitchen Scale for Consistent Results
Using a digital kitchen scale to weigh your ingredients, especially flour and water, is the single best way to ensure accuracy and consistency in your bread baking. Recipes using baker's percentages are always based on weight. Flour density varies, but 1 cup of all-purpose flour typically weighs around 120-130 grams when properly measured by weight or spooned and leveled. Scooping can easily result in 140-150 grams per cup.
Weighing ensures you are using the exact amount of flour and water specified, guaranteeing the intended hydration level. This eliminates a major variable that can lead to a stiff, under-hydrated dough and heavy bread. For example, a recipe calling for 500g flour and 325g water is precisely 65% hydration. Measuring by volume could easily skew this significantly.
Leveling Techniques: Ensuring Accurate Dry Ingredient Measurement
If you must use volume measurements for dry ingredients like flour, use the "spoon and level" method. Gently spoon the flour from its container into your measuring cup until it overflows slightly. Then, use a straight edge (like the back of a knife) to level off the excess flour without tapping or shaking the cup.
This method helps prevent compacting the flour in the cup, giving you a more accurate measurement than simply scooping directly from the bag. While not as precise as weighing, it's far better than scooping and significantly reduces the chance of adding too much flour, which would make your dough too dry and result in heavy bread.
Recipe Selection: Choosing the Right Bread Recipe
Not all bread recipes are created equal, and some are inherently more challenging than others. Attempting a complex recipe with high hydration or specific shaping requirements before mastering basic techniques can easily lead to a dense or heavy result. The complexity of the recipe itself can sometimes be the reason for heavy bread if the baker lacks the necessary skills.
Furthermore, if you are baking sourdough, the activity level of your starter is paramount. A weak or inactive starter behaves much like insufficient commercial yeast, failing to provide adequate leavening and resulting in a flat, dense loaf.
Matching Recipes to Your Skill Level
If you're new to bread baking or troubleshooting consistently heavy results, start with a simple, straightforward recipe. Look for recipes designed for beginners, often with moderate hydration (around 60-65%) and clear instructions for kneading and proofing. Mastering a basic sandwich loaf or a simple no-knead bread will help you understand the feel of properly developed and proofed dough before tackling more complex loaves like baguettes or high-hydration artisan breads.
Choosing a recipe that aligns with your current skill set reduces the variables that can lead to heavy bread. As you gain experience and confidence, you can gradually move on to recipes that require more precise technique or handle wetter doughs.
Sourdough Starter Inactivity: Impact on Sourdough Bread
For sourdough bakers, the health and activity of the starter are equivalent to the freshness and quantity of commercial yeast. A sourdough starter is a living culture of wild yeasts and bacteria. If your starter isn't regularly fed and active, it won't have the strength to leaven your bread.
An inactive sourdough starter will produce insufficient gas during the long fermentation process, leading to a dense, heavy loaf with poor volume and crumb structure. Signs of a healthy, active starter include doubling or tripling in size after feeding within a few hours, a bubbly texture, and a pleasant, slightly tangy aroma. If your starter isn't showing these signs, it's likely the reason your sourdough bread is heavy, not flour or other ingredients.
Solutions for Baking Lighter Bread: A Summary
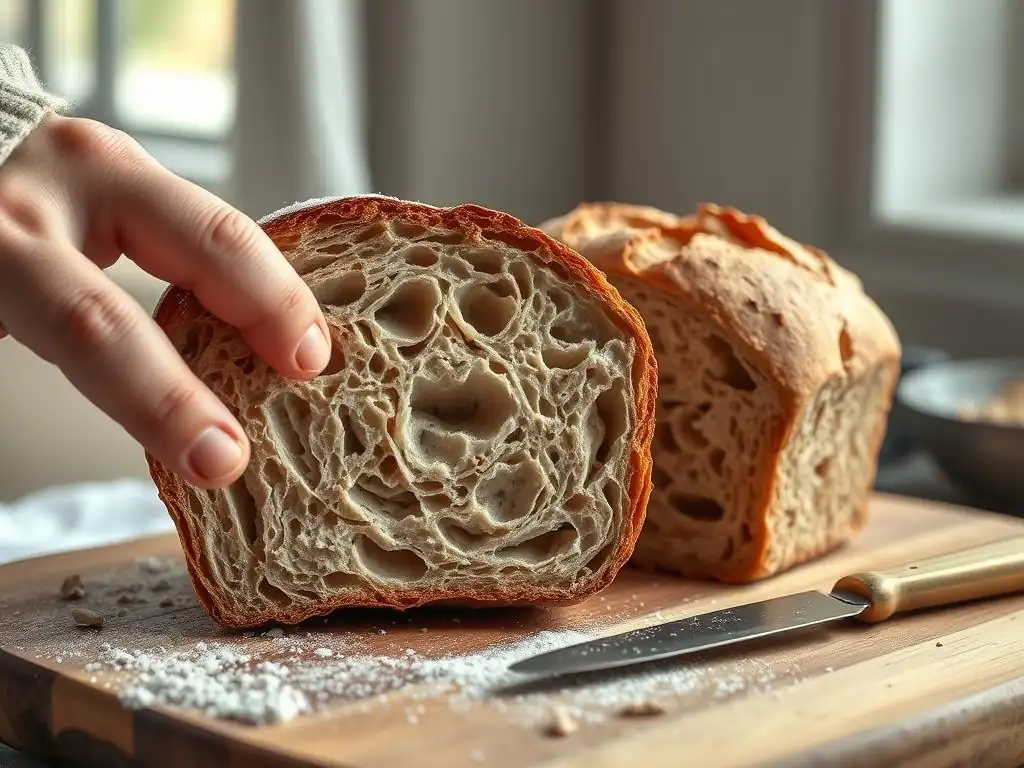
Achieving a light and airy bread texture involves paying attention to each step of the process, not just the ingredients. By understanding the common pitfalls beyond the flour itself – specifically related to yeast, hydration, kneading, proofing, and baking temperature – you can diagnose issues and make adjustments.
Preventing heavy bread consistently comes down to precision, observation, and practice. Use the following checklist and tips to improve your bread baking results and leave heavy, dense loaves in the past.
Checklist for Avoiding Heavy Bread
- [ ] Test your yeast for activity before starting.
- [ ] Measure ingredients accurately, preferably by weight using a kitchen scale.
- [ ] Ensure proper hydration levels suitable for the recipe and flour type.
- [ ] Knead the dough sufficiently to develop a strong, elastic gluten network.
- [ ] Allow dough to proof fully but avoid over-proofing; use the poke test.
- [ ] Preheat your oven properly and verify the temperature with an oven thermometer.
- [ ] Use fresh ingredients.
- [ ] Choose a recipe appropriate for your skill level.
- [ ] (For sourdough) Ensure your starter is active and healthy.
Tips for Achieving a Light and Airy Bread Texture
- Be Patient: Bread baking takes time. Don't rush kneading or proofing. Allow the dough to develop properly.
- Feel the Dough: Learn what properly kneaded and proofed dough feels like. It's often the best indicator.
- Use Warm Water: Ensure water for yeast activation or dough mixing is within the recommended temperature range.
- Develop Gluten: Knead until the dough is smooth and passes the windowpane test.
- Proof in a Warm Spot: Find a consistent, warm place for proofing to encourage active rising.
- Use Steam in the Oven: Adding steam during the initial baking phase helps the crust stay pliable longer, allowing for better oven spring and a lighter crumb. (Use a pan of hot water or a Dutch oven).
- Invest in Tools: A kitchen scale and an oven thermometer are invaluable for consistency.
Resources for Better Bread Baking
Sourdough Bread Recipe
Frequently Asked Questions
What causes heavy bread if it's not the flour?
Heavy bread can result from improper yeast activation, inadequate kneading, or insufficient rising time. Each of these factors plays a crucial role in creating a light and airy texture.
How can I improve my bread's texture?
To enhance your bread's texture, ensure you use fresh yeast, allow for proper gluten development, and give the dough enough time to rise. These steps are essential for achieving a lighter loaf.
What role does hydration play in bread making?
Hydration affects the dough's consistency and gluten formation. A higher hydration level can lead to a more open crumb structure, preventing your bread from becoming heavy.
Are there any specific techniques to avoid heavy bread?
To avoid heavy bread, focus on proper kneading techniques, maintaining consistent temperatures, and following rising times closely. These practices help develop a better loaf.
Can over-proofing cause heavy bread?
Yes, over-proofing can lead to heavy bread as the dough may collapse, losing its structure and resulting in a denser texture. Monitoring proofing times is crucial for the best results.
Final Reflection: The Weight of a Loaf, and the Lessons Within
The seemingly simple question of why our bread is heavy reveals a complex interplay of factors far beyond the type of flour used. Understanding these nuances – from hydration levels and fermentation processes to baking techniques and even the ambient environment – empowers us to become more mindful bakers, and ultimately, to appreciate the artistry involved in crafting a perfect loaf. This isn't just about avoiding dense bread; it's about understanding the delicate balance that transforms simple ingredients into something nourishing and delicious.
The journey of baking, much like life itself, is filled with unexpected challenges and rewarding discoveries. Each failed loaf teaches a valuable lesson, pushing us to refine our techniques and deepen our understanding. The best bread is made with love, patience, and a little bit of happy accident.
This quote, while not from a renowned baker, perfectly encapsulates the spirit of baking, and indeed, the spirit of tackling any challenge with perseverance and a willingness to learn. The weight of our bread, both literally and metaphorically, reflects the weight of our efforts and the rewards of our patience.
Now, consider your own "heavy loaves" – those challenges in life that seem insurmountable. Perhaps it's a project at work, a personal relationship, or a creative endeavor. Remember the lessons learned from this exploration of bread baking: attention to detail, the importance of process, and the understanding that sometimes, the solution lies not in changing the core ingredients, but in adjusting the supporting elements. Take a moment to reflect on your own "recipe" for success. What adjustments can you make to lighten your load and achieve a more satisfying outcome?
Unlock Lighter, Fluffier Bread!
Thanks for taking the time to explore the mysteries of heavy bread with us! We hope you now have a better understanding of the factors influencing your loaf's texture. Ready to put this new knowledge into action?
- Experiment with your hydration: Try adjusting the water ratio in your next recipe, even by just a tablespoon or two! See how a slight change impacts the final result. This is the most direct action you can take based on this article.
- Share your baking triumphs (and challenges!): Let's learn from each other! Post a picture of your next loaf and share your hydration adjustments in the comments below.
- Explore our other resources: Dive deeper into bread baking techniques and troubleshooting tips on our website (bakewithease.com). Find even more solutions to your baking questions!
What small hydration adjustment will you try first to achieve your perfect loaf?