
When Crystallization is Your Friend: Making Rock Candy

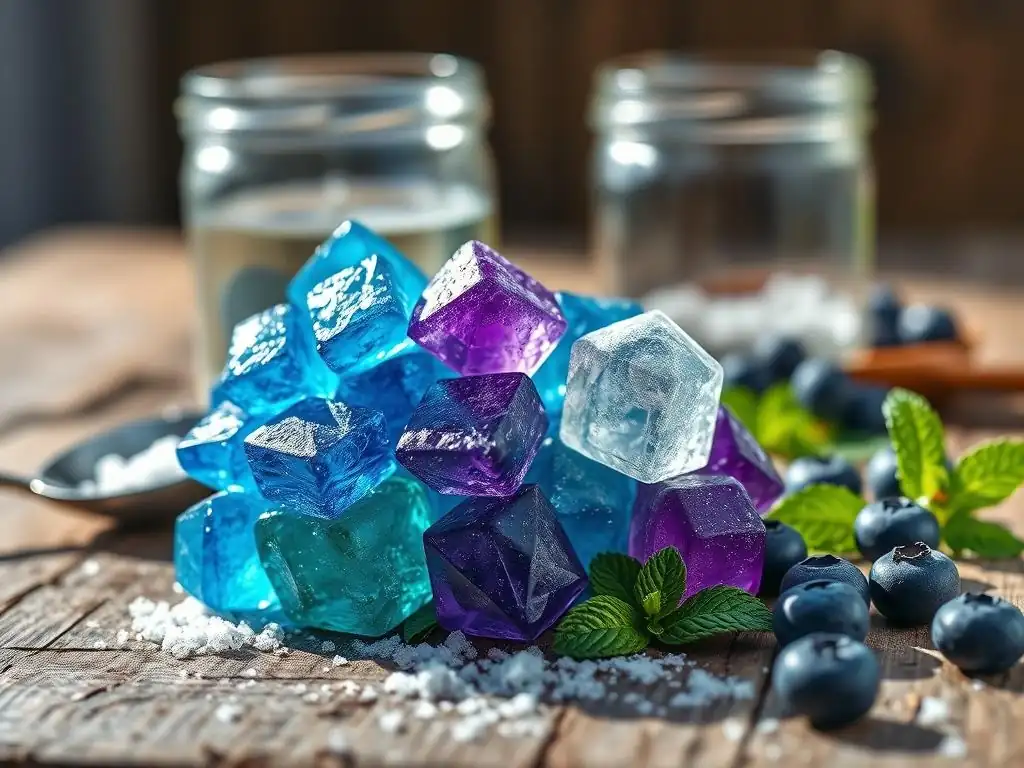
Welcome to BakeWithEase, where baking becomes a joy, not a chore! Ever wondered how to transform simple sugar and water into shimmering, edible gems? This week, we're diving into the fascinating world of crystallization with our Easy Rock Candy Recipes. Prepare to unlock the secrets behind this sweet treat and discover how even the most basic ingredients can create something truly spectacular. Intrigued? Keep reading to learn more about the science and the sweet rewards!
- The Sweet Science: Crafting Perfect Rock Candy
- Understanding Sugar Crystallization for Rock Candy Success
- Classic Rock Candy Recipe: A Step-by-Step Guide
- Troubleshooting Common Issues
- Flavor and Color Variations
- Storing Rock Candy for Freshness
- Advanced Techniques
-
Frequently Asked Questions
- How easy are the rock candy recipes on BakeWithEase.com?
- What kind of sugar is best for making rock candy according to BakeWithEase?
- What tips does BakeWithEase offer for preventing sugar crystallization issues?
- What flavors and colors can I add to my rock candy using BakeWithEase recipes?
- How long does BakeWithEase recommend it takes for rock candy to form?
- Final Reflection: The Sweet Science of Simple Wonders
- Unlock Your Inner Candy Alchemist!
The Sweet Science: Crafting Perfect Rock Candy
Understanding Sugar Crystallization for Rock Candy Success
What is Sugar Crystallization?
Sugar crystallization is the process where dissolved sugar molecules come out of a liquid solution and arrange themselves into a highly ordered, solid structure – a crystal. Think of it like building with tiny, identical blocks; the sugar molecules (sucrose, specifically) are the blocks, and when the conditions are just right, they stack neatly together to form visible crystals. This is the fundamental scientific principle behind many confectionery creations, from fudge to brittle, but it's most dramatically showcased in the formation of large, pure rock candy crystals.
This process occurs when a liquid holds more dissolved sugar than it normally can at a given temperature. As the conditions change, such as cooling or evaporation, the sugar molecules can no longer remain scattered throughout the liquid and begin to aggregate. A tiny imperfection or a small pre-existing crystal provides a surface for these molecules to attach to, initiating the growth of a larger crystal structure. Understanding this basic concept is the first step toward mastering easy rock candy recipes at home.
Supersaturation: The Key to Rock Candy Formation
Supersaturation is the critical state required for growing rock candy crystals. It means the sugar solution contains more dissolved sugar than it theoretically should be able to hold at room temperature. You achieve this by heating water and dissolving sugar into it. As the water gets hotter, its capacity to dissolve sugar increases significantly. For example, while 100 grams of water at 20°C (68°F) can dissolve about 204 grams of sugar, that same amount of water at 100°C (212°F) can dissolve over 487 grams!
Once you've dissolved a large amount of sugar in hot water, you cool the solution carefully without disturbing it much. As the temperature drops, the water's capacity to hold sugar decreases, but the excess sugar doesn't immediately precipitate out. It remains dissolved in a precarious state, making the solution "supersaturated." This unstable state is perfect for crystal growth, as the sugar molecules are eager to find a surface to crystallize onto, which is why introducing a string or stick is essential for successful easy rock candy recipes.
Factors Affecting Crystal Growth: Temperature, Purity, and Time
Several factors play a crucial role in how well and how quickly your rock candy crystals grow. Temperature is paramount; a consistent, slow cooling process after achieving supersaturation allows for larger, more uniform crystals. Rapid cooling can lead to smaller, more numerous crystals or even a solid block of sugar. Ideally, the solution should cool and remain at a stable temperature, perhaps slightly above room temperature, throughout the growth period.
The purity of the sugar and water also significantly impacts crystal formation. Impurities in the sugar or minerals in hard water can interfere with the orderly arrangement of sugar molecules, resulting in smaller, misshapen, or cloudy crystals. Using pure granulated white sugar and filtered or distilled water is highly recommended for achieving clear, well-formed rock candy. Finally, time is a non-negotiable factor; crystal growth is a slow process, often taking anywhere from a few days to two weeks or even longer for substantial crystals to form. Patience is truly a virtue when making easy rock candy recipes.
Classic Rock Candy Recipe: A Step-by-Step Guide
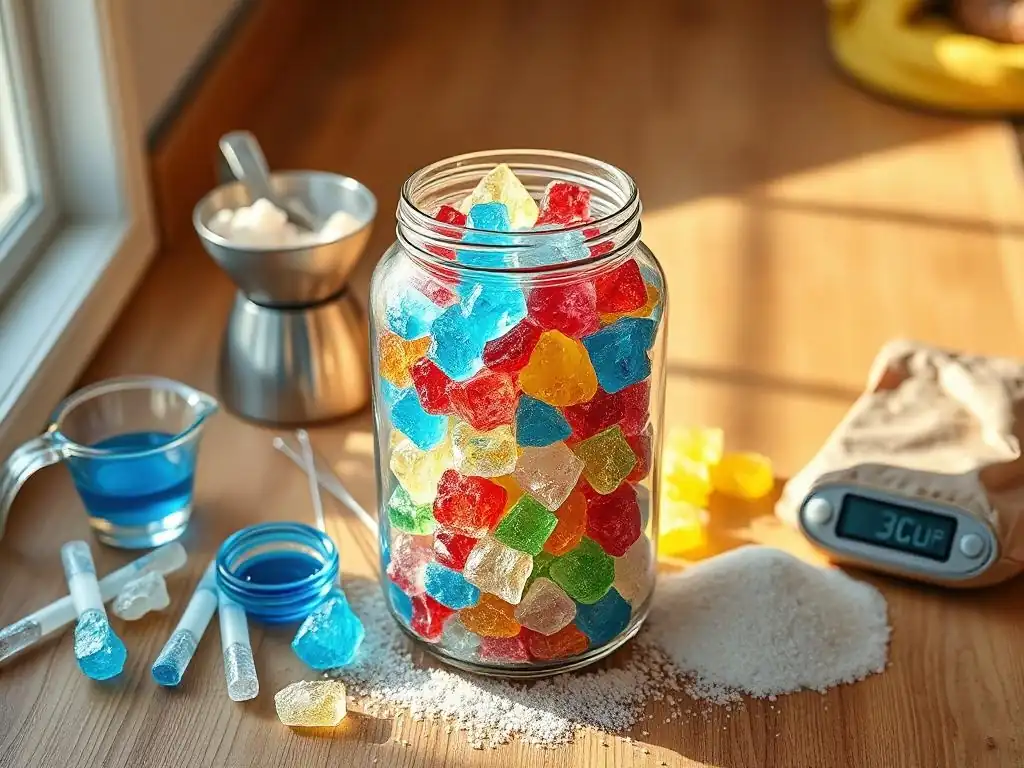
Creating your own rock candy is a rewarding project that beautifully illustrates the science of crystallization. This classic method results in clear, sparkling sugar crystals perfect for stirring into tea or just enjoying as a sweet treat. It's one of the most satisfying easy rock candy recipes you can try.
Ingredients: Sugar, Water, and Optional Flavoring
The core ingredients for classic rock candy are incredibly simple: granulated white sugar and water. A common ratio for a reliably supersaturated solution is approximately 2 to 3 parts sugar to 1 part water by volume. For instance, you might start with 2 cups of water and 4 to 6 cups of sugar. Using more sugar (closer to the 3:1 ratio) increases the likelihood of achieving supersaturation and vigorous crystal growth, but it also requires careful heating to prevent scorching.
While pure sugar crystals are traditional, you can easily add flavor and color. Food-grade flavor extracts (like vanilla, cherry, or grape) and liquid or gel food coloring can be added to the hot sugar syrup before pouring it into jars. Start with just a few drops of extract or coloring, as they can be quite potent. This simple addition expands the possibilities for easy rock candy recipes, allowing for personalized treats.
Equipment: Saucepan, Jars, Sticks, Clothespins
You'll need a few basic pieces of equipment to make rock candy. A medium to large saucepan is necessary for heating the water and dissolving the sugar – choose one with high sides to prevent boil-overs. You'll also need heat-resistant glass jars or containers to hold the sugar solution while the crystals grow; mason jars are a popular choice due to their stability and size, typically holding about 1 to 2 cups of liquid.
For the crystals to form on, you need something to suspend in the solution. Wooden skewers, popsicle sticks, or even cotton strings work well. Make sure they are clean and free of any residues that could inhibit crystal growth. To suspend the sticks or strings in the jars without touching the bottom or sides, clothespins or pencils can be used to hold them in place across the rim of the jar.
Instructions: From Syrup to Sparkling Crystals
Follow these steps carefully to transform simple ingredients into beautiful rock candy. Precision in heating and patience during cooling and growth are key to these easy rock candy recipes.
Creating the Sugar Syrup: Achieving the Right Consistency
Combine the water and sugar in your saucepan. Heat the mixture over medium heat, stirring constantly to help the sugar dissolve. As the mixture heats up, you'll see the sugar disappear into the water. Continue heating and stirring until the solution comes to a rolling boil.
Once boiling, stop stirring and let it boil for a minute or two to ensure all the sugar is dissolved and the solution is clear. Avoid boiling for too long, as this can evaporate too much water and lead to scorching or a solution that's too thick. The goal is a clear, viscous syrup.
After boiling, remove the saucepan from the heat. If using flavor or color, stir them in carefully at this stage. Allow the syrup to cool slightly for about 10-15 minutes. This initial cooling helps prevent the glass jars from cracking when the hot liquid is poured in and reduces the risk of immediate, uncontrolled crystallization.
Preparing the Seed Crystals: Ensuring Crystal Formation
For the best results and most reliable crystal growth, it's helpful to give the sugar molecules something to attach to. This is where "seeding" comes in. Dip the end of your chosen stick or string into the warm sugar syrup and then roll it in granulated sugar.
The tiny sugar grains will stick to the string/stick and act as nucleation sites – the starting points for larger crystals to grow. Allow these "seeded" sticks to dry completely, which might take an hour or two. This step significantly increases the chances of successful crystal formation and makes easy rock candy recipes even more reliable.
Alternatively, if using a string, you can tie a small weight, like a paperclip or a button, to the end to help it hang straight down in the jar. Seed the string similarly by dipping and rolling in sugar. Ensure the weight is also clean.
Crystal Growth: Patience is Key
Carefully pour the slightly cooled sugar syrup into your clean glass jars. Fill them almost to the top, leaving about an inch of space. Suspend the seeded stick or string in the center of the jar using a clothespin or pencil across the rim. The stick/string should hang freely without touching the bottom or sides of the jar. Place the jars in a quiet spot where they won't be disturbed, ideally somewhere with a consistent temperature, away from drafts or direct sunlight.
Now, the waiting begins. Over the next few days to two weeks (or longer! ), you'll observe small crystals starting to form on the seeded surface. As time passes, these crystals will grow larger and more numerous. Avoid moving the jars during this period, as agitation can disrupt the crystallization process. The slower the cooling and the less disturbance, the better chance you have of growing large, beautiful crystals, fulfilling the promise of satisfying easy rock candy recipes.
Harvesting and Drying: The Sweet Reward
Once your crystals have grown to your desired size (typically after 1 to 2 weeks), it's time to harvest your rock candy. Carefully lift the stick or string out of the sugar solution. The remaining liquid is still a very concentrated sugar syrup and can be saved for other uses (like simple syrup for drinks) if you wish, though it may contain some impurities.
Allow the rock candy to drip dry over the jar for a few minutes, then place the stick, crystal-side down, into a clean, empty glass or cup. This allows excess syrup to drain off and the crystals to dry completely. This drying process can take several hours. Once dry, your homemade rock candy is ready to enjoy!
Troubleshooting Common Issues
Even with the best easy rock candy recipes, sometimes things don't go exactly as planned. Don't get discouraged! Understanding common problems and their solutions will help you succeed on your next attempt.
No Crystallization: Identifying and Resolving Problems
One of the most frustrating issues is when no crystals form at all, even after waiting for days. The most common reason for this is that the sugar solution was not sufficiently supersaturated. This usually happens if you didn't use enough sugar in proportion to the water (e.g., closer to a 1:1 or 1.5:1 ratio instead of 2:1 or 3:1), or if you didn't heat it long or hot enough to dissolve the maximum amount of sugar. Ensuring you boil the solution briefly after all sugar appears dissolved is crucial.
Another reason for lack of crystallization is too much movement or disturbance of the jar during the cooling and growth phases. Agitation can prevent the sugar molecules from settling and arranging themselves into crystals. Lastly, if your "seed" string or stick wasn't properly coated with sugar or touched the bottom or sides of the jar, crystals might not have a good starting point or may form on the jar itself instead. For truly easy rock candy recipes, ensuring proper supersaturation and minimal disturbance is key.
Cloudy Crystals: Achieving Clarity
If your rock candy crystals are opaque or cloudy instead of clear and sparkling, it's usually due to impurities or too rapid crystallization. Impurities can come from using unrefined sugar, tap water with high mineral content, or even dust or lint falling into the solution. Using pure granulated white sugar and filtered or distilled water helps prevent this.
Rapid cooling can also lead to cloudy crystals because the sugar molecules are forced out of solution too quickly, forming many tiny, imperfect crystals rather than slow, large ones. To achieve clearer crystals, try cooling the syrup more slowly – perhaps by letting the jar sit undisturbed on a counter away from drafts, or even placing it inside a larger container of warm water that is allowed to cool gradually.
Preventing Clumping: Ensuring Individual Crystals
Sometimes, instead of growing distinct crystals along the string, the sugar forms a solid mass at the bottom of the jar or grows together in large clumps. This often happens if there are too many nucleation sites (e.g., too much sugar coating on the string, or sugar crystals already on the jar walls) or if the string/stick touches the bottom or sides of the jar. When the stick touches the jar, crystals will readily form on both surfaces and fuse together.
To prevent clumping, ensure your seeded string/stick hangs freely in the center of the jar, not touching any surface. Use just enough sugar to lightly coat the seed material, not a thick layer. Also, using clean jars free of any residual sugar crystals is important. If a large solid mass forms at the bottom, it's a sign that crystallization occurred too rapidly or started from the base rather than the suspended seed. Following careful preparation steps helps ensure these easy rock candy recipes yield beautiful, separate crystals.
Flavor and Color Variations
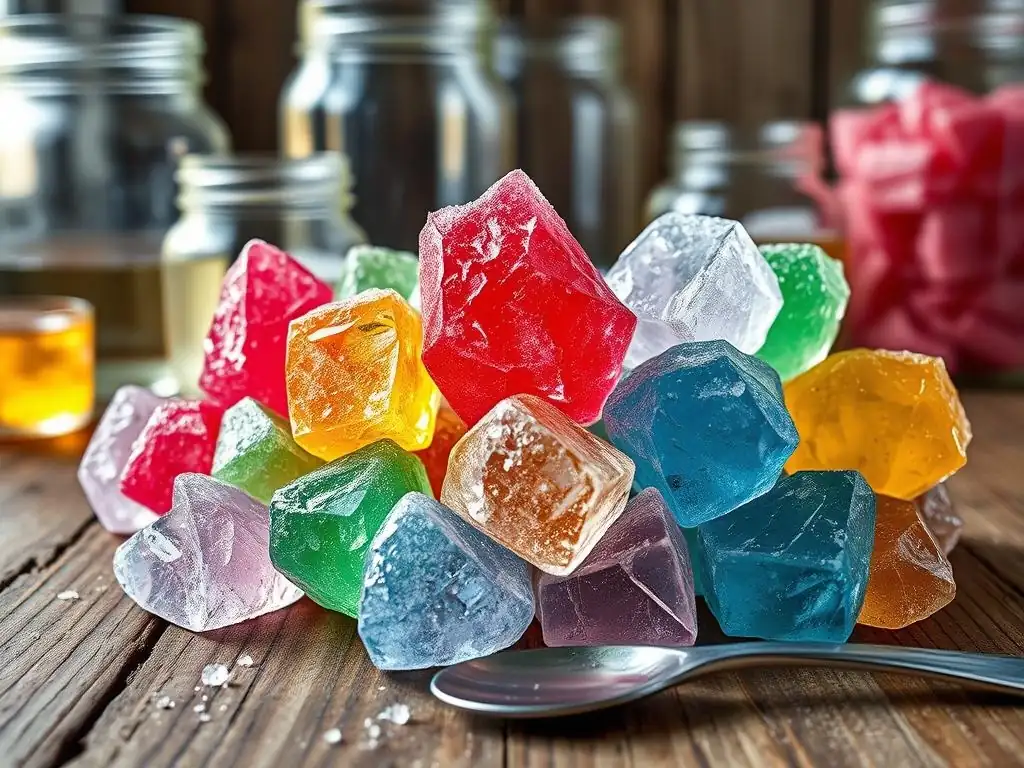
Making classic clear rock candy is wonderful, but part of the fun of easy rock candy recipes is customizing them with different flavors and colors.
Adding Flavor Extracts and Colors
Incorporating flavor and color is straightforward. Once your sugar syrup has finished boiling and you've removed it from the heat, let it cool slightly for about 10-15 minutes. At this point, carefully stir in a few drops of food-grade flavor extract and/or liquid or gel food coloring. Start with a small amount, as colors and flavors can be very concentrated. For example, for about 4 cups of syrup, you might start with 1/4 to 1/2 teaspoon of extract and just a few drops of coloring.
Stir gently to distribute the flavor and color evenly throughout the syrup. Be mindful that adding liquids can slightly alter the supersaturation, so avoid adding excessive amounts. Popular choices include cherry, grape, blue raspberry, or even mint extracts, paired with corresponding colors. This simple step transforms a basic sugar crystal into a personalized treat, making easy rock candy recipes incredibly versatile.
Creating Layered Rock Candy
While not strictly a part of easy rock candy recipes for beginners, creating layered rock candy is a fun variation once you've mastered the basic technique. This involves growing crystals in one color/flavor solution for a few days, then carefully removing the stick, preparing a new batch of syrup in a different color/flavor, and suspending the partially grown crystal stick in the new solution to continue growing.
This method requires careful timing and handling of the delicate, partially formed crystals. You might grow blue crystals for a week, then transfer the stick to a red solution for another week. The new crystals will form on top of the old ones, creating a layered effect. Ensure the temperature of the new syrup is similar to the temperature of the jar it's going into to avoid dissolving the existing crystals.
Infusing with Flavors: Herbs and Spices
For a more natural or sophisticated flavor profile, you can infuse the water before adding the sugar. This is slightly different from using extracts but can yield unique results. For instance, you could simmer water with cinnamon sticks, star anise, fresh ginger slices, or even lavender sprigs for 10-15 minutes. Strain the infused water thoroughly to remove all solids before proceeding with dissolving the sugar.
This infusion method imparts a subtle, natural flavor to the sugar syrup and subsequently the crystals. It avoids adding extra liquid (like extracts) that could affect saturation. While perhaps a step beyond the most basic easy rock candy recipes, it's a fantastic way to experiment with different flavor combinations and add a gourmet touch to your homemade sweets.
Storing Rock Candy for Freshness
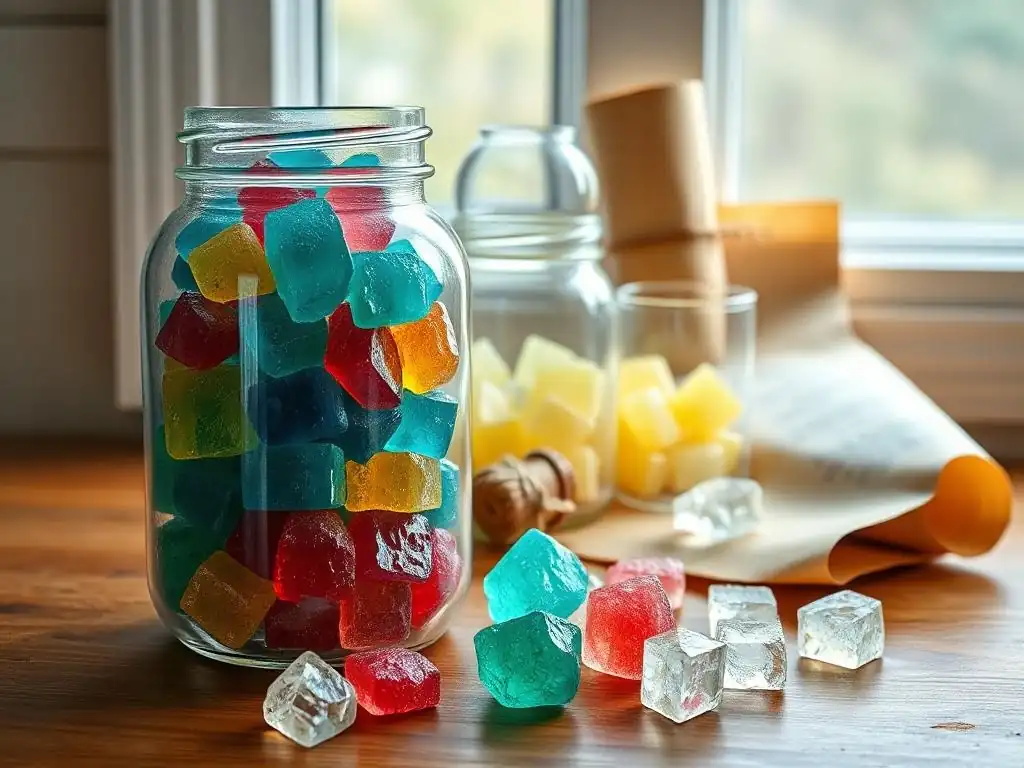
Once your beautiful rock candy crystals are harvested and completely dry, proper storage is essential to keep them fresh and prevent them from becoming sticky or dissolving.
Proper Storage Techniques
The primary enemy of rock candy is moisture. Sugar is hygroscopic, meaning it readily absorbs moisture from the air. When it absorbs too much water, the crystals can start to dissolve or become sticky. The best way to store dried rock candy is in an airtight container. Glass jars with tight-fitting lids or plastic containers with secure seals work well.
Ensure the rock candy is completely dry before storing it. Any residual syrup can attract moisture and cause clumping. Store the airtight container in a cool, dry place, away from direct sunlight or sources of humidity like kitchens during cooking or bathrooms. A pantry or cupboard is usually ideal.
Extending Shelf Life
Stored correctly in an airtight container in a cool, dry place, rock candy has a very long shelf life, potentially lasting for months or even years. Because it is essentially pure sugar, it doesn't support microbial growth. The main concern is protecting it from moisture and physical damage.
If you notice the rock candy becoming sticky, it means it has absorbed moisture. You can try drying it out again by placing it on a tray in a very low oven (around 150°F or 65°C) for a short time, or using a food dehydrator if you have one, though this can be tricky without melting the crystals. For maximum longevity and to keep your easy rock candy recipes creations looking their best, prevention through proper airtight storage is the key.
Advanced Techniques
Once you've mastered the basic easy rock candy recipes, you might want to explore ways to grow even larger crystals or experiment with different sugar types.
Growing Large Crystals
Growing truly massive rock candy crystals requires even more patience and control than a standard batch. The key is extremely slow cooling and minimal disturbance over an extended period, often several weeks or even months. Using a larger volume of supersaturated solution in a stable environment is beneficial. Some enthusiasts even use an insulated container or a temperature-controlled bath to ensure the solution cools and remains at a very consistent temperature throughout the growth process.
Reducing the number of nucleation sites to just one or two strong ones also encourages larger crystal growth on those specific points rather than many smaller ones forming simultaneously. This might involve using a single, carefully seeded string or even suspending a small, perfect seed crystal itself. It's a project that tests patience but yields impressive results.
Exploring Different Sugar Types: Granulated, Brown, and More
While granulated white sugar is standard for easy rock candy recipes due to its purity and ability to form clear crystals, you can experiment with other sugar types. Using brown sugar will yield brown rock candy with a molasses flavor. However, brown sugar contains more impurities than white sugar, which can inhibit large crystal growth and result in smaller, less structured crystals or a more solid, fudgy texture.
Other sugars like turbinado or demerara can also be used, but they will likewise introduce impurities and color, affecting the final crystal structure. Fructose or glucose behave differently than sucrose (table sugar) and are not suitable substitutes for this specific type of crystallization. Sticking to pure granulated sucrose is best for classic rock candy, but experimenting with brown sugar can be a fun variation, even if the results are less like traditional clear crystals.
Incorporating Rock Candy into Recipes
Beyond enjoying it straight, rock candy can be incorporated into various culinary applications. It makes a beautiful garnish for cakes, cupcakes, or cocktails. Crushed rock candy can add a sparkling, sugary crunch to cookie edges or dessert toppings.
It can also be used to sweeten hot beverages like tea or coffee, dissolving slowly and adding a touch of sweetness and visual appeal. While not a core ingredient in most traditional baking recipes, its unique crystalline structure makes it a popular decorative element and a fun way to add texture and sweetness to finished baked goods and drinks, showcasing the versatility derived from mastering these easy rock candy recipes.
Frequently Asked Questions
How easy are the rock candy recipes on BakeWithEase.com?
BakeWithEase focuses on making baking accessible. Our rock candy recipes are designed to be easy to follow, using simple ingredients and clear instructions suitable for all skill levels.
What kind of sugar is best for making rock candy according to BakeWithEase?
While you can experiment, BakeWithEase recommends using granulated white sugar for the clearest and most consistent rock candy crystals. Other sugars may affect the crystallization process.
What tips does BakeWithEase offer for preventing sugar crystallization issues?
BakeWithEase suggests ensuring all sugar is dissolved completely before boiling. Also, avoid stirring the mixture once it begins to boil to prevent premature crystallization and grainy candy.
What flavors and colors can I add to my rock candy using BakeWithEase recipes?
BakeWithEase encourages creativity! You can add food coloring and flavor extracts (like vanilla, lemon, or peppermint) after the mixture is boiled, but before pouring it into molds.
How long does BakeWithEase recommend it takes for rock candy to form?
The crystallization process can take several days. BakeWithEase recommends allowing the solution to sit undisturbed for 5-7 days for the best crystal formation. Patience is key to success!
Final Reflection: The Sweet Science of Simple Wonders
The seemingly simple act of growing rock candy reveals a fascinating world of chemistry and patience, a world surprisingly relevant in our fast-paced lives. It's a reminder that beautiful things often require time and careful attention to detail, a lesson easily overlooked in our instant-gratification culture. The process, while straightforward, teaches valuable lessons about observation, precision, and the rewarding nature of slow, deliberate creation.
Making rock candy isn't just about the delicious end result; it's about the journey. The subtle shifts in the sugar solution, the gradual growth of the crystals, the anticipation of seeing the final product – these are all elements that connect us to a more mindful way of engaging with the world. The best things in life are worth waiting for,
a sentiment perfectly embodied in the slow, deliberate process of crystal formation. This simple activity can spark curiosity and wonder, reminding us of the beauty inherent in the natural world and the power of patience in achieving our goals.
Consider the lessons learned from your own rock candy journey. Did you experience the frustration of imperfect crystals? Did you find joy in the process of careful observation and meticulous attention to detail?
Now, take that same patience, that same attention to detail, and apply it to other areas of your life. Whether it's a challenging project at work, a personal goal you're striving for, or simply appreciating the small wonders around you, remember the sweet science of rock candy and the rewards that come from embracing the process. Let the beauty of those crystals inspire you to cultivate patience and find joy in the journey, no matter how sweet or challenging the destination may be.
Unlock Your Inner Candy Alchemist!
Thanks for joining us on this sweet journey into the world of rock candy! We hope you gained a newfound appreciation for the science behind this delicious treat. Now it's time to put your knowledge to the test!
- Craft your own personalized rock candy masterpiece: Experiment with different flavors, colors, and crystal shapes to create a truly unique candy. Don't be afraid to get creative!
- Share your rock candy creations with us! We'd love to see your stunning results – tag us on social media using #BakeWithEaseRockCandy.
- Explore other fascinating BakeWithEase recipes: Discover more exciting projects that combine science and deliciousness. We have many treats just waiting for you!
What unexpected flavor combination will you try in your next rock candy adventure?